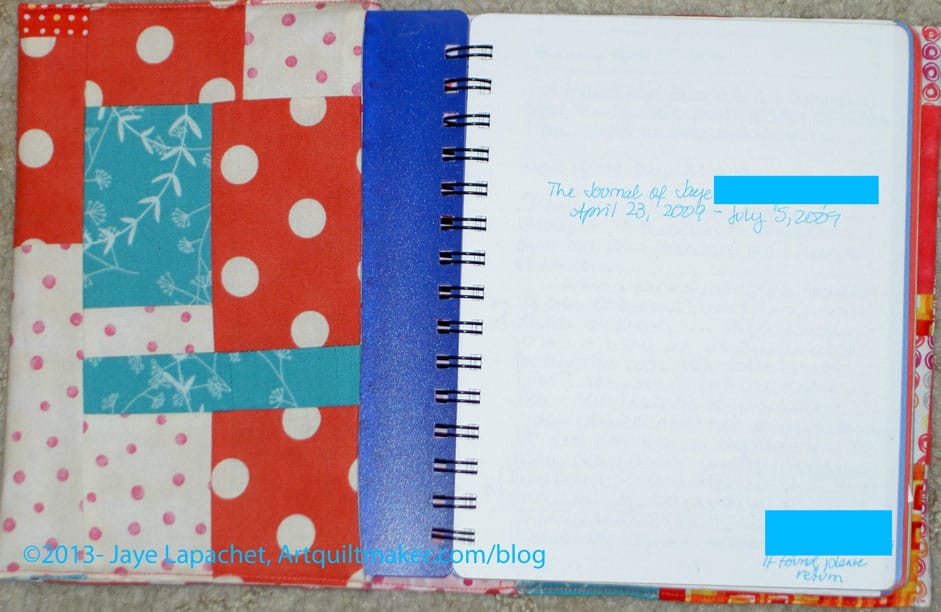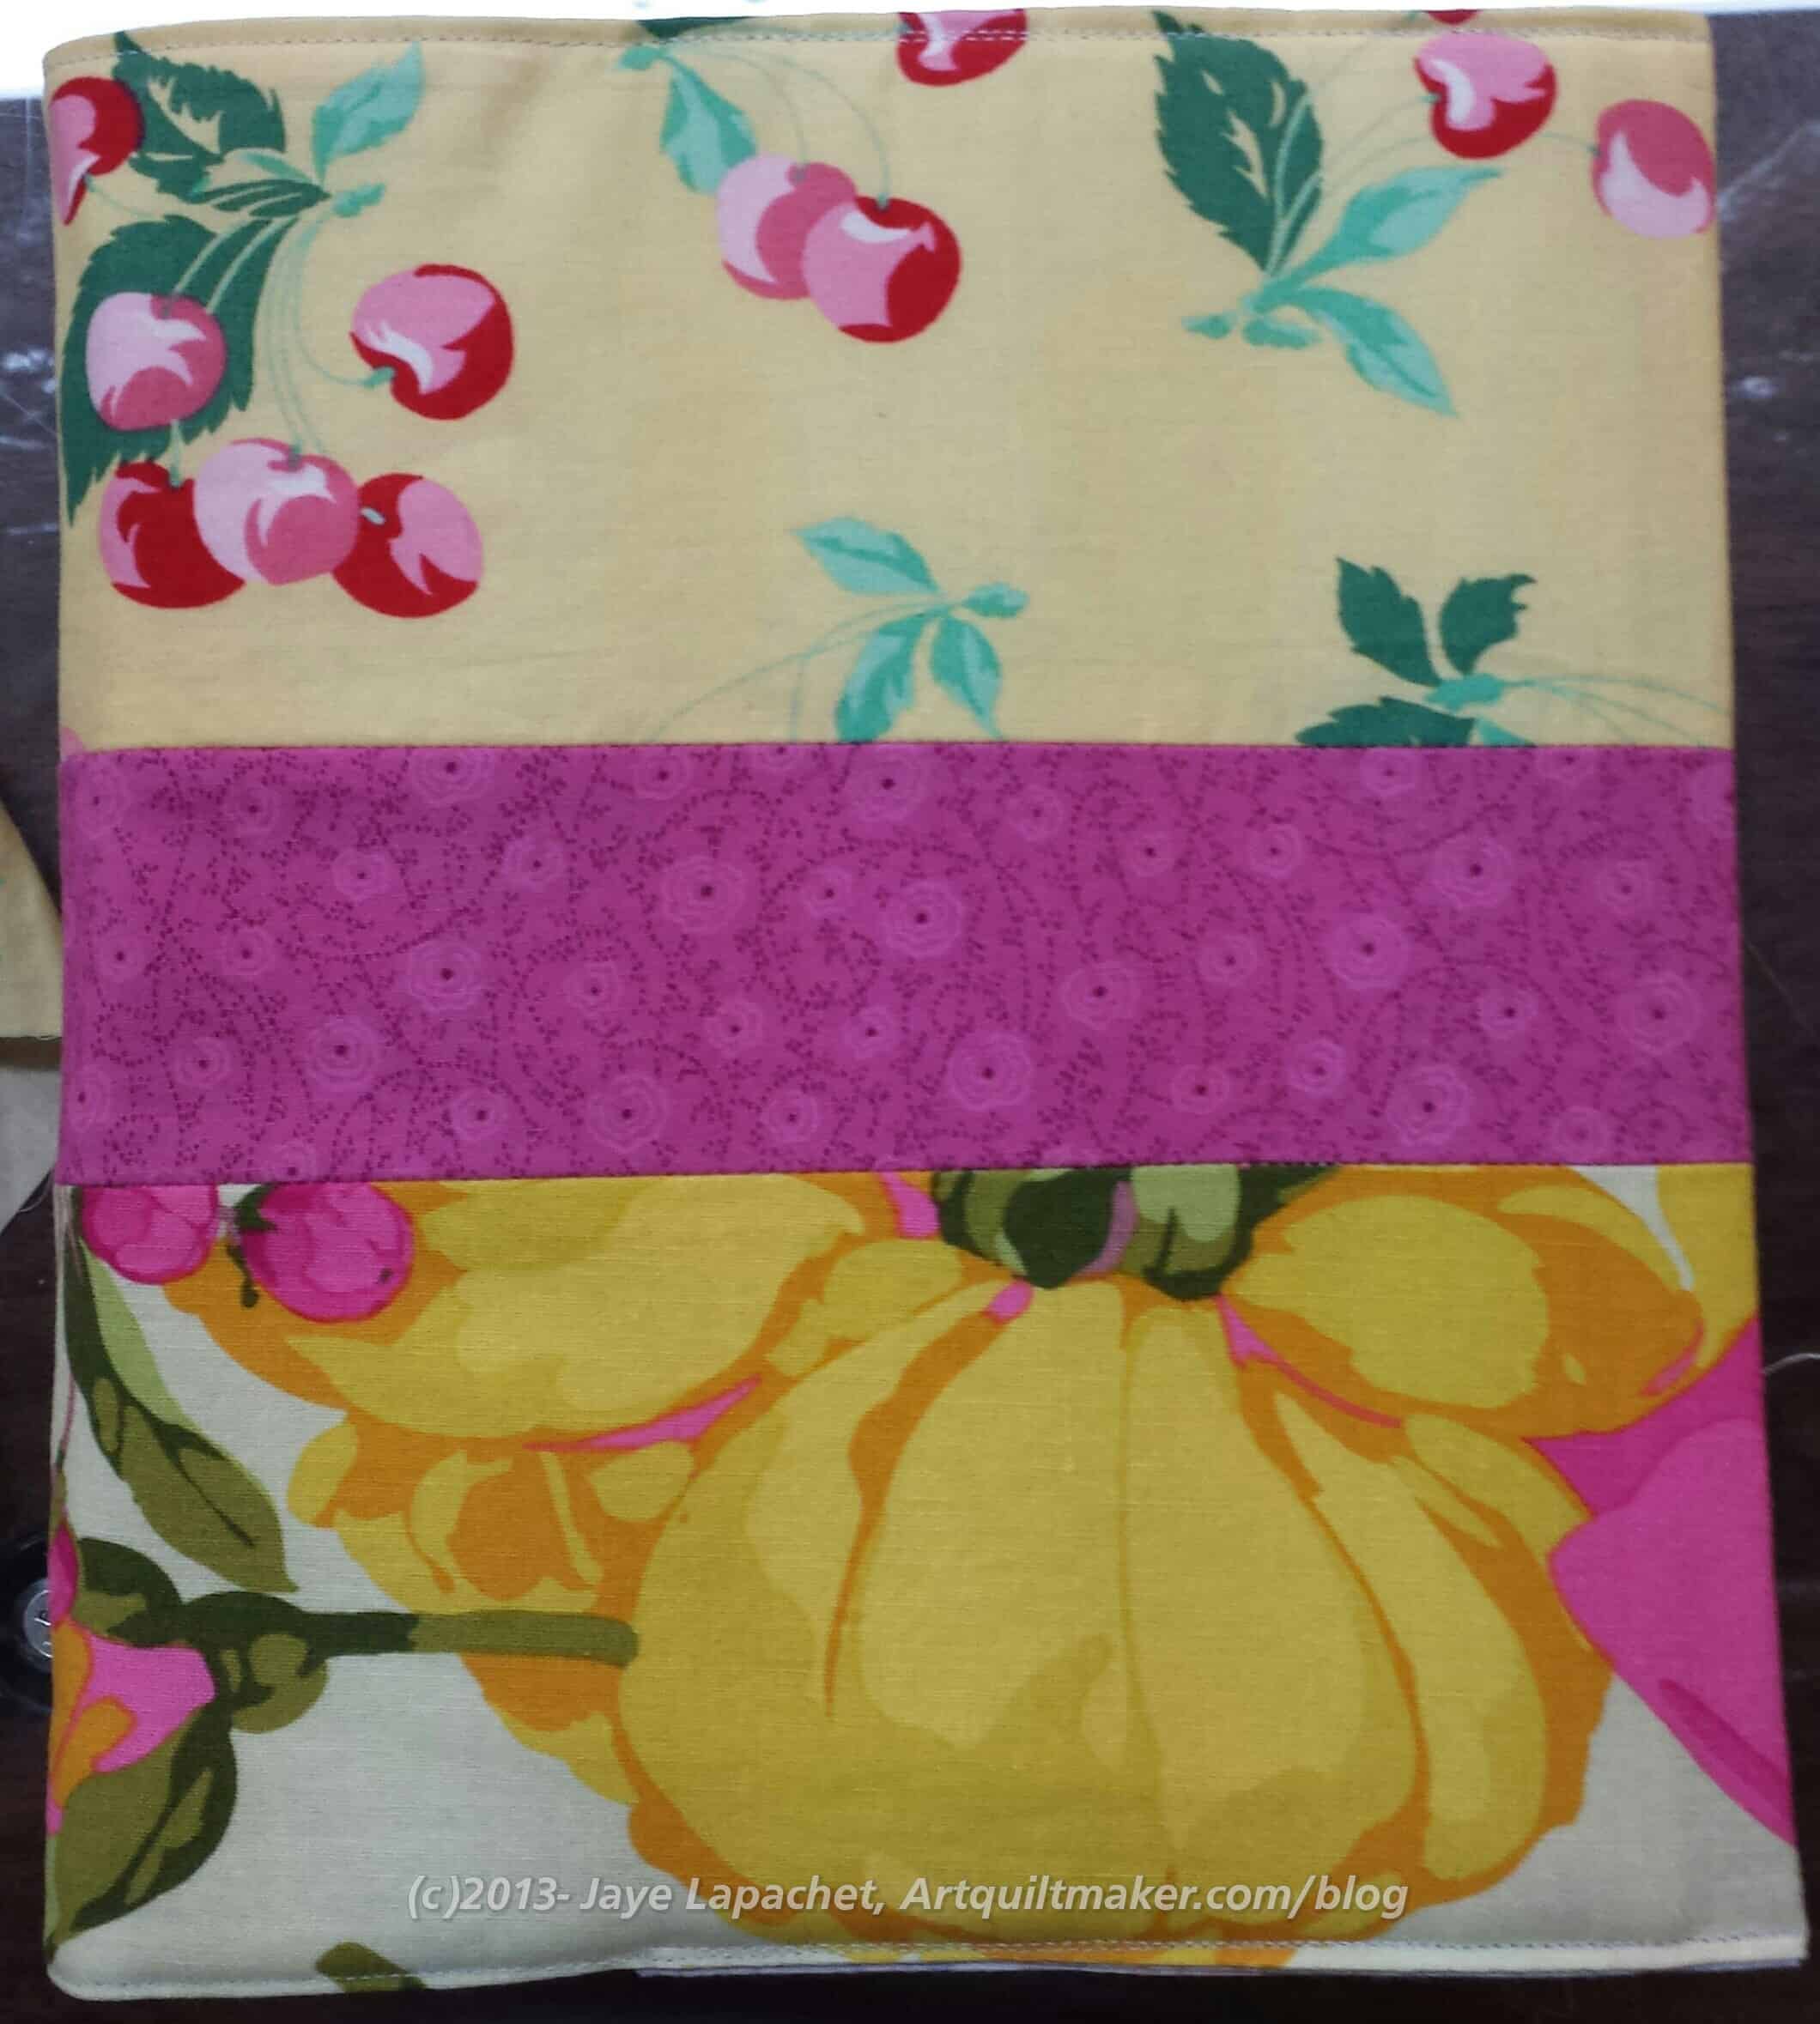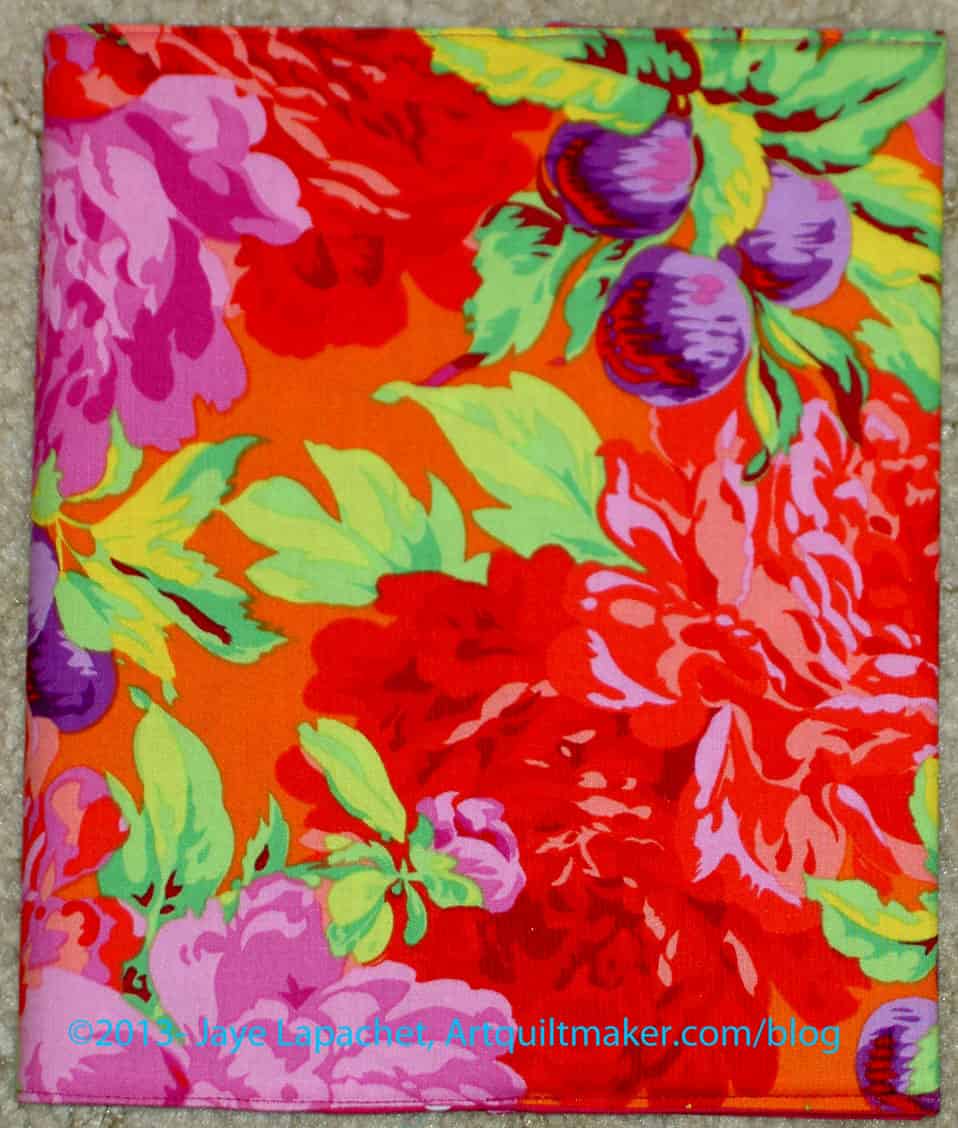
As you know I like to make journal covers for my journals. I have been using the Yellow Flower Journal journal cover on my most recent journal. Since I have been off a lot I am carrying my journal around more and spending more time with it. That means I have to look at the cover more often.
I don’t like it.
I like the fabric, but the cover itself is boring. So, I decided to make another one. I probably have at least two months of life left in this journal and I didn’t want to look at a boring cover.
Don’t worry, I don’t hate this journal cover. The Yellow Flower Journal Cover isn’t going waste. I will put it on one of the older journals that has not yet been covered.
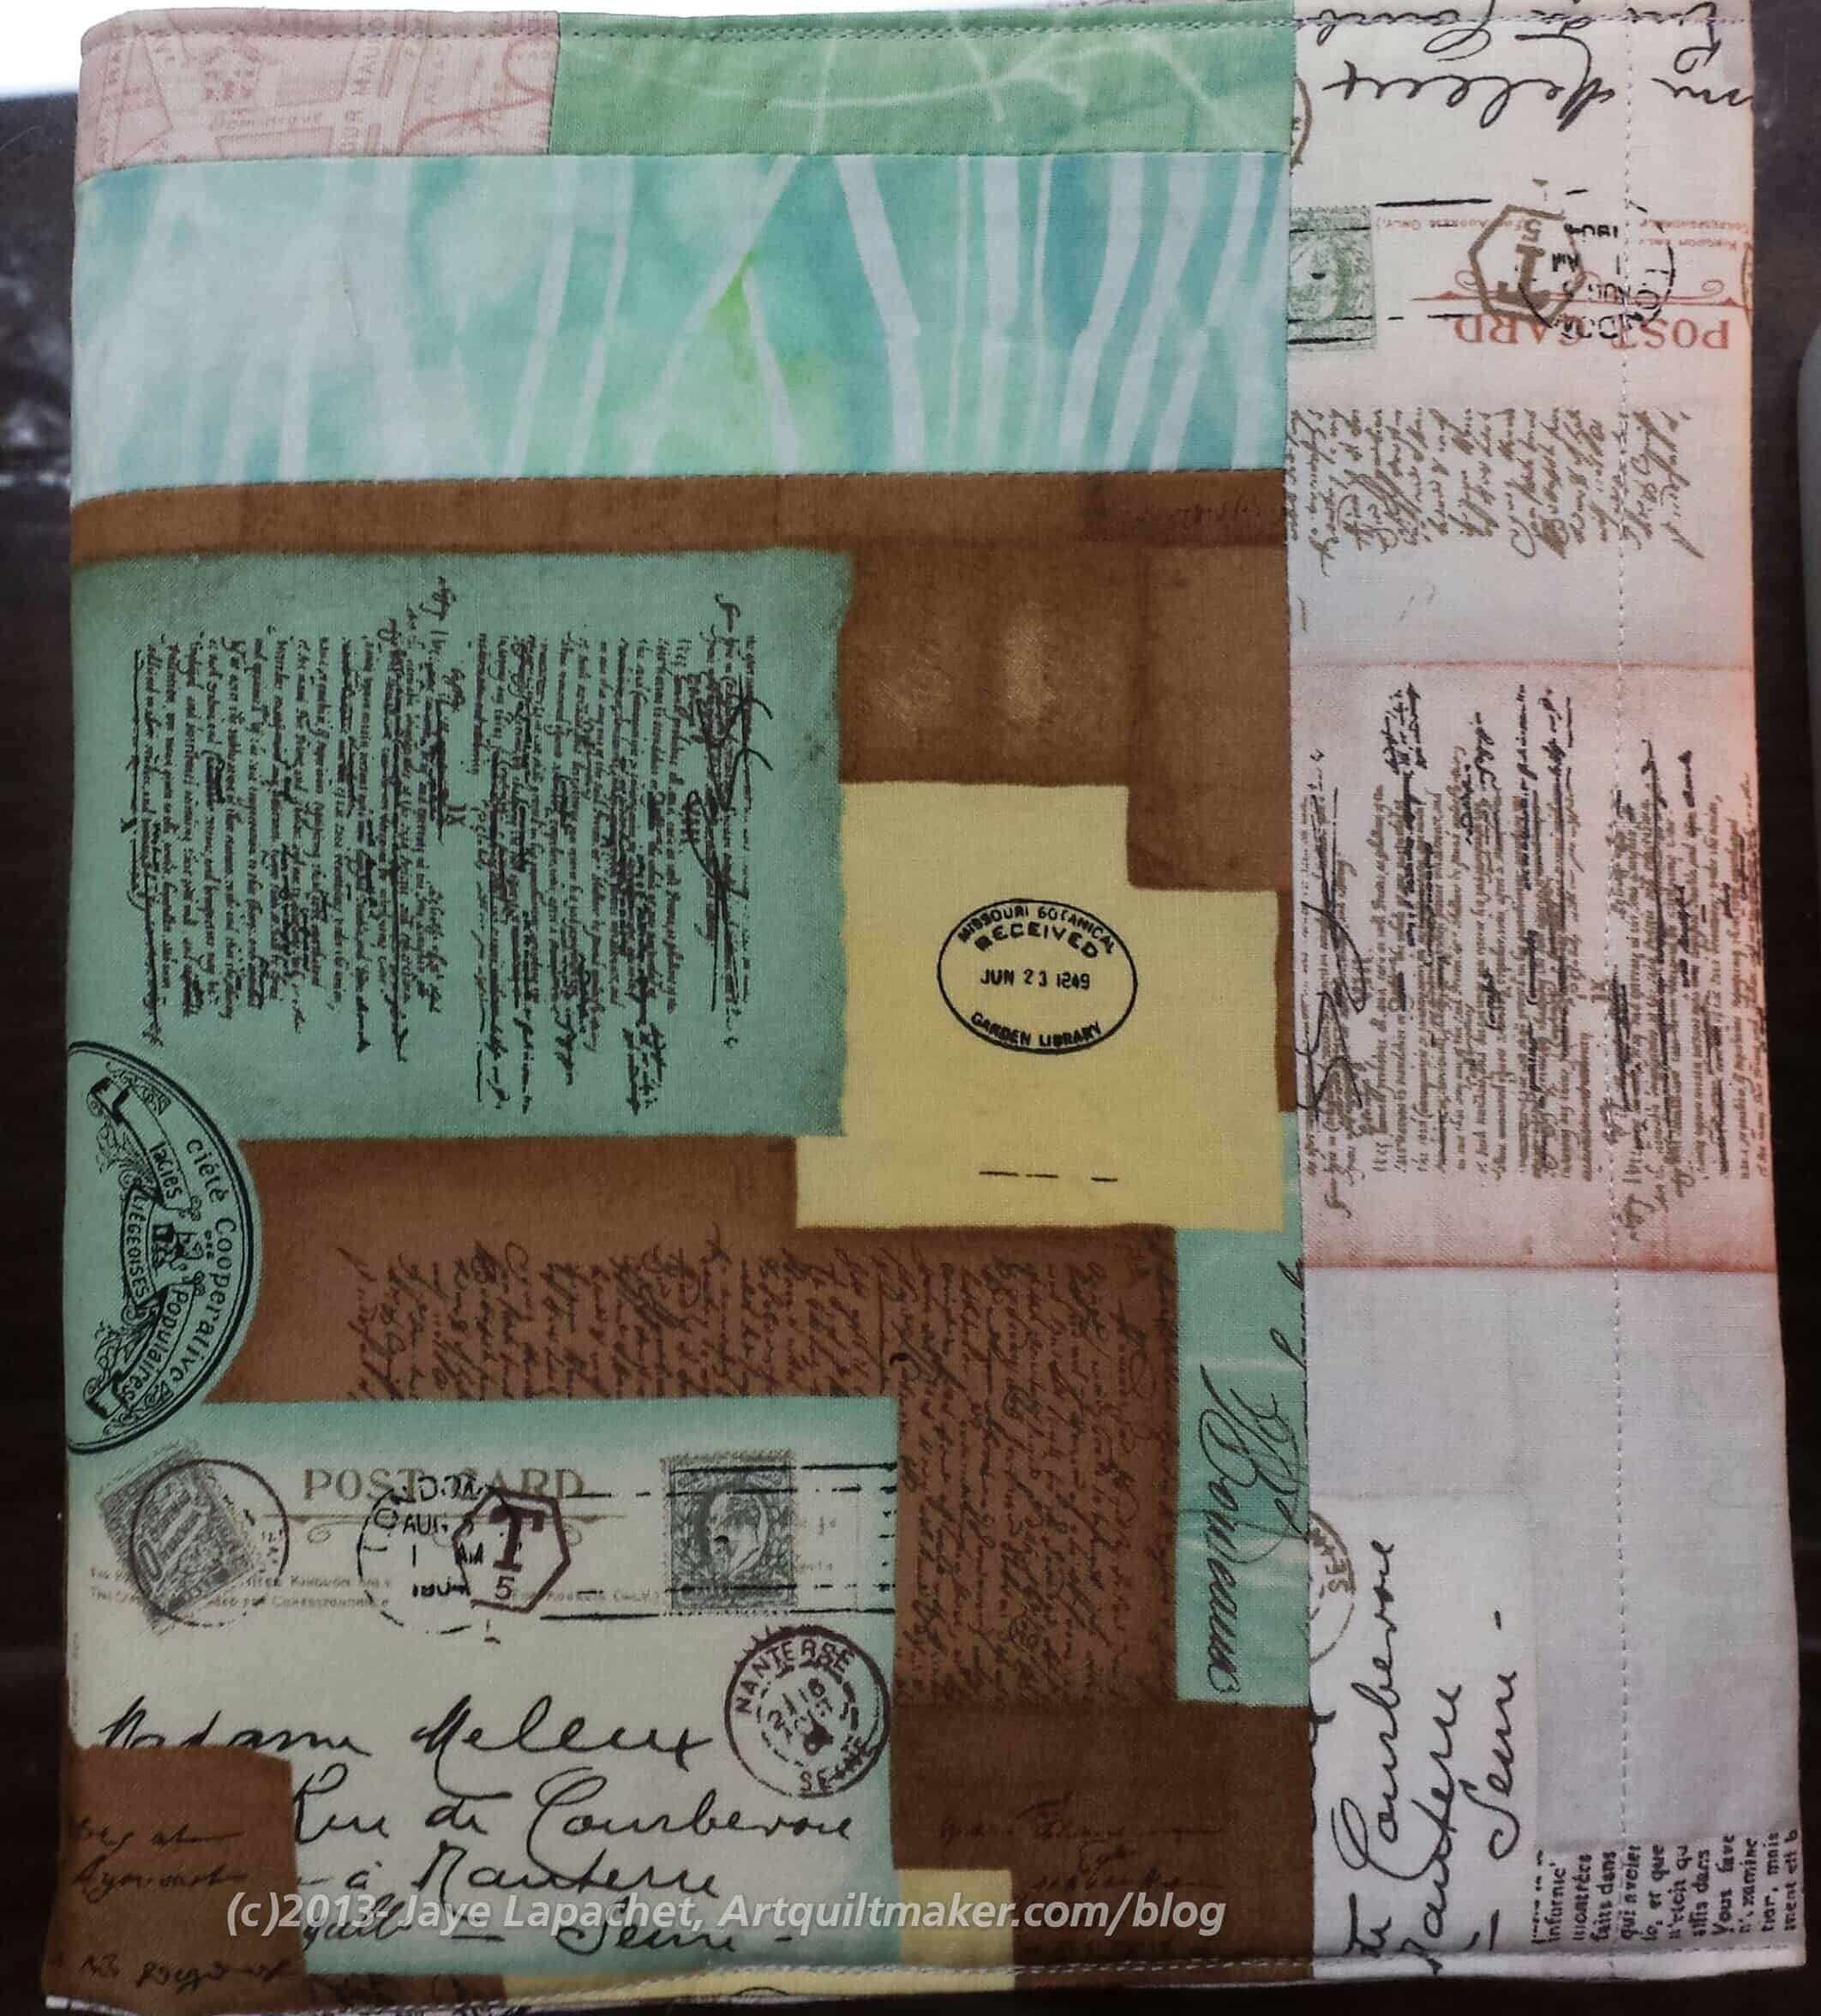
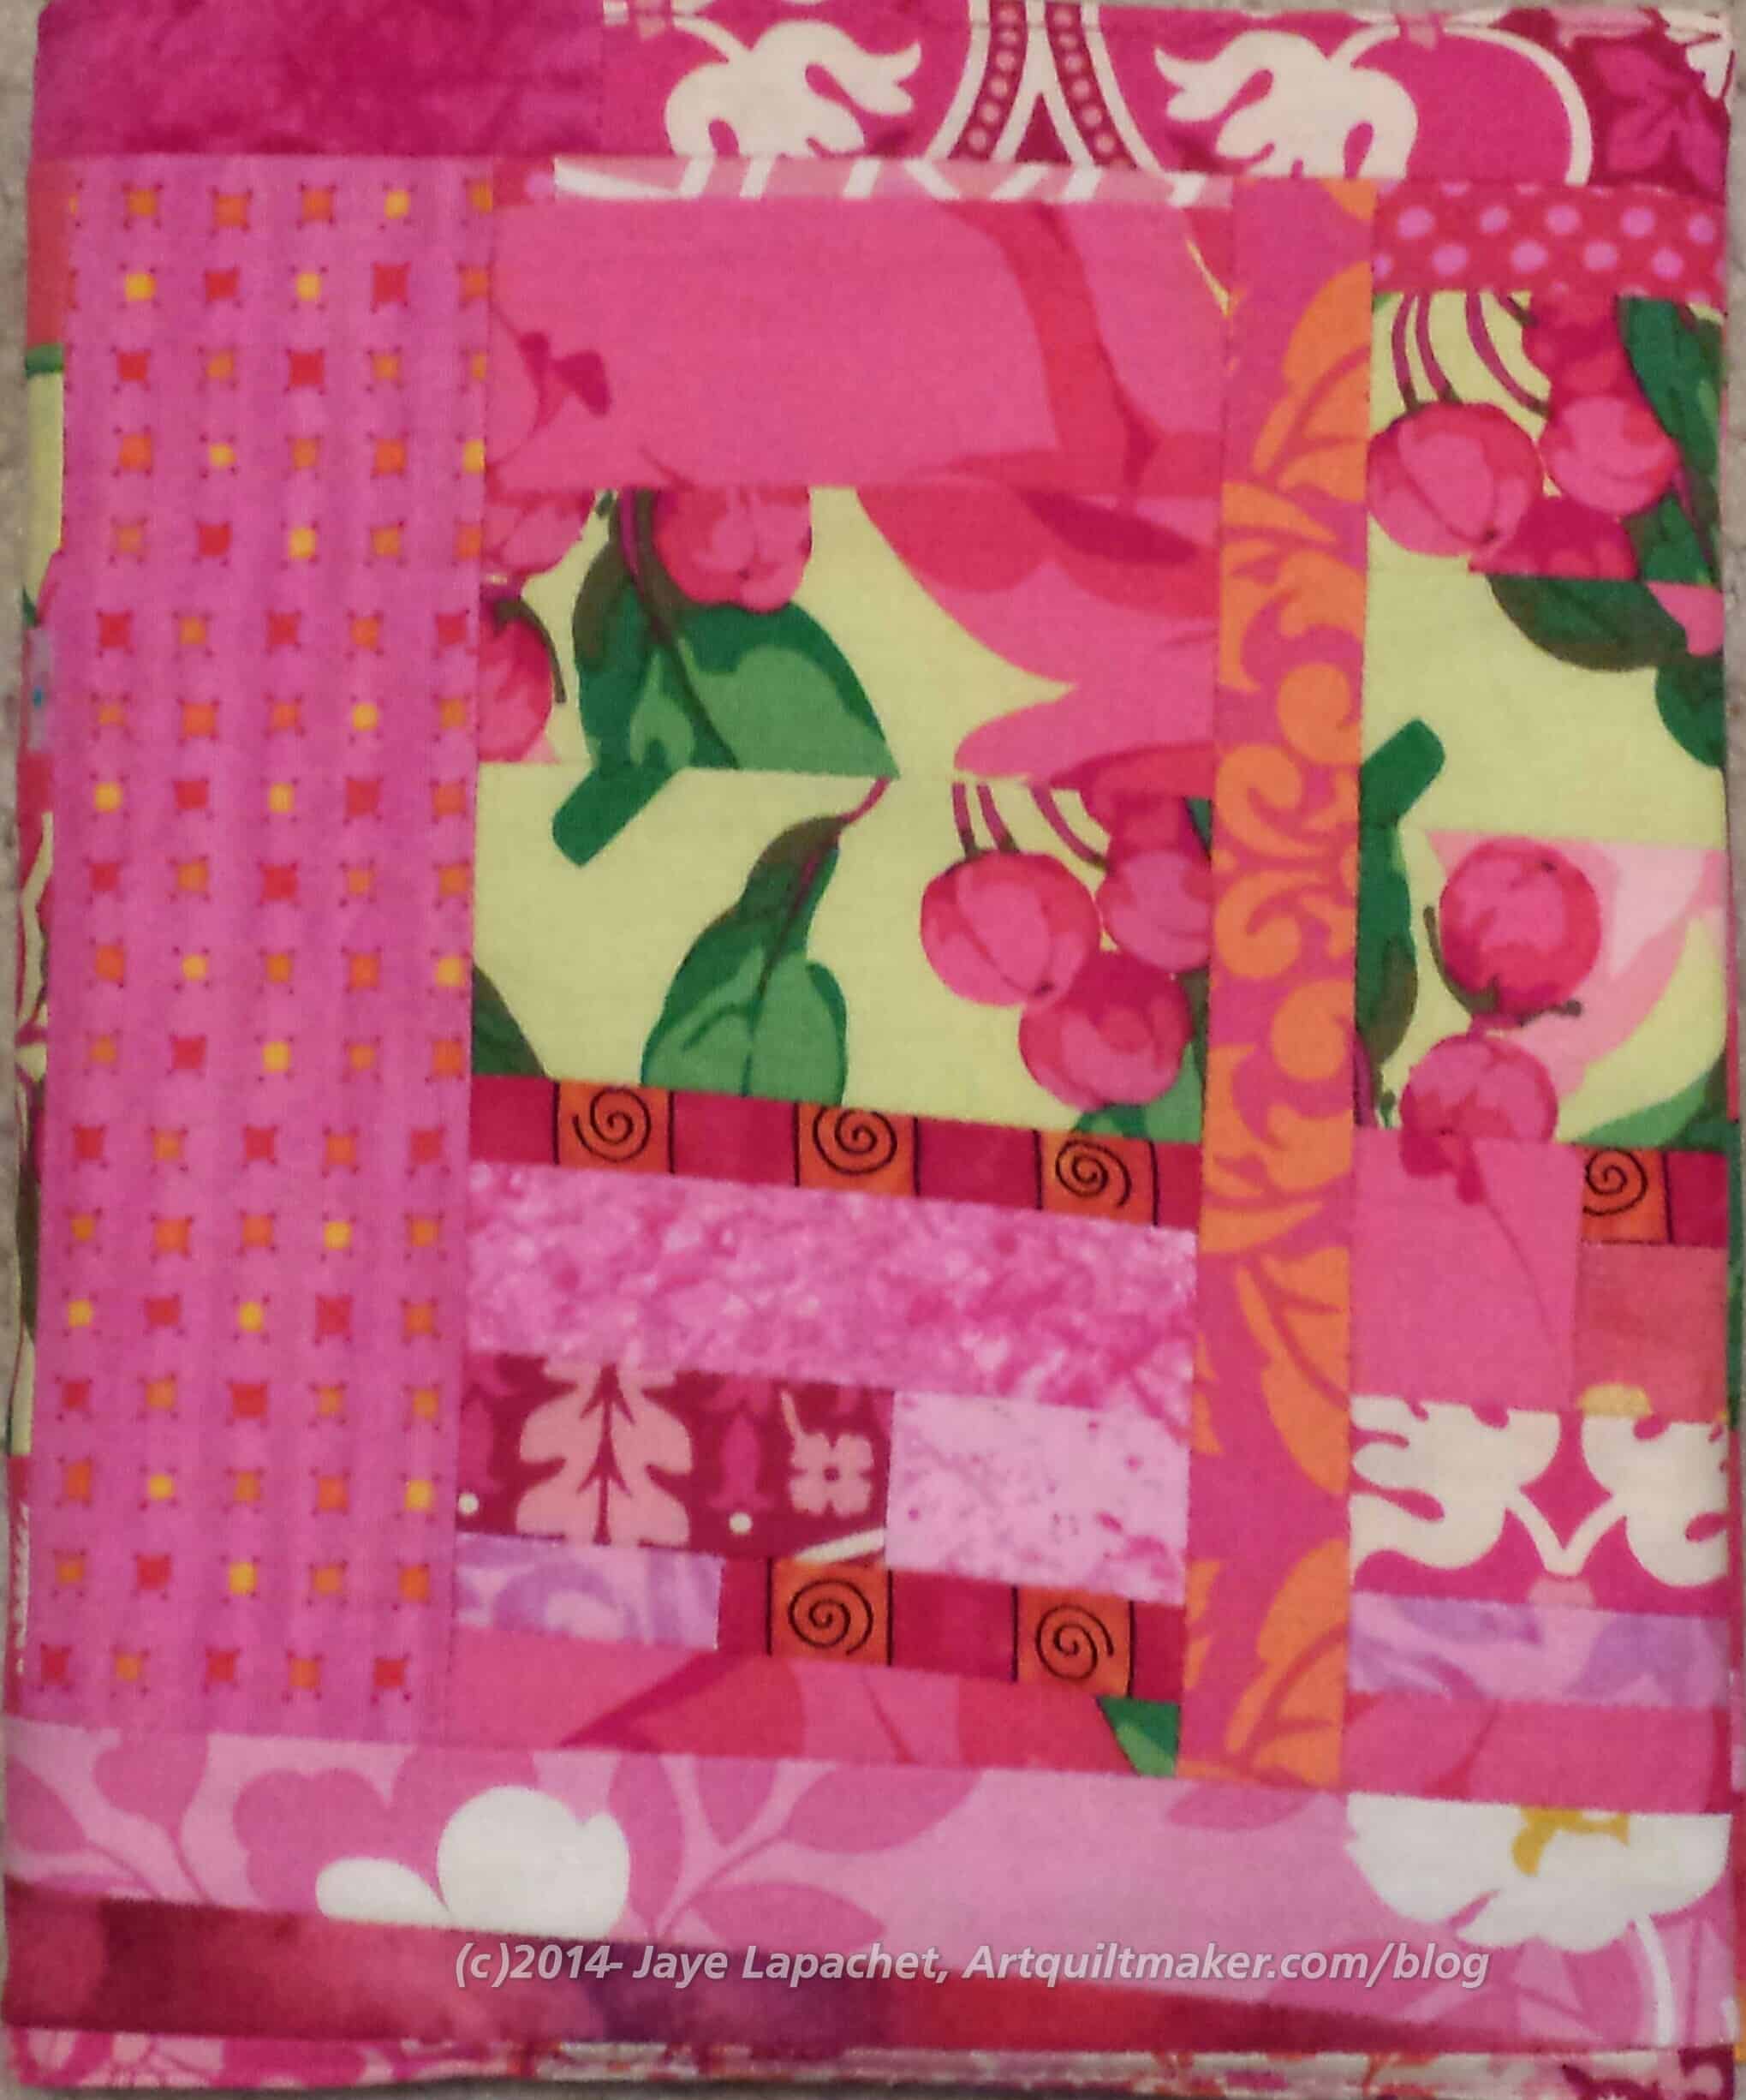
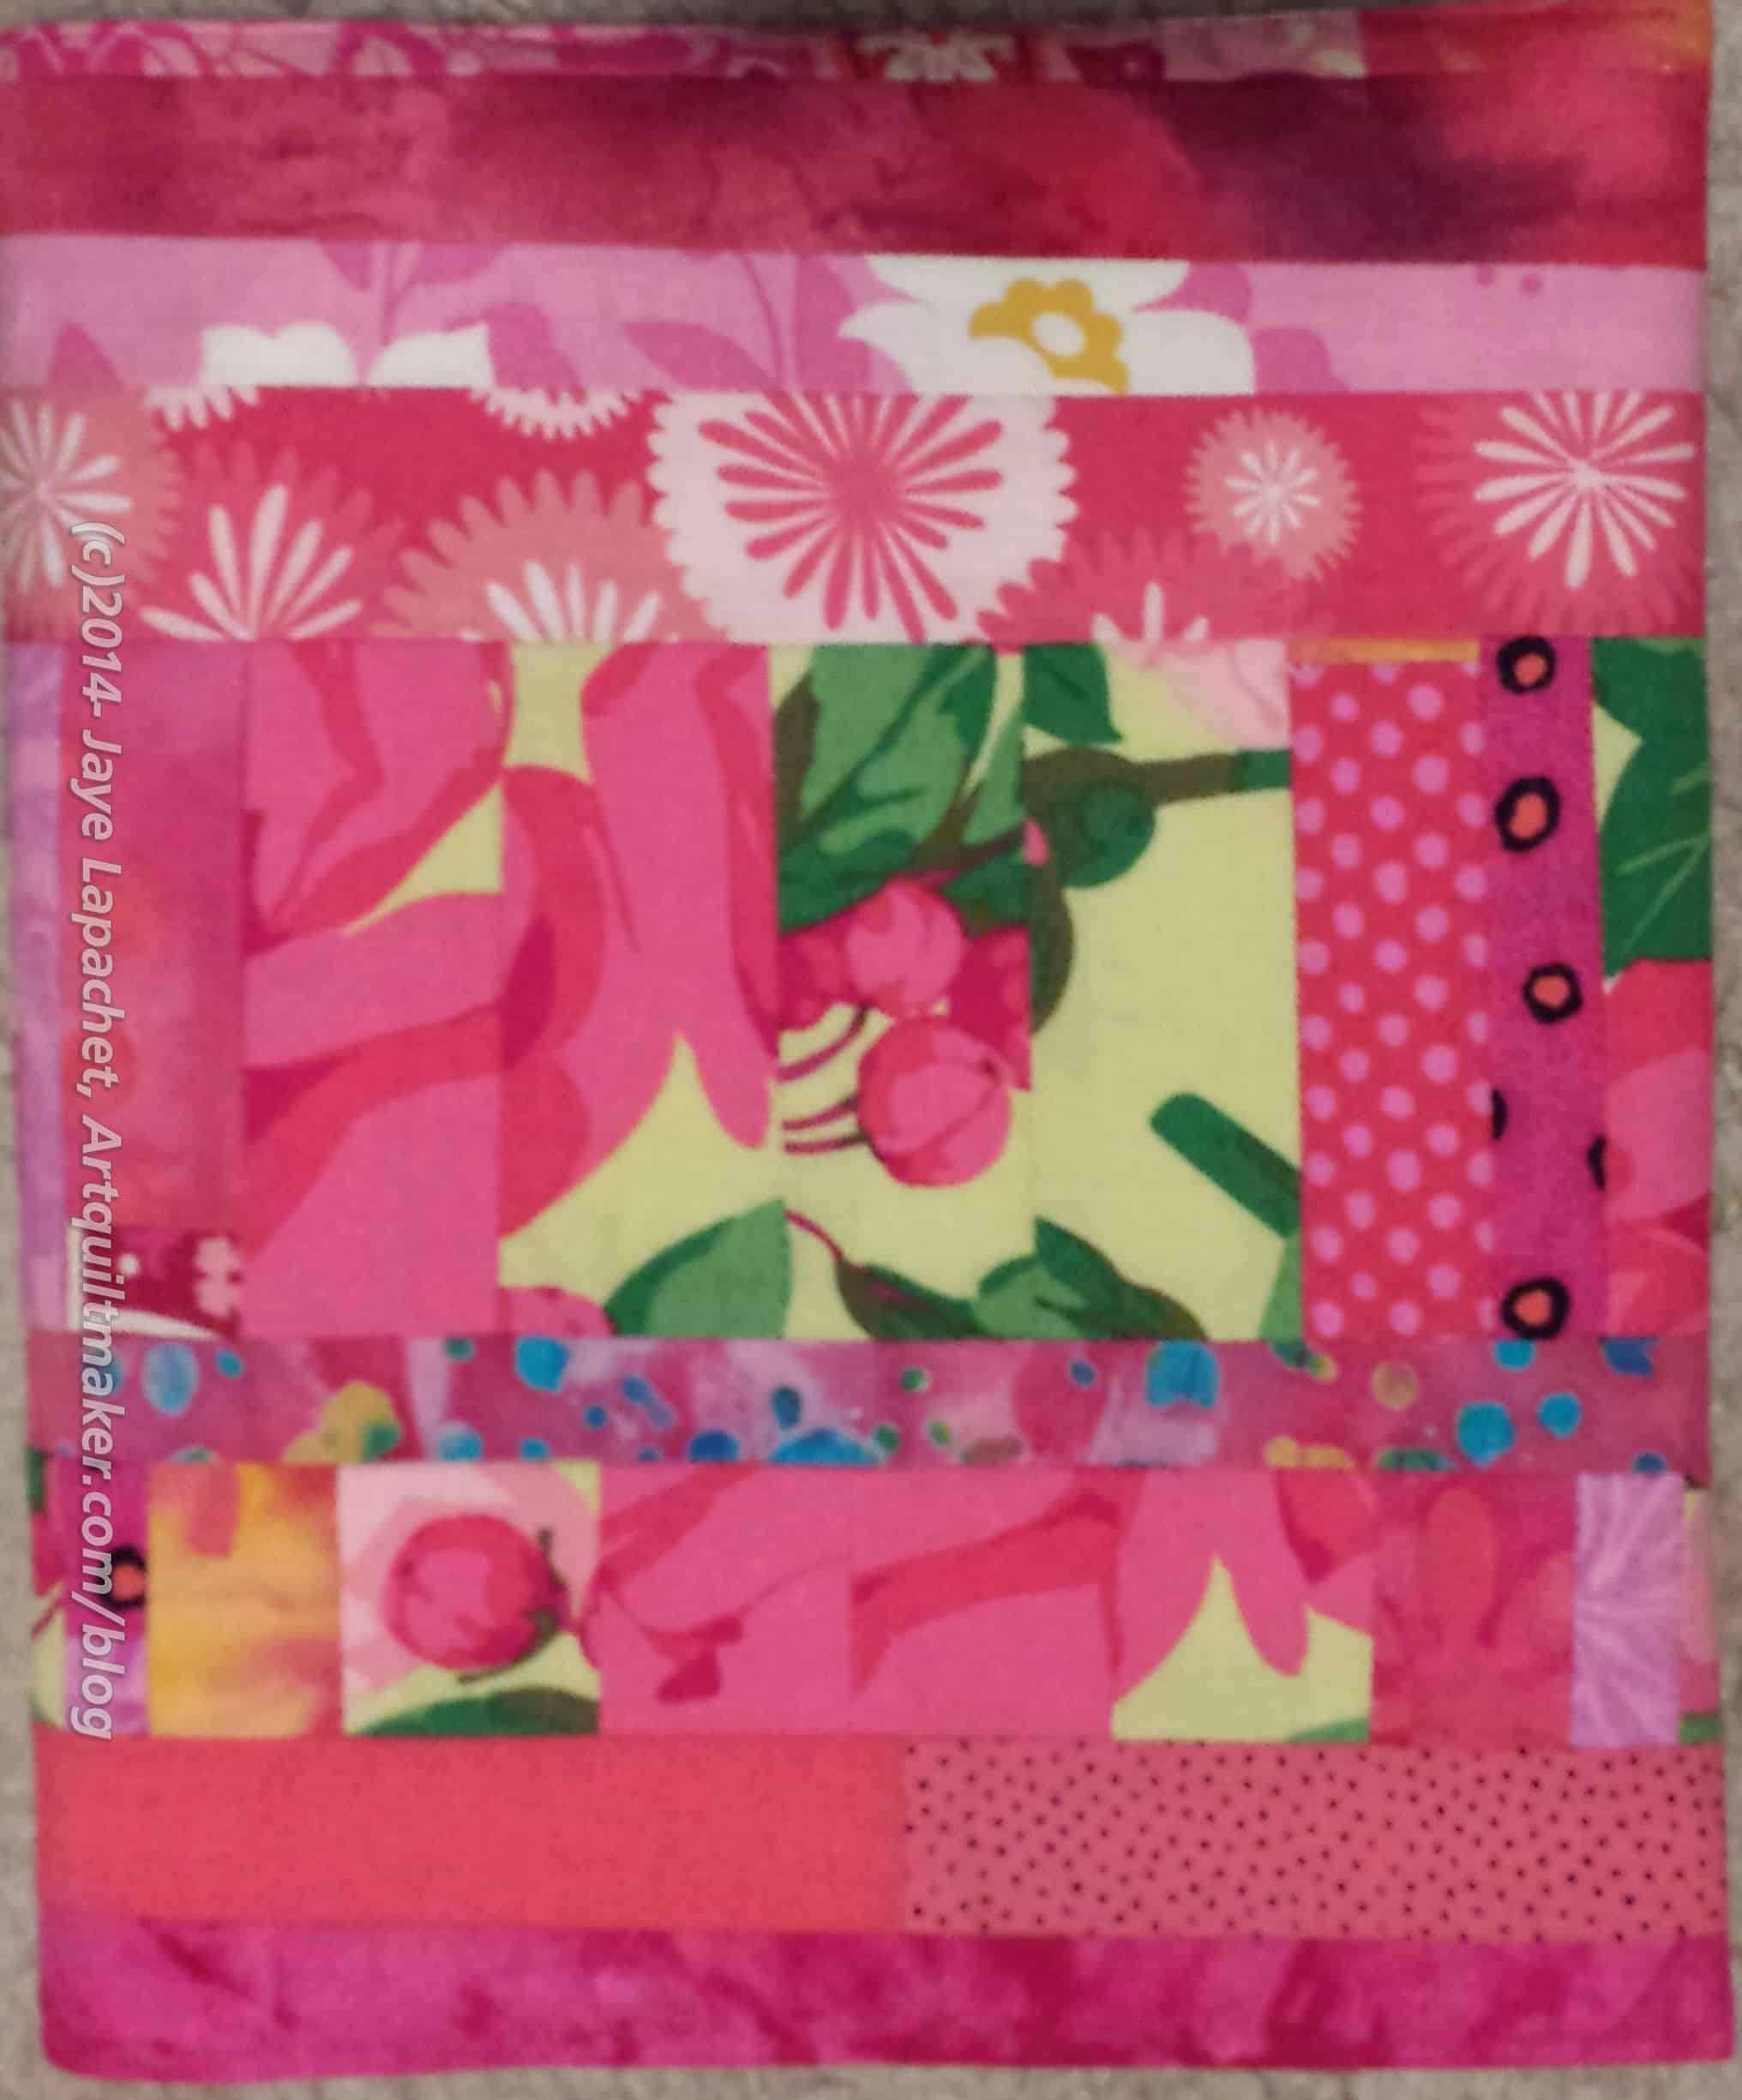
I had a piece of Mosaic Piecing to which I had been adding bits of pink and I decided that was a good start. I made sure to add pieces on all different sides and to sew various pieces together before I sewed them to the main piece that would become the journal cover.
The Good
First, there is a lot of piecing, including some of the yellow rose fabric from the Yellow Flower Journal Cover. The piecing is not just all strips added on to the ends of the piecing which makes it a little more interesting. I was even able to add a few diagonal lines, which adds interest in terms of piecing.
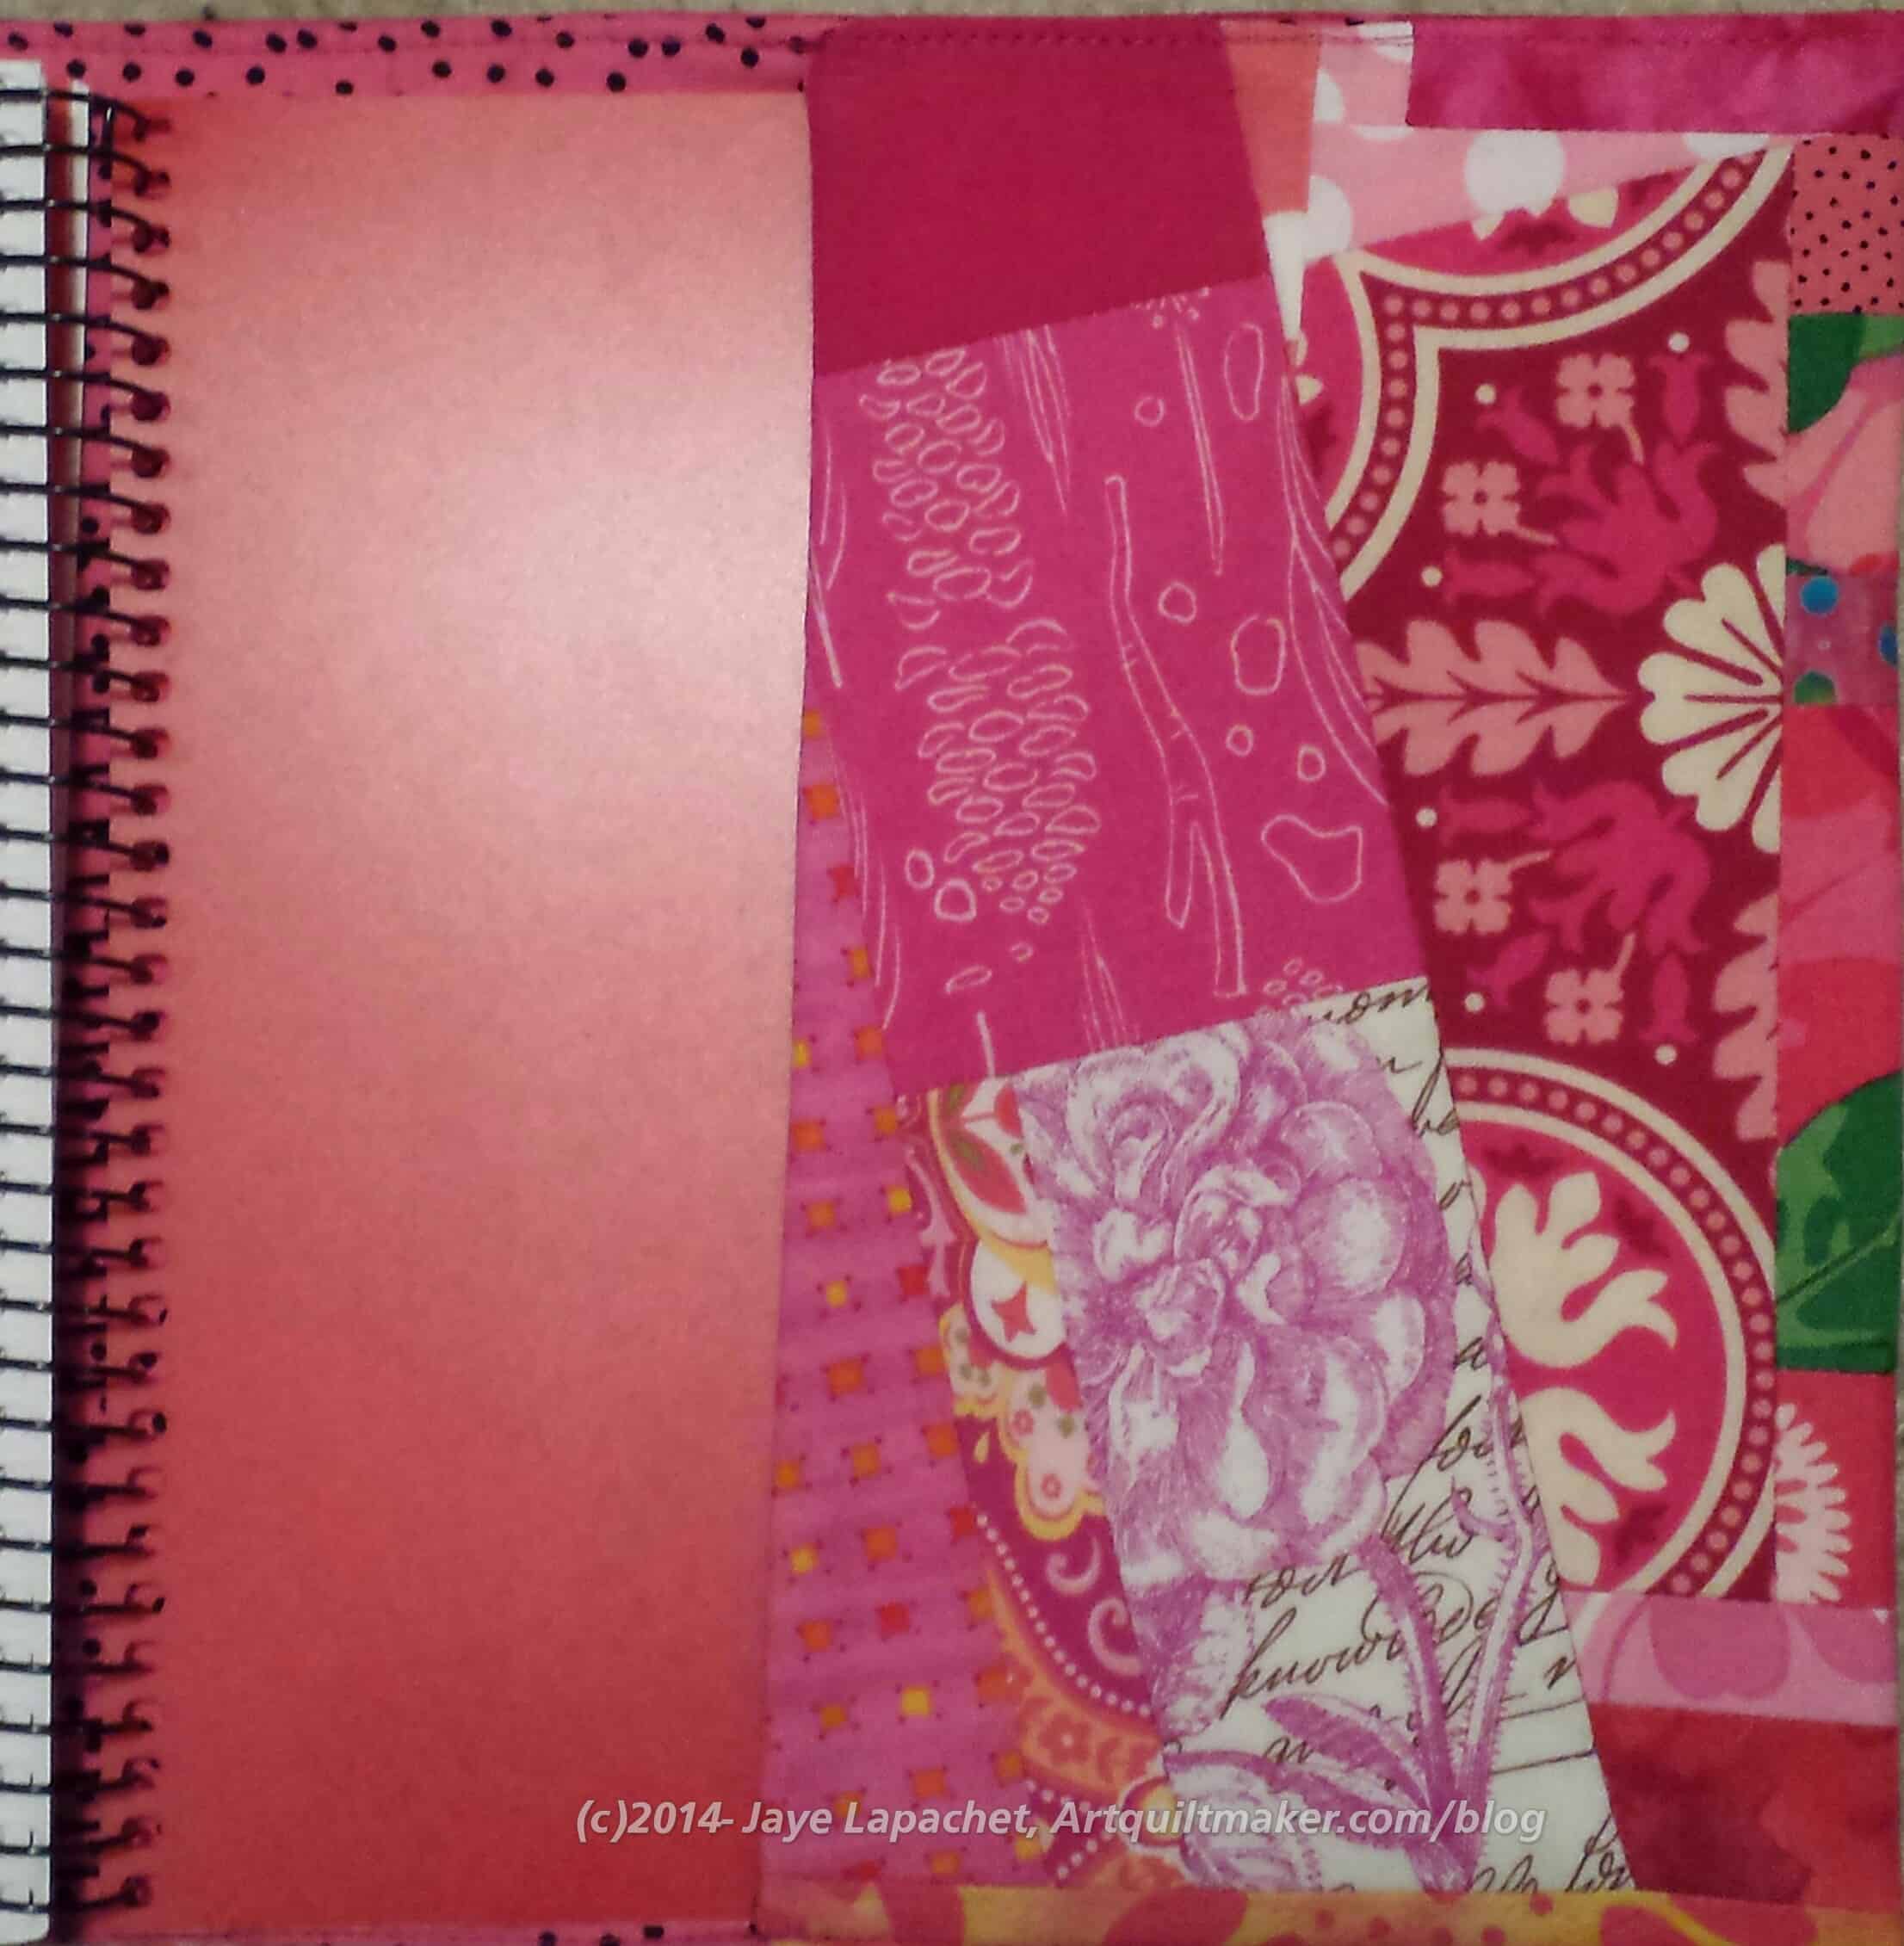
Next, there are bits of pink that I really like. Some from Joel Dewberry’s Notting Hill line, various Philip Jacobs, a few batiks and some random pieces that make me happy.
Third, though I had some trouble with the interfacing and flannel, the feel of the journal cover isn’t too puffy, which I like.
Last, it is PINK! Pink makes me happy.
The Bad
I was lazy with the flannel and just eyeballed the size instead of measuring. This caused other problems later.
I had some trouble with the stitching as a result of my laziness with the flannel. If you remember, you have to stitch very close to the edge to make the journal cover fit really snugly and not floop around. By not measuring the flannel, it was too small, so I had to sew it to the seam allowance when I put the back and front together. That means that a bit of the flannel was in the seam allowance where I had to sew when I was sewing the final step. That made it really thick and hard to sew on the corners.
The Unknown
I am not sure if this is the Good, Bad or Ugly.

There was so much piecing that it was kind of a waste to try and put ShapeFlex on to the pieced side of the cover. That means that only the inside has interfacing on it. As I said, above, the cover feels ok, so I guess it is fine.
The other factor was that there were a lot of seam allowances, because of all the piecing. That made the whole piece a bit thicker, including in the seam allowances.
Finally…
Clearly, this project offers continuous learning for me. I guess I haven’t perfected the process yet and will just keep trying.