I need to stop with the large quilts. However, I like making large-ish quilts, though. The problem is that I am too short to photograph them. Perhaps I just need to win the lottery and have my own personal photographer at my beck and call?
OK, enough with the fantasy world.
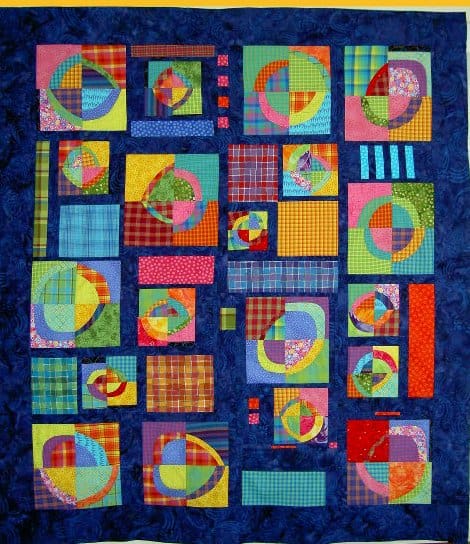
I went to Always Quilting on Friday and quilted FOTY 2009. It has been awhile since I went there to quilt a quilt on their Gammil longarm; July 2009 to be specific. I was pleased that they had tidied up the quilting room. I had enough space to spread out.

General Thoughts
- I need more practice at setting up the machine.
- Photos are better taken by someone else so you can continue quilting while still getting process shots.
- I had an easier time monitoring stitch length and speed and am more pleased with both after this quilting effort.
First, I trained for my longarming day. It can be quite hard on my body, because, essentially, stand up for 6-8 hours. I took the day off work on Thursday, so I wouldn’t be exhausted Thursday night and then have to get up and go stand in front of the longarm on Friday.
I also brought a second pair of shoes and switched halfway through. I would love to see them get one of those industrial rubber mats to put in front of the machine. If I see one on Freecycle, perhaps I will get it for them.
So, the biggest problem with my longarming is that I don’t have enough time practice. Time is relative, too, because it involves making a top and a back I want to quilt myself, taking time to spend a whole day quilting the quilt and getting a slot. That being said, I am much more pleased with the stitch length and quality this time around. I felt a lot more comfortable with the stitching than I thought I would. I wasn’t as anxious about ruining my quilt.
I forgot to put a quilting border on the quilt, which sent me into a bit of a panic when I was pinning the quilt on to the machine’s leader, but I couldn’t do anything about it, so I let it go.

I could just quilt a bunch of pieces of fabric and give them away as comfort quilts, but it still costs money to do the quilting. Perhaps I can find a way to get the details stuck in my head without paying to learn. I did sign up for another longarming day at the end of July. I have to confirm it does not conflict with a trip I am planning.

I did the same pattern as I stitched on FOTY 2008 and the Eye Spy. I also practiced during the week before my session. I didn’t do as much practicing as I would have liked, but I think it was enough.

I try to be well mannered, which involves not ignoring people when they talk to me. It was a little bit of a problem on Friday when I was either trying to deal with the machine or concentrating on driving the giant machine. Other customers kept walking in and talking to me about the quilt. It was really nice to be complimented, but I just couldn’t concentrate on them and the work I was doing. The fabulous Roberta, one of my helpers at the shop, was annoyed when I mentioned it, because people are not supposed tojust walk into the longarm quilting room.
Lil Sissy stopped by on her way to the airport. She forgot my coffee, but beggers can’t be choosers. It was great to show off a bit for a non quilter. She, of course, wanted to drive the machine. I couldn’t let her, because she hasn’t taken the class. She did take some in process photos, which was great except for the person in them!

Roberta and Diane were my helpers. It is so great to have them there to assist. After my needle broke and I had three bobbin changes, Roberta knew I was a bit done for and just took over changing the bobbins for me. She talked me through, but was a godo teacher in that she knew when not to push and when to let the reins out a bit.


Yes, I ran out of bobbin with a 2×2 grid of blocks left to do. I quilt really small motifs – at least I did on this one.
I am really pleased with the way it turned out and may quilt It’s a Merry & Bright Wrap myself, too.