While I was making my sister’s Enigma bag back in July, I also made one for Gerre for Christmas. This is Enigma #6.
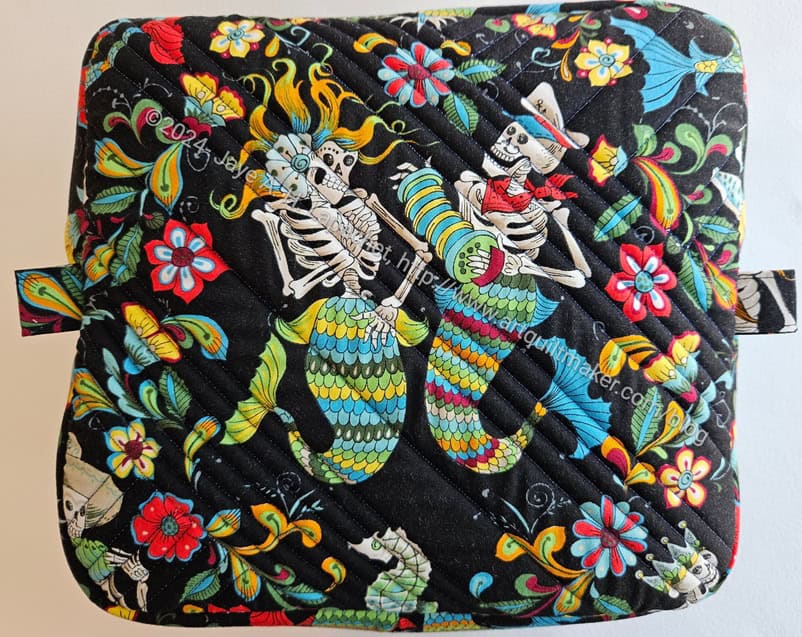
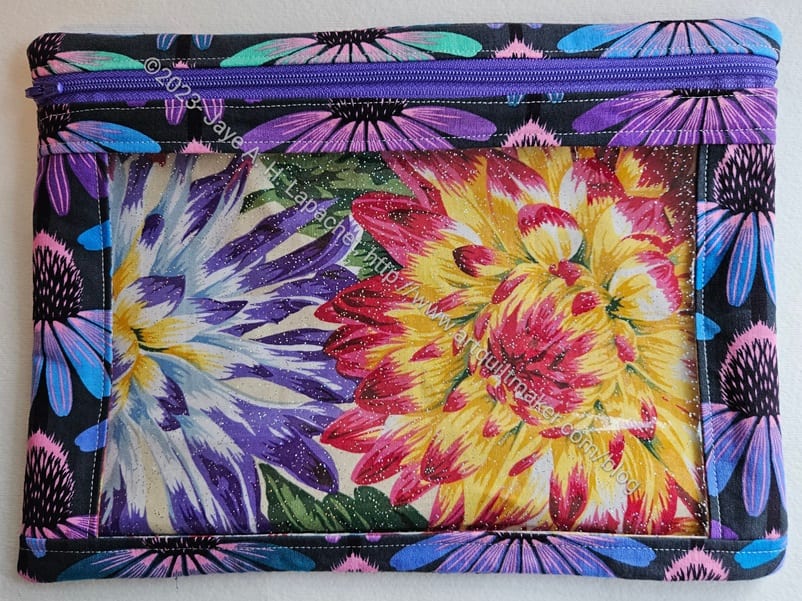
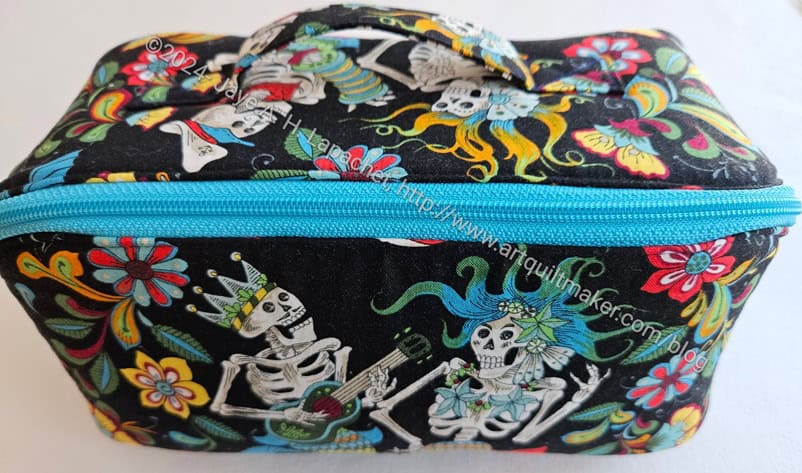
I didn’t use my ‘regular’ sugar skull fabric for this one. I used a fabric I bought on my trip to and around Portland and I can’t decide if I like it. The key is whether Gerre likes it. I thought the seahorses and some of the ocean life were cool, but the skeletons started to creep me out after awhile. If she feels the same, I will make another one of these for her. I’ll have to see what she says.
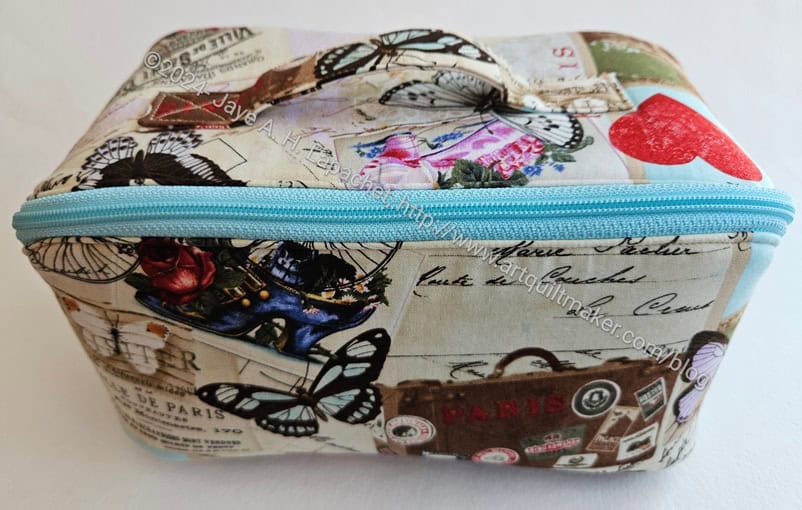
I am pleased with the fussy cutting on the bottom. I didn’t have a lot of the fabric and was glad I had enough to highlight the main motif.
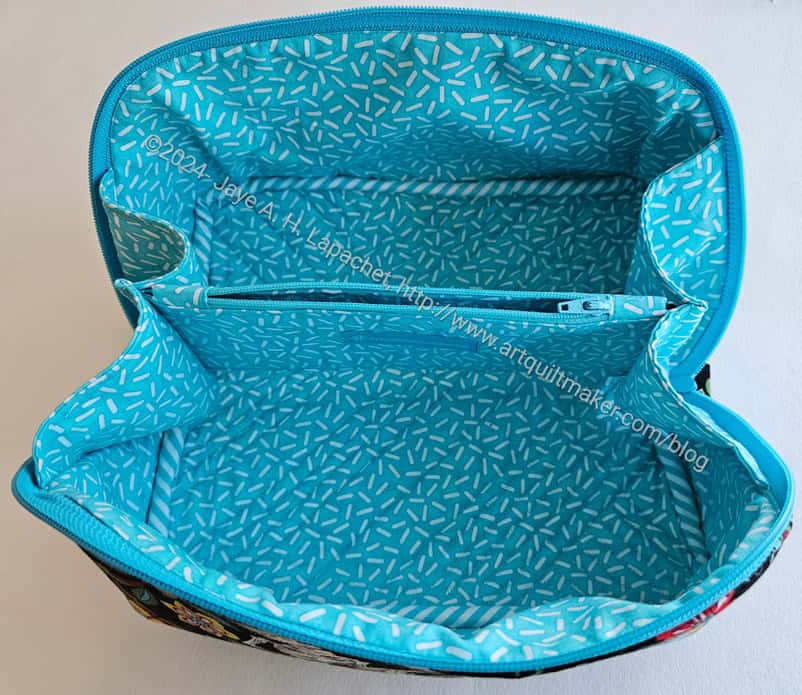
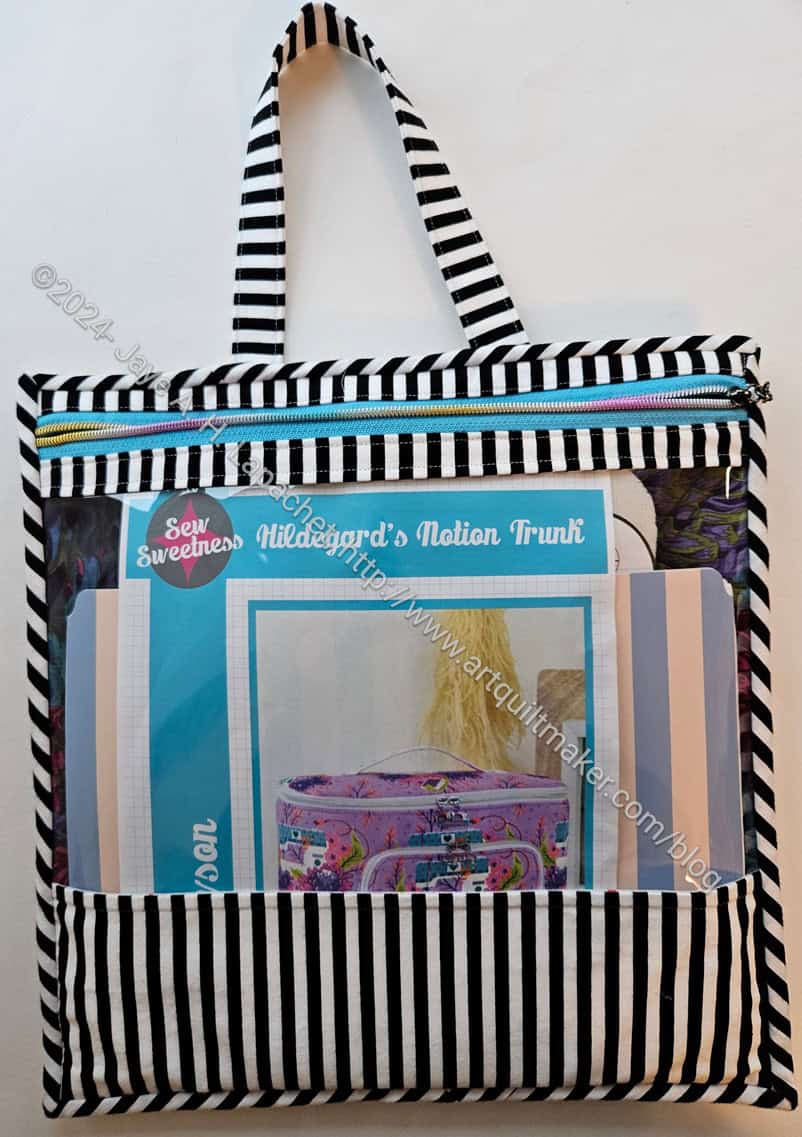
I am also pleased with the way the inside came out. The stripes I bought at the Granary are perfect for the inside.
The pattern calls for a 2.5 inch wide binding. I made the binding 2.25 inches wide, which is my norm for quilting binding. I had to stretch the binding a bit in certain places and trim seams, but mostly the 2.25 inch binding worked well.

I figured out a great place to put my label on these Enigma bags. The label fits well in the middle of the inside pocket. The label isn’t tucked away unobtrusively and I am not sure how I feel about that. I am not sure why I didn’t think of it before as it was also easy to install.
As with my sister’s Enigma bag, this one went together pretty easily. I like making the same bags over and over as they get better each time I do it.