Once again, it has been awhile since I showed my cutting chart. It is something I meant to do in January, but it never seemed to get done. The same thing happened last year, so it has still been a year, which is my actual goal. Once a year.

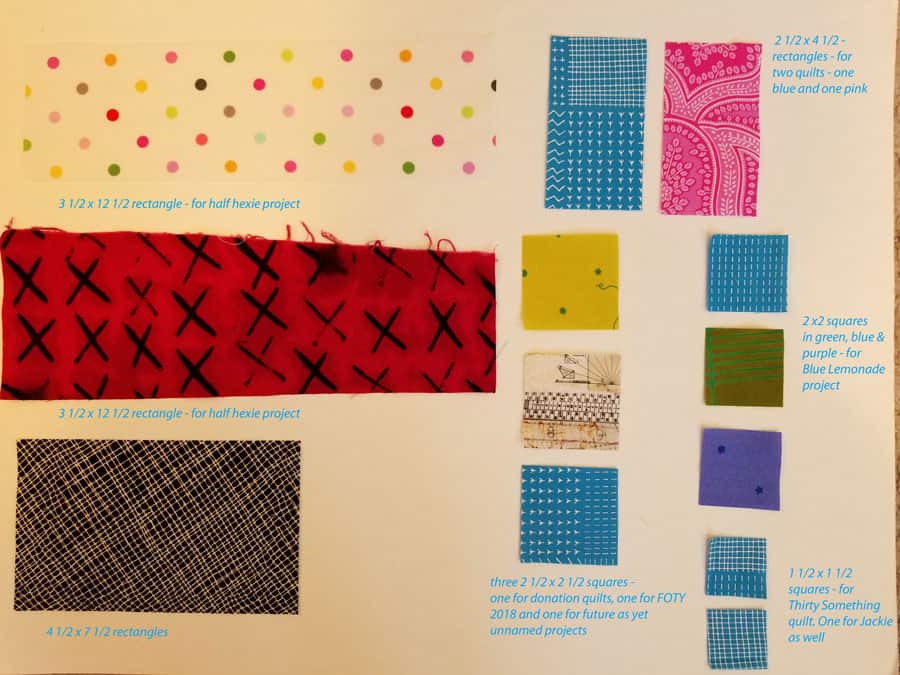
- Spin Wheel – 3.5×4.5 rectangle – all fabrics except background fabrics
- Blue Lemonade – 2×2 square – blue, green and purple
- 30 Something – 2.5 x 4.5 rectangle – foreground and background
- 30 Something -1.5 x 2.5 rectangle
- 30 Something – 2 7/8 x2 7/8 square
- 30 Something – 1.5 x 1.5 square. I also cut one of these for a friend and send those off when I have a chance.
- 2.5″ squares for different projects. One square is for the 16 patch donation blocks, one is on spec and one is for FOTY 2019
- 5″ squares – no particular project, but I thought it might be a good idea to start storing some up for a future project. The impetus was that DH got me a 5″ square keeper for my birthday. That’s as good a reason as any, right?
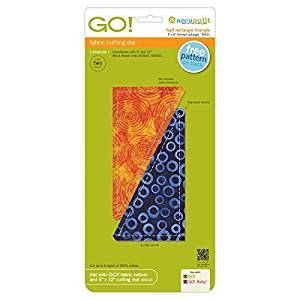
- Half Hexie Stars – 3.5 x 12.5 rectangle
- Blue Gradation quilt – 2.5 x 4.5 rectangle – this has been on the Dream Projects list since at least 2014. It might be time to put up or shutup.
- Pink Gradation quilt – 2.5 x 4.5 rectangle –
- – this has been on the Dream Projects list since at least 2014. It also might be time for me to put up or shutup about this project. I am not sure how many gradation type projects I can do in a row.
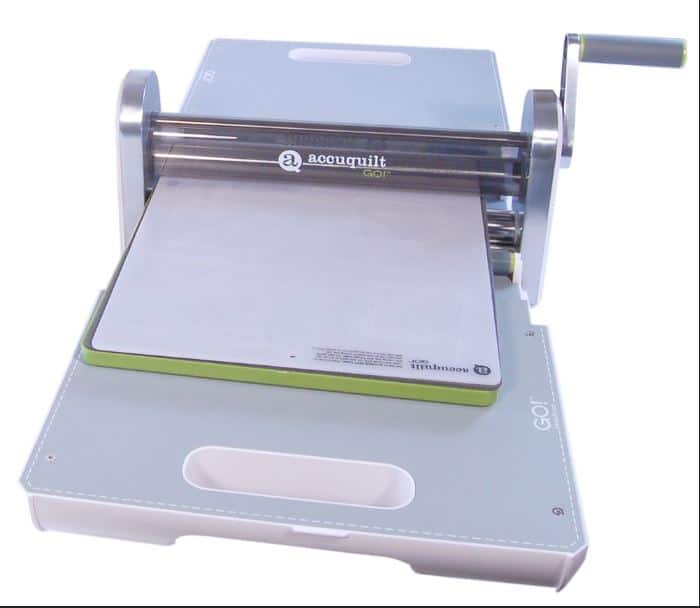
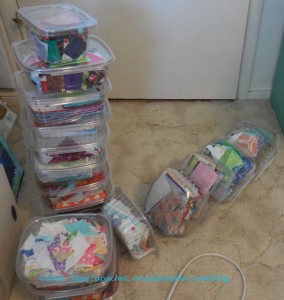
As you know, one of the major aspects to my quiltmaking is hunting and gathering. I prefer to make quilts, usually, that use a lot of fabrics. I think many different aquas will be more interesting than just one. This means that many projects, I need to cut a lot of patches from a wide variety of fabrics. It doesn’t work for me to decide to start such a project, open up a fabric bin and start cutting. I don’t want to always stand that long, I get bored and the whole situation results in me hating the project or just stopping about halfway through. Also, if I use that strategy, I get tend to have too many of one color and not enough of others. None of this is good for my stress level and definitely not they way I want my quiltmaking to be.
My system, which I have explained in similar terms before, is that once a project is in my queue, I decide if it requires a ton of cutting. If it does, I can figure out what kind of cutting I need to do (coordinated fabrics or scrappy fabrics as well as size). Either requirement can work with my system. Then I put the shape and color on my list, which I keep the list near my cutting table. When I have a new piece of washed and ironed fabric I have a good list of exactly what to cut.
Also, I don’t know of another way to really randomize this type of fabric selection. Cutting from fabrics I buy new or pull out to use seems like as good a way as any. Also, as an added bonus, I use fabrics that I like right now -> immediately.
Another problem I had was that I would take fabrics out of bins and find that NOTHING would be cut from them. Not one square. Shameful! This problem was alleviated by the Fabric of the Year project. You can read about the beginnings of that project for me in a post from 2008. Using this method for cutting started the solution to my Hunting and Gathering.
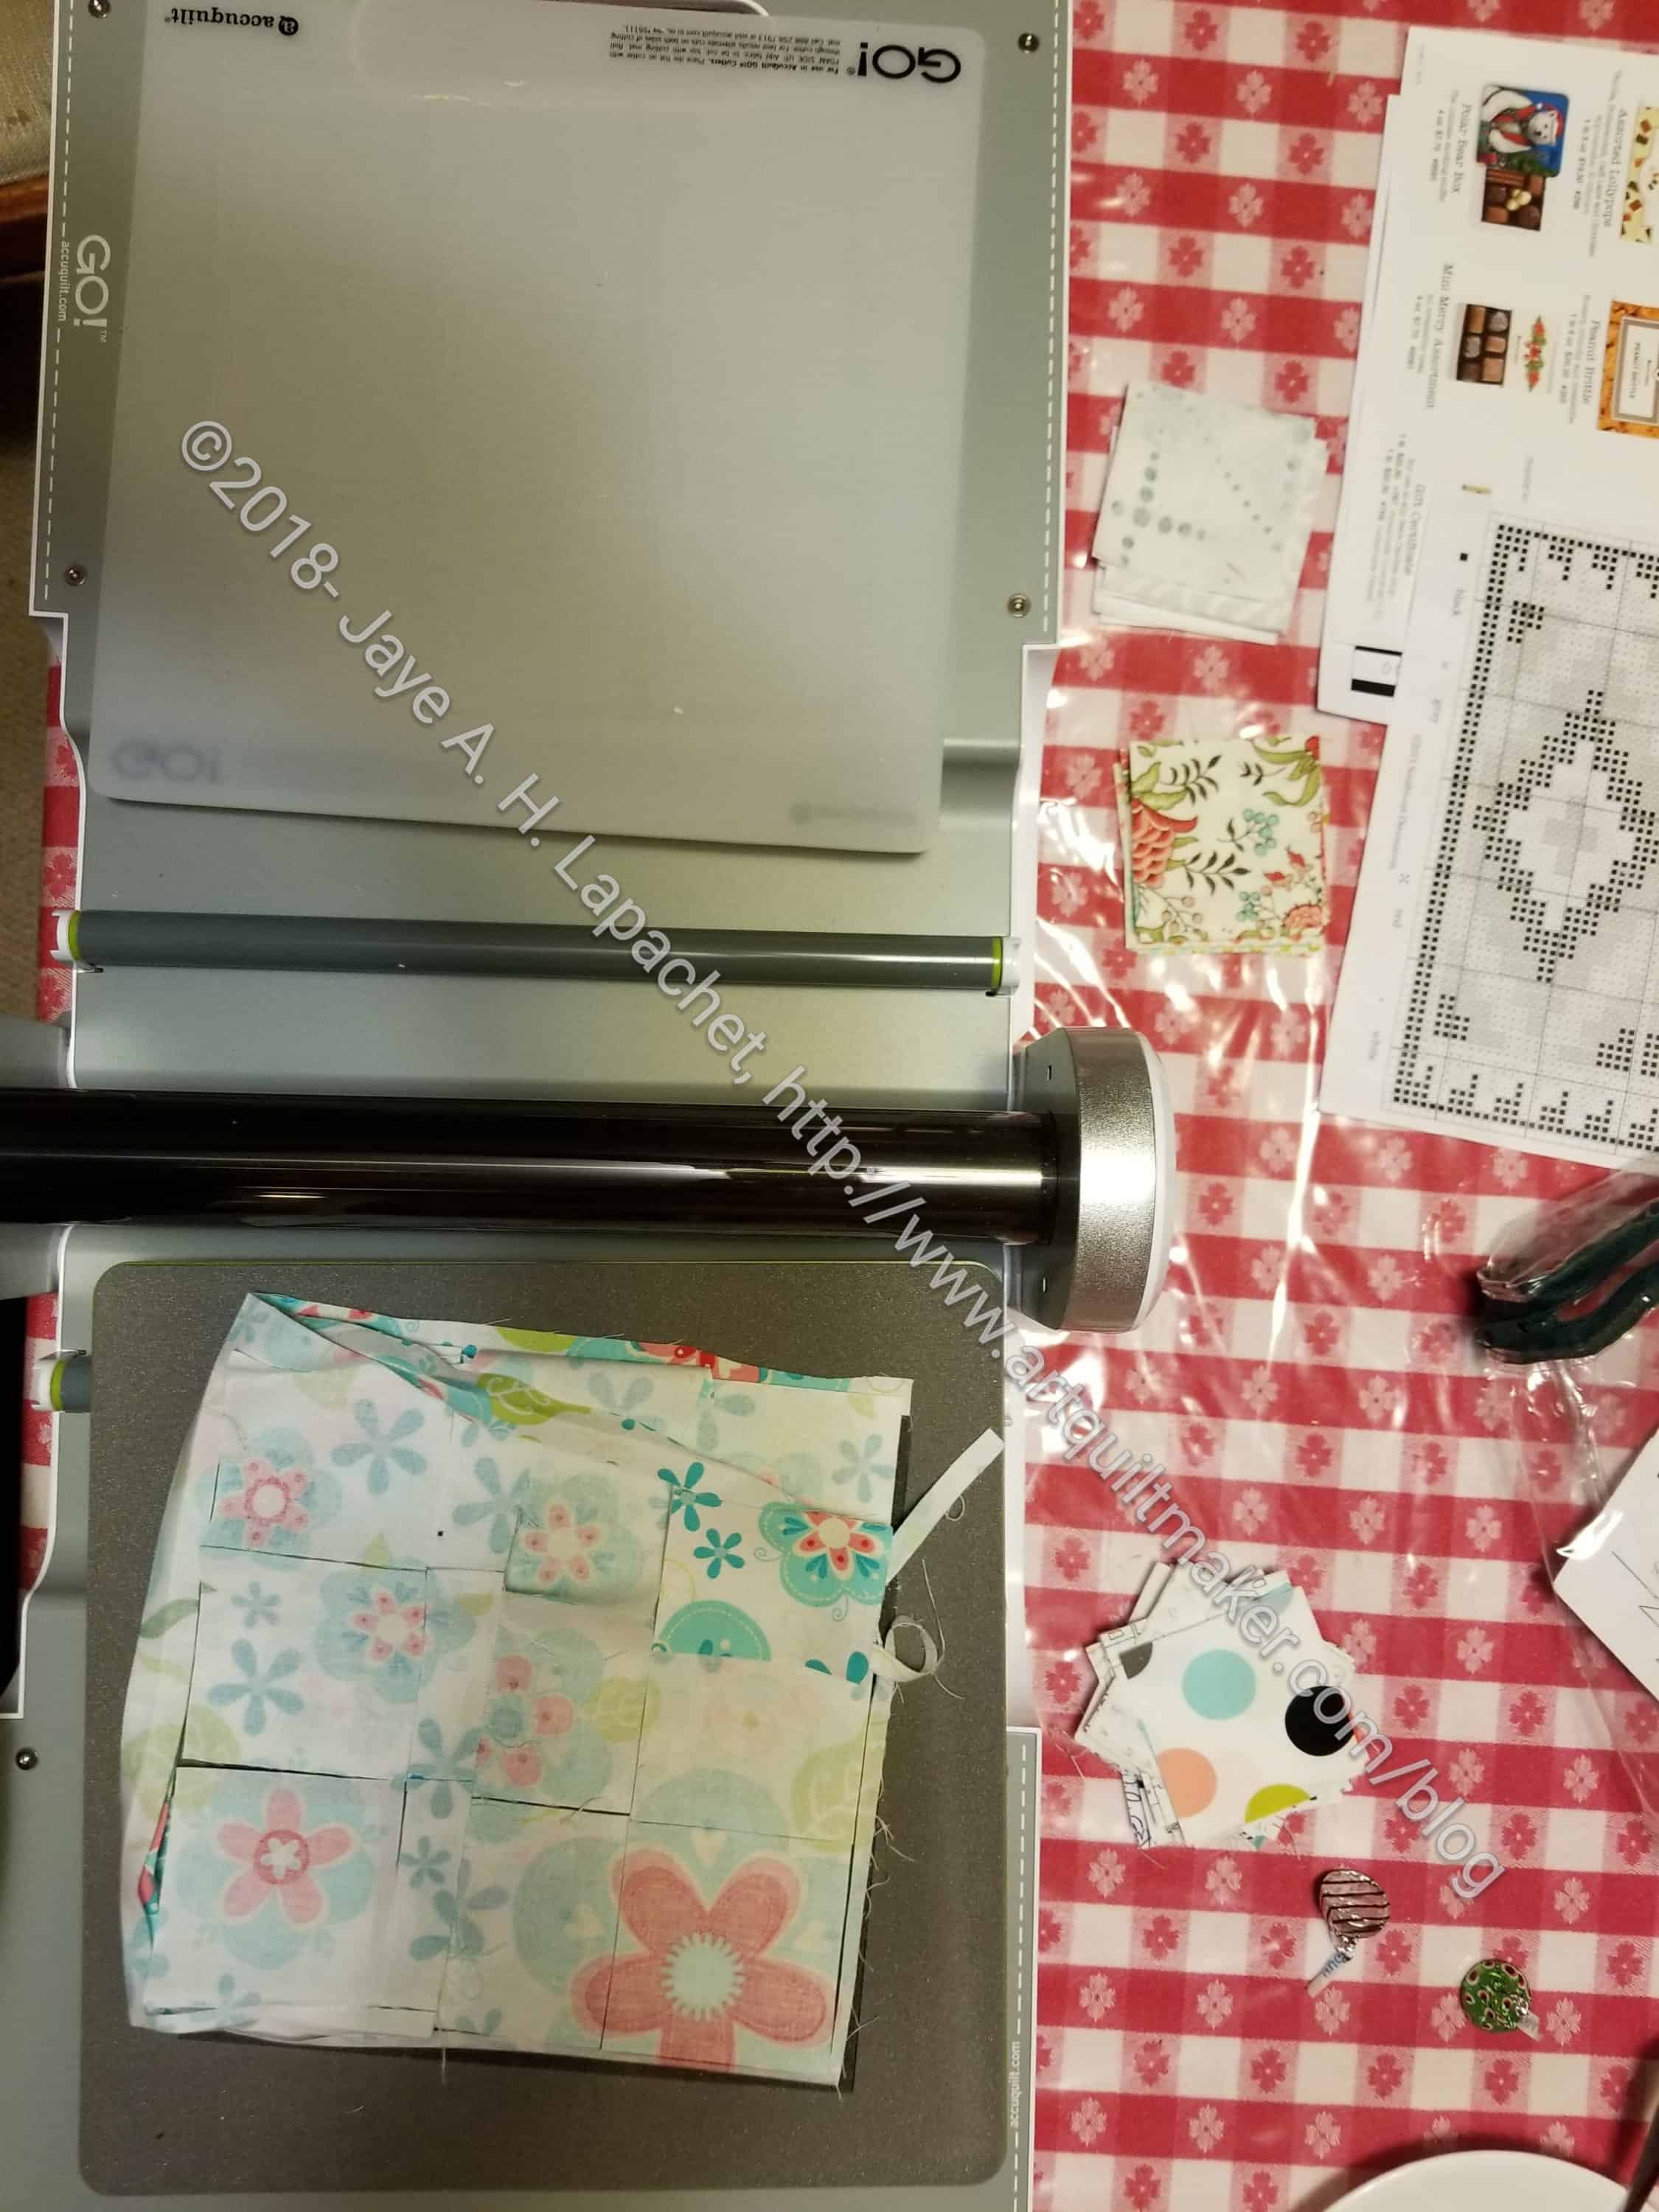
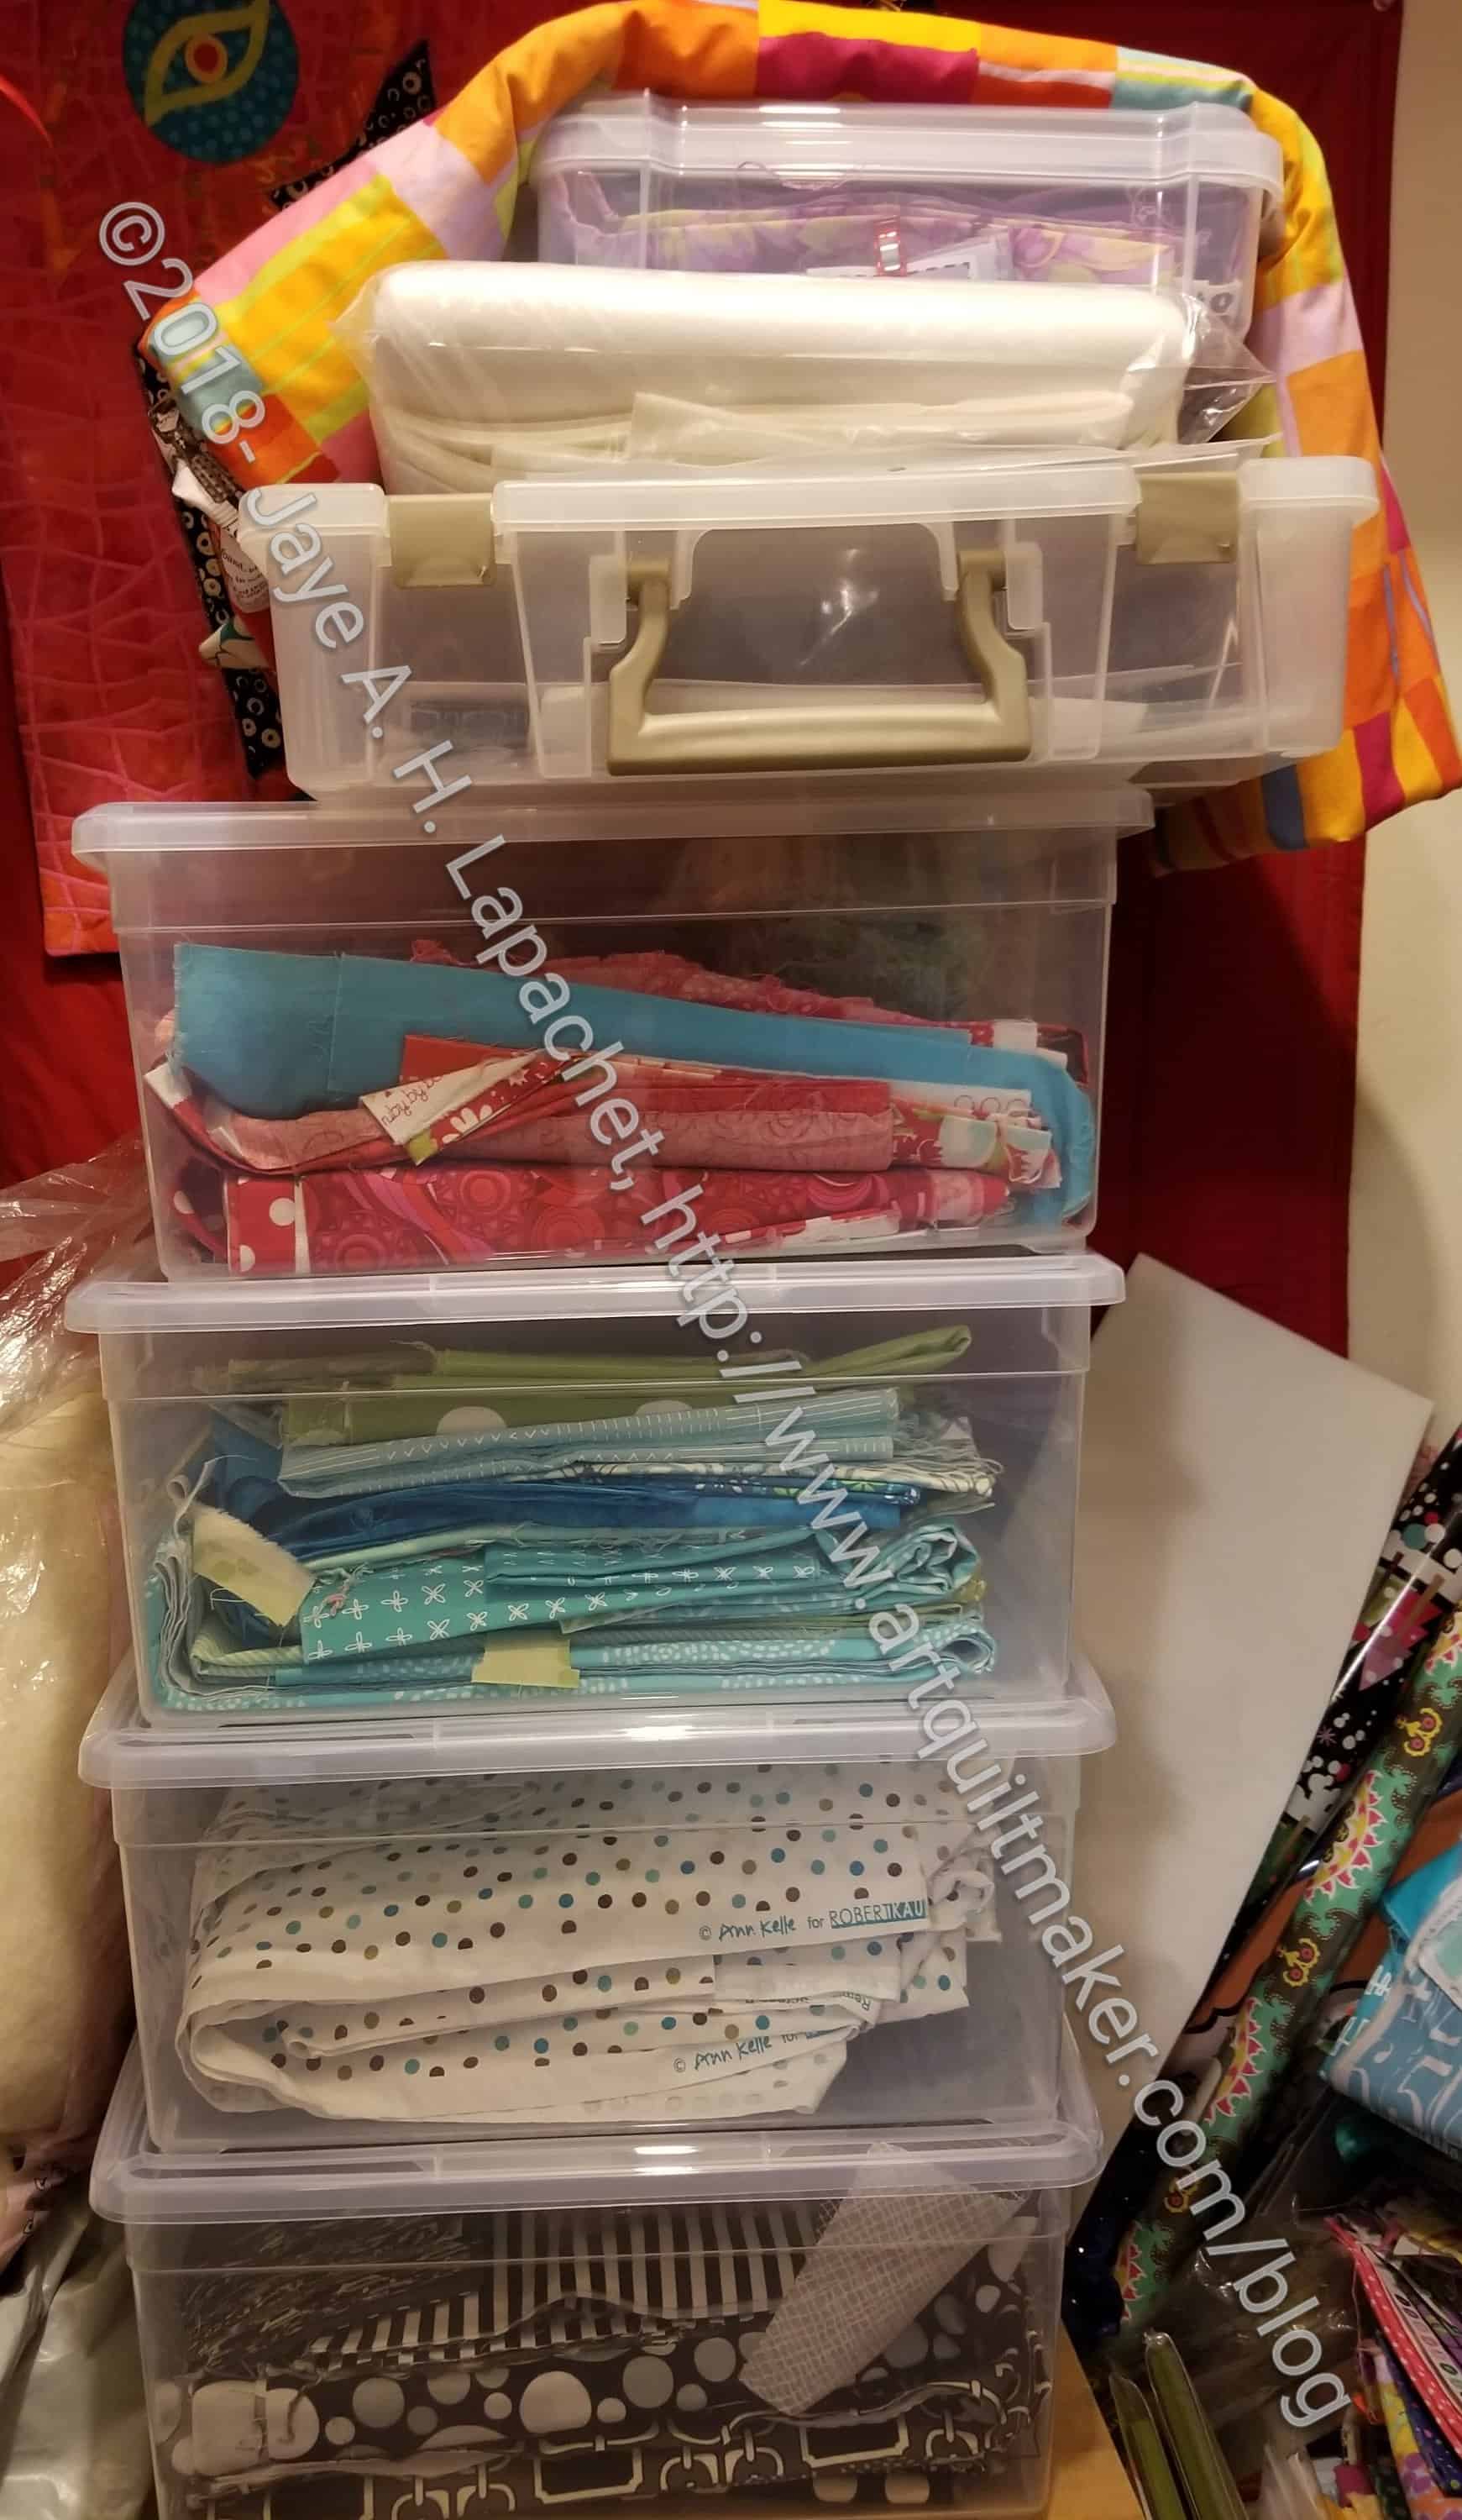
As I got use to cutting one shape, the Fabric of the Year shape, out of new fabrics, it became easier to cut more than one shape. I thought it was a good idea and it became easier to use this new system to make progress on projects I was not yet ready to start sewing. Pretty soon I was up to the number of pieces I am cutting now. And the stacks of those pieces were piling up.
I also found that the fabrics became less precious. I started not to save them for a better project. This meant that fabrics that I loved RIGHT NOW were in a project RIGHT NOW. I also found out, which I have talked about in terms of the FOTY projects, which fabrics were going to work for other projects. I could go and buy more before it was 3 years later and too late to buy more.
Now, there are many fewer fabrics that not been cut into. When I buy fat quarters, there is not much of them left after all this cutting.
One of the great things about cutting pieces from new fabrics is that it is a great warm-up. Sometimes when I need to get started, pressing fabric and cutting new pieces from new fabrics is a good way to get started. If I have 10 minutes, I can cut, feel like I made progress and got a little stress relief in.