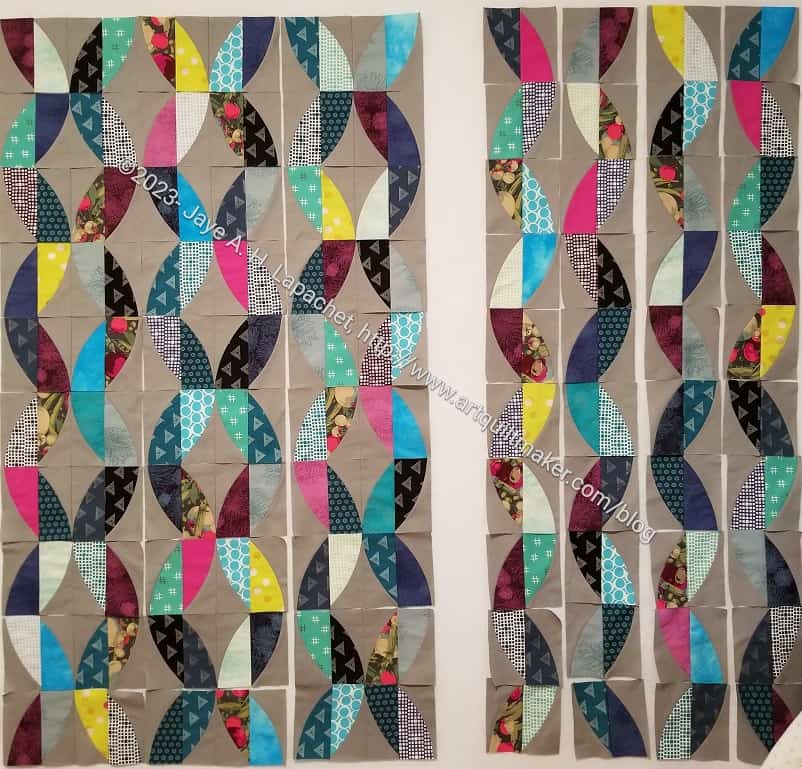
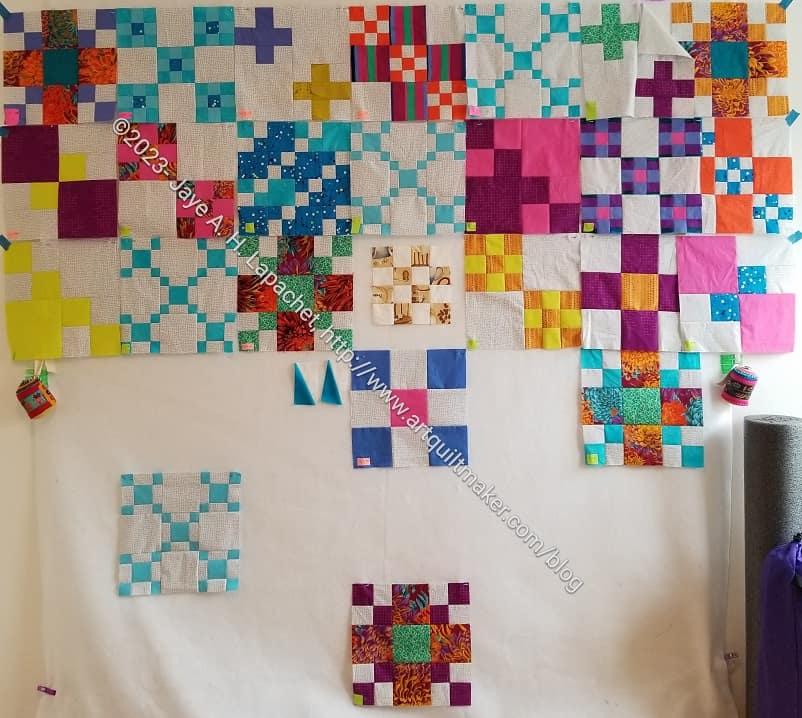
I pressed and trimmed all the blocks I made at Cyndi’s. Then I spent a few hours putting them on the design wall and preparing the final layout. I am ready to get sewing.
I went over to Cyndi’s the other day to sew. This is not Cyndi of the bag, but Cyndi of the Guild. At first, we were going to work on the Enigma Bag together, but she hadn’t had time to cut out her pieces, so we’ll do that another day.
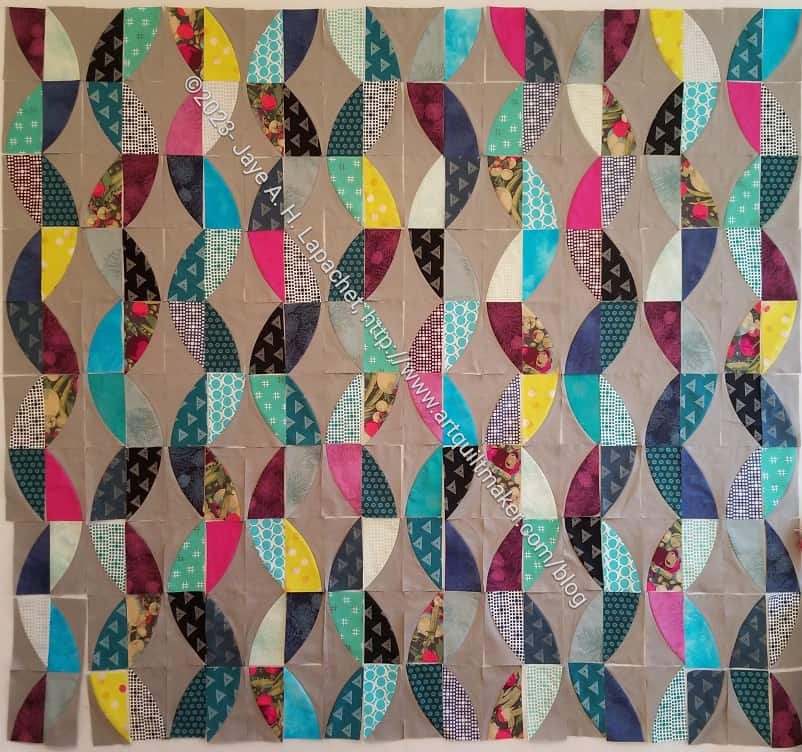
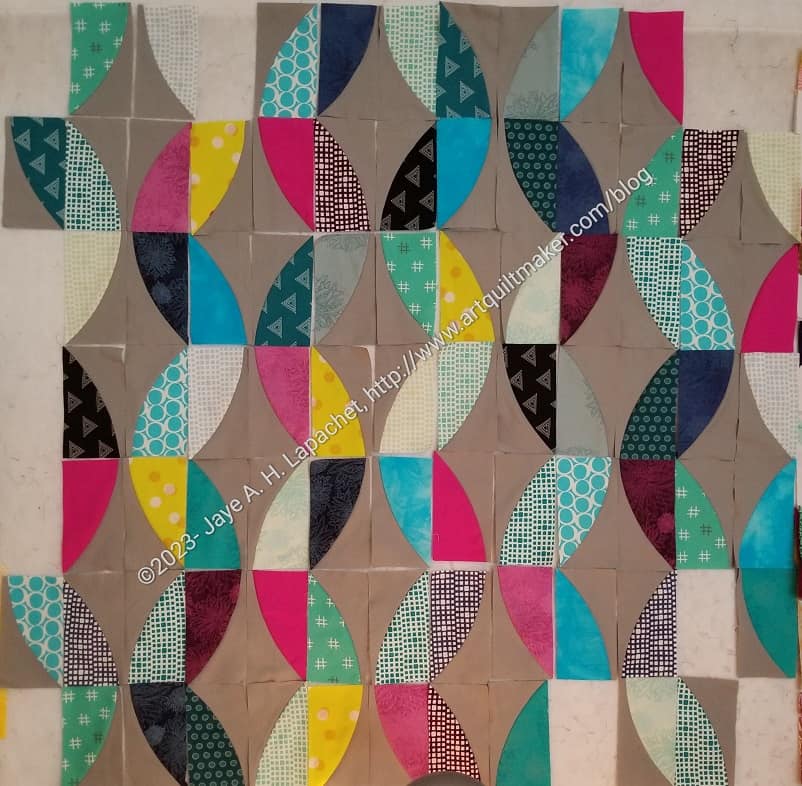
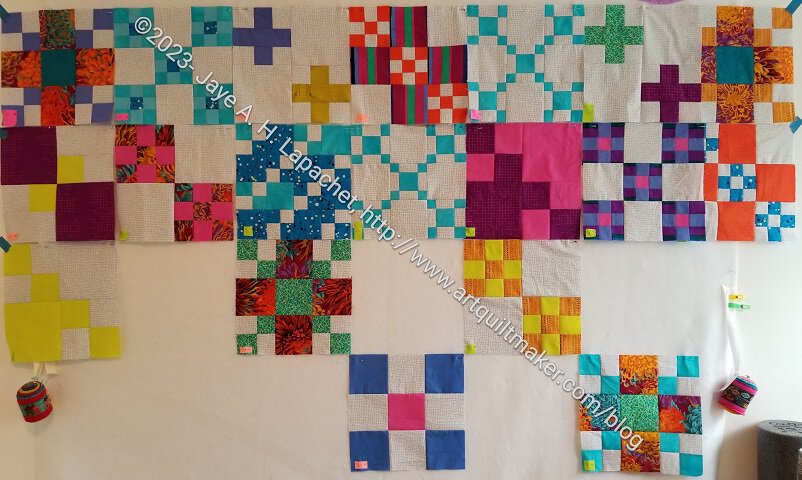
Metro Twist in process
I took three projects over to her studio and ended up making good progress on Metro Twist. I sewed about 40 blocks, most of which I was able to trim as well. I am super happy that I got back to this project.
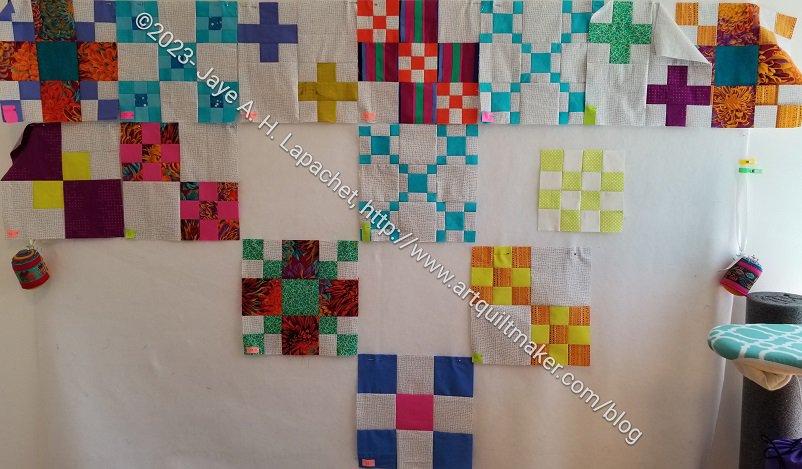
Metro Twist ready for the big push
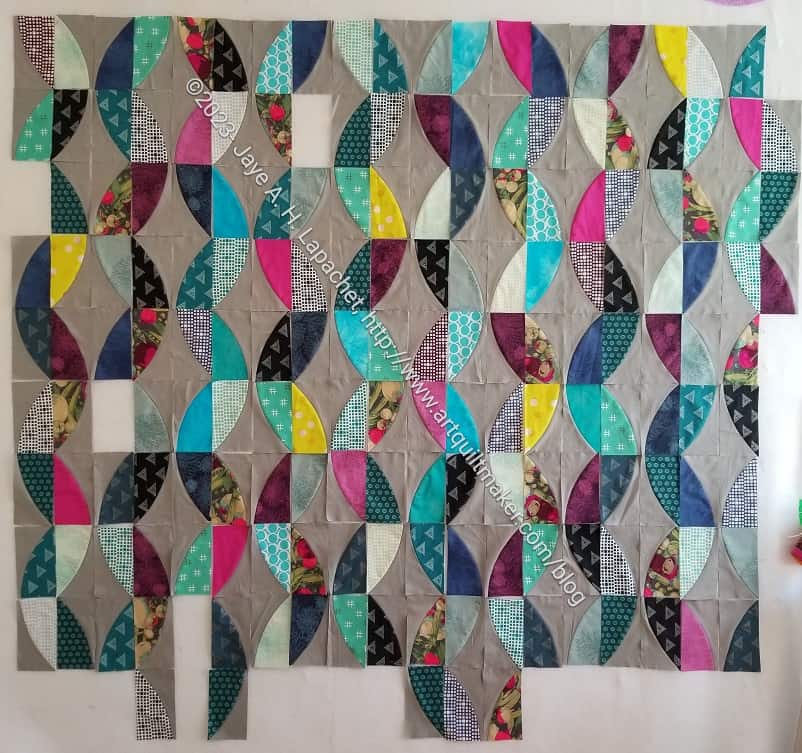
I put all of the existing blocks up on the big design wall (I had to take Scrappy Celebration down temporarily) and took a look.
I saw this video (Reel?) by Center Street Quilts on IG and was really intrigued by the construction. I was especially interested in the way the bottom is folded before it gets stitched. I decided to try and make one.
Bristol – first fold
I thought I could make it without buying the pattern, but I ended up buying it. She has a second video, which gives more information. If I had seen it before I started, I might have tried harder.
I didn’t really follow the measurements and I used my pre-quilted fabric, so I didn’t use the accent piece either. I also added a holder, though not a leash.
The first thing is to cut a piece large enough. I made that mistake before I had the pattern. If I make this again, I will make the pouch wider. I don’t like how tall it is turning out in relation to the width.
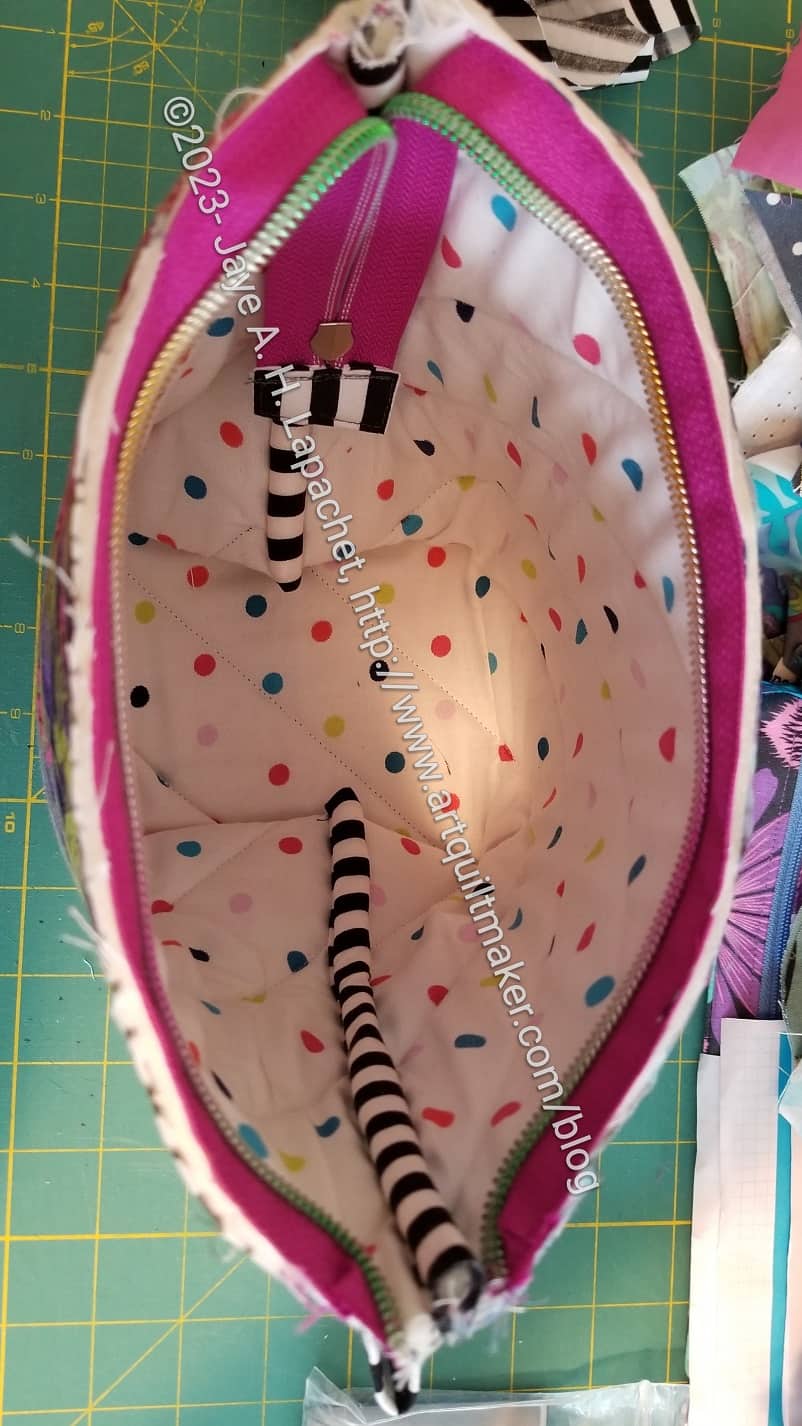
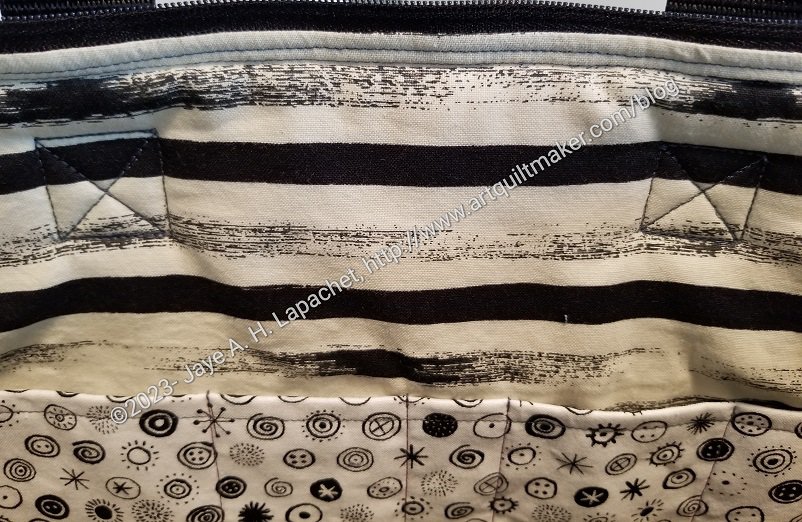
Bristol Pouch in progress
I followed the pattern and eventually got a pouch looking thing.
I used a piece of a zipper that I had leftover from something else. Yes, the end hangs down. That is how it is in the pattern. I don’t know if I would do that again, but it does avoid dealing with a zipper along the top edge where there is also a bound [formerly] raw side seam.
I put the zipper head on wrong and eventually had to cut off the zipper tab and redo it. Will I learn to pay attention to details like that? I don’t know. I was inspired to use this piece of a zipper by the box of Sew Hungry Hippie zippers in cool colors that I ordered.
It took me awhile to get this far. I could probably do it faster next time.
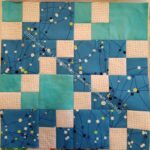
The other day I talked about selecting a large print fabric to add to the Metro Twist. After that whole selection process, I pieced some blocks using one strip of fabric to see how they would look.
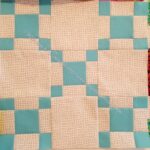
Here is the before and after:
Metro Twist – July 2023
Metro Twist After Veggies
The veggie print makes the quilt look darker. The quilt will be given to one of my nephews so I think the darker look works.
As promised, I got back in the Metro Twist groove last weekend. I cut up some of the foreground fabrics I selected and made more blocks. I didn’t work my way completely through the stack I had cut, but I made a dent. The blocks are somewhat time consuming and I didn’t want to cut out a bunch of pieces all at once.
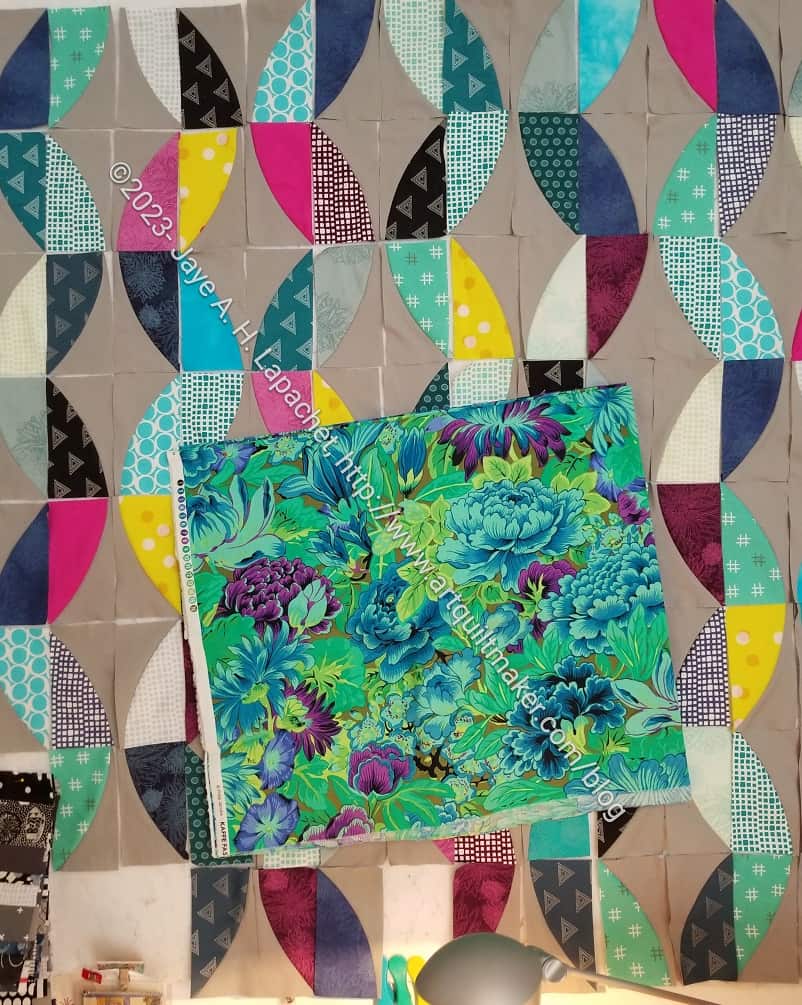
Metro Twist with Green Floral
As I did so, I thought the of large print fabric I had selected. I thought the green would work very well with the overall color scheme. Also, I thought the scale of the print, when cut up, would add interest, but not be too girly looking.
I never cut up pieces when I cut the other foregrounds out. There was something not quite right about it, though generally the look was good.
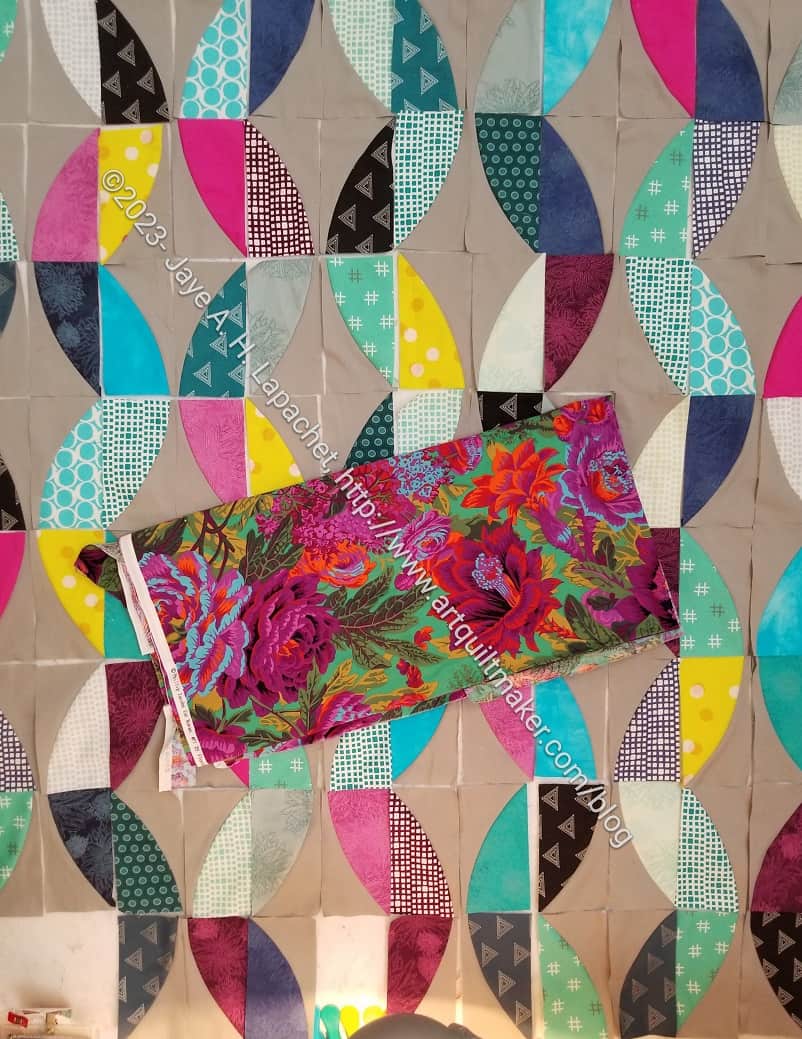
Metro Twist with floral burst print
On Sunday, I decided that I really needed to add a fabric with the large scale. At the same time, I decided that I would confirm that this was the print for the job. I have quite a few large print fabrics, so I dragged a few out, though I looked through a lot more.
I thought the dark green in the second photo might be better. I thought the dark green would pick up the other dark greens in the tone-on-tone foreground fabrics.. This one was my front runner for awhile.
I tried some other darks, then gave up. I wasn’t able to find anything better than the one above.
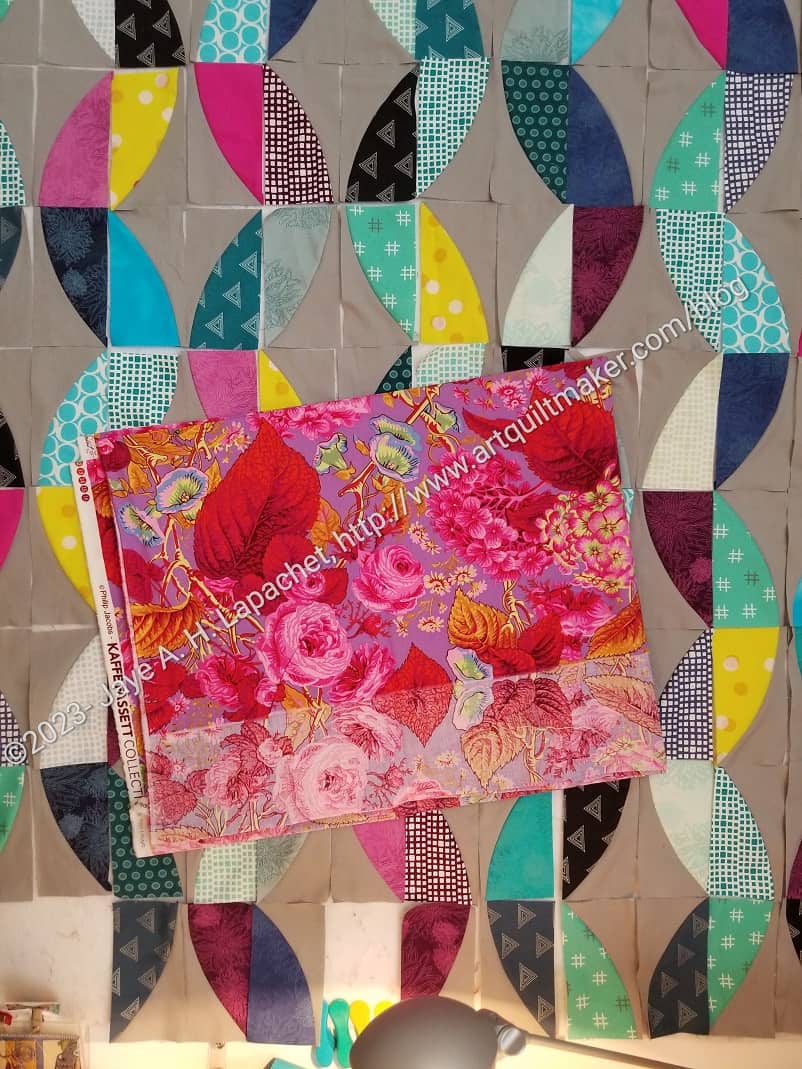
Metro Twist with Coleus and Roses
For kicks, I tried some fabrics with more pinks. I didn’t want girly, but there are already a few pinks and they don’t make the quilt abhorrent to men, I don’t think.
I like this fabric a lot and I liked the lavender background. I thought it added something to the quilt. However, I didn’t like the red for this quilt. The red works well in the fabric, but with all of the burgundies and red-purples, I want to keep that clear red out of the quilt for now.
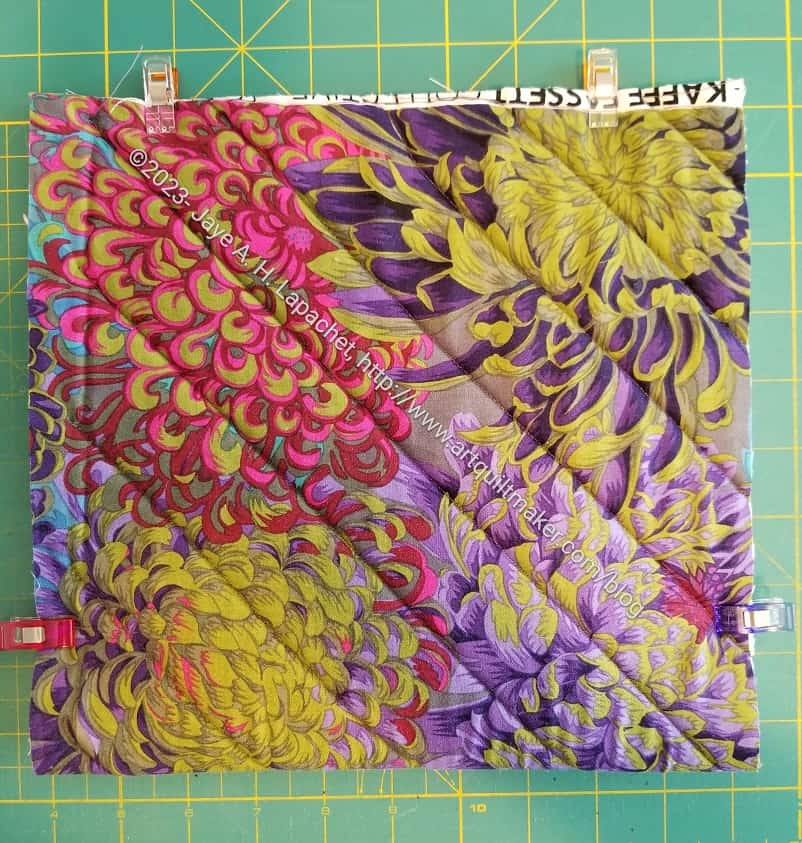
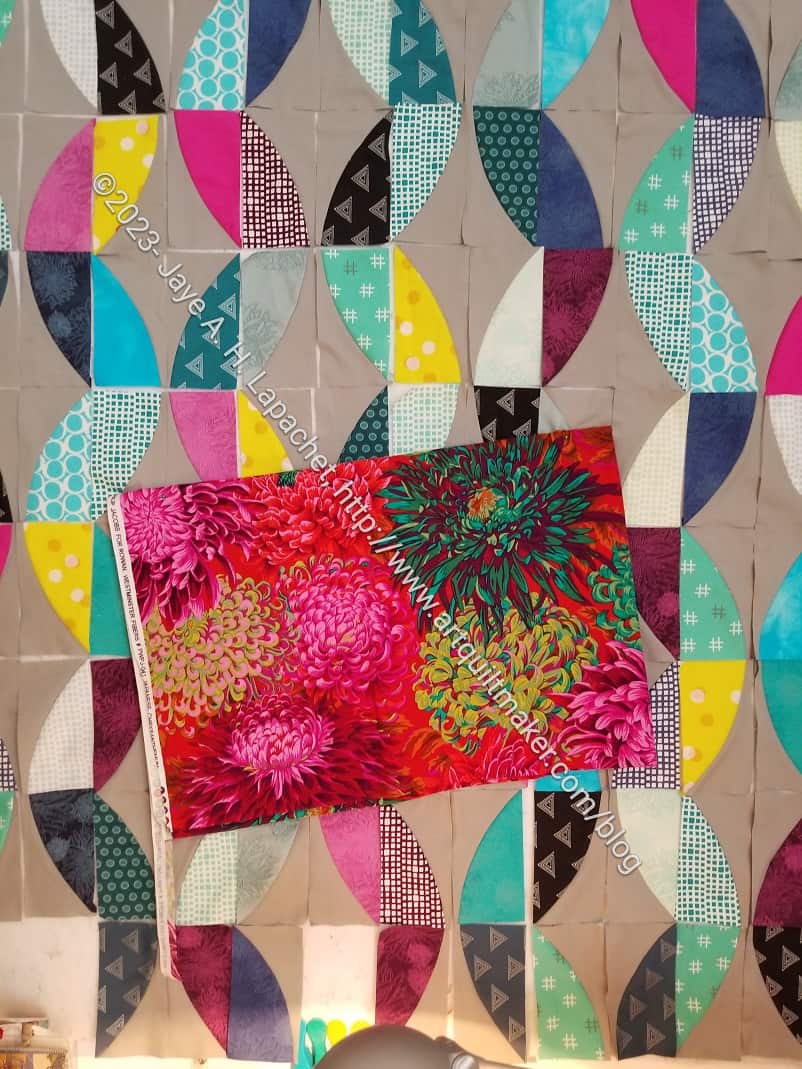
Metro Twist with dark Chrysanthemum
Finally, I tried one of the lush Chrysanthemum prints. This was better than the dark green and I liked the way the print pulled out the other pink foreground fabrics. I also liked the mustard-y color (see lower right of the Philip Jacobs print). The problem, again, was the red.
By now, I was kind of desperate. I thought I would go with my original choice or the Floral Burst, but I wasn’t 100% on board with those. I took another look through my large print fabrics and came up with the perfect, if unorthodox, choice.
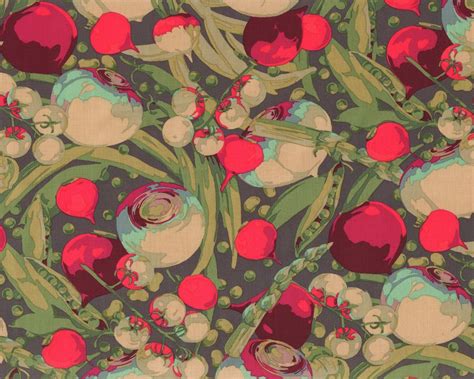
Mixed Veg, part of the Veggies Collection by Martha Negley
I don’t even know why I have this fabric. I loved some of the other colorways of this print and probably just snapped it up because of the imagery. It has been in my palette for awhile. There are certain colors, which are perfect for this quilt. The burgundy and fuschia are obvious. The greens and that little bit of blue used as a shadow are also good.
I am pleased with this choice, if a little unorthodox.
I decided that I would try to make the Metro Twist larger.I have a possible recipient for this quilt and I want it to, at least be lap sized.
I have plenty of foreground fabrics, even though most are fat quarters. I needed to find more of the background fabric. It is always a challenge with solids. Since I buy limited solid brands, I thought it was doable.
Normally, I write the brand and color in Sharpie on the selvedge, but the grey I used for Metro Twist didn’t have it. Either I cut it off and tossed it or never wrote it down.
I also didn’t have a picture of the grey with other purchases. Usually, I photograph my purchases so I have some hope of finding fabric and supplies again.
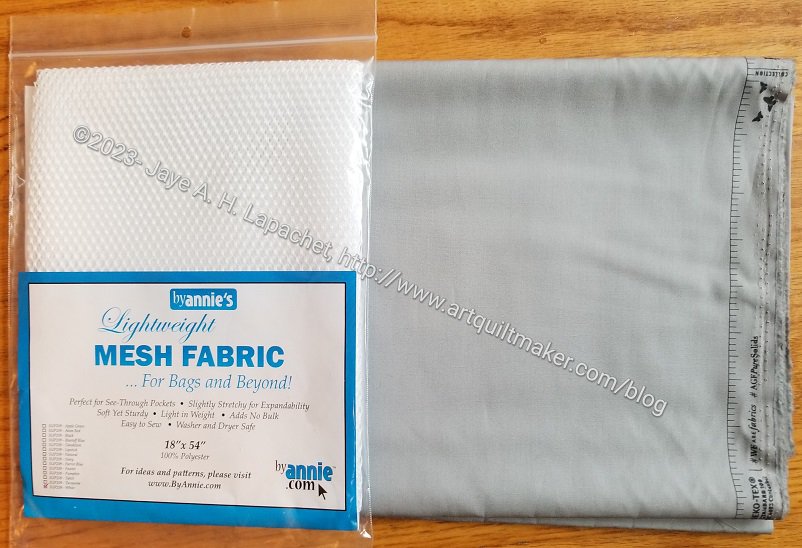
Austin Sewing Pure Elements Ash + mesh
I looked at my color cards and thought the background might be from Pure Elements. I bought some Pure Elements Ash first, but when it arrived, I could see that it wasn’t quite right. I can use it for something else, but disappointing nonetheless.
Back to the color cards. This time I pulled them all out, but immediately put back the Kona color card. I very rarely buy Kona and I knew this wasn’t it. I have the American Made Brands color card. Bingo! I bought some of one of their Gray. I am pretty sure that is the right fabric. I suppose I’ll see when it arrives.
I haven’t worked on the Metro Twist for a few weeks as I tried to catch up on Scrappy Celebration and The Pantone Project. I was able to make some progress this past weekend with the background pieces I have already cut. I have a bit of the background left and want to save it until the reinforcements arrive in case I need it and can’t find the right solid.
I set myself a goal during the past two weekends of making progress on this quilt. I didn’t make much progress, but progress is progress.
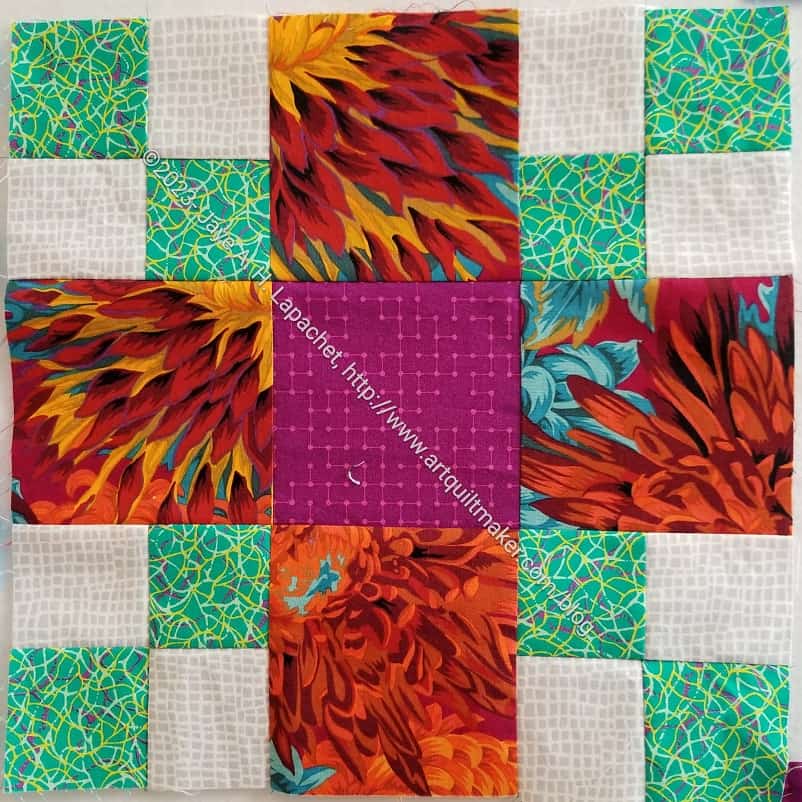
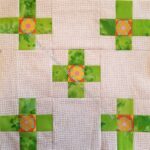
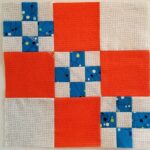
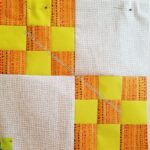
First, I made this orange block. There is a little too much orange in it and I may change the centers of the mini-9 patches to something else. Maybe blue like in G2. We’ll see how I feel.
Scrappy Celebration, E8
I really like this block. I think I might have made all of them the pattern calls for, but I really like it. I may have to make more. I kept looking at D6 and wanting to make the same block with the center and corner fabrics reversed. I really like that violet and the emerald green. I don’t use a lot of green in my quilts, so that is odd. I might like this block, because I get to use big amounts of that Shaggy Chrysanthemum print. That is definitely a favorite even thought those autumn colors aren’t my normal colors.
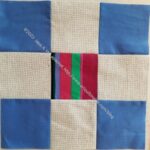
Scrappy Celebration, E5
Scrappy Celebration, D3
Scrappy Celebration, G6
Yes, I am making the blocks that are the easiest to get as many of them done as possible. Then I get mad at myself for being ridiculous and make a block with a lot of pieces. None of these blocks are difficult; some of them just have a lot of pieces.
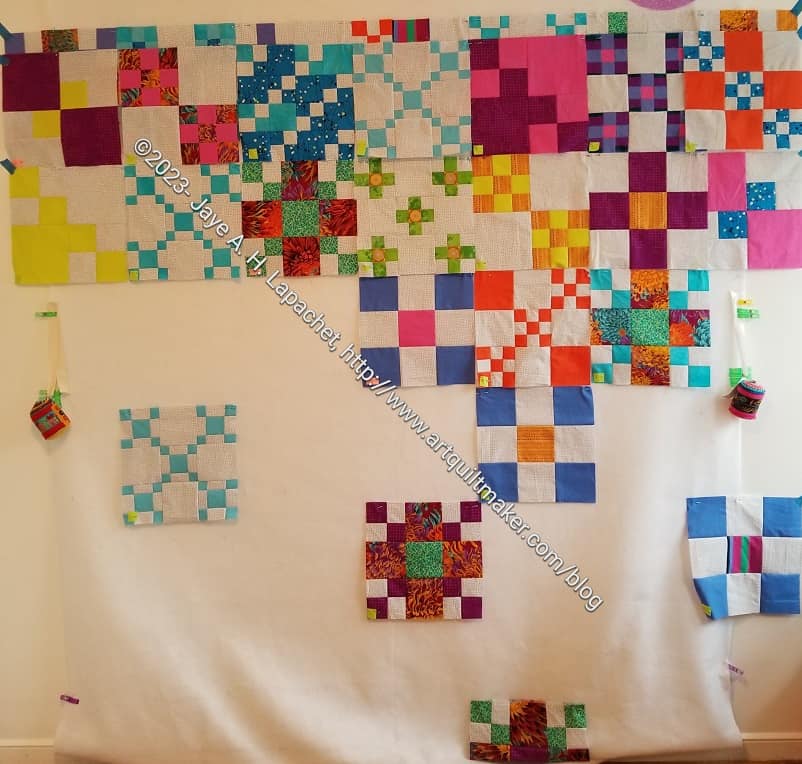
Scrappy Celebration – August 2023
In total, I made 5 blocks. I am now up to 28/56 total. I have enough blocks completed to make a good sized lap quilt, which is what I will do if (when) I run out of background fabric.
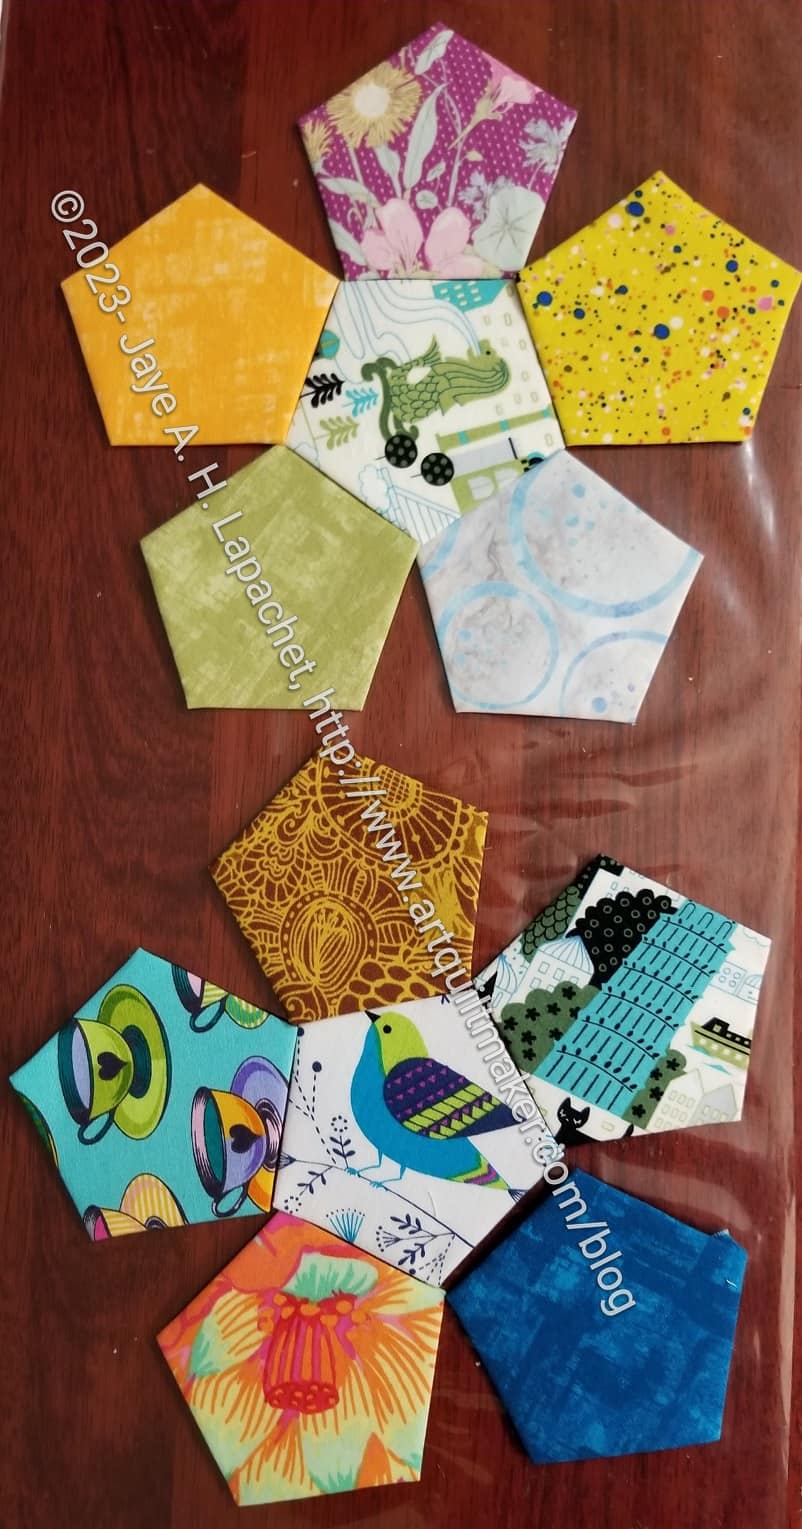
In 2020 I made one of these balls and decided that I would make two more for a new-ish grandniece and a new-ish grand-nephew.
#2 is in my Enigma Bag and I take it with me when we drive places. That one is almost done and I’ll try to get a good photo to share with you.
This one uses fabrics that I didn’t use for the Half Hexie Star. I cut a lot of strips for the half hexie pieces and then didn’t use them all. They were available and I couldn’t think of a reason not to use them.
The Half Hexie Star top is done, as mentioned, but I need to figure out how to work with the edges. They still have the papers in, but Colleen can’t quilt it with the papers in, so I need to figure out what to do. I also need to make the back and the binding. Maybe I’ll do that today?
I’ll have to get some more fiberfill** at some point.
**N. B. : Obviously, you should shop at local quilt shops and small businesses. However, if you are too busy or can’t find what you need there, I use Amazon affiliate links and may be paid for your purchase of an item when you click on an item’s link in my post. There is no additional cost to you for clicking or purchasing items I recommend. I appreciate your clicks and purchases as it helps support this blog.
The Metro Twist is going. I need to make more blocks, so it is going slowly. I have some more pieces cut so I can sew more blocks; I just need some time to do it.
I am in a place where I feel like I have too many things going on at once.
I am working to make ongoing progress on the Scrappy Celebration. I now have two full rows and ideas for more blocks.
9 Patch with large center
Scrappy Celebration, 9 Patches within a 9 Patch
I made the 9 Patch with large center with a different fabric this time. I wanted to do it before and I may switch this particular block with the D2 block. I was inspired by the other 9 Patches within a 9 Patch block to use the orange for the larger patches.
Cyndi and I talked about the Ultimate Carryall Bag and travel bags in general at Sew Day. It made me start thinking about whether the Ultimate Carryall Bag was the best bag for the job.
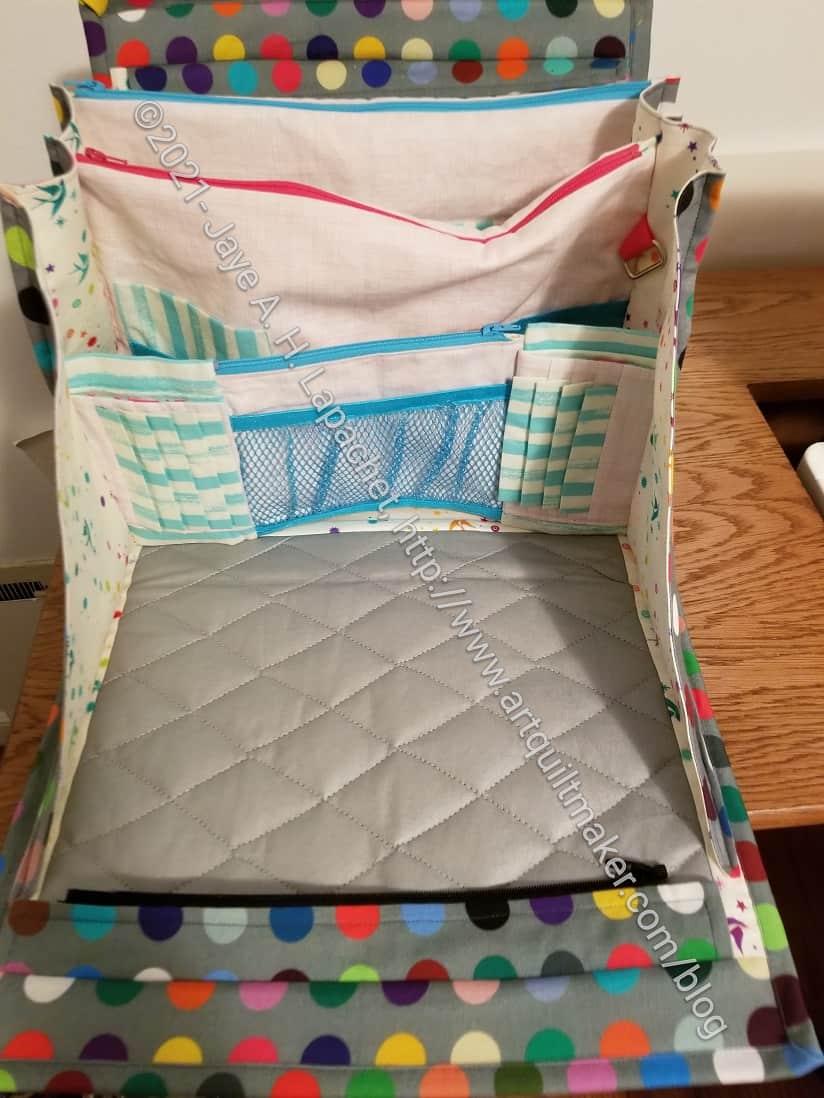
UCAB: front, open
I have been using my UCAB as a go bag / travel tool bag since I finished it. it is working ok, but I don’t love it. I forgot to put SF101 on the large pockets so they are particularly saggy. This is not a design problem; it is a construction problem. Ideally, I should make another one for myself, but the directions are so terrible that, even with my notes, I don’t have it in me to sew another one.
It is also kind of bulgy at the front when the whole thing is zipped. That could be because I overfill it.
My discussion with Cyndi got me thinking about the ideal travel tool bag.
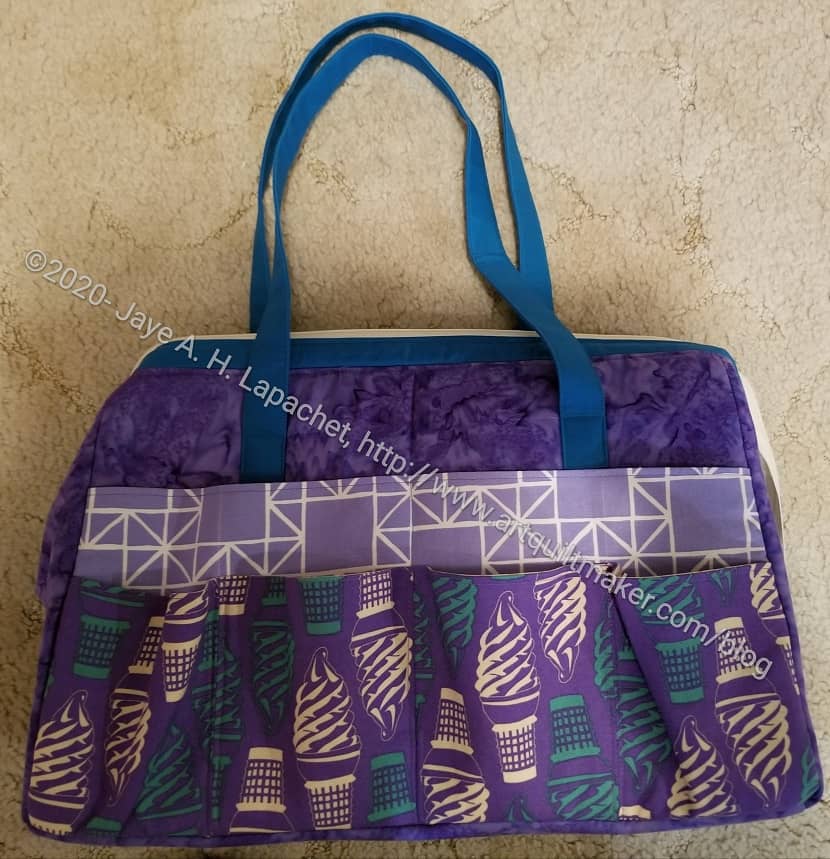
Sheffield Tool Tote – front
I plan to make a Sheffield tote for myself. In fact, at Sew Day, I had some fabric out that I want to use, so I took the opportunity to cut those pieces as a start.
I haven’t decided if I will put the very outside pockets on it. I can see where they would be useful, but I can also see how items would fall out. If I do not include them, the Sheffield will look very similar to the Quilts Illustrated Tool Tote pattern I made in 2018. You can see a comparison of the two bags in a post I wrote in 2021. One thing I thought is that I could make the sides of Sheffield taller. I think I need to make a few more before I try that.
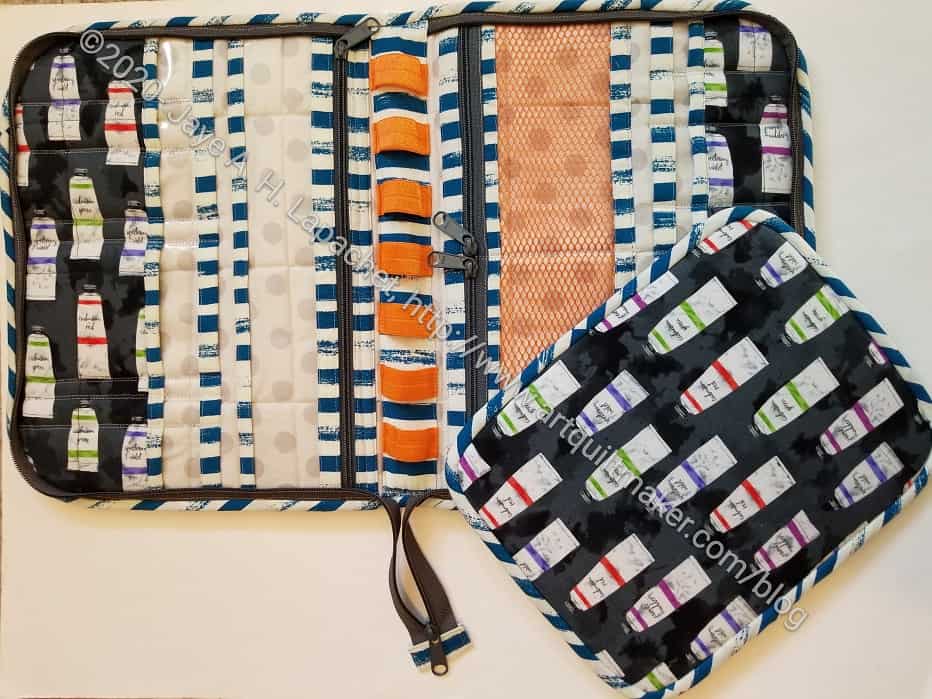
Arty Running with Scissors Tote-inside
Another idea is to use the Kit Supply Tote and a Running with Scissors folio together. I have the Kit Supply Tote and could make a Running with Scissors folio for tools and it might fit inside the Kit Supply Tote.
I would have to carefully measure all of my tools so I could make the openings the right size and all of my tools would fit. I would somehow need to incorporate the Take a Stand Bag into this mythical system. As mentioned on the ByAnnie website, the Running with Scissors folio can be draped over the Take a Stand bag so you can see all of your tools. Also, I have the fabric quilted to the foam already ready to go. It makes good sense to make another Running with Scissors and try it out.
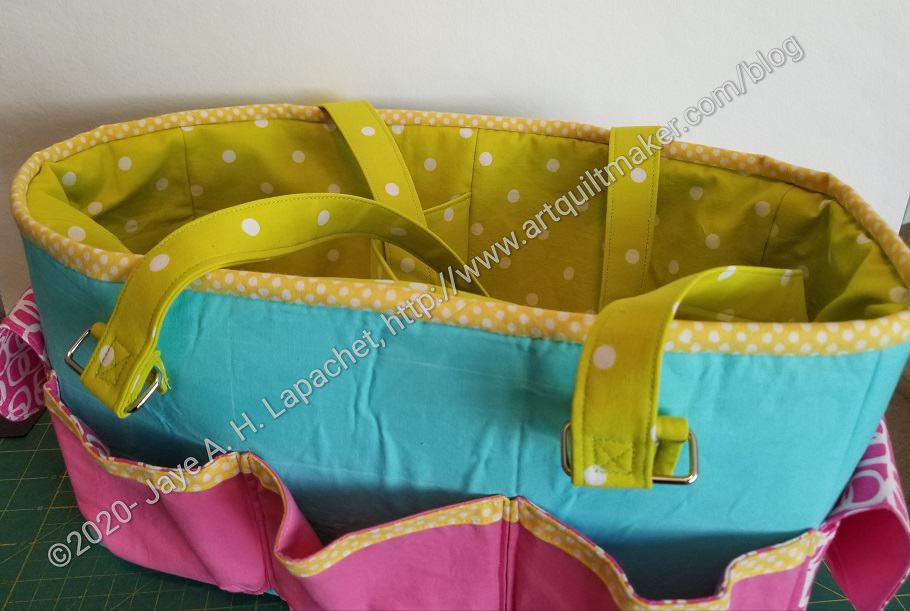
Oslo Craft Bag Swap Gift
The Oslo Tote is a possibility as well. I am pleased with the way it came out, mostly, but it doesn’t have a top closure. I think it is also a little small for what I need and want.
I could redesign the inside of the Cavalcade Bag and make sure I can fit my Tupperware tool box inside it.
Both from the Crafty Gemini Organizer Club, I also have the Ultimate Project Bag and the Retreat in a Bag. I don’t think these are exactly the tool and supply totes I am seeking. I plan to make them soon, but am not sure how to incorporate them into my travel needs.
All Rolled Up tote with handles
All Rolled Up tote with handles: open
The All Rolled Up Tote could also be a good tool tote. I also like the fabric I used. I wouldn’t be able to put a pad of paper or large-ish rulers in there, but it would hold all the scissors, etc that I need.
I have also seen the Sew Awesome Travel Companion Tote. This bag has potential. I might have a similar bag pattern already, but the roominess of this bag means I could store other bags and my Tupperware tool box inside it.
There is also the Crafter’s Carry All Bag. It has similar attributes to the Sew Awesome Travel Companion Tote, but also has negative reviews. Reviewers say it is short on diagrams.
What I really can’t understand is why there is so little competition to the Ultimate Carry All Bag? None of the bag designers, besides Quiltessa Natalie has designed something like this.
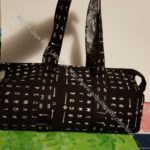
I cut out a large version of the Kit Supply Tote by Aneela Hoey at one Sew Day in the past. I checked and can’t find a date when I did it. Still, I decided, over the weekend, that it was time to put the bag together.
Overall, this is a pretty straightforward tote. Directions are provided for two sizes and both are put together the same way.
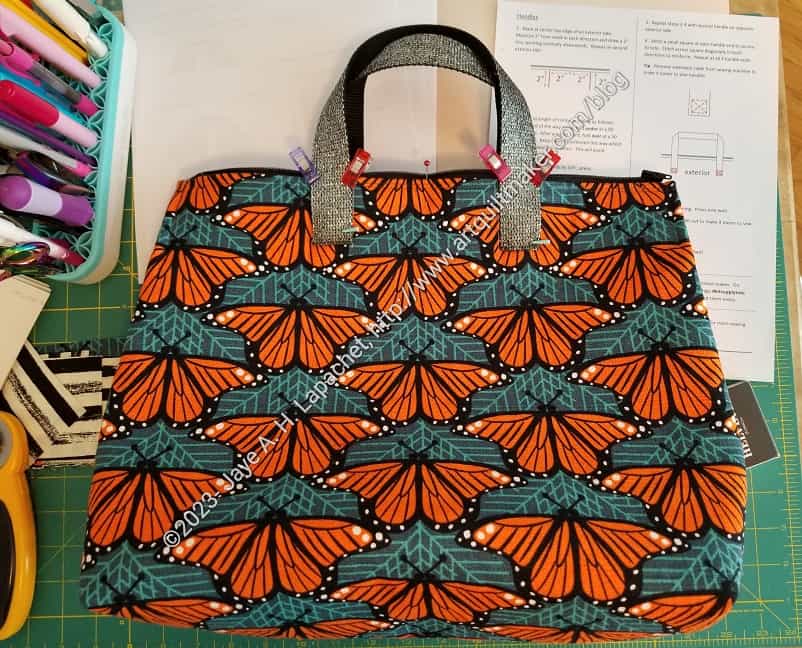
Kit Supply Tote handles
Towards the end, I chose one of the webbing handle materials from Sew Hungry Hippie.They are a glittery black or silver overlaid on black. Very glittery
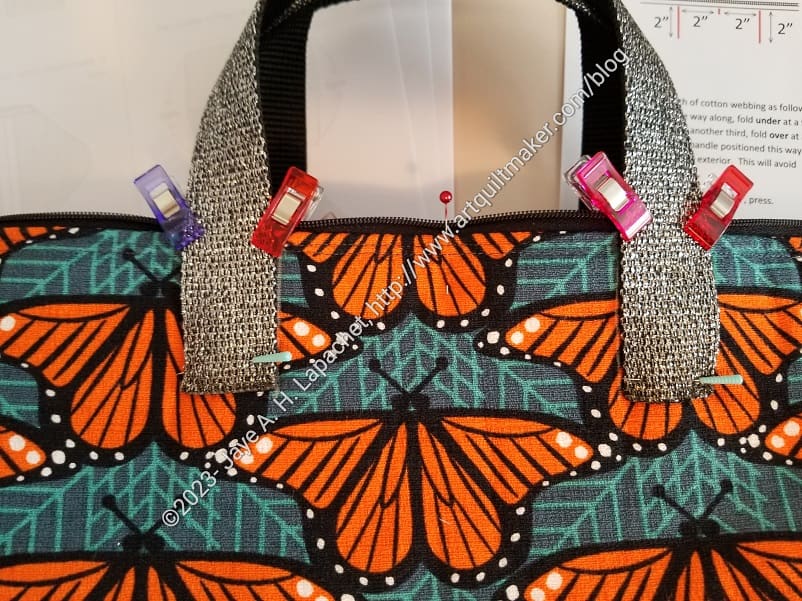
It was hard to sew on the previous lines from the front. I was using a charcoal thread color that matched pretty well. I sewed the handles on a little bit from the top/exterior, counting stitches carefully until I had one line of stitching sewn in a square.
Handle stitching
Thereafter, I took the bag out of the machine and sewed from the lining side. I could easily follow the stitching by sewing on the previous lines. I am pretty pleased with how the stitching came out.
I focused on getting some more blocks done for Scrappy Celebration over the weekend. My design wall is looking good even if I have to layer some of the blocks. I do need to move them all up and will probably do that today.