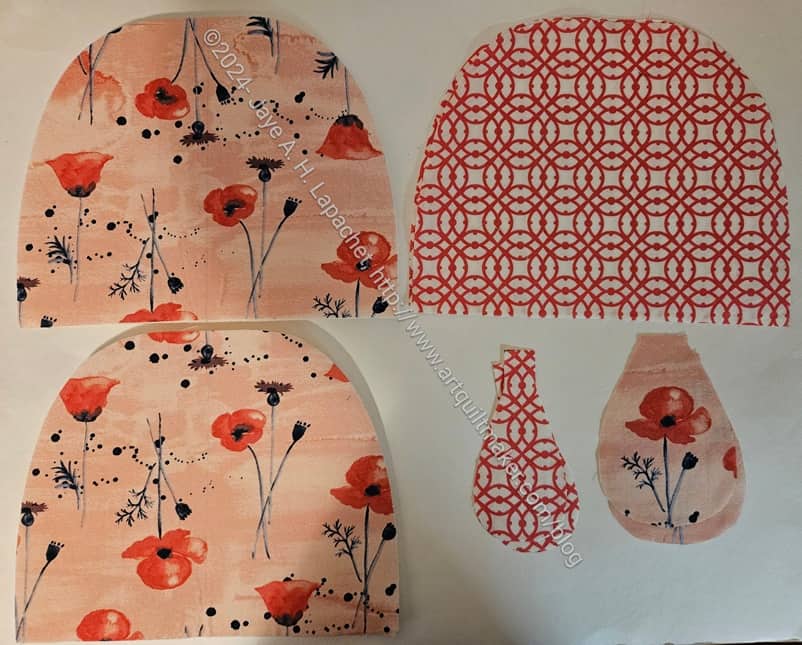
I started another Palomino Pouch as part of the Pink Project. I wanted to try and succeed at the gluing step that closes up the sides.
I have everything cut out, but have to find a zipper that matches. The fabric is definitely pink, but more of a peachy pink than the Pink Dot Bluestem or the Pink Piebald and I am not sure I have one that will match. I might have to use white or some other contrasting color. I do like it when the zippers look like they belong on the pouch.
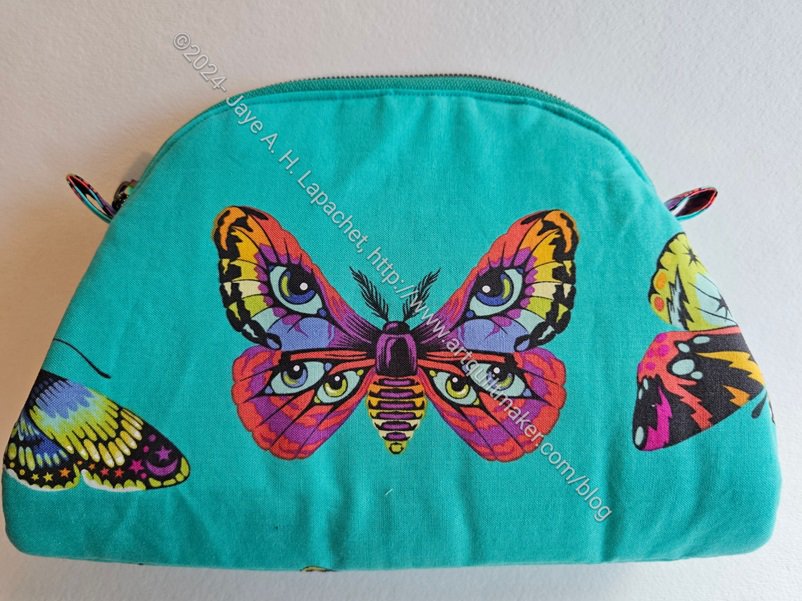
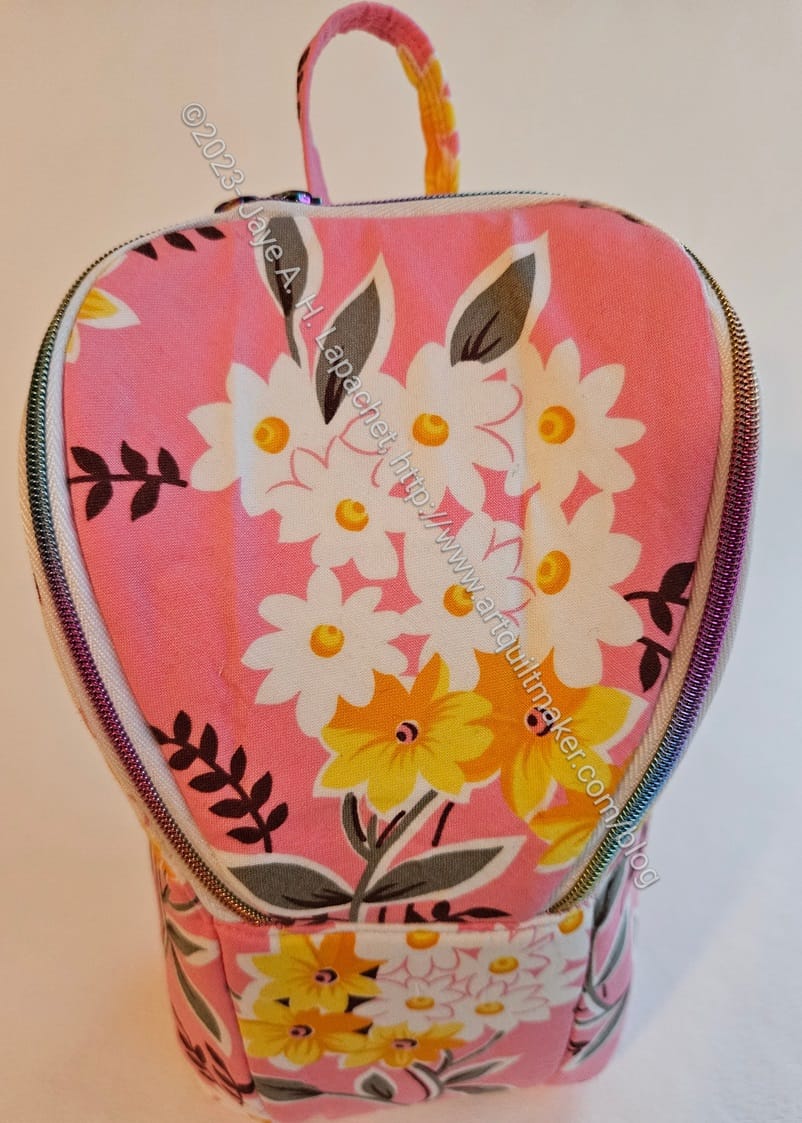
The Palomino is finished! I am going to make another one right away. This pouch has only a few pieces and with the way the side panels and zipper are inserted, it is very easy to put together.
This is a gift for a friend and the fussy cutting is important.
Palomino Pouch-lining Finished
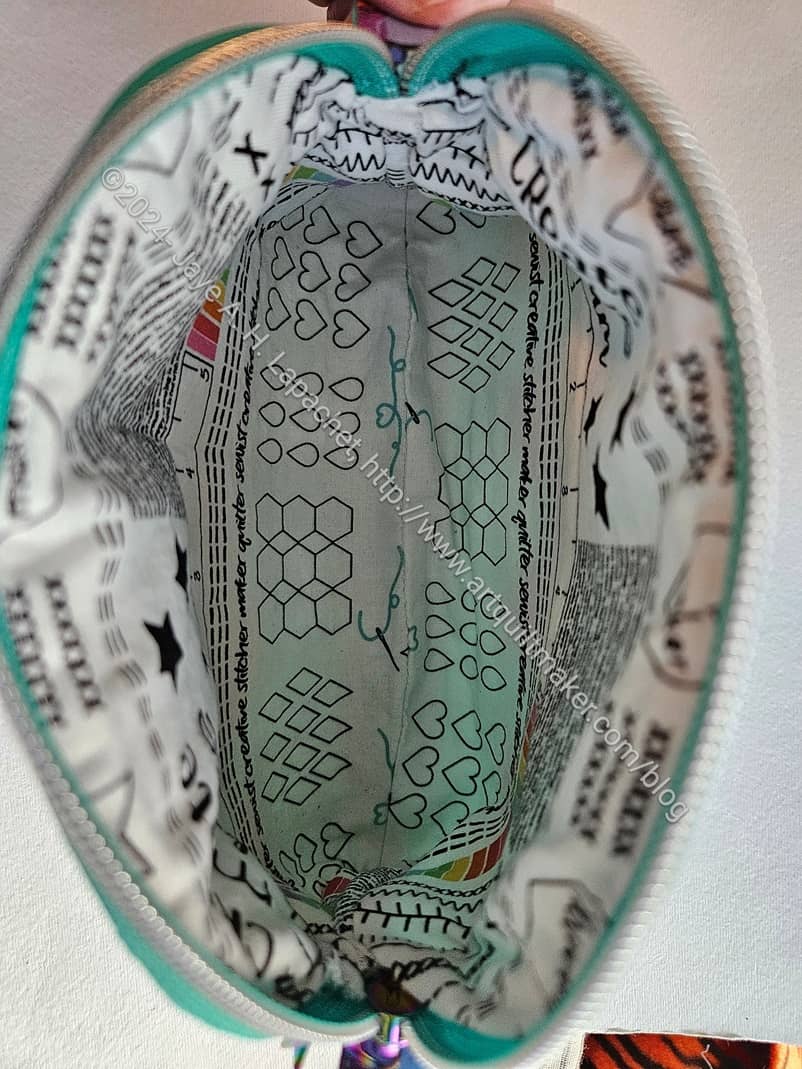
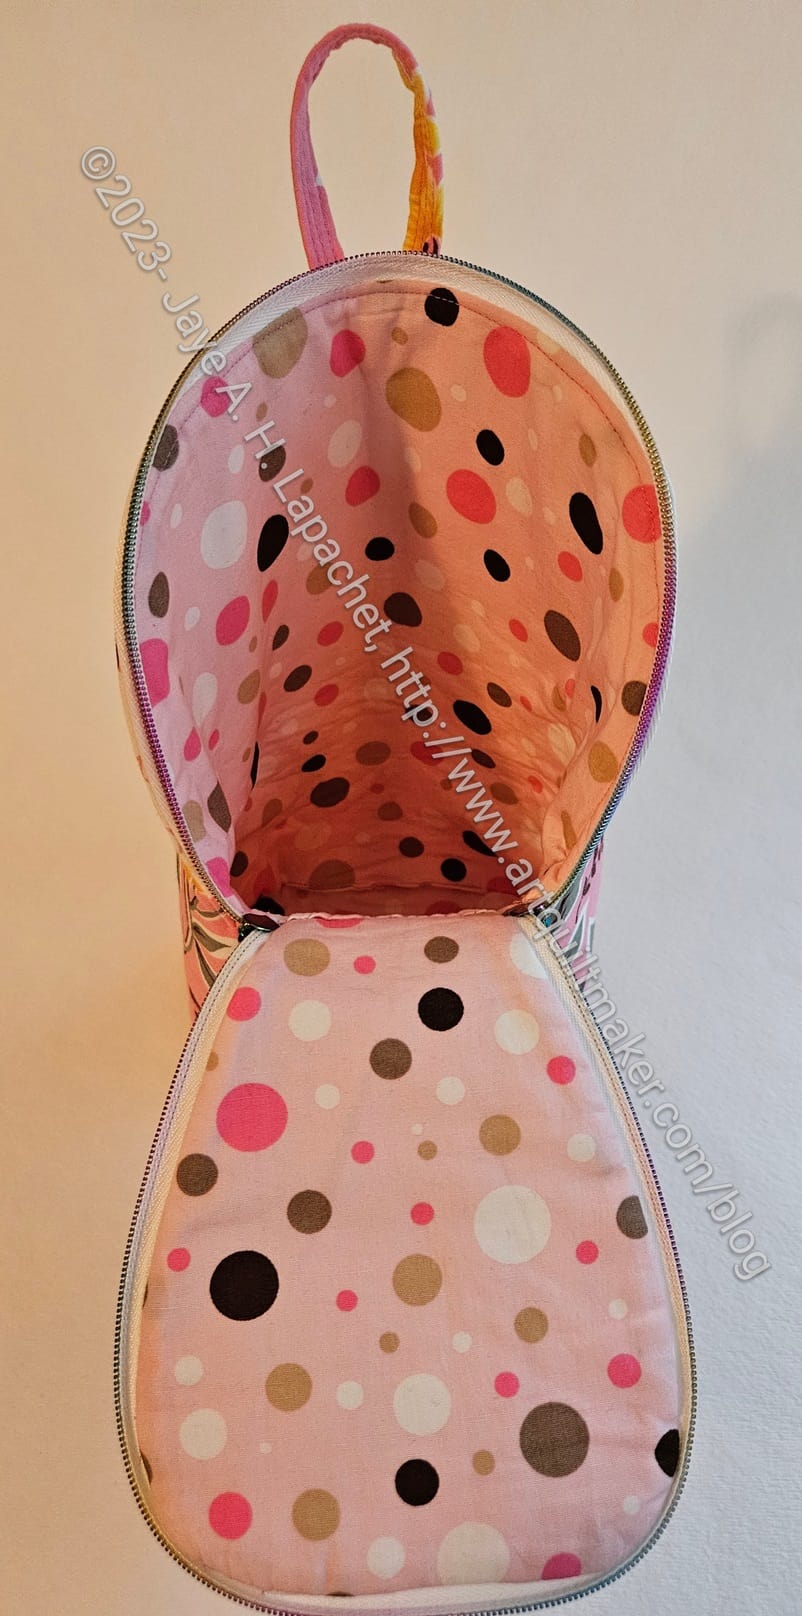
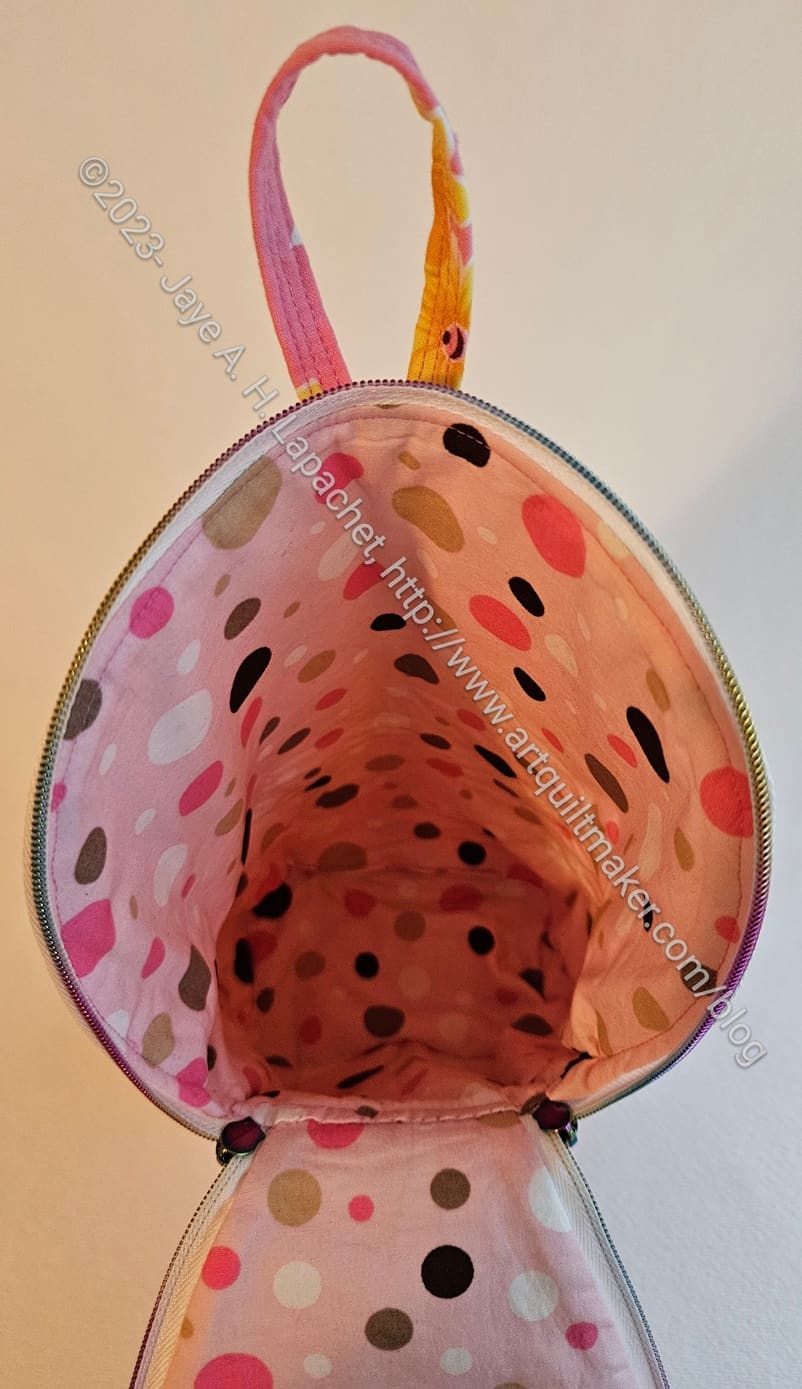
It really went together pretty well, in general. I had some trouble inserting the lining. It does have the same glue closure as the Piebald. Not so great as I missed the instruction to stop at the 1/4 inch mark when sewing the lining together, so the edges shredded a bit (Moda fabric) when I ripped out some of the stitching. It would be really helpful to have a free arm when making this pouch. Now I know, so I’ll do better next time.
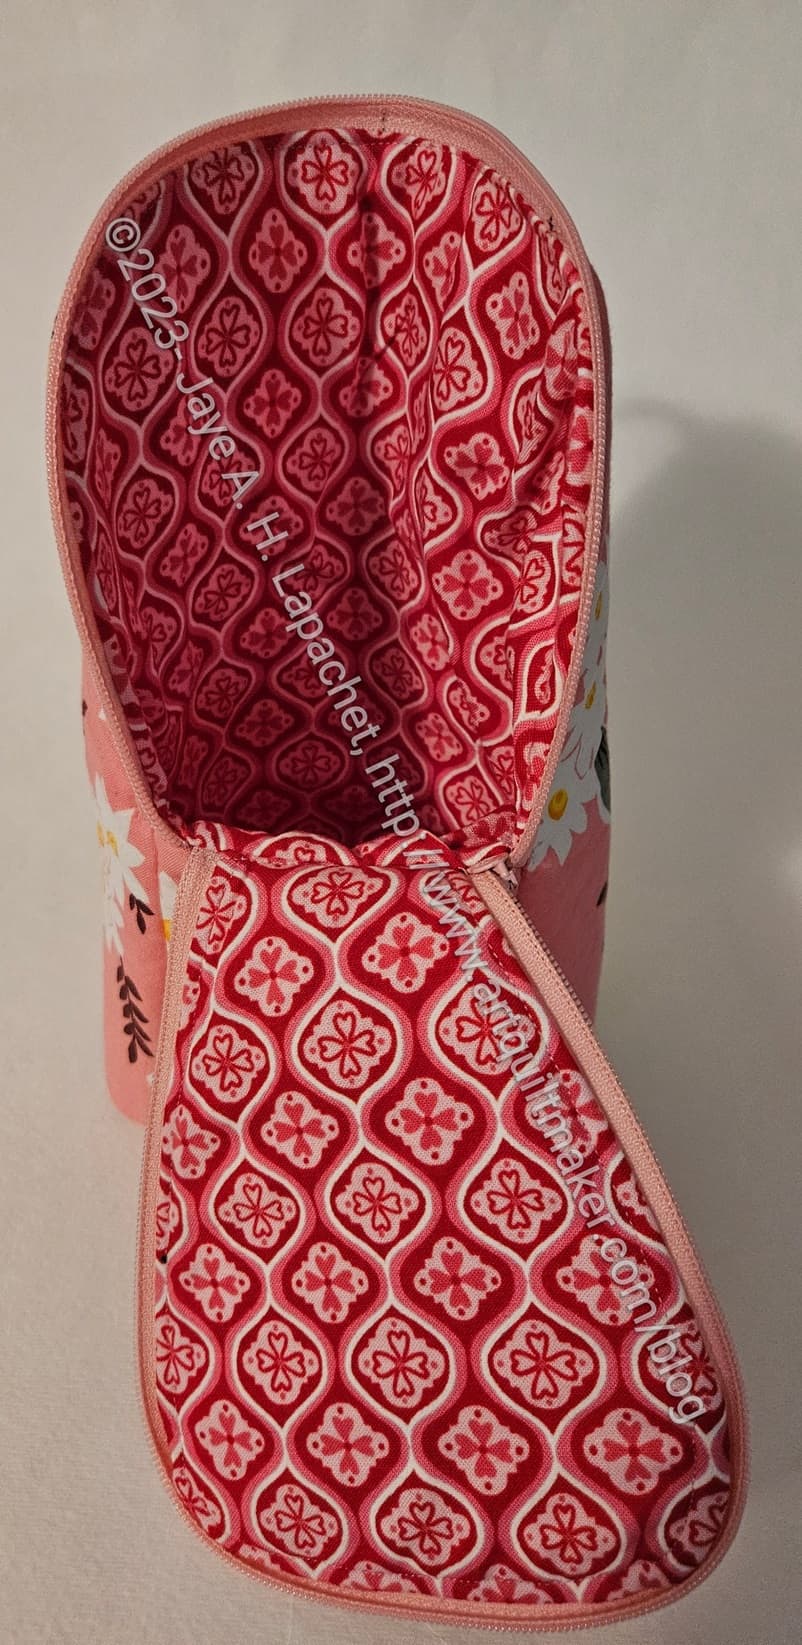
No drop-in lining or binding: perfect.
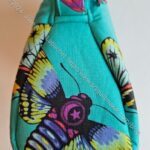
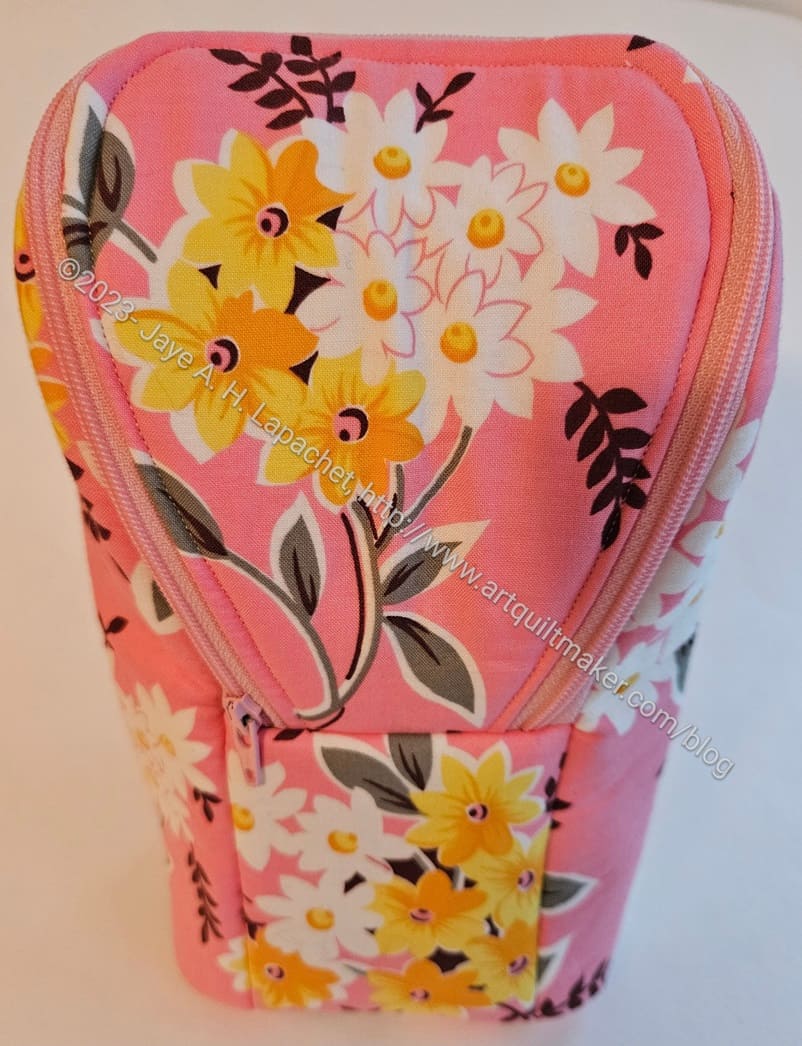
Palomino Pouch-top Finished
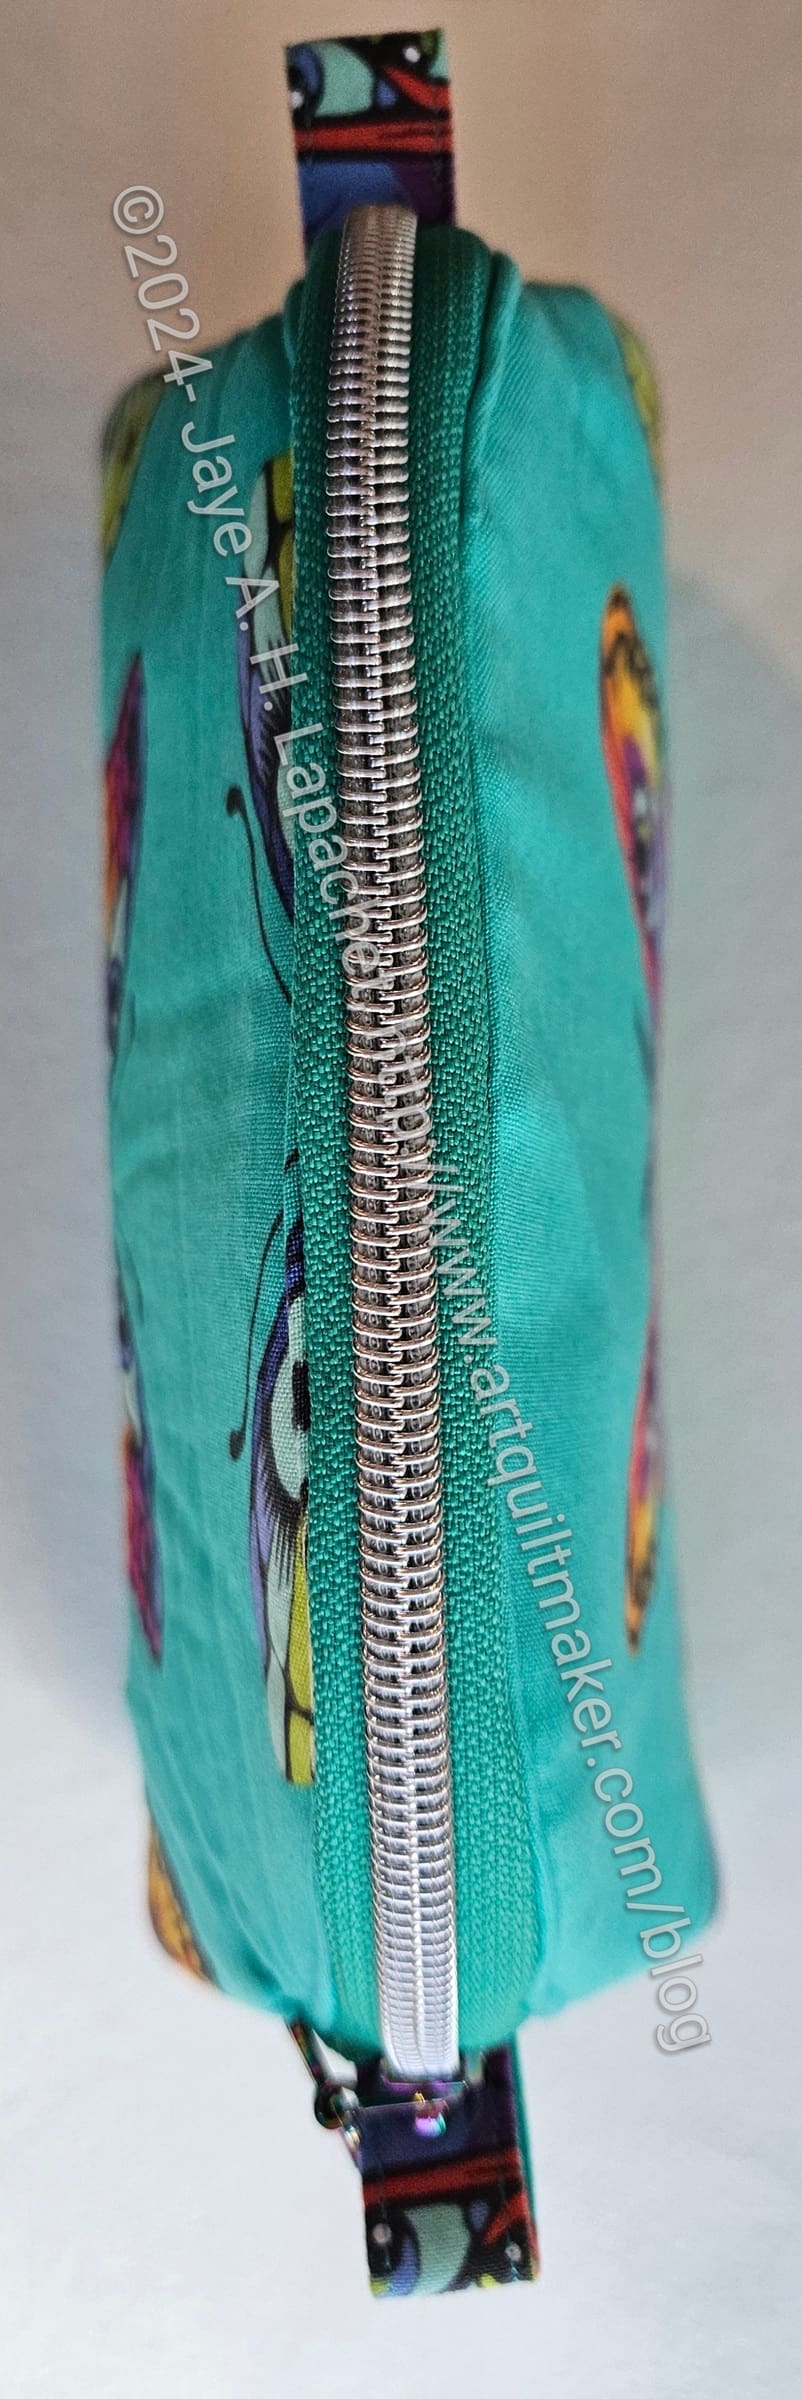
The zipper I used is one of the set I bought from Sew Hungry Hippie. I wonder if Natalie of SHH collaborates with Tula on the colors? The green matched the butterfly fabric exactly.
I thought it might be a little big, but the pattern called for a handbag zipper. I tried two zipper pulls, but it didn’t work with this pouch design so I took one off.
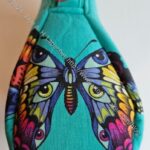
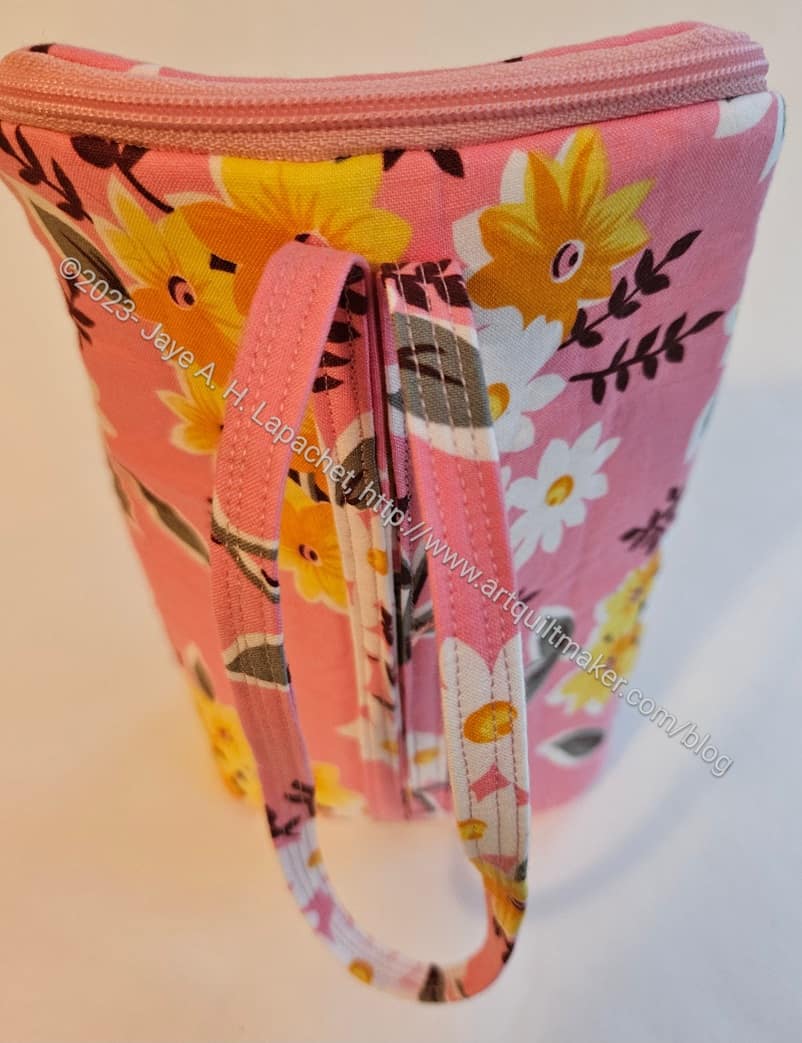
Palomino Pouch-side Finished
Palomino Pouch-side Finished
I took the opportunity to fussy cut the side panels as well. I can’t help that these motifs run into the partial motifs on the main panels, but I still think the side panels look good.
This is another pattern from Minikins Season 3. For some reason, it struck my fancy and I decided to make it.
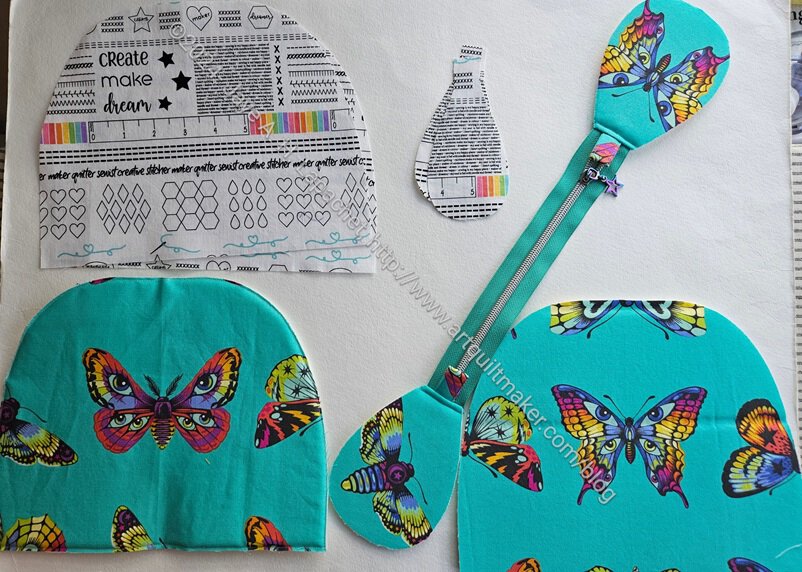
One of the things I already like about the pattern is that you sew the zipper to the side panel as one of the first steps. That means that when I sew the zipper to the main panels, I will sew the side pieces as well.
I did some fussy cutting of the Tula butterfly fabric, as you can see.
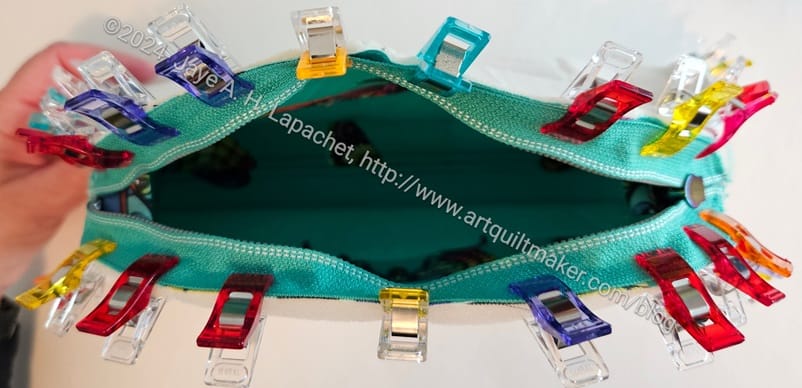
I had some trouble cutting this out with a rotary cutter, because the side panels have an interior 90 degree angle, which doesn’t work withe a rotary cutter. I ended up drawing lines around the template and cutting it out with scissors. I used WonderClips** to keep the fold in place while I cut the pieces out.
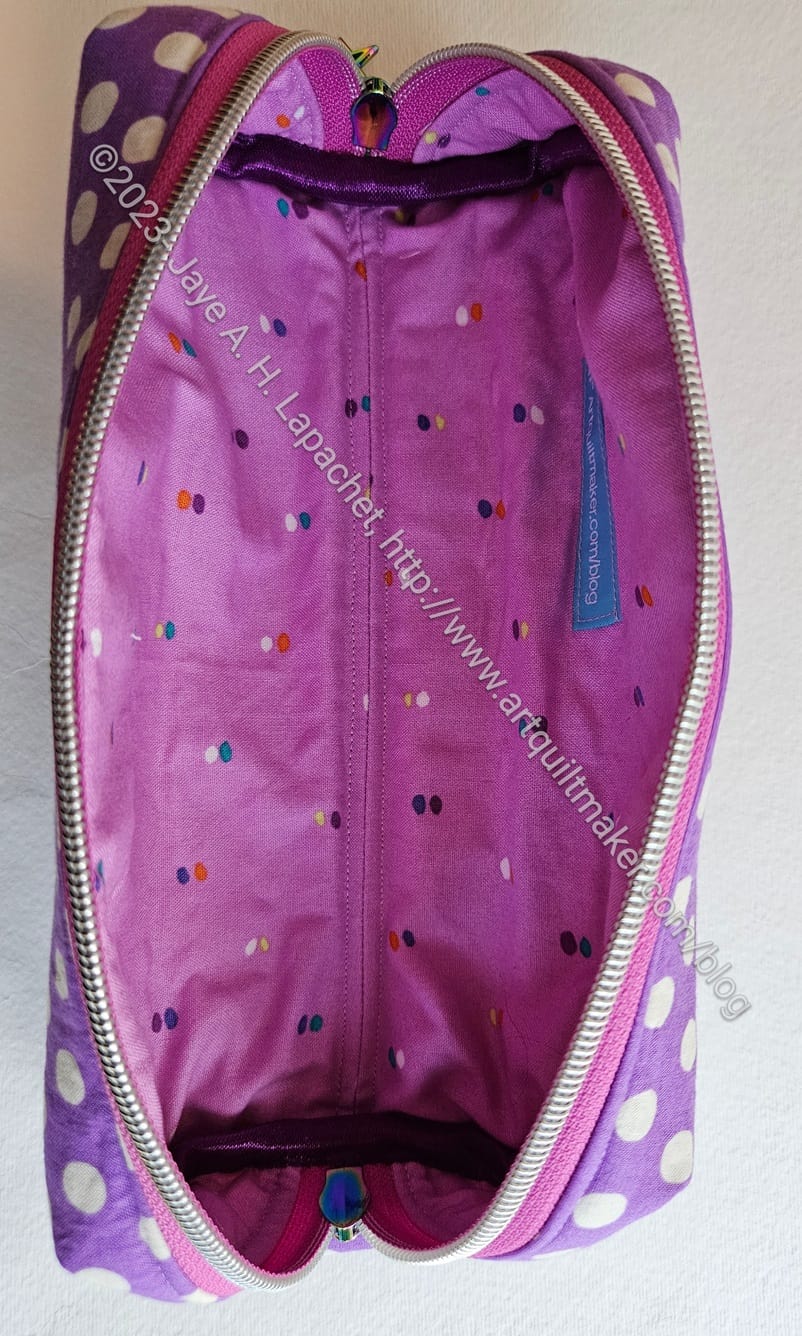
Palomino pouch inside
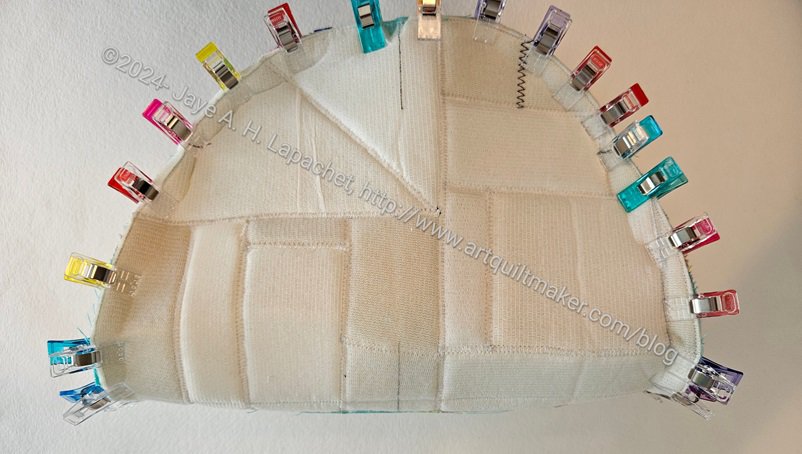
This picture (right) shows getting ready to sew the zipper and the side panels to the main panels. I used some Frankenfoam and hope that works out. I used some quite small pieces. Apparently, I can’t throw anything out! Pouches are a good use for Frankenfoam, however.
Palomino pouch in process
This is the same picture as above, but from the top. Stay tuned for the finishing.
**N. B. : Obviously, you should shop at local quilt shops and small businesses. However, if you are too busy or can’t find what you need there, I use Amazon affiliate links and may be paid for your purchase of an item when you click on an item’s link in my post. There is no additional cost to you for clicking or purchasing items I recommend. I appreciate your clicks and purchases as it helps support this blog.
I still don’t really have a plan for 2024 in terms of sewing. I am just not sure what type of projects I want to focus on. I am starting to think that finishing a lot of UFOs was a bad idea. It left me sort of feeling like I don’t want to generate more UFOs.
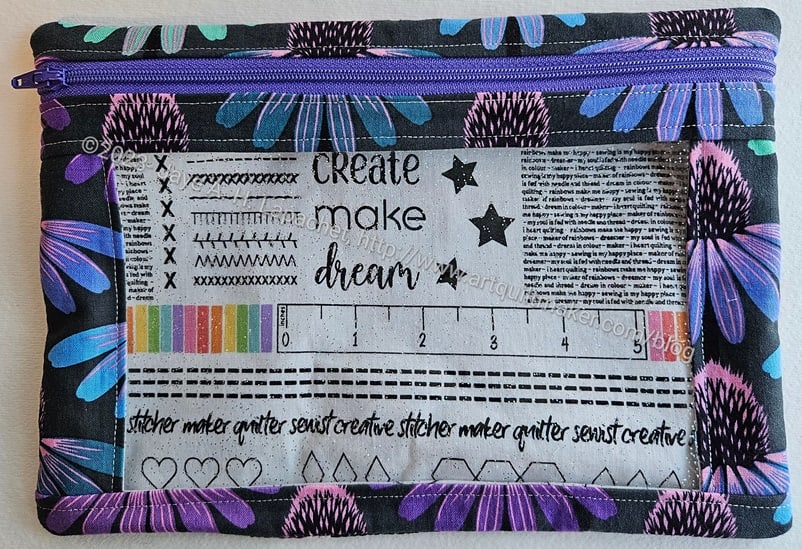
Create * Make * Dream I Spy
I still want to sew, so I fell back on my potato chip project: the I Spy pouches. I have some templates coming from Sew Sweetness so I thought I would get ahead of the game and make the pouches in advance. The first one I finished was the Mermaid pouch AKA the Create * Make * Dream I Spy.
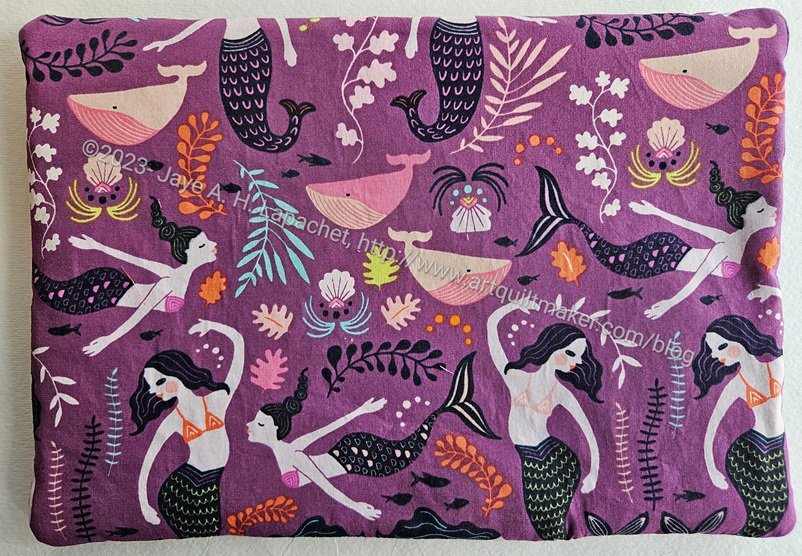
Create * Make * Dream I Spy – back
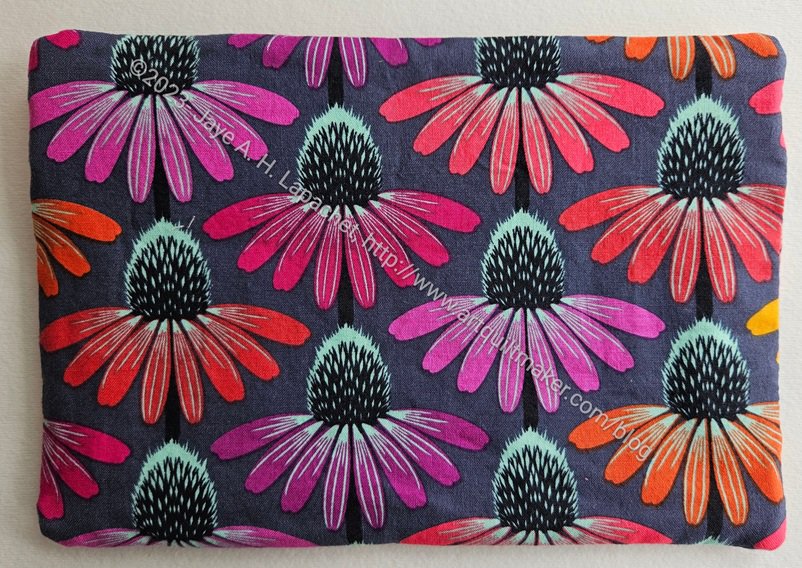
I used a different coneflower colorway than I did in the last I Spy. Surprisingly, I didn’t have as much of it as I thought, so the three pouches I made are sort of scrappy. This one looks relatively normal from the front, but I used a mermaid print for the back.
I bought this fabric on a whim at Cool Cottons in Portland last year, possibly for a bag for my sister. This is the first time I have used it, however. It is a fun fabric and I am glad I will have a little piece of it for myself. I still have enough left to make something for Lil Sissy.
I haven’t put any templates in yet, but it will be used for acrylic bag templates.
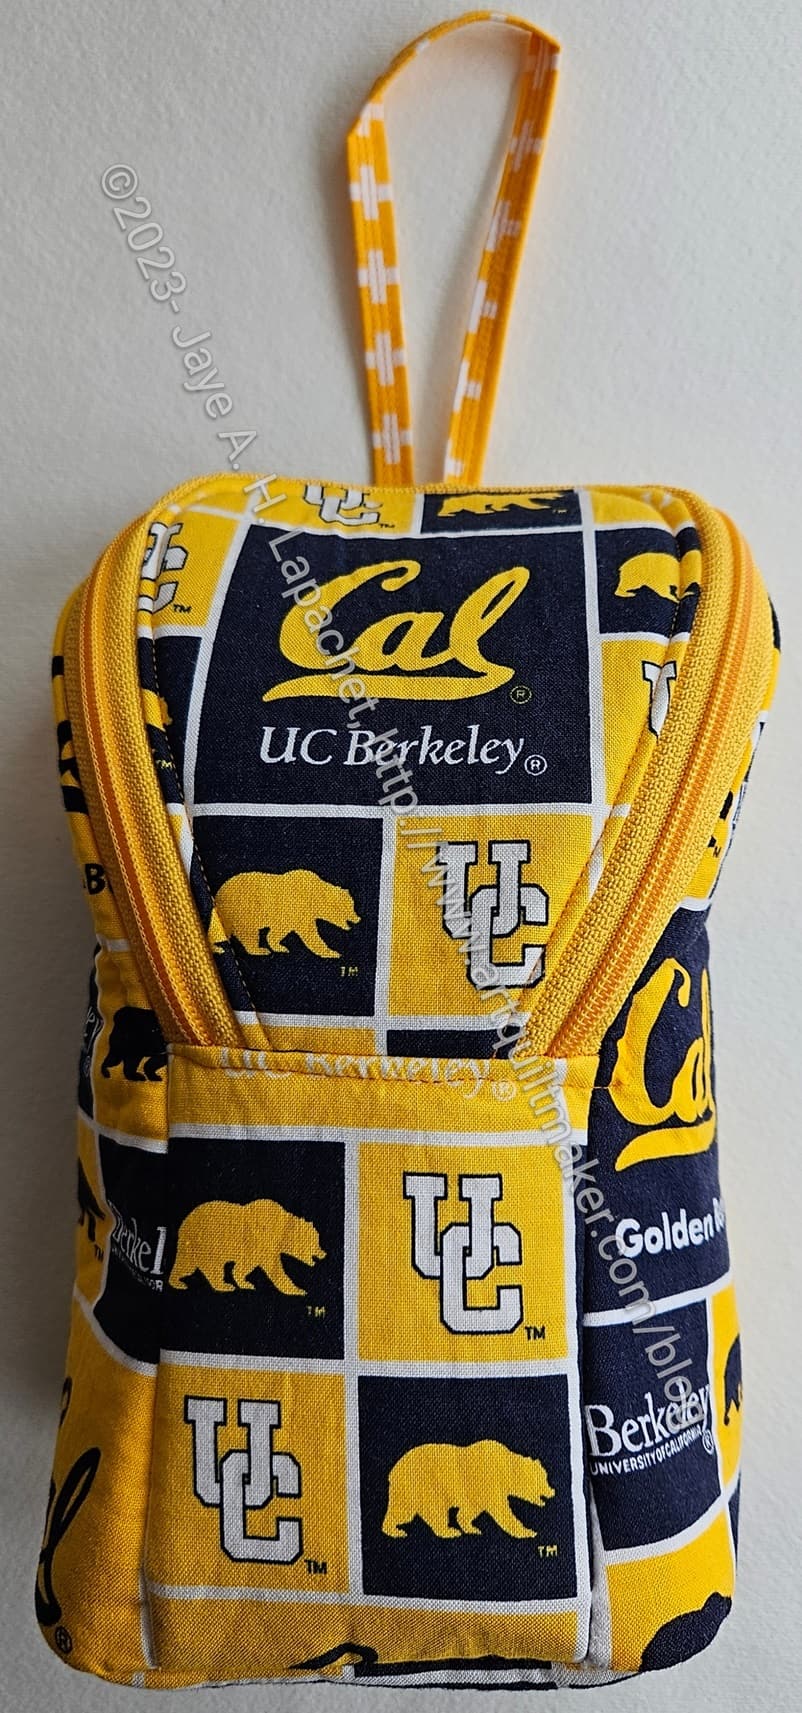
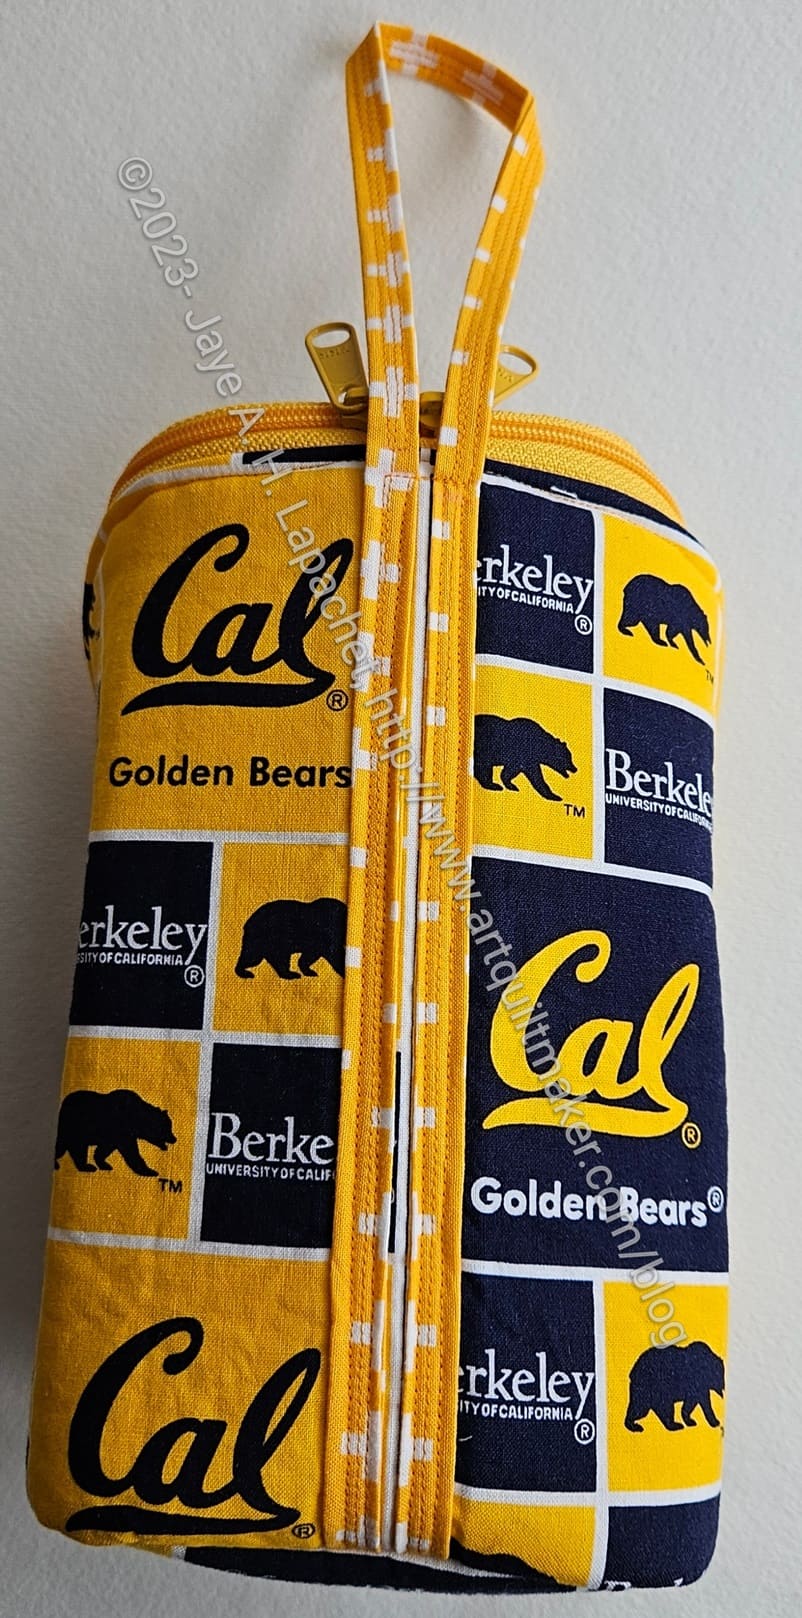
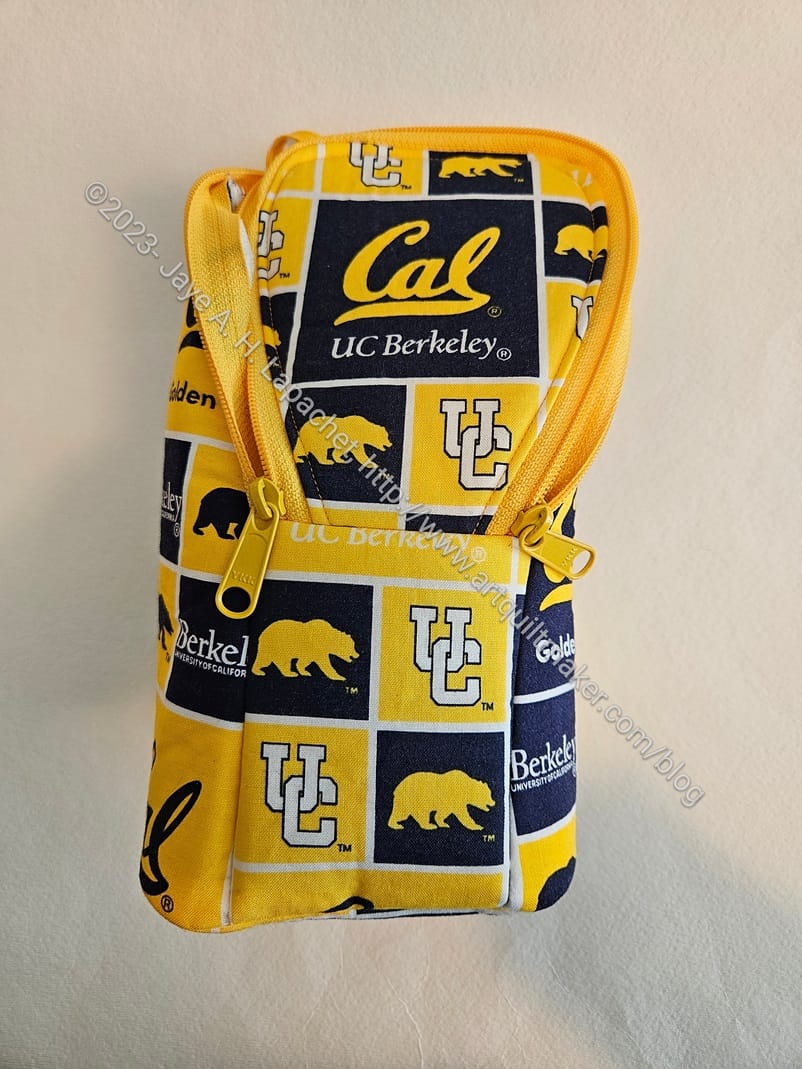
Yes, the Cal Piebald is finished. I think it came out really well. The fussy cutting, as mentioned, looks great!
In this image you can see the long loop I talked about when I started it. I used my own hand to figure out the length and I think it is ok. We’ll see what SIL #4 says.
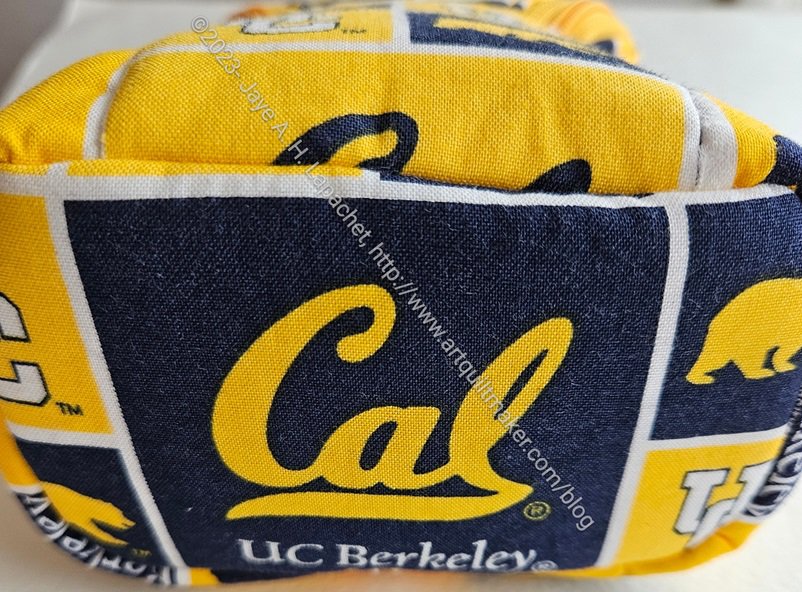
Cal Piebald – bottom
I also fussy cut the bottom even though it won’t be seen very often.
One of these days, I’ll have to try adding Odicoat to a finished bag to see what happens. I am thinking a lot about what happens when people actually use the bags I give them. I want them to use the bags, so I should prepare them better to be used.
Cal Piebald – back
This pattern has an interesting stitching pattern for the loop/handle. The directions say to stitch the the part of the loop not attached to the bag with 4 lines before attaching it to the bag. This meant that I had to calculate exactly where the loop hit the bag, thus there was a bit of pfaffing around with my hand in the loop and trying to mark where I thought the loop would end.
Note: if you make the loop the size indicated in the pattern, there is no pfaffing around.
The rest of the loop is stitched to the bag using the four lines again. I think it is pretty secure.
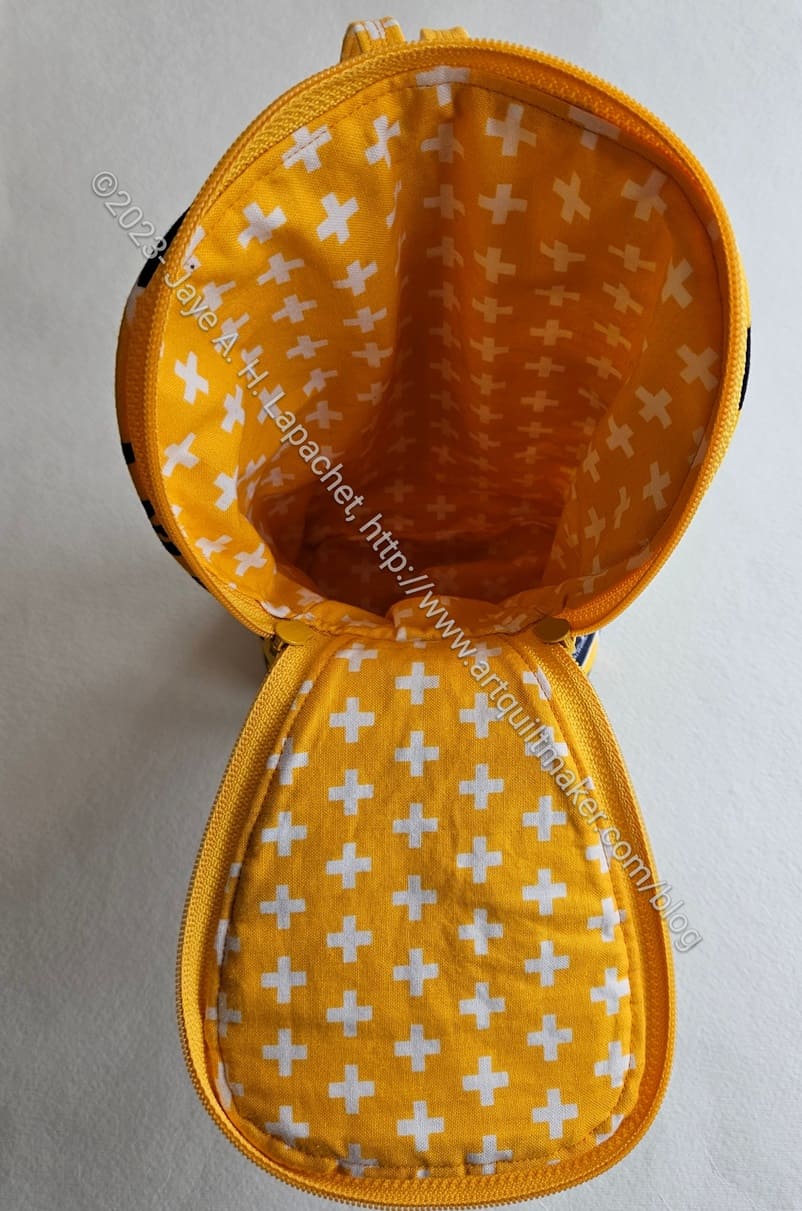
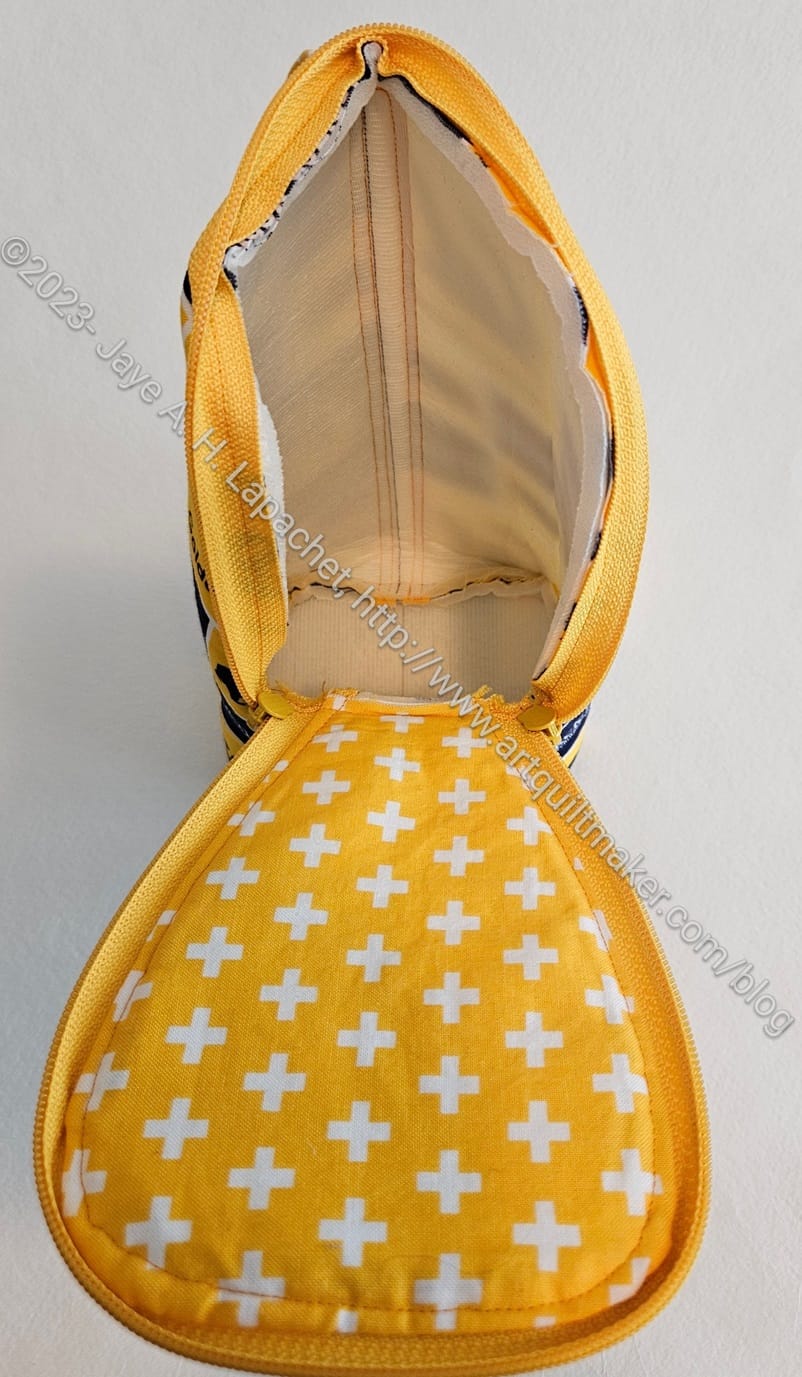
Cal Piebald – interior
I think the lining matches really well. It is a little bit baggy, which is weird, but it isn’t terrible, so I am not going to stress about it. I sewed the lining with a fatter seam allowance, so it shouldn’t be baggy. Who knows? Another mystery to try and solve while I make other bags.
So, this is done. I am pleased. I am not sure when I will give it to SIL #4. I’ll see about giving it to her when I see her on the weekend.
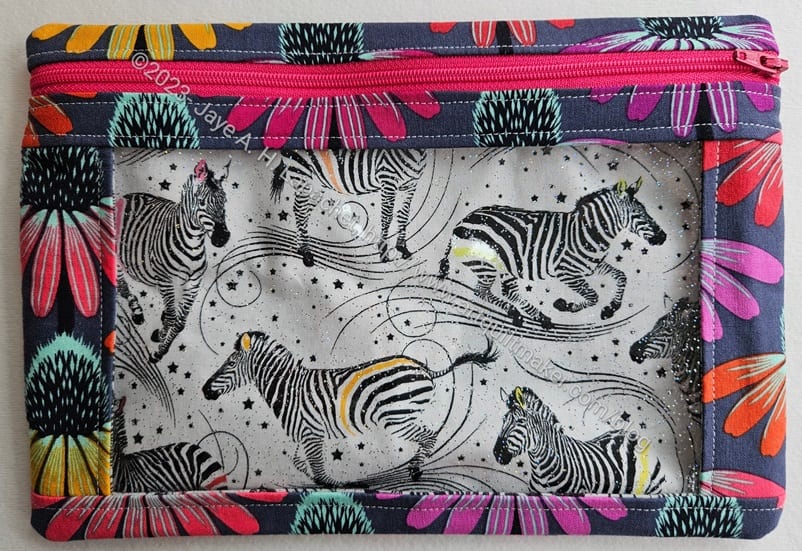
I started and finished another I Spy pouch very quickly last week. I needed another one for the Falabella templates, which I found when I was rummaging for the Piebald templates.
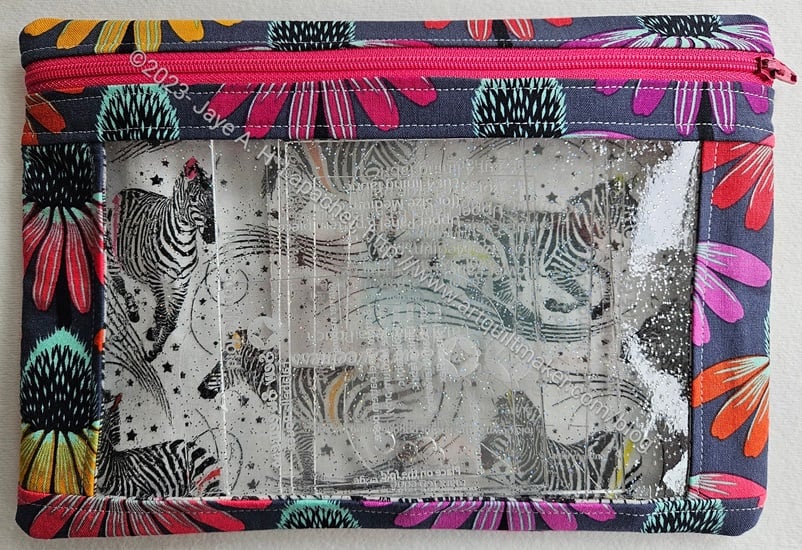
I went out of my way to use the zebra fabric and I had just enough left for the various lining pieces.
Zebra I Spy – back
As I have with all of the other I Spy pouches, I used the Anna Maria coneflower fabric again. I had some leftover from a previous project and was able to use it up. Some wrong cuts aren’t always useless even if they aren’t useful at the moment. 😉
Zebra I Spy – front, full
The templates fit nicely inside this medium version.
I am making good progress on the Cal Piebald despite not sewing much in the last few weeks. Making a few in a row really helps the subsequent versions.
As you can see the exterior is finished. My next step is to assemble the lining and insert it. Then I have to do that crazy step with the front, which was a challenge, but I shall persevere.
Piebald exterior, in process
I think the outside looks pretty good. I am so pleased with how the fussy cutting came out.
In this photo, you can’t see the loop, which is long enough to slip a slim hand through and carry along. I am starting to wonder if a longer strap, like the one for the Sweetbay Crossbody would turn this into a purse? I suppose it would, but the question is whether it would be a good purse? There are no outside pockets for a phone or anything, so it might be a little awkward to use. Something to think about. If you have any opinions, let me know.
After making the Piebald #2 and Piebald #3, I decided to try a project that had been on my mind for awhile. Some time ago, my SIL#4 asked me to make her a bag she could use to take her knitting along. I designed and made the Knitting Box, but it wasn’t quite right and I wasn’t happy with it. We had made a trade and I wanted to keep up my end of the bargain.
Cal Piebald start
Years go by and I made the two Piebalds, which gave me an idea for the Knitting Box replacement: a Piebald with a double zip. I showed her one of the pink Piebalds and she thought it would work. Her birthday is coming, so I am trying the project again. I have only made a small start, but I have high hopes.
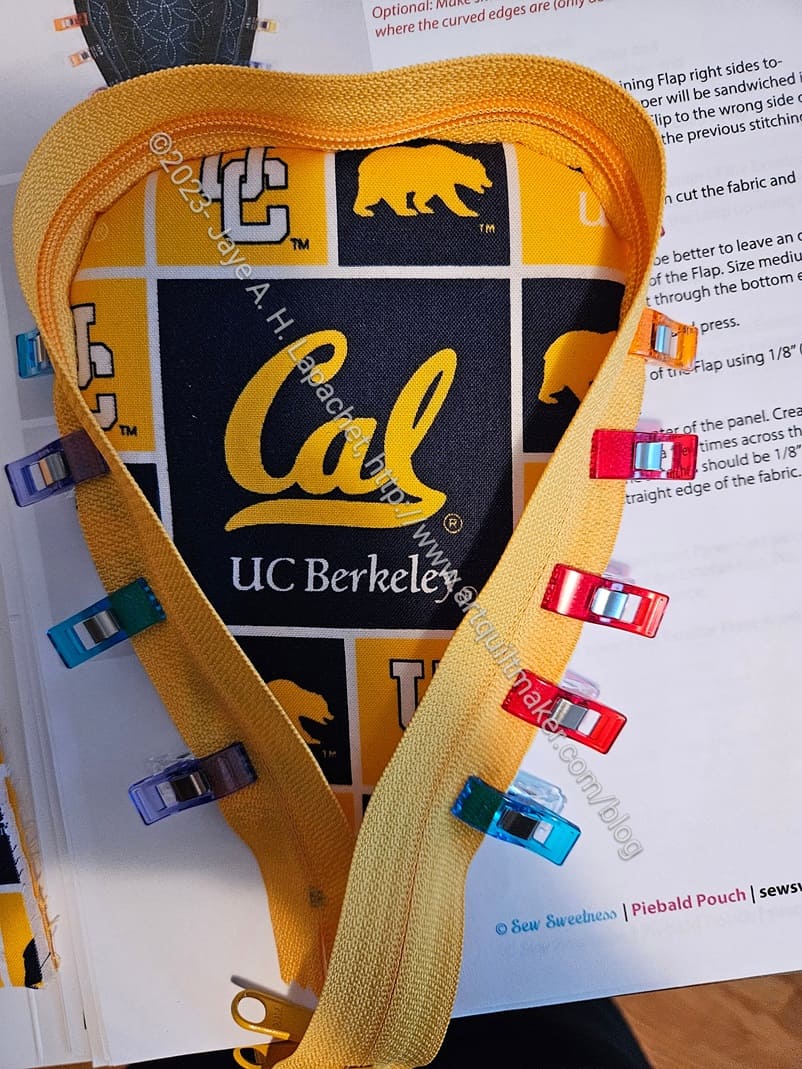
I was so pleased with that zipper even though it was way too long. It is the perfect color to go with the Cal fabric.
How do you like my fussy cutting? I am pretty pleased with it.
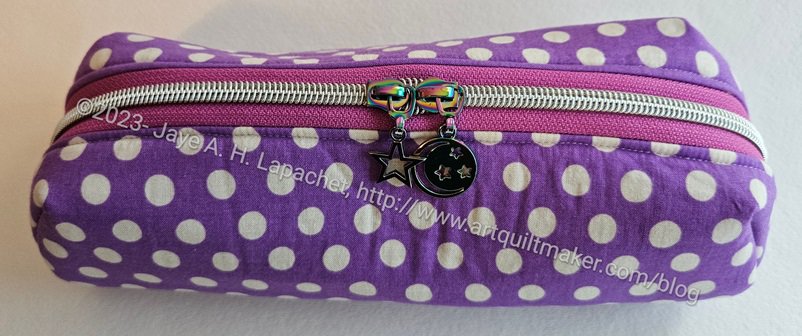
I finished this Lavender Dot Bluestem several days ago, but am super busy and haven’t had time to post about it. This was actually the second one I cut out; I just sewed the Chrysanthemum Bluestem together first.
The foam really makes this small pouch. There is something fun about this small very stiff pouch.
Bluestem with moon pull
Bluestem with star pull
In this version I used some of the new zipper pulls I received and they are really great. They are not a set. I combined them myself.
Lavender Dot Bluestem – open
The inside is a lighter version of the outside, I think. It is another cool fabric that I have been hoarding.
I remembered to put my label on. I did it before the piece was completely sewn together. I should make a note in the pattern as to when to add it.
I had to use dark purple doublefold elastic as the colors of that supply are limited.
I am super pleased with this pouch and will probably make others.
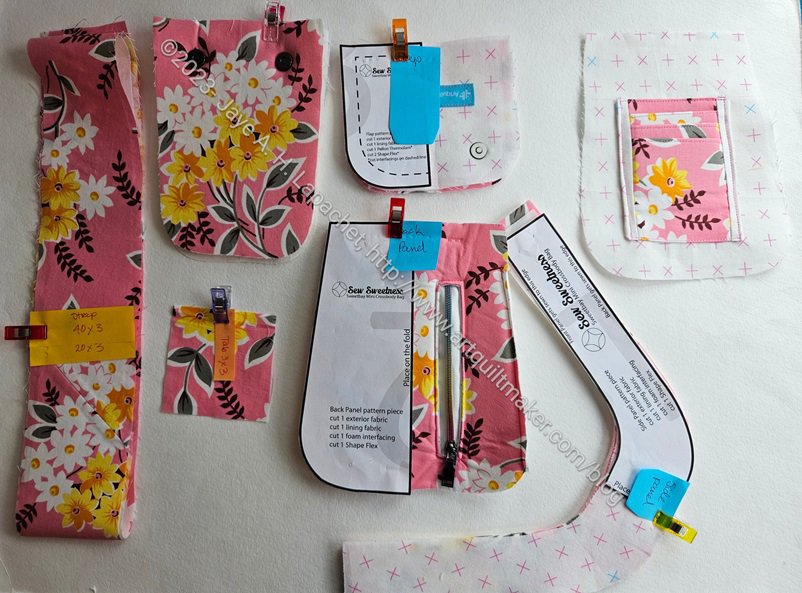
I am keeping up with the Sew Sweetness Sew-a-long for the Sweetbay (that’s a lot of Ss and Ws!!) crossbody bag. This bag has a lot of prep and it started with week 1 and continued to this week.
Some of this week’s work was adding interfacing to all of the pieces that were not interfaced last week.
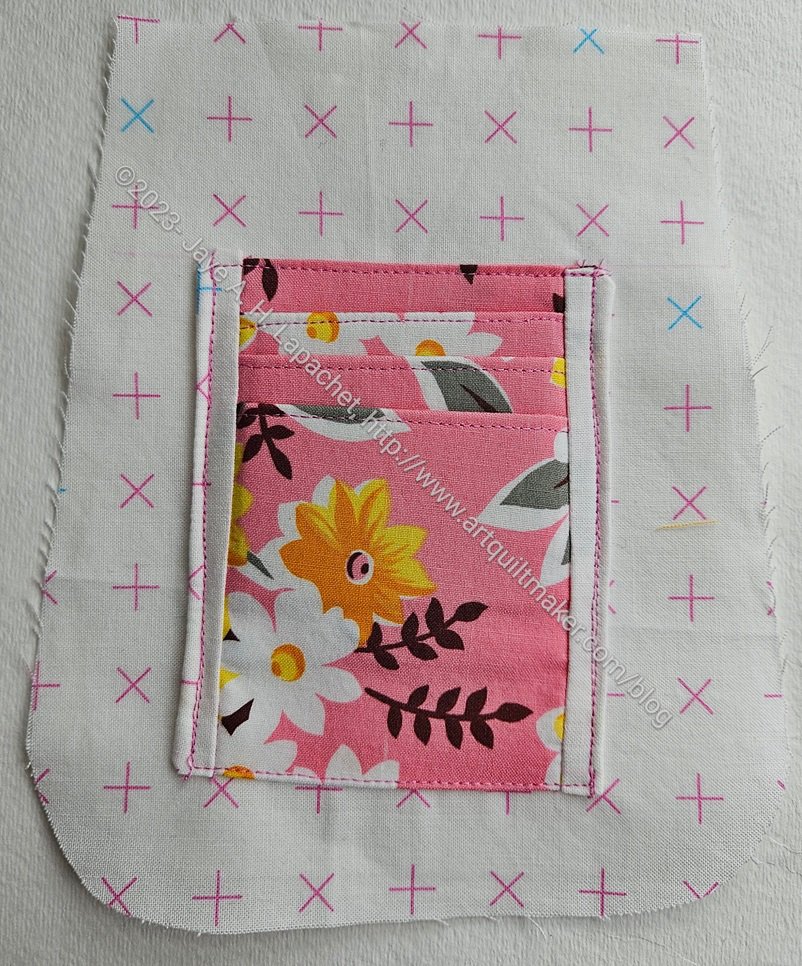
Sweetbay credit card sleeve
I also had to make the credit card sleeve, which didn’t turn out quite as expected. The written directions were a little confusing, but I walked away and came back and was able to figure out what to do.
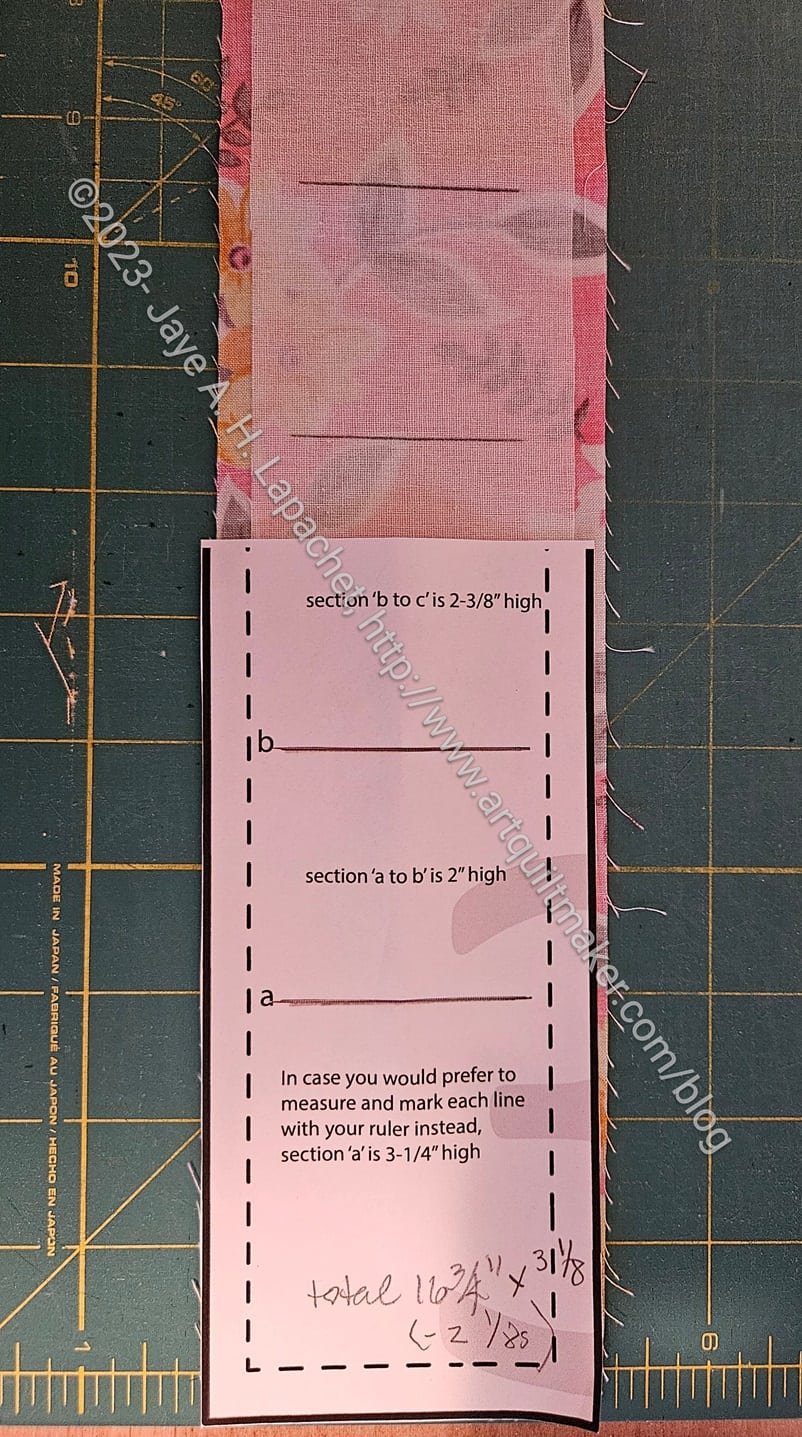
Sweetbay credit card pieces
In order to make the compartments, we were supposed to use a template made from the pattern pieces on the back. I was super pleased that I figured out how to make slots that I could mark through. I know this seems really dumb, but it felt very convenient and like an excellent solution.
This pattern does not have a acrylic templates and I am not sure why. I think the credit card sleeve would have been a good candidate for templates.
Using the hot ruler
I also made good use of the hot ruler from Cyndi for this project. This was a Christmas gift I received and the more I use it the more useful I find it. It makes the folds a little thick, so if I need precise measurements, I need to be very careful. Other than that, I am finding it to be very useful.
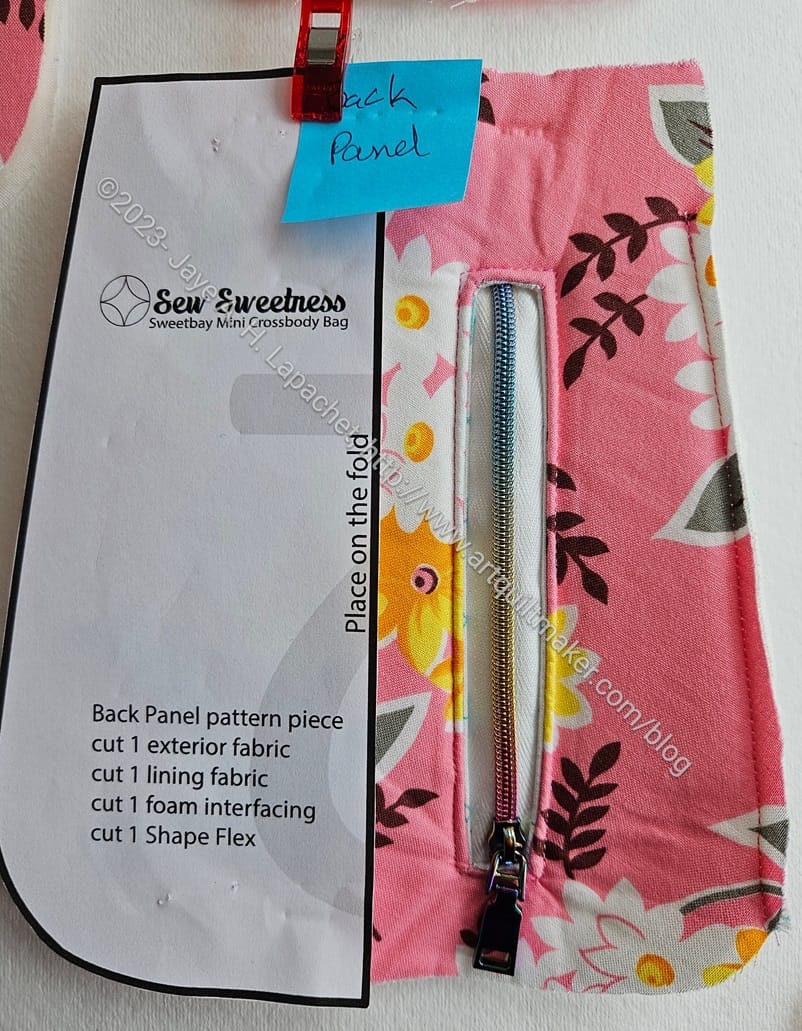
Sweetbay back zipper pocket
I added to the prep work by adding a vertical pocket in the back flap. Vertical pockets look really cool. I also thought that back flap was the perfect location for additional storage, so I created an internal zipper pocket.
I had to remember how to do it, so I looked it up in a couple of books. First was Lisa Lam’s The Bag Making Bible**, which got me started, but left out (or I couldn’t find) some crucial information, so I switched to The Complete Bagmaking Masterclass** and got the info I needed.
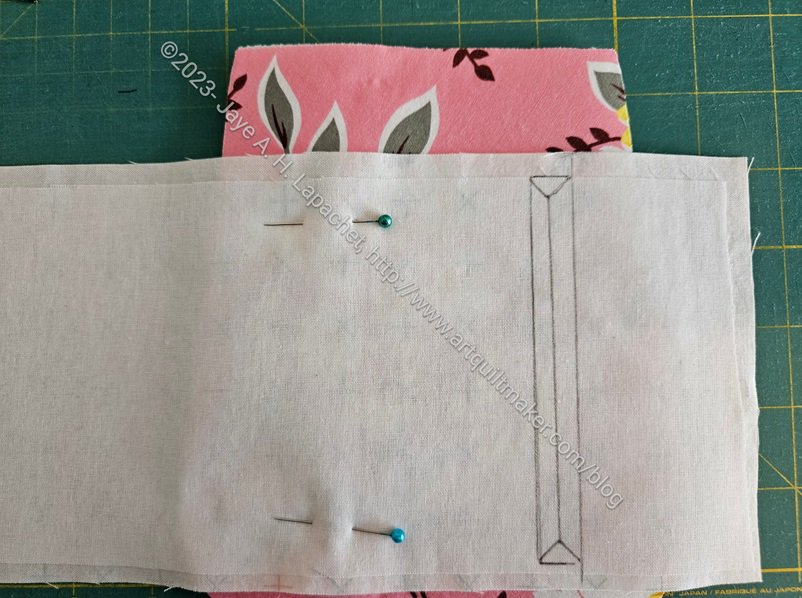
Sweetbay zipper pocket in progress
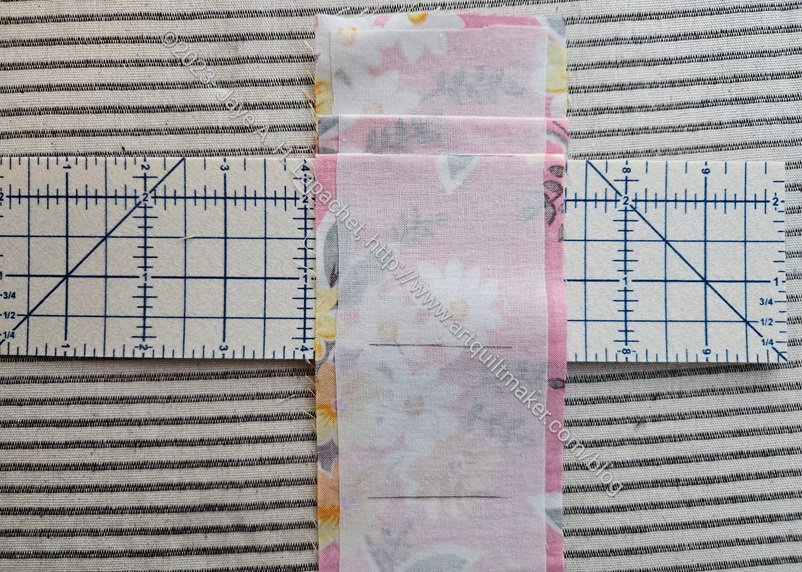
One problem I had, which wasn’t critical was that I didn’t leave enough fabric on the short ends of the zipper pocket. See how there is barely half an inch on each small end? It worked, but it isn’t really enough and I had to be super careful to make sure the foam and exterior fabric got caught in the seam when I sewed the zipper in. It worked, but I sweated! Hopefully, I’ll remember next time.
Once I had all that done I was kind of exhausted. I am very pleased that I am making progress and keeping up with the Sew-a-long.
**N. B. : Obviously, you should shop at local quilt shops and small businesses. However, if you are too busy or can’t find what you need there, I use Amazon affiliate links and may be paid for your purchase of an item when you click on an item’s link in my post. There is no additional cost to you for clicking or purchasing items I recommend. I appreciate your clicks and purchases as it helps support this blog.
I finished the third Piebald in time to give it to my friend. This one looks quite fat and squat. I didn’t even plump it up for the photo. Isn’t it funny?
I was able to fussy cut the flap and front panel again, which makes the flap look good. I was able to get the fussy cutting the right way up on the front panel this time as well.
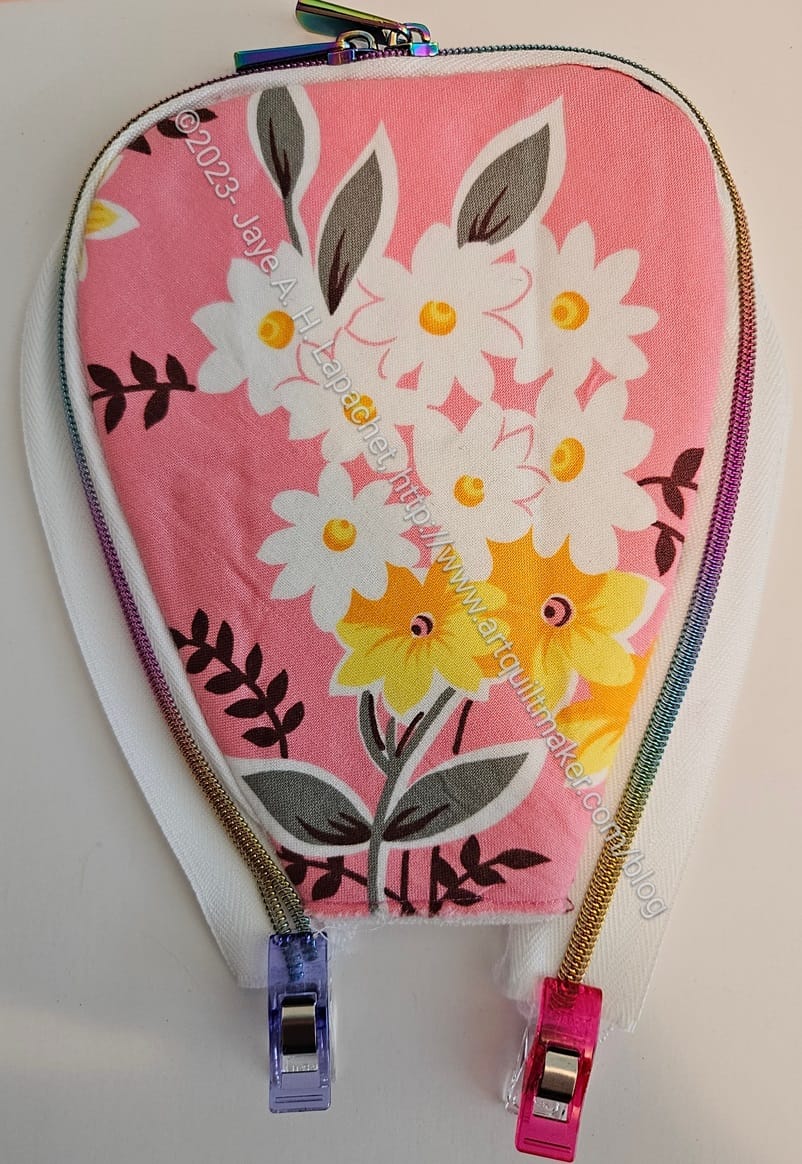
Piebald #3 flap & zipper
I am also really pleased with the zipper. I found some #3 rainbow zipper tape and some smaller zipper pulls. I used them to try adding a double zipper, which worked perfectly. I thought the white tape would look a little weird, but I think it looks fine. I just love those rainbow zipper teeth.
Piebald #3 lining
This time I understood the directions for completely attaching the lining. There is a part you have to glue the lining to the foam on the inside, which I did, but it didn’t work even though I let it dry as described in the video. Fourth time is the charm? We’ll see.
I hand stitched the lining to the front panel, which worked fine.
I didn’t have very much of the lining fabric, but I was able to cut all the pieces I needed with no problem. I also still have some left. I think I had most of a fat quarter or slightly over the FQ size from an original half yard. I don’t remember how much I originally bought.
Piebald #3 lining
I changed the way I assembled the lining as well. The directions say to start out with a quarter inch seam allowance then veer to 3/8s and then veer back to a quarter. I didn’t like the way that worked on Piebald #2, so I used a 3/8 inch seam allowance for the lining of this pouch. I think it fits much better.
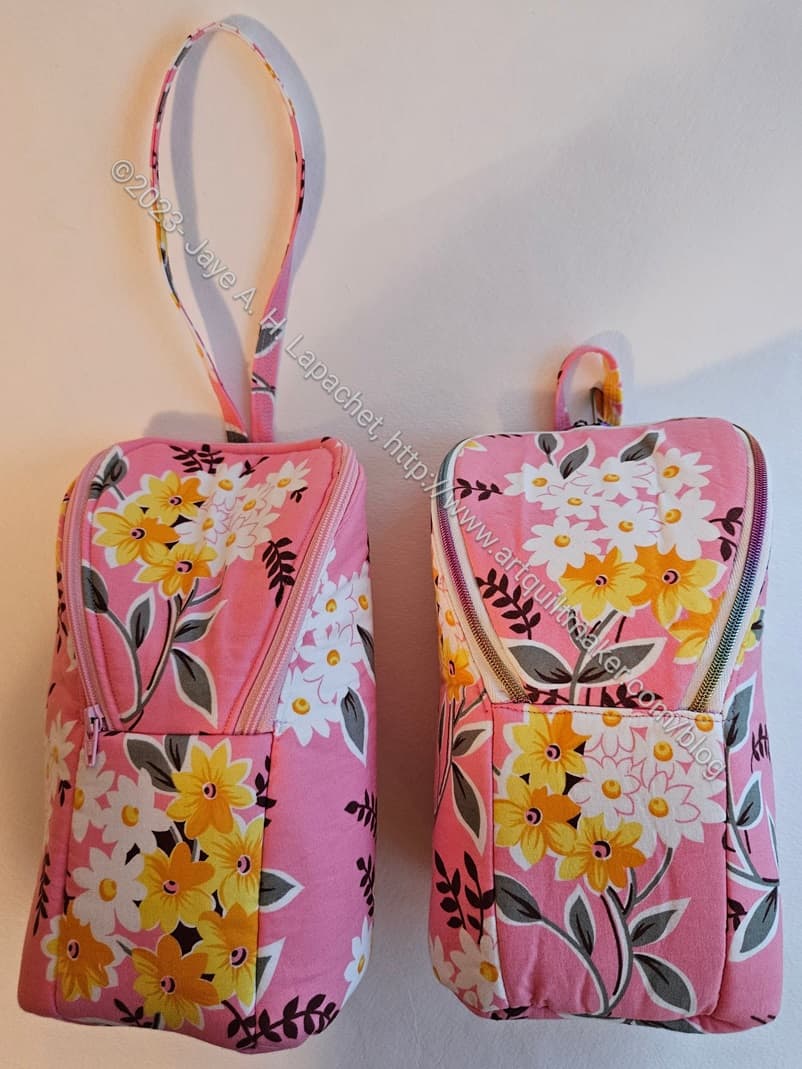
As you can see from the various photos, the strap is much smaller. I measured exactly this time (21.5 inches) and added it as directed. When I make the Cal version I’ll make it somewhere in between the lengths I used on Piebald #2 and Piebald #3.
Piebald #3 full back
Piebald #3 back
Measuring correctly made a difference in the way the various stitching lines lined up on the back. I don’t know why there is so much stitching on the back. Is it for strength or does it just look cool? I’ll measure the wristlet one so the stitching lines line up when the loop is longer.
Piebald #2 and Piebald #3
Both Piebald #2 and #3 came out better than I expected. I wish I could do each bag perfectly the first time, but each pattern really takes more than one try to get it – or get it acceptable.
Perhaps I should make these for everyone I know! I think I will move on to another pattern! 😉
I started another Piebald as a gift for a friend I am seeing on Wednesday.
Aside from the fact that you need to cut exterior, lining, Shapeflex** and Soft & Stable**, this pouch can be cut out very quickly.
I felt like I needed to work on the front again, so I made another one. There is one more I want to make, but I haven’t found where I put the fabric, so it will have to wait.
N. B. : Obviously, you should shop at local quilt shops and small businesses. However, if you are too busy or can’t find what you need there, I use Amazon affiliate links and may be paid for your purchase of an item when you click on an item’s link in my post. There is no additional cost to you for clicking or purchasing items I recommend. I appreciate your clicks and purchases as it helps support this blog.
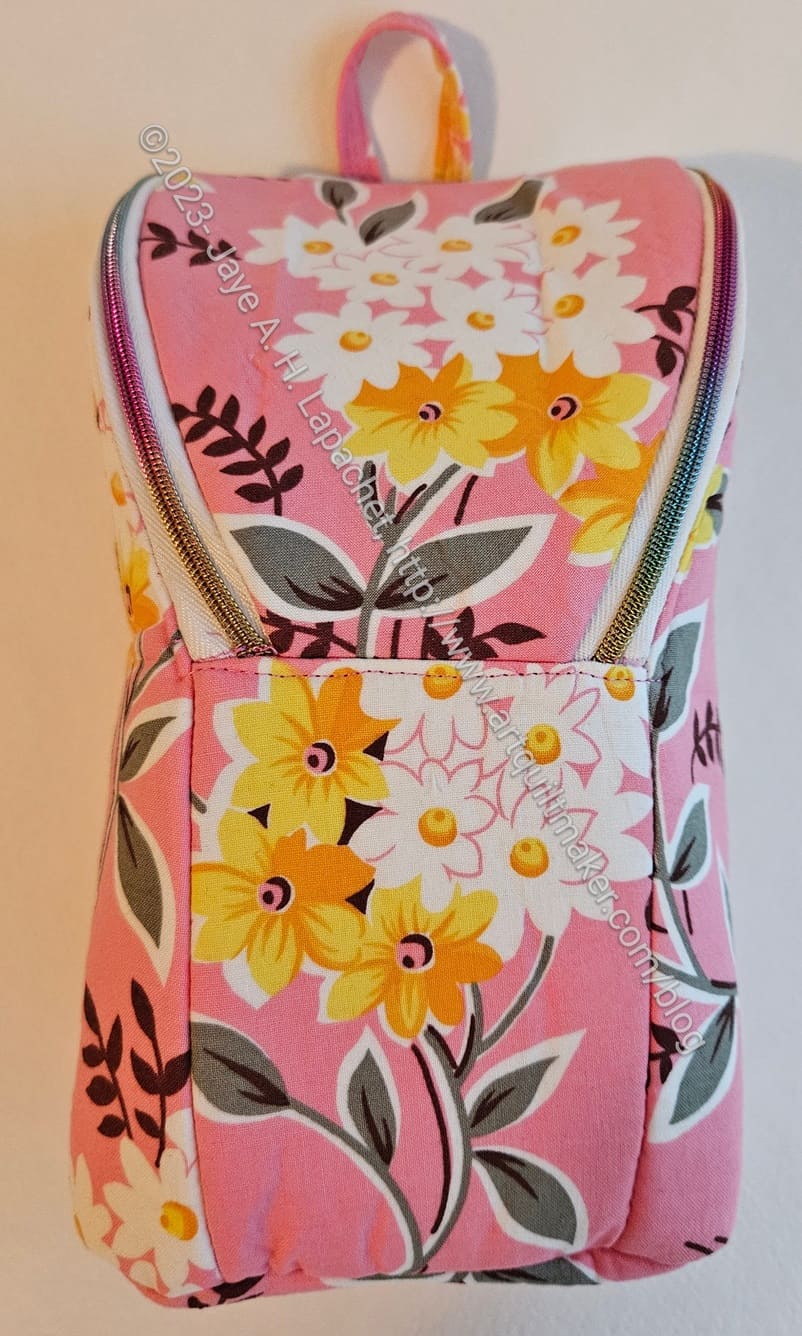
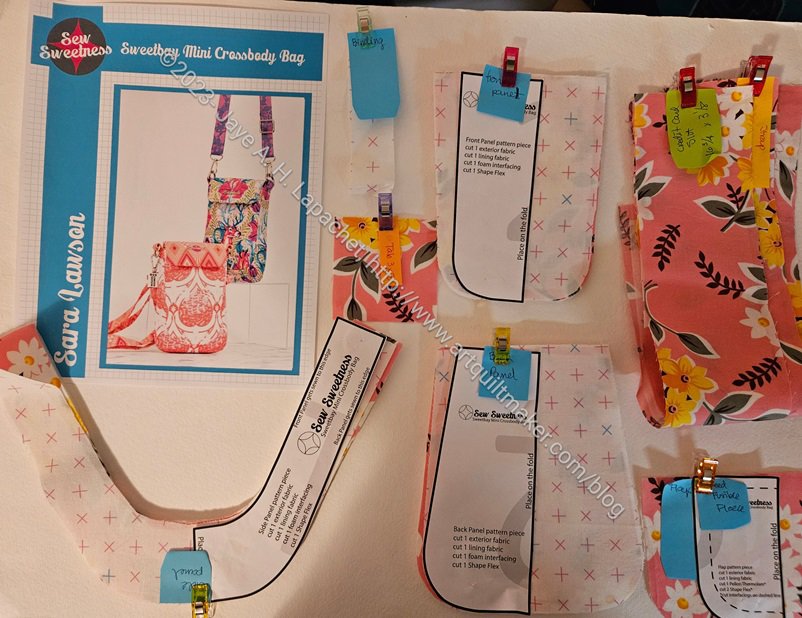
I am making a Sweetbay Crossbody Bag for the Pink Project. The Sweetbay is one of the patterns that Sara released in February. One of the reasons I am making it is because Sara is having a Sew-a-long and I thought that was a good reason to use one of the new patterns. I also wanted to try a smaller crossbody bag. The Daytrip Wallet is still on my to do list, so this will get me closer to that project.
Except for one piece of interfacing, I was able to cut out the whole project, so I am on time with the sew-a-long. Next up is sewing!
This looks like one of the Minikins, but is a separate pattern from the Minikins.
This Pink Piebald went really quickly and I am pleased. There are a couple of techniques I need to practice and some other things I want to do differently to make this pattern more to my liking.
I am super pleased with the fussy cutting on the front. The flap is big enough for a whole spray of flowers, which I think adds a nice look to the pouch.
The front panel has less space, but I was able to center flowers on the whole piece.
Finished: Pink Piebald – back with strap
The back requires a much larger piece of fabric and I didn’t really fussy cut it. I didn’t think it needed the extra care since the back is partially covered by the strap. I did try to center one of the motifs, though the strap means you can’t really see it.
As mentioned, the strap is longer than the pattern shows. I tested it out as a wristlet and I think it will work. SIL#4 knits and I thought it might be a good project-on-the-go bag. I am going to ask her. The audience for this bag won’t really care or notice, I don’t think. I think they will be pleased they can use the pouch as a small purse.
Finished: Pink Piebald – lining
I ended up making the inside (lining) from the fabric I originally planned to use for the exterior. It is a little darker than I usually use, but I didn’t want to waste the pieces I had already cut. I think next time, I will see about fussy cutting a surprise onto the flap lining.
As a reminder, this pattern is from Sew Sweetness and is from Minikins Season 3.