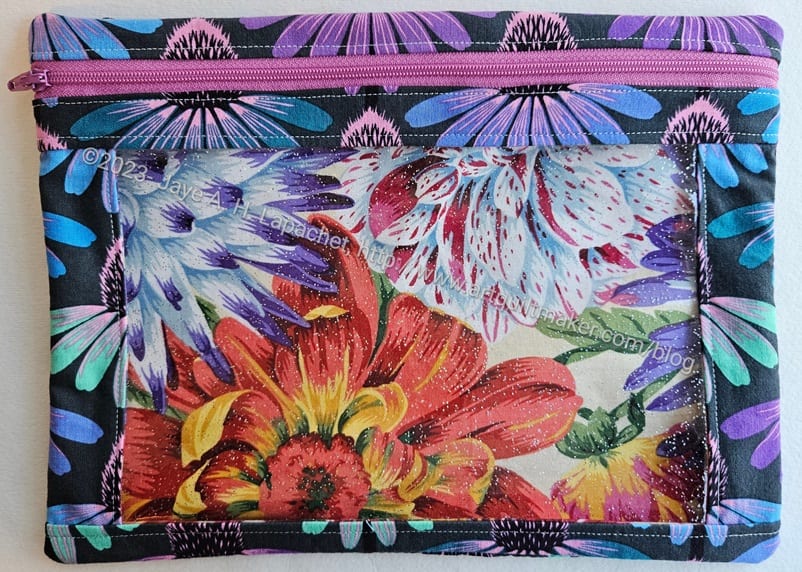
No, this is not pink, but I am still making it part of the Pink Project, at least for the time being. I don’t want to make a new tag for every project I decide to start.
I was so excited by the triangles that I wanted to use this fabric. I think it is a Carrie Bloomston fabric, but I can’t remember where I bought. I am pretty sure it was a recent purchase.
As mentioned, I am doing a blue version as well as a pink version for two different groups to auction off.
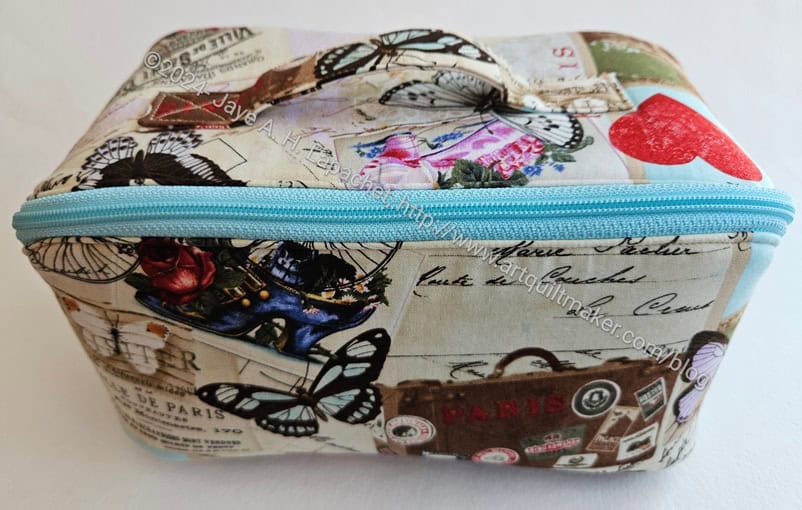
Blue Triangle Cotton Candy – side
I wanted to cement my technique for the Cotton Candy pouch after the mistakes I made with the Slimline Cotton Candy. This is one of the pouches that I made. I decided to make one each for the two projects.
Blue Triangles Cotton Candy pouch inside
While I did better this time on lining up the pieces, I didn’t do as well on the zipper. I am not sure why. It looks really wobbly. Most people won’t notice, but it bugs me.
I wasn’t able to anchor the the sides to seam allowance like I did with the Hildegarde. That might be a challenge for another day.
Blue Triangles Cotton Candy zipper end
I did veer the zipper on one side of this bag, but not on the ‘top’.
I decided to fold over the zipper ends and place them where I wanted them rather than hoping for the best when I was veering the zipper. I think the ends look pretty good.
As mentioned, I started sewing some Cotton Candy pouches at Sew Day. I had cut them out as a reminder after I sewed the Slimline version of the Cotton Candy pouch wrong. I was a little angry at myself, because I want to work on new pouches – patterns I haven’t tried before. Even though I love the Cotton Candy pouch, I have made it many times. I felt, however, that I needed to remind myself how to get this pattern right.
I was pleased with the progress I made at our Special Sew Day. I would have liked to have made more progress, but forgot the zippers. When I got this far, it was time to clean up and go home anyway.
I thought I would try the triangle fabric fabric I bought at Bay Quilts recently and see how I liked it in bags.
Both of these will be for the Pink Project. I know one is blue, but I am doing a second batch for the local Alumnae Panhellenic group and want to use some different fabrics.
I made this Cotton Candy pouch for a friend’s birthday.
It ended up being a ‘slimline’ version as I sewed the side panels to the wrong end of the main panel and had to trim extensively. It worked out and she liked it so no harm.
However, I need to get this right. I have made so many of these pouches that I am shocked and amazed that I made such a big mistake. I am going to make some others to cement the process in my head.
As mentioned, the Hildegarde Notions Trunk is finished.
I have to confess that the end of making the Hildegarde wasn’t as smooth as I would have liked. The Velcro was the challenge.
The photo left shows the dividers in the interior. They velcro to the side strips of Velcro, which I sewed to the lining. The problem is that the I sewed the wrong side of the Velcro to the sides. It was the same side of the Velcro that I used on the dividers, so the dividers didn’t stick very well. Yes, I should have checked I had the right part of the Velcro, but I assumed. Always a problem.
Resewing the Velcro
The Hildegarde looked really good, so I thought about not changing out the Velcro. I decided, in the end, that I would never be really happy with it-and I really like this bag, for once-, so I ripped the lining apart and sewed the correct Velcro sides to the lining sides.
The Velcro strips are originally sewn before the lining is sewn together, so it is very easy to sew them to the sides of the lining. I used the sewing holes to place the new strips of Velcro and took my time. I didn’t want to take the whole lining apart, so I unpicked as little as possible. I used some washaway tape to hold the strips in place and resewing worked pretty well. Later, I realized I could have changed the Velcro pieces on the dividers, which probably would have been a lot easier.
In my defense, I rarely use Velcro, so I forgot to check that I had the right Velcro side. I won’t make that mistake again. At least I hope I won’t!!
I am glad I did, because now I am super happy with it and the dividers actually work!
Hildegarde Finished – front (closed/exterior)
It turns out I had to unpick the turning opening a second time, because I forgot to put the Peltex in between the lining and exterior. Again, I thought about whether I really needed to do it, but the bag was saggier than I wanted, so I did it. I had to insert the Peltex around the stitching of the lining to the exterior. It wasn’t easy, but it was doable and the bag doesn’t look as saggy. The reason this happened is that I didn’t notice the last page of the pattern! In my defense, half of the second to the last page was blank so I thought that was the end, though I did think it ended a little abruptly. I have made a note on my pattern in case I make this bag again.
This bag has taken a long time to finish. I am not sure why, because it came out really well and I really like it.
It is quite a large bag, for one with a handle. The finished size is 12.75 inches in length x 6 inch tall by 5.75 inches deep.
Hildegarde Finished – front (closed/exterior)
I am pretty pleased with my fussy cutting. The fabric I chose, a Heather Bailey print called Aflutter in pink. I find it very cheerful. It is from an old line, so I don’t know if you can find it again.
I worked really hard on lining up the birds on the top and in the front panel. I can’t remember doing that kind of fussy cutting before. Sara models fussy cutting on her sample in the pattern.
Hildegarde Finished – back (closed/exterior)
I think the little bit of top stitching on the back looks really good as well. I used pink for most of the topstitching, but there is also a bit of white as well.
I like the plethora of birds on the back.
Hildegarde: Interior with dividers
Remember I said that I thought the dividers were unnecessarily complicated? They weren’t. They now seem super useful. I am glad I took the time to follow the directions and make them. I wonder if I could (should?) put another mesh pocket on the other side of the divider?
I don’t often use Velcro and this application went better than expected. I seem to remember sewing Velcro in the past and having it stick to the bed of the machine or the foot or something. I had no trouble sewing it this time, which was a relief. I think the design using the movable dividers, works very well.
Hildegarde Finished (open/interior)
I found a good place for my label, as well. It is not really hidden at all. I like the placement.
I also like how open this bag is. It is like an ‘open-wide/wide mouth bag. I am able to see everything inside.
Side note: when I went to get a label for this bag, I realized I only had two Wunderlabels left. Another thing for my To Do list.
Hildegarde Finished – front pocket – open
I was pleased with the way the front pocket came out. I think the elastic technique worked out very well. I haven’t tried using it for thin tools, but I will. One thing I was thinking about the design is that the tools stored in this pocket would be available without opening the main zipper. I think that would be a good thing.
I plan to use this bag for notions to take to Sew Day and Retreats. I plan to place it inside the Crafty Carrier . I am not sure how I will use this large open space with the movable dividers. I need a lot more space for long thin tools like pencils, tweezers, etc. Rotary cutters will go well in the mesh pockets, I think.
I know it seems like this bag is taking forever. It is sort of, but I have been diligently working on it a little at a time in between working and managing the house. This is turning out to be quite the complicated bag. In addition to all the pieces I had to cut there is a lot of other prep before I am able to start sewing the actual bag itself together. Oddly, I am not in rush to finish. Usually, I am, but for some reason I am ok with how long this project is taking.
I am sure it will be worth it.
Hildegarde interior detail
After all the cutting and interfacing, I had to make the dividers. These dividers were a little complicated and I wonder if they were unnecessarily complicated? I guess I’ll see once the whole bag is together.
I am pleased with the front section elastic. I thought the way Sara told makers to put this together was really clever. I am a bit confused about the top part – the ‘slots’ are larger – but I am sure it will work out. I have to wait and see.
This is a Sew Sweetness pattern. It is part of Minikins Season 4 bundle. You can see the various projects I have made from the Minikins patterns on the Minikins page.
I made a little progress at the last Sew Day on this bag. I mostly did prep, which needed to be done. I have to admit that I prefer to cut and do prep at Sew Day. It just means I have less to haul around. I was happy to make some progress, especially progress that was useful.
Hildegarde lid
When I got home I was able to get going on the lid.
I know that the trunk of the tree on the handle doesn’t exactly line up with the trunk of the tree on the top, I am still ridiculously pleased with how this came out. I am pleased with the pink and pleased with the fabric I chose.
Hildegarde lid complete
The next day, I worked on making the whole top/lid. Above is just the exterior.
In the photo, left, you can see the hinge and the zipper completely attached. I think this method of construction is the same one used for the Hackney bags.
Hildegarde mesh pocket
Again, I had some trouble with the mesh pocket. I am not sure why. It could be that I measured wrong somewhere. There was some ripping, but, in the end it came out ok. I really want to try another mesh pocket right away, but it will have to be for another type of bag as I am not ready to commit to another Hildegarde right away.
I know the mesh pocket looks a little wonky, but it really isn’t. I measured the binding on the top mesh carefully, so it would be even on both sides. It just looks a little weird in the photo.
Center Street Quilts has a video for her Stella pouch. I like the way she makes her zipper tabs and would like to try that method next time. I think that method would work for any type of zipper and give me some flexibility as to size. Of course, it would be helpful if I cut everything properly. I always think I do, but I have to explore the possibility that something was too small. Perhaps I’ll cut out the top of a Hackney and try this pocket again while my thoughts are fresh in my mind.
This is a Sew Sweetness pattern. It is part of Minikins Season 4 bundle. You can see the various projects I have made from the Minikins patterns on the Minikins page.
One of the points of the Pink Project is to provide me with a way to test out bag patterns I haven’t made before. A week or so ago, I talked about making some Superbloom totes. I do want to make more Superbloom totes, but I don’t want to miss the chance to test out a larger bag pattern. I decided to make a Chickadee backpack as the main large bag for the Pink Project v2 instead of a Superbloom tote. I’ll make a Superbloom for the other group and also one with the Hindsight fabric.
I didn’t make a large bag for the Pink Project v.1. I used a bag that I received at the last Convention I attended.
The Chickadee backpack is another Sew Sweetness pattern. It came out last year. There is a lot of cutting and I haven’t felt like I had the brainspace or the time to make one. I wanted to, but I also wanted to make some changes:
crossbody strap instead of backpack straps
d-rings so the top handles fold down out of the way
more pockets
I know that it is better to, first, make it as the pattern indicates, thus I thought making it for the Pink Project would be a great idea.
I want to use some of the fabric I bought on my vacation for Superbloom totes. I was really pleased with how the first one came out. I have had plans for another one using the Anna Maria Honorable Mention fabric, but I haven’t gotten around to making it yet. Now I have at least two more I want to make. Good thing I bought the templates.
Superbloom for Auntie
The first one I plan to make will use these fabrics. The far left black and purple linen/canvas is from Bolt. I bought the iris print at Stitch in Ferndale. It is a good choice for my aunt who loves irises. I am not a huge fan of the background color of this iris print, but I didn’t see any others. In general, I know that there is a colorway with a black background, but that won’t work for the lining of a bag.
Superbloom for SMCAP
Next, I plan to start another project like the Pink Project, but for a different organization. This time I will use blue fabrics as a base. The fabric shown will provide good scope for fussy cutting.
The Superbloom tote will be the bag in which all of the other pouches are carried. I don’t know which other pouches I will make yet. I have to make this one first since it will be a great donation even if I don’t make anything else.
Superbloom fabric for the Pink Project v.2
Finally, I will also use this pattern for the Pink Project v.2, I think. It is possible that I will try a different pattern, but for now I am planning on making yet another Superbloom.
I am waffling, because I could use this fabric to try out the Chickadee Backpack or the Cavalcade Travel Bag or any number of other tote bags that I have purchased. We’ll just have to see how I feel.
I spent a little time looking through my patterns to try and resolve my scrap organization problem. Once I found a few I decided to make the Desktop Cube from Minikins Season 1. As mentioned, if this doesn’t work, I’ll make a Faithwell Storage Bin and see if that works better. If neither of those work, I’ll rethink.
The Desktop Cube is a pretty easy project and I was able to make it in a few hours while I sewed with Tim. I am also thrilled to make another new-to-me Minikins pattern. It will beef up my Minikins page. ;P
Desktop Cube with scraps
I brought it home and immediately tossed my scraps in it. Of course, they overflowed even the large size I had made right away.
I am undaunted! I need to process the scraps I have now before I decide that the Desktop Cube won’t work.
Note that I used new fabric for the Desktop Cube! I bought that fabric at Boersma’s last month. 😉
This is Enigma #5. I do like this pattern! I like the way it looks and how functional it is.
You don’t get to see the all the steps, because I have so much to write about and so much to sew that I am just posting the completed bag now.
Paris Enigma Bag – bottom
Lil Sissy was admiring my Peony Enigma bag when she visited us in Portland. She didn’t ask for one, but I decided to make her one any way. Her birthday was July 26, so I had about a week to make it when I returned. I had a week or so in between everything else – niece’s wedding, YM visiting, etc.
I had to quilt the bottom and I am never happy about quilting, but I am pleased with how this quilting came out.
I made two of these at the same time. You will see the other one later. Making the same bag multiple times makes them go together faster, but also means I can pay attention to the details. I was able to select which side panel would work for the top and which would be better for the front without a lot of drama. Since I knew what to expect, I could think about the finer details.
Paris Enigma Bag – zipper end
I also found a good place for my label and was able to add it in the course of making the inside pocket.
The zipper end was a pain, but ending up coming out well.
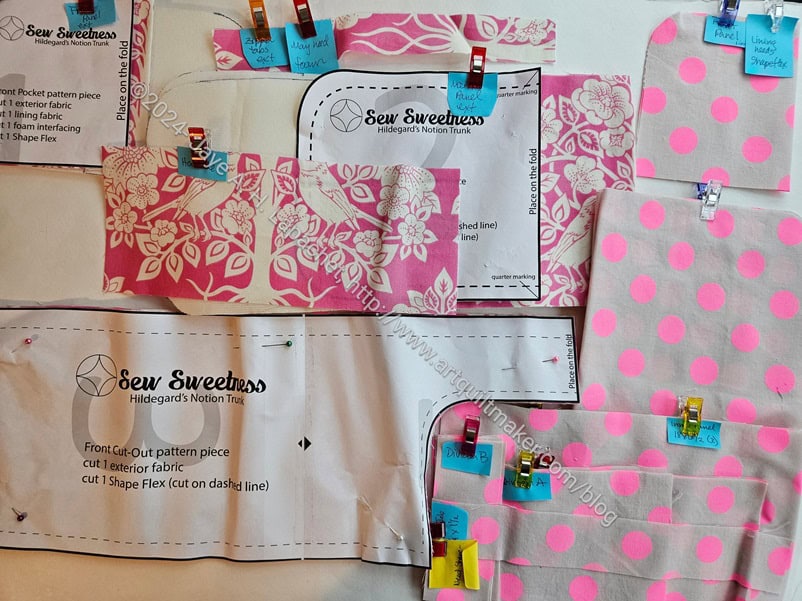
I cut out the Hildegarde Notions Trunk at the MARCH Sew Day, then I didn’t touch it again. I still haven’t, but I wanted to look at it so I took a photo.
Obviously, the project bag is not a picture of the pieces, but I am really thrilled that I am using the project bag even though I think the large size (according to the pattern) is more of a medium size. I need a larger project bag for the Hildegarde, but it is working for the moment.
Hildegarde Trunk pieces
I used some Tula Pink Pink Neon Dots for the lining, which I love even more now that I see them again. I am definitely in pink mode right now and I am embracing that. I also used a Heather Bailey pink called Aflutter that I didn’t have quite enough of to be really comfortable. I asked Amy if she had some, but she didn’t so I just thought I would have to make do, but I found some online. I don’t need more fabric, but I like the idea of making this a really great bag. I might want some of this fabric to do that or make another one.
I am still seeking the perfect bag in which to take my tools to sew days and retreats. I’ll give this one away if it doesn’t work for me.
In case you can’t tell this is a Sew Sweetness pattern. It is part of Minikins Season 4 bundle. You can see the various projects I have made from the Minikins patterns on the Minikins page.
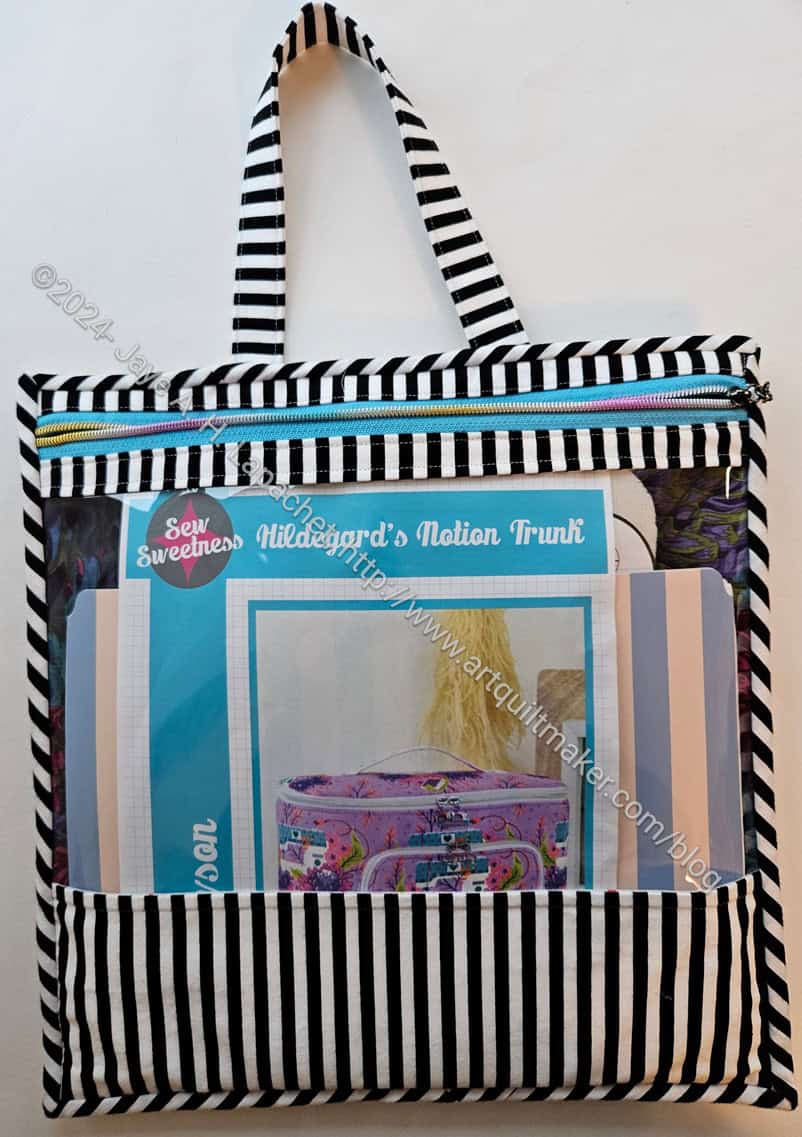
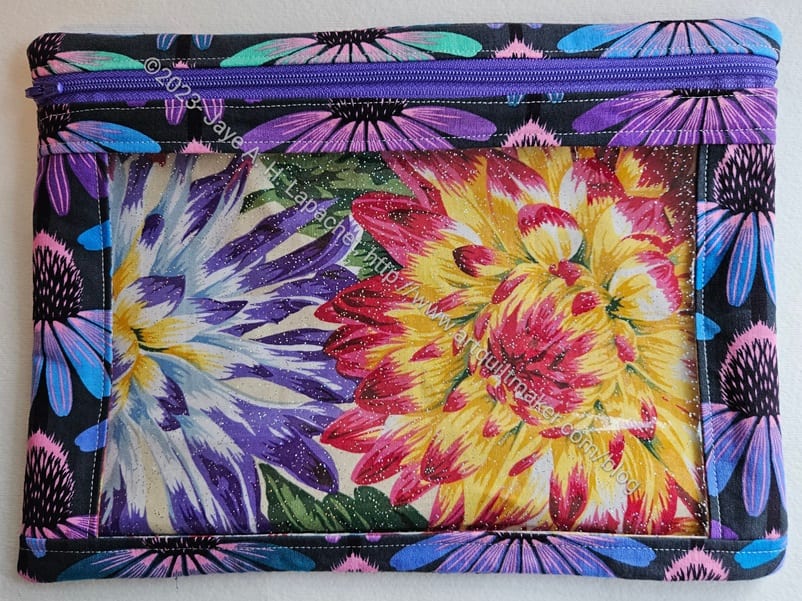
I forgot to post this I Spy back in March. As I have said before, I love making these I Spy pouches. I like both the fabrics I used, but together they are a bit much. ;-).
It is still useful and is now keeping acrylic pattern templates together.
I finally took some time on Mother’s Day to finish this pouch. It has been laying around for a few weeks. It was the perfect project for Mother’s Day. I got to sew AND I finished something.
Palomino Pouch – end
This is the second one of this pattern I have made. It is a fairly easy project, though the turns on the curved end are tight. Again, I did some fussy cutting, which I think looks nice.
I know this isn’t exactly pink; it’s more peachy, but it does show the range of pinks. I am definitely in the “give me bright pink” like the Bluestem Pouch camp. Still, this is a nice soft look
I was also pleased that the gluing together part worked for me this time. I had a better idea of how to do it and I am sure that helped.
The other thing I did was to sew down the quarter marking areas. I did a few steps over the quarter marking to tack the various pieces in place, then I went around the whole pieces. That worked pretty well, though those curves are tight for my machine.
Palomino Pouch interior
The inside looks like an inside.
I used a leftover zipper and one of the zipper pulls from Sew Hungry Hippie. I also forgot to put a label inside. Oh well.