This week we are finishing. You may already be done. If so YAY!!! If not, keep at it! You can do it!
Me? Yes, I am mostly finished. I have a bit of hand stitching of the inside to do then I can say I really am finished. I will put up a completed project post when I am done.
As I have mentioned, I was out of town for part of last week including the time I usually spend sewing. That meant that I had to get back in the groove of where I was with this bag. I found that I rely on regular sewing time to keep me on track. Not having that time completely put me off my game.
It turned out that more ripping was in store for me. I had forgotten to, not only, cut the inside flap piece for the main flap used on the top of the bag, but also to sew it when I put the main flap together. Sara clearly says in Step 17 what to do and I just missed it. Sigh.
I ripped out the Main Flap top stitching, put in the inside Flap piece to line the Main Flap and resewed.
Then I thought I could make some progress, but when I tried to sew the flap to the back of the bag (Step 29) I found that I had sewed the straps too close to the top of the bag (Steps 24 & 25). Sigh. More ripping ensued. I would recommend stopping an 1″-1.5″ away from the top of the back of the bag.
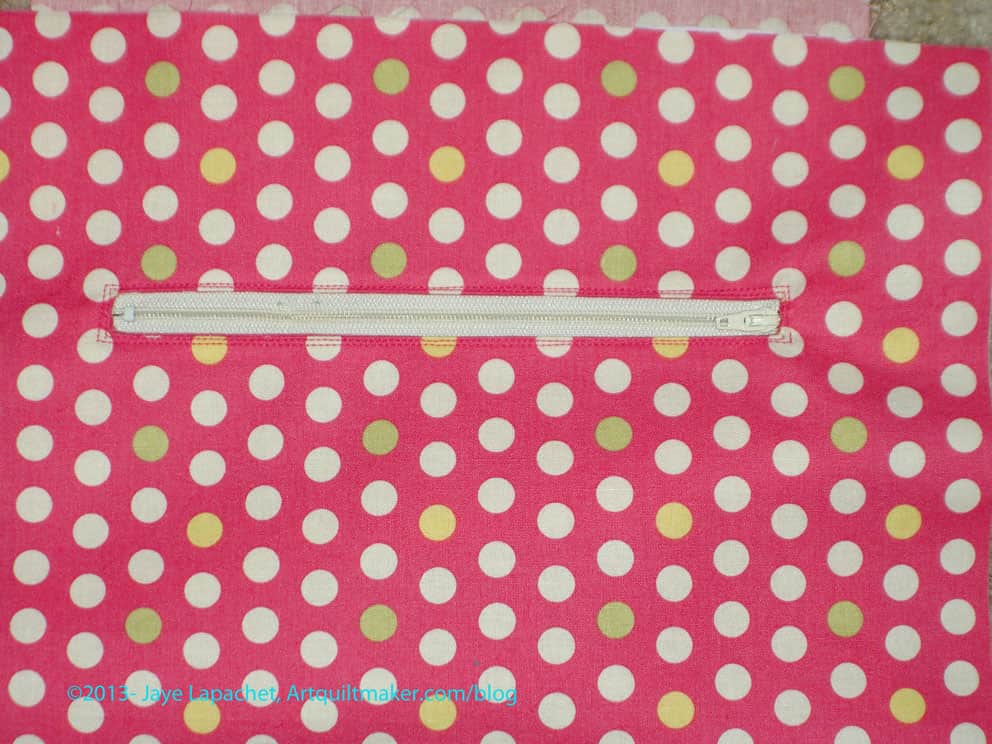
I also started the inside of the bag. The inside of the bag starts with the zipper pocket (Step 33). I did Steps 33-36, which include cutting the opening for the zipper. As soon as I cut the zipper opening, I was sure I had the placement of the pieces wrong. I stared at the picture in Step 33 and the picture in Step 36 and they didn’t compute in my mind. I emailed Sara and she was kind enough to email me back fairly quickly to reassure me. I still was not convinced, but I soldiered on. As she promised, the zipper pocket worked out fine.
Do I seem like I am struggling with this bag? I am a bit. It is really hard for me to read directions and do what they say. I am much better when someone shows me what to. I got through it which gives me an image in my mind. I’ll be able to breeze through the next iteration of this bag. Yes, there will be a second bag. 😉
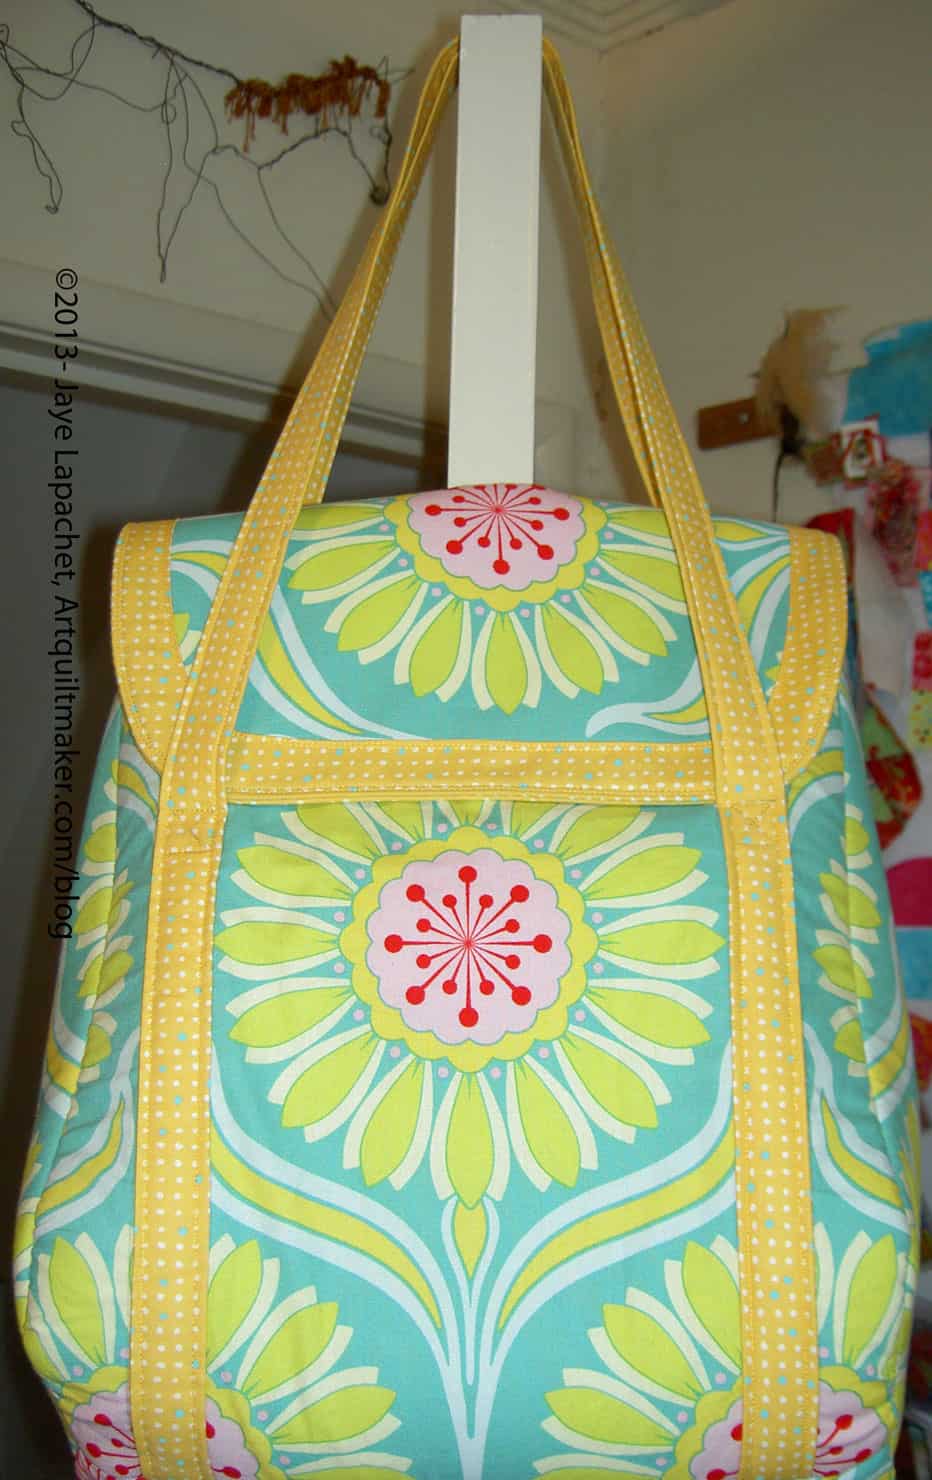
I have to say that I do like the shape of this bag. Good thing since there is so much ripping. 😉
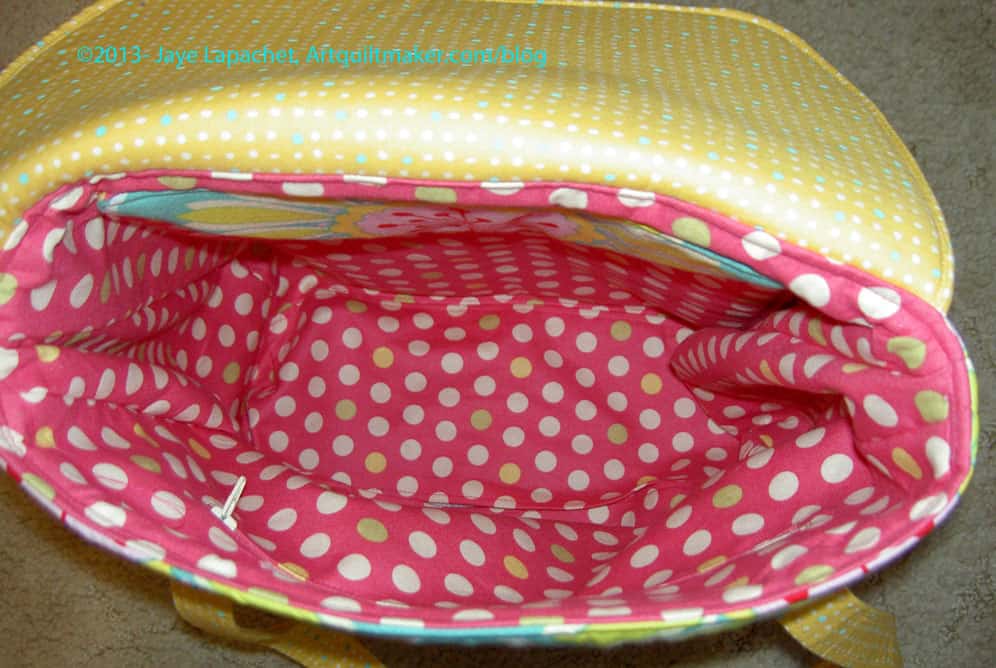
The inside of the bag, which went together very well, after I made the zipper pocket and the padded pocket, seems a little big to me.
More Hilarity
Tutinella made a second Petrillo bag and wrote about it recently. The thing she did differently was add side pockets, which is a great idea. I might add side pockets to my second bag. I may also add inside side pockets.
Another thing I like about this bag is the opportunity to use new products. I have talked a bit about the Soft & Stable, but the Shape Flex is on my mind today. I still have the skirts I planned, to make. One thing that was holding me up was lining. The pattern I have does not call for a lining, but quilt weight fabric is not very thick, most of the time, so I will need something under. I am not sure my clothing skills are up to the task of a lined skirt out of the gate. I got to thinking about the Shape Flex and may try it to give a bit of weight to the fabric and to provide a kind of lining. I will have to give up some drape, so I will need to think about it. Let me know if you have experience with using Shape Flex on clothing.
I have to say that I am amazed at how Sara could have conceived of this bag and the way it goes together. I thought the same thing about the Anna Maria Horner Multi-tasker tote, which is a great bag, if you haven’t made one.
Other relevant posts:
- Sew Sweetness site – Petrillo Bag Pattern
- Sew Sweetness Flickr Group – post photos of your bag here! We have not created an additional Flickr Group
- Various & Sundry #3
- March 18 post
- Pam’s episode 121 where she talks about the Petrillo bag
- Pam’s finished Petrillo Bag post
- AQ Petrillo Bag Along Week 1 post
- AQ Petrillo Bag Along Week 2 post
- AQ Petrillo Bag Along Week 3 post
- Tutinella’s second Petrillo Bag
- Zipper Tutorial from MakeIt-LoveIt blog
For you Tweeps, you can follow Sara at @SewSweetness.
As a result of all this Petrillo-ing ;-), I have no updates to the Star Sampler.