Orange Strip Donation Top Progresses

Orange Strip Donation Top with cut sashing

I spent a lot of time this past weekend getting the Orange Strip Donation Top in shape to bring to the meeting. That means selecting fabric and cutting sashing.

After the success of the Wonky 9 Patch, I became fond of this color combination. I am careful to find the right blue. It really works for me.

I didn’t like the look of the plain alternate blocks in the Green Strip Donation Top once it was quilted, so I opted for a chunky, but thinner sashing for this version. The blue is definitely a bold choice, but I like it.

FOTY 2017 Returns

At the end of a crazy week, I headed over with Friend Julie, to get my quilt from Colleen. Julie and I had planned to have lunch anyway. She was good enough to add 2 hours of driving to her day to come with me. She quickly finished a quilt back during the week and brought a quilt top to be quilted.

All I could do was pick up FOTY 2017. I didn’t have a quilt to bring and no hope of finishing anything suitable in the near future.

FOTY 2017 quilted
FOTY 2017 quilted

FOTY 2017 looks great. Colleen quilted the windows into the columns so they look like buildings like I wanted. I am pleased.

Now on to sewing down the binding and adding a sleeve. The binding is on the front as usual and I will hand stitch it down. The sleeve is made, so ditto.

BAM Meeting – June

I am writing these posts out of order, but I just realized I didn’t post about the most recent BAM meeting, which was before the most recent Sew Day. Lots happened, but some of the happenings stood out to me.

Sue S's Show & Tell - June BAM Meeting
Sue S’s Show & Tell – June BAM Meeting

At show and tell, Sue S (we now have 3-4 Sues!!!) showed a quilt I really liked. It wasn’t difficult, but it was wonderful and used lots of fabrics. The design would also be a great leaders and enders project.

This could be made using the 16 patches the Community Quilts team collects. It could also be started using 4 patches.

I also REALLY like the border. It is very effective. I think Sue S (she made the Casserole Carrier) is working through her UFOs and this was one she worked on while her mom was sick. It is a great example of a good way to relieve stress without eating or watching TV.

BAM Word Quilt Swap - June 2019
BAM Word Quilt Swap – June 2019

The results of the Word swap was also amazing. The variety of techniques was awe inspiring. I thought about participating in the swap for about 5 minutes, then didn’t think about it anymore. People really went out of their way to find great techniques beyond applique or paper piecing. Definitely click on the photo to see it larger. In one of the pieces, the negative space was quilted and the letters left unquilted. Genius!

Orange Strip Donation Blocks

Orange Strip Donation Blocks

I finished the last of the Orange Strip Donation blocks over the weekend. I am pretty pleased with how the blocks look together. As I said in another post, I like the way the color of these oranges look together. They aren’t too garish and are a bit softer, like a Creamsicle look.

I haven’t decided on fabric for the background. Tim gave me a beige-y biscuit color, but I don’t think I want to ruin the cheerful look of the oranges. I wanted a Creamsicle (yes, I am on a binge with that word today) solid, but don’t see one in all the color cards I have. I am going to rummage through my orange bin and see what turns up. I am not adverse to using different fabrics for the background, though I think a solid or tone on tone would be best.

Book Review: Handmade Getaway

Handmade Getaway
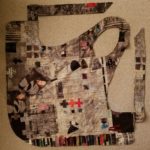
Handmade Getaway by Jacqueline Sava Clarke

I pre-ordered this book at QuiltCon last year. This was a sort of self-published project. Jacqueline Sava Clarke was there doing pre-sales in an effort to get enough funding to finish the book. They also used Kickstarter with great results. A search for Getaway Press leads back to the co-authors’ website, MakeSomething with a hashtag chaser. Karyn Valino is the co-author

I read it as soon as it arrived, which was a few months after I ordered it. It has taken me awhile to get the review posted. The book was on the pricey side, because of the lack of corporate underwriting. I liked the idea and wanted to support some quilt entrepreneurs.

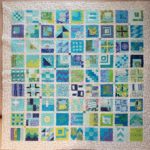
The book is about creating a successful retreat. I have been on many retreats. I love the long stretches of time where I get to sew without the interruption of dishes, meal prep or laundry. Most of the retreats I attend are group affairs where meals are at restaurants or provided by the facility. The Handmade Getaway difference is that the reader is led through planning a retreat at a family cabin or AirBnB-type location.

The first thing I noticed was the fabulous photos. They are not only beautiful but evocative as well. I especially like the photo of the hands basting located opposite the table of contents. The table of contents is extensive. The main sections are:

  • Authors (pg.10)
  • Preface (pg.12)
  • Anticipation (pg.16)
  • Sewing Day (pg.42)
  • The Weekend (pg.60)
  • Long Weekend (pg.96)
  • Week (pg.126)
  • Templates (pg.163)
  • Resources (pg.167)
  • Acknowledgements (pg.168)

Each section is broken down into many, many subsections. Subsections include planning and projects.

The Authors section (pg.10-11) is beautifully written. Jacqueline describes sewing outside and I get an amazing image in my mind of what she experienced.

“These are the place we go when our daily lives seem overwhelming and we need to recharge. …it is often an escape to our handstitching, our sewing machine or our fabric stash.” (pg.12) The words start off the preface. They continue the beautiful writing style we experienced in the Authors section. The Preface tells the story of how the group got started and how they began to organize their retreats (pg.14). One thing I noticed is pets are included (pg.14). The positives of having pets along are discussed, but allergies and fear of dogs is not.

Some terms are highlighted and then show up in other areas of the book as helpful hints or useful tips.

The retreats I have attended have the costs managed by the hotel or retreat center and clearly delineated. that may not be the case if you rent a house, so “it’s important to make sure you’ve got a clear understand of how you are dividing expenses and tasks before you finalize your plans” (pg.19). The page includes a list of financial costs to consider. There are digital versions of all of the charts and worksheets. The link is provided when you purchase the book.

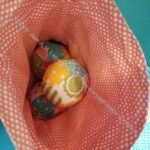
Two charts that are really hand are shown in print form, project planning (pg.21) and food planning (pg.23). The pictures that accompany the food show grilled peaches (pg.22), which I want right now!

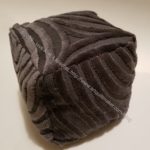
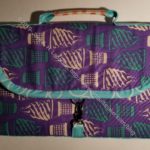
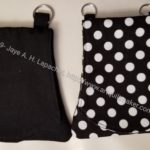
The first pattern is tool tags (pg.27), which would be useful at a retreat where tools get strewn everywhere. The accompanying photo (pg.26) shows how they would be used.

Washi tape is also shown (pg.28) as a marking tool for electronics.

The projects in the book are focused around organizing for the retreat or projects to work on at the retreat. To organize, projects include:

  • Tool tags (pg.27)
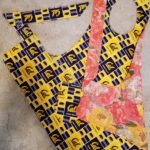
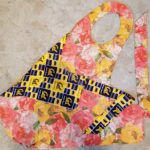
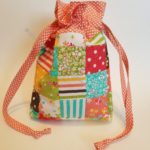
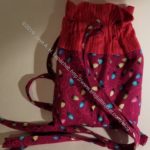
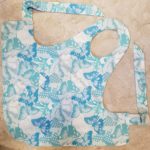
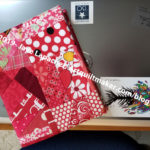
  • Zip pouch (pg.31-33)
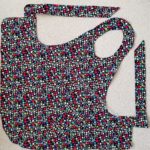
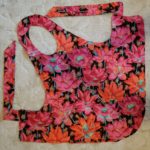
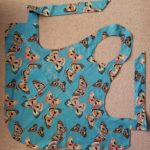
  • Project bag (pg.34-37)
  • Travel ironing station (pg.38-41)
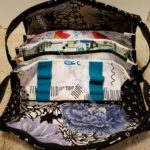
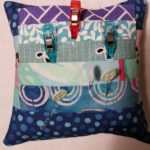
  • Hand sewing kit (pg.46-51)

The first timeframe covered is a single day, like a Craft Day (pg.45). The categories covered are Fabric, Friends and Food. A Hand Sewing Kit project (pg.46-51) is included as a useful bag to bring along. You might compare this particular design to those in Aneela Hoey’s book, Stitched Sewing Organizers: Pretty Cases, Boxes, Pouches, Pincushions & More or one of Sara Lawson’s bags, such as Windy City Bags or her Minikins collections before you decide to make it. There are a lot of good patterns out there. Sashiko (pg.52-55) and block printing (pg.56-59) are put forth as project suitable for one day retreats.

The Weekend section starts on pg. 60. The introduction encourage readers to “list twice pack once” (pg.60) and points out that “sometimes it’s the simplest tools…we forget that cause us the most grief” (pg.60). This is where I like to point out to my students that having a quiltmaking ‘Go’ bag alleviates some of the forgetting. My quiltmaking ‘Go’ bag includes a full set of tools so I can do basic quiltmaking without ever removing a tool from my workroom. Obviously fabric and notions can also be forgotten, but with a quiltmaking ‘Go’ bag you have one less worry.

Again, Fabric, Friends and Food is part of the section. A little more detail on food is included (pg.63).

Weekend Getaway contains a sewing machine maintenance group activity (pg.64-67). This is one of the last things I would do on retreat, but to each her own. Like a lot of things, however, it might be more fun in a group. The issue I see is people having different machines. This activity has basic cleaning tasks such as removing lint and changing the needle (pg.66) which are pretty universal. If have a Bernina, the photos are fantastic. One photo is a reminder to bring your manual. I always ALWAYS do this.

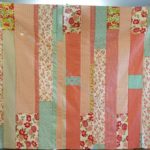
All of the projects relate to getting away from home and the pillowcase is no different. This pattern uses (pg.68-71) French seams, but is not the burrito method I normally use.

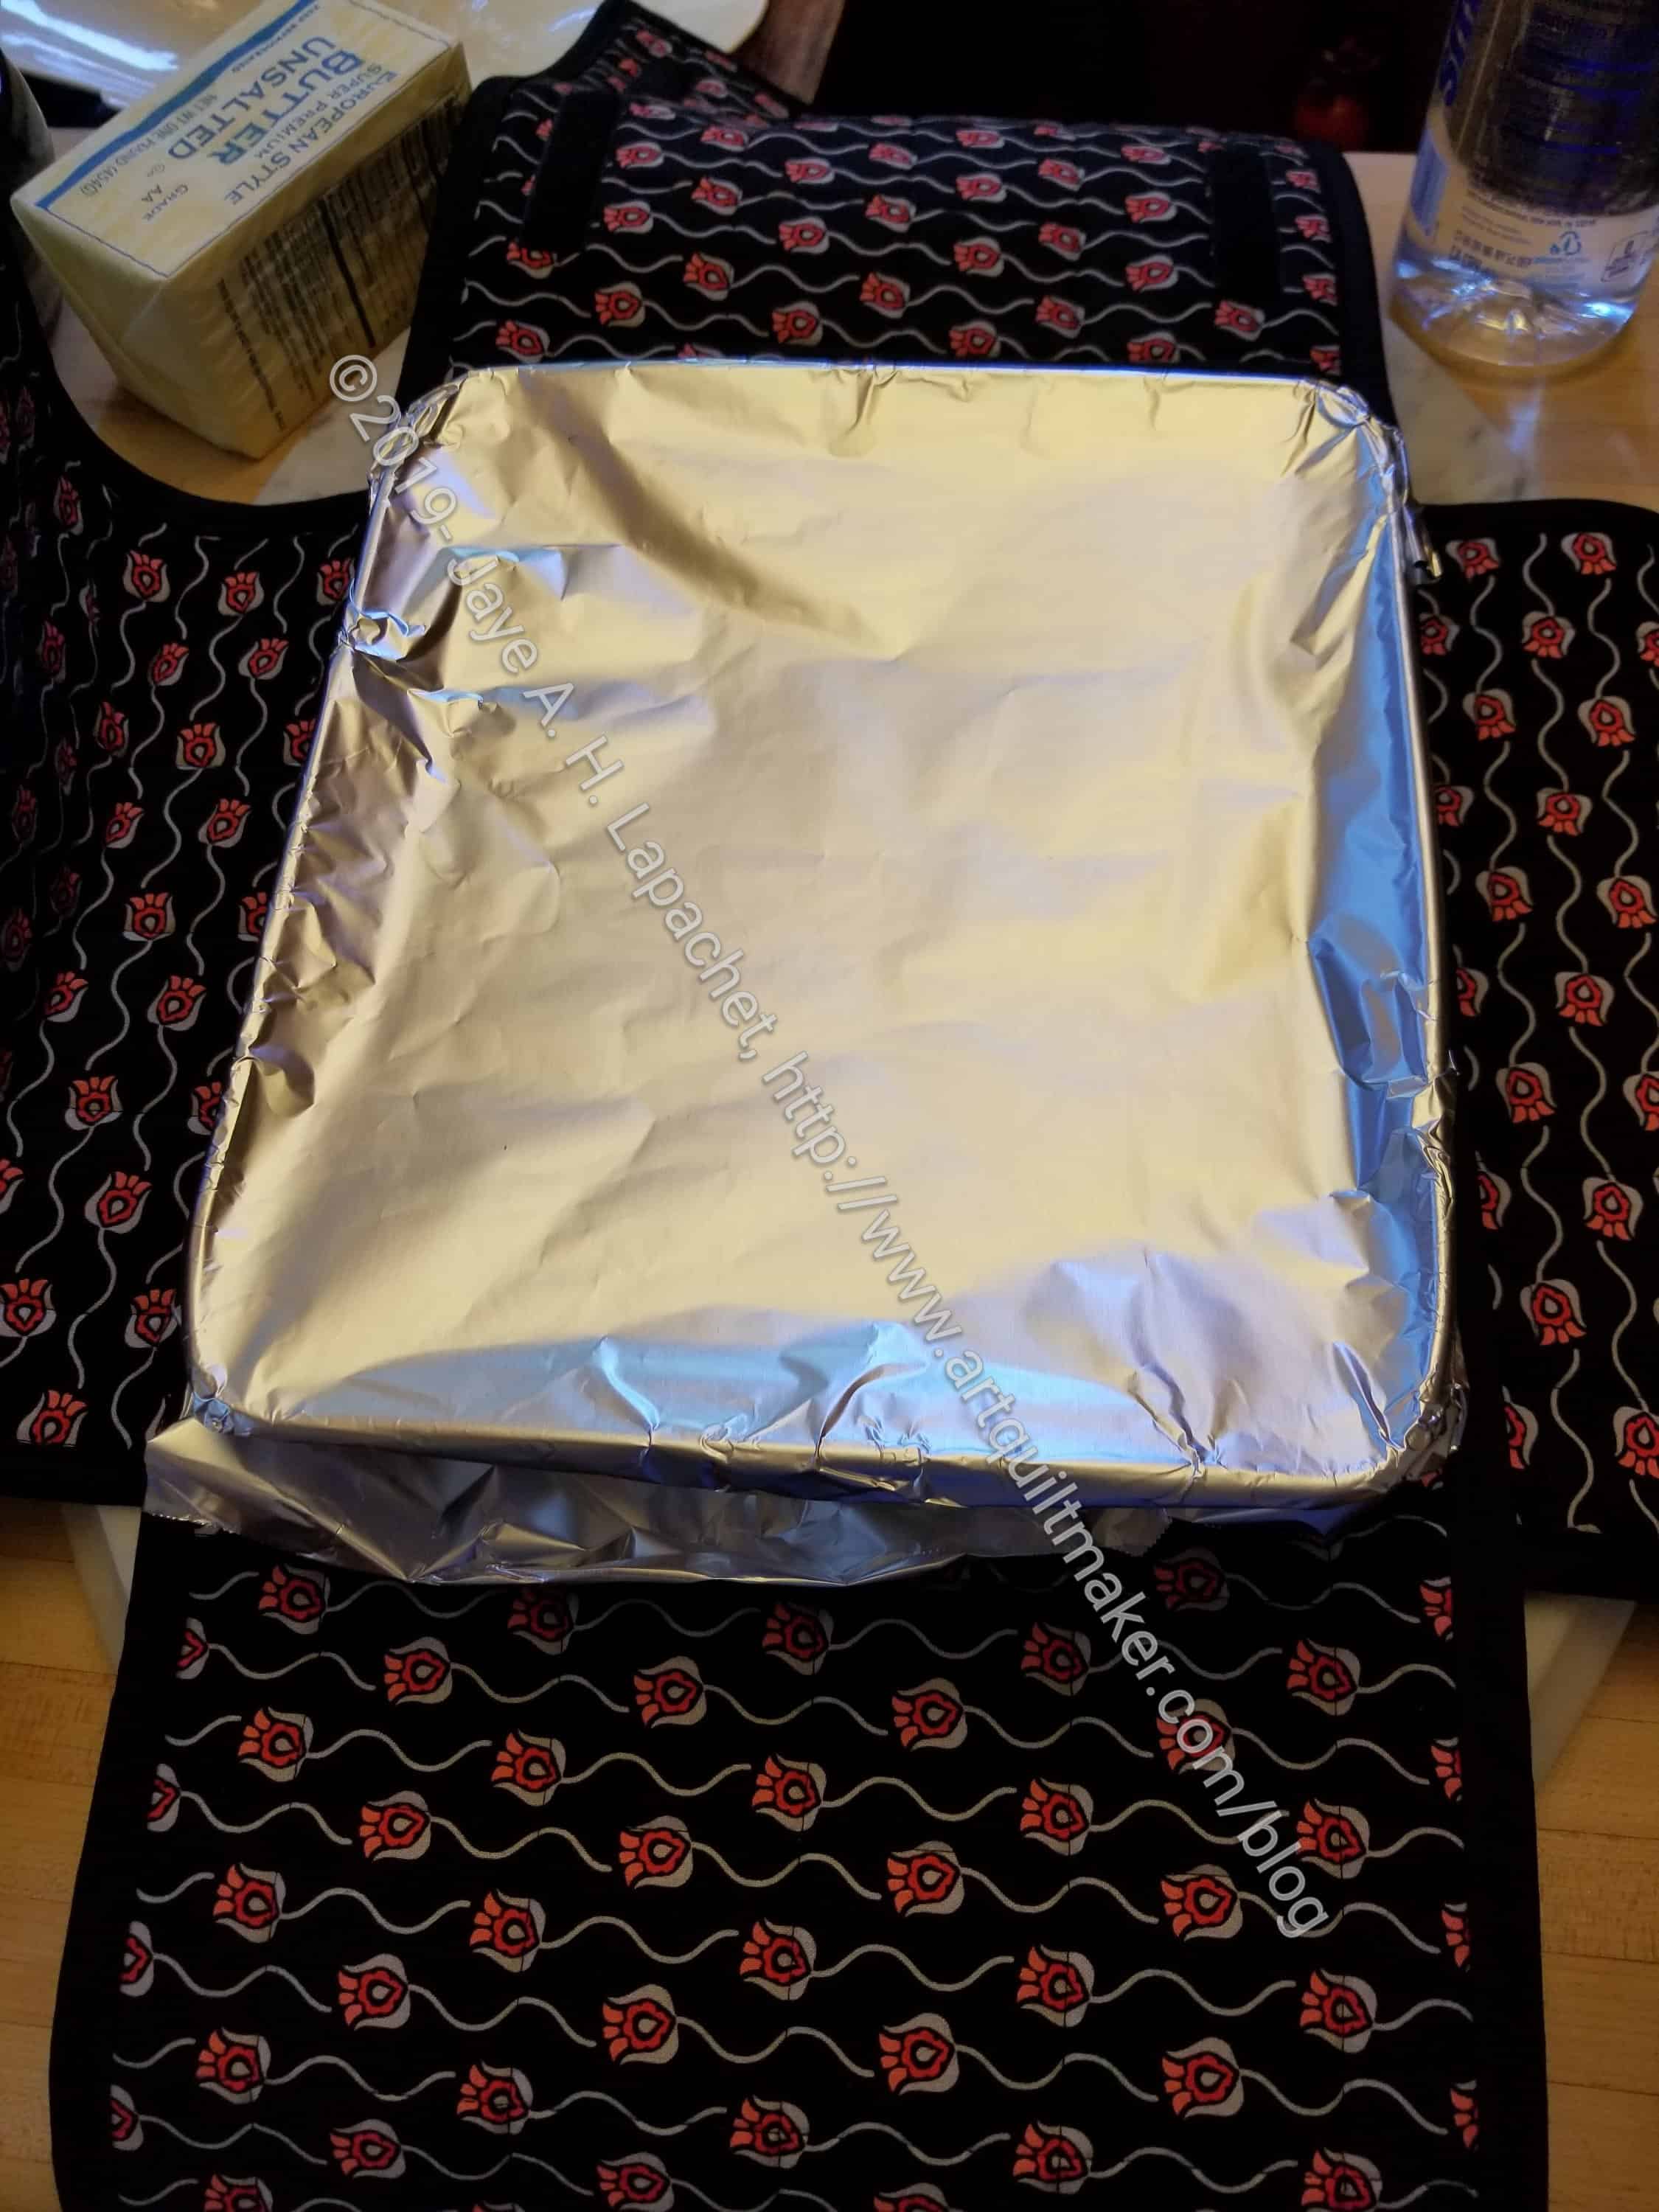
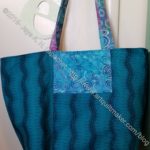
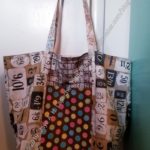
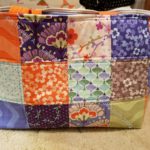
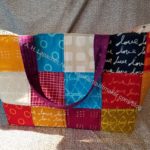
Other projects include designing a notebook cover (pg.72-75), a moving blanket with foundation pieced letters (pg.76-85), using foil transfers to make your fabric different (pg.86-89), and big square tote bag (pg.90-95).

The Long Weekend section follows the Weekend chapter. The blurb on the first page of Long Weekends seems a little like a sales pitch. Who really needs to be sold on more sewing or on a book you already bought?

One of the good tips in this section is about acknowledging whether you are a night or morning person. The paragraph ends with “Relax with some hand sewing, a cocktail or chill beside a puppy. Otherwise you be redoing you work in the morning” (pg.98). Truer works were never uttered with regard to morning people. The section also includes some thoughts on being considerate, ‘Cocktail of the Day’ (pg.99), and sharing fabric.

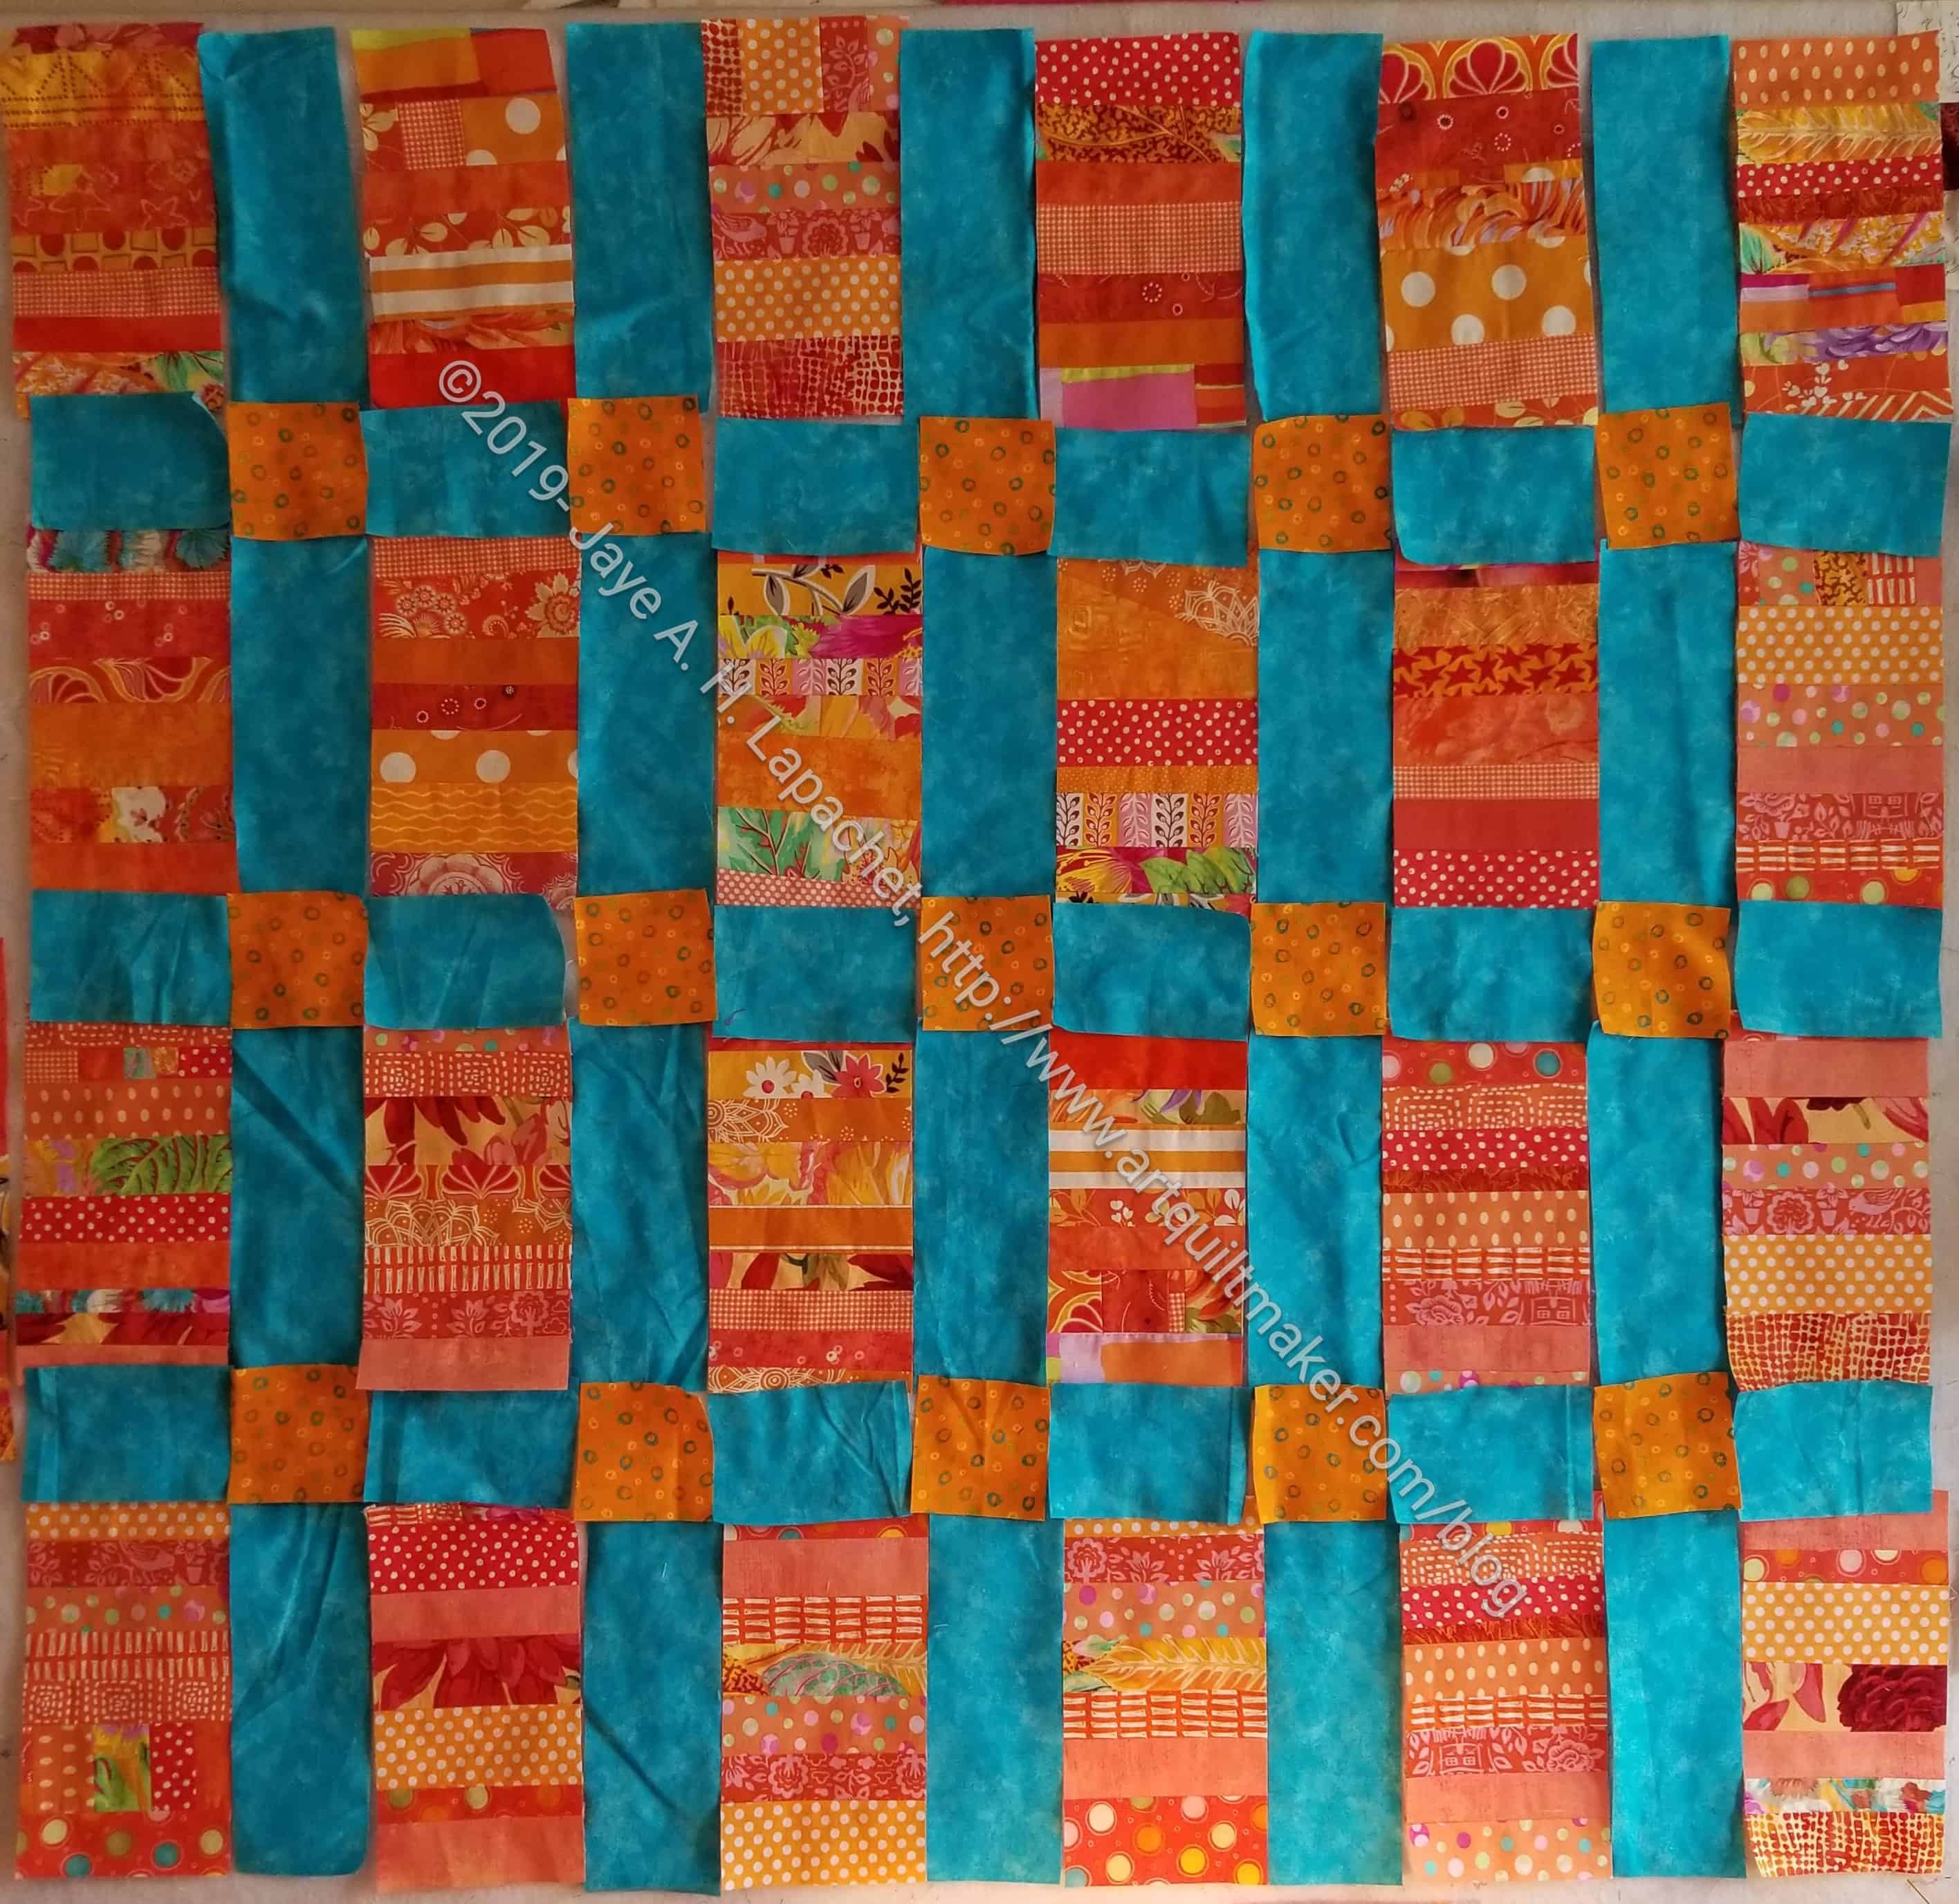
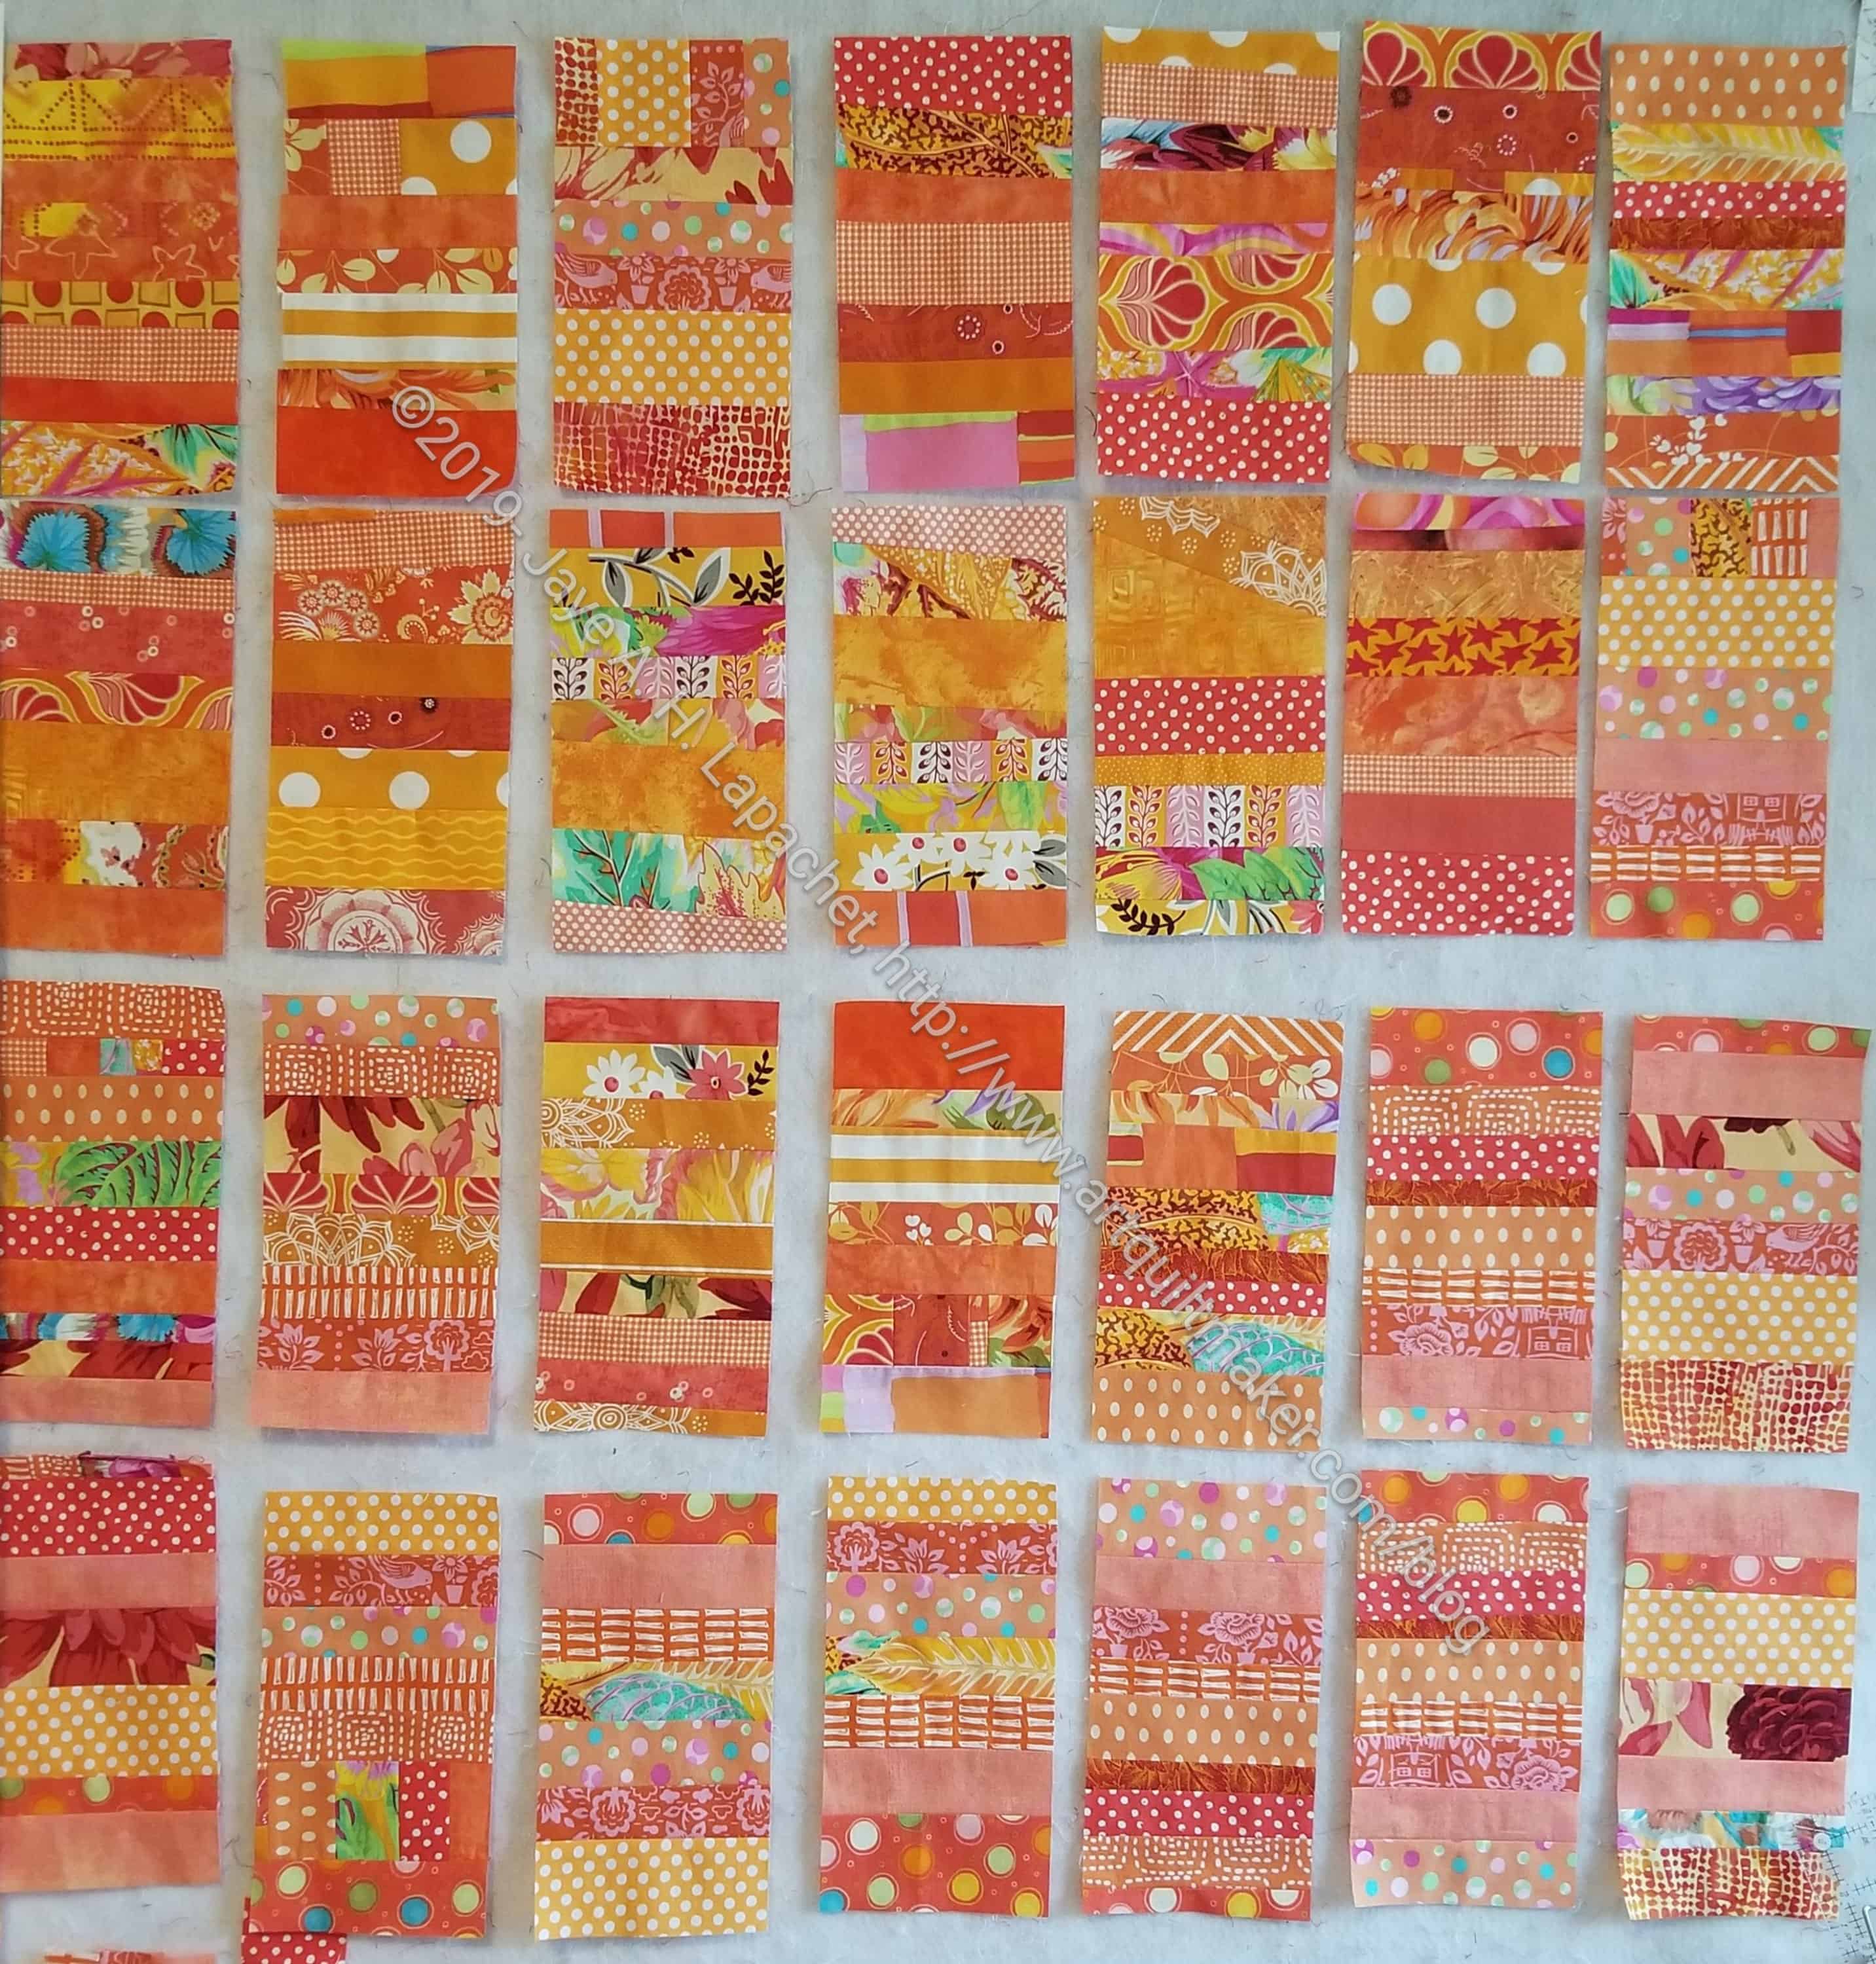
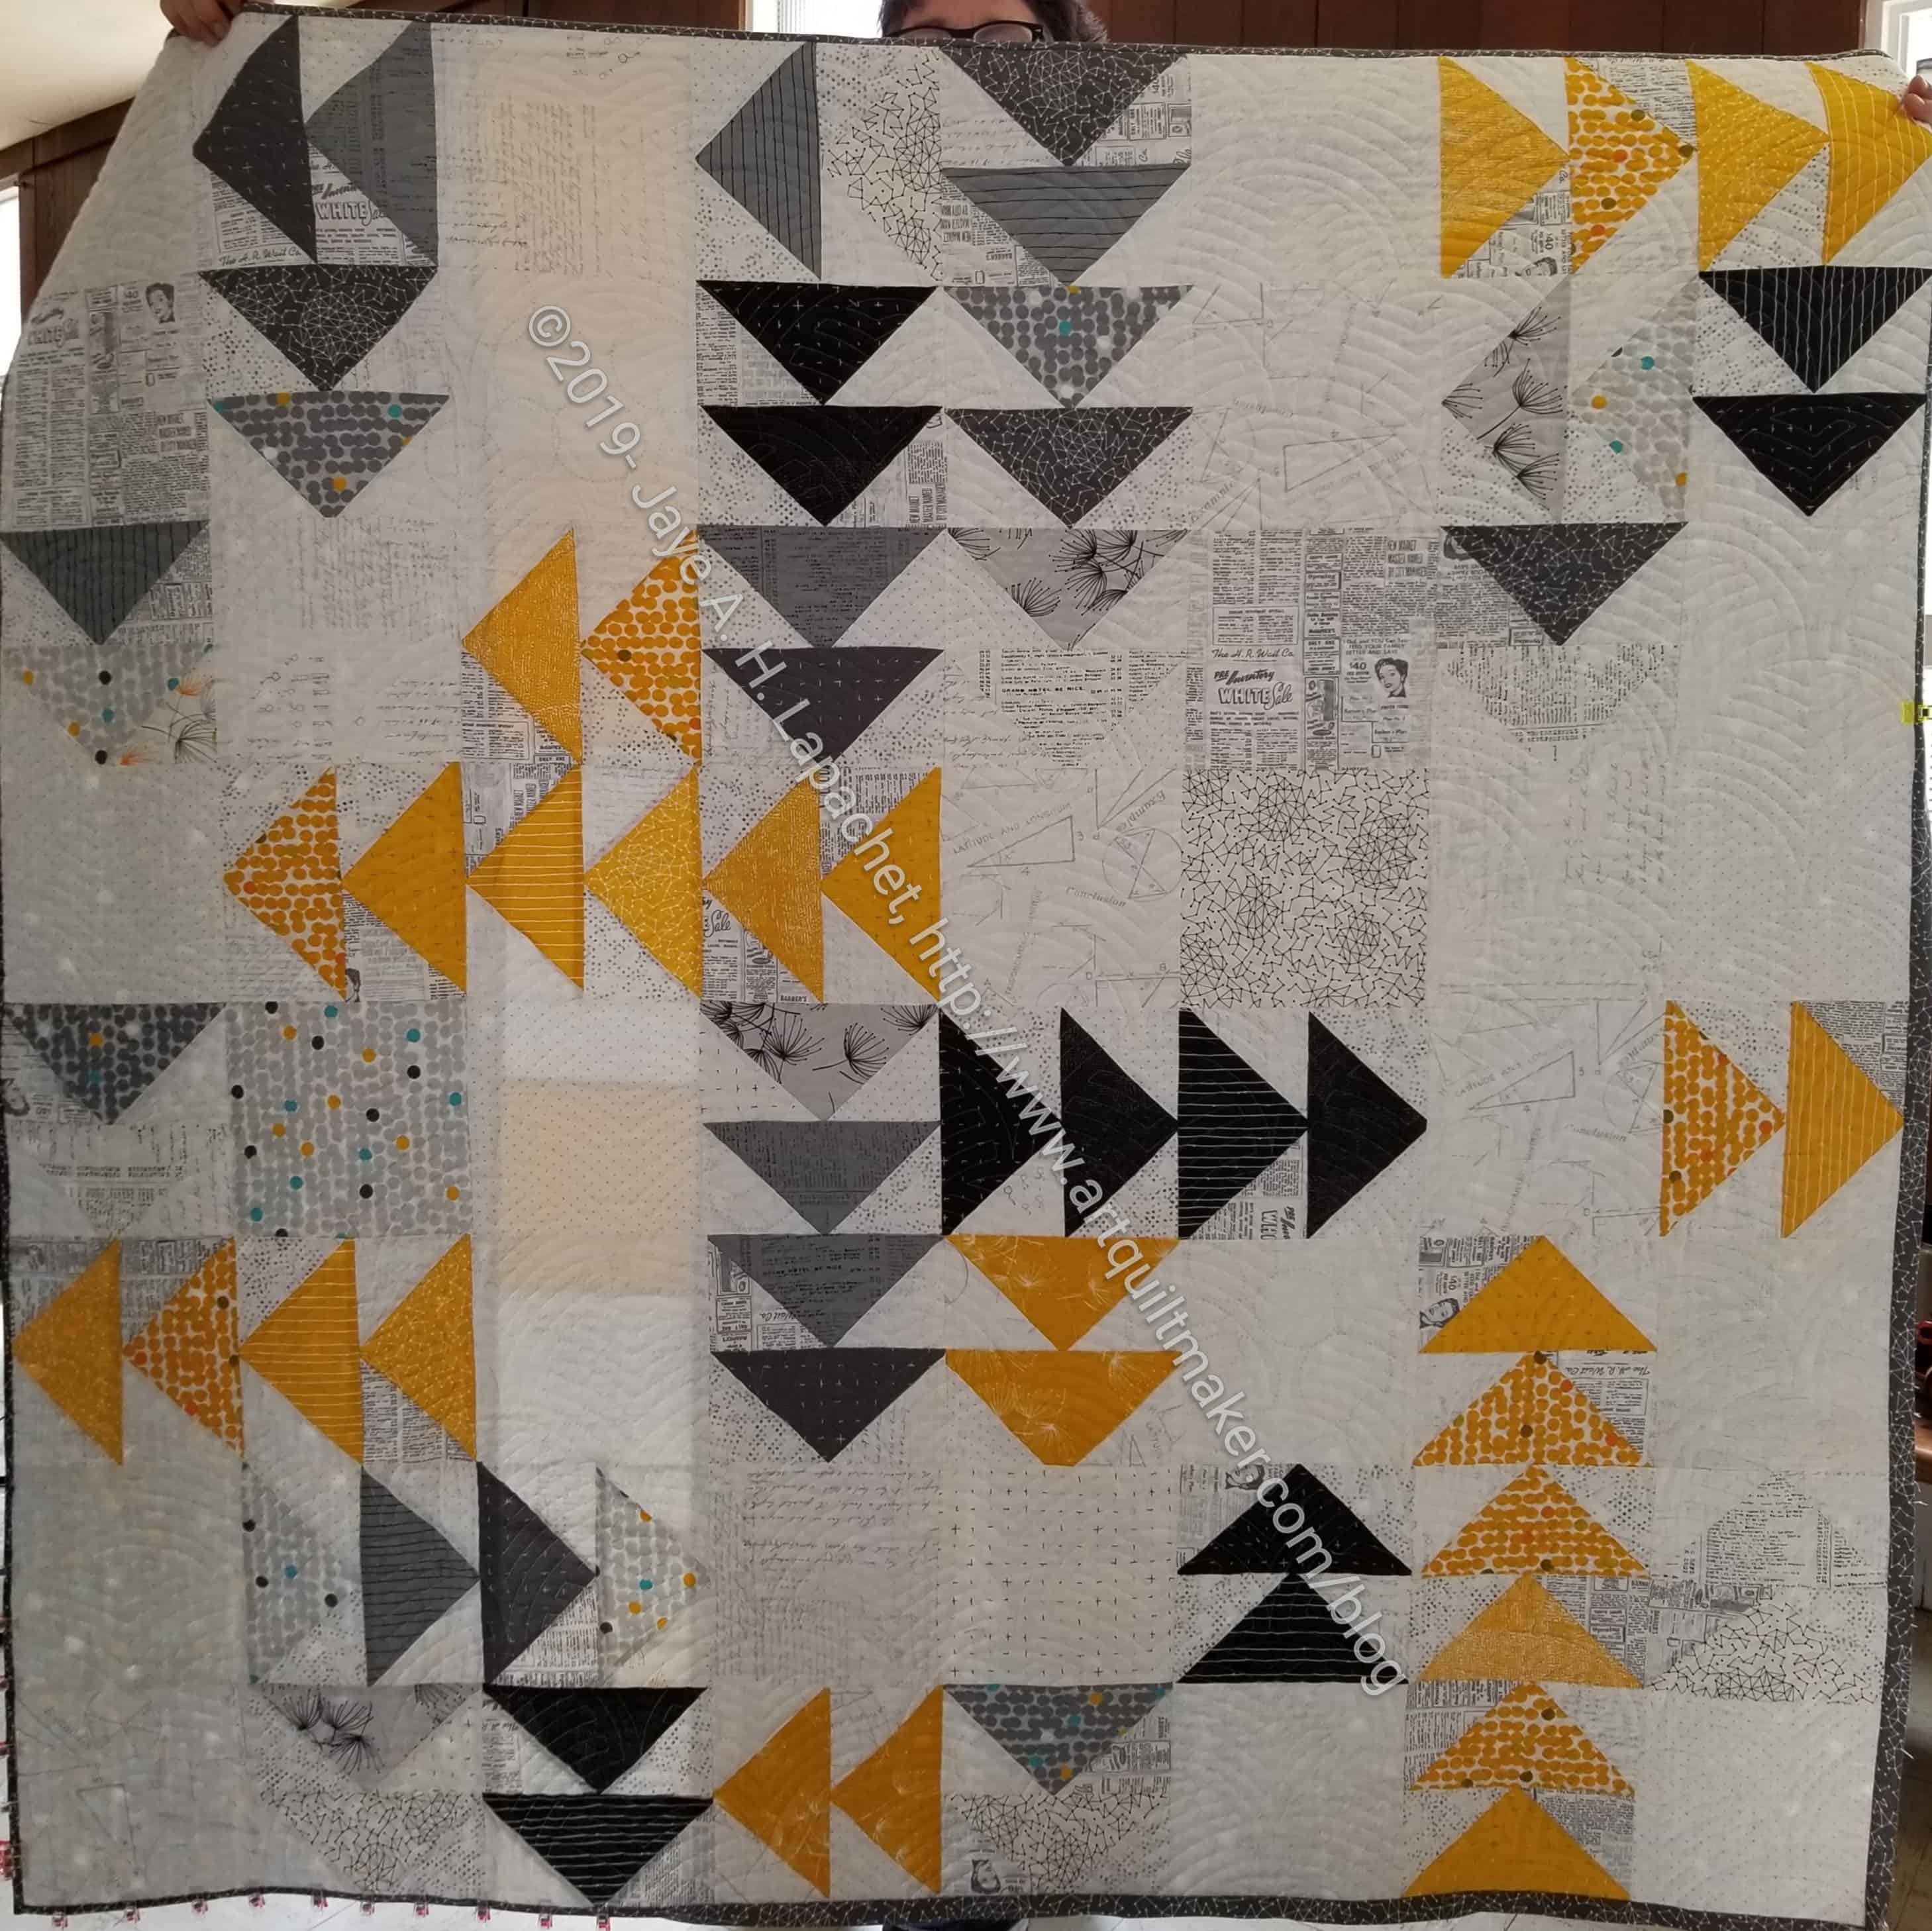
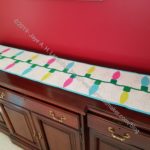
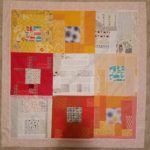
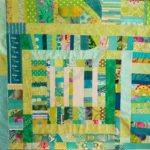
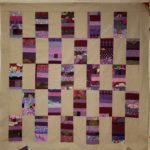
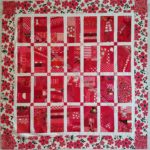
The projects in this section are less about the trip than house stuff in general. Among the projects are placemats (pg.101-107), a quilt using vintage pillowcases (pg.108-114) and directions and tips on creating a group or community quilt (pg.114-119).

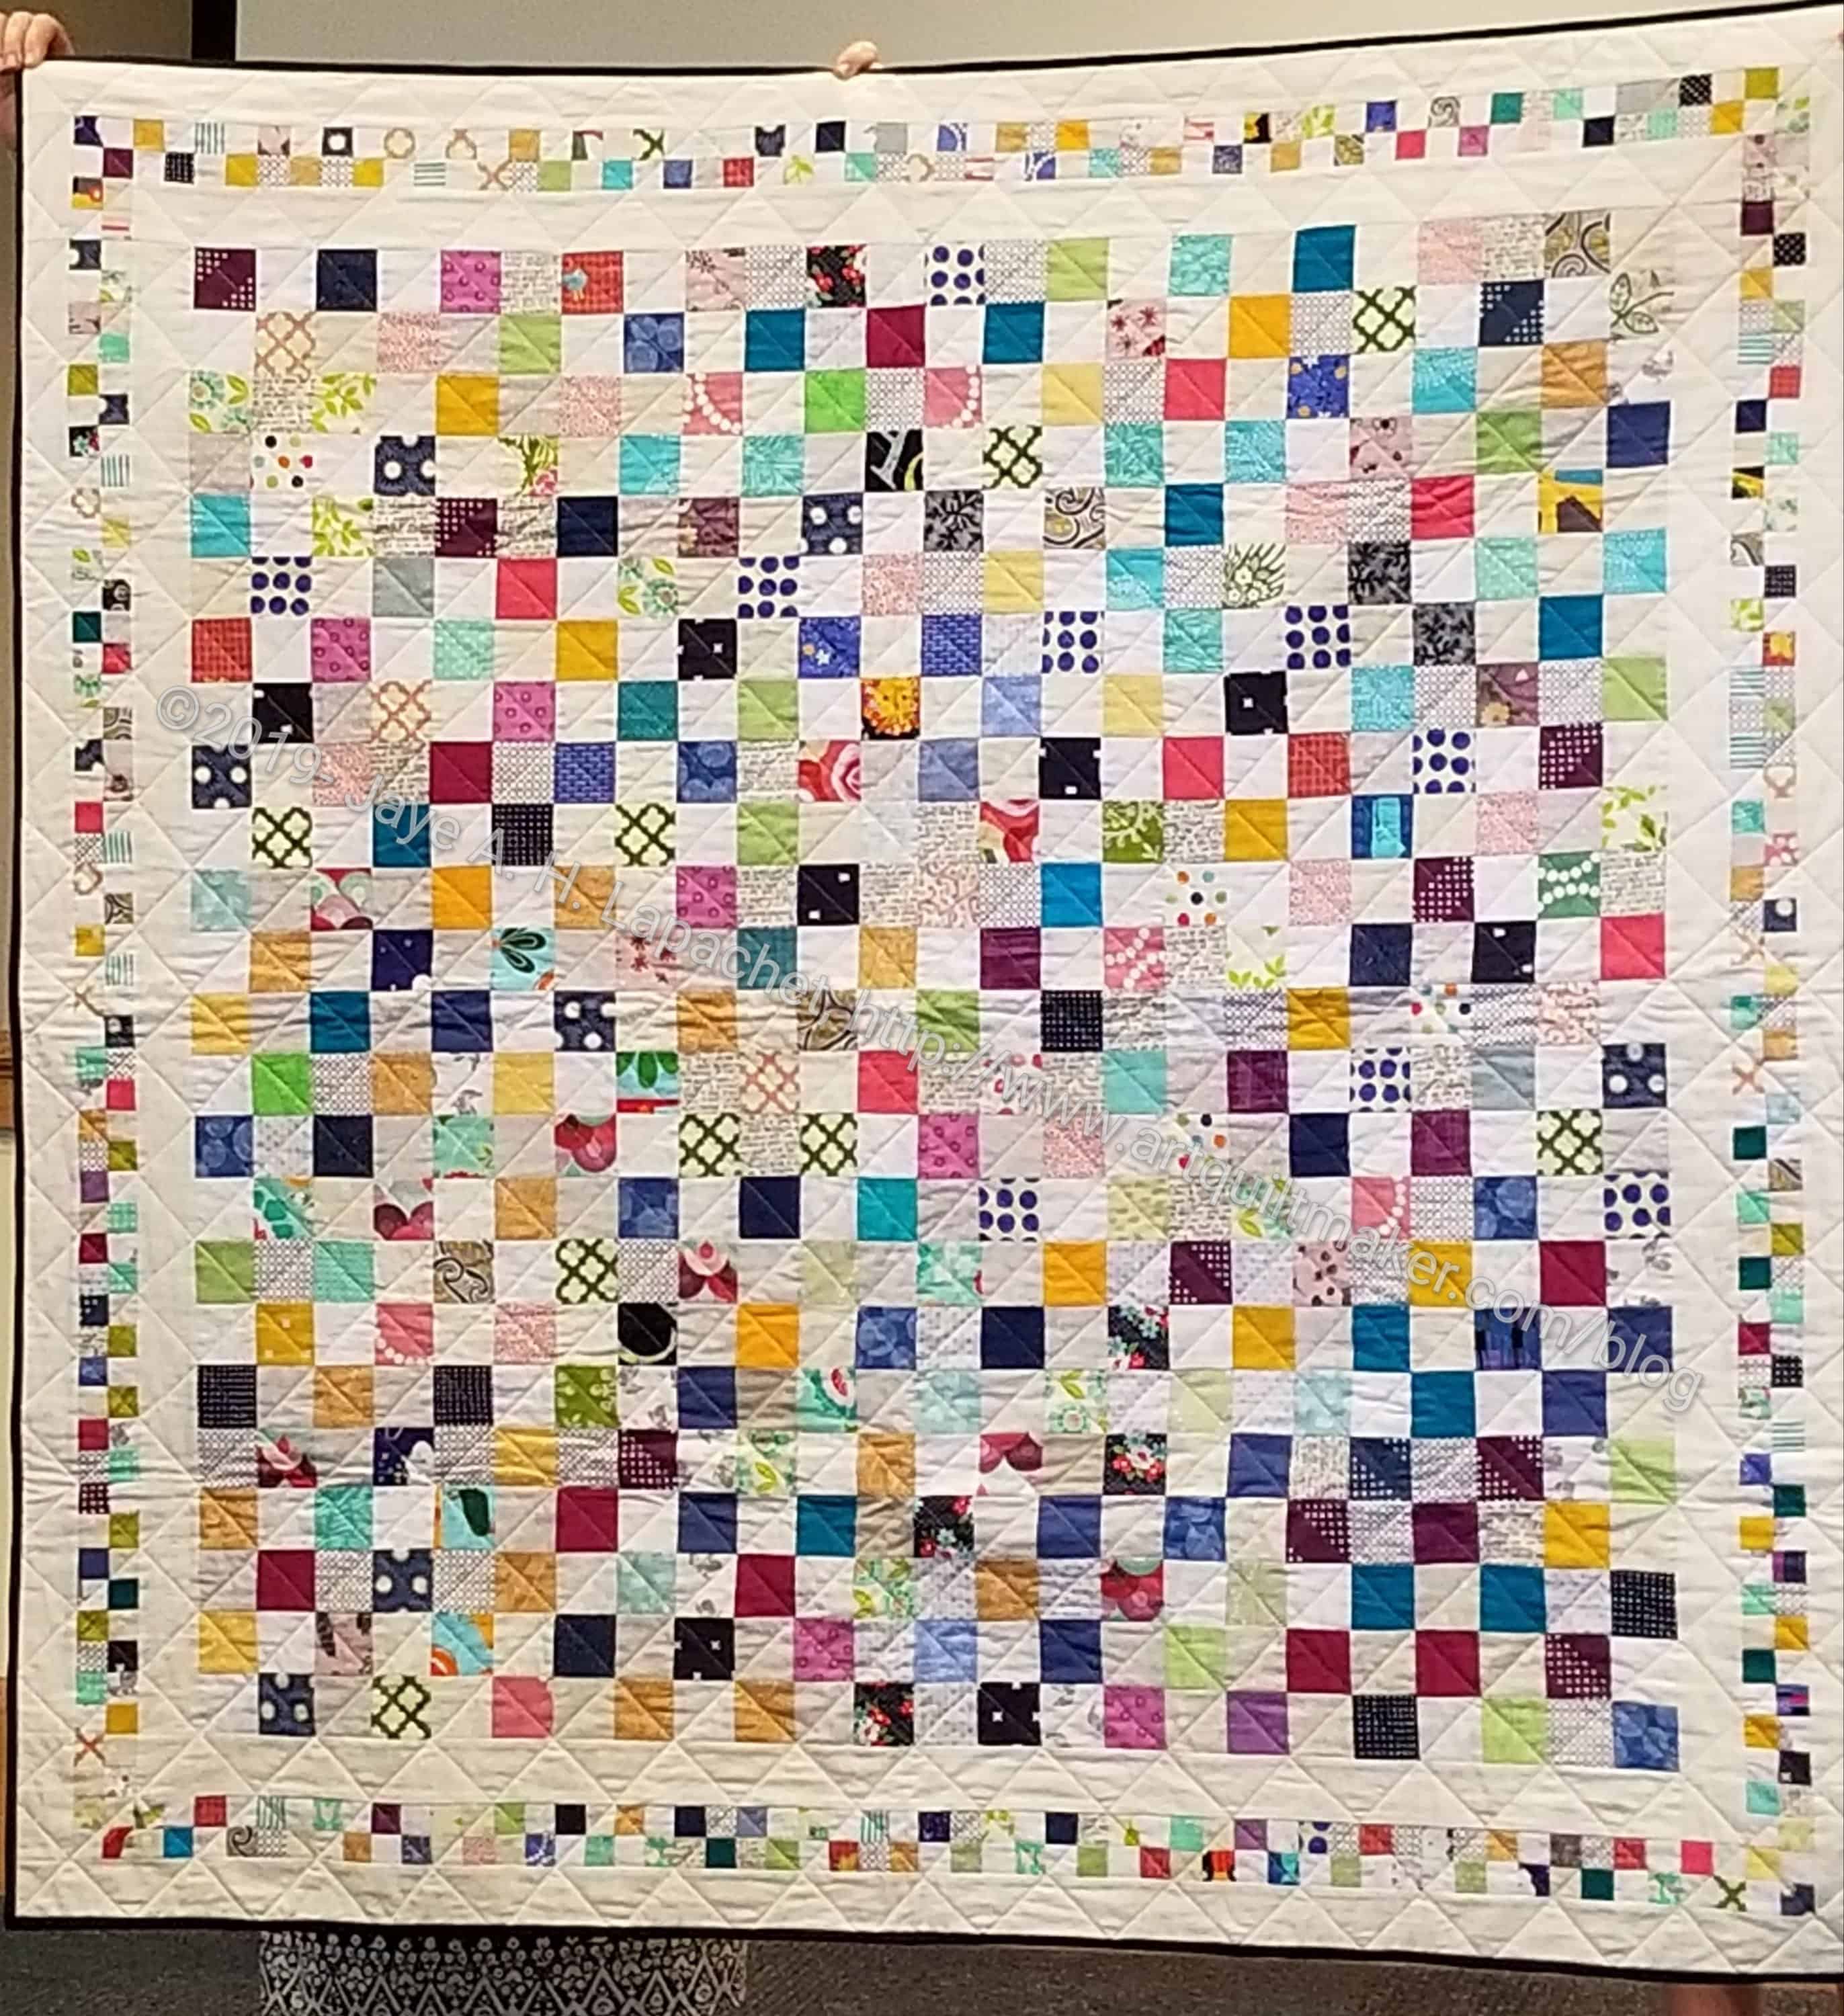
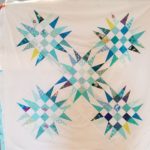
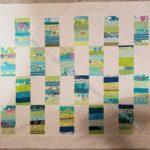
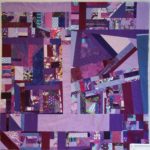
A week long retreat can’t be left out of a book like this. “Four to six days allows for long stretches of sewing…” (pg.127). A lot of the tips from the other sections apply here as well, just in greater quantities. There are only two pages of text before the projects start: a picnic blanket (pg.130-135) and cynotype printing plus a napkin project (pg.136-145). There is also a medallion quilt project that includes pieces from those who can’t join the retreat (pg.146-162). the pattern shows how to make all the pieces rather than telling the reader how to incorporate pieces from afar. This isn’t about composition. It is about following a pattern despite what the introduction says. The medallion quilt also provides the authors a clever way to introduce those who regularly participate in their retreats.

The book ends with a list of resources and thanks yous.

All in all this is a beautifully designed book. The paper and photographs are high quality. I love the self published aspect. The projects are a little different, though presented in a relatively standard way. I would have talked more about working on your own projects and how that works away from your workroom. I think the information about organizing a retreat could be very helpful.

View all my reviews

Half Hexies Again

I have been working steadily on the half hexie project while I watch TV after dinner. I am making progress, but it feels slow.

I have started to make the piece wider by adding whole rows to the straight side of the piece. I can’t say whether I like this method, but it is controlled and does make the piece wider.

Half hexie star top on the bed

Yesterday I heaved the top on the bed and checked to see how many more rows I need.

I don’t normally show my messy bed, but this is the best way to show progress. The length is good, thought I do need to straighten up the top and bottom edges. From the photo, I think I need 6-8 more rows to make the quilt wide enough to cover the whole bed.

Scrapitude Carnivale is under the Half Hexie piece so it might cause some visual confusion.

Arty Flapper Apron Finished!

Paint Tube Flapper Apron

I finished the Flapper Apron for my mom. This is the project I started at Sew Day with Gerre and then worked on at the most recent BAM Sew Day.

I spent a few hours on Sunday finishing it up. Now I can show it at the BAM meeting in a few weeks and give it to my mom after she returns from Portland.

This is a pattern you can use with a yard of fabric. You cut the pattern out on the bias. The biggest attraction is that you only *need* one yard of fabric to make it. I usually make the apron reversible, which takes 2 yards. I like to give myself a little breathing room with 1.25 yards on each side. Still, the pattern is designed for one yard of fabric.

Paint Tube Flapper Apron - reverse side
Paint Tube Flapper Apron – reverse side

The pattern directions say nothing about directional fabric. When I made my youngest SIL’s apron the fabric was directional. I decided not to pay attention to the fabric motif and just made the apron. The motif is at an angle, but SIL didn’t complain. On my mom’s version, I wanted the paint tubes to go up and down. Gerre helped me look at the different options for cutting it out. I was concerned about the bias, but since this is an apron, I decided not to care too much.

I did notice when I was finishing it that the edges are all, now, on the bias. For an apron, who cares? For other types of garments, I wouldn’t make this choice. Also, I top stitched all around the edge, so the bias shouldn’t be an issue.

Read about this pattern on the first post I wrote about it. Long term readers will know that I have made several of these aprons. You can see all the aprons I have made, including several from this pattern, using the tag.

BAM July Sew Day

I got myself organized after the week’s strange schedule to head to Sew Day. Surprisingly, we had 15 or so people in attendance. I was the first to show up after Mary and she was pleased because she wasn’t sure if anyone would show up. Holiday weekend and all, I suppose.

We always set up and clean the tables first. As we were doing that, others showed up and offered help.

I brought cutting and organizing only, after bringing my machine last time for the Jelly Roll Rug. I have a number of projects that needed attention and brought them along.

First, the Flapper apron I am making as a gift needed some corners. It took me longer than expected to get these corners ready to sew, but I finally accomplished the task and moved on to the bag.

I decided to make a Poolside tote as a gift. Mine was a pain to make, but I started using it for my knitting and find it very useful. I think my recipient will probably find it useful as well.

En Provence - Peaky & Spike example
En Provence – Peaky & Spike example

I also brought the Mondo Bag to arrange, but didn’t get to it. Cyndi and I spent some time talking about Deb Tucker rulers. She recently bought the V Block ruler, which I think works on the same principle as my Split Recs ruler with a slightly different outcome. The V Block ruler makes Peaky and Spike blocks, like I used for En Provence. Perhaps I’ll try it when I get around to the next En Provence quilt.

I brought a pattern for a nightshirt that I wanted to cut out. Mary is a master at garments and she finished all of her projects. I asked her to cut out my nightshirt and she agreed. This means I got a third more done than I thought I would!

Marty's Flying Geese quilt
Marty’s Flying Geese quilt

People were busy at Sew Day as well. Marty was working on a binding. Her use of mustard is the best I have seen. the colors in general are great. The piece is not too depressing, but also very neutral. It’s hard to see, but  the background fabrics are low volume text (and text-like) prints. She used some that I used in En Provence. I also like the way she placed the Flying Geese. This is Marty’s fourth quilt! She was able to finish the binding today and we all cheered.

Cyndi's JCB blocks
Cyndi’s JCB blocks

I was pleased to see Cyndi’s Jen Carlton Bailly blocks. She decided to make enough for a large wall hanging or small lap quilt and was working on them.

The fabrics she is using are very cheerful. I saw one overlap with my Circle tablerunner!

I didn’t get a photo after she finished it, but I did see it and it looks really great.

Once finished with the circles, she took out a different piece she is making from Camille Roskelly’s Simply Retro book. I saw the quilt she is making in the book and didn’t think much of it, but Cyndi’s version uses more dark fabrics in the background. It is much more appealing *to me* that way.

Gerre's Jen Carlton Bailly blocks
Gerre’s Jen Carlton Bailly blocks

Finally, Gerre also brought her Jen Carlton Bailly blocks. She had sewn a couple of rows together and was able to get the top done by the time Sew Day was over. She used Amy Butler fabrics and the piece is fantastic.

I have some new projects to work on and some of the small tasks ready to move me to my next steps. I am happy!

Casserole Carrier Returns

Casserole Carrier by Sue S

I received a casserole carrier from Sue at the 2017 BAM Winter Extravaganza. I haven’t had much of an opportunity to use it, but I did at Sew Day with Gerre.

Nobody in my house is particularly fond of cornbread. I enjoy it. Sometime ago I found out that Gerre loves cornbread. Now when we get together, I make cornbread.

Casserole Carrier in use

At our last Sew Day, I was in a rush, because my previous tasks had taken longer than expected, so the cornbread came out of the oven right before I planned to leave. I didn’t want to wait for it to cool. I wanted to GO. Then I remembered the casserole carrier! I hadn’t used the pan that came with it, but I tried it anyway. The pan I used was a little small, but the velcro on the carrier was adjustable, so it worked great.

I was thrilled. Gerre was impressed and I was very thankful to Sue!

This came up because AllPeopleQuilt have a casserole carrier pattern available in this month’s newsletter. I am sure you can find others, too, if you don’t like the one they provide. I think you will use it, if you make one.

I saw some very nice, but inexpensive casserole pans/dishes at Tuesday Morning a few days ago, if you need one.

Finished: Circle Tablerunner

Finished: Circle tablerunner

I finished the tablerunner I talked about the other day. I did some simple quilting and bound it. I was actually able to finish the hand part of the binding in one sitting. I am not sure I have done that before. The piece is 13×37 and will reside on our coffee table.

26 Projects 2019 #6

Finished 2019 Quilt Projects

Finished 2019 Non-Quilt Projects

This category covers bags, toys, aprons and knitting as well as other non-quilt projects.

Doing Good

  • Ends n.7 quilt top and back – finished 1/6/2019
  • Ends n.8 quilt top and back – finished 4/11/2019
  • Green Strips quilt top and back – finished 1/16/2019
  • Green Thing donation top and back – finished 2/2019
  • Libs Elliot donation top – finished 2/2019 – Cheryl actually did the quilting and the binding. She made me feel good by saying she really liked the quilt. I should try the technique using stripes instead of making stripes and see if I feel differently. I should do a lot of things.
  • Purple Improv donation quilt top – finished 3/2019
  • Purple Strips donation quilt top and back
  • Red Improv donation top – finished 6/2019
  • Spiky Stars n.3 donation top and back – finished 3/2019

In Process
The ‘In Process’ is used to denote projects on which I am actively working or are on the design wall waiting for me to stitch. I try not to put away projects, because that will ensure I never work on them

  • English Paper Piecing Project– half hexies – I have a big stack of stars ready to sew into the quilt. I am still thinking of my friend Faye whenever I work on it. She says that I have to think of this as my slow project.
  • Flying Geese quilt – just started, still cutting and some sewing
  • Serendipity Lady – thought I needed to rip out some stitching, but decided I didn’t. I need to decide how to finish it. I would like to frame this one.
  • Lobster – I finished the stitching. I plan to back it and overlock or satin stitch the edges. Really, I would like to frame it. That may still be in the cards.

Ready for Quilting

In the Quilting Process

Still WIPs
I still have WIPs. Who doesn’t, after all? A project in the ‘UFO’ category means I am stalled. A nicer way of saying UFO is a WIP. The list is a lot shorter and the projects are newer, for the most part.

  1. FOTY 2018 – this has to be on the list now as I have cut a ton of squares and need to arrange and sew it together. As I am still working on FOTY 2017, I haven’t made a start on this yet.
  2. Handbag Sampler – this is still the forgotten project. It should be on the UFO list. Too bad I don’t have one. The blocks were teaching samples when I taught a sampler class the time before I started writing the quilt class sampler tutorials. I found one block recently, but otherwise I actually don’t know exactly where the blocks are hiding. I have an idea and still have to crawl up in the far reaches of my fabric closet soon and see if I can find them. I haven’t even found a picture of all the blocks. Sad.
  3. Pies and Points from 2016 Victoria Findlay Wolfe class. The last time I worked on it was when Julie and I had a playdate in April 2018. I brought this piece with me so I could cut more elements (Julie has a Sizzix). I lost my excitement about this piece shortly thereafter and still have to get it back. Thus, I had to move this to the WIPs area.
  4. Pointillist Palette #4: Fourth is a series of 6 quilts; needs tiny square patches sewn together. No progress.
  5. Self Portrait: started in 2006 at a class at Quilting Adventures in Richmond, Virginia. I am still stalled on this again. As one of my oldest (I am pretty sure) UFO, I put it on my blog and out into the Twitterverse and Diane suggested that I not consider this as a self portrait. I think that strategy is a great idea. I am now trying to think of a new persona for her.
  6. Black and Red quilt – This came about because of two other projects. I made a whole bunch of bias tape as part of my failed attempt at doing the Mighty Lucky Club a few years ago. Another part of the inspiration came from my class with Tina of Little Blue Cottage fame. This was going to be for a nephew, but I think it will be for one of my SILs and BILs. I have rectangles cut and some bias tape ready. My next step is to sew the bias tape to the rectangles like pickup sticks. I don’t have any photos of this, so you’ll have to use your imagination.
  7. Who Am I? – This piece is off my design. I have lost momentum, but I think that just has to do with the amount of satin stitching I am facing.

Small Projects in Process

Most of my progress involves thinking or just cutting.

  • 4-Zip Organizer – part of Crafty Gemini Organizer Club. I quilted the outside cover and need to figure out the next step so I can do the next step
  • Flapper apron gift – pieces are cut out and ready to sew
  • Mondo Bag – started laying out mini-charms
  • Poolside tote gift
  • Retreat Organizer – another project from the Crafty Gemini Organizer Club, also on my list, but not yet started
  • Ultimate Project Organizer – another project from the Crafty Gemini Organizer Club, also on my list, but not yet started

Happy 4th of July

Happy 4th!
Happy 4th!

For those of you who celebrate, Happy Fourth of July! For those of you who do not celebrate, have a great day.

My wish, again, for this 4th (although it is not a gift giving holiday) is that we return to kindness, civility and working together to make a better future for our children.

More Jelly Roll Rug

Jelly Roll Rug thread options

I decided on Saturday I would finish the sewing of the Jelly Roll Rug over the weekend, no matter what. I didn’t think I would be able to do it after starting, because the thread kept breaking every foot or so. It was maddening. I tried to go with the flow, but when I got to some dark grey, I switched to Aurifil #2610. Amazingly, I had no more thread breaks! The thread I started out using (once I got to the colored area) was a variegated thread. I am not a fan of variegated threads, so I was hoping to use it up. I wonder if some areas of the thread, such as where the colors join, are weaker and couldn’t handle the stress of what I was doing?

Rug Roll
Rug Roll

This is definitely a stressful project. I mentioned that my machine was skipping stitches. It turns out that I needed to use a Jeans needle 16. I was using a Jeans needle, but not a 16. The 16 part is the length and Angie thinks the needle wasn’t quite long enough, where I tried to sew in thicker areas, to catch the bobbin thread. She traded me some shorter Jeans needles for the 16s and I had very few problems sewing after that.

Jelly Roll Rug in process - June 2019
Jelly Roll Rug in process – June 2019

My sewing machine table has a flip out back, as you might remember, and after my rug got to a certain size, I flipped up the back (now I need to dust and vacuum!!!). It was helpful, but I could have also used a flip up front to the left of my machine. I compensated by rolling the rug up a bit when it came forward.

Jelly Roll Rug - Testing the size
Jelly Roll Rug – Testing the size

I need a rug for my foyer and thought this might do the trick. It doesn’t quite do the trick, though the colors work with my living room/dining room color scheme. The rug needs to be longer and not much wider. I think I will try the square version with strips I cut on the Accuquilt rather than with a Jelly Roll strip set. DH had an idea about arranging the strips using colors that go with the paint in our living room/dining room. That burgundy rug isn’t ratty enough for me to put the next Jelly Roll Rug version on the top of the to do list, but it will be on my soonish list.

I am not quite finished as I have to steam the living daylights out of the rug. Stay tuned for a ‘completed’ post.

New Orange Donation Blocks

Orange Strip Donation Blocks - July 2019
Orange Strip Donation Blocks – July 2019

As I worked on various projects over the weekend, I added to my stash of Orange Strip Donation Blocks. I am a few short of being ready to put the blocks all together into a quilt top.

I am still pretty happy with how these blocks look. They don’t look to shocking. They have a soft look to them.

I am considering backgrounds. I haven’t yet pulled options out of the fabric closet, but I am thinking. I want the orange to be the star. Tim gave me a rich creamy vanilla color to try. I haven’t tried it yet, but will when I get to the “make visual decisions visually” stage. I was thinking a very light Creamsicle like color – a solid. I don’t know if I have that color, or if that color exists, but I’ll try it. Tim doesn’t like peach, so no peach.

I might change the sashing to a smaller size, but not as small as the Red Chunk Donation top. I was also thinking I might add in some triangles to add to the design, but perhaps not.


Tablerunner To Be

I decided that it was time to do something with Jen Carlton Bailly blocks. They were clogging up my design wall and, while not sick of looking at them, they needed their destiny.

I decided on a table runner, but the first step was another block. The step before the first step was reacquainting myself with JCB’s process. I had all the notes and everything out, but my own notes were rather cryptic, so the notes she sent after the class were quite helpful.

Last JCB block
Last JCB block

I came up with a basic block, nothing fancy. I am pleased with it.

Next step is making it into a tablerunner shape.