Tutorial: Paper Wreath

Origami Paper Wreath

I was so thrilled to find a tutorial on the origami starburst (paper wreath). It is a great tutorial, but I like to do my own, as you know. I made several of these and have enough paper to make a few more. We might use these to give out as gifts at the Ladies Lunch at DH’s Grand Parlor. These make great hostess gifts.

Supplies

  • 16 pieces SQUARE paper (any size) – almost all paper is suitable except very thin paper. Super thick paper will be hard to fold
  • bone folder
  • glue (Elmer’s or Aleene’s are both fine)

Nota bene: you can use fabric. If you do, you will also need the following items:

  • Mary Ellen’s Best Press
  • ShapeFlex or other lightweight interfacing
  • 16 square patches (any size)

Directions:

Make legs:

Fold square paper in half

1. Take square piece of paper and fold paper in half.

Fold square paper in half

2. Open and fold in half the other way

Fold corners into center

3. Fold corners in to center point

Use bone folder
Use bone folder

4. Use your bone folder to make the folds nice and sharp

With a point facing you, fold the bottom half up to meet the center crease.

5. With a point facing you, fold the bottom half up to meet the center crease.

Fold to a kite shape

6. Do the same to the other point. Now you will have a piece that looks like a kite.

Fold bottom of kite up

7. Flip the piece so the open bits are face down. Fold the short piece so you can see the open spot between the folded piece again.

Fold in half
Fold in half
Fold in half
Fold in half

8. Fold leg in half with short side out. That opening will be where you put the other legs.

Make Wreath

1. Make 16 legs (directions above)

2. Put a little glue on to the tip of one leg

3. Insert each leg into 2 holes in another leg to make four quarters

4. Glue tip of each leg until you have a circle or wreath.

5. Before the glue dries, arrange the wreath so the inner circle is smooth.

Now you can carefully hang your wreath on the wall

Fresh Cuts Origami Starburst

Mom’s Work

16 Patch Baby Throw
16 Patch Baby Throw

Mom and the Big Guy went to Port Townsend, Washington for a few weeks to see her BIL/ Big Guy’s brother. She brought her Featherweight and sewed like a demon while the Big Guy and his brother visited. She came home with a number of baby quilts/throws. She hasn’t been updating her blog, so I decided I would show you her work.

Alphabet Baby Throw
Alphabet Baby Throw

The BIL has about 13 children. Many of them are grown and having babies of their own. Mom enjoys using her fabric to make baby quilts and throws. She came upon a technique that using no batting and Minkee to make throws and that is the technique she used.

She took the fabric in the throw with the gold border from me. It has colorful scenes from various world cities and I just couldn’t imagine why I had purchased that particular fabric. I think I bought it to give to Mom so she could make this great throw (below).

Mom's Panel Throw
Mom’s Panel Throw

The colors she chose for the borders, etc really pick up the colors in the panel and make this a very successful piece. It makes me wonder why I gave it to her, but I don’t think I would have thought of doing this and the fabric would have sat in my fabric closet for eternity. I am glad it will go to a good home.

The other great thing is that she got practice and is feeling a lot more confident about her skills especially in machine quilting.

Mom's Scrappy Log Cabin
Mom’s Scrappy Log Cabin

I hope, now that she is home, that she will continue making such great progress.


One Hour Basket #2

One Hour Basket #2
One Hour Basket #2

I wanted to make some progress on something. I felt like I wasn’t making progress on anything, so I got out my To Do list and looked up what I felt like doing. The first thing I did was make progress on the Pinkalicious Journal Cover.

Once that project was well on its way, I made a second One Hour Basket. I don’t think it took me an hour, even if I subtract the time it took to sew pieces of Soft & Stable together. It didn’t take much longer, though. I was pleased to get something finished.

Sewn together Soft & Stable

I had some weird pieces of Soft & table leftover that were on the small and thin side. I decided I had enough to use as stabilizer for this pattern. I sewed them together much like I would sew a piece of Frankenbatting together. I was able to use most of the leftover S&S, which pleased me.

The pattern is free on Craftsy, I think and the directions are fairly good. The weird part is that the pattern uses 3 different seam allowances for this one pattern. I think there is something off as the lining seems a bit baggy when the whole piece is finished. It is fine for my purposes, but if I were going to give it as a gift, I might use a slightly larger seam allowance for the lining. If I make more I’ll have to play around.

One Hour Basket #2
One Hour Basket #2

I am pleased that I got something done and have something I can cross of my list.

Improv Progress

I am still feeling like I am in some weird in between place with my projects. There are projects where I am at a strange point that seems to be stopping me. I have to count up all of the FOTY squares and figure out how big I need to make the quilt. I need to cut some more squares for the Octagon Nine Patch, which has been languishing for, what feels like, a long time.

Improv Top in Progress

I decided to work on the Improv quilt again and get that project farther along.I finished a second ‘B’ and decided to sew it, along with the first ‘B’ block on to the quilt. I like what is happening and I can see where I go next, to a certain extent, but I think those 2 blocks look heavy. I might put them on the bottom, but I will see if I can lighten them up with more red on the three sides.

One idea I had from looking at the photo above is to make sure some red meets the red on the bottom and continues over almost to the corner. That will mean making that part of that corner side block last and making sure I remember. I think if I do that, there will have to be a bit of one of the black and white prints in the corner – or a strip of red alternated with black and white prints.

Improve top - turned
Improve top – turned

I also thought of making those blocks the bottom. Heaviness works on the bottom. The photo (left) is the same one as above, just turned so you don’t have to turn your head.

It looks ok, but I remembered that there will be other blocks on each side of those new ‘B’ blocks.

Yes, all the blocks are sewn together. I just wanted them sewn.

I am a Tuffeteer!

Completed Tuffet
Completed Tuffet

Yes, I finished my Tuffet in class on Thursday. I can now call myself a Tuffeteer. It is awesome and I love it. There were squeals of delight in the class as people finished. Mostly I am not a squeal in delight kind of person, but these Tuffets inspire squeals of delight.

Everyone really liked the way mine came out except the Young Man, but he has little no sense of cheerfulness in fabric.

I intended to make this a super long post telling you all about finishing the tuffet, but I will save that for another post. This post will just be about sharing the delight!

Creative Prompt #324: Violin

Stradivarius

A Rarity Reclaimed: Stolen Stradivarius Recovered After 35 Years

violin concerto, Op. 35 by Tchaikovsky

Suzuki method

Violin Monster

violin solo

violin teacher

The Violin Society of America

The Violin (2005 movie)

fiddle

The Violin Channel – The world’s leading violin, strings & classical music news source.

Vaccine Investigation and Online Information Network

Fastest violin player (Guinness Book of World Records)

Definition: “The violin, also known as a fiddle, is a string instrument, usually with four strings tuned in perfect fifths. It is the smallest, highest-pitched member of the violin family of string instruments, which also includes the viola, and the cello. The modern word is derived from the Italian word violino, literally meaning ‘small viola’.

Someone who plays the violin is called a violinist or a fiddler. The violinist produces sound by drawing a bow across one or more strings (which may be stopped by the fingers of the other hand to produce a full range of pitches), by plucking the strings (with either hand), or by a variety of other techniques. The violin is played by musicians in a wide variety of musical genres, including Baroque music, classical, jazz, country music, bluegrass music, folk music, metal, rock and roll, and soft rock. The violin has come to be played in many non-Western music cultures all over the world.The violin is sometimes informally called a fiddle, regardless of the type of music played on it.

The violin is first known in 16th-century Italy, with some further modifications occurring in the 18th and 19th centuries. Violinists and collectors particularly prize the instruments made by the Stradivari, Guarneri and Amati families from the 16th to the 18th century in Brescia and Cremona and by Jacob Stainer in Austria. According to their reputation, the quality of their sound has defied attempts to explain or equal it, though this belief is disputed.[1][2] Great numbers of instruments have come from the hands of “lesser” makers, as well as still greater numbers of mass-produced commercial “trade violins” coming from cottage industries in places such as Saxony, Bohemia, and Mirecourt. Many of these trade instruments were formerly sold by Sears, Roebuck and Co. and other mass merchandisers.

A person who makes or repairs violins is called a luthier. The parts of a violin are usually made from different types of wood (although electric violins may not be made of wood at all, since their sound may not be dependent on specific acoustic characteristics of the instrument’s construction), and it is usually strung with gut, Perlon or other synthetic, or steel strings.” (Wikipedia)

The Violin Making School of America in Salt Lake City

Cremona

Geige

kerman

Composite chordophone sounded by a bow (Wikipedia)

The stroh violin is self-amplified variation on the classic violin design with a resonating metal body and horn.

The American Federation of Violin and Bow Makers provides standards for the string instrument community including standards for violins and the bow family.

Violin Craftsmanship Institute

The Wandering Violin Mantis is one of the most amazing looking mantis species. It is a large mantis with amazing camouflage.

Black Violin is the blend of classical, hip-hop, rock, R&B, and bluegrass music.

Violin Memory transforms the speed of business with high performance, always available, low-cost management of critical data and applications.

Post the direct URL (link) where your drawing, doodle, artwork is posted (e.g. your blog, Flickr) in the comments area of this post. I would really like to keep all the artwork together and provide a way for others to see your work and get familiar with your blog or website.

The Creative Prompt Project, also, has a Flickr group, which you can join to  post your responses. I created this spot so those of you without blogs and websites would have a place to post your responses.

We are also talking about this on Twitter and Instagram. Use the hashtag #CPP

More Tuffet

Tuffet in process (3/4 view)

I was so nervous about the fabric selection, but I am so pleased about how it turned out. I hope it will fit well with my living and dining room. My dining room is a rich red and my living room is a butter yellow, so this piece isn’t a perfect match, but it is an interesting combination of motifs.

My issue from the other day was seam allowance. You know that I have hard time actually reading directions and understanding them and the Tuffet directions were no different (all me, not Robin). I always assume a 1/4″ seam allowance, which, as a quiltmaker, is normal. As a real sewist it is absolutely not normal. In this case, the pattern had the seam line on it or I could use a 3/4″ seam allowance.

I had to unpick all the stitching that held the tuffet top together, but when I resewed, it looked like Robin’s description of how it should look.

Tuffet Button Cover
Tuffet Button Cover

I was running up and down the stairs, doing as much as I could while chatting with my Mom as she cooked (she was cooking the Y.M.’s last meal with her and the Big Guy and preparing a meal for us for later in the week. She is awesome!). One of the things I was able to do was make the button cover.

I fussy cut some flowers out of one of the Flea Market Fancy prints. The button blends in, which I might not do again, but I kind of like it.

I was thinking that Robin should print the patterns at Spoonflower and then people could just buy them without having to make the foundations as part of the class. I do think that there is an element of “becoming one with the pattern” that you get from drawing out the pattern, but printing them off of Spoonflower would be much easier and it might be less expensive than some of the other pattern choices Robin described.

I am thinking that I will make another so both DH and I have one to put our feet on. We will see since the class is tomorrow and I have to see how it goes.

Year of the Dragon

Full dragon
Full dragon

Earlier this year we went, again, to the North Coast. While there, we visited a restaurant called the Lost Coast Brewery. It had excellent food, including a gluten free menu. There was a bit of a hippie feel to it and part of that was the decoration. They had some kind of sculptural device that moved and bobbed when the door opened. Periodically, other things would move and I got the sense of fun and entertainment — like a carnival show. Along with the food and being on a date with my husband, it was fantastic.

One thing they had on the wall was a dragon banner. I was born at the very end of the Year of the Dragon and it is a powerful symbol in Chinese astrology. I sometimes need power, so I embrace it on occasion.

I have been looking for the right kind of dragon imagery, which is difficult. I wanted the right kind of proportions and not too much cartoon. I like the dragon in Sleeping Beauty, but there are parts of it I don’t like. The jaw is too large, the wings too small. Some of the traditional Chinese dragons are just too….something. I need to start somewhere and create my own image that works for me.

I found that the banner in the Lost Coast Brewery was one I could use to make my own. I don’t know what I will make – possibly a banner. Not a quilt, I don’t think. definitely a large applique with embroidery. I really am longing to do some embroidery on a piece like Beach Town or the Flower Garden. I thought about the Tarts Come to Tea this weekend and doing embroidery on that piece, which is still half quilted. The Serendipity Lady also has potential for a bit of embroidery. I don’t know how smart it is to line up several projects that need embroidery, but we will see.

Dragon detail
Dragon detail

Anyway, this dragon is a good start. I will need to adjust the size of the head, wings and feet, but the shape is a good one.

Tuffet Progress

I was naughty and didn’t work on my Tuffet at all last weekend. The class is Thursday, so I got to it a little during the week and then seriously on Sunday.

Tuffet Class Work
Tuffet Class Work
2 finished panels
2 finished panels

I came home from class with some work done, but not enough. I finished 2 panels and sewed 2 strips (one seam) on the 6 other panels. Respectable work, but not a finished top. I still had work to do.

Making the Tuffet uses foundation piecing, so all I needed to do was place more strips on the foundations and sew.  For some stupid reason I was reluctant.

This is new to me. I didn’t want want to ruin it. I wasn’t 100% sure of my fabric choices. Blah Blah Blah. Fear.

I decided to just take one step at a time. So, last Thursday or so, I laid out the foundations in the photo above and looked at them for a few minutes. I got my stash of project strips and laid them out. I moved them around and then I sewed one strip on. Nobody died.

Yesterday I did the same with the last strip on each foundation. Because I am using 3″ strips, I didn’t need as many as those using 2.5″ strips. That made the process go a little faster for me.

Panels ready to sew
Panels ready to sew

I also trimmed all the excess fabric and stay stitched the edges. This means that the panels were ready to sew into a 3D bubble.

So, I am making progress. I will, for sure, be ready by Wednesday night. There is no choice about it.

Book Review: Personal Geographies

Personal Geographies: Explorations in Mixed-Media MapmakingPersonal Geographies: Explorations in Mixed-Media Mapmaking by Jill K. Berry

I bought this book because of Maureen and Nancy and their work in creativity. I am also interested in mixed media – in doing mixed media projects, but don’t have the space right now, so I don’t do much. I carried this book around for a long time, dipping in and out and not really getting it. Finally, something nudged me towards it again and I picked it up and began to seriously read it, starting from the beginning.

This book is self described as containing maps of the physical self, maps of experiences and dimensional projects with a cartographic theme (pg.5). Aside from these brief words of description, the book begins with only a few paragraphs of thoughts and inspiration. The best quote is “maps make known our relationship to the world at large” (pg.4).

The introduction is followed by a section called “What is a Map?” There is a quote from Miles Harvey, who wrote The Island of Lost Maps, which expresses the potential of creativity, to which, I think, the author is aspiring. The quote is “A map has no vocabulary, no lexicon of precise meanings. It communicates in lines, hues, tones, coded symbols, and empty spaces, much like music” (pg.6). I love this quote think this expresses quiltmaking as well as cartography. This section has several other quotes which really express the creativity and sense of map making.

The quote section is followed by the start of the projects. The author, Jill Berry, eases the reader into the projects by asking, first, inspirational questions to help start to define the maps you might want to make (pg.7). She also provides some encouragement and inspiration around what a map could be. She writes “you can make a map of nearly any journey, place, day or experience, however menial it might seem. Maps can be intricate and personal, or grand and inclusive. They can be a ritual way to journal your day, or a permanent and elaborate illustration of your life’s journey” (pg.7) This is a section that could be used for inspiration with a variety of creative pursuits or media.

Examples of different maps start on pg.8. Explanations of parts of a map follow (pg.10). Ms. Berry explains the cartouches, types of creatures that appear on maps (though not the why), the legends, neatlines, paths and places, water features, etc.

She also says that all maps need a compass rose and the text purports to tell the reader how to design one. More accurately, the author gives resources for finding one to use (pg.12). I would like to have seen more information on truly designing a compass rose. As quiltmakers we can design our own using skills learned in Judy Mathieson‘s books. There are also directions on creating a cartouche (pg. 13).

After the introductory and background inspiration, we are presented with a list of general supplies (pg.14-15) and the meat of the book starts. Chapter 1 has to do with mapping the self. “The process and results are for personal enrichment…” (pg.17). A sidebar talks about the inspiration for this project and gives a template, specific supply list and step by step instructions. The projects also provide an example of a completed variation. The directions are very general and suitable for a confident maker to fly within. I think the how-to is good, but I would like to see a selection of symbols and some ideas to spur on content creation. I think such aids would spark the imagination and make this book more successful.

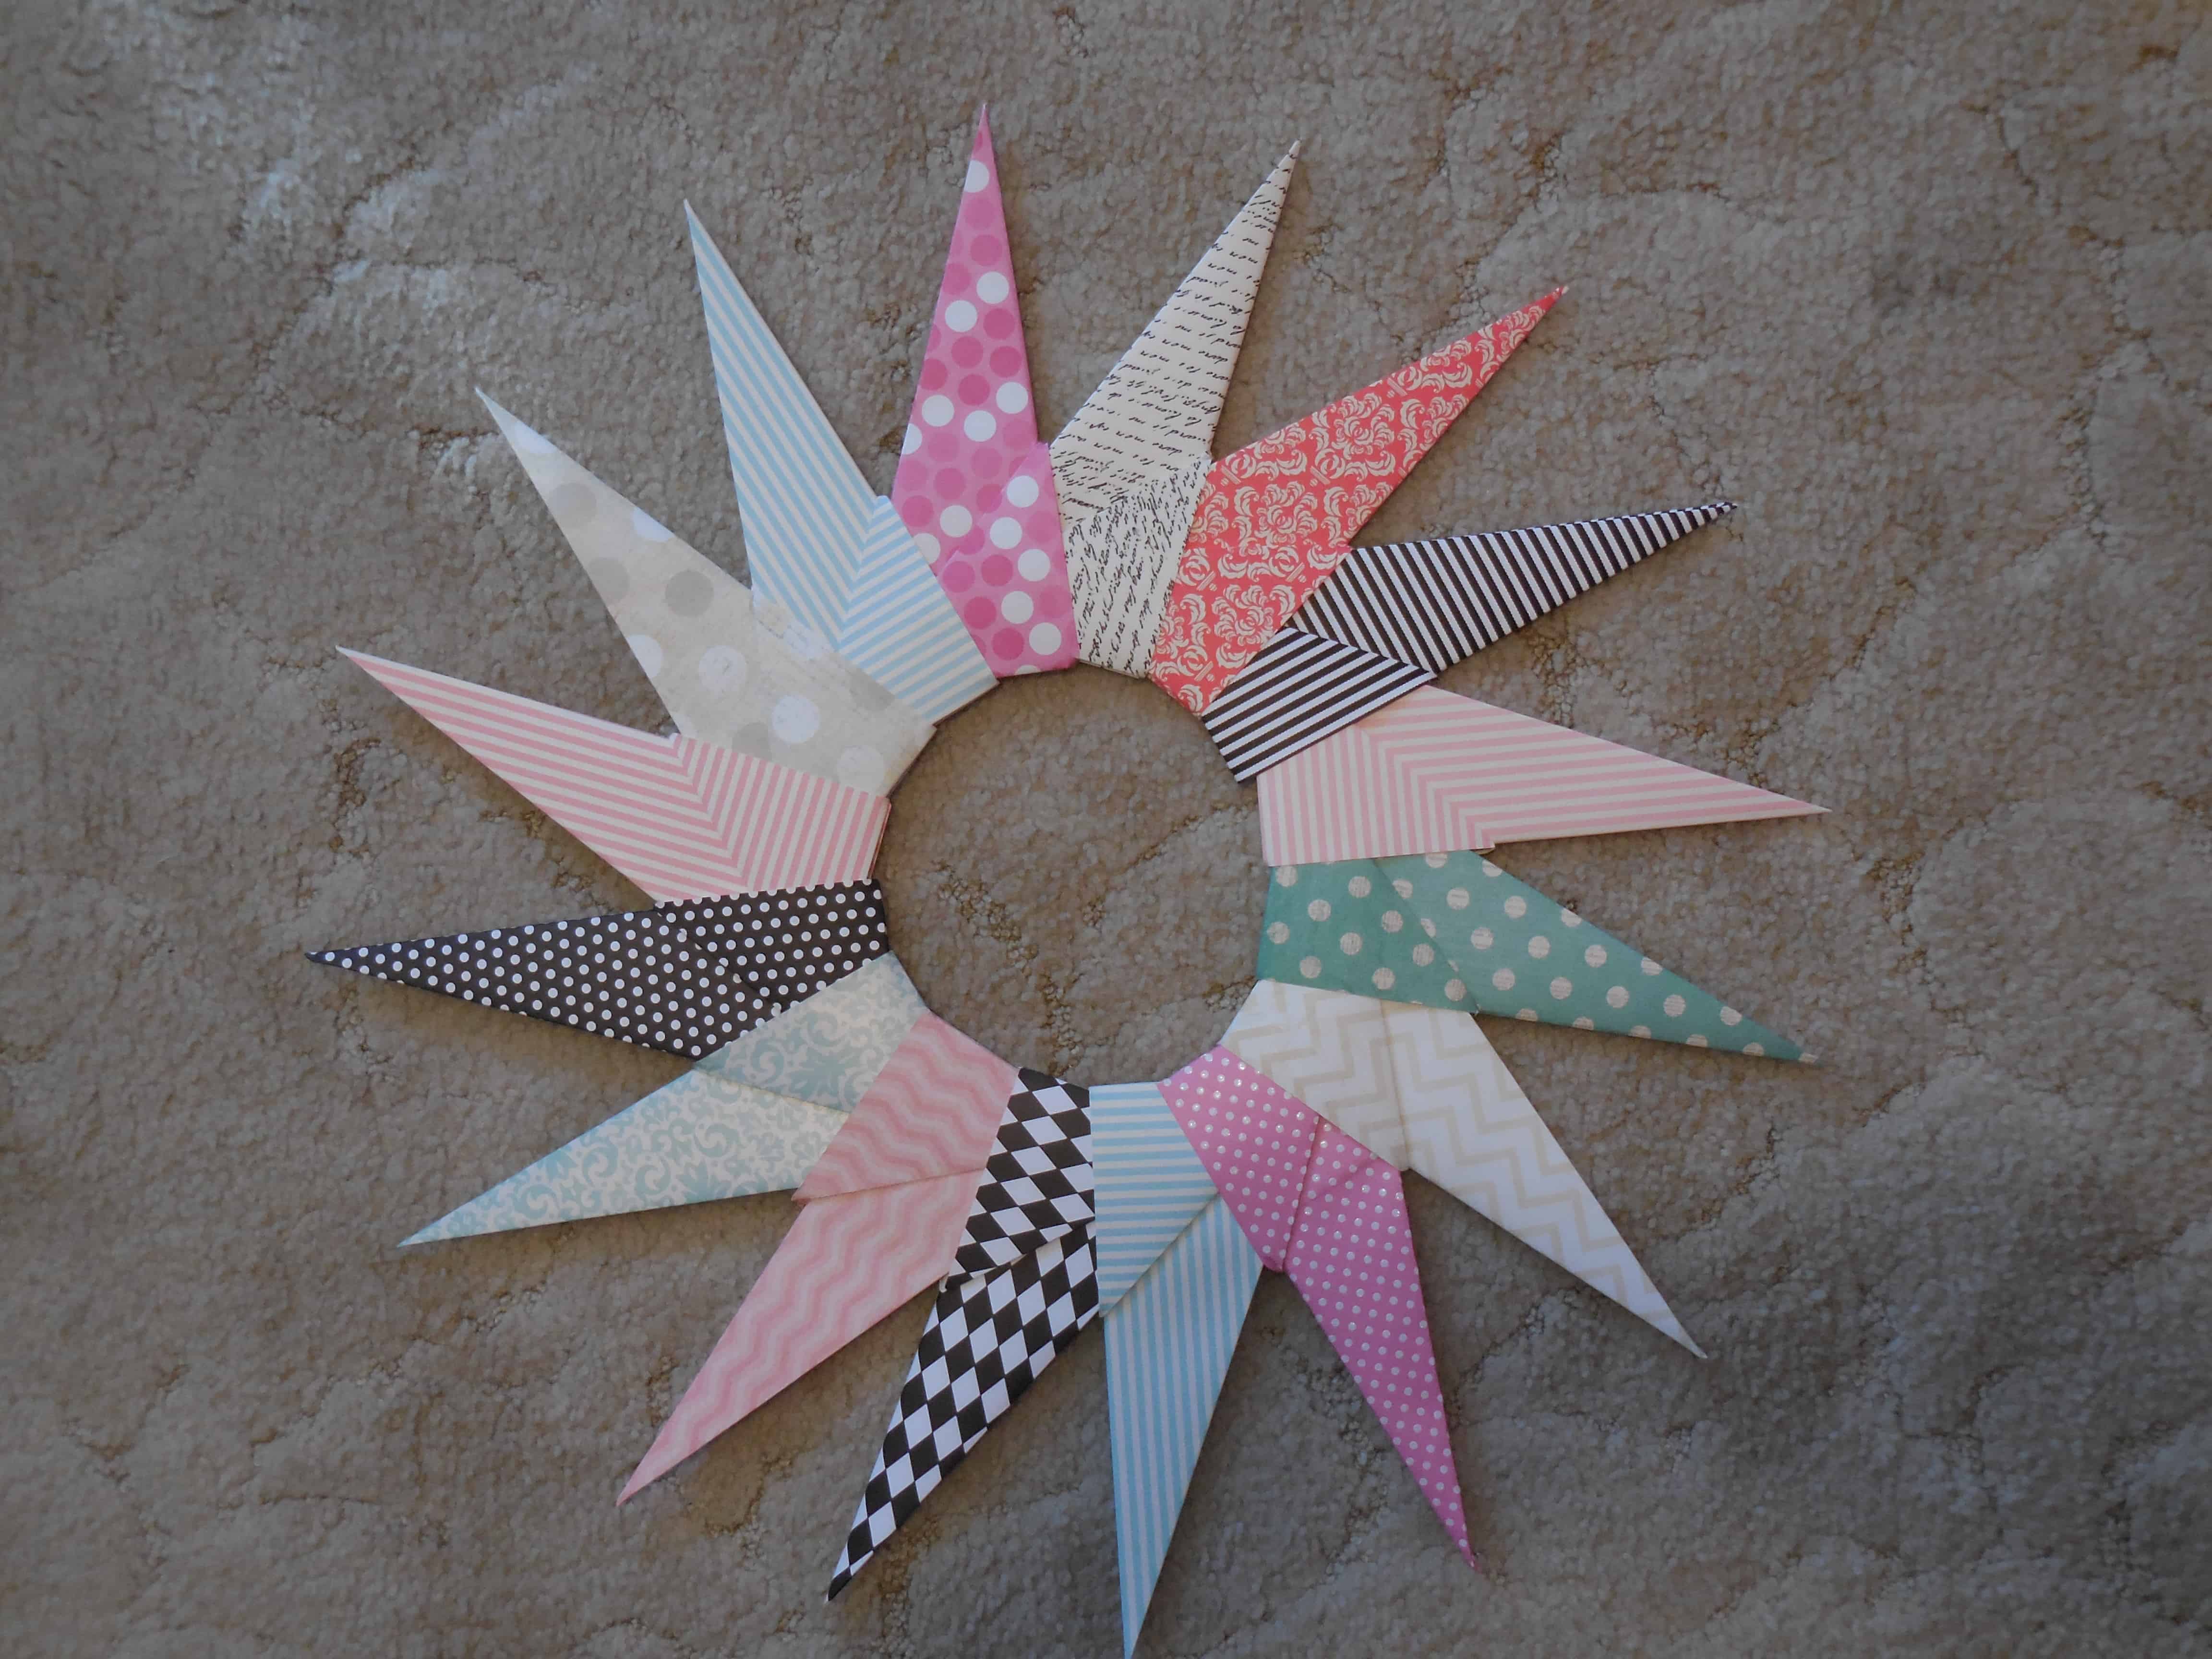
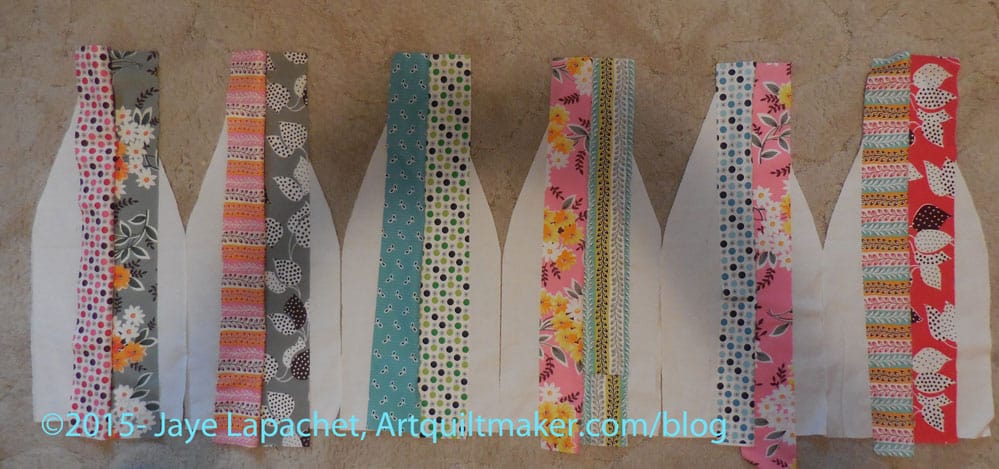
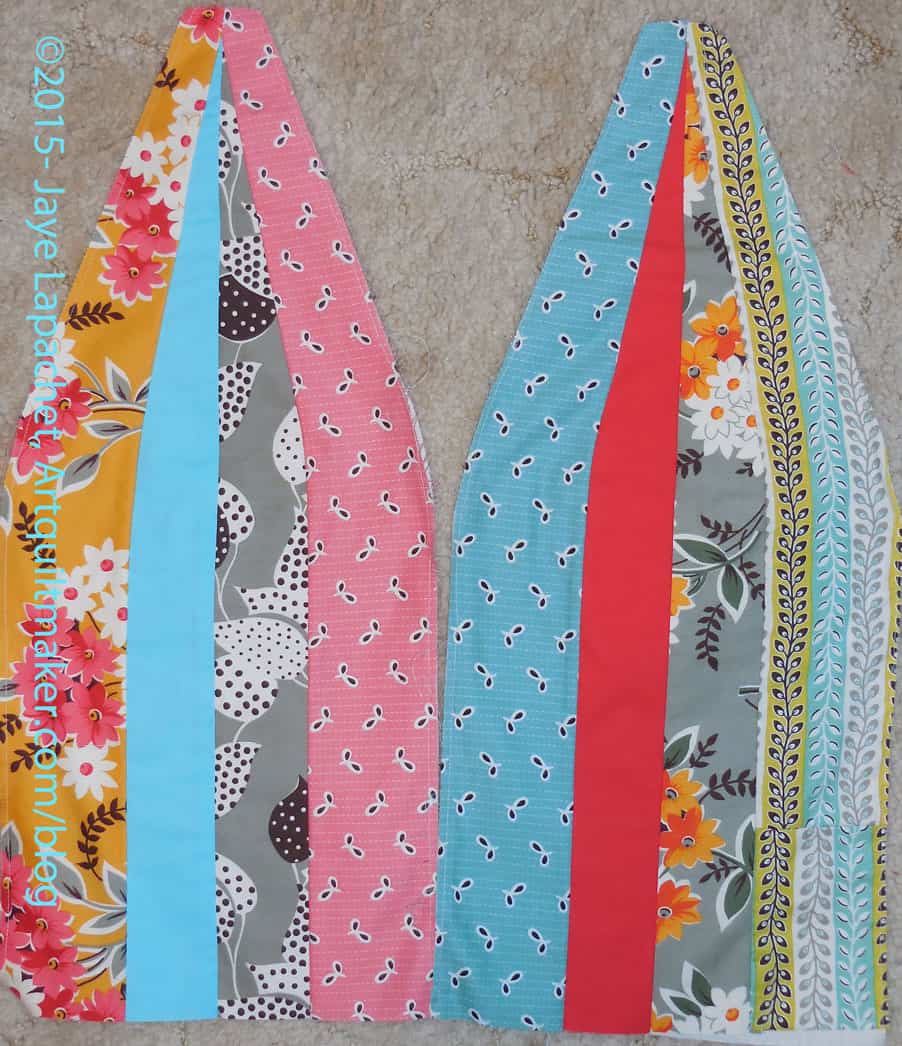
Chapter 1 includes a body template and project, a hand template with project, an ‘articulated self’ project (like a paper doll), a heart project which also includes variations. There is a gallery of works by other artists that were inspired by the templates in this section of the book. These examples expand the content for the reader so there is more scope to consider when thinking about making a project. I can see using some of the templates for appliques on art quilts.

My favorite piece from the ‘Self’ section is the Hand Map (pg.54). I like the idea of documenting a day out with parents and it has the most meaning for me. I can follow the idea and it seems like a good memory to celebrate. It also reminds me of a Hamsa necklace I saw in a  catalog once. The image grabbed me and I want to do something with that image sometime. I also liked “My Heart Belongs in Wisconsin” (pg.52). I like the idea and the look of the piece.

Chapter 2 is called Mapping your Experience. “[T]hese maps are about the experiences of your soul” (pg.57). This chapter seems to me to be about preserving precious memories. One thing the author suggests is “to limit the amount of time you spend on planning and to go with the first thing that comes to mind…” (pg.57). There is a lot to be said about this advice in almost any creative endeavor. However, I found it hard to imagine what to map. As an interesting addition, in this chapter, the author shows the reader how to fold a map in an interesting way in order to take up smaller space and add interest to your art (pg.62).

As I read this book, I was having a hard time imagining how to make my own map until I saw ‘Your Artistic Journey’ (pg.64-65). My first thought was about my first quilt class, which was, then, followed by a Mary Mashuta class on story quilts. The trajectory popped into my head. I rewound a bit and thought back to grammar school and projects I made there as well as experiences in art that led me to that first quilt class. I can now see making a map from this thought process….or journey of thought.

Collaborative maps, narrative maps are also included along with another gallery of experiential maps. This gallery has maps that I can actually imagine making. They are not perfectly rendered and look like something a novice would make.

Chapter 3 covers plans, projections and possibilities and the projects are designed to use ephemera (pg.97). My favorite drawing is the Warning Map of Fort Worden (pg.98. I love the squid!

Overall, my favorite project is the book of postcards. I can imagine buying postcards, using the backs for journaling and then making them into a book when I got home (pg.120-121).

One thing I noticed about this book was that it made me aware of details in other, non-art, maps such as road maps. I noticed details such as scale, different colors for different types of roads and byways. I also noticed the lack of explanation provided (is it readily available and I have not noticed??) on online maps such as Google Maps. Would it enhance, detract, or confuse Google Maps users to have a sea monster pop out of the ocean on their app?

As with the introduction, the projects have a little information on motivation or inspiration, There is a lot of how-to information, but not as much why. I am interested in process so I would have liked more about how the author came to these projects.

In going through the book, I see the projects become progressively more complex. I also see a progression of mapmaking. There is an undertone of encouragement to the reader to make all of the projects in the order presented in order to improve skills and progress through the book. I don’t think that course of action is really realistic outside of a classroom setting, except for those looking for a path to follow or someone who is extremely motivated in this area. It would be hard for me to stay motivated.

Throughout the book pieces of art from other artists are placed to fit in with the projects. Towards the end of the book is a more complete gallery called’ More Maps of Possibility’ with more maps and items from other artists int he back.

It was hard for me to pay attention to the beginning as I was eager to read this book, but the beginning is the best part. I went back and read it again. I would have liked more inspiration, more process (as opposed to how-to) and more of why she designed these projects. I haven’t found any book, except Inspiration Odyssey by Diana Swim Wessell that talks much about inspiration. This book also makes me want to investigate the history of mapmaking in a little more depth.

The book is beautifully designed and has an index.

View all my reviews

Finished: Box Full of Letters

Finished: Box Full of Letters

Yay! I finished my Box Full of Letters quilt last week. This was a fast sew. I started it sometime in March, I think. The first mention of it here is at the end of March. I am pretty sure I saw Torie’s version, or her start, back in January at the Twilter meetup. That is a 5 month process, which must be some kind of record for me. I don’t even feel like I rushed through making the quilt.

I have to give Colleen credit, because she quilted two gift quilts in record time. She has cleared out her backlog and can get to quilts within a month now. For how long, I don’t know, but for now.

I think part of the speed was that there were limited choices in the quilt:

  • limited color palette
  • one block
  • limited number of blocks.

Those kind of limitations can be frustrating, but, in this case, I gained speed and was able to use the limitations to create a creative layout.

Anyway, you have been here during the whole journey and you have seen my process. I didn’t expect to like this quilt as much as I do and I think I like it because of the layout. I didn’t think it would be that interesting of a quilt. It wouldn’t have been if I had laid out in a straight set, but the diagonal layout really makes it interesting. IMO, anyway.

Looking at this quilt makes me feel like I want to play with this pattern more. I can see making these blocks from scraps and in different sizes depending on the size squares I have around. The pattern is so easy, you barely need a pattern and making these blocks is like eating chips. One just isn’t enough.

This is large lap quilt. It will go to a doctor who has been working with the Young Man every week or two for the past 10 years. She told me she feels like her kid is heading off to college and I have to say that I can’t blame her. I did not put a sleeve on it. Handwork is a challenge right now and stitching through the damn batiks (when will I learn NOT to put batiks on the back???) to get the binding stitched down was difficult. My PT got mad at me.

Oddly, this quilt had a lot of help. Lots of thanks go into this quilt:

  • Torie for the inspiration, encouragement and charm pack
  • BAMQG for the layout inspiration. I think it was probably Ruth who laid out the Opportunity quilt on the diagonal
  • Missouri Star Quilt Company for the pattern and that method of making HSTs (though I suspect someone else thought of it first and MSQC just spread the love)

Creative Prompt #323: Honey

sweetheart or endearment

National Honey Board

Honey badger

Twigs & Honey – Bridal headpieces, wedding headpieces, hair vines, crystal halos, bridal headbands, crowns, tiaras, bridal combs, bridal hairpins, silk flowers, bridal hair.

Honey Week – NYC – A weeklong, citywide festival celebrating the honeybee, NYC Honey Week 2015 merges the educational, the entertaining, and the downright delicious.

Honey by Marc Jacobs is a sunny, delicious floral—energetic and alluring, with a sparkling, golden touch. The perfect mix of brightness and warmth.

Honey Girls at Build-a-Bear Workshop

Milk and honey

tea with honey and lemon

honey butter

Chrome Web Store: Click on the Honey button during checkout and Honey will automatically apply coupon codes to your shopping cart.

Honey Maid graham crackers

Honey Bistro, San Francisco

Honey Sound System

Definition: “Honey /?h?ni/ is a sweet food made by bees using nectar from flowers.

The variety produced by honey bees (the genus Apis) is the one most commonly referred to, as it is the type of honey collected by most beekeepers and consumed by people. Honeys are also produced by bumblebees, stingless bees, and other hymenopteran insects such as honey wasps, though the quantity is generally lower and they have slightly different properties compared to honey from the genus Apis. Honey bees convert nectar into honey by a process of regurgitation and evaporation. They store it as a primary food source in wax honeycombs inside the beehive.

Honey gets its sweetness from the monosaccharides fructose and glucose, and has about the same relative sweetness as granulated sugar.[1][2] It has attractive chemical properties for baking and a distinctive flavor that leads some people to prefer it over sugar and other sweeteners.[1] Most microorganisms do not grow in honey because of its low water activity of 0.6.[3] However, honey sometimes contains dormant endospores of the bacterium Clostridium botulinum, which can be dangerous to infants, as the endospores can transform into toxin-producing bacteria in infants’ immature intestinal tracts, leading to illness and even death.[4]

Honey has had a long history in human consumption, and is used in various foods and beverages as a sweetener and flavoring. It also has a role in religion and symbolism. Flavors of honey vary based on the nectar source, and various types and grades of honey are available. It has also been used in various medicinal traditions to treat ailments. The study of pollens and spores in honey (melissopalynology) can determine floral sources of honey.[5] Bees carry an electrostatic charge whereby they attract other particles in addition to pollen, which become incorporated into their honey; honey can be analysed by the technique of melissopalynology, in the area of environmental studies of radioactive particles, dust, and particulate pollution.[6][7]” (Wikipedia)

honey bear

Honey is a beautiful and intuitive social intranet for your company. Built to connect global teams, share resources, simplify team conversations, and support 

2003 movie directed by Bille Woodruff. With Jessica Alba, Mekhi Phifer, Romeo Miller, Missy Elliott. Honey is a sexy, tough music video choreographer who shakes up her life after her mentor gives her an ultimatum: sleep with him or be blacklisted within their industry.

Honey Stinger’s energy and protein bars, waffles, gels and chews are all-natural foods designed for athletes and great for anyone looking for a healthy snack.

Honey Hive Gallery: Our spoken word open mics at The Honey Hive Gallery are becoming much more creative and eclectic!

Honey Care Africa – We partner with smallholder farmers across East Africa to strengthen incomes and grow Africa’s ‘family honey company’ through sustainable beekeeping.

Andy Grammer, “Honey, I’m Good” song & music video

Honey
Honey

I went to live in Austria and learned to eat bread with butter and various toppings for breakfast. One such ‘topping’ was a special kind of honey called Kastanianhonig (honey made from bees who lived near chestnut trees). This is some of the best honey I have ever eaten and I don’t think I can ever get it out of my mind.

The YM calls one of his grandmothers “Honey”

Post the direct URL (link) where your drawing, doodle, artwork is posted (e.g. your blog, Flickr) in the comments area of this post. I would really like to keep all the artwork together and provide a way for others to see your work and get familiar with your blog or website.

The Creative Prompt Project, also, has a Flickr group, which you can join to  post your responses. I created this spot so those of you without blogs and websites would have a place to post your responses.

We are also talking about this on Twitter and Instagram. Use the hashtag #CPP

FOTY 2014 Progress

FOTY 2014 - August 2015
FOTY 2014 – August 2015

The end of July has come and gone, which means that I didn’t make my original deadline. Still, I got back to the design wall over the weekend and worked on this piece. I decided to move all of the reds down towards the bottom, which meant touching almost every piece as I shifted the rectangles clockwise.

The biggest problem I have now is that I have a stack of blues that don’t fit on the design wall. I need to add them to the 9 o’clock position and there are many more than the 10 or so that look like they will fit. I need all of the pieces on the design wall so I can work with them all at once.

I may do some overlapping, but I definitely have to count the patches I have and figure out the size of quilt I need to make. Then I can figure out what I need to add to my design wall to design this quilt.

Improv Progress

Improv A Blocks
Improv A Blocks

After using some Flying Geese as leaders and enders, I switched to using the large Improv blocks as leaders and enders while putting together the T Donation quilt. The Improv quilt is not a good project for leaders and enders as I really should have it on the design wall and be looking at it all the time as I worked. I really wanted to make progress. This project has been shuffled from corner to corner of my workroom and I am forgetting my plan. My design walls were full of other projects, so it was what it was.

I added a few more strips to make the center (A) blocks more even then sewed the four center blocks together. This breaks my ‘Chunking It” rule, but I just wanted to see the four blocks together. Somehow with them together, I was able to start on the B blocks.

Improv B Block #1
Improv B Block #1

They look pretty good and I got excited about working the B blocks. I had bits and pieces that I made in class that I hoped to use, though I wasn’t sure what I was thinking when I made them, so I kept going. The first one went together relatively quickly and that helped me move forward with the others. I am working on about 4 at once right now and expect to have a big group of them done at once. We will see.