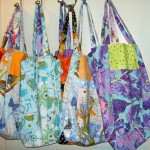
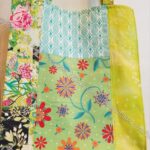
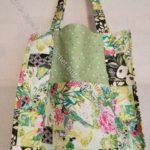
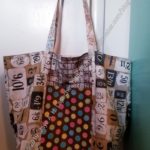
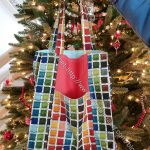
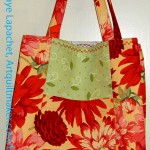
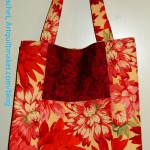
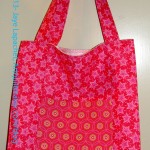
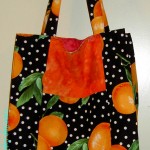
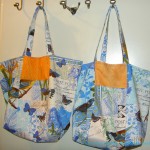
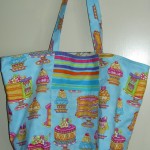
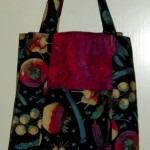
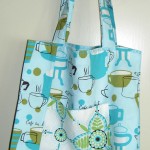
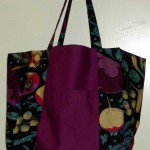
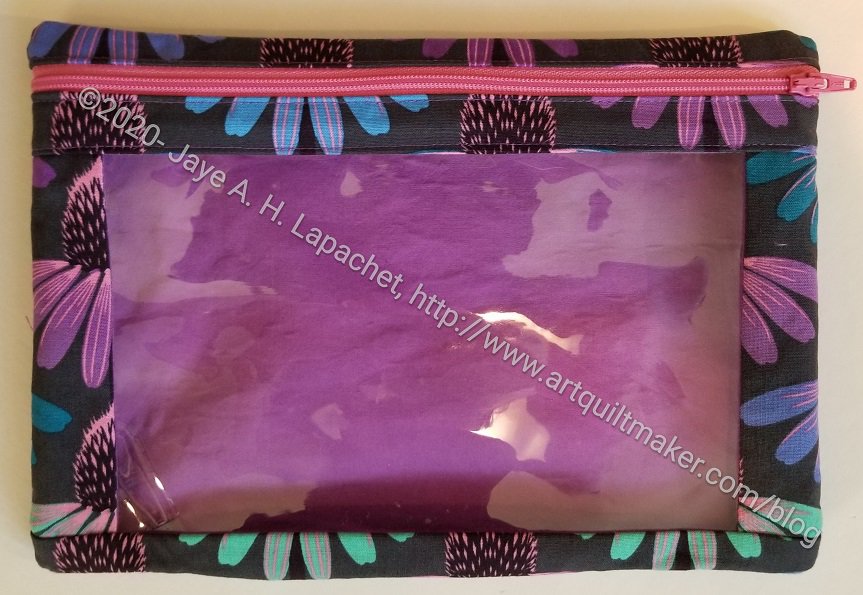
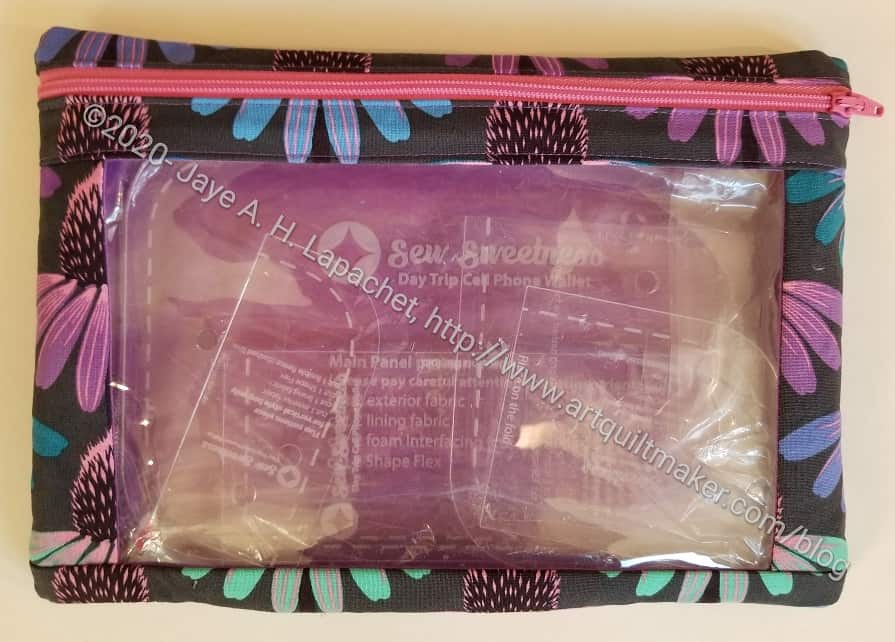
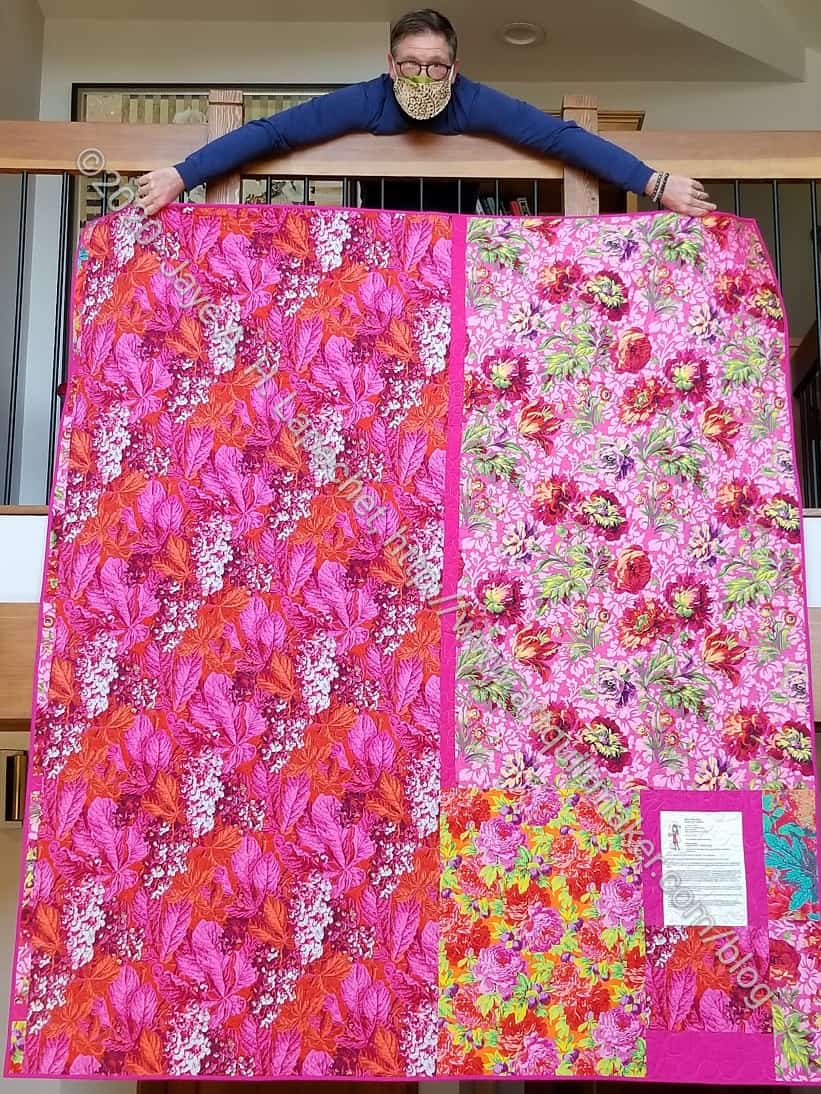
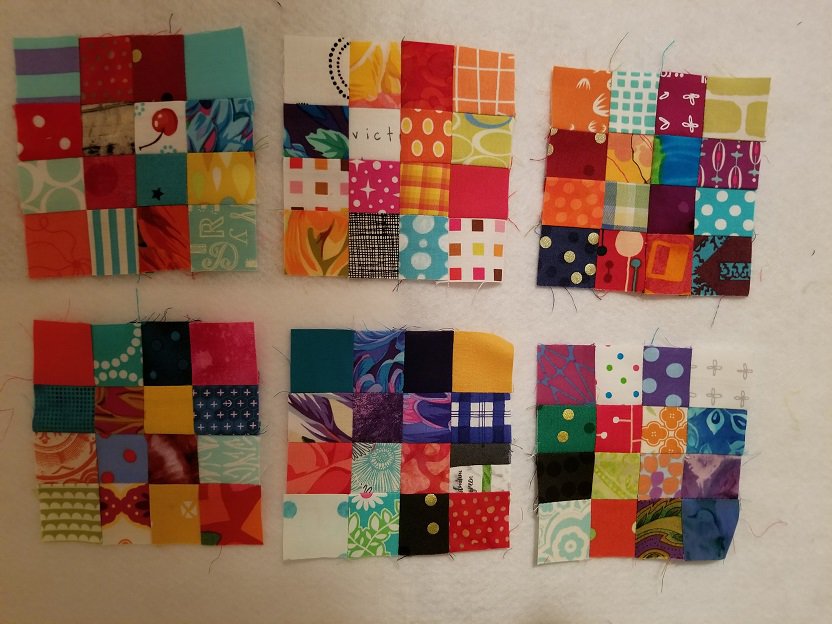
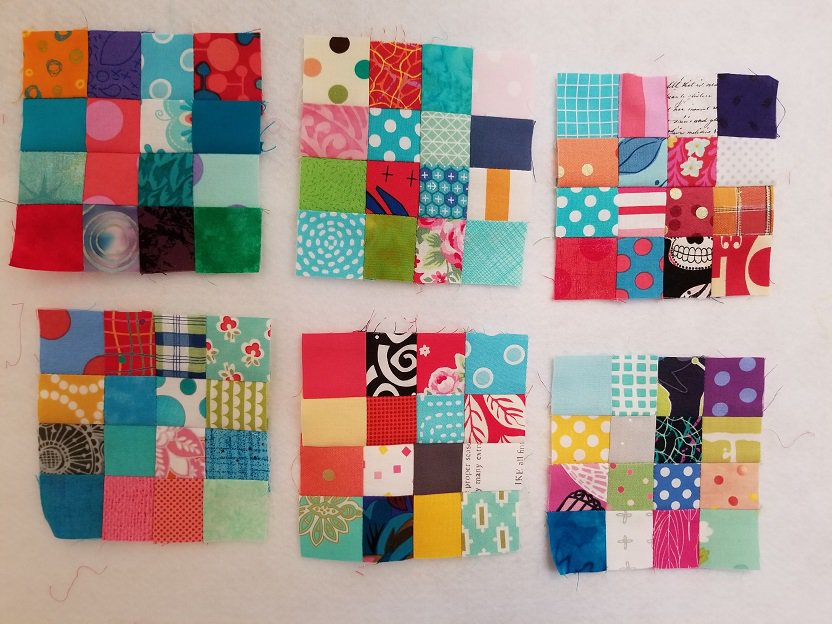
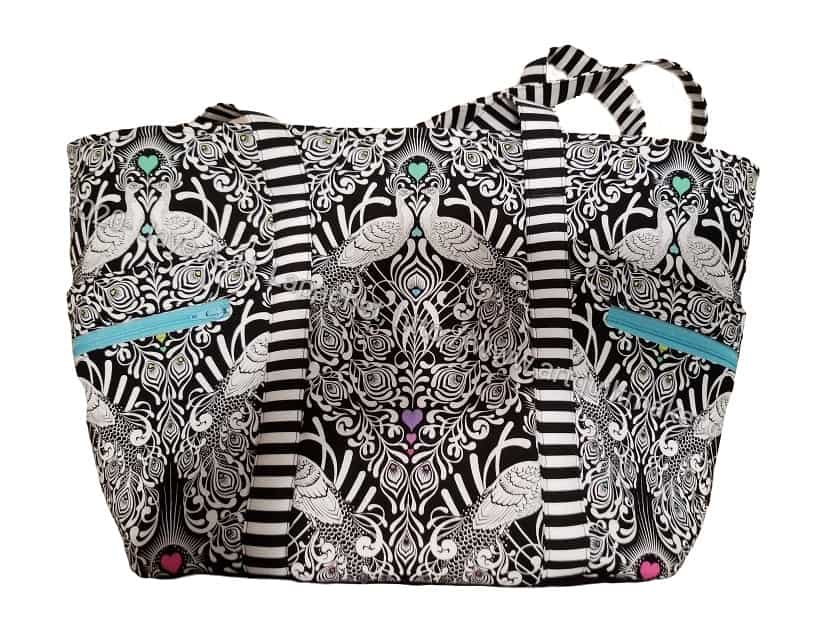
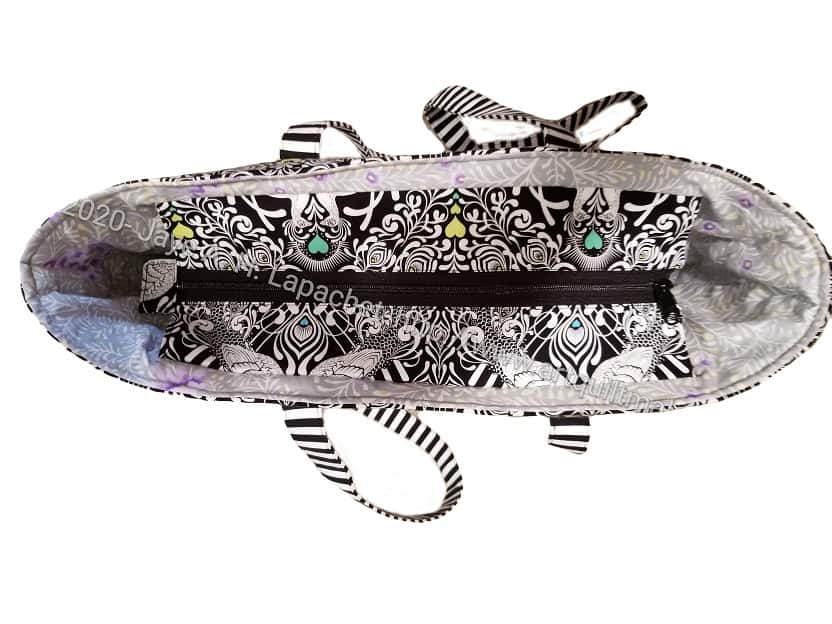
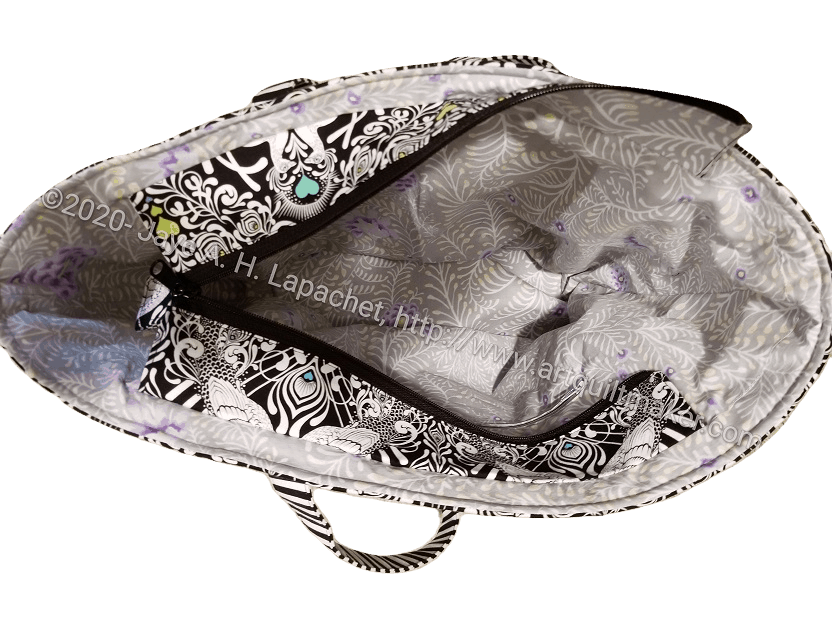
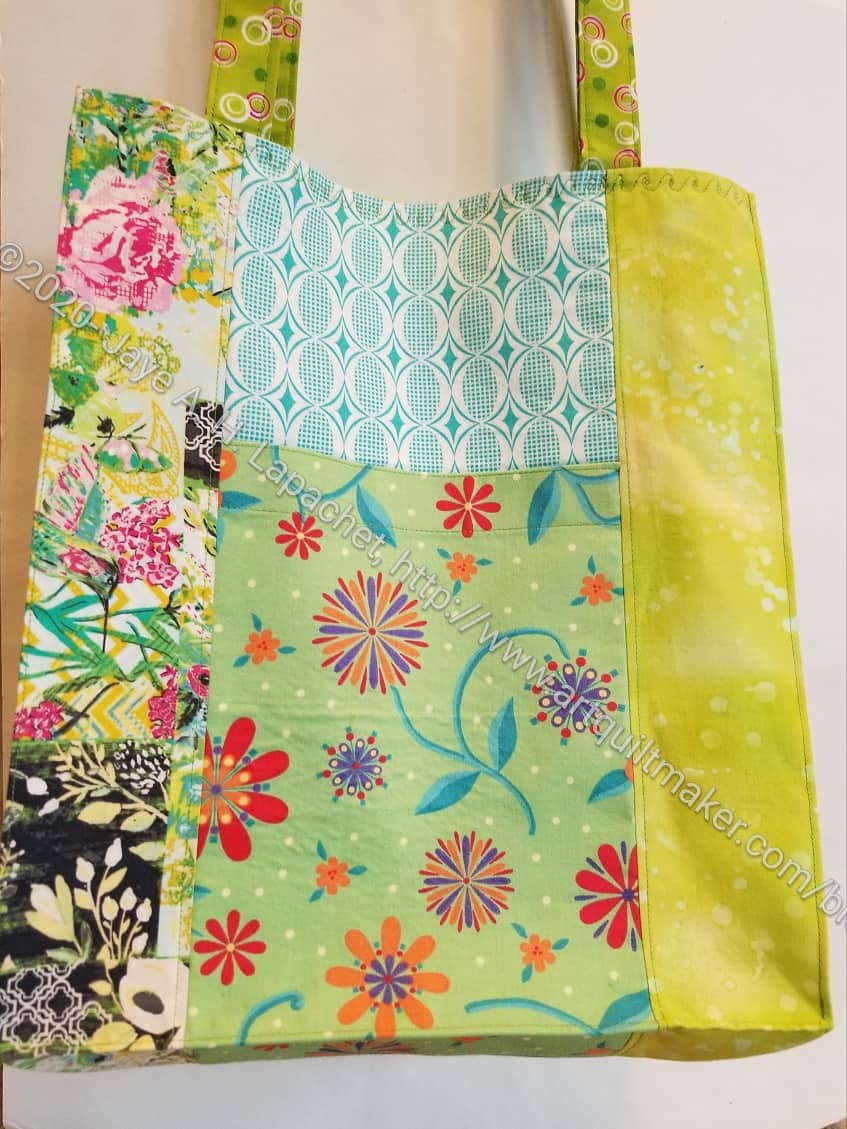
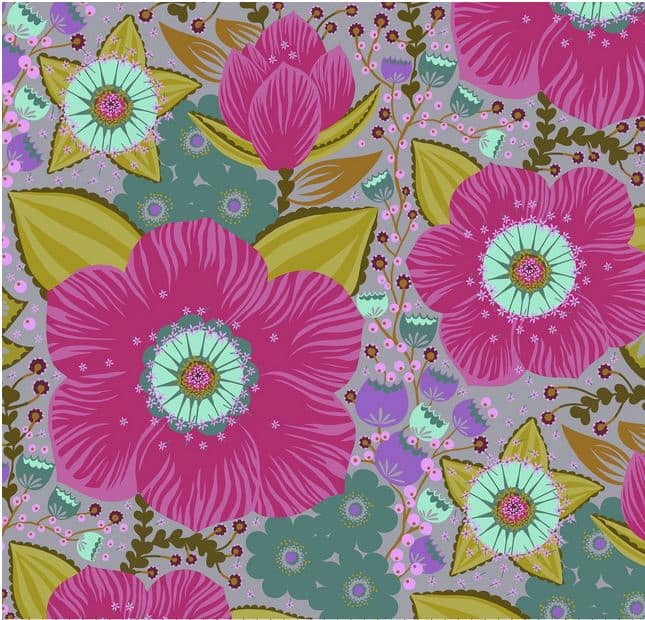
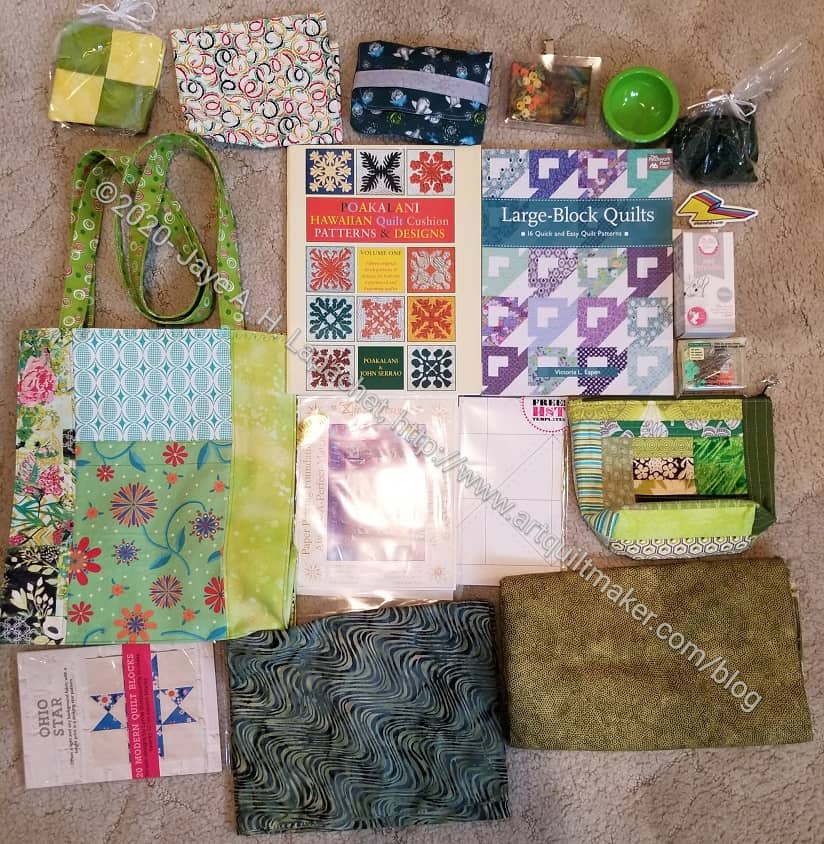
I put together the latest door prize. It was given away at the meeting last week and Alison won. I need to send it off, which means, finding a box, addressing it…. You know, the usual mailing tasks.
I really like the tote bag, which is from a pattern by Aneela Hoey, the Kit Supply Tote. It was made by Angela.
Wednesday, I helped Tim put the piece on his longarm and he started to quilt it.
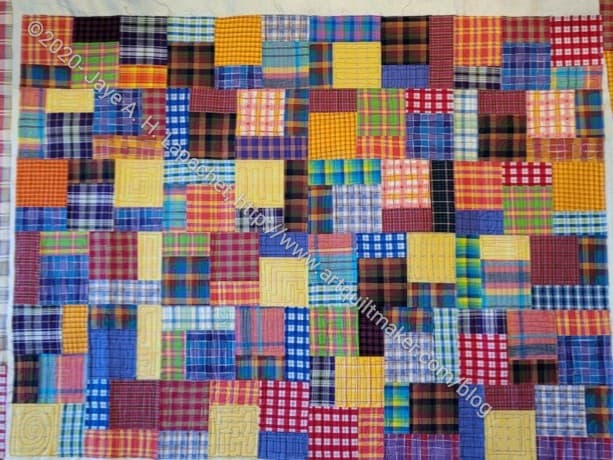
He is quilting a combination of squares/rectangles and swirls. He is not doing an all over pattern, but is quilting in the piecing, which I like.
He and I have talked a lot about our tastes in quilting, so he knows I like my piecing to shine. He does all over patterns for some community quilts, but he often does custom for the quilts I have made.
Plaid Donation Quilt in progress – detail
For donation quilts I do not tell him how to quilt them. I let them go after I am done piecing and let him decide the best design. Like Colleen, longarming is really his jam and he is good at it. It is also something he enjoys. I leave him to it. In this case, he focused on the blocks and did a couple of different motifs in the various patches. He combined spirals and rectangles, which I thought looked really good.
I went to have lunch with Tim. I ended up helping him put two small baby quilts on his longarm. One of these was picked up from the guild community quilt project dropoff/pickup time the other day. He thought since the quilts were the same size they could be loaded on the machine and quilted at the same time.
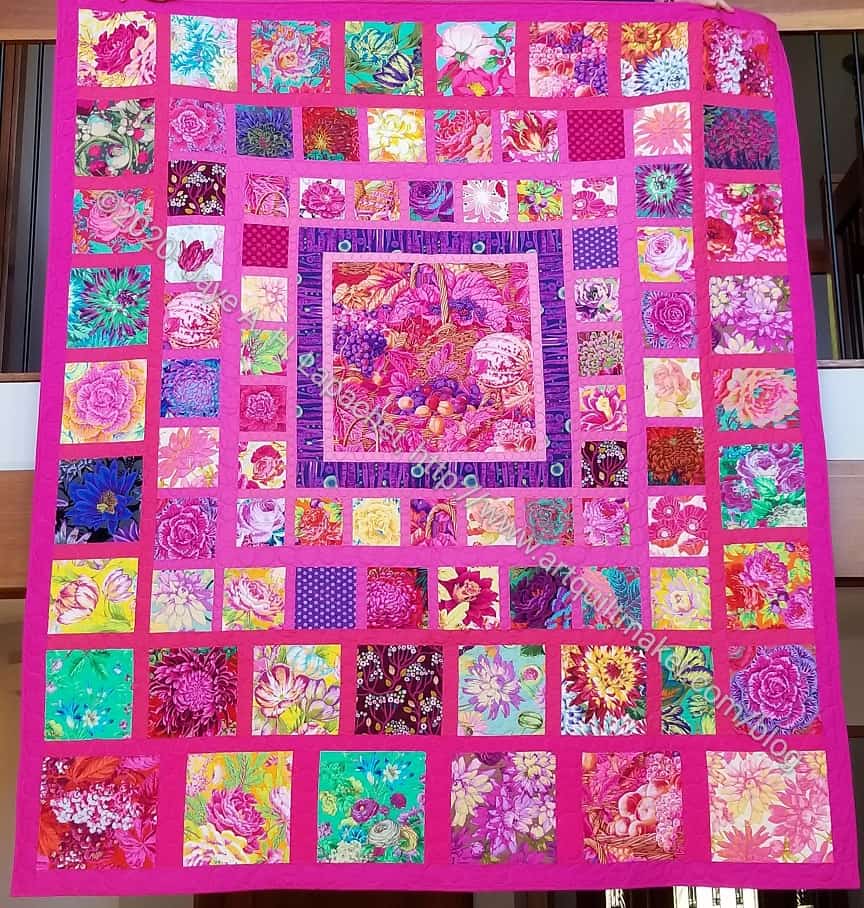
KFC Community Baby Quilt by Patti S
It didn’t quite work out. We still got both quilts on the machine and he was able to finish quilting Patti S’s quilt. The plaid donation top I made was half quilted when I left.
I was impressed with his work on one quilt. I thought he might get two done, but quilting is tiring.
Patti S’s quilt was made from Kaffe Fassett fabrics, perhaps a jelly roll (or Free Spirit equivalent). I know she is trying to clear out her fabric closet, so this might be an older group of fabrics. It is a fun quilt and I thought the quilting would just sink right into it, but the quilting sparked up the top even more.
KFC Community Baby Quilt by Patti S – detail
I like the swirls that Tim used to quilt the piece. I always enjoy watching him work on the longarm. He is so careful and knows so much about how the machine works. It makes me want to try it out, under his guidance, sometime. Shocking after my bad experiences longarming before.
Yes, we wore masks the whole time we were together and both of us are really careful otherwise. We are about the same age so we have awhile to wait for our vaccines. We have, however, kind of ended up in the same bubble and it has helped to relieve the tedium.
I am working on the X quilt and the HSTs at the same time. My iron is acting up so some of my lack of progress has been because of not having a working iron. I have a makeshift solution in place and am making progress again.
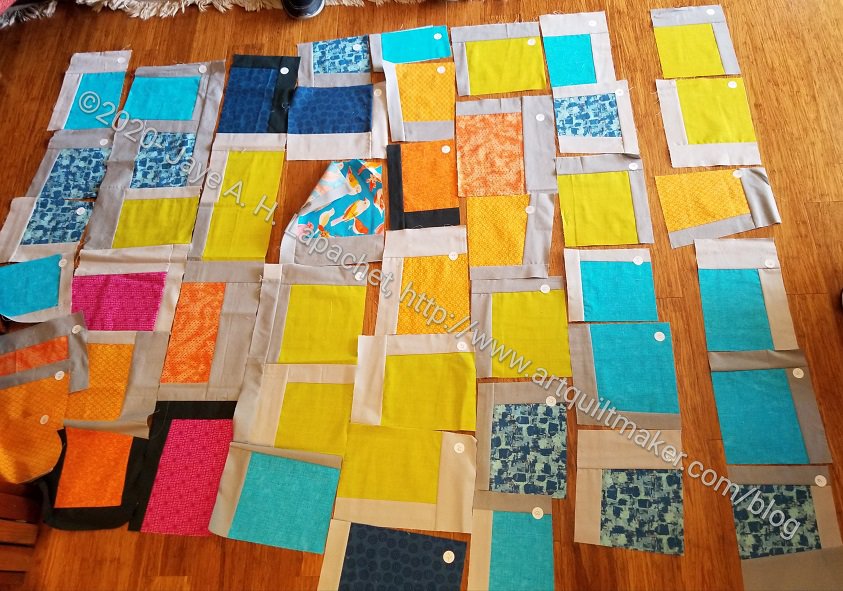
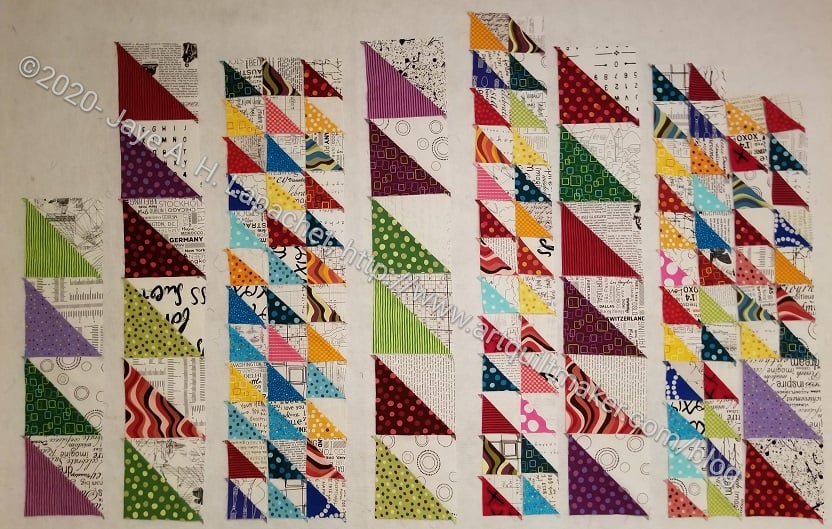
I have pressed all of the large HSTS and have a few more small HSTs to press. Since there are only 3 large X blocks, that limits the number of large HSTs with which I have to work. As I said before, I am thinking about adding sashing. Some of my final decision requires looking at all of the HSTs in one place. I have to see them all together and decide if I have enough for a donation quilt or if I need it to be bigger. This current layout is about 49wx35h. Kind of a weird shape, but we will see.
Pop Parade HSTs – mixing it up
I am also not sure if I want to mix up the large and small HSTs in the same column.
I laid some out together just to see what I thought. Again, I have to see what I think. Also, the layout depends on the sizes I have to work with and I haven’t delved into that problem yet. They all look like they will fit now, but the current layout doesn’t take seam allowance into consideration.
I was thinking that I don’t often write about my dream projects. The last time was in June of last year. This time, I put in photos, not of finished projects, but notes and ideas so you can understand what I am talking about.
Art Institute of Chicago Fusible Applique’ (Ticker Tape Style) Quilt
Whole Cloth Quilt Design
Status: Dream state
Pattern: Original, I have the version of the pattern I used for the Whole Cloth quilt, shown left, and I will use it as starting point.
Fabric: Turquoise and red, mainly, but other colors for the leaves and flowers, perhaps
Steps: need to fuse a bunch of turquoise to some piece of fabric in the ‘ticker tape’ style so I can cut it up into small pieces. I am thinking of making it similar to the Whole Cloth Quilt and using red, again, for the background.
Thoughts: I might make another one with turquoise on top of red with just two pieces of fabric. I’d really like it if someone else would apply fusible to a bunch of turquoise for me. I also have to figure out how to keep all those little pieces on the fabric without satin stitching around each one. I absolutely don’t want to do that.
Art Institute of Chicago Fusible Applique’ (one sheet of fabric) Quilt
Status: Dream state
Pattern: Original, I do have a version of the pattern I used for the Whole Cloth quilt and I will use it as starting point.
Fabric: Turquoise and red, mainly
Steps: need to fuse a big piece of turquoise to SoftFuse or similar, then cut out the image and fuse it to the background. I would satin stitch all around the image. I don’t know that I can make one continuous piece, but will try. The image would be similar to the Whole Cloth Quilt and using red, again, for the background.
Thoughts: I might make it with turquoise on top of red with just two pieces of fabric.
Thoughts: I can’t decide if this is still a dream or if it is already started since I have cut a lot of rectangles. I just need to arrange it and start piecing. The original idea stemmed from the FOTY quilts. I just decided to do a monochromatic version – using just blues, in this case. I probably have more than enough patches now. I just need to slot the time into my schedule.
Blue Lemonade
En Provence 4 Patches (formerly for Blue Lemonade)
Thoughts: I probably had enough squares to make this quilt, but then I used a bunch of them to make En Provence. I have cut quite a few more 2 inch squares, but probably still need more.
Easy Street
Status: have pattern/ dream state
Fabric: pinks
Pattern: Easy Street by Bonnie Hunter
Thoughts: I really liked Daisy‘s version of Easy Street, which she calls Cherry Bomb (she thinks of the best names for her quilts) in terms of color and feel. I don’t want to copy her, but if I do this quilt, I’d like to have the same pinky-red feel to it. One challenge about a mostly monochromatic quilt is getting enough contrast. I look forward to that challenge. Not sure this will become a reality.
En Provence #2
En Provence Finished
Status: Dream state
Pattern: En Provence by Bonnie Hunter
Thoughts: I loved the one I made before and can’t stop thinking about it. I may have to make another one, but I can’t figure out what colors to use next. The ones I used before were almost perfect.
Feathered Star Block (or quilt?)
Status: Dream state.
Pattern: I haven’t decided on a particular feathered star
Fabric: I decided not to use a layer cake and will use the scrap 2.5 inch squares I have been cutting. I love the cheerfulness of Scrapitude Carnivale, as I say over and over, and am not done with that fabric combination yet.
Thoughts: I thought about using dots on a white background as the background, as I did with the Scrapitude Carnivale quilt. It makes the Scrapitude quilt look so cheerful. I probably wouldn’t call the quilt Good Night Irene. I am less enamored of the pattern and may use it to make a donation quilt.
Interlocking Triangles Quilt(s)
Spiky Stars
Status: dream state
Pattern: This is an idea that I designed myself. I made two quilts and have variations on the pattern to make more.
Fabric: I have a few different collections of fabric I want to use. It seems more important to me now to get those used. Most are rainbow colored; I also have a lot of stripes to use
Thoughts: This is a quilt from which I get a lot of bang for my buck. The visual impact is tremendous. The easiest way to do the spiky triangles is with paper piecing. I am not that big of a fan of paper piecing (read my laments about the Spiderweb‘s paper piecing). I made Spiky Stars using templates and that was meditative and won a prize, so it is doable.
Jack’s Chain Quilt
Status: dream state
Pattern: Jack’s Chain, a continuous pattern
Fabric: bright scrappy, consistent centers
Thoughts: This is one of the first quilts I saw hanging in a quilt store and thought of making. I have seen a number of variations lately using different hexagons in the center. It occurred to me recently that I could do four rings and make a pillow cover instead of a whole quilt. Partially, I thought of this because I saw an EPP pattern for this quilt. Taking on another large EPP quilt right now is not in the cards. I could also make the pattern larger, making the piecing for a quilt much quicker. Sometimes, I still like the smaller version idea better. But I think I could piece this quilt without EPP. I could make the pieces large, which would make the pattern go faster.
Music Quilt
Status: dream state, but not very inspired
Pattern: Top will have a piece of music the Young Man can actually play. That will probably be applique’
Fabric/Colors: music prints and tone-on-tones with a little red
Thoughts: The Young Man has requested this quilt as his high school graduation quilt. I missed that deadline and now I have missed the college graduation deadline. I printed out the piece of music he sent me. Now I need to make into an applique’ or do something else (print on fabric?). If I can manage to make it.
Pineapple (Hunting and Gathering)
Pineapple quilt
Status: I have some strips cut.
Fabric: dots. Have most of the strips cut. Will be much more selective about which strips I use.
Pattern: Pineapple log cabin
Thoughts: I haven’t given up on a Pineapple quilt despite my frustration with the previous attempt. I bought a different ruler: a Creative Grids Pineapple ruler in hopes that it will work better for me
Silk Colorblock quilt
Colorblocks 2
Status: I have the fabrics and the plan
Fabrics: silk dupioni and cotton in brights (of course)
Thoughts: I have made a couple of, what I call, Colorblock quilts over the years. One was the Kona Challenge in 2011, another was my 1990 Colorblocks 2 and the first one, Colorblocks, also made in about 1990. I bought the silk fabrics at the Marin Needlearts show about a zillion years ago and they have languished waiting for me to learn to back them so I can use them. I think I have that covered now and there is nothing stopping me except time and will.
Fabric: Scrappy with controlled scrappy background
Thoughts: I like the construction of this quilt and am convinced that I will make it. Another one just waiting for time and the will. After adding the correct size piece to my cutting sheet, I have continued to cut and cut. I now have quite a large stack of patches waiting for a background color.
Out of the Dream State: Below is a list of projects that were on this list at some point that I actually made or am working on:
Half Moon Modern Quilt I made a Chubby Charmer instead of a quilt and am happy with that choice.
Medium Mondo Bag – I actually made the Midi bag. I think I might have another pattern to make another one, so I will have to try it out without the class.
MetroScape quilt is finished, working on the binding
I didn’t get a lot of sewing done last week as I was preparing new material for my class. I have always had a great deal of respect for teachers, but I have even more now. Preparing new material for my students takes a lot of time.
The stack of these HSTs, which are being created from cutting the lozenge blocks using the Simple Folded Corner ruler** continues to grow. I didn’t think I would be able to make any kind of good sized quilt, but I think I will be able to make at least a baby quilt. I don’t plan to lay it out like you see above. Depending on how many HSTs there are, I may add sashing between the columns.
I still have a lot of HSTs to iron, so this design will grow based on the number of pieces.
This is definitely not the final design.
**I use affiliate links and may be paid for your purchase of an item
when you click on an item link in my post. There is no additional cost
to you for clicking or purchasing items I recommend. I appreciate your
clicks and purchases as it helps support this blog.
Last year at the guild Lynette and I started leading a sew-along with the Ultimate Carryall Bag pattern from Natalie Patton. The pandemic kind of blew the idea out of the water in the sense that we had thought about it. I decided that we needed to get back on track, because people had bought the pattern and cut out the pieces. On Sew Day earlier this month, I went into a Zoom breakout room and gave people a tutorial on making one of the large pockets.
Today we are starting to make one of the large pockets. We will work on the front pocket.
Tutorial:
First, mark all of your pieces using the tags that Lynette made.
Next, go through your pattern and mark all references to cut pieces with the numbers Lynette created. If you don’t do this, you will have no idea which pieces I am talking about.
N.B. I am using two different pockets, which use different fabrics, to illustrate this tutorial.
Note: I am just calling out a few supplies. You will need to check the pattern for a full list of supplies
UCAB Large Pocket 1 Outline
With everything assembled, you should be ready to sew.
N.B.: instead of twill tape, I use ByAnnie’s double fold elastic (AKA fold over elastic). I like the way it matches the mesh and I like the way it folds over exactly in half so I can machine stitch it. If you are using Twill Tape, you will have to bind the mesh in best way you know.
UCAB Bind Mesh Pocket
Mesh Pocket
The first step is to bind the top of the mesh pocket. Take the fold over elastic and fold it in half. Use WonderClips to hold the elastic in place.
Using matching thread, sew along the edge of the binding closest to the mesh. I used a straight stitch.
Mark Mesh Pocket in halves and quarters
Once that is done, mark the pocket in half and in quarters. I used pins.
N.B.: In the picture on the left, I have marked the mesh pocket in halves and quarters with pins, but I have not yet bound the mesh with the fold over elastic. Ignore the clips in this photo.
Add Mesh Pocket to P2
Clip bound mesh pocket to P2
Clip the bound mesh pocket to the bottom of P2.
You will need to ease the excess mesh fabric into pleats at the bottom of P2.
I used as many WonderClips as I needed to keep the mesh in place. It is a little bit challenging to keep in place. It isn’t exactly slippery, but it doesn’t stick to the quilting cotton like another quilting cotton would. Sew the bottom of the mesh pocket to P2, sewing the pleats you clipped in place as you remove the clips.
Mesh Pleats
After you sew the bottom of the mesh pocket to P2, you will notice that the mesh will look like the picture on the left on the bottom where you have pleated the mesh. This was a little bit of a challenging concept for me to understand. I don’t make many garments, as you know, which may be the reason. Also I had to figure out why to pleat. The pleats give the pocket dimension so you can use it for things that are not flat. You could also make this pocket with vinyl instead of mesh, if you want. I don’t really talk about that in this tutorial, but make the pocket the same width as P2 as bind it with quilting cotton rather than fold over elastic.
Fold top of P2 down RST
Fold P2 down towards the bottom RST. The top of P2 will cover the mesh pocket.
Clip or pin the sides in place to secure. Watch out for the other Wonder clips that you used for the mesh pocket. It would probably be bad if you sewed over them.
Sew Down Sides of P2
Sew down sides of P2 only. The orange lines in the image on the right indicate where to sew.
Backstitch at the top and bottom to secure.
Before turning, I pressed the seams on the sides open, being careful about the mesh. I was also careful not to press the top fold yet.
Turn P2 right sides out.
Press again, watching out for the mesh. ByAnnies mesh doesn’t seem to melt when pressed, but I was still careful.
Also, now press the top fold.
I pressed the bottom seam allowance inside the P2 pocket and sewed it closed when I sewed P2 to P1, which I will talk about in the next tutorial.
UCAB P2 pocket sewed to P1
P2 is now finished. In the photo, I have already sewn it to P1, but I will talk about that next time.
Use the seam allowance indicated in the pattern. Tip: Natalie, the designer, sometimes switches seam allowance sizes so pay attention to those directions.
I made two of the P2 pockets and put them on both sides of this large pocket, using the same directions. In the next tutorial, we will sew the P2 pocket to P1 and add the zipper.
I originally wrote this to support Bay Area Modern‘s various swaps and activities. Once their new website was live, the blog was discontinued. I think this is a useful post (and not just because I wrote it!), so I decided to rewrite it, update it and post it here.
Please note:
I haven’t tried all of these patterns
I use affiliate links to support this blog. Please see the full notice at the bottom of the page
Some patterns have a cost
Generally, I have just made lists of ideas. Where I know about a pattern or specific tutorial or project, I have noted it.
Links break. I do check them, but you might need to search. Fortunately, there are usually multiple patterns or tutorials for the same item (or type of item)
Apron
Flapper Apron by Decades of Style. I have made a number of these aprons. With a few adjustments they come out really well.
Sew4Home’s Festive Half Apron with Extra Large Pockets tutorial
Sewing pattern companies such as McCall’s, Simplicity and Vogue all have apron patterns. The packets often include multiple styles.
Backpack
Sew4Home’s Sporty Summer Sling bag tutorial (this company changes the names of their projects, so if the link doesn’t work, do a search)
Bunting
Camera case wristlet – pattern
Camera pouch – pattern
Camera strap – tutorial by ikatbags.com Catch All Caddy by ByAnnie
Car trash bag – pattern
Car ditty bag – tutorial
Cargo Duffel 2 – Noodlehead revised tutorial on the Robert Kaufman site
Casserole carrier- Sew Sweetness pattern
Cell phone sling
Changing pad – pattern (make sure your giftee has a baby!) Might be useful to look at my vinyl tips and tricks page.
Checkbook cover tutorial from SewVery
Clipboard (fabric covered) – tutorial from SewVery
Clutch bag – pattern from Clover & Violet
Coasters
Coin purse
Cold pack tutorial from SewVery
Composition book cover tutorial from Hip to Be a Square
Craft organizer tutorial
Cup holder/ coffee cozy
Cushions / Throw pillows
EPP Travel Kit
The Zen of Making pattern and tutorial. Make sure you look at the link for the optional pin cushion and other tutorials on EPP.
eReader /Tablet bags and cozies
Book Style Kindle cover tutorial from Clover & Violet
Keychain
Lanyard (tutorial)
Light switch plates (covered) – tutorial from Craft Buds
Luggage tag tutorial from Clover & Violet
Manicure roll-up bag tutorial from Hip to Be a Square
Mask
Mini ironing table (pattern/tutorial)
Mini quilt / wall hanging
Mug rug
Name tag
Napkins
Needle safe
**I use affiliate links and may be paid for your purchase of an item when you click on an item link in my post. There is no additional cost to you for clicking or purchasing items I recommend. I appreciate your clicks and purchases as it helps support this blog.
Although everything went along very well, I finished up sewing on Sunday somewhat dissatisfied. I think I felt like I figured out the sewing and was done, but here was a bunch of pieces on my design wall that were not a quilt top.
I turned off the sewing machine and lights and left the room. I ate dinner, worked on my puzzle and thought about this quilt.
I decided that one issue is that I don’t want to keep it. I am making it because I wanted to use the Pop Parade by Metro for P&B Textiles fabrics. I also think the design is clever. Still, I don’t want to keep it and didn’t know who should receive it. I have four-ish more quilts to make in the Niece-phews series. None of the people who will be getting a quilt seemed right for this one. I thought about giving it the YM. He is always up for a new quilt. Finally, I received an email from a friend. She is going through a tough time and needs a quilt. Voila!
This quilt is also a cautionary tale about saving fabrics for the perfect project. When I bought Pop Parade, I was pretty excited about them. Now, not so much. The dots are great, the other motifs are great, but the colors are somewhat dull. I see it especially in the pinks. I prefer bright clear colors.
I didn’t have enough of the Pop Parade to make this quilt, so I added in some other fabrics and that makes the overall look better. I love the text and low volume fabrics I am using for the background. I was kind of upset I had chosen those if the quilt wasn’t going to someone I like as I am using up large pieces of them. Now I am excited that my friend will receive it. I am sure she will like it.
As you probably guessed from the Folded Corners Ruler tutorial, I am generating a lot of triangles. As the triangles are cut off the squares, they are ready to sew into Half Square Triangles.
Pop Parade HSTs
So, I sewed them into HSTs. I couldn’t think of a design, so I put some of them up on the design wall so I could look at them. Now I have an idea of what I might do with them. I don’t think they will fit together as is, so I have to add some sashing or something.
The picture shows only a small fraction of what I have sewn so far. Depending on how large the final piece is, I may donate it to the guild. However, I might make it a Niece-phews quilt.
Alison also quilted Ends n.9. It is an appropriate quilt to post on Valentine’s Day because of the colors.
Like Blue Strips n.2, this will be donated to the Project Linus project near where Alison lives.
I forgot about this one even though it was the last one that I made. It makes me think that I need to look and see if I have some more ends that need making into a quilt.
Alison sent me some photos of Blue Strips #2 after she finished quilting it. Since Alison is in Oregon now and the guild doesn’t want to incur the costs of shipping the quilts back for donation. Alison found a good Project Linus group who is getting the quilts she quilts. I am pretty pleased that she was able to quilt this one. I’d like it to be used as soon as possible. She was kind enough to send a bunch of detail shots as well.
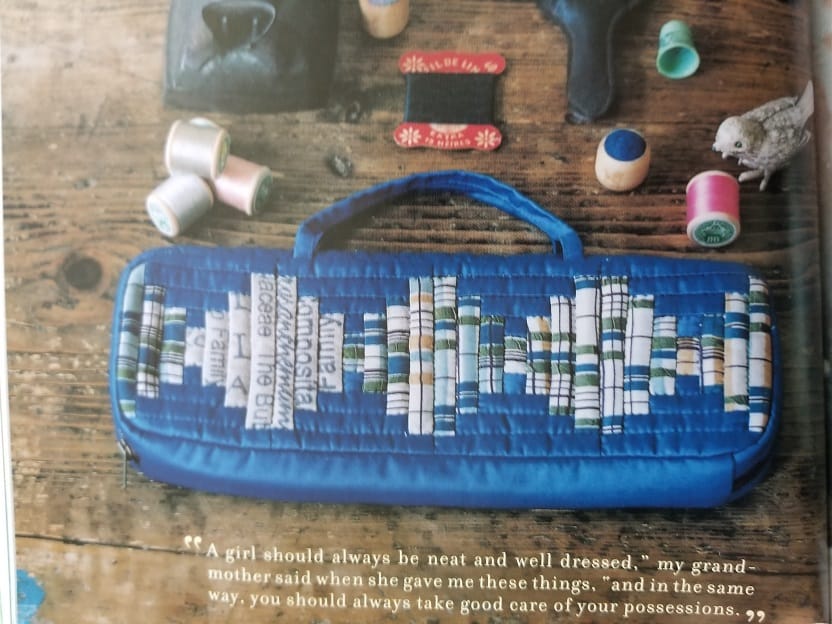
I am going through my bookshelves as I prepare to remove everything from my workroom and paint. That project is a story for another day, but the bottom-line is that I cannot stand the life sucking beige anymore and it has to go. In order for it to go, I have move all of my stuff — all of THE stuff out of my workroom.
When I come across certain things, like magazines, I look through them to try and see if I want to devote part of my new, fresh space to them. I am pretty good about marking pages when i initially read a magazine. This makes looking through the issues much easier, though i do tend to want to see what else is in the content. I did mark up a 2014 issue of Fresh Quilts**. I don’t know if this magazine is still published. This particular issue has an interesting essay on wabi sabi by Riane Menardi. Not so interesting that it is going to live in my new workroom, the essay is making me think.
The definition of wabi sabi in the article “an old Japanese philosophy that asks us to find beauty in the imperfect. It us that in life, nothing is perfect, permanent, or complete. Wabi sabi asks us to embrace all the natural states of being – the cycle of creation, growth, and decline, and everything in between.”
I also checked Wikipedia (yes, I looked at the references and this article was well documented) and the definition there is “wabi-sabi (??) is a world view centered on the acceptance of transience and imperfection.[2] The aesthetic is sometimes described as one of appreciating beauty that is “imperfect, impermanent, and incomplete” in nature.[3] It is a concept derived from the Buddhist teaching of the three marks of existence (???, sanb?in), specifically impermanence (??, muj?), suffering (?, ku) and emptiness or absence of self-nature (?, k?). Characteristics of wabi-sabi aesthetics and principles include asymmetry, roughness, simplicity, economy, austerity, modesty, intimacy, and the appreciation of both natural objects and the forces of nature.”
Slight difference, I think, but I can see the relationships.
From a here and now in the world perspective, I know that nothing is permanent. I am sitting at home for the 5 millionth day in a row unable to see my friends or my family. From a quilt perspective, I think things are less clear.
I went shopping inside a quilt store the other day – for the first time in over a year. There they had some fabrics I thought I would never be able to get again. While this was surely an anomaly, it was a welcome anomaly. In my mind this means that while nothing is permanent, sometimes the train of impermanence hurtling toward you is delayed. In quiltmaking, we can get fabrics with the same colors, so the idea in a quilt design can be continued even if the fabric is different.
I worry about the ‘nothing is perfect’ aspect of wabi sabi with regards to quiltmaking. Nothing is perfect, but I strive for excellent workmanship and technique. I want as few mistakes as possible in my quilts. When I do make a mistake, I contemplate it for a bit and decide if I can live with it. If so, I move on. If not, I rip it out and do it over. What worries me is people putting in an obvious mistake in a quilt because ‘nothing is perfect’ or ‘only God is perfect.’ This was a real phenomenon in quiltmaking in the 1990s and kind of outraged me. In my mind, there is no way I can make an absolutely perfect quilt – one with no mistakes. I don’t need to put in a mistake since there will always be mistakes no matter how careful I am. There will always be more than one mistake in every quilt I make whether the viewer can see it or not. Why would you intentionally put a mistake in your quilt?
The author says to embrace mistakes and make them part of the design. I often do this, especially if I run out of fabric. I pick another fabric with a similar color and move forward. The bonus of this technique is that I have developed a style where I use many, many fabrics rather than just one, especially where fabrics of the same color can make the area of a quilt more interesting. If a mistake will ruin my overall design idea, then I don’t go in a different direction. I fix it. In my work, I need to complete the idea in my head or it won’t leave me alone. I suppose it depends on the idea. If I am just playing, then unexpected directions can be a useful tool. Often, though, I have a design in mind that I want to explore and those feelings can be compulsive.
Ms. Menardi also talks about destruction. She says to ‘destroy something’ or ’embrace destruction.’ I was in an improv exchange once where one member sliced and diced everyone’s piece to shreds and then sewed them back together. The results were awful. Mine escaped this fate somehow. I think she came up with the idea after she worked on my piece. I was glad, because the resulting compositions of the other pieces were destroyed. Not in a good way either. Every choice in my work needs to have a reason and needs to make it a better piece. Even with my Color Improv donation quilts, I make choices in where I place the fabrics. I might be using looser rules than when I make other quilts, but I still make choices that better the overall design. I don’t believe in destruction for destruction’s sake.
The final suggestion was ‘love (and use) your quilts.’ This is important to me. With very few exceptions, I don’t give people quilts for them to end up in a cupboard ‘for good.’ I want baby quilts to be dragged around and used to death. I want my nieces and nephews to wrap up in their quilts for comfort until the binding frays and worn areas appear. The bottom-line? There is always more fabric.
I do embrace the beauty of handmade items and recognize that those items have mistakes. The mistakes are not important; the beauty of the visual design and the love that went into the hours of sewing is what is important to me.
**I use affiliate links and may be paid for your purchase of an item when you click on an item link in my post. There is no additional cost to you for clicking or purchasing items I recommend. I appreciate your clicks and purchases as it helps support this blog.
A friend of mine has Stage Zero Breast Cancer. I have never heard of Stage Zero Breast Cancer either, but she explained that it has something to do with calcifications. You’ll have to look it up, if you are interested. She said that her health system is one of the few that actually treats Stage Zero Breast Cancer. She will be having surgery on Friday.
Eye Mask gift
I decided to make her an eye mask as I wanted to make her something that would provide comfort. After finding a piece of pretty fabric, I whipped it up and will be sending it off this morning.
After I made it I thought the curve would accommodate using it under her arm as well. I don’t know if that will feel good, but it is an option. I used the small amount of leftover fabric to make a small gift/storage bag.