Recently, I posted the first part of the tutorial for the Large Pocket #2. That tutorial included a pocket that would help you organize your WonderClips.
In order to sew along, you will need:
- Purchase the pattern
- Gather your supplies
- Cut your fabric
- Print the tags
You can find more information at the following links:
- Tour of the bag -Instagram
- Bag-a-Long project post – 9/27/2019
- Thoughts behind the bag – 8/7/2019
- Find all posts about this bag by using the hashtag, Ultimate Carry All Bag
Additional Supplies**
- Basic sewing kit
- Blue painter’s tape
- Creative Grids 4.5″ x 8.5″ ruler**
- D-ring** or similar
- Double-fold elastic AKA fold-over elastic
- Fabric
- Mesh fabric
- Sewline pencil**
- SF101
- Thread that matches your mesh
- WonderClips**
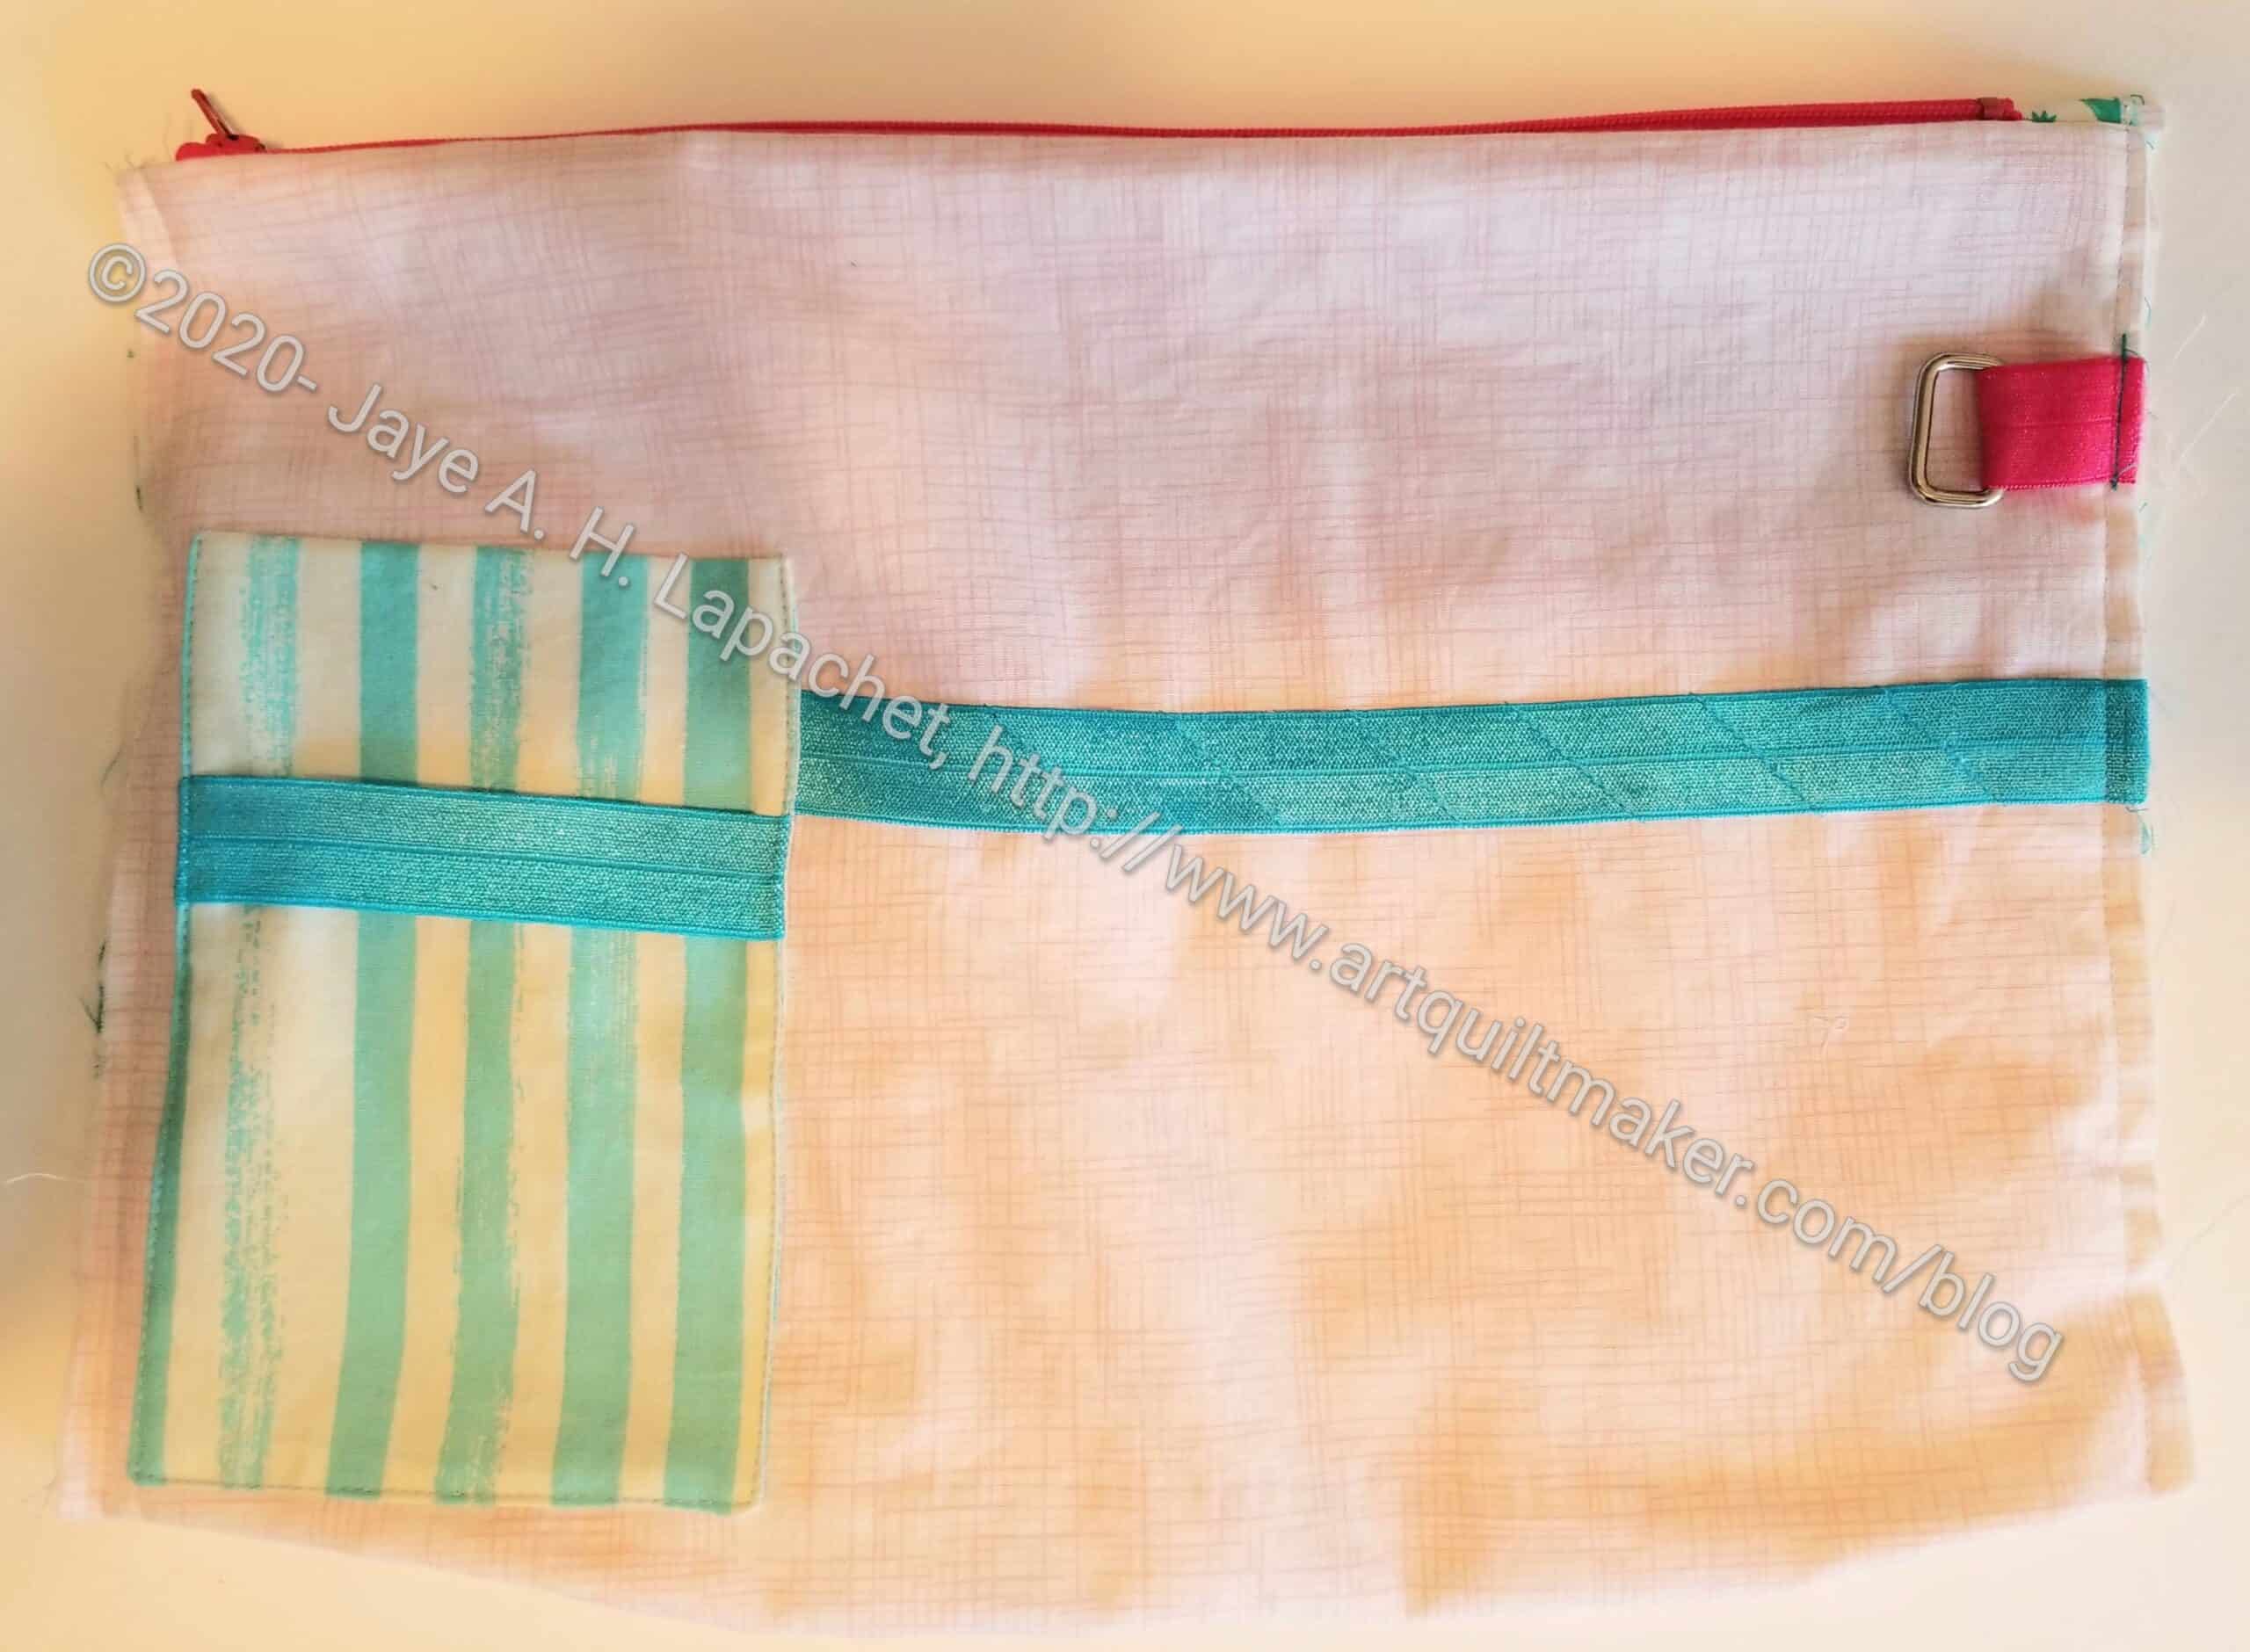
Today we will finish putting together the second large pocket. As I said in the previous tutorial, the Clippy pocket is not part of the original pattern, but using that tutorial, you can easily add it to P1 and still have enough space for other tools.
The pattern calls for a mesh pocket on the back of P1. You can add slip pockets instead, if you want. Follow the general directions in the tutorial for the first large pocket. To add the mesh pocket, follow these directions:
Seal the edges of the mesh with doublefold elastic like you did on Large Pocket #1.
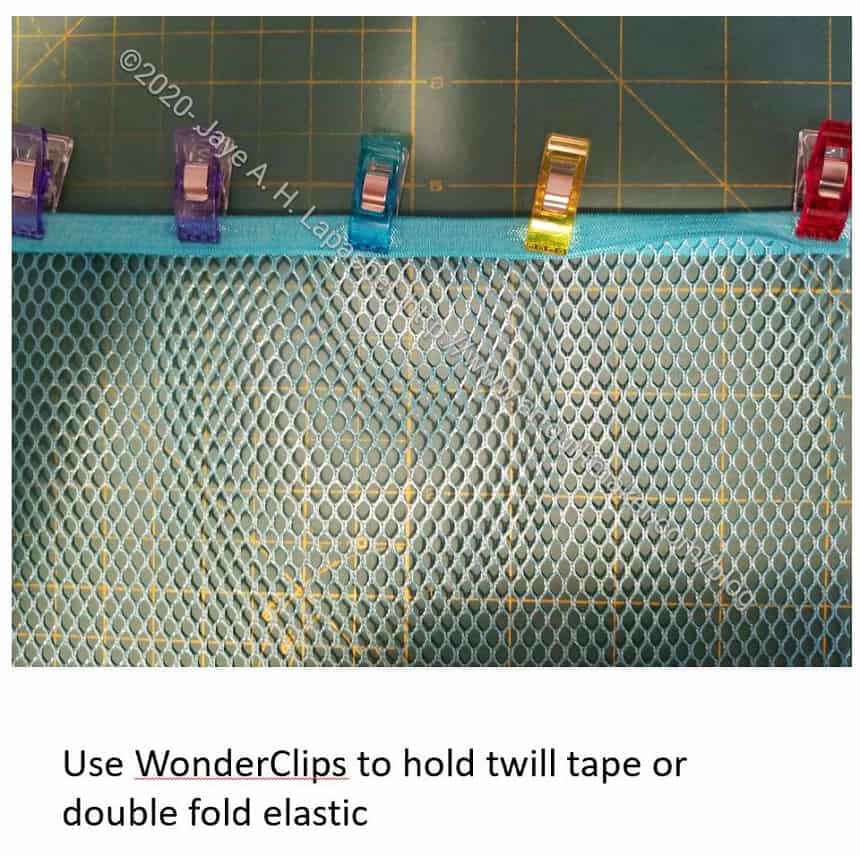
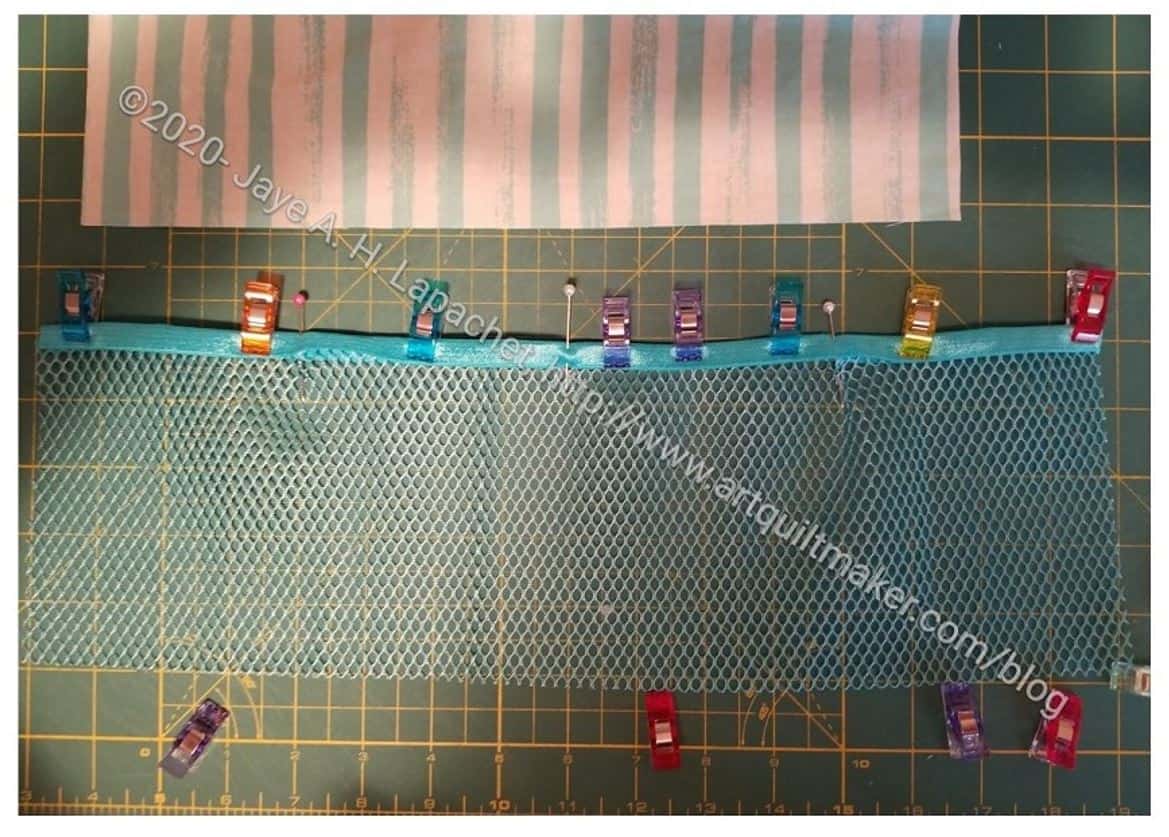
The first step is to bind the top of the mesh pocket. Take the fold over elastic and fold it in half. Use WonderClips to hold the elastic in place.
Using matching thread, sew along the edge of the binding closest to the mesh. I used a straight stitch.
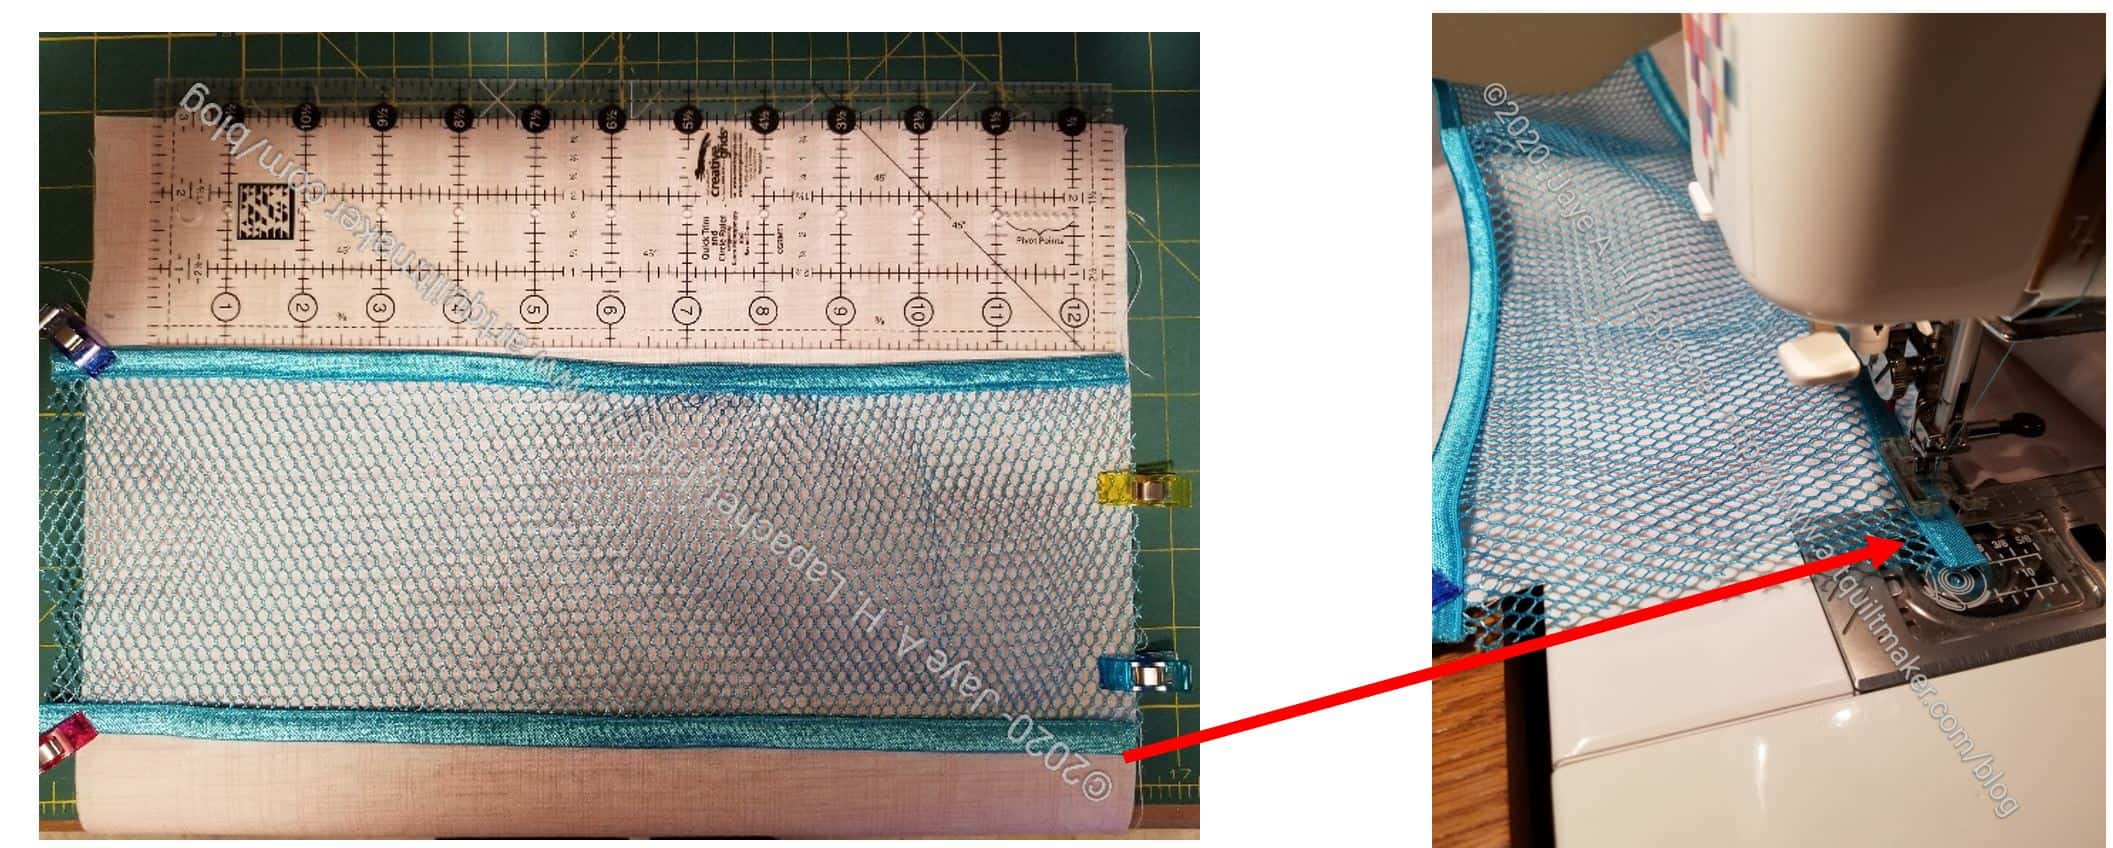
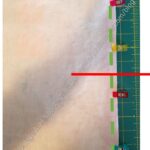
Mark 3” down from the other side of the right side of P1.
Tip: Make sure, before sewing that both pockets (Clippy & Mesh) have their openings in the same direction up. When the two raw edges are held WST, both pockets should have their openings up, closest to where the zipper will be sewed.
Line up top of mesh with 3” line.
Sew bottom of mesh pocket to P1.
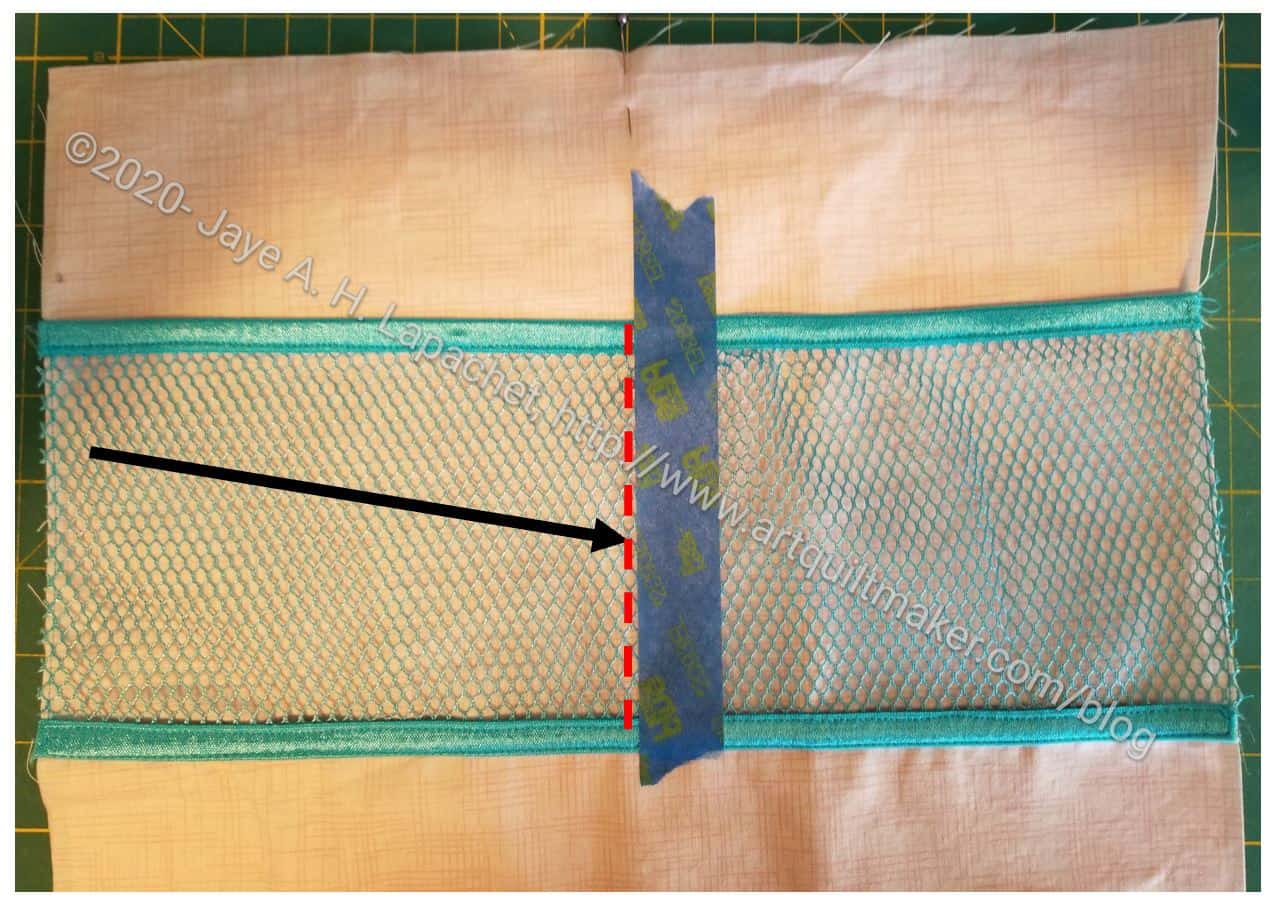
Mark your pocket divisions with blue tape – make however many you want. I have two, separated by one line of stitching
Sew NEXT to blue tape.
Add Zipper
You can also look at the zipper instructions from the first large pocket tutorial.
Lay L1 down face up/right side up.
Lay zipper on top of L1 with zipper pull facing up.
Line up P1 with Clippy Pocket on top of zipper right side down.
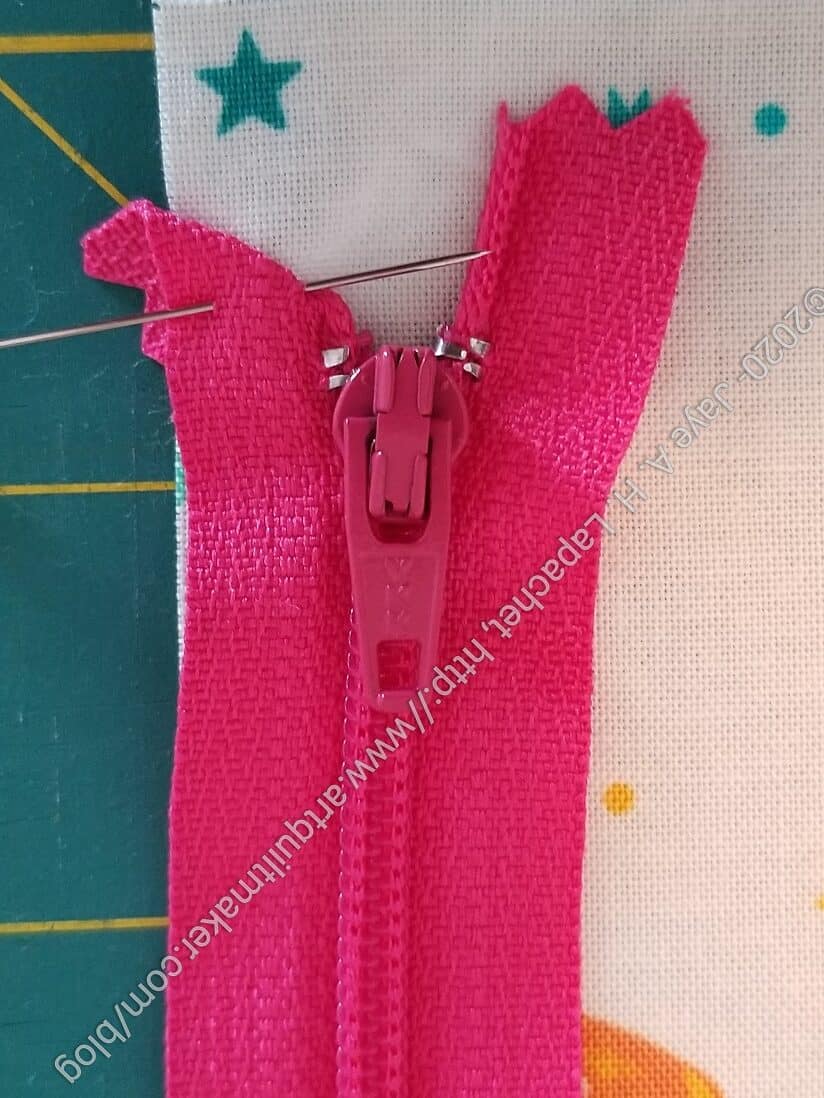
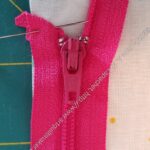
Natalie Patton does something really clever with her zipper. She folds the ends of the zipper tape at a 45 degree angle and pins it. This makes it look really neat and tidy once the zipper is sewn in.
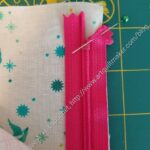
In the pattern (pg.10), she talks a lot about pinning, horizontal pins, etc. I found it to be kind of confusing.
The photo (left) shows how I interpret her instructions. I tried it and it worked for me. Sotak Handmade has a video where she adds the zipper using a similar method.
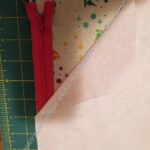
Once you have the zipper tape folded and pinned, continuing layering the last piece of fabric on top.

The edges of the folded zipper tabs stick out a little bit from the side of the piece where you will be sewing. This is ok and how it is supposed to look.
Sew along clipped edge to secure zipper. I use my quarter inch foot, but you can use your zipper foot, if it works for you. Make sure you move the zipper out of the way as you sew so it doesn’t interfere with your seam.

Open up three layers.
Top stitch near zipper. Follow the same directions for the second side of the zipper.
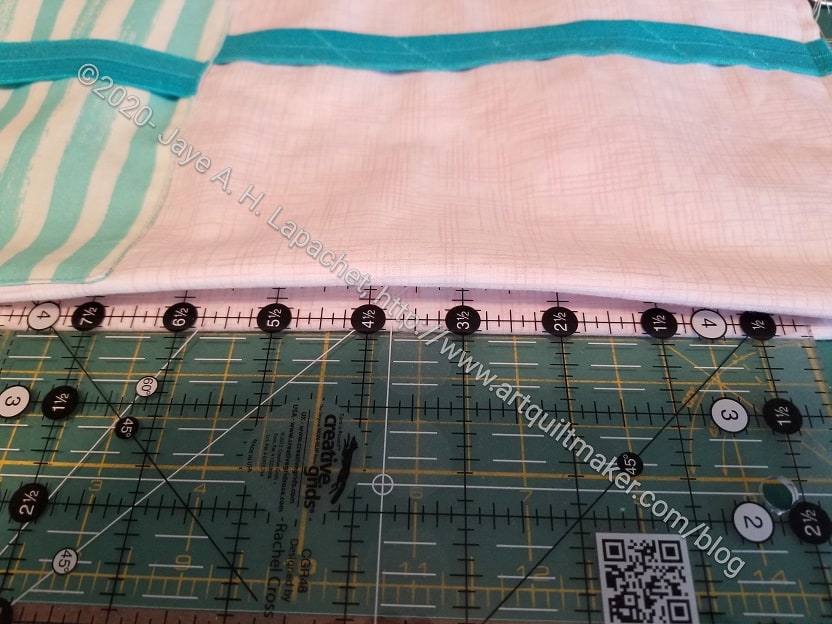
Pleat the bottom.
I use the ½” marking on a ruler to mark the ½”. Push it into the bottom.
Clip to keep it in place and sew along the edges using the seam allowance noted in the pattern.
Your pocket will look something like this.
Previous Tutorials:/
- Large Pocket #1 pt.1 tutorial
- Large Pocket #1 pt.2 tutorial
- Large Pocket #2 Clippy Pocket tutorial (type 2)
- Front Pocket information
- Pocket information
- Clippy Pocket Hack (type 1) – prelude to a tutorial
- Clippy Pocket Hack (type 1) pt.1
- More on Clippy Pocket Hack (type 1)
**I use affiliate links and may be paid for your purchase of an item when you click on an item link in my post. There is no additional cost to you for clicking or purchasing items I recommend. I appreciate your clicks and purchases as it helps support this blog.