Quilt Class via Video

I started teaching another quilt class via Zoom a few weeks ago. We started on Google Hangouts/Meet- whatever and that was terrible. My screen kept freezing and the experience was terrible. I bought a Zoom subscription and everything has been better.

My goal in the class is to teach my students all the skills they need to make any block they want – or any quilt they want. Both have already decided that they love quiltmaking, so I don’t have to worry about that.

I have taught basic quiltmaking before, but never via video. It is a different experience and I find the demos challenging. Thank the stars for the web, because I am able to find publicly posted videos to stand in for live demos.

My students are AWESOME. They are energetic and enthusiastic and I look forward to our sessions very much.

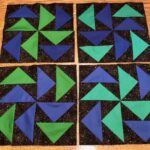
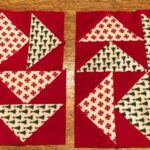
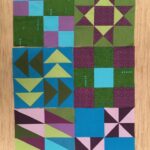
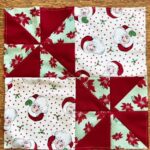
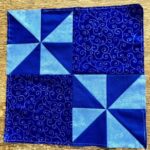
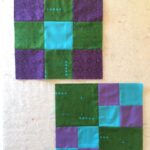
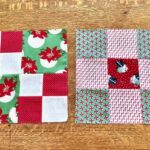
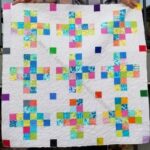
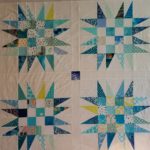
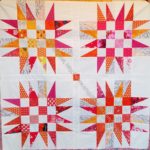
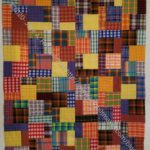
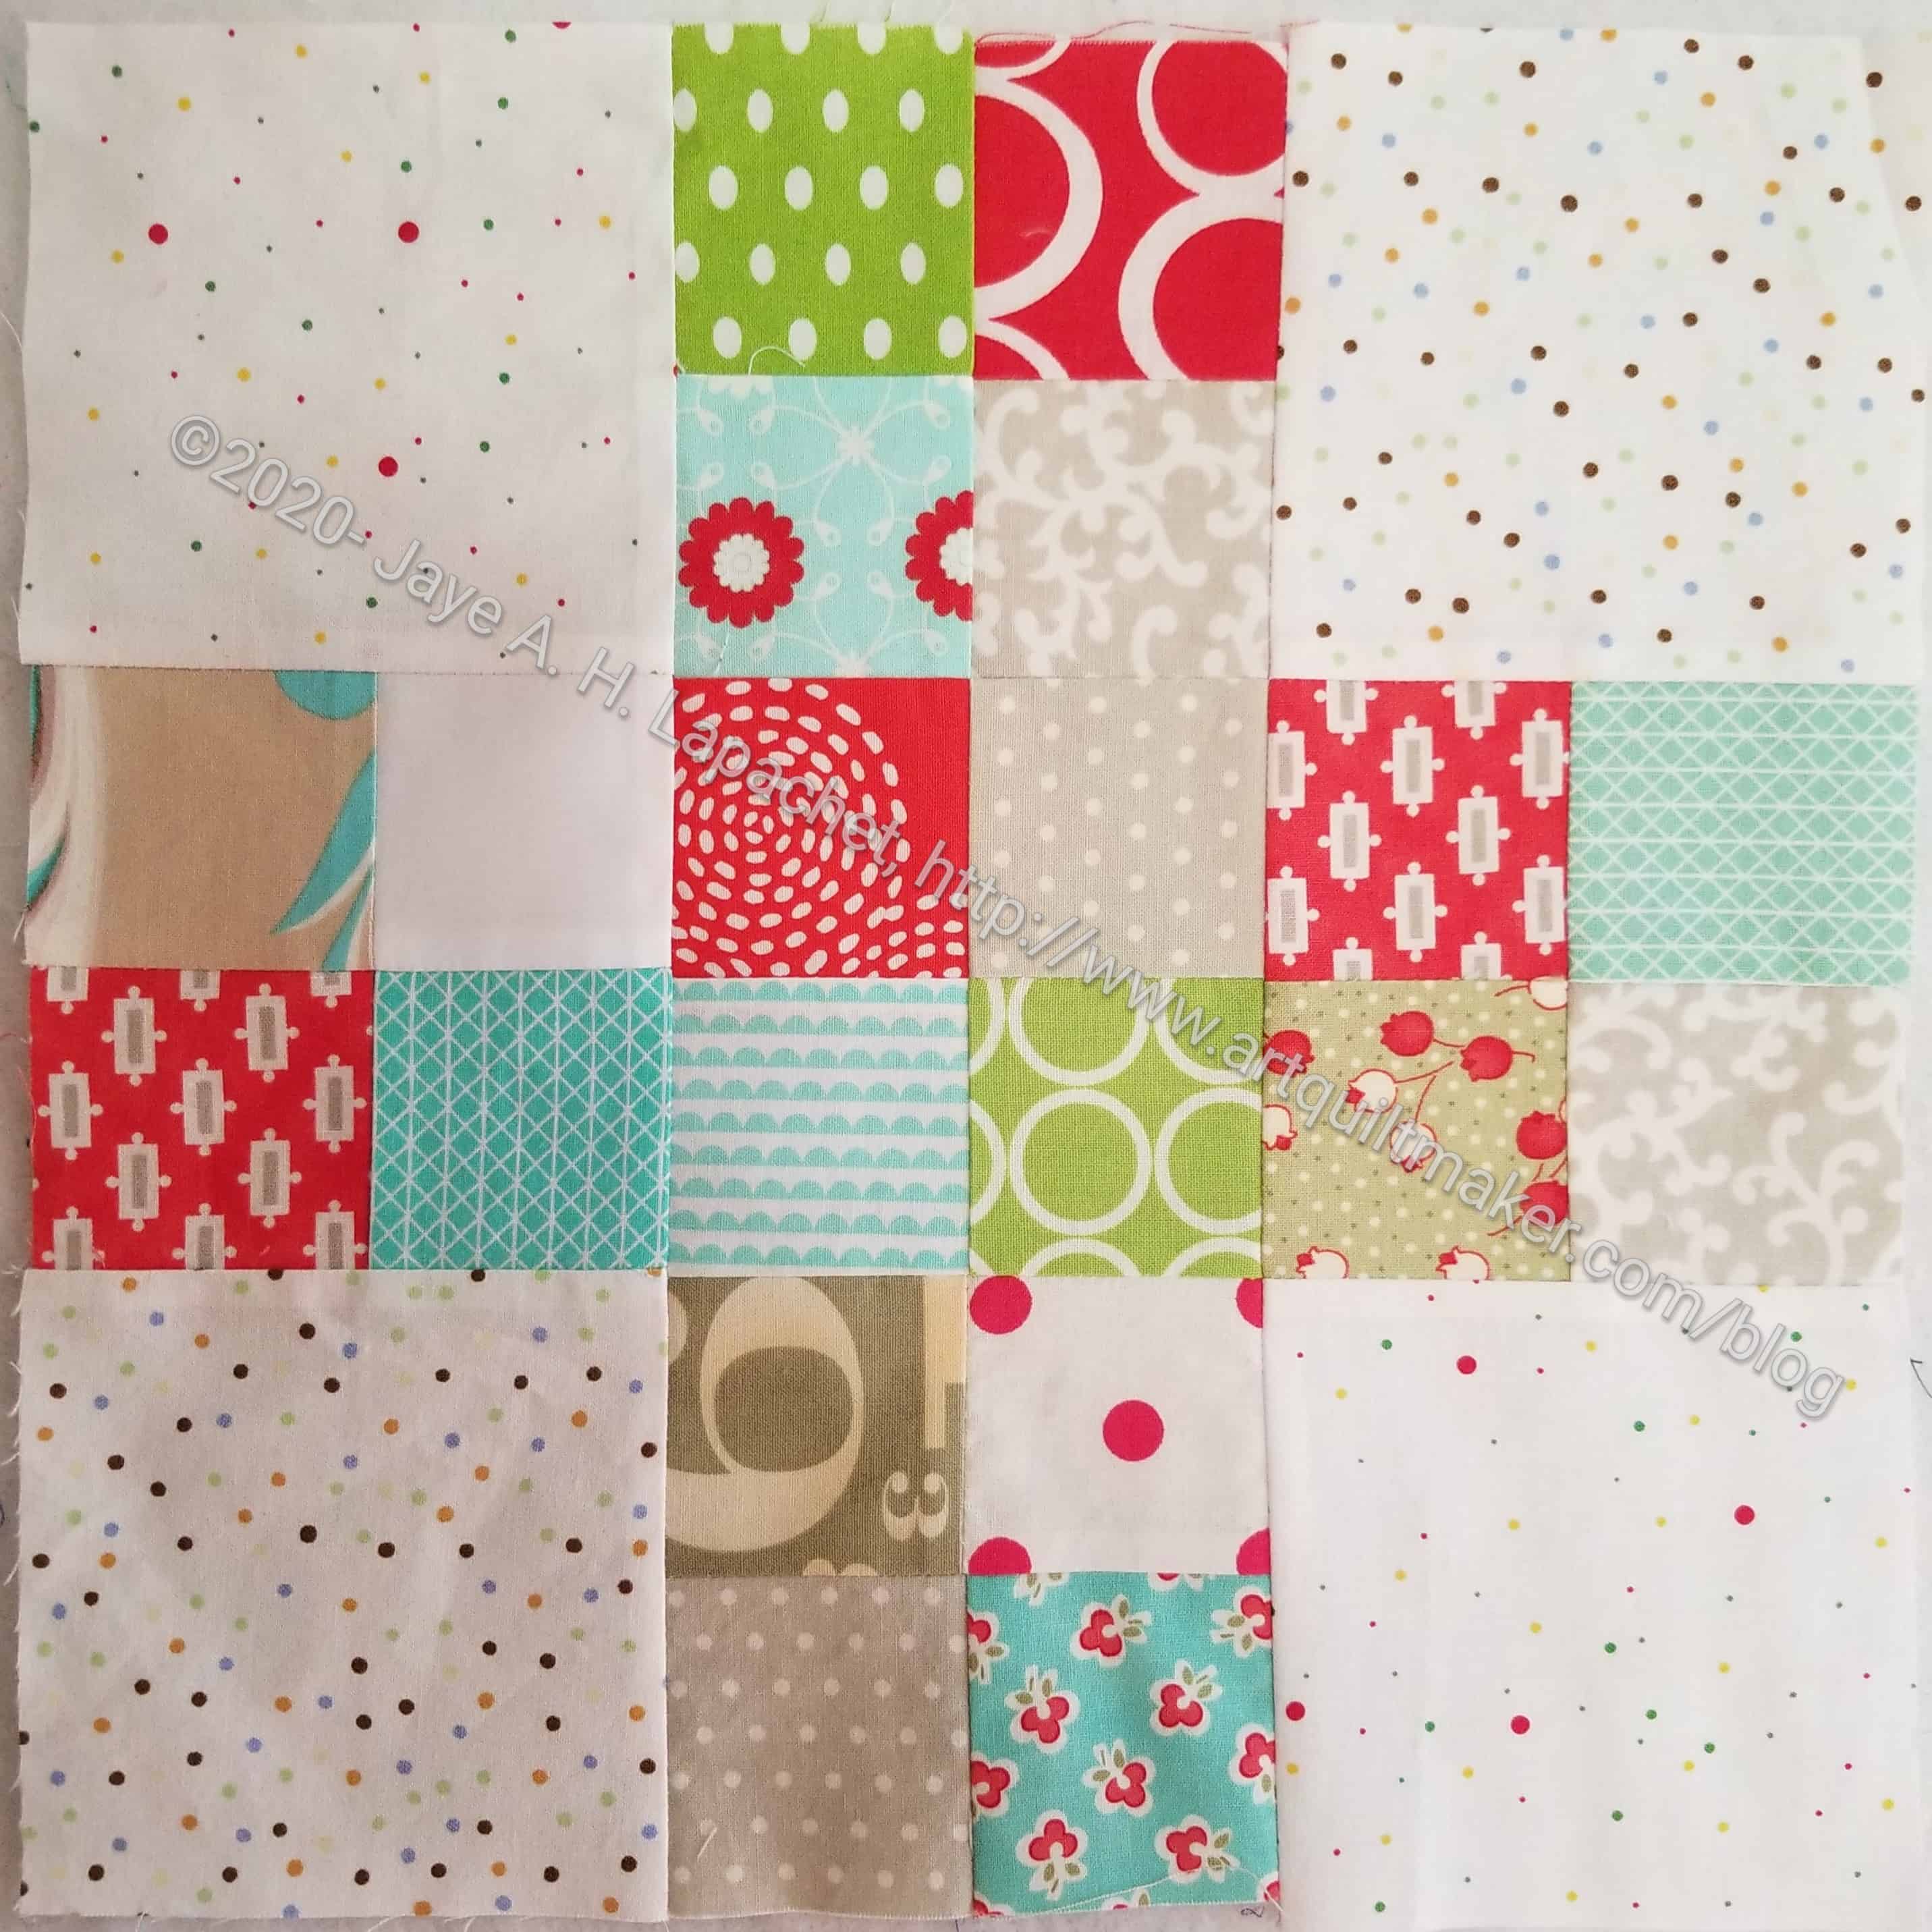
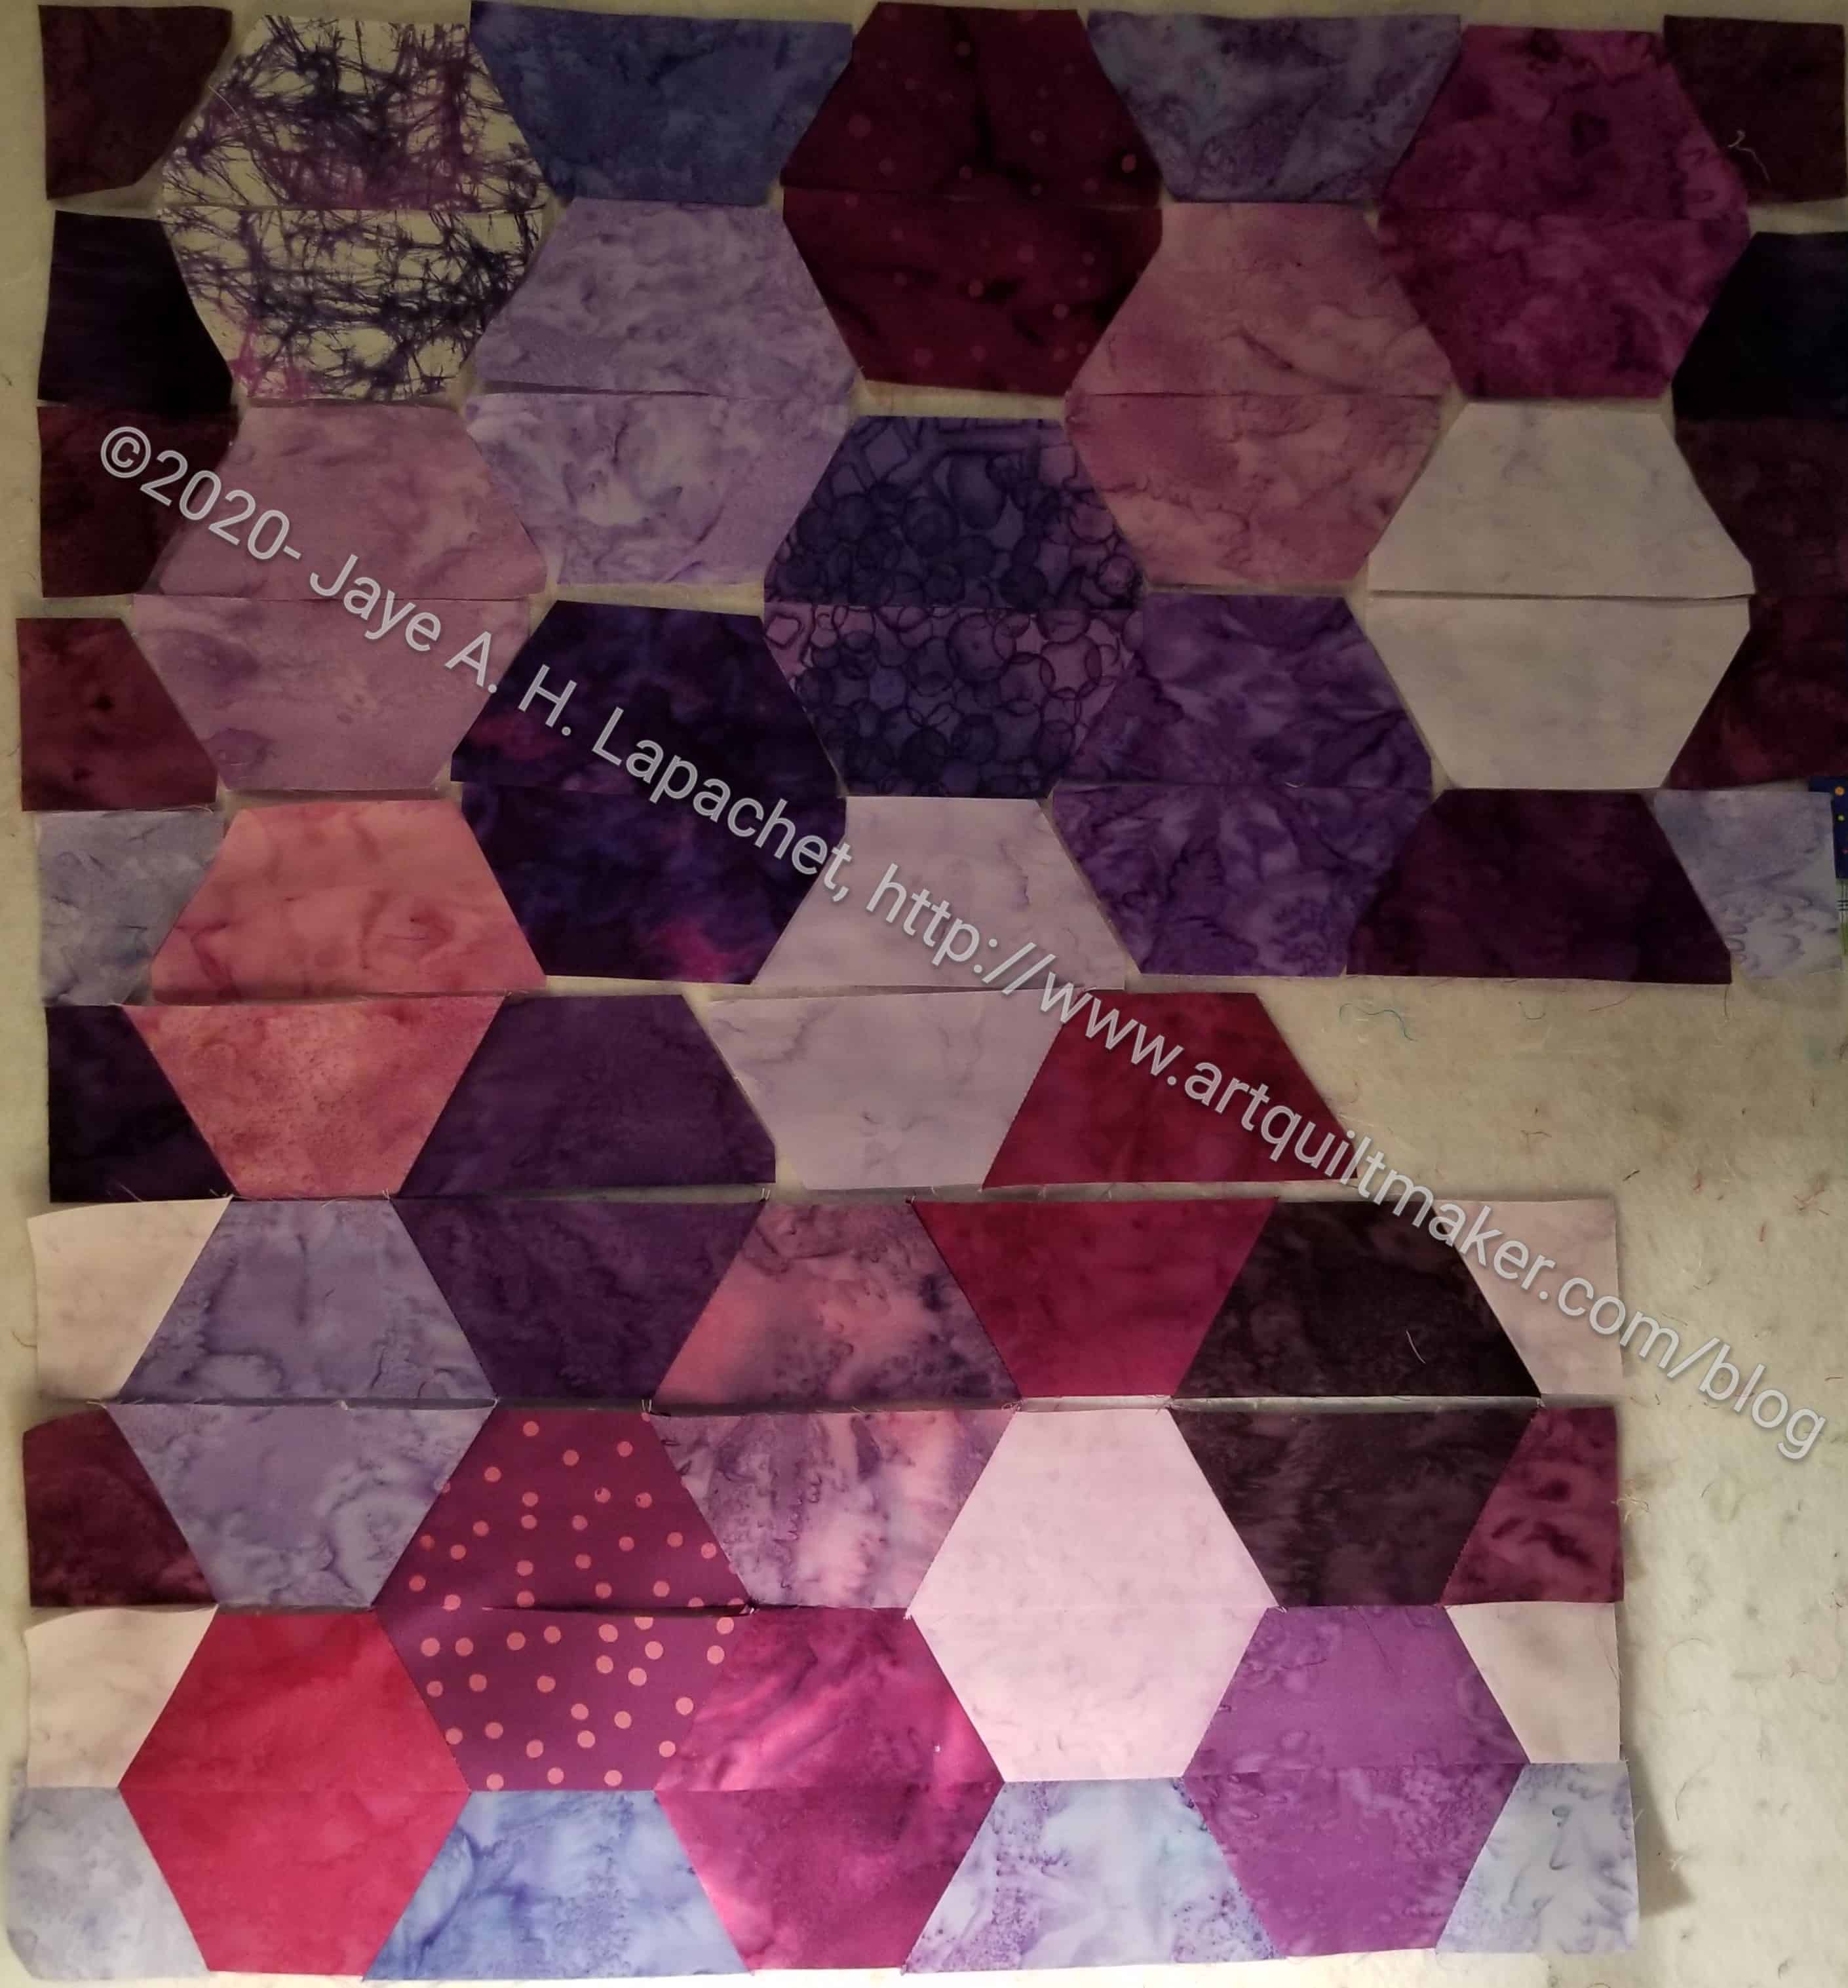
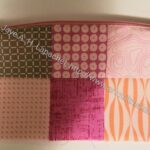
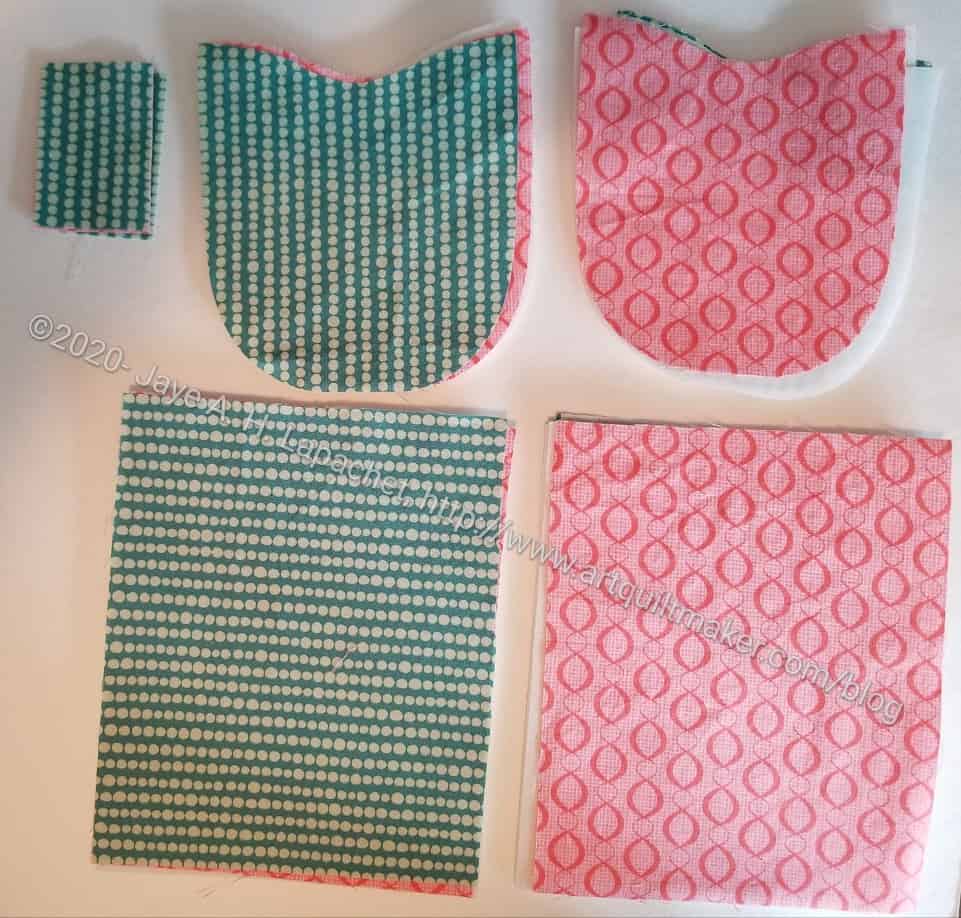
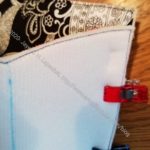
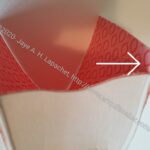
As of this writing, we have had about 7 classes and they have done a lot of learning, practicing, sewing and listening. The class started off with supplies, fabric choices, how to shop online and color. We subsequently talked about accuracy, block structure, fraying and ripping. The blocks start off very basically with squares. Then we move on to triangles and curves. Eventually, we will get to techniques like Y seams, applique’ and hexagons. I want the class to be comprehensive. I am willing to put in the hours it takes to prepare the presentations and my students seem to be prepared to do the homework.

The whole process has been very gratifying.


If you want me to teach you via Zoom, contact me at poste [at] artquiltmaker [dot] com.

Lucky Charm Finished

Journey 2 Nebula icon

I finished the Lucky Charm Pillow on Sunday after finishing the quilting on Saturday evening. I ended up using the directions for a zipper pouch and that worked pretty well. The corners by the zipper ends are a little funky, but it looks good.

Lucky Charm Pillow Finished

I was planning on just giving the cover to my niece, but my mom pointed out that she would probably never buy a pillow form for the cover, so I ordered a pillow form.

I am pretty pleased with the way this turned out. I think I will try the Spoonflower zipper closure directions next time as I think they were more appropriate for a pillow. There is another pillow in Journey2Nebula so I can try the directions when I get there.


**I use affiliate links and may be paid for your purchase of an item when you click on an item link in my post. There is no additional cost to you for clicking or purchasing items I recommend. I appreciate your clicks and purchases as it helps support this blog.

Additional Face Masks

September Face Masks

I had several face masks in process for a number of weeks. Since I decided to work on small projects, I decided that I would finish them.Finishing them also means I get them off my cutting table, so I can actually cut things out. (I can but half finished projects are definitely in my way).

Having run out of black thread was a problem, but otherwise, I got a number of them finished. The ones for the YM will be in the mail soon.

Lucky Charm Quilted

Journey 2 Nebula icon
Lucky Charm Quilted
Lucky Charm Quilted

I quilted Lucky Charm over the weekend. I was running up against the Journey2Nebula schedule. I knew I needed (and wanted) to get the thing finished before the next assignment came on Tuesday.

Since this is a small project and I did simple straight line quilting, the process didn’t take that long. I had some trouble, but nothing a seam ripper wouldn’t take care of.

Now I need to make it into a pillow. I think I will do a zipper closure.

26 Projects 2020 #9

I checked in on my donation blocks progress a few days ago. I wanted to see how many I made and where I was in comparison to last year. Last year I made 115 total donation blocks. So far, this year, I am up to 95. I want to make at least 20 more to get to 115. If possible, I would like to get past that 115 mark. I am not going to make it to 365. I would, however, like to get farther than last year.

Finished 2020 Quilt Projects

Four quilts are now complete for the year. I am thrilled.

Finished 2020 Non-Quilt Projects

This category covers bags, toys, aprons and knitting as well as other non-quilt projects.

I feel like I have made more of these small items, but I can’t find any others.

Doing Good

In Process
The ‘In Process’ is used to denote projects on which I am actively working or are on the design wall waiting for me to stitch. I am continuing to try not to put away projects. I find putting a project away ensures I never work on them, because I just lose steam.

  • FOTY 2019 – this is now on the design wall, but I was hampered from working on it by my foot injury. I’ll get back to it soon.

Small Projects to Make or in Process

Most of my progress involves thinking or just cutting.

  • One Hour Basket for organizing my decks of cards – Creative Strength, mindfulness, etc. I may switch to one of the Minikins projects for this purpose.
  • One Hour Basket for my stuff that tends to accumulate on the dining room table. I may switch to one of the Minikins projects for this purpose.
  • One Hour Basket for DH’s stuff that tends to accumulate on the dining room table. I may switch to one of the Minikins projects for this purpose.
  • Retreat Organizer – another project from the Crafty Gemini Organizer Club, also on my list, but not yet started
  • Ultimate Project Organizer – another project from the Crafty Gemini Organizer Club, also on my list, but not yet started
  • Officer gifts for January 2021 – have the pattern and the supplies. Need to start so these are ready and I am not scrambling at the last minute
  • Ultimate Carry All Bag – Bag-a-Long for BAM – I have the inisde pockets made and am struggling with the front pocket.
  • Westchester shirt – this is a Crafty Gemini pattern. I bought the fabric at PIQF in 2018 and just need to make it. The pattern comes with a video, so there is hope it will be wearable.

Handwork

I decided that some of my projects are in a different class because they are hand piecing or embroidery or beading. They take longer. Thus I created a new category and have moved some projects here.

Ready for Quilting

In the Quilting Process

In the Finishing Process

Still WIPs
I still have WIPs. Who doesn’t, after all? A project in the ‘UFO’ category means I am stalled. A nicer way of saying UFO is a WIP. The list is a lot shorter and the projects are newer, for the most part.

  1. Handbag Sampler – this is still the forgotten project. It should be on the UFO list. Too bad I don’t have one. The blocks were teaching samples when I taught a sampler class the time before I started writing the quilt class sampler tutorials. I found one block recently, but otherwise I actually don’t know exactly where the blocks are hiding. I have an idea and still have to crawl up in the far reaches of my fabric closet soon and see if I can find them. I haven’t even found a picture of all the blocks. Sad.
  2. Lobster – I think I might make this into a tablerunner for the buffet. I think that will be a good and fun use of the piece even if the colors aren’t quite right for the dining room.
  3. Pies and Points from 2016 Victoria Findlay Wolfe class. The last time I worked on it was when Julie and I had a playdate in April 2018. I brought this piece with me so I could cut more elements (Julie has a Sizzix). I lost my excitement about this piece shortly thereafter and still have to get it back. Thus, I had to move this to the WIPs area.
  4. Pointillist Palette #4: Fourth is a series of 6 quilts; needs tiny square patches sewn together. No progress.
  5. Self Portrait: started in 2006 at a class at Quilting Adventures in Richmond, Virginia. I am still stalled on this again. As one of my oldest (I am pretty sure) UFO, I put it on my blog and out into the Twitterverse and Diane suggested that I not consider this as a self portrait. I think that strategy is a great idea. I am now trying to think of a new persona for her.
  6. Serendipity Lady – I am still planning to take this piece to be framed.
  7. Who Am I? – This piece is still languishing. Perhaps having a larger design wall will help me regain momentum. The amount of satin stitching I was facing was a problem until I thought of BIAS TAPE. I am going to make the words with bias tape, perhaps different widths, then I won’t have a ton of satin stitching. Red Scribbles and Friend Julie helped me come up with this solution. Now I just have to do it!

Lucky Charm Pillow Top

Journey 2 Nebula icon

I finished piecing the front of the  Lucky Charm Pillow cover a few days ago and am getting ready to baste (bleah!) and quilt.

Sewing the half hexies together was not that difficult, but I didn’t enjoy it. I don’t enjoy sewing rows together. That is how this project goes together, so I had to do it that way. When I sat down and focused, it really only took me less than an hour. I was slightly hampered by trying not to hit the edge of my sewing table with my boot, otherwise the process was smooth.

Lucky Charm pillow top completed

This isn’t a project I would make again, but the whole ‘getting to know the Jaybird rulers’ is a good experience.

Traffic Jam Continues

Traffic Jam 2- Block #2

I am feeling guilty about the Blue Improv Donation quilt, but somehow I can’t seem to get back to it. My reasoning for working on the Traffic Jam blocks is that I need to get rid of the 2.5″ squares that are preventing me from closing my bin of donation squares.

I’ll get back to the improv quilt eventually. In the meantime, I am using up squares from various Bonnie and Camille lines, mostly.

Traffic Jam 2- Block #3

I have been making 4 patches and all of a sudden I am able to put several blocks together. I am going to make at least 9 of these blocks, but perhaps 16, to make a donation quilt. It depends on how many squares I have. I am already running out of red, so I may need to augment that stash a bit. My foot is healing so I may be able to climb upin my fabric closet again. We’ll see.

Lucky Charm Sewing

Journey 2 Nebula icon

Even though I am losing interest in this project, I am soldiering on. I decided to do it and I cut the half hexies for this pillow, so I am doing it.

Lucky Charm Sewing
Lucky Charm Sewing

I started sewing the half hexies together despite everything. They are looking pretty good despite my problems with cutting them. With my foot it was a hassle to get up and down to go to the ironing board, but at least I didn’t have to go to the large design wall as well.

I think it is starting to look ok. I have to make it into a pillow soon. I plan to use the Spoonflower instructions for adding a zipper instead of doing the overlapping closure. I think it will look tidier.

Mini Pink Pouch Finished

Mini Pink Pouch - finished
Mini Pink Pouch – finished

My little Mini Pink Pouch is finished. It didn’t take long, though I had to work on it over a couple of nights in between other projects.

I used a tutorial from Quilting in the Rain just to make sure I had the right order when I was putting this pouch together.

Mini Pink Pouch - finished (back)
Mini Pink Pouch – finished (back)

One thing I would do differently is put fabric tabs on the ends of the zipper. I think it would make that curve on the side a little less.

Traffic Jam #2

Traffic Jam 2- Block #1

First, I started sewing more 16 patch donation blocks with the leftovers from the last Stepping Stones n.2 quilt I made last year. Then I looked at the two most recent 16-patch donation blocks I made and realized that the group of fabrics would make another great Traffic Jam donation quilt.

I made a number of 4 patches and just let them pile up. After awhile, as I was sewing other things, I finally started putting the blocks together. As I may have mentioned, Tim already quilted the last one and this is such a great pattern that I did want to do it again. I wasn’t planning to do it so soon, but here we are.

The leftover 2.5 inch squares from the Stepping Stones n.2 quilt plus some dots are looking fresh and bright. This will have to be another girl quilt, I think, as it doesn’t look very boyish.

Pink & Green Cotton Candy Pouch

Pink & Green Cotton Candy Pouch

I finished the latest Cotton Candy Pouch over the weekend. This is the one that Friend Julie cut out using her Cricut Maker. You last saw it as a bunch of pieces. I am always interested to see how strangely shaped pieces turn into something 3D. It was awesome to not have to cut anything but to have it all ready to go.

Zipper Beginning
Zipper Beginning

One reason I keep making this pouch over and over is to perfect some of my skills, especially Veering the Zipper, which went much better this time. I was also able to get the beginning of the zipper even with each other. So progress.

Yes, I could have gotten the head closer, but that is a challenge for another day.

I also like the shape of this pouch a lot. I am going to try the sidewinder next. Bronwyn, one of the moderators of the Sew Sweetness FB group, had so much trouble with the Sidewinder that she threw out her first attempt. This scares me!

I forgot to use a deeper seam allowance for the lining :(, but c’est la vie. It is fine for this time. Another part to work on.

The Sidewinder is another part of Minikins Season 1. I have two dozen or so patterns from Minikins Season 1 & 2 to try, so I need to get busy! I am constantly wondering if Sara will come out with a Minikins Season 3? Yikes! I need to get busy.

Mini Pink Pouch

After making the Mondo Bag last year, I had a few squares leftover. I sewed them together into panels of 6 charm squares, found a pink zipper and decided to make a quick pouch. Several months later, I finally got busy.

Pink Pouch fabrics
Pink Pouch fabrics

I cut some lining fabrics and found a random tutorial just so I wouldn’t mess up the steps.

I was pretty pleased with how it was shaping up, then I decided that I needed to include a leash. I love adding tabs with a lobster clip on the end, as I have mentioned numerous times, so I can clip my pouches to other bags. This step slowed me down a little as I had to find fabric that would look good (scrap diving!) and dig out a lobster clip, but I ended up being ready to sew the leash before I had to stop. Next time I’ll be able to show the item as done as I think I only need a half and hour or so to finish.


SVG Cotton Candy Pouch

As I mentioned, Friend Julie cut some Cotton Candy Pouch pieces out for me with her Cricut. I pulled them out over the weekend with the intention of starting to sew them together. I have to wait to finish until my zipper order arrives, but I thought I could, at least make a start.

Cotton Candy Pouch cut from SVG files

I was super pleased when I delved into the bag to find ALL the pieces required – Soft & Stable, SF101, everything! She is a rockstar and this work was super appreciated, because cutting is not a favorite task for me.

These were cut  before her recent adventures. She is back to sewing now, which is great. I may want her to cut more pieces for me, if I like these. Alternatively, though space is an issue, I may just buy a Cricut of my own. 😉

I sewed the Cotton Candy sides and main panels together and came up with the same problem I had when I cut out the pieces. The main panels did not line up with the sides. I feel better now about my cutting. There is no problem as I can trim the pieces after they are sewn together. I can see why this slight extra might be a feature as it gives the maker a little wiggle room.

Mini Maker Case SAL Progress

Mini Maker Case - Friday Progress
Mini Maker Case – Friday Progress

I spent some time over the weekend working on the Mini Maker Case Sew-a-Long with Lillyella. She sent out more instructions on Thursday and some corrections to the pattern. I was behind. I had work to do, and did some, but also wanted to think about some things, so I spent time on Friday catching up.

I normally don’t use a zipper foot, but decided to try it this time as Nicole, of Lillyella, had some good reasons for suggesting it. After breaking a needle and having the zipper foot go disastrously crooked, I ripped out the zipper and put it in again using my quarter inch foot** and a stiletto**. After sewing in the zipper and top stitching it down, I was super pleased with how it looks. It may be the best zipper I have put in EVER. Maybe.

Mini Maker Case - handle detail
Mini Maker Case – handle detail

The handle was really interesting. I definitely like the look of it, but there were no instructions on holding it in place so it could be sewn. I tried one of the newer super strong Sew Tites**. That worked a little bit, but I had to hold on to it and check the placement until I could get it anchored in place.

Mini Maker Case - Saturday Progress
Mini Maker Case – Saturday Progress

On Saturday morning I went to work, having all the flat parts done. The assembly of the body was pretty confusing for me. You know how I am with pattern directions. Again, some ripping went on, but I eventually got the body together.

My next step is to assemble the entire thing. I know I should wait for the SAL, but I may want to keep the momentum going.


**I use affiliate links and may be paid for your purchase of an item when you click on an item link in my post. There is no additional cost to you for clicking or purchasing items I recommend. I appreciate your clicks and purchases as it helps support this blog.

Lucky Charm Pillow Top Start

Journey 2 Nebula icon

The Lucky Charm Pillow Top project for Journey 2 Nebula started last Tuesday. I wasn’t very excited about it. After working with hexagons a lot, I am over them. I was determined to do the project. I had to decide, first, what fabrics.

I watch the video and decided to use fabrics from the 5″ squares I have been cutting. These are not a charm pack. Since I don’t have a project in mind, I thought it would be a good time to use these patches. Sadly, I didn’t have a lot of purple, so I had to think again.

Lucky Charm Half Hexies cut

I did look through my charm packs to see if there was anything I could use. I found a pack of Hoffman batiks in a range from pink to purple, so I pulled out most of the purples and cut them up.

Now I either have to wait for the next video or read the pattern and figure out myself what to do next.