Purple Strip Donation Quilt Redux

Purple Strip Donation Quilt on the longarm

I visited the Tim the other day. I had some things I wanted to give him (no quilts this time), so I stopped by. While I was there I saw that he had the Purple Strip Donation Quilt on the machine. I finished this top and back in March of 2019, which made me very happy.  I know he’ll finish it soon and I can’t wait to see it.

Traffic Jam Quilted

Traffic Jam Quilt quilted

Tim sent me a text last week showing that he had quilted the Traffic Jam quilt. Yay!

I really like this pattern and it looks great quilted. Looking at it makes me tempted to make one with a red background and fabrics for the foreground that were mostly white with pattern. I don’t know how it would look, but the idea intrigues me. I definitely want to make another one of these quilts.

Traffic Jam Quilt quilted - detail
Traffic Jam Quilt quilted – detail

Tim quilted flames. He said he had an idea which didn’t come out the way he hoped. I think it looks great anyway and these donation quilts are a good place to practice quilting and other skills.

More Black Windmill

Black Windmill on the wall

I put all the blocks I had made on the wall. I had a few leftover foreground fabrics, so I had to cut some black backgrounds to complete those. 

Now I am mostly in the process of moving the blocks around to create a pleasing arrangement.I am trying to make sure the backgrounds and foregrounds are mixed up. That is not always that easy. As soon as I have the arrangement I want, I will start sewing and that should be a quick process.

Black Windmill on the wall annotated

I decided that I would add an extra row of blocks in order to complete the Windmill shape. You can see what I mean by looking at the cross I added to the second photo. If you compare that block in the first photo to the block next to it, you will see that without the extra row, some of the windmill shapes are cut off. I want them to all be complete.

I am pretty pleased with my progress, but have more work to do.

Windmill templates
Windmill templates

On a related note, I went through my various rulers the other day and organized them. One thing I found was the missing Windmill template. Sigh. Let me know if you want to make a quilt like this. All offers for the template will be seriously considered!

Rotary Even Foot :(

Janome Rotary Even Foot

I had high hopes for the foot when I started to work on the covers for our dining room table leaves. I bought this foot when it came out new for my MC 9000.

Based on my reading, I thought this foot would help me put the binding on the covers evenly. I have never been adept at machine binding, but this tool seemed like it would solve my problems.

I started to worry, however, when I watched a few of the videos available on using the foot.  The videos I watched (4-5) did not show how miter or go around corners. The videos on attaching binding did not show how to start the foot and the binding nor did they say whether you needed extra at the end.  None of the videos showed a real project, only samples. None of the videos or the written directions talked about adjusting the pressure of the foot. I felt like the tractor foot wasn’t all the way down the whole time I was using it. I checked repeatedly and decided to leave it rather than getting out the machine manual.

Rotary Even Foot applying binding

I tried it anyway and determined that the foot might work well for machine quilting, but that my suspicions were true. The foot did not work well for applying the binding. It was hard to get the beginning of the quilted piece into the foot (not well documented in the videos or written directions). Once I was able to get the piece in, I found that the stitching line was nowhere near the edge of the binding, leaving a flap of fabric.  Once I fixed that, I found that the binding was not being applied evenly. Something was happening on the bottom of the piece (shifting due to operator error or machine error or foot error), so there were sections of the binding that were not sewed down.

One of the things I figured out was that I can probably use the tractor foot without the binding or hemming attachment for machine quilting.  One of my issues with machine quilting is seeing the stitch line while I am stitching. I think with this foot I would be able to see the stitching.

Sigh. I ended up doing a normal machine binding and decided not to care as long as it looked relatively decent.

Table Leaf Covers

Bookshelf fabric
Bookshelf fabric

Last Autumn we finally had MIL’s dining room table and china cabinet moved over to our house. Along with the table came 3 leaves and the associated pads. We didn’t want them to get any more scratched than they are so they have been sitting carefully in the dining room since last Thanksgiving. DH and I have been tinkering with measurements around making bags. A few weeks ago, after going through my backing fabric stash, I pulled out 6 yards of fabric that I don’t think I will use for a back. I took it to Tim and he quilted it for me.

Laying out fabric for table leaf bags

Over the weekend, I put the first table leaf bag together. Getting that done required some visual pattern making.

I needed to see what the relationship was between the leaves and the fabric I had. One issue I knew I had was the width of the fabric. The fabric was standard 45ish inch wide quiltmaking fabric. 45ish was only just wide enough for making a bag if the leaves were arranged horizontally, but we wanted them vertical so the design of the fabric would be oriented the same way the leaves would be stored. This orientation brought up our second issue, we wouldn’t have enough fabric for 3 bags and the pads. I figured out how to make a bag for two leaves that would take up only one section of the fabric. Of course I could have used more fabric, but I really wanted the bags to match, if at all possible.

Single table leaf cover- finished

Eventually, we decided that the only way the project would work was to make the bags with the leaves horizontal across the fabric. Making the bags that way would ensure I had enough fabric and used it all most effectively.

I finished one of the covers over the weekend and moved on to the second one, which will hold 2 leaves. I am part way through it. It is going much faster than the first one, but that is to be expected. Of course, I haven’t gotten to putting it together yet.

Single table leaf cover- finished, showing one leaf

I have some leeway in different areas because these will mostly be in a closet 11.75 months of the year. Still, I don’t want them to look crappy. They will most likely move on with the table so I want them to last.

Another Windmill on the Wall

Black Windmill going up on the wall

I haven’t worked on this piece since July, because Red Scribbles was on the wall and red thread (for the applique’) was in the machine. Now grey thread is back in the machine and I am putting the piece up on the design wall.

I am thinking of calling this Black Windmill. I don’t really like the name that much, but there are more than cool colors in the foreground, so Cool Windmill n.2 doesn’t work either. It is looking good, though I have a lot of rearranging work to do before I can start piecing.

Ends n.9

Thursday, after finishing the binding for Red Scribbles, I rummaged around in the pile of leftover batting and edges I got back from Colleen looking for batting that would work for the various donation quilts I intend to send off to Alison.

As I was looking through the excess batting I came across the leftover edges of some recent (and not so recent!) quilts and decided to put together another ‘Ends‘ quilt.

Ends n.9 top finished

Thus Ends n.9 came into being. I used the strips leftover from Warm Windmill and Warm Windmill n.2. I am not sure where the strips of dots came from. I think they have been around since at least last year. Perhaps from the City Sampler?

Mostly what I was trying to do was get batting for the donation quilts ready to send to Alison. I have been chomping at the bit to send these off, but didn’t want to use red thread for the Frankenbatting.

Ends n.9 back finished

It was great to work on this top and back. I just felt good getting something done. I was happy to finish Red Scribbles, but this felt different. I really felt like, between the Frankenbatting and the donation top/back, that I really accomplished something. I don’t know why since I clearly finished something much more complex and interesting when I finished Red Scribbles.

Blue Improv Donation Top Start

Blue Improv Donation Top start

After making the most recent journal cover, I continued piecing together my blue scraps. One good thing is that I am also unearthing more strips, so there may be another Blue Strip donation top in my future.

I haven’t yet made a blue improv donation top, so I decided to just go forward with that project rather than making another journal cover. I am sure I will have plenty of scraps to make another one when I am finished!

I am finding scraps from older projects, which is interesting. It is fun to contemplate what I was thinking when I bought and used those scraps. Some are a lot darker than the fabrics I buy now.

I am also finding (this drawer is STUFFED!!!, though getting better) some pieces that have already been pieced together, so those are also useful

Filoli Art

I visited Filoli again the other day. While the gardens were beautiful, it was super hot and not 100% pleasant outing. Still, the company was good, the gardens provided beautiful flowers to enjoy and I got to see some fabulous art.

Kristine Mays Celestial Prayer Meeting

Kristine Mays is a local (to me) artist who works with UCSF to raise money for AIDS Research. She has an amazing installation at Filoli of her wire sculptures. They were placed all over the gardens and the location of a garden was a fantastic venue for them. The pieces seemed to appear and disappear depending on where I was standing. It was amazing.

I know the image (left) I posted of the Celestial Prayer Meeting seems to be too far away for you to see anything, but I was trying to give you the impression that I got. From the vantage point in the photo, you can see the whole sculpture grouping, but parts of the figures are gone.

The details of the figures show clothes only. I can see the impression of dancing, which is very pleasant. There is something very calming about Mays’ work.

Thinking about getting the same impression in a quilt, I wonder if the same could be done using tree imagery or with bias tape?

Red Scribbles Top & Back Ready to Quilt

Red Scribbeles Top Finished
Red Scribbles Top Finished

I made a big push and got the top and back ready for the quilter. I am very pleased.

The last piece of bias binding didn’t go as planned. I thought I would applique’ a really long piece all across the top. It didn’t quite work out as I hadn’t planned ahead an there wasn’t a clear path. I filled in some large-ish spaces on each side, but that’s it.

Red Scribbles back finished

I delved into my backing fabrics for the back. i didn’t have to do too much fussy piecing so the back didn’t take forever. I am really glad this is done and hope to put something lighter and cheerier up on my design wall very soon.

Door Prize Bag

As mentioned, the BAM meeting was on Saturday. I am in charge of the door  prizes and we are still choosing a winner despite having the meetings via video chat. Ii have a great team and couldn’t put together such great bags without them.

Woven Tote by Carrie P

We first made items to fill the bag, then partway through the year I asked for volunteers to also make tote bags. To date I had been using random shopping bags,  which isn’t as nice. Carrie, who is actually a glass artist, made the woven tote I filled on Saturday.

It is different than a quilted/sewn tote bag. The texture is fabulous and I love the detail on the handle straps and the beaded bit hanging down.

Finished: Warm Windmill n.2

Warm Windmill n.2 -Finished

I finished the third Windmill quilt over the weekend. I received three quilts back two weeks ago and I have slowly been working the bindings. Since we have been working on jigsaw puzzles int he evening, I haven’t had as much hand stitching time, so it took me longer than I anticipated.

I sent a photo to my mom and she is excited to receive it even though it is over 100 degrees at her house.

Red Scribbles – First Hurdle

Red Scribbles - mid-August
Red Scribbles – mid-August

I spent some time yesterday working on the Red Scribbles quilt top. I made good progress and am now ready to put the whole top together.

I cut one last rectangle and appliqued bias strips on the rest of  the individual rectangles. I am happy about my progress. I am hopeful that I can finish the top and the back this week, but things seem to be taking longer lately, so we will see.

Tim’s Bag

Tim's Declassified Bag
Tim’s Declassified Bag

Tim has done great work again. He was inspired by Cyndi, another guildmate, so they are making Range Backpacks in tandem. Tim has made three so far and I am very impressed with his work.

The Range Backpack is a Noodlehead pattern. Tim likes it very much and says it is concisely and clearly written. He made some changes after making the first one such as using only SF101 as the interfacing and using a lobster clip instead of a buckle for the closure.

This is the pattern that spurred our discussion of the Hump Jumper.

Design Overview Redux

I talked about this topic back in 2011 when I was asked to do a series for a podcast called Quilting for the Rest of Us. The podcast episode might still be available if  you want to hear a younger Jaye talk about this topic. The companion post was more of a ‘here’s what we discussed’ rather than good information. It isn’t as useful in that format, if you can no longer listen to the podcast.

This post is an overview of design, which will go with a presentation I am planning for my guild. I am providing more information here so it is more useful if you can’t/didn’t attend the presentation.

Many quiltmakers, though not formally trained in art (e.g. an MFA in fine art) have intuitive art sensibilities. (Fearless Design for Every Quilter by Lorraine Torrence, pg.5)

Definitions:

What is design?

Design is a problem solving activity within all the arts, placing or creating subject matter so it is of visual significance and interesting to the artist. (The Quilter’s Book of Design, 2d, pg.xi)

If you think of the creation of an art piece as a hierarchy, content and form are above design. “Content implies subject matter, story, or information that the artwork seeks to communicate to the viewer. Form is purely visual aspect, the manipulation of various elements and principles of design. Content is what artists want to say; form is how they say it.” (Design Basics, Pentak & Lauer, pg.5) Design means to plan or organize. It is the opposite of change. The result is visual organization (Pentak & Lauer, pg.4).

Using Design

Hard and fast rules are impossible because of the varied objectives of visual art. Artistic practices and criteria have been developed from successful works. Guidelines (not rules) exist that usually will assist in the creation of a successful designs. (Pentak & Lauer, pg.5)

“Principles of design are the laws of designing anything! In other words, to have a good design, you should consider these principles for the best design possible. Elements of design on the other hand are things that are involved within making a design. The major difference between principles and elements is that principles are rules you have to follow and elements are things that will help you complete those rules for the best project outcome.” (Homework Help: Art: Visual Arts: Principles & Elements of Design)

Thoughts:

“A good design supports or changes how we live” – John E. B. Dubus blog post Sept 23, 2010.

Judy Martin wrote in her May 2012 newsletter ” My basic philosophy boils down to this: I try to do what’s right for the quilt, not what’s right for me. It might be easier to slap a plain border on and be done with it, but if the quilt looks better with a pieced border, that’s what I do. It might be easier to make it out of 5 fabrics, but if it looks better in scraps, that’s what I do. If it looks more refined with 1-inch logs rather than 2-inch, that’s what I do. If it looks more interesting as a queen rather than a 36-inch square wall quilt, that’s what I do.”

Good design requires practice and is the “result of a successful combination of design elements … and principles…”(Fearless Design for Every Quilter by Lorraine Torrence, pg.6)

Elements:

The elements form the ‘vocabulary‘ of the design (Wikipedia, design elements and principles).

The Elements of Design are the language of the visual arts (this quote/information came from a link that is no longer available). 

The elements are components or parts which can be isolated and defined in any visual design or work of art. They are the structure of the work, and can carry a wide variety of messages (Cornell’s Introduction to the Elements of Design). 

Principles:

The principles constitute the broader structural aspects of the design’s composition (Wikipedia, design elements and principles). I think off this as an architect’s conceptual drawing that gives the viewer the look and feel of the project.

The Principles are concepts used to organize or arrange the structural elements of design. Again, the way in which these principles are applied affects the expressive content, or the message of the work (Introduction to the Principles of Design).

Why Know About Design?

Knowing about design principles and elements helps refine your innate skill.

Design is a way of organizing a piece of visual work. According to the Quilter’s Book of Design, 2d by Ann Johnston, “Design is a  problem-solving activity within all the arts, placing or creating subject matter so it is of visual significance and interesting to the artist.” (pg.xi). I like this definition, because it is understandable and doable. It also isn’t scary for people who have no MFA. When I think about solving a problem with my quilt, I relax about design and try to review the skills in my design toolbox. Remember, though, that “we all have personal experiences, subjective leanings, and differences in personality that make us prefer one thing to another…” (Fearless Design for Every Quilter by Lorraine Torrence, pg.57)

Concept: I use patterns why do I need to know about design?

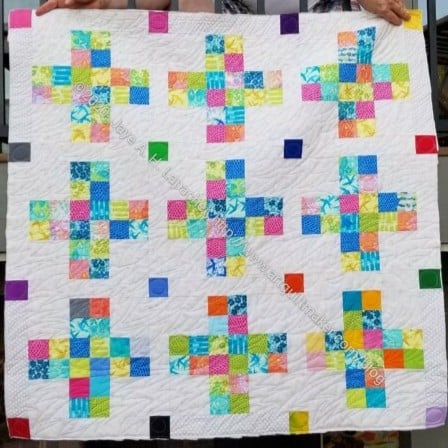
Color is an element of design. To make beautiful quilts, you need to know about color. If you buy a kit, there may be one color you do not like and by knowing about design, you will be able to replace it successfully.

Balance is a principle of design. If your eye sees an element of the quilt as being unbalanced, then knowing about design will help you adjust it.

Concept: I do not make art quilts, why do I need to know about design principles and elements?

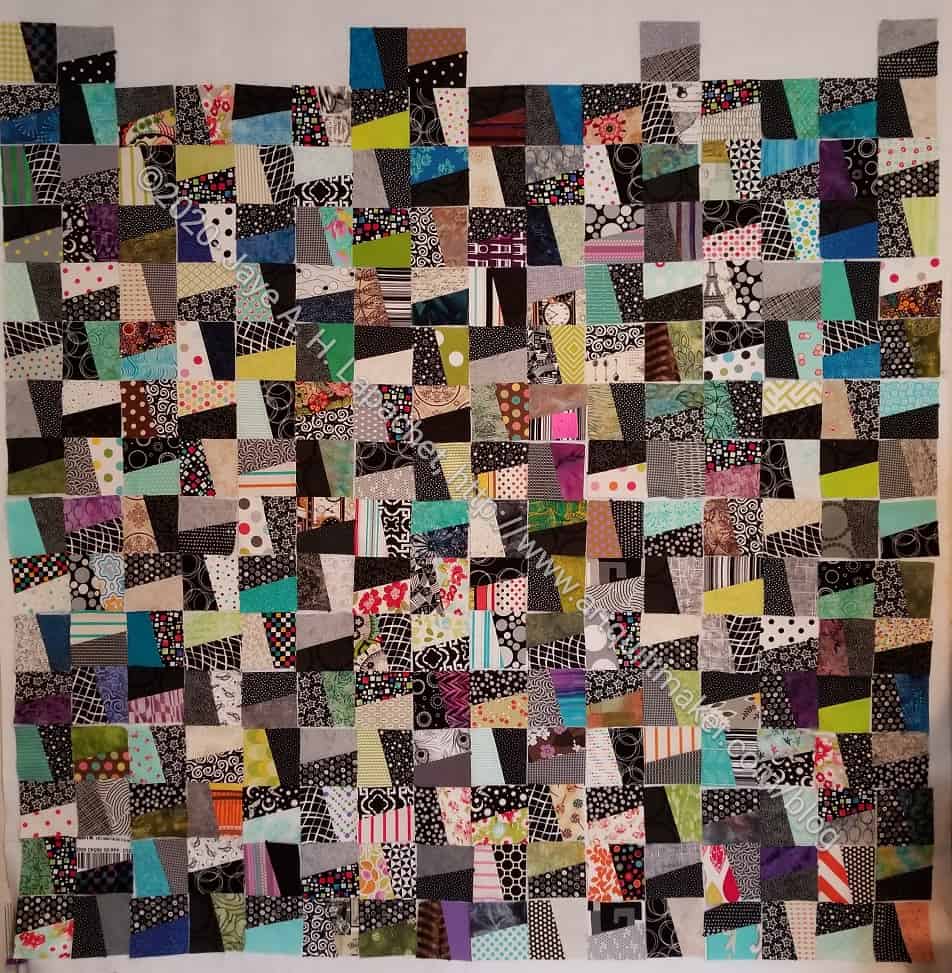
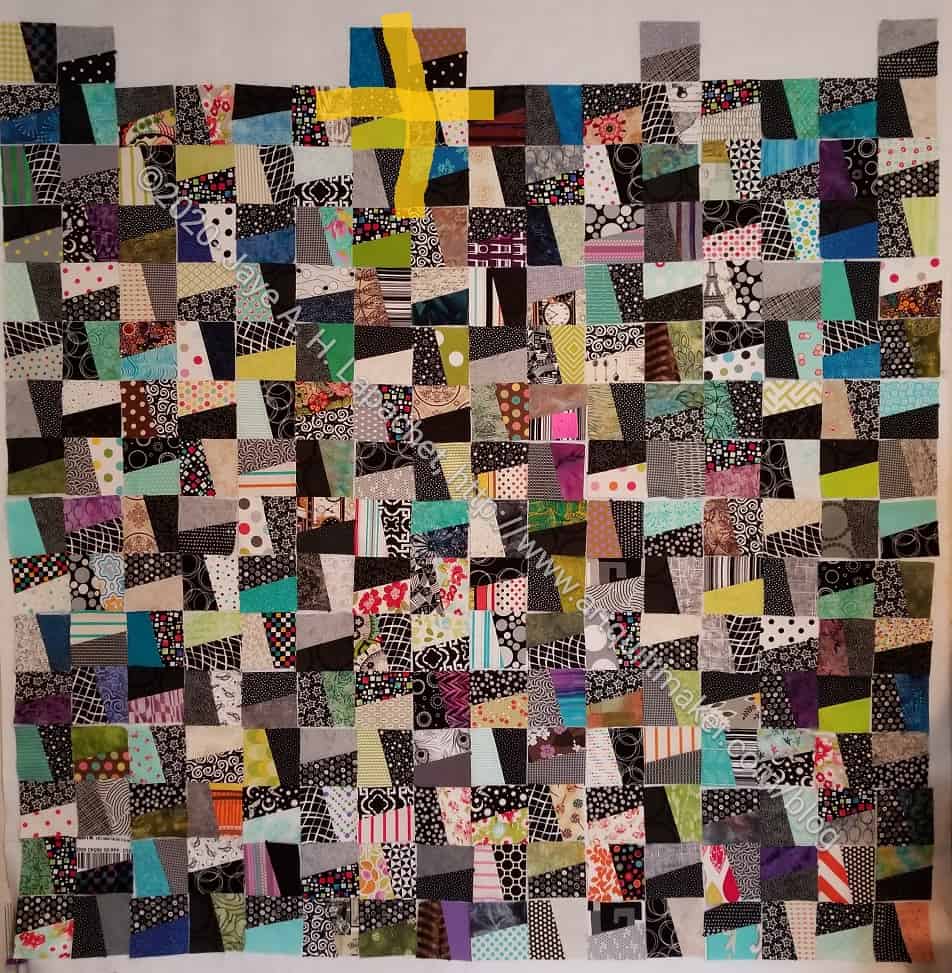
Negative space in fabric: “When choosing prints for a patchwork, think about how they’ll look when cut up, e.g. the ratio of background to foreground and the scale of the individual motifs. Does that small print have so much negative (empty) space that the actual print part won’t show up on half of the pieces? Is that large print so big that the pieces cut from it will look like they’re from entirely different pieces of fabric? (Elizabeth Hartman, The Practical Guide to Patchwork, pg.24).

Borders: does slapping on 4 lengths of fabric work with the design you have chosen or would a bit of piecing enhance your excellent piecing?

Books: when looking at books and evaluating whether you want to spend money on it, you can evaluate the various elements and principles of  design included in the patterns of the book.

End Notes:

List of Elements and Principles of Design taken from a handout from a Liz Berg handout (class through CQFA)

Resources

“However I believe strongly that design is important. A good design supports or changes how we live. When I imagine the specifications of a perfect home for a family, one of the most important design criteria is that the home allows family members in all their uniqueness to thrive: physically, emotionally, intellectually and spiritually. Good design is experienced at these levels. Good design allows “a place for everything and everything in its place” including a place for people to nurture themselves, family members, and their greater community.” John Ethan Burke Dubus blog (sadly, the blog is no longer available, but the quote is still excellent)


**I use affiliate links and may be paid for your purchase of an item when you click on an item link in my post. There is no additional cost to you for clicking or purchasing items I recommend. I appreciate your clicks and purchases as it helps support this blog.