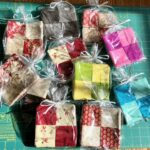
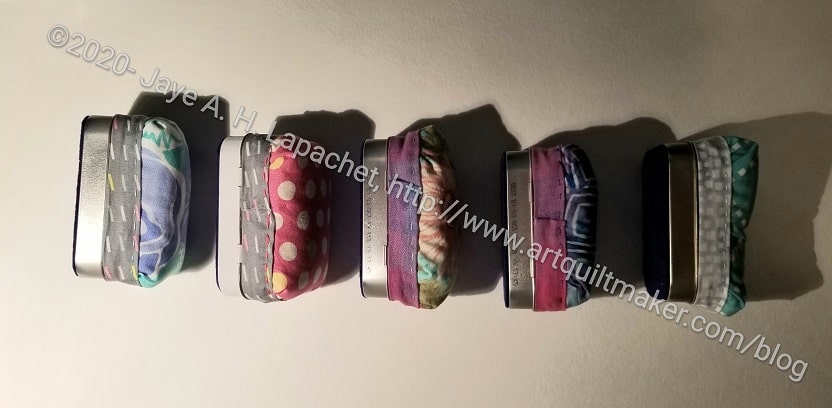
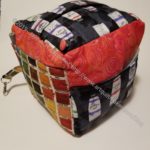
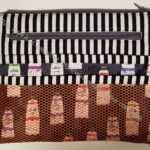
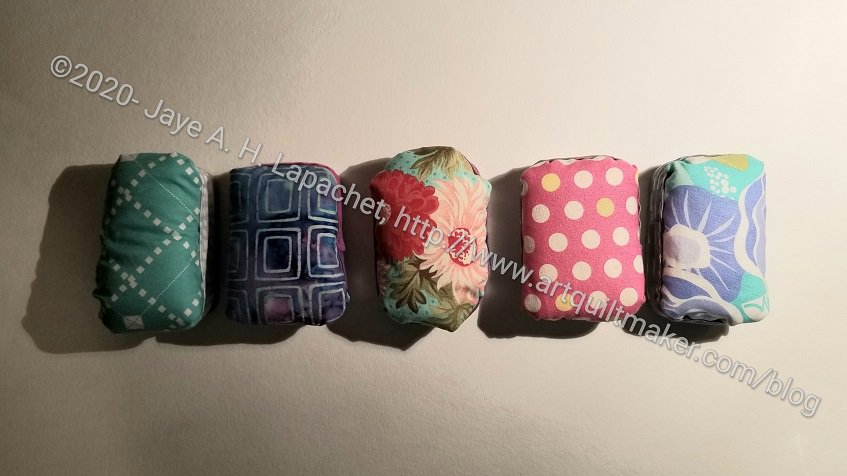
DH, apparently, has an Altoids habit. I had no idea until he came home and started to work remotely. I asked him to save me a couple of tins and suddenly I had 8 to work with. I wanted to make small sewing kits for the guild officers. I looked for tutorials. The one I liked was DIY Felt Magnet. It turned out, however, that I mostly fumbled along on my own during Craft Nights.
One key was letting everything dry thoroughly after I glued it.
Supply List:
- Altoids tins – you can use different tins by adjusting the size of the various pieces.
- scrap cardboard (I used a cereal box)
- a few colors of felt**
- a small band 3/8 inch by 2 1/4 inches
- rectangle 2 inches x 2 inches
- stuffing – use wool roving** if you want a really good pincushion or just regular poly Fiberfill** if you won’t use the pincushion that often
- scissors
- sewing machine
- sewing machine thread** which matches your contrasting felt or is a neutral color
- quilting** or other relatively thick thread
- Aleene’s glue** – I am sure other glues, like school glue, will work. I found the Aleene’s to be really great. It stuck fast.
- 3/4 inch bias tape maker**
- fabric
- strip 1-1/2 inches wide x 12 inches long
- rectangle 5.5″ x 8″
- wax paper**
- WonderClips**
- Perl cotton**
- Hand embroidery needle**
Optional:
- Hot glue gun
- Foldover / Double fold elastic**
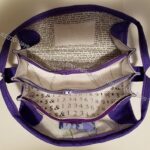
Lining
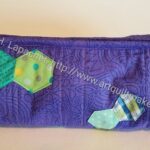
I wanted to cover all of the tin’s the advertising and nutritional information with fabric. I used felt so I wouldn’t have to worry about the raw edges.
First, I made a cardboard template. To make the template, I traced around the bottom of the Altoids tin. Then I cut out the template and made sure it fit in the following places:
- bottom
- inside bottom
- inside top
I wanted full coverage in all of those places.
Next, I cut out pieces of felt for the inside top, the inside bottom and the bottom. Set aside the pieces for the inside top and
Put down some waxed paper to protect your work surface. On the waxed paper, I glued the other two pieces to the the inside bottom and the bottom. You can use a hot glue gun for this, but proceed with caution. Hot glue and a tin can produce burns!
Set the tin aside and let the pieces dry thoroughly.
Trim
Cut a strip of fabric 1-1/2 inches wide x 12 inches long. Use your bias tape maker to make some trim. This piece does not have to be on the bias.
Set aside.
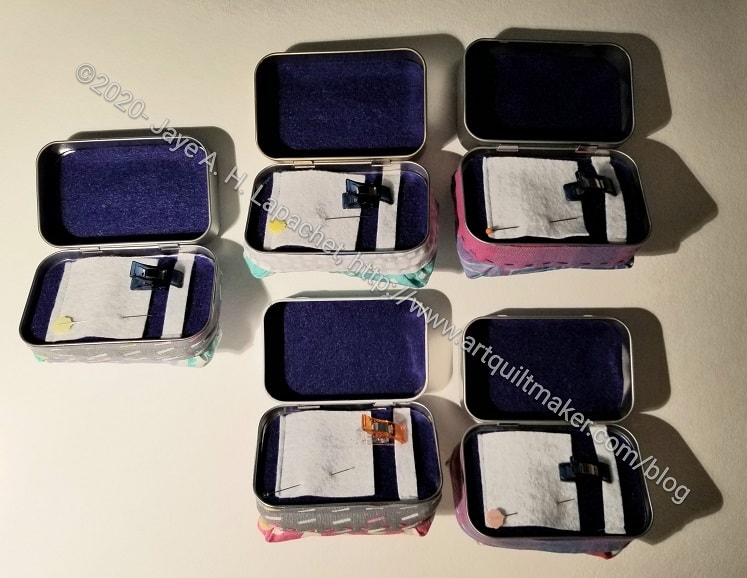
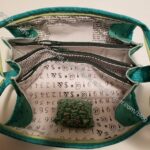
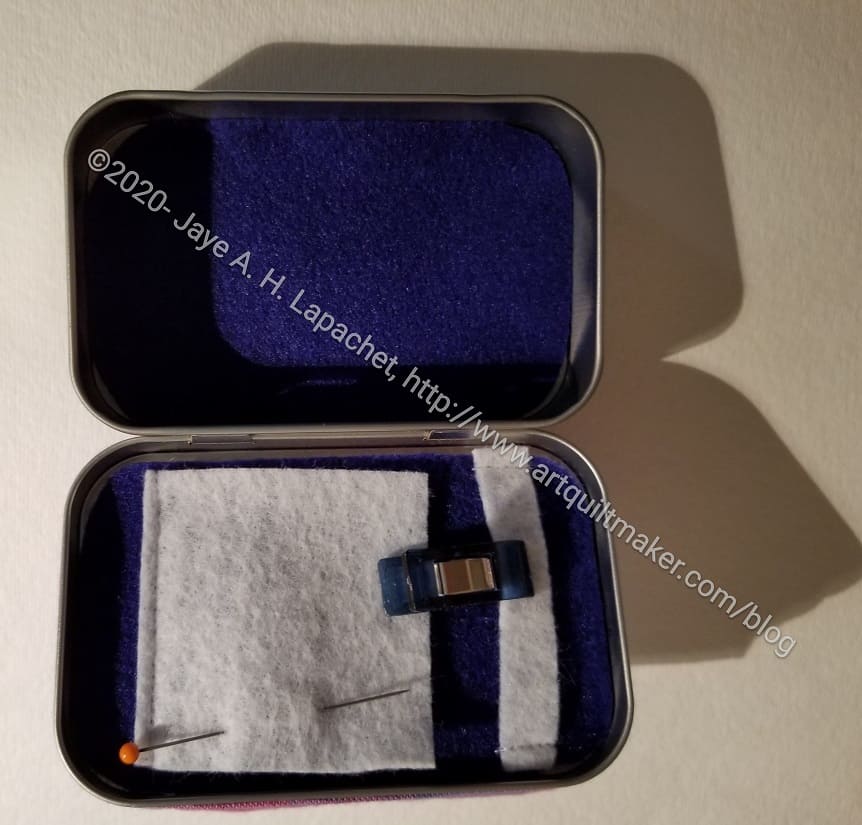
WonderClip Band and Needle Holder
Check to be sure your other pieces are glued securely to the tin and the glue is dry.
You will need the piece you cut from the template and set aside.
Third, I cut two pieces of contrasting colored felt (if you want these pieces to show). I cut a small band 3/8 inch by 2 1/4 inches (or the width of your tin) as a clip** holder. You can also use Foldover/Double fold elastic scraps for this piece. Having some elasticity is helpful. I also cut a rectangle 2 inches x 2 inches for a needle and pin holder.
Fourth, sew the band 1/2 inch up from the bottom of your set aside piece.
Fifth, center your 2×2 rectangle 3/8 inch down from the top and sew the rectangle to your set aside piece. Sew very close to the top edge of the felt rectangle. You may have to adjust it, so you don’t cover the WonderClip band.
Next, put down some waxed paper to protect your work surface. Glue your section with the WonderClip band and needle holder to the inside top of your tin. You can also use a hot glue gun for this part.
Set the tin aside and let it dry thoroughly.
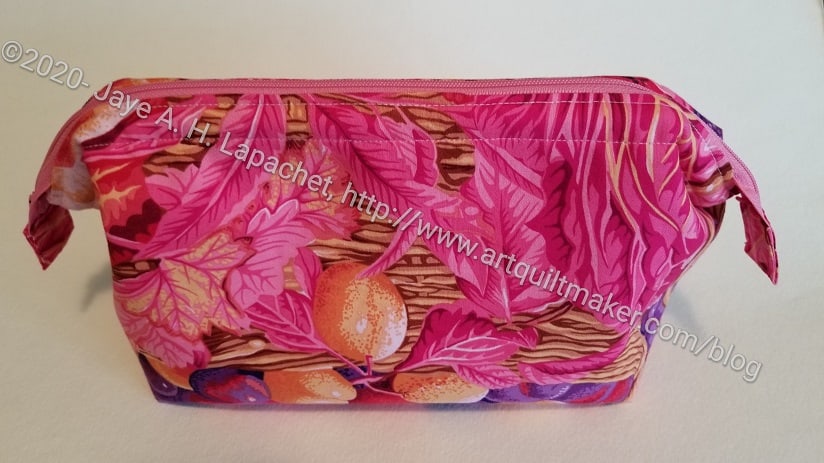
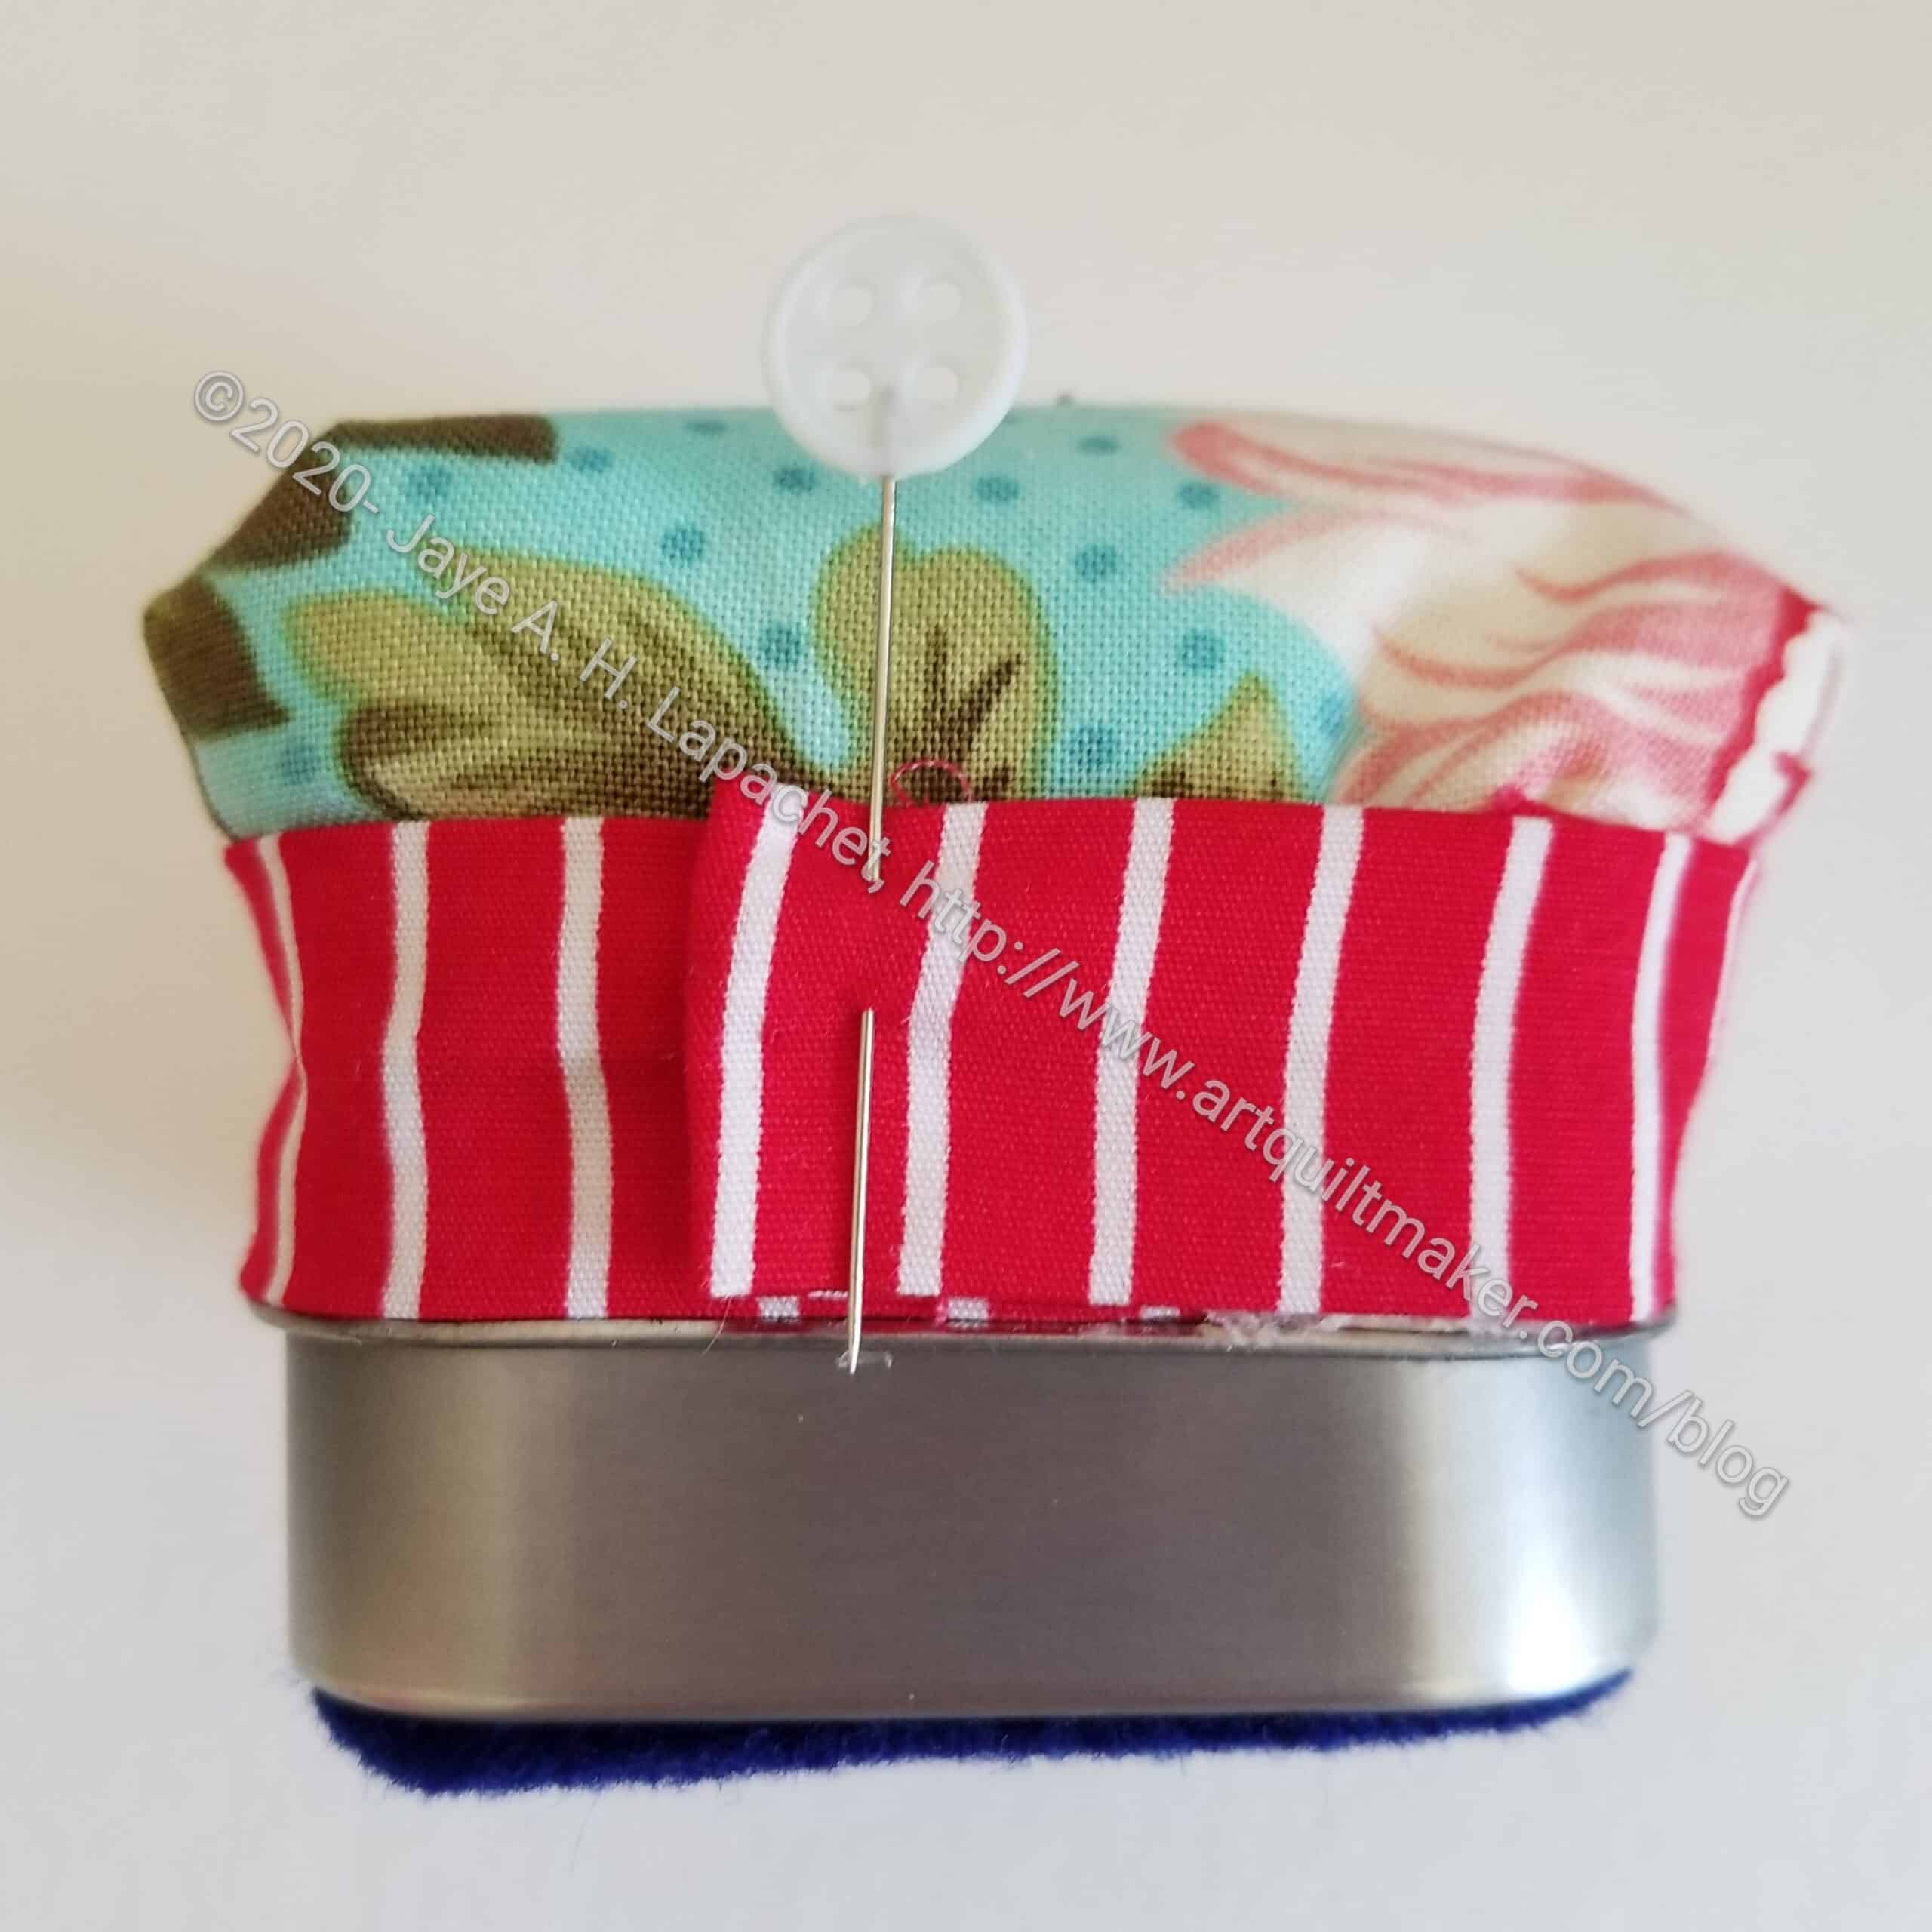
Pincushion
Seventh, take your 5.5″ x 8″ fabric rectangle and baste by hand with large stitches a shape that approximates the shape of the Altoids tin top (rectangle with round corners).
Next, tighten the basting to the approximate shape of the top of the tin.
Ninth, stuff the fabric with wool roving or Fiber Fill, keeping it in the shape of the top of the tin, but puffy.
Tenth, fold the excess fabric on the bottom so the wool roving stays inside. You may need to trim the fabric if it overlaps too much. Make sure the shape fits the top of the Altoids tin.
Next, put down some waxed paper to protect your work surface. Apply glue to the top of the tin and apply the pincushion. Adjust the shape to fit as needed. Press and hold for a few moments so it stays in place. Again, you can use a hot glue gun for this part.
Set the tin aside and let it dry thoroughly.
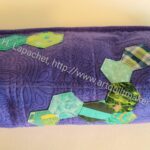
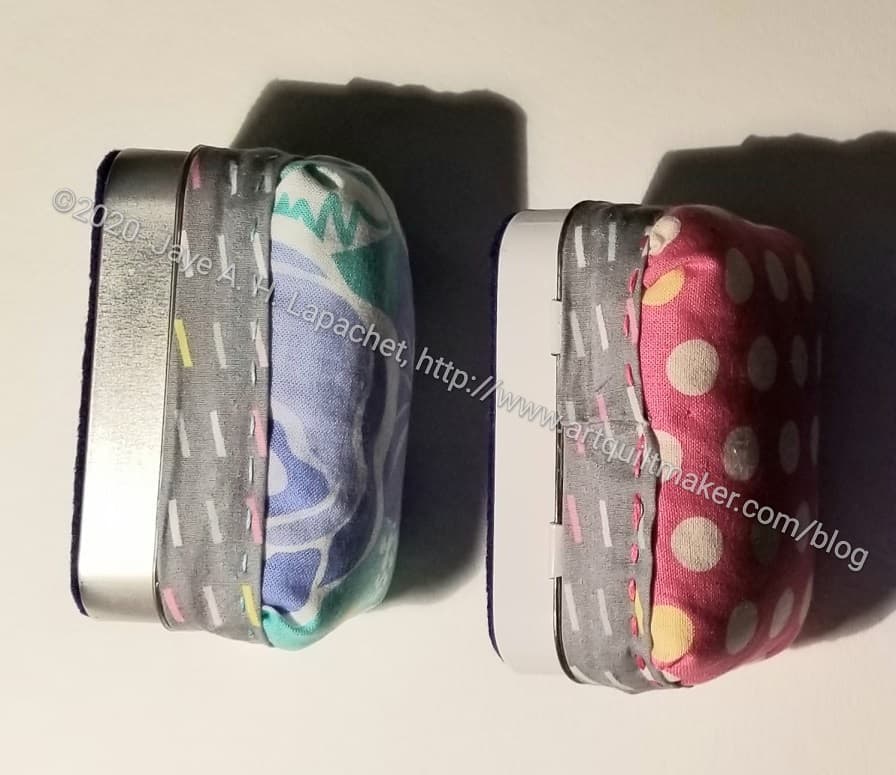
Applying Trim
Check to be sure your pincushion is glued securely to the top of the tin and the glue is dry.
Put down some waxed paper to protect your work surface.
Dot glue on one short end of the tin along the bottom of the lid only. Press the bottom of the trim piece on the glue. Secure to the pincushion with a pin.
Set the tin aside and let it dry thoroughly.
After the end is dry, dot glue around the rest of the bottom of the tin and press the trim to the glue. Pull tight as you press.
Overlap the end and cut the end of the trim strip so you have piece of the top of the trim that you can fold under to cover the raw edge of the beginning of the strip. Pin in place to allow the glue to dry.
Set the tin aside and let the glue dry thoroughly.
Finishing
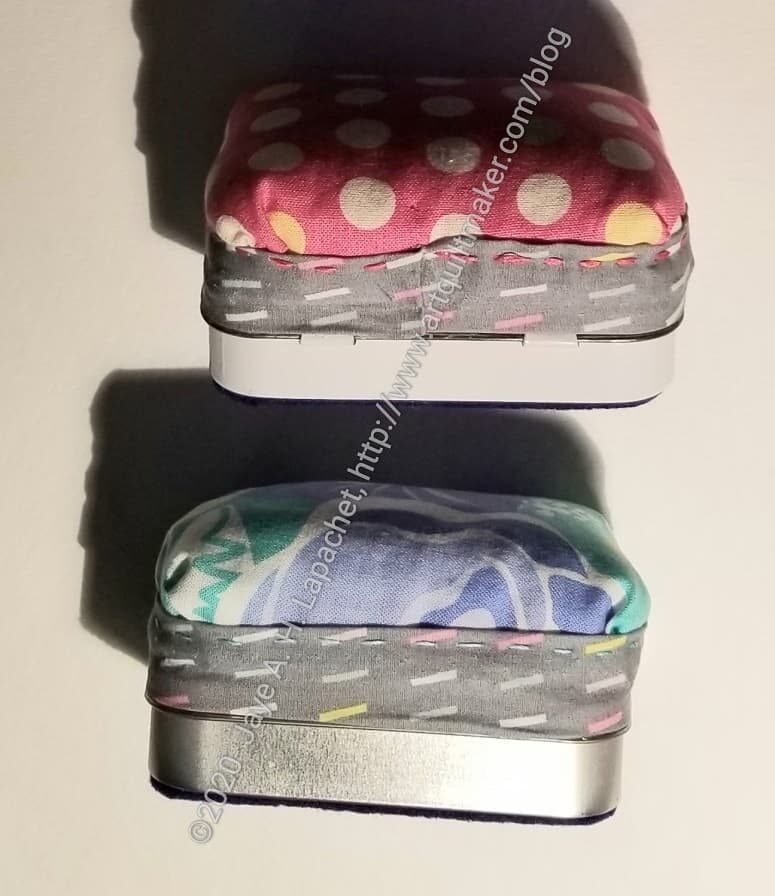
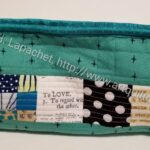
Take your Perl Cotton and stitch along the edge of your trim. Use a basic running stitch or some kind of fancy stitch, if you want. Start away from the hem of the trim. Stitch all the way around, catching the pincushion fabric in the stitch as you sew. You may need to tuck bits of the pincushion under the trim. Finish near the hemmed section and bury the thread as you would in a quilt.
If this is a gift, put a pin and a WonderClip into the tin to show your recipient how the features work.
Enjoy!
**I use affiliate links and may be paid for your purchase of an item when you click on an item link in my post. There is no additional cost to you for clicking or purchasing items I recommend. I appreciate your clicks and purchases as it helps support this blog.