Researching Block Names

Frances' Grecian Cross
Frances’ Grecian Cross

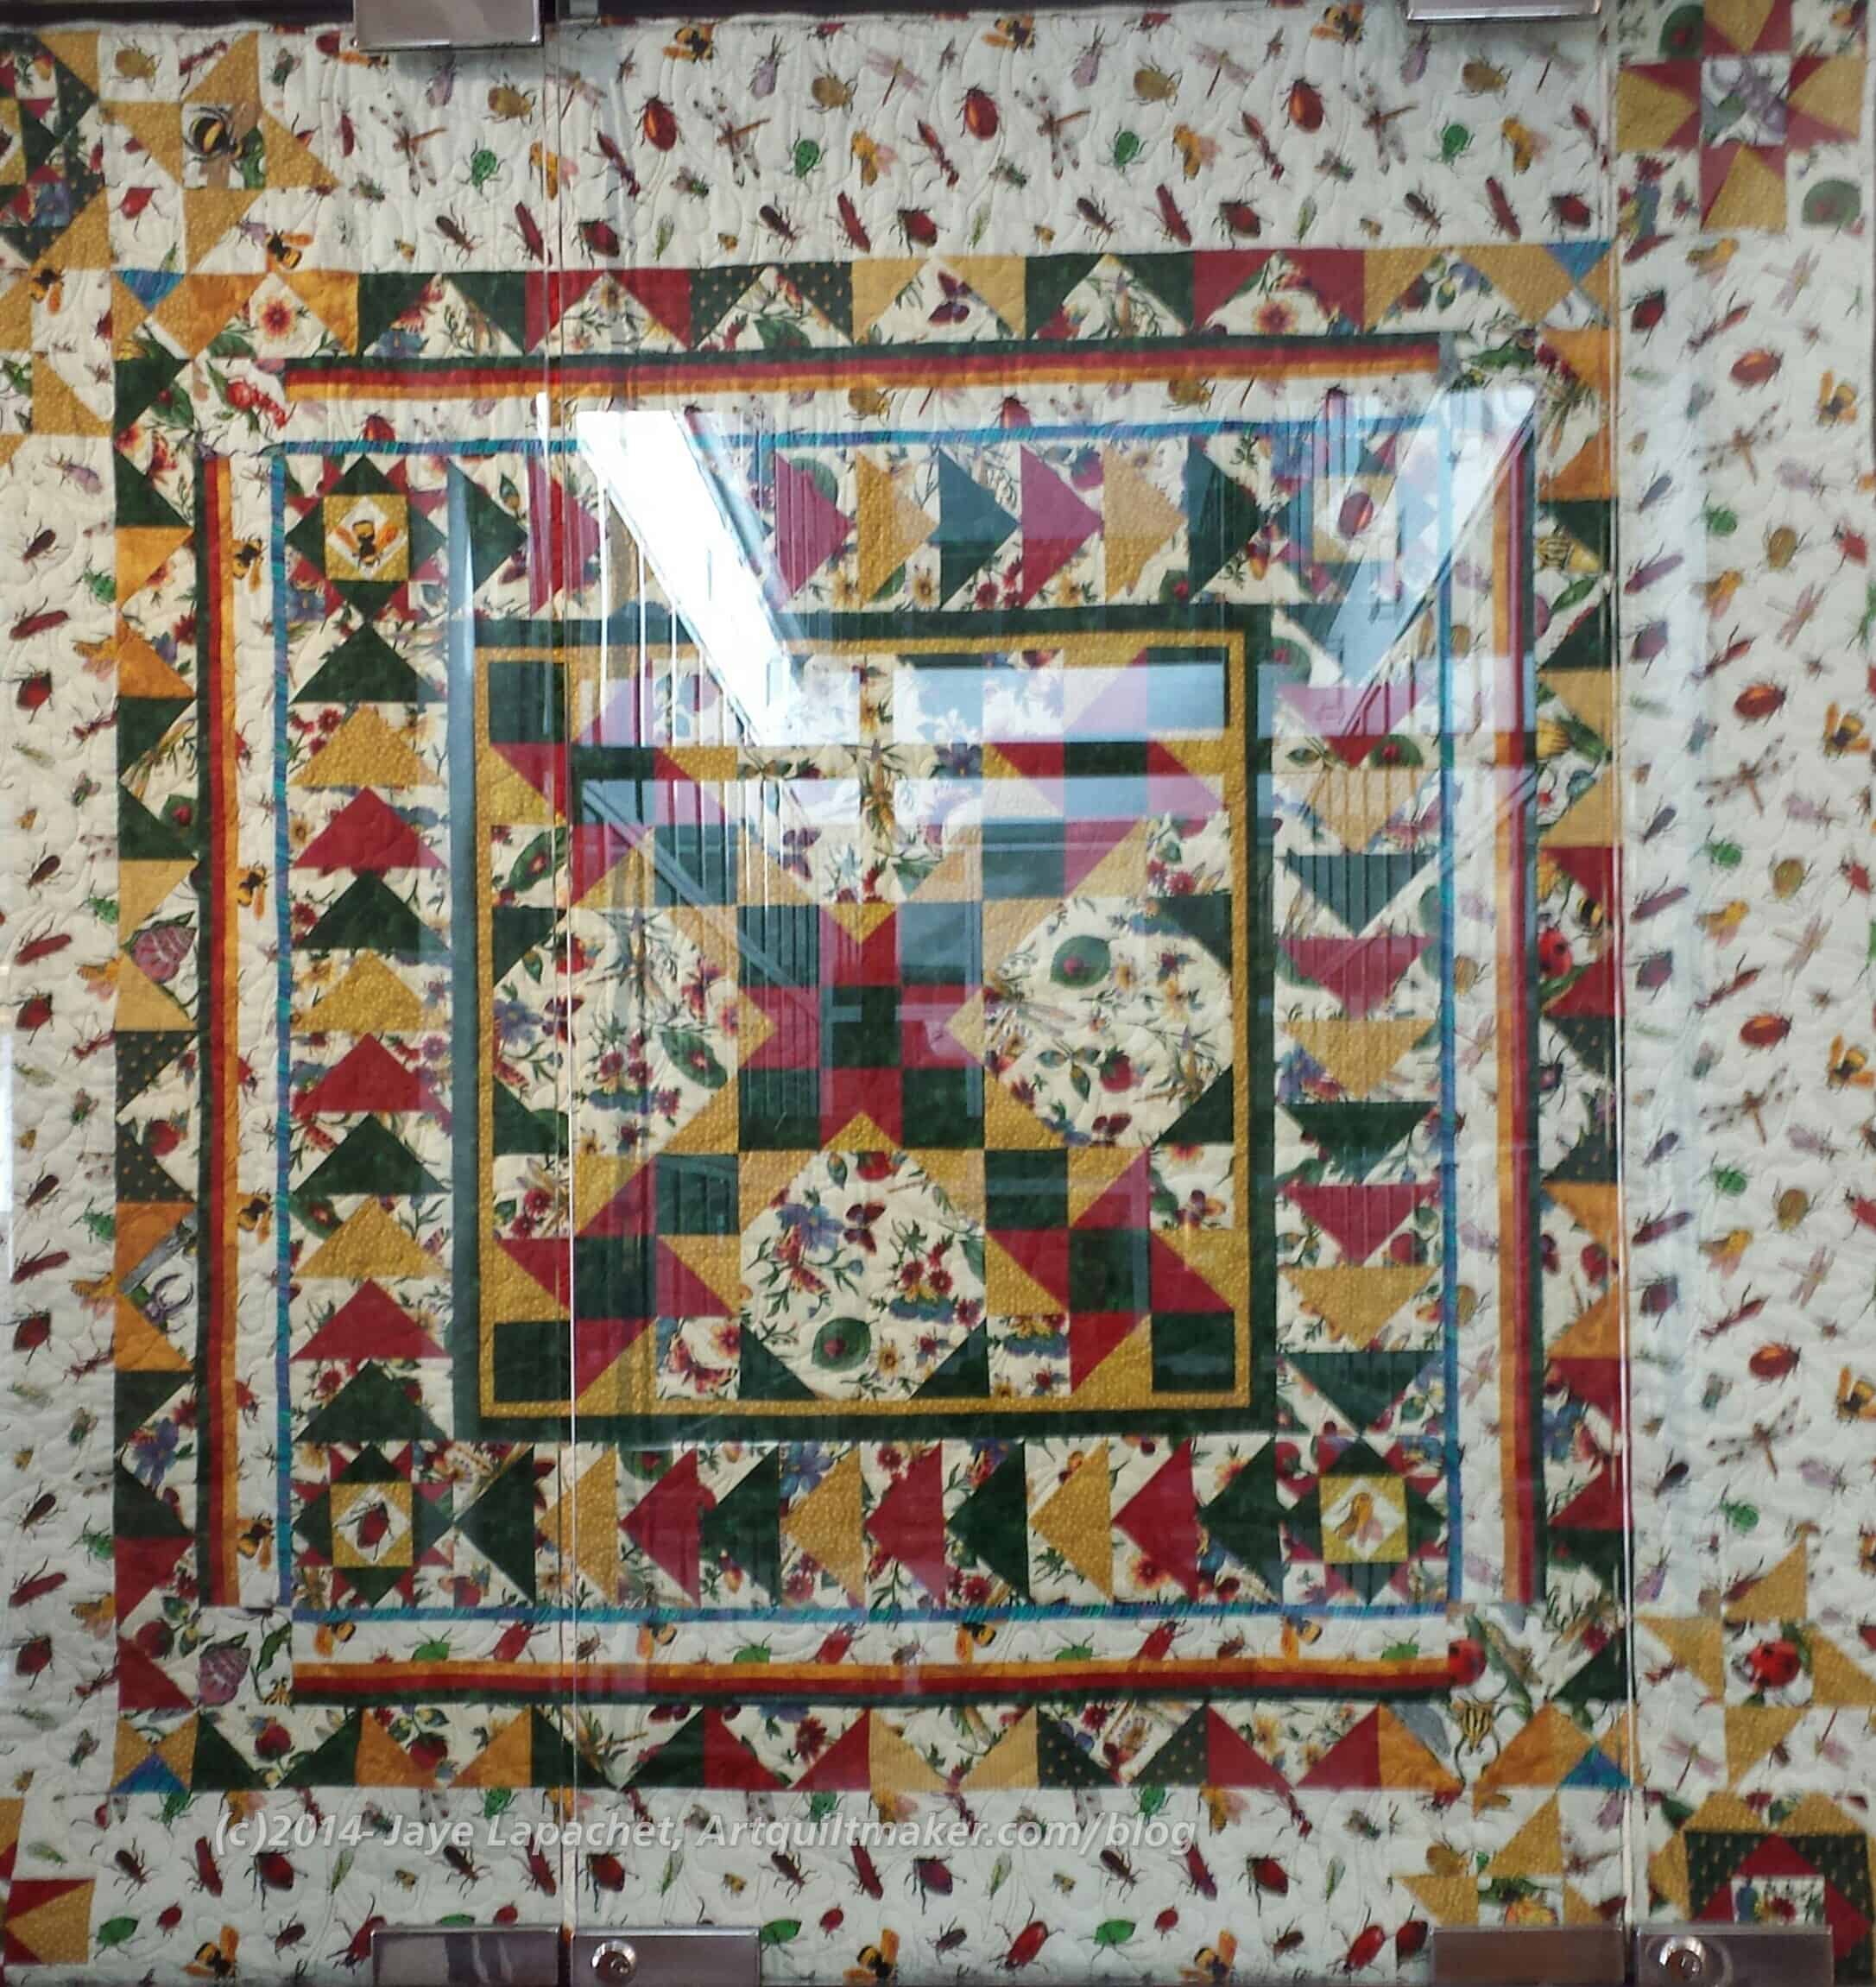
Recently Frances posted on Twitter about the name of a block. She posted the picture of a quilt. I didn’t see the thread until several people had chimed in and Nonnie had tried to draft the block. There are three tools I use to find the names of blocks:

  1. Barbara Brackman’s book, Encyclopedia of Pieced Quilt Patterns, published by the American Quilter’s Society, 1993. I have the reprinted edition. This book is out of print, so you should buy it where ever you see a good used copy.
  2. The Quilter’s Album of Patchwork Patterns by Jinny Beyer, published by Breckling Press 2009. I wrote a review of it, which you can find in a post from 2013.
  3. Blockbase, an electronic version of the Encyclopedia of Pieced Quilt Patterns.

Brackman’s book is the original scholarly block dictionary. It was not the first block dictionary, but it was the first book, that I know of, that attempted to organize blocks into families/type and note their origin.

Beyer’s book went much farther, but, clearly, built off Brackman’s book. There are more references to sources, more drafting information and more of an attempt to group blocks in the Quilter’s Album of Patchwork Patterns.

Grecian Cross Notecard

BlockBase is a wonderful tool for actually drafting blocks and printing templates or rotary cutting directions. However, not all of the information from the Brackman book is included in BlockBase. Many of the blocks have only the Brackman number rather than all of the names. I make an effort to amend the notecards in BlockBase as I come across new or additional information that would improve retrieval. For example, a very common name of the block above is Grecian Cross. This name was listed in the Brackman book, but was not in BlockBase, so I added it.

It is helpful to know something about drafting to use any of these tools. By ‘drafting,’ I mean knowing the basic structure of blocks, e.g. is the basic structure a 4 patch or a 9 patch? The reason this is important is that if you only have a picture of the block, it cuts down on the number of blocks you need to look through if you know the basic structure.

Sadly, using patterns all the time does not foster the understanding of the basic structure of blocks, because the quiltmaker only needs to follow the directions of the designer/patternmaker.

Knowing a block’s structure is also helpful in designing quilts of your own. You may not want to mix 9 patch structured blocks with 4 patch structured blocks as the seam lines won’t always line up nicely. Or you may want to look a a variety of different 16 patch blocks so that you can design a quilt with an interesting secondary pattern.

These tools are not only good for looking up block names, but are also good to learn to understand the structure of blocks, get inspiration for new quilts and see how the authors have colored the quilts. You really need these books, if you have any serious interest in quiltmaking beyond buying fabric and making quilts.

You might notice that blocks have different names. People took blocks and republished them under different names or added a line here or divided a square there and deemed it a new block. This phenomenon is still happening today and it is something of which we just need to keep track.


Book Review: The Bag Making Bible

The Bag Making BibleThe Bag Making Bible by Lisa Lam

My rating: 3 of 5 stars

I have an idea to make the perfect work bag. I haven’t yet found a pattern out there, but with the right knowledge of techniques and an ok pattern, I can probably make something that will work.

After reviewing Big City Bags by Sara Lawson, I put the book in my database (I am a librarian after all!). In the course of testing the records and the search results, I came across Lisa Lam’s The Bag Making Bible and had to look through it for more ideas.

If you have this book and Big City Bags, you have everything you need to make almost any bag out there. Big City Bags by Sara Lawson has good techniques, but is mostly a project book. Lisa Lam‘s book focuses more on techniques, but has projects to go with each technique. The projects are not the focus of the book. In fact they are even hard to find, hidden as they are in the midst of detailed instructions for techniques.

One of the different aspects of this book is that the techniques build on each other. This is a more down and dirty, ‘here’s everything you need to know’ kind of book than Big City Bags. It goes from very basic (explaining parts of the sewing machine-pg.14) through intermediate (explaining a pattern with a glossary of terms) to advanced (modifying patterns). You will have to think, because skills or techniques you learn in one section are referred to again in another section.

On careful examination of the table of contents, I saw that the projects were, indeed, named and given a page number as a subheading under the main point/heading of the chapter. I like this idea, because by scanning the list of techniques, I can find projects that will illustrate the technique I want to learn.

The book is laid out in a pretty standard way: Table of Contents, Foreword and Introduction. The introduction has one line that explains the premise of the book “I have purposefully moved away from quick and easy bag projects because I believe that when you spend a little more time in creating something special you will cherish the results all the more.” This is a great description of the premise of the book.

The first sections after the above are all about the basics. They start with Basic Equipment. The author has good photos of the basic equipment, some of which I have never seen in a bag book. I like it that these unusual tools are included. I did wonder why no rotary ruler was included in the list, though a rotary cutter is included.

The sewing machine section includes some information on machine stitches and photos of the machine feet.

The next section is called Anatomy of a Bag, which covers all the aspects of a bag from parts you have heard of like flaps to parts like the gussets, which are less common.

The basics continue with ‘Getting Started’, which discusses using patterns, ‘Understanding Patterns’,’Fabric Preparation and Cutting,’ Modifying Patterns and then the book continues on to the techniques and projects. The ‘Understanding Patterns’ section is good also for garment sewing.

‘Choosing Fabrics’ is very complete. It includes a description of different types of fabrics and the pros and cons of each. The section talks about how best to use the fabrics for bags. This section has a subsection on choosing interfacing and interlining. Again, there are descriptions and definitions of different types and weights of interfacing.

I like the section called ‘Working with Colour and Pattern.’ The author has some beginner level suggestions. While there is no color wheel, the section gives the reader some suggestions about choosing colors as well as using pattern/motifs.

This is where the projects come in. The techniques are all associated with projects and the project teaches the reader those associated techniques. For example, in the Structure and Reinforcement section, there is a chart of ‘Volume Adding Features’. These are darts, pleats, etc and the chart tells the reader the benefits and suggested uses of each. The project photos have good detail shots and lots of instructions which, together, help understand how to use the featured technique while putting the project together.

The book has sidebar boxes throughout the book. The color and pattern section has boxes about using texture and sourcing fabrics. Some of the sections have a ‘Need to Know’, which covers important concepts that don’t fit into the other text.

I like the section on ‘Linings.’ It includes a chart of different types of pockets (charts are a good way to get a lot of information across quickly) as well as photos of the linings.

As with Big City Bags, zippers are covered really well. This book helps me understand what Sara Lawson was doing when I followed the directions for her Flush Zipper Pocket on the Petrillo Bag pattern. I was able to make the pocket from Sara’s excellent directions, but didn’t understand the underlying concept until I read this book. This is a great example of why these two books work really well together.

Information about zippers leaks over into the section called ‘Closures.’ Again, Lam includes a chart of different types of closures with benefits and suggested uses. There are photos different types of closures and how to insert them. I really liked the instructions on adding a pull tab to a zipper. This would have really helped me in some projects I have made recently.

Different types of trim, such as tassels, and edgings, such as piping, are also covered. Ready made handles and the different types of pockets that can be used are defined and instructions are provided.

I do think this book, and most bag books, could have benefited more from photos of the inside of the bags. I thought this, especially, when I saw The Organized Office Bag project. There are plenty of gorgeous pictures of the outside, but, frankly, the inside is heart of the matter for me. How many pockets are there?

This is a comprehensive book and would be a great addition to any bag maker’s library. It is a necessity for anyone who wants to understand bags and their components to an extent of designing or modifying patterns.

View all my reviews

Creative Prompt #285: Lobster

Lobster roll

Maine lobster

Lobster Man

Red Lobster Restaurant

The Lobsters once again team up with the Bay Area’s best new works company, Z Space, for the third iteration of the wildly successful comedy.

Lobster Ink is the hospitality education system that educates staff and management within the hospitality industry worldwide.

Lobster Shack

The Lobster – 2015 movie

Choc Lobster is a brew first brewed in 2012 that evolved from our Super Small Batch program that we began at the pub to make weird one-off batches.

Definition– “Clawed lobsters comprise a family (Nephropidae, sometimes also Homaridae) of large marine crustaceans. They have long bodies with muscular tails, and live in crevices or burrows on the sea floor. Three of their five pairs of legs have claws, including the first pair, which are usually much larger than the others. Highly prized as seafood, lobsters are economically important, and are often one of the most profitable commodities in coastal areas they populate.[2] Commercially important species include two species of Homarus from the northern Atlantic Ocean, and scampi – the northern-hemisphere genus Nephrops and the southern-hemisphere genus Metanephrops. Although several other groups of crustaceans have the word “lobster” in their names, the unqualified term “lobster” generally refers to the clawed lobsters of the family Nephropidae.[3] Clawed lobsters are not closely related to spiny lobsters or slipper lobsters, which have no claws (chelae), or to squat lobsters. The closest living relatives of clawed lobsters are the reef lobsters and the three families of freshwater crayfish.” (Wikipedia)

Post the direct URL (link) where your drawing, doodle, artwork is posted (e.g. your blog, Flickr) in the comments area of this post. I would really like to keep all the artwork together and provide a way for others to see your work and/or your blog.

We are also talking about this on Twitter. Use the hashtag #CPP

The Creative Prompt Project, also, has a Flickr group, which you can join to  post your responses. I created this spot so those of you without blogs and websites would have a place to post your responses.

Various & Sundry #13 – Mid-November

Fabric, Thread and Supplies
Need some discount fabrics? I mean full quality fabric for less? Check out this post on The Stitches Swap. Just go look. You know you want to go and look.

Hawthorne Threads has now produced its own fabric line. I saw it the other day while I was browsing their shop and didn’t quite understand what I was seeing. Fabric Worm / Birch Fabrics did this a few years as the modern movement was getting off the ground. I guess Hawthorne Threads thought it was a good idea. If you click on Hawthorne Threads as a designer you will see their three collections, Fair Isle, Bengal and Calliope. they have a pattern for an apron using the Calliope line on their blog. Need a gift? There are similarities in the designs even though the collections are different. Glad to see they are reaching beyond just being an online fabric shop.

Patterns and Projects
Moda has their Modern Building Blocks quilt project, which I really like. Not sure how old it is, because I can’t find the original post. Still here are the directions for putting all of the blocks together.

I found a really nice Pineapple quilt.

I know Thanksgiving is first, but I love this poinsettia table runner, even though I don’t love table runners.  I love the colors (not screamy Christmas) and the design (Drunkard’s Path). Thanks to Mark Lipinski.

Tanesha has been working on art journaling pages and she did one recently that I really like. Check it out on her page.

Moda has a post on their blog about quilt math, Bake Shop Basics: Quick Quilt Math by Oda May, using their precuts. They had to make some assumptions, but I think it is a good post to add to your toolkit.

Media

Weeks Ringle posted about a subject near and dear to my heart. I call it “…but I am not creative”, which is similar to the title of her blog post. while I am fortunate to come from a family with a long tradition of needlework and a mother who encouraged (and paid for) a lot of our crazy creative ideas, not all of my quilts are perfect. I cut off points, my borders don’t fit, I can’t draw a human face. For me, creativity in my chosen medium is about getting better. Every quilt I make and technique I try further my knowledge. It also keeps my brain active and keeps me interested. What I would like to say is “banish the phrase (and related sentences) ‘…but I am not creative’ forever.” Don’t acknowledge the concept, don’t think about it. Everyone is creative, but you have to nurture and practice creativity, just like everything else.

Did you know that Abby Glassenberg has a podcast? No? Me either. There is a link on her blog. She is up to episode 32. Does this mean I am not paying as much attention as I should to new media or does it mean I am part of an insular little community that only talks to itself? I might think about that.

Judy Martin writes “Regardless of your skill or experience level, you can win the coveted Best of Show just by playing my new game, Quilt Show. It is out and available. The game retails for $34.95. It is for 2-4 players. You can read more about it or order it at:
http://judymartin.com/products.cfm?action=detail&prod=60&CatID=4 (no affiliation)

If you’re curious about the game but want to see how it plays, I have some short videos you can watch. Richard Ham has a series of videos where he plays games and explains what he is doing as he does it. It’s a great way to follow along and tell if a game is right for you. I’ve added his three Quilt Show videos to my Video page. And Dan King, the Game Boy Geek, does a video review of Quilt Show, explaining how to play. I’ve added his video, too.

http://www.judymartin.com/video-page.cfm

The game would be great for retreats or Quiltmakers’ Game Nights. I am sure it makes a great gift. 😉

I found about the 45th anniversary of QNM from Judy Martin’s newsletter. See the quilts and read about the event on their blog.

There is an Amish Quilt Exhibit at the San Jose Museum of Quilts & Textiles. Read the article and go see it if you get the chance. I was disappointed that none of the modern inspirations were shown in the paper.

Features

I was featured on the Quilty Therapy blog in her healthy sewist lifestyles series.

If you want a good bio of Judy Martin, she was a Battgirl recently and you can read all about her. Yes, I am an inveterate Judy Martin fan. I love her original blocks, her newsletter and her quilts. The follow-up post on Judy’s quilter, Lana talks about Quilter’s Dream Batting in such a way that it makes me want to try it. Have you used that batting?

Thoughts and Ideas
The Badass  Quilters’ Society had this “To be a BadAss Quilter is to be confident enough to embrace your own style without the need to mock the style of others. To at least aspire to fearlessness in your craft as well as authentic, compassionate and ethical treatment of each other. To be generally opposed to dumb-ass behavior that separates, denigrates or makes light of another’s work, style or lifestyle. In short, we are opposed to being a jerk about most things and about quilting most of all.” to say on a post that I marked to share back in April. Regardless of whether you want to call yourself ‘badass’ or not, the sentiment is really good. What is wrong with your style that you are embarrassed to own it? Why are you reluctant to make a change to a pattern that would clearly be better with your change? Why do you make fun of someone else’s work? The article goes on to discuss all the different types of quiltmakers out there. Go forth and embrace your quilt-i-ness!

Abby Glassenberg wrote a blog post on whether money trickles down to fabric designers. The Bad Ass Quilt Society wrote a follow-up post to Glassenberg’s post. I think it was an excellent example of how our expectations of pricing are way off. I don’t buy kits, but I have run my own business and I know everyone is looking for a discount. One of the things I like about the quilt industry is that it is still filled with a lot of small businesses and women owned businesses. Do you really need a discount?

Other Artists
Next week is the American Thanksgiving, one of my favorite holidays. Perusing some of my favorite sites (see link list on the right hand side), I saw that Quilt Rat had posted a turkey that is perfect for coloring. Print out a few copies, buy some new boxes of crayons and set the kids to work while you cook.

I heard Kevin Kosbab speak the other day at the Bay Area Modern Quilt Guild. He has a really interesting lecture on Mid Century Modern. Look for a more detailed post about him later. See his work and buy his stuff at: Feed Dog Designs

Doing Good Green T Quilt

Green T Quilt
Green T Quilt

I have the Green T quilt in my possession and I am applying the binding. This is the quilt that Gerre and I worked on together at the last Charity Day. Gerre quilted it and did a fantastic job!!

She quilted in a big circle and it really looks fantastic. I used the Reflections fabric (RJR, I think, from the Dark Ages) in a kind of olive green color. It is a little mottled, but I think it fits well with the variety of greens in the quilt.

Gerre and I make a good team and I told her so. I told her I want to work with her again. She is working on quilting the postage stamp/16 patch, which I will bind as well.

I really liked working with Gerre. I am thrilled that we have made this quilt together and I am proud of how it has come out. Yes, I know it is not finished, but I am thrilled with the way it has come together.

Russian Rubix Returns

Did you read the UFO post? I was really thinking about this project when I wrote it. This project is becoming painful. However, I refuse to let it beat me. After talking with Friend Julie a week or so ago, I was ready to dive back in. It is often easier to move on with a project after getting someone’s perspective.

Corner Detail
Corner Detail

I made the top border including the corners, which fit over the side borders. This was not helpful, as they had nothing on which to rest since I hadn’t made the side borders yet. Thus, I decided I needed to make the side borders as I thought it would be easier to put on the top and bottom borders which had the corners if there was enough fabric on the sides to accommodate the corners.

I decided I want this design for the border on this quilt. This decision means that I have to be ok with the idea that two of the borders may have to have a spacer to make them fit. I am not 100% sure the sizing won’t work, but it looks like it won’t. We’ll see as I make more parts of the border, sew bits together, trim other bits and the seam allowances are taken up.

Russian Rubix with borders in process

I had a few hours on Sunday and spent the time making a side border. It was really nice to just be sewing. I feel like I haven’t had much time to sew lately, so that was part of the reason I enjoyed it so much.

I have a bit left to do, but essentially I finished the side border.


P.S. The piece, as usual, is too large for my design wall, so I had to use tape to keep the border up on the wall. that is the first time I have done that, but I doubt it will be the last because of the size of the pieces I seem to make.


DWM – Mid November

I spent most of the day yesterday out with Kelly and making banana bread. The Young Man budgeted for $40 worth of bananas for his Eagle Project and then BOUGHT THEM!!! People ate bananas, but $40 is a lot of bananas and we had a about 20 left after the project. By yesterday 12 were left, which meant 3 double batches of banana bread. I spent about 3.5 hours in the kitchen, including a walking trip to Trader Joe’s because I ran out of eggs. I got some steps in, but used up a lot of sewing time on this ‘project.’

Design Wall November 17, 2014

Thus, the design wall looks pretty similar to last week’s version. I have high hopes that the end is nearing on a few projects, but time will tell, especially with holidays coming up.

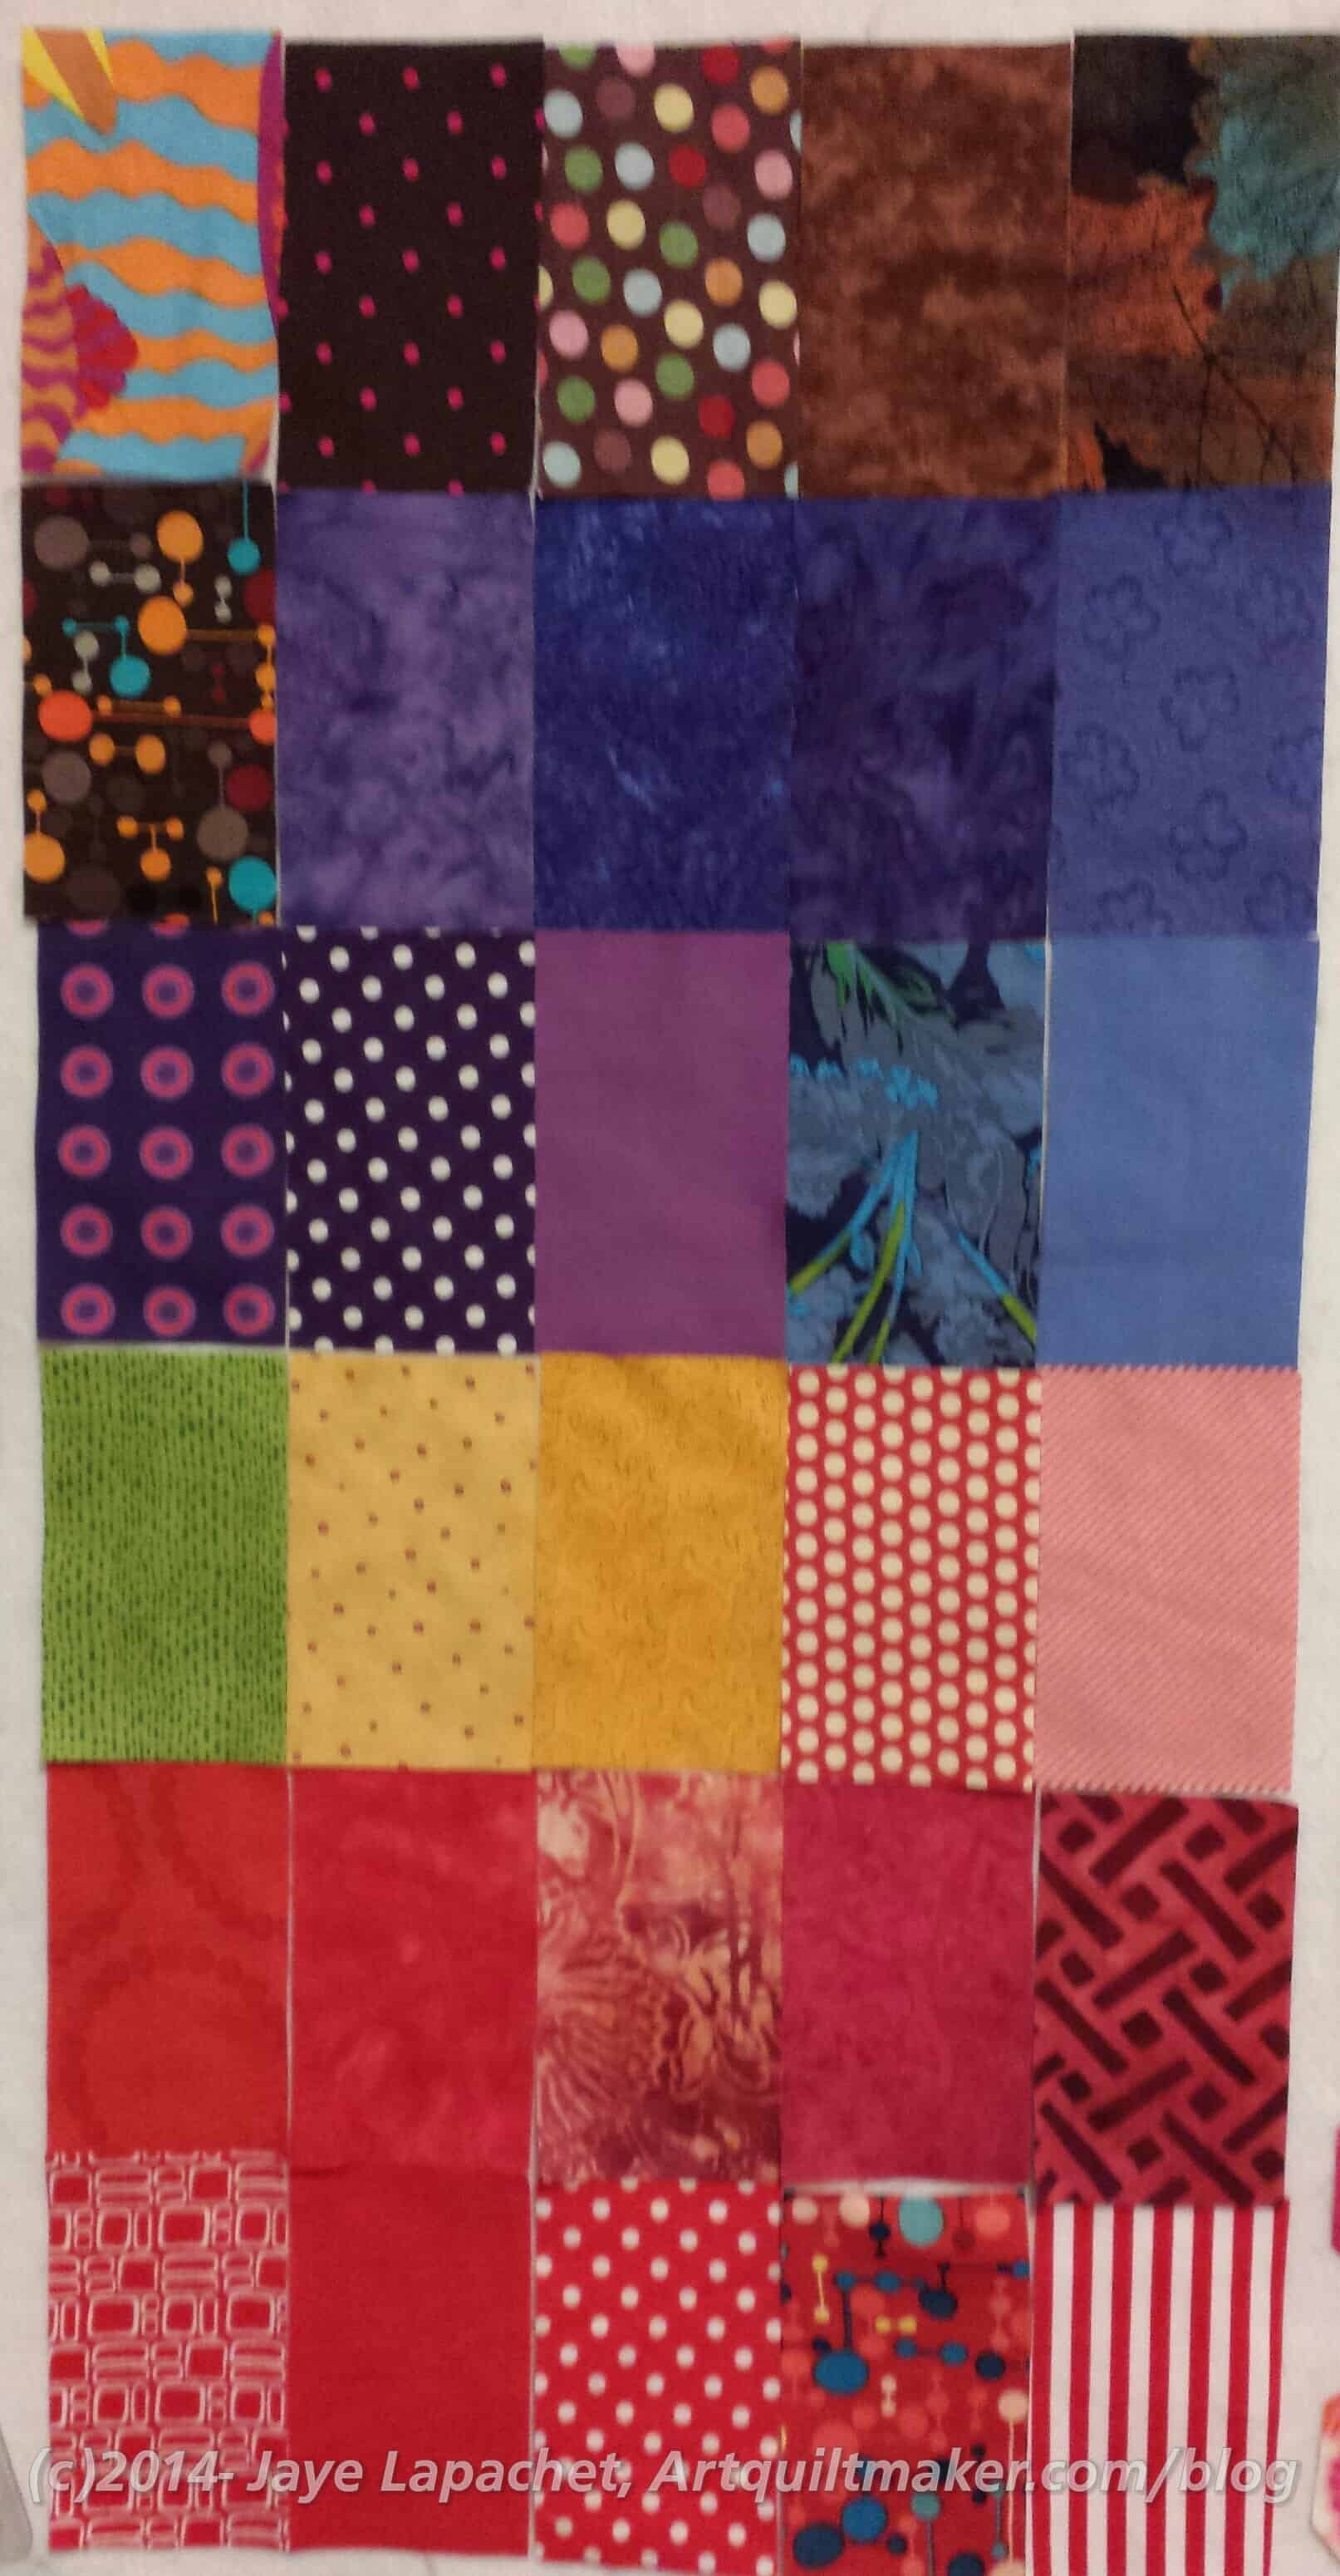
1. More of the red 2″ squares for my 4 patches. I really need to cut some 2″ turquoise squares. I just can’t seem to get to it.

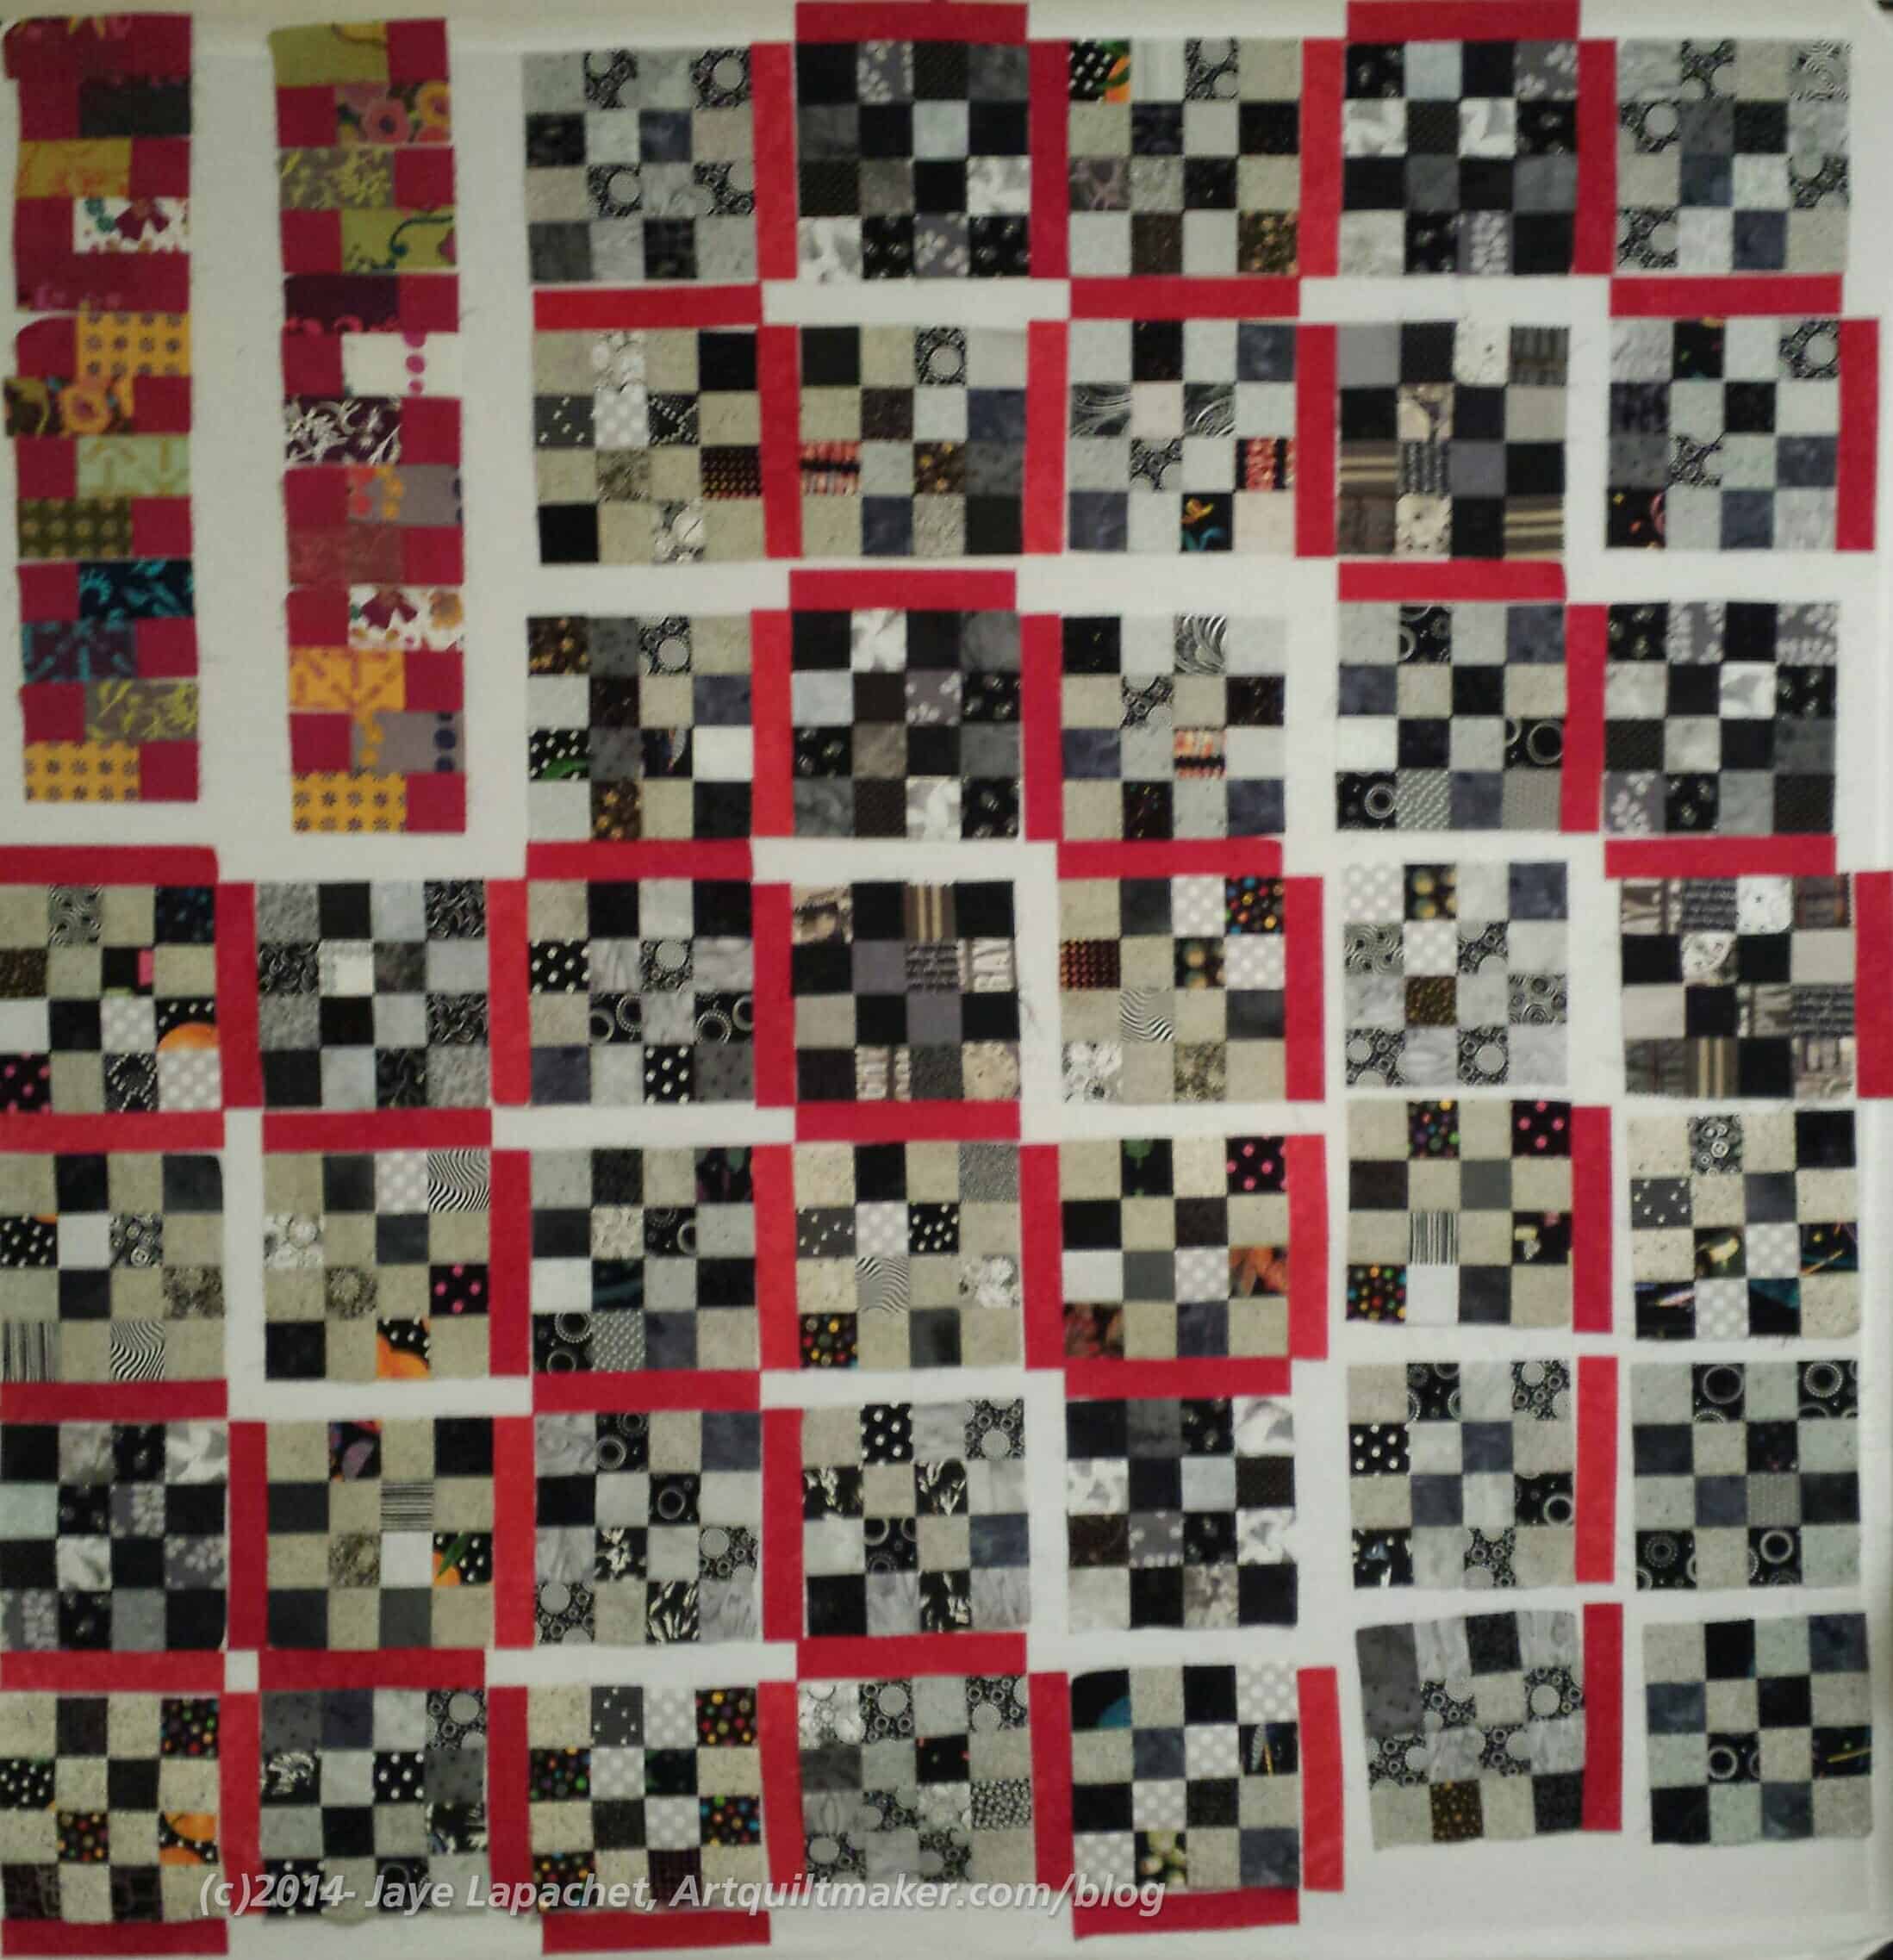
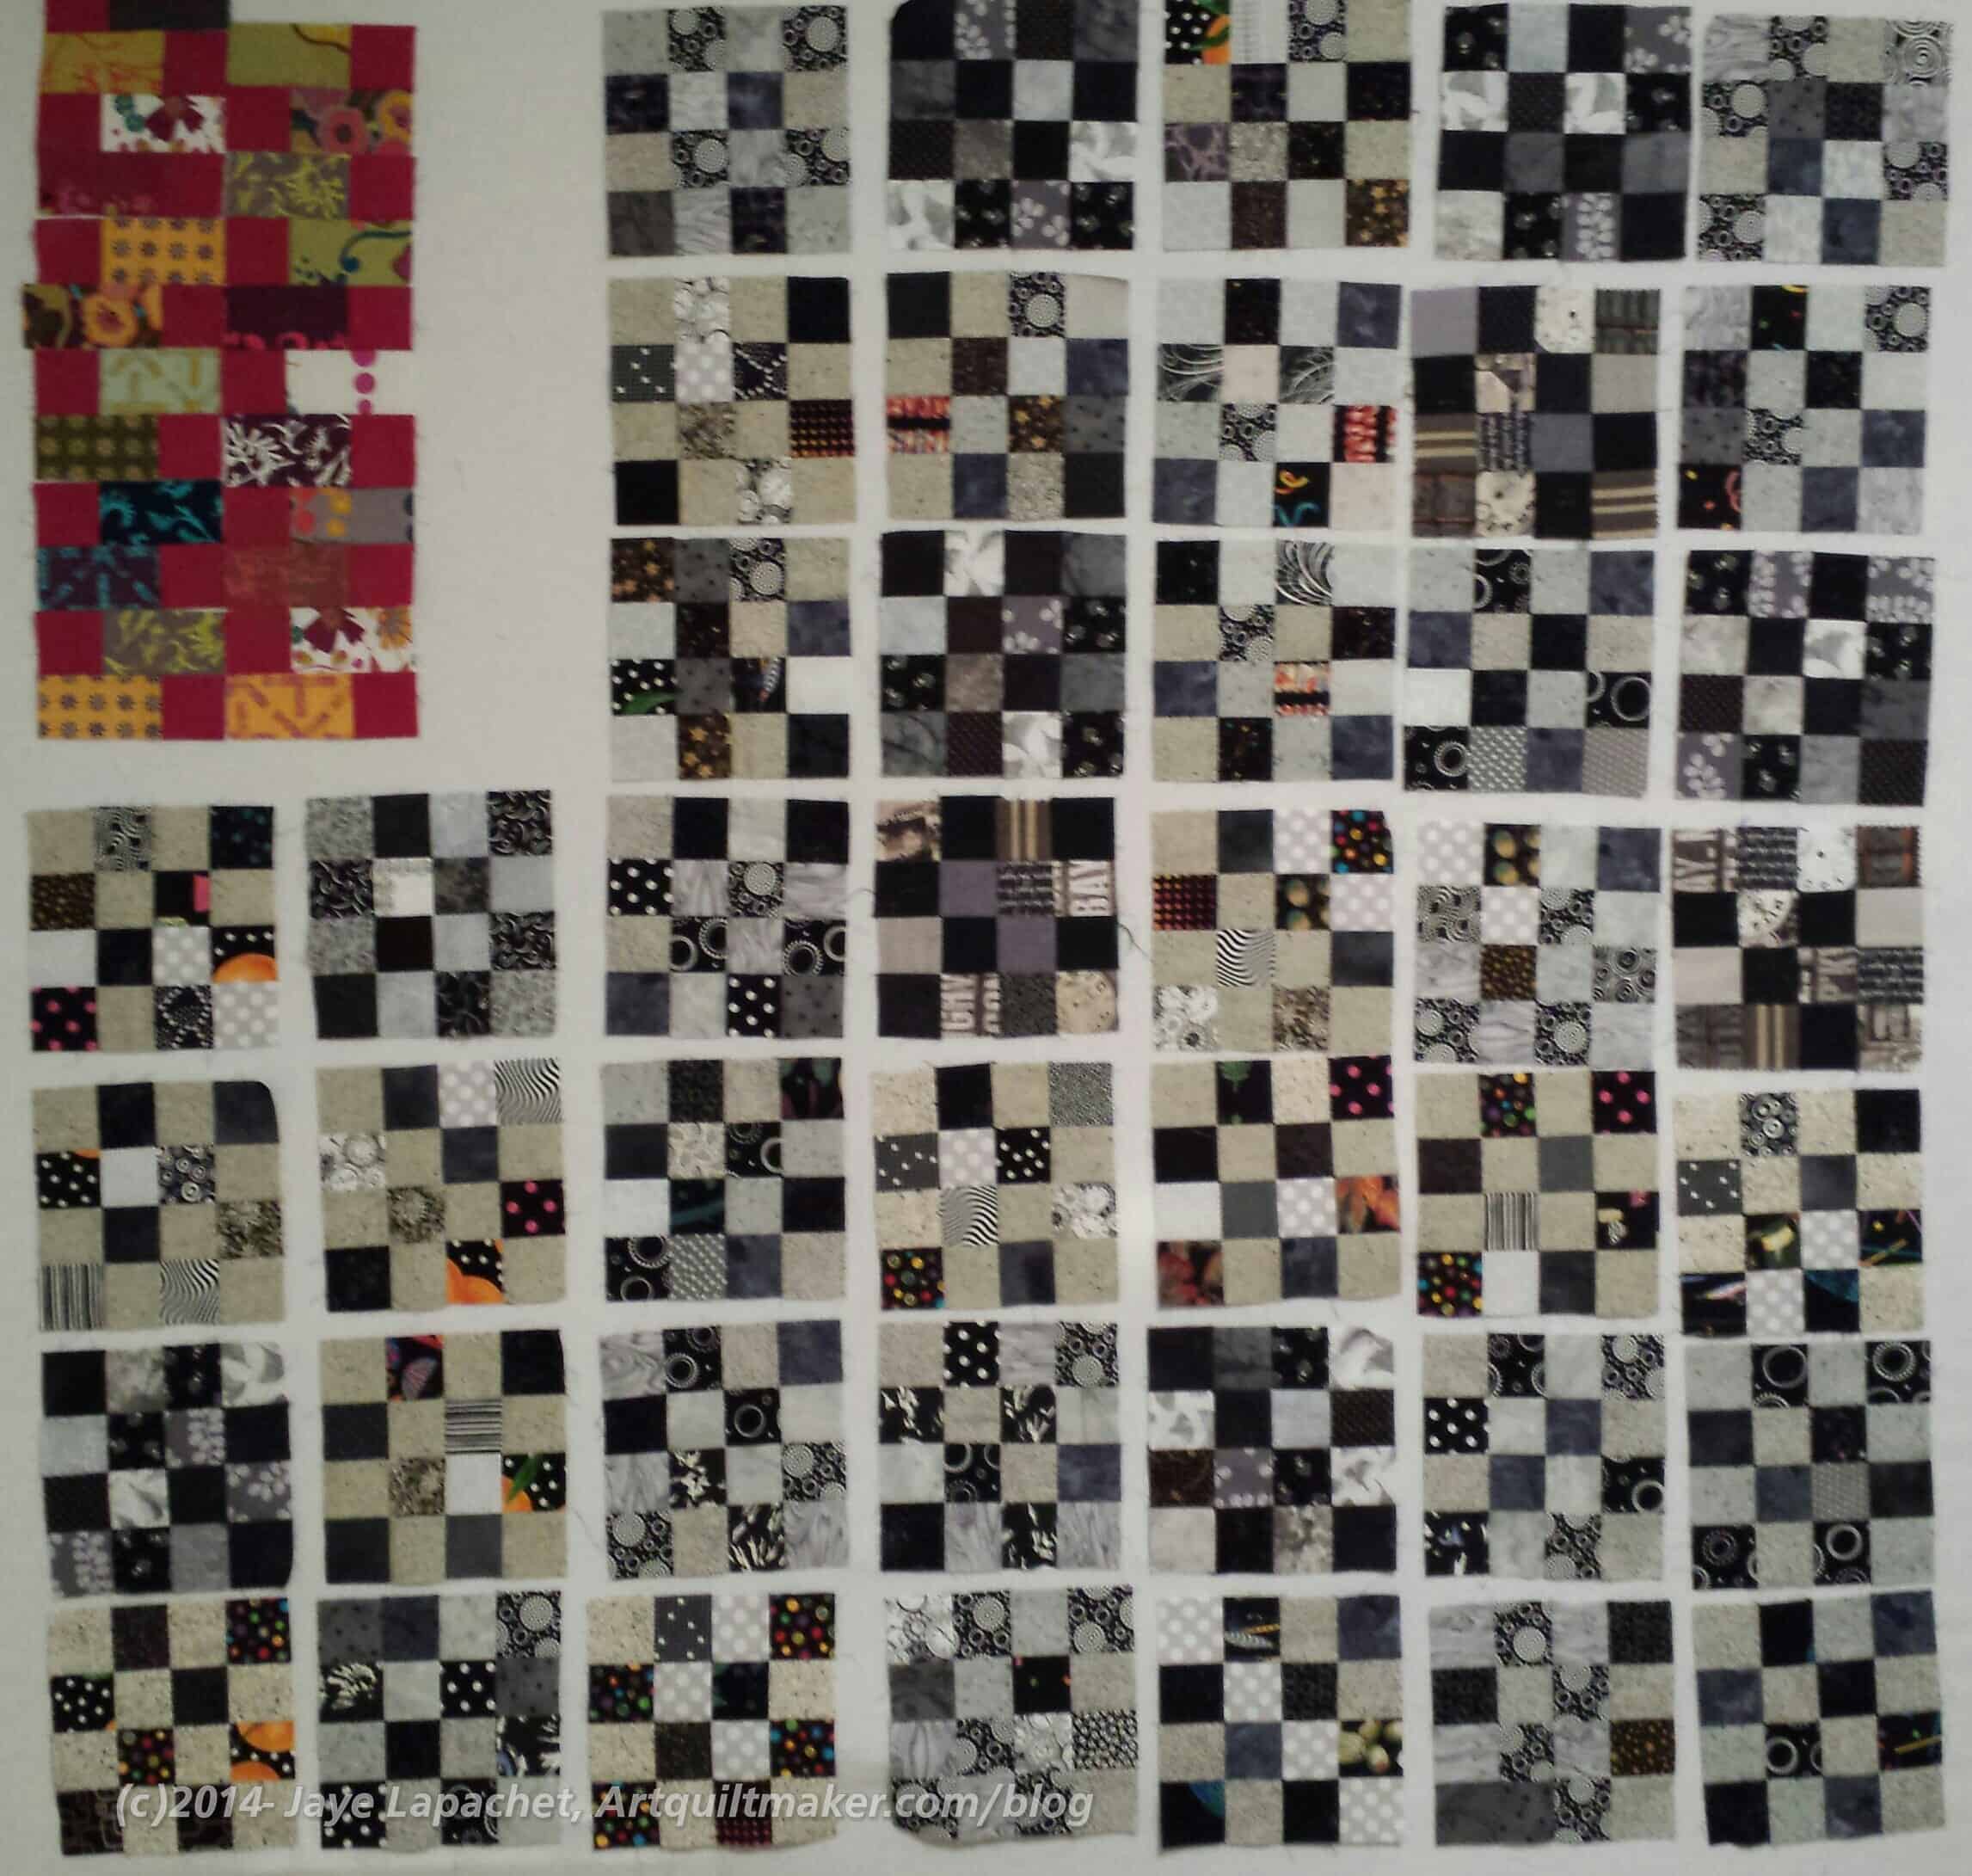
2. Black & Grey Teenaged Boy Donation Quilt blocks. I finally finished that last block that had been languishing, for, what seemed like, weeks. Next step is to layout all the blocks and look at them. I need to decide whether to sew them together with sashing or not. I hear red fabrics crying out for my attention when I think about this quilt.

3. Pieces and part of the PIQF Cross blocks. I have the other background parts cut as well; they are just somewhere else waiting for me to have a moment to decide on the fabric for the on point squares.

4. Start of a donation block for BAMQG. Made with leaders and enders technique yesterday as I sewed another side of a Russian Rubix border together.

5. My PIQF Cross blocks, some only partially sewn.

5.5 This is the PIQF Cross block that TFQ made. Somehow it got separated from its friends, though, perhaps, it volunteered to play referee between the red 2″ patches from and the Teenaged Boy Donation Quilt. 😉

6. Russian Rubix Octagons. I am still making a few blocks for the border. I am not sure if I will use these in the Russian Rubix quilt or if they will be part of the Snowball/9 Patch quilt I have in mind. If I do that piece it will be the third quilt I make from that collection of fabrics. It is interesting to do that. Perhaps I can consider it a series?

7. Most recent FOTY rectangles. These are the last of the fabrics that TFQ pressed for me. I need to toss another load of new fabric into the wash and continue on.


I am linking up with Judy over at the Patchwork Times. Looking through a few of the other links is fun. I see projects and things that I wouldn’t have otherwise seen.

How UFOs are Born

I was talking to a friend the other day. She makes sculpture out of the stuff she finds in her recycle bin. She makes about one piece a year. It was so fascinating to hear about her process and how she gets her ideas. Somehow we got on the topic of process and she said ‘sometimes, you have to put a piece aside and let it be for awhile.’

I froze, mentally, at least.

Have you ever had a moment happen where you think 10 minutes have gone by, but only seconds passed and you are able to pick up thread of the conversation with nobody the wiser that you just checked out? That happened to me at this moment. A movie started playing in my head of all of the UFOs that I had dredged out of the darkness of the fabric closet and finished in the past couple of years.Then the voice inside my head started screaming NOOOOOOOOO!

I pulled myself together and my friend was still happily chattering on about process.

This one comment made me think about how perfectly good projects become UFOs.

You start out happily working on a project. You are excited, love the fabrics and are already imagining it on your bed or wall or being opened by a lucky recipient at the next holiday.

The first blocks are challenging and you feel excited as you see them come together. The more blocks you make the more mundane and rote the sewing becomes. Boring follows close behind. Still, you think about other things, plan your grocery list and cross things off your mental to do list as you push fabric and thread under the needle of your machine. The charm and allure of the project hasn’t dimmed completely.

You are in the home stretch as you begin to piece the border. Then the process all goes horribly wrong. Your math is off. There is an extra inch where you don’t need it and the fabulously pieced border won’t fit.

Suddenly, you feel tired. The excitement of the project is gone and it is just a big pain in the neck.

You wander off, work on something else, add new deadline. A month passes and the project is taking up space on your design wall and you need the space to finish your donation quilt. You take the project off the design wall just for a small rest, put all the parts in a box and put it front and center on a shelf. Months pass and the space on the shelf is needed so into the closet, near the front, the project box goes.

More months pass. The box gets moved to the back of the closet as some rearrange new fabric.

5 YEARS LATER (+12 other completed projects)

A fabri-lanche hits your fabric closet. You decide this is a good time to take inventory and clean out. Everything comes out of the closet and you go through it before you put it back in. You find the project about which you had totally forgotten. The fabric is old looking and no longer interests you. You throw it into the guild charity bag and know that someone will do something gorgeous with it.

PIQF Crosses

Can you tell that I don’t know what to call these blocks? I really have to look the pattern up in Barbara Brackman’s book or Jinny Beyer’s book and see if they have a real name.

First PIQF Crosses
First PIQF Crosses

I haven’t made a ton of progress since I last talked about this project. I seem to have not had much time to sew in the past week or so. I finally took a few minutes last night while I was waiting for dinner to finish to sew the blocks together. It really only took a few minutes. I finished two of the blocks I have in process, but the others need fabric cut and I wasn’t set up to do that.

I was able to use scraps for most of the pieces as they are small, which is really good since my scrap bins seem to be overflowing. Still, the blocks are small and, thus, a pain to sew. In my haste I cut off some points, which I will need to remedy if we are going to continue making these blocks. I am not sure I like them well enough to make a whole quilt out of them.

TFQ & JHL Blocks
TFQ & JHL Blocks

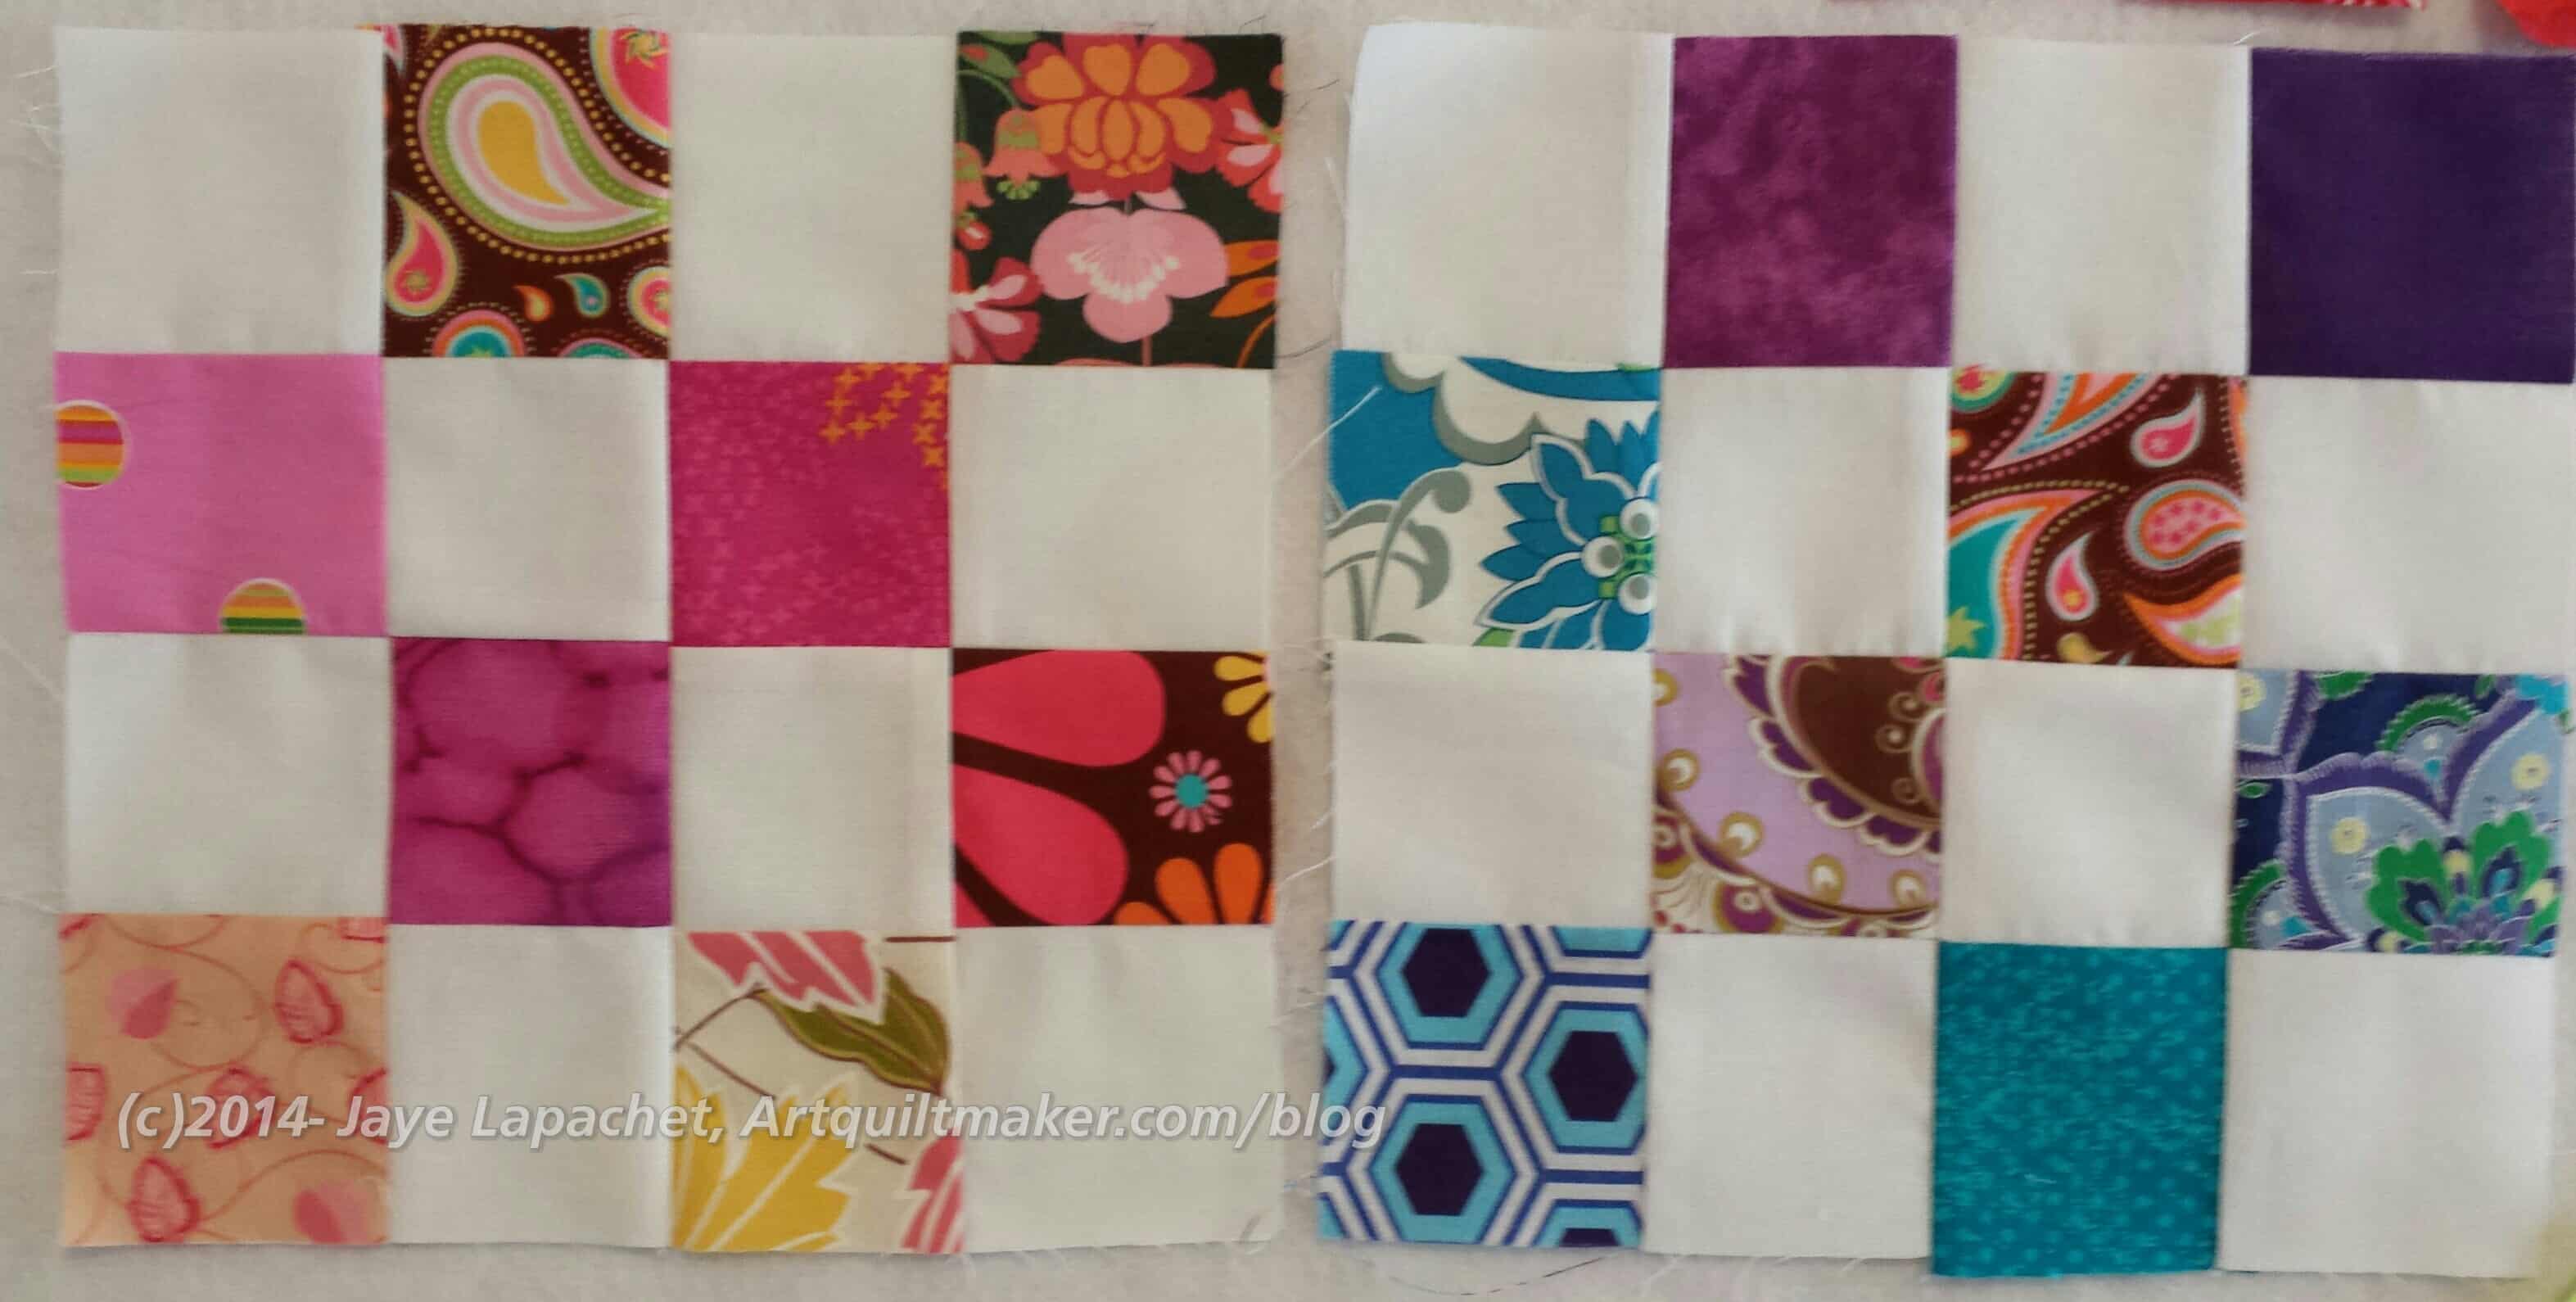
I think they do look nice together. I like the scrappy look. We didn’t intend to use all blues for the crosses, but it seems to have worked out that way. The others I have in process do not have blue or blue green or aqua in the center.

So, my blocks will be winging their way to TFQ today. It is possible that I’ll have more time to sew tomorrow and will send some on Monday.

Stay tuned for that.

Creative Prompt #284: Lake

Lost Lake by Sarah Addison Allen

Land O’ Lakes

Definition-“A lake is an area, (prototypically filled with water, also of variable size), localized in a basin, that is surrounded by land apart from any river or other outlet that serves to feed or drain the lake. Lakes lie on land and are not part of the ocean, and therefore are distinct from lagoons, and are also larger and deeper than ponds.[1][2] Lakes can be contrasted with rivers or streams, which are usually flowing. However most lakes are fed and drained by rivers and streams.

Natural lakes are generally found in mountainous areas, rift zones, and areas with ongoing glaciation. Other lakes are found in endorheic basins or along the courses of mature rivers. In some parts of the world there are many lakes because of chaotic drainage patterns left over from the last Ice Age. All lakes are temporary over geologic time scales, as they will slowly fill in with sediments or spill out of the basin containing them.

Many lakes are artificial and are constructed for industrial or agricultural use, for hydro-electric power generation or domestic water supply, or for aesthetic or recreational purposes.” (Wikipedia)

Mono Lake

Lake Tahoe

Loch Ness


Lady of the Lake

Lake Counties

Great Salt Lake

Lake Placid, New York

The Lake is the first book in AnnaLisa Grant’s Lake Trilogy.

Stow Lake

Lake Merced

Darien Lake Performing Arts Center

Great Lakes


Mammoth Lakes, Calif

Mountain Lake Park

The Finger Lakes, a region once known only for growing concord grapes for juice, is now making rieslings and some reds that can compete with the world’s best.

Lake County

The Salt Lake Tribune


Post the direct URL (link) where your drawing, doodle, artwork is posted (e.g. your blog, Flickr) in the comments area of this post. I would really like to keep all the artwork together and provide a way for others to see your work and/or your blog.

We are also talking about this on Twitter. Use the hashtag #CPP

The Creative Prompt Project, also, has a Flickr group, which you can join to  post your responses. I created this spot so those of you without blogs and websites would have a place to post your responses.

Music Quilt Progresses

Music etc Fabric
Music etc Fabric

I have made progress on choosing fabrics for the music quilt. I bought some fabrics at Houston and then I received a huge box of music fabrics from Mrs. K. What a bonanza!

The fabrics on the left are the fabrics I bought at Houston for the quilt. The fabrics on the left are music fabrics that Mrs. K sent me.

I still don’t have a pattern. I did another Missouri Star disappearing pattern that might work. We’ll have to see.

This seems like progress, but it is extremely painful.

PIQF Inspiration Blocks

These are the blocks we saw in the quilt at PIQF. I had a bad start with these blocks.

PIQF Inspiration Blocks

I started making them before I went to Houston and the pain and suffering was almost beyond endurance. OK, I am exaggerating, but I couldn’t understand why the square in a square pieces took so long to make. I really have had very few issues like this with blocks.

While I was in Houston, TFQ sent me one of her blocks. I put on the wall as inspiration for my blocks. When I finally got the square in a square pieces (ONLY the square in a square pieces, mind you, there are 5 additional pieces in this block) finished and up on the design wall, I found they were wrong. Much too small.

Huh?

I went back and checked the measurements and found that I had cut wrong or read the directions and cut wrong or something. Bleah. This was a total head on desk moment.

Once I got the dimensions correct, the square in a square pieces went relatively well. I put the first block together relatively quickly. I was able to cut pieces for the other blocks from some scraps, which was great.

There are lots of pieces in this block, but being able to use scraps is a bonus. I have to make time to sew about 10 more seams and then send them off. Wish me luck.


Nota bene: If you want to try to make the block, click on the link:
PIQF Crosses-6 inch version


Another Cafe Apron

I can probably classify this as a hack. Really, I don’t know about the hack thing, because I made the apron without the Amanda 7 Pocket Cafe Apron pattern.

ARHS Grooming Apron
ARHS Grooming Apron

I couldn’t find the pattern and, after cleaning my workroom, I called my mom and had her measure the apron I made for her. I looked at the previous blog posts and went for it. I had to kind of make up the pockets, but I think it will work well.

A few months ago, I volunteered at the Young Man’s Band Review. I was assigned to the grooming team, which means that I followed the head of the grooming team around and carried stuff she needed to fix buttons, cut hair, adjust hems and jackets. At that time I thought it would be really useful to have an apron.

I finally had a chance to make one and it took me about three to four hours. The hardest part was pressing the seams. I really dislike that part, because I can never get the seams as flat as I want them.

I have to say that I enjoyed making this apron a lot more without the pattern than I did before. I think the problem with the pattern’s printing/font size was too small.

Regardless, I think the apron came out really well and I hope it will be useful.

ARHS Apron Flat
ARHS Apron Flat

Design Wall Monday

Design Wall Monday 11/10/2014

It seems a little odd to keep posting these photos of what looks like the same design wall week after week. Still there is some difference. You can see the blocks I am making for the project TFQ and I are working on.

The octagons are still there, because I am still stuck on the Russian Rubix border. I got a little push in the right direction, but I just I haven’t had a chance to do any sewing. I will be really happy when I have a chance to finish the border so I can get the octagons off my wall and put something else up there.

1- As in the previous week, these are the pieces and parts for red and turquoise four patches. Ir eally need to find some more turquoise fabrics.

2- These patches are the start of the newest batch of FOTY 2014 rectangles.

3- Octagons from the Russian Rubix quilt top.

4- Finished red and turquoise four patches

5- Donation blocks, mostly finished, but one in process

6- PIQF Inspiration blocks in process

7- PIQF Inspiration blocks in in cutting stage

I am linking up with Judy Laquidara’s Patchwork Times

MassDrop Fabric

I have been a little off fabric buying for the past couple of months, but that seems to have abated. Despite not feeling the love for any new fabrics, I kept looking at Cotton & Steel. Who couldn’t with all the hype?

I am not that fond of the fussy-cuttable prints, but liked the tone-on-tones. I hadn’t yet gotten myself together to go and seek out the prints I wanted when I saw that MassDrop had an interesting offer. Interested parties were allowed to choose two FQ bundles of the tone-on-tone color groups of their choice. Note that this drop is closed now, but you can request that it be opened again.

MassDrop order arrives

Right before I left for Houston, I received the bundles. I didn’t really have a chance to open it as a lot was going on the few days before I left. I was excited about the cute little packets of fabric, though.

Went to Houston, came home and had a lot of stuff to do around the house, related to work, etc. Finally, I dragged my cutting table out of the closet (I store in the Fabric Closet when not in use or when we have guests or when someone is vacuuming) and began unearthing the rotary cutting mat. What a mess! I have a lot of projects in process, as you know, and it just creates chaos. I am in creative chaos stage right now.

One of the things I unearthed was the package above. Of course, I opened it.

Cotton+Steel Open
Cotton+Steel Open

Inside were two FQ bundles. Normally, I buy larger cuts of fabric, because you never know when you will need to make a border. Considering that I have plenty of fabric, especially in the blue range, I think fat quarters are plenty. I also have a project in mind for the neutrals.

There are a couple of kind of ugly greens (the ones on the end-right), but they look ok with the others.

Now I can I can say I am in the ‘in’ crowd and not just trying to be in the ‘in’ crowd. 😉

I do have to say that once I got them out of the MassDrop packaging, I didn’t want to take the FQ packs apart. They were just so compact and adorable. I gritted my teeth and did it, though.

All Cotton+Steel
All Cotton+Steel

The fabrics all go together pretty nicely and as soon as I was the blue and green pack, I will add them to my pile for Tale of Two Cities.