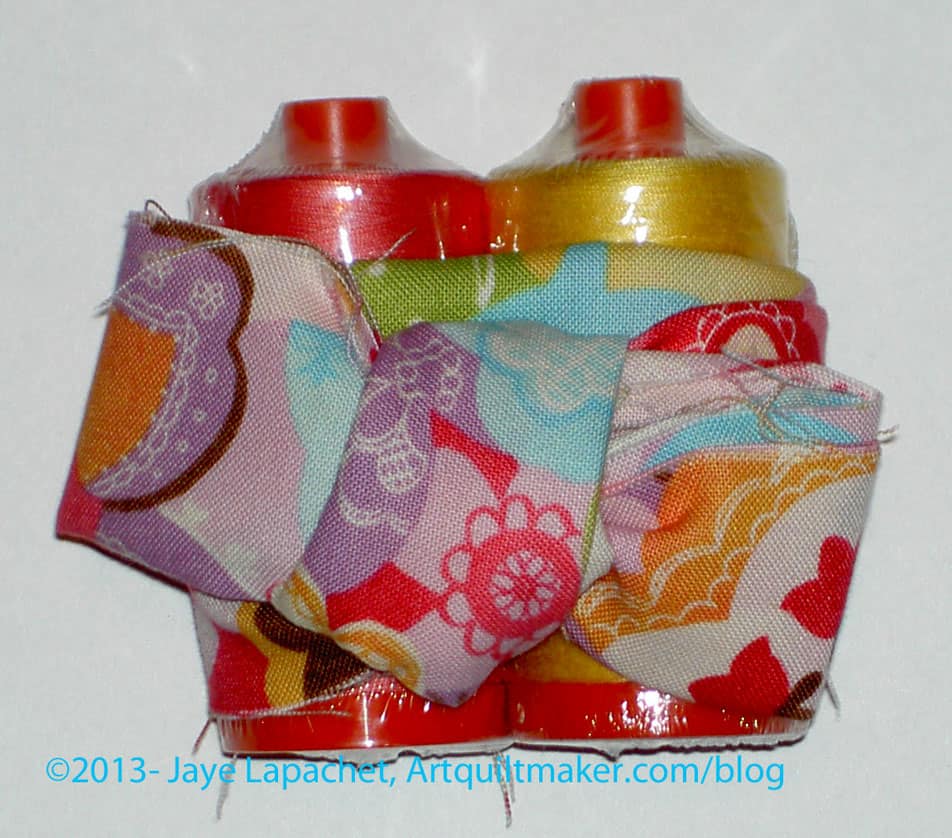
Modern Quilt Studio QuiltCon Homework #6


Image courtesy of Modern Quilt Studio

Weeks Ringle wrote “Experiment. Work with small prototypes that are a minimal investment of time and money – don’t get overwhelmed the thought of a big project. Experiment with different types of stitching, mix genres of fabric, play with unlikely color combinations, make sample pieces that are entirely unlike anything you’ve ever made before[.]”

My mantra is “there is always more fabric”. And there is. Really. Trust me on this one.

I like to say that there is always more fabric, because I want to remember it myself and also to remind my students that if they screw something up that it isn’t the end of the world. There is more fabric.

Why not try embroidery?

Why not try thread painting?

Why not try fusing? Or curved piecing? or taking a Craftsy class? Why not?

While I don’t always want to do something, because the technique is messy and I don’t know it well enough to contain the messiness, I have found ways around that ‘phobia.’ I take classes. I have to say that I have been most inspired when I have taken a random class. Sometimes I’ll take classes, because a friend wants someone to go with; sometimes I’ll take a class, because the time is convenient. I have found so much inspiration in these happy accidents.

As Weeks says, work small. Remember the journal quilts? You can embroider a whole quilt in a couple of evenings, if the quilt is 8.5″x 11″. I also like to try new materials and techniques on ATCs (2.5″x3.5″) works of art.

You don’t have to leave your family or pets and quit your job to experiment. Experimentation can be as simple as adding a new color to your palette, trying a new shape in a block, follow a tutorial for putting in a zipper or a new technique for making Flying Geese for Triangle Squares. A lot of experimentation doesn’t come out exactly as planned. These experiments can become bags or donation quilts or pet beds or the most amazing start to something wonderful. There is usually no waste, but the learning process is very important. Failure is part of the learning process.

Just try.

Just experiment.

*No copyright claimed on Modern Quilt Studio image. thanks to Bill Kerr and Weeks Ringle for allowing me to use it. See the original blog post on the Craft Nectar blog.

What’s on your Design Wall?

Kathleen asked in a recent post what was on everyone’s design wall. Here is what is on mine:


Design Wall #1
Design Wall #1
Design Wall #2
Design Wall #2

What is on yours? Post a link to your blog, (Flickr stream, FB page, Picasa, Shutterfly), etc in the comments or in the comments in Kathleen’s post. Let’s see your creativity in action.

Design Wall #1 annotated

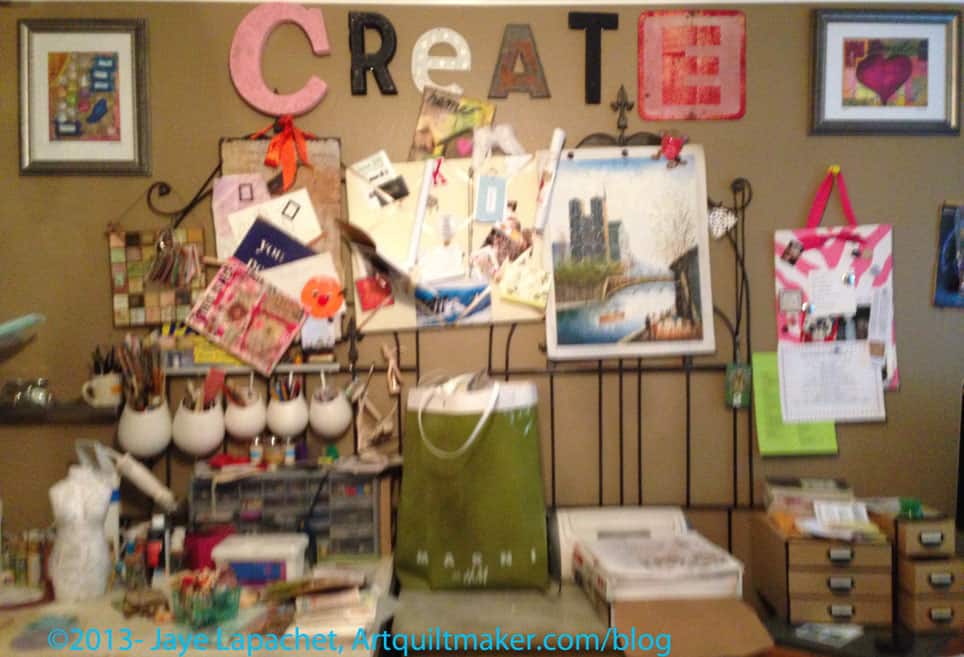
Here is the explanation of what is going on on my ‘working’ design wall. It is working, because it is right in front of my sewing machine and I can grab things off of it.

Sampler Class: Foundation Piecing Part 3

New York Compass
New York Compass

We are midway through the foundation piecing class. This is a long tutorial, but there are a lot of steps and I want all of the parts to be clear. This would be a great tutorial for a video, but A) I don’t have a crew and B) I don’t do video.

This segment discusses more foundation piecing. In order to get to this point, you should have completed parts 1 and 2. All of the supplies are listed in Part 1

Remember our goal:

NY Compass Outline
NY Compass Outline

Next, we need to foundation piece the small strip called Section D.

Cut fabric
Cut fabric
4 Pieces of fabric
4 Pieces of fabric

Cut 4 pieces of fabric that coordinate with the fabrics of your block. The pieces should be about 2.5″x 1.75″, which is generous. You may be able to use scraps for these pieces. (Please ignore the messy cutting table)

Place fabric on pattern

As you did in Part 2, you will work on placing 2 fabrics on the line between D1 & D2 with about a quarter inch hanging over into D2 as a seam allowance. Note the printed part of the pattern (the lines on which you sew) are face down for this step.

Pin fabric
Pin fabric

I like to pin the first piece of fabric to my pattern. It helps keep the fabric from shifting as I work on the second piece of fabric. Note the printed part of the pattern (the lines on which you sew) are face up for this step.

Position 2d piece of fabric

Flip Section D back over and position the second piece of fabric over the first.

Ready to Sew
Ready to Sew

When you have both of your pieces placed like you like them, pin in place. I like to use thin pins. Your piece should now look like the above photo.

Sew on line
Sew on line
Sew on the line (#2)

With the applique’ foot on your machine. Sew on the line between D1 & D2. Do not cross the perpendicular line at the top or bottom. Back stitch one stitch at the beginning and the end.

Section D sewn
Section D sewn

Once you have sewn on the line, your piece should look like the above photo.

Press first sewn pieces

Open up both pieces and make sure they cover D1 & D2. Once you are convinced that you have covered both D1 & D2 with your fabric and there is a 1/4″ seam allowance, press your piece. Press with the pattern on top. Note the pattern is face up and you can see the sewing lines. (Nota bene: if you have taped your pattern, use a press cloth so that you do not get melted tape on your iron)

Sewn, pressed Section D back

Flip your Section D over again, so you are ready to trim.

Ready to trim
Ready to trim

Lay your pattern, with sewn fabric, pattern side up (fabric down) on your cutting mat. The inside part of the curve will be facing your body. You may want to flip Section D around if you are left handed.

Fold the longer piece of the pattern over to the left using the seam line as the fold line. This will expose the fabric that will be your seam allowance.

Place ruler on sewn line

Line up your ruler’s 1/4″ mark on the seam/fold line and trim your seam allowance to 1/4″.

Trim
Trim
Trimmed
Trimmed

Trim seam allowance to 1/4″.

Ready to press pieces into place

Go back to the ironing board and position your piece so the fabric is up, pattern side down  and smooth the fabric towards D2, lightly finger pressing.

Press towards D2
Press towards D2
Press towards D2
Press towards D2

Take the piece to the iron and press carefully towards D2.

Place D3 fabric
Place D3 fabric

Place your next fabric with the longer part towards D2 and the future seam allowance closer to D3. Hold the whole piece up to the light to make sure your placement is correct.

Place D3 fabric in place

Pin in place.

Get ready to sew on the line between D2 & D3.

Sewn D3
Sewn D3

Once sewn, your piece should look like the photo above.

Check to make sure fabric covers D3

Check to make sure your fabric covers pattern section D3. You do this by folding the fabric over and looking to see that you have about 1/4″ on all sides.

Pattern side up
Pattern side up

Now, get ready to trim. Put your piece on the cutting mat pattern side up.

Folder pattern back
Folder pattern back

Fold your pattern to the left again, like you did before.

Ready to trim
Ready to trim
Trimmed
Trimmed

Line up your ruler’s 1/4″ mark on the seam/fold line and trim your seam allowance to 1/4″.

Avoid the bump
Avoid the bump

See that bump in the photo above? You do not want that bump to show once you have pieced D4 on to the parts of Section D you have already pieced. Press again, this time towards D4. Avoid the bump by pressing!

Press towards D4
Press towards D4

Press towards D4. No ironing!

We are heading to the home stretch!

Position D5
Position D5

Position your last piece as you have done before. It is going to look at little weird and out of alignment, because you are working with a curve. Remember to position the fabric so it covers D5 plus 1/4″ seam allowance. Pay no attention to the edges of the other pieces, such as D4, that you have already sewn.

Check placement
Check placement

It is easier for me to see whether or not piece D5 was in the right position by pinning it. Note, I would pin it on the pattern side to sew, because then I can see where the pin is in relation to where my sewing machine foot and needle are. the pin in the photo is temporary.

Sewn D5
Sewn D5

Once you have the placement finalized, go ahead and sew.

Fold back pattern and prepare to trim seam allowance
Align ruler for 1/4" seam allowance
Align ruler for 1/4″ seam allowance

Now you have to fold back the pattern one last time and prepare to trim the seam allowance.

D5 trimmed!
D5 trimmed!

Trim!

Section D Complete!
Section D Complete!

Now your piece is done. Fold back the D5 fabric and press. Place your ruler on the lines at the end of the pattern and trim a 1/4″ seam allowance. I know you can do this without photos.

Now you have to trim the curved parts of Section D

Untrimmed Section D
Untrimmed Section D

It is too difficult to sew the untrimmed Section D, so you will have to trim.

Dots mark 1/4"
Dots mark 1/4″

To trim, mark 1/4″ away from the dark line. The dots in the photo above mark 1/4″. I have trimmed the straight ends with a rotary cutter and I am ready to play “dot to dot” with my scissors. I am going to cut from dot to dot to create a 1/4″ seam allowance.

Section D
Section D

On to part 4!

Tips:

  • If you have to rip out stitches, rip them out from the fabric side, not the paper side.
  • Pay attention to putting the next piece on the foundation.
  • Avoid the bump by pressing!

Resources:

Finished: A-B-C Challenge

Ta! Da!

A-B-C Challenge Finished

The A-B-C Challenge is finished. I hope the others in the group will finish theirs so we can enter the County Fair as a group. It was fun to do that last year.

The quilting is magnificent, though I have to say using the Art Gallery Fabric as binding was not magnificent. It is very fine fabric, which I think is why there was a lot of pulling as I stitched the binding down to the back. I found it was very hard to hide the stitches. I love Art Gallery Fabrics, because they are so soft and fine, but will have to remember not to use it for binding.

A-B-C Challenge: Rambler block

The quilting is extremely magnificent. I was thrilled when I got the quilt back from my quilter. She has had a tough time in the past year or so and when I saw this quilt, I realized that she was back. I have to show you a few details of quilt’s fabulosity.

I wasn’t sure about the thread when I saw the quilted quilt. I don’t like beige, remember?After looking at this quilt for awhile, I think it works. It doesn’t take away anything yet the viewer can see the quilting if s/he walks up and looks closely.

You have to click on the blocks to see the awesomeness.

A-B-C challenge: Lincoln

Lincoln turned from kind of pale, restful, background block into a ‘reward block’. That isn’t a real term; I just made it up. Remember how I talked about quilts that reward you if you look closer? Well, this block is completely like that. It is a nice block with which you could do some great things if you pieced a lot of them. In this quilt, it is the reward block. If you look at it closely you see the really great quilting that my quilter did.

See those great leaves?

The spirals? Sigh. I am over the moon with the quilting of this quilt. As you can see, this is much more than a drive by “Hey, I’m done! See you later post”

A-B-C Challenge
A-B-C Challenge

I decided to take photos of the various corners and sections of the quilt so you see, more closely, how nicely these blocks play together. I am really glad I used a limited palette.

A-B-C Challenge
A-B-C Challenge
A-B-C Challenge
A-B-C Challenge
A-B-C Challenge
A-B-C Challenge
A-B-C Challenge
A-B-C Challenge
A-B-C challenge: Japanese X block

And I have included a few more blocks for their detail

A-B-C challenge: Eva's Delight
A-B-C challenge: Eva’s Delight
A-B-C Challenge Back

There is also a photo of the back.

Star Sampler: 4″ Stars

4" Stars - Late March 2013
4″ Stars – Late March 2013

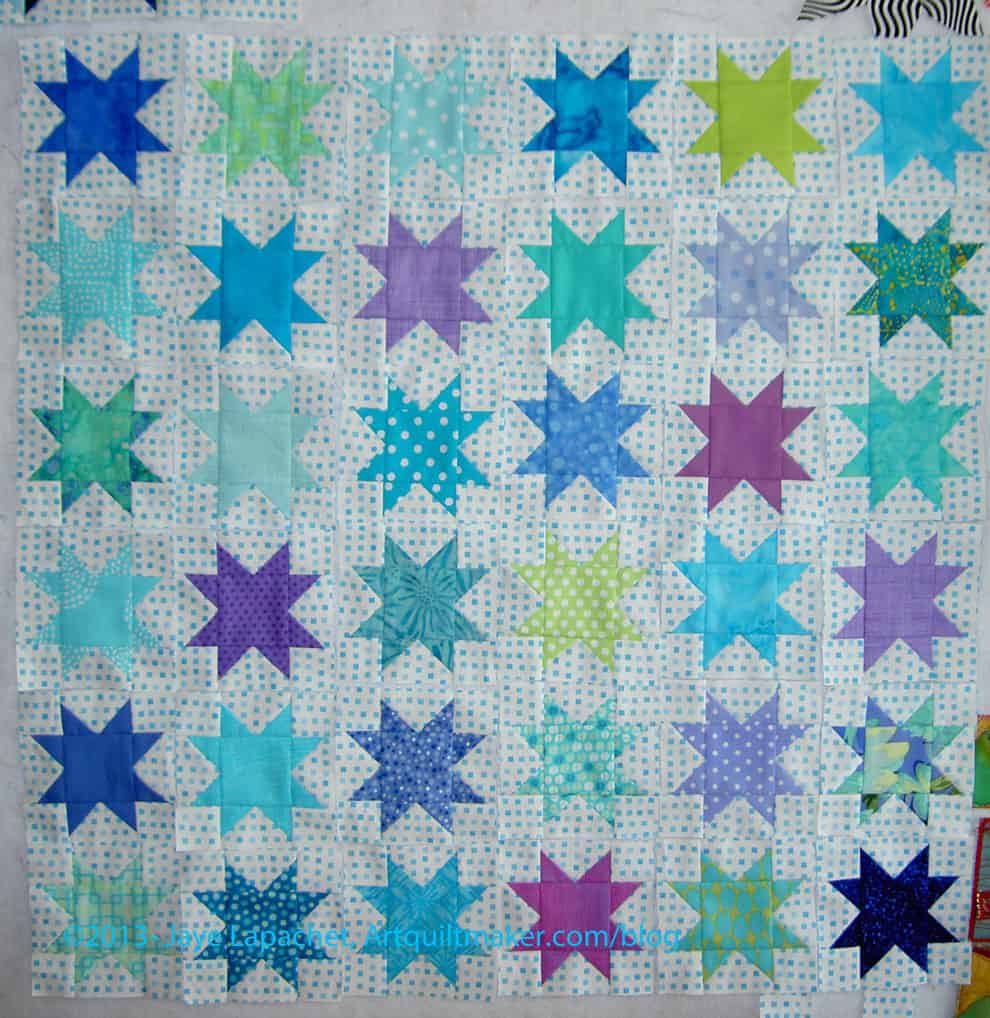
Here are my little group of 4″ stars. This group is not growing as fast as I would like it to grow, but they all look great. I am very pleased with the way they look together. Even the ones that are running towards red-violet add a spark to the group.

There are two things annoying about these stars:

  1. There are not enough of them and they are not reproducing fast enough. Have I told you I need 89 of them? No? I need 89. I am not even a quarter of the way there.
  2. I have a nice little violet star on my design wall half sewed. Why half sewed? I lost 2 of the Flying Geese I need to finish this one star. They HAVE to be around here somewhere. I even cleaned up my cutting table. No luck. I can make more. I probably have enough fabric, but really. To where could 2 Flying Geese have flown?

Also, take a look at the original Quilt-a-long instructions. You can see all the posts on this topic by searching the tag “Star Sampler.”

Creative Prompt #201: Blood-Orange

fruit

color

band

expert marketing, strategy and innovation consultants

Adagio blood orange tea

Chobani blood orange yogurt

recipes

Blood orange DRY soda

Pinkberry blood orange frozen yogurt

blood orange margaritas

blood orange lemon bars recipe (this for Susan -@hqsuz)


Definition: “Red orange” redirects here. For the web color, see red-orange. For other uses, see Blood orange (disambiguation).

A sliced blood orange.

The blood orange is a variety of orange (Citrus × sinensis) with crimson, almost-blood-colored flesh. The fruit is smaller than an average orange; its skin is usually pitted, but can be smooth. The distinctive dark flesh color is due to the presence of anthocyanins, a family of antioxidant pigments common to many flowers and fruit, but uncommon in citrus fruits.[1] The flesh develops its characteristic maroon color when the fruit develops with low temperatures during the night.[2] Sometimes there is dark coloring on the exterior of the rind as well, depending on the variety of blood orange. The skin can be tougher and harder to peel than that of other oranges.

While all oranges are likely of hybrid origin between the pomelo and the tangerine,[3] blood oranges originated as a mutation of the sweet orange.[4]

Within Europe, the Arancia Rossa di Sicilia (Red Orange of Sicily) has Protected Geographical Status.[5]” (Wikipedia)

Post the direct URL (link) where your drawing, doodle, artwork is posted (e.g. your blog, Flickr) in the comments area of this post. I would really like to keep all the artwork together and provide a way for others to see your work and/or your blog.

We are also talking about this on Twitter. Use the hashtag #CPP

The Creative Prompt Project, also, has a Flickr group, which you can join to  post your responses. I created this spot so those of you without blogs and websites would have a place to post your responses.

Modern Quilt Studio’s QuiltCon Homework #5

Quilt Con Homework #5

Weeks wrote “Think broadly. Don’t get hung up on labels; you needn’t adhere to making one type of quilt—even though we consider ourselves modern quilters, there’s something to be learned from every genre of quilting. Which types of quilting could you learn from?”

You might like bright fabrics like me, but it won’t kill me to look at a quilt made with Civil War fabrics or a quilt splashed with house paint. I like to keep an open mind when looking at quilts. I have come across quilts that I thought were hideous. Nonetheless, I looked at them and found something I could use. It might have been a spark of a color or a little block or piecing trick or some clever embellishment. By taking the time to look, I saw.

I think I can learn from all types of quilting, even those types that I wouldn’t want to do myself.


*No copyright claimed on Modern Quilt Studio image. thanks to Bill Kerr and Weeks Ringle for allowing me to use it. See the original blog post on the Craft Nectar blog.

Star Sampler: Week 3 – 8″ Blocks

Basic Star
Basic Star

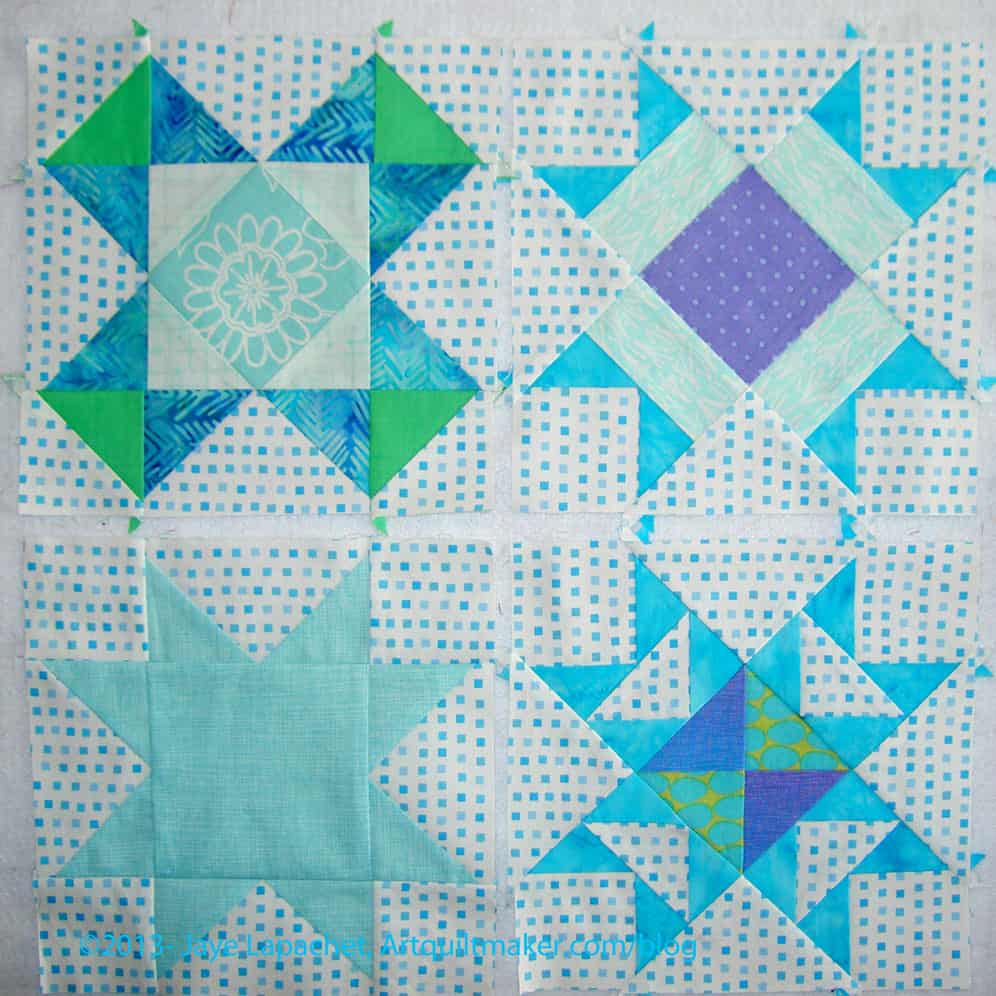
I did something a little different for this week’s blocks. I didn’t have a lot of time last weekend, so I cut the pieces for each block out in advance and had all the pieces on the design wall ready to sew. I did this, because I thought I might have a few minutes here and there to see, but really I only had various bits of time to cut. I didn’t have any sewing time until late in the day on Friday. I am not sure if cutting in advance made any difference.

I added in the Michael Miller teal dot fabric, which I also used on the sewing machine cover I made a couple of years ago. I needed some more dots and I really wanted to use this fabric in a quilt I could admire regularly.

At least I thought I cut all the pieces! Part way through I realized that I still needed to cut out the last star.

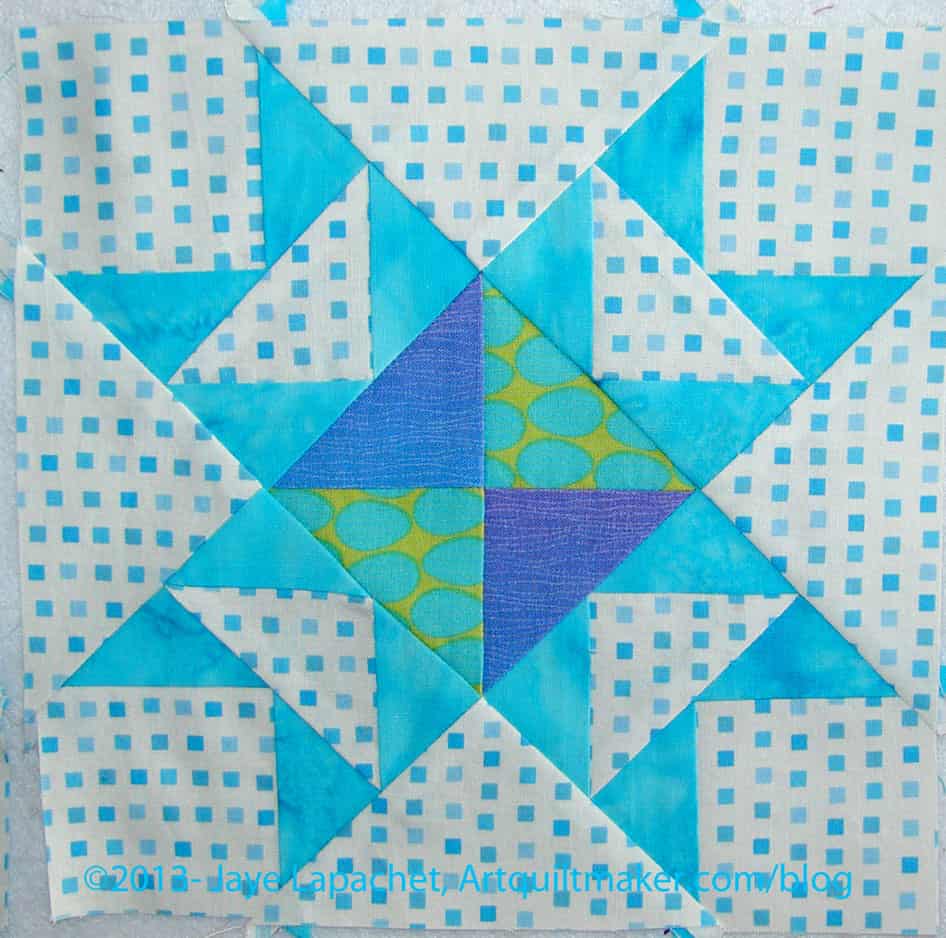
Aunt Addie's Star
Aunt Addie’s Star

Aunt Addie’s Star looks a little backgroundy to me, but I think it will be ok. What does “Backgroundy” mean? I think it means that that big square in the center gives a look of a lot of background and not too much star. I think it is fine, but I will have to look at it in context and see if I need to make others with more background or that see through look. One of the Rising Stars has background in the center.

I do have all the stars on my design wall and think they are looking fine together.

Taj Mahal Star
Taj Mahal Star

The Taj Mahal Star will go really well with the Austin Star from last week. It has, as you can see, the same kind of corner treatment. I need to find one more block or make another one of these two so the quilt looks on balance. I like, as I have said before, to use threes – three of the same blocks, three pieces of the same fabric, three design elements, etc to make the quilt look right. You can use 5 or some other odd number, but I use three as my starting point. I am pretty sure I talk about this concept in more depth in the Design Series. Perhaps the episode on Balance?

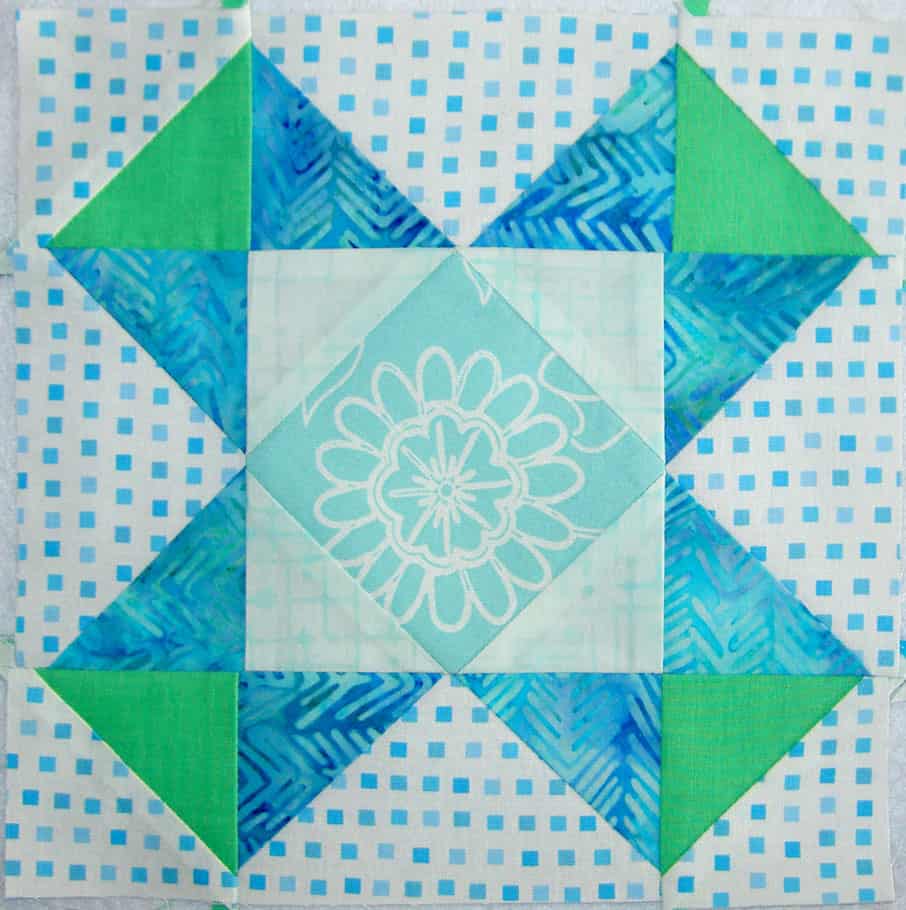
Square in a Square Star

Finally, I made the Square in a Square Star. While I was cutting for it, I was thinking of the green dot I talked about in the last post about the Star Sampler. I decided to use it in the center of this star. I wanted to make sure that there was enough of it in the quilt so one or two pieces didn’t look weird. It works GREAT, because it is enclosed and not touching the background.

I also like the Square in a Square pattern. I think it looks really good in the Sawtooth Star format.

I finished all the blocks on Saturday and started cutting for the next Basic Star.

TFQ has already selected blocks for Week 4, so I need to get going on those.

Also, take a look at the original Quilt-a-long instructions. You can see all of my posts on this topic by searching the tag “Star Sampler.”

Fabric of the Year 2013 #1

FOTY - March 2013
FOTY – March 2013

This year’s shape is a 3.5″ square and I have an idea to do a kind of waterfall effect. Stay tuned to see what actually happens!

I had two fabri-lanches in the past few days, so I finally started pressing fabrics and cutting the squares for Fabric of the Year 2013.

There are fabrics for projects in process and also fabrics that just came up on the ‘to press’ pile. I might need to take a day off work that I dedicate to pressing fabric.


Star Sampler: Week 2 8″ Blocks

I just realized it has been about two weeks since I posted about the Star Sampler. The last post was March 10. It is not an abandoned project and I have been working on the blocks. I know the week of March 11 was really busy for me. I had two meetings in the evenings that week and must have gotten off track with writing about the blocks.

Hourglass Star v.2
Hourglass Star v.2

The first thing I did last week was redo the Hourglass Star block. The previous version didn’t work. I used that great yellow-green dot for the arms and it was too light. I had two of the centers, so I used the same center and just put a Michael Miller Dumb Dot as the arms.

I think that yellow-green has to be contained on the inside of a block. I think it is too close to the background to work effectively next to it.

If I keep screwing up blocks. I’ll have a second quilt on the back!

Checkerboard Star
Checkerboard Star

I included some of the yellow-green in the Checkerboard Star and you can see how well it does enclosed by other fabrics. I have to keep that in mind as I move forward on the rest of the blocks.

I saw TFQ’s version of this star on Flickr and noticed that she lined up the fabrics she used for the arms so they were the same.

Plaid Star
Plaid Star

I like the Plaid star. I like the look of the piecing. I am not 100% on board with the fabrics I chose, but I don’t dislike them enough to re do the block right at this moment. Also, I chose the colors to go with the Bard of Avon block. I didn’t want the Bard of Avon to be sitting out there with these fabrics alone.

I do love that turquoise I used for the arms, though. It is hand-dyed or some kind of special surface design by Stitch ‘n Dye fabrics. It is a very special fabric, but I thought I might as well use it. I am pleased with how it looks with the other fabrics.

Austin Star
Austin Star

Someone pointed out on Twitter that the Austin Star block looks really different from the others. The squares in the corner are quite prominent. They enhance the X effect of the block. I haven’t decided if this rendition of this block will make the cut for the final quilt. It is a little on the dark side. I know there is another block similar in layout that might make this work.

Basic Star
Basic Star

I am playing with lavender/purples since I ran out of that perfect lavender with white dots by Lakehouse. This one is pretty good since there are a number of different dots made up of different colors.


I am really enjoying working on this project with someone else. Seeing the placement of fabric and fabric choices some one else makes is so interesting. It also inspires me to think a little differently.


Back on the Donation Bandwagon

I finally crawled back on the donation bandwagon. This isn’t an organized donation project, just my own personal desire to be of service. Part of my problem was missing too many BAMQG meetings, but also I had too many other projects and keep forgetting to sew the Patchwork Wheel blocks together. I still haven’t sewn them together, but I have a goal of getting them together before the next BAMQG meeting. The illness in February didn’t help things either.

My scrapbag runneth over

I had to do something, though, because my scrap bag had reached critical mass and was overflowing. I even got a larger one to accommodate all the scraps I had accumulated since December. I still couldn’t cram any more scraps into the new, larger bag. I use the scraps, as you know, to fill the Cat Beds Amanda collects for the Homeless Cat Network. Often, because I had been sewing one to two cat beds per month, I didn’t have enough to fill an entire cat bed. I would just put in as many as I had and Amanda would fill up the rest of the cat bed to ultimate comfy-ness.

This time I had tons of scraps. I created a lot of scraps in December, January, February and part of March with all the projects I worked on. Remember? I was off over the holidays.  I was almost able to fill up an entire cat bed. I’ll give it to Amanda and let her decide whether the scraps I put in are enough. She has tons of scraps and can fill up the bed to capacity, if needed.

Sewing this cat bed together was exciting, because she used some very soft and slippery fabric for the sides. It is like Minkee, I think, but I don’t know if it is actually Minkee. It was a little fuzzy, too and got everywhere. That was no problem, because now I keep a masking tape roller in my workroom and that tool cleaned me and all the other Minkee-ified surfaces right up.

Cat Bed March 2013
Cat Bed March 2013

I sewed it almost as soon as I got home from the meeting, because the magnet holding my scrap bag to my cutting table was not designed for the weight of fabric and it kept falling off.

See how fat and comfy it looks? I am sure it will make some cat very happy.

You can see the pattern for the cat beds in a previous post.

Modern Quilt Studio’s QuiltCon Homework #4

Image Courtesy of the Modern Quilt Studio

I am continuing on with the QuiltCon Homework that Weeks Ringle issued in February. Number 4 is ‘Reflect’. Weeks wrote “Reflect. Who you will be tomorrow as a quilter doesn’t have to be who you were yesterday. What would you like to learn?”

I want to continue to explore my quiltmaking as an expression of my creativity. I could do anything to express my creativity, but quiltmaking is what is making me happy (as Tanesha at CraftyGardenMom says) right now. I don’t expect that to change, though I am having fun with my little forays into bookmaking, Tsukineko inks, scrapbooking and journal making.

Mark Lipinski has had several good episodes of Creative Mojo lately where he talks with other artist quiltmaker types and the things they say really spoke to me on a “what to do next level.” The guests said things like reorganizing their fabrics so it looks different; getting rid of things (old news, moving on), making a creative block day a “writing day”, thinking about things differently, making an effort at self-care. All of these things are real food for thought for me. I don’t spend much time in the creative block zone, but it happens. Having options is a good thing. Ice cream, too.

tomorrow, I want to be a quiltmaker who doesn’t have to classify herself as a modern quiltmaker or a traditional quiltmaker or an art quiltmaker. I want to take the best of all of those and move my creative life forward. I want to bring my quiltmaking more into my daily life. that will be a challenge, since I sew as much as humanly possible, have projects everywhere ready to pick up at a moment’s notice and will cancel plans in order to sew. I guess I will have to stop tidying up the house and get someone to do that for me. Any volunteers? 😉

I also want to continue to learn and evolve. I want to adopt new tools and techniques and continue to improve the quality of my work. I’d like to sell a quilt to a collector (that is a secret wish, so don’t tell) and I’d like to stop being lazy and enter more shows.

What about you?


*No copyright claimed on Modern Quilt Studio image. thanks to Bill Kerr and Weeks Ringle for allowing me to use it. See the original blog post on the Craft Nectar blog.

Creative Prompt #200: Sunset

We have reached 200! Amazing. Thanks for reading and playing along.

Sunrise, sunset – from Fiddler on the Roof

magazine – your guide to living in the west

The Sunset – Neighborhood in San Francisco

Know what you want to do, hold the thought firmly, and do every day what should be done, and every sunset will see you that much nearer to your goal. Elbert Hubbard

Inner Sunset, San Francisco

Sunset Hills to be named to the National Register of Historic Places (article)

St. Anne of the Sunset, Catholic Church in San Francisco (love the name and the church is beautiful)

Sunset Marquis, a boutique hotel in West Hollywood.

Sunset Boulevard (street)

sunrise/sunset calculator – NOAA

sunset provision

Sunset Boulevard (movie)

sunsetting

1988 movie directed by Blake Edwards;with Bruce Willis, James Garner, Malcolm McDowell, Mariel Hemingway. Tom Mix and Wyatt Earp team up to solve a murder

Sunset grill

Walt Whitman: Song at Sunset

“Clouds come floating into my life, no longer to carry rain or usher storm, but to add color to my sunset sky.” quote / Rabindranath Tagore

Definition: Sunset or sundown is the daily disappearance of the Sun below the western half of the horizon, i.e. at an azimuth greater than 180 degrees, as a result of Earth’s rotation.

The time of sunset is defined in astronomy as the moment when the trailing edge of the Sun’s disk disappears below the horizon. The ray path of light from the setting Sun is highly distorted near the horizon because of atmospheric refraction, making the sunset appear to occur when the Sun’s disk is already about one diameter below the horizon. Sunset is distinct from dusk, which is the time at which the sky becomes completely dark, which occurs when the Sun is approximately eighteen degrees below the horizon. The period between sunset and dusk is called twilight.

Locations north of the Arctic Circle and south of the Antarctic Circle experience no sunset or sunrise at least one day of the year, when the polar day or the polar night persist continuously for 24 hours.

Sunset creates unique atmospheric conditions such as the often intense orange and red colors of the Sun and the surrounding sky. (Wikipedia)

Post the direct URL (link) where your drawing, doodle, artwork is posted (e.g. your blog, Flickr) in the comments area of this post. I would really like to keep all the artwork together and provide a way for others to see your work and/or your blog.

We are also talking about this on Twitter. Use the hashtag #CPP

The Creative Prompt Project, also, has a Flickr group, which you can join to  post your responses. I created this spot so those of you without blogs and websites would have a place to post your responses.

Modern Quilt Studio’s QuiltCon Homework #3

Image courtesy of Modern Quilt Studio

Weeks writes “Challenge yourself  – if you could only make one more quilt, what would it be?”

I would make something really hard, some quilt that would make people stop in their tracks and would make their mouths hang open. It would be a completely insane quilt with thousands of pieces or something so difficult that people would not know how it was put together.

If I had to pin down a pattern, I would choose the Double Wedding Ring. I don’t know why as I think there are harder patterns out there, but it sticks in my mind.

I hope I never have to choose. I have so many ideas in my head and I want to make them all.

How would you answer this question?

*No copyright claimed on Modern Quilt Studio image. thanks to Bill Kerr and Weeks Ringle for allowing me to use it. See the original blog post on the Craft Nectar blog.

26 Projects List – March Update

Finished 2013 Projects:

  1. Corner Store: Finished on 1/1/2013 YAY!
  2. The Garden. Finished on 1/5/2013 YAY!
  3. Stepping Stones: Finished on 2/14/2013 YAY!
  4. Fabric of the Year 2011: Finished on 2/27/2013 YAY
  5. Calm: Finished on 3/14/2013 YAY!

I still think the next projects on the list will be harder, especially since I haven’t worked on them, except for the Aqua-Red Sampler. They are older, in some cases, or VERY unfinished. I am still hopeful.

Still WIPs

  1. Aqua-Red SamplerFrances  is working diligently and I started the foundation piecing tutorial.
  2. The Tarts Come to Tea: I still haven’t worked on this since April 2011, though I did think about working on it. Does that count for something? I really do need to get back to the quilting. I am mad at myself for making such good progress and then getting sidetracked. I thought quilting the Whole Cloth quilt would get me back in the swing of quilting, but apparently not.
  3. Pointillist Palette #4: Fourth is a series of 6 quilts; needs tiny square patches sewn together. Mrs. K. gave me more PP fabric and I won some from a giveaway. I still think it is a sign that I need to work on this. Leaders and enders.
  4. See: needs satin stitching. Small, also a possibility for finishing. I really have the feeling I came so close to working on this project this month.
  5. Self Portrait: started in 2006 at a class at Quilting Adventures in Richmond, Virginia. I like the piece, but don’t know where to go from where I am. Mouth? Hair? The attitude I need to have is that I can’t ruin it; there is always more fabric.
  6. Under the Sea: class project; like the design, but not the colors much.
  7. Flower Sugar Hexagon: I thought about sewing more hexagons together. Although not difficult, sewing Y seams is a bit of a chore, so I get tired of doing it after awhile. I could, perhaps, use leaders and enders to get this piece moving?
  8. Young Man’s t-shirt quilt: have cut up the t-shirts and am still in the process of applying fusible. He cleaned out his drawers and found some more t-shirts to add to the quilt. Oh Yay! <– just a bit of sarcasm. He asked me again for another quilt, so I think this one is next in line. I plugged in his heating mattress pad, though, which should keep him quiet for a bit longer.
  9. New: FOTY 2012: top, finished, though I can’t decide if I need a quilting border. Working on the back.

I still have a few more WIPs than I do finished projects. Again, I have made progress on clearing out old projects and I am pleased.

Ready for Quilting

  1. Original Bullseye: At the quilter
  2. New: Wonky 9 Patch: needs basting, quilting and binding. Not on original list
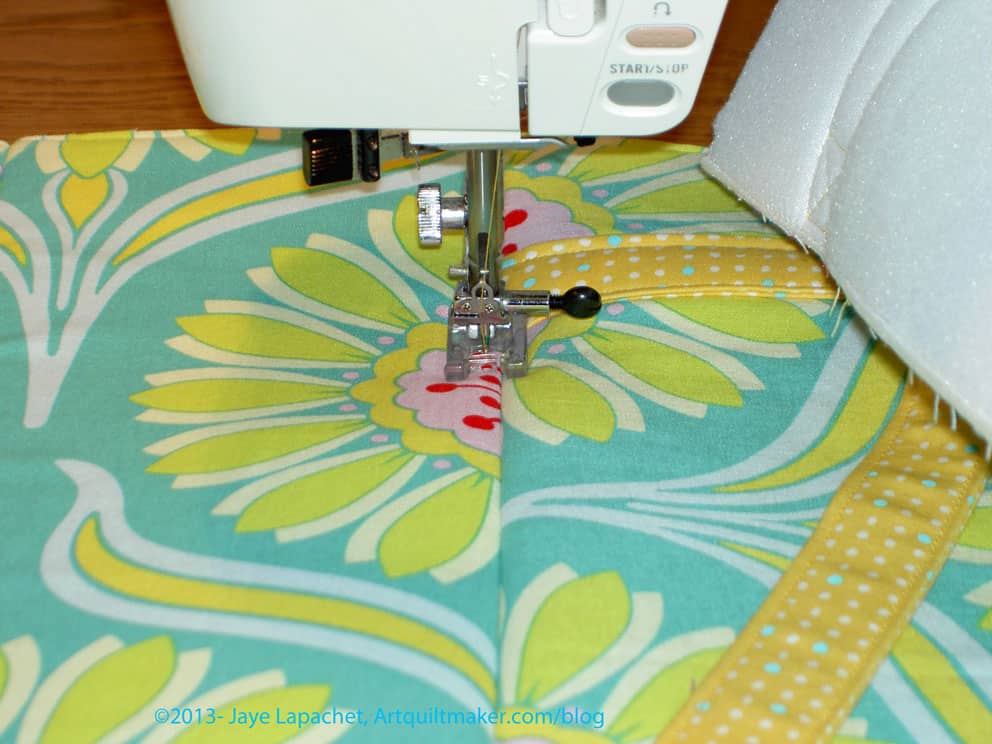
  3. New:* Super Secret Project #2: At the quilter. Not on original list
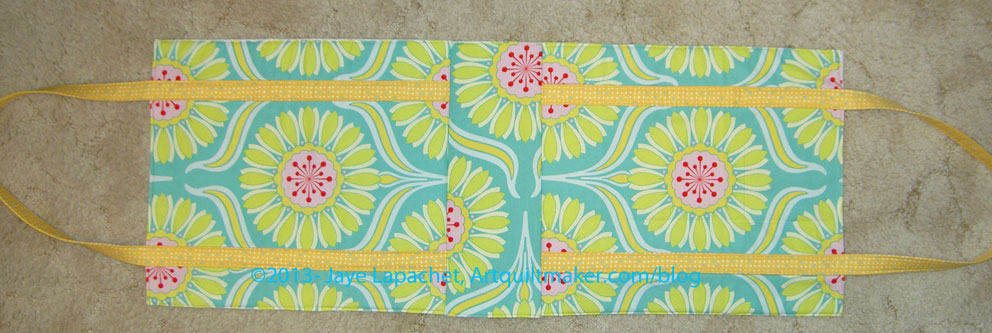
  4. New: Super Secret Project: At the quilter.  Stay tuned. ;-) Not on original list
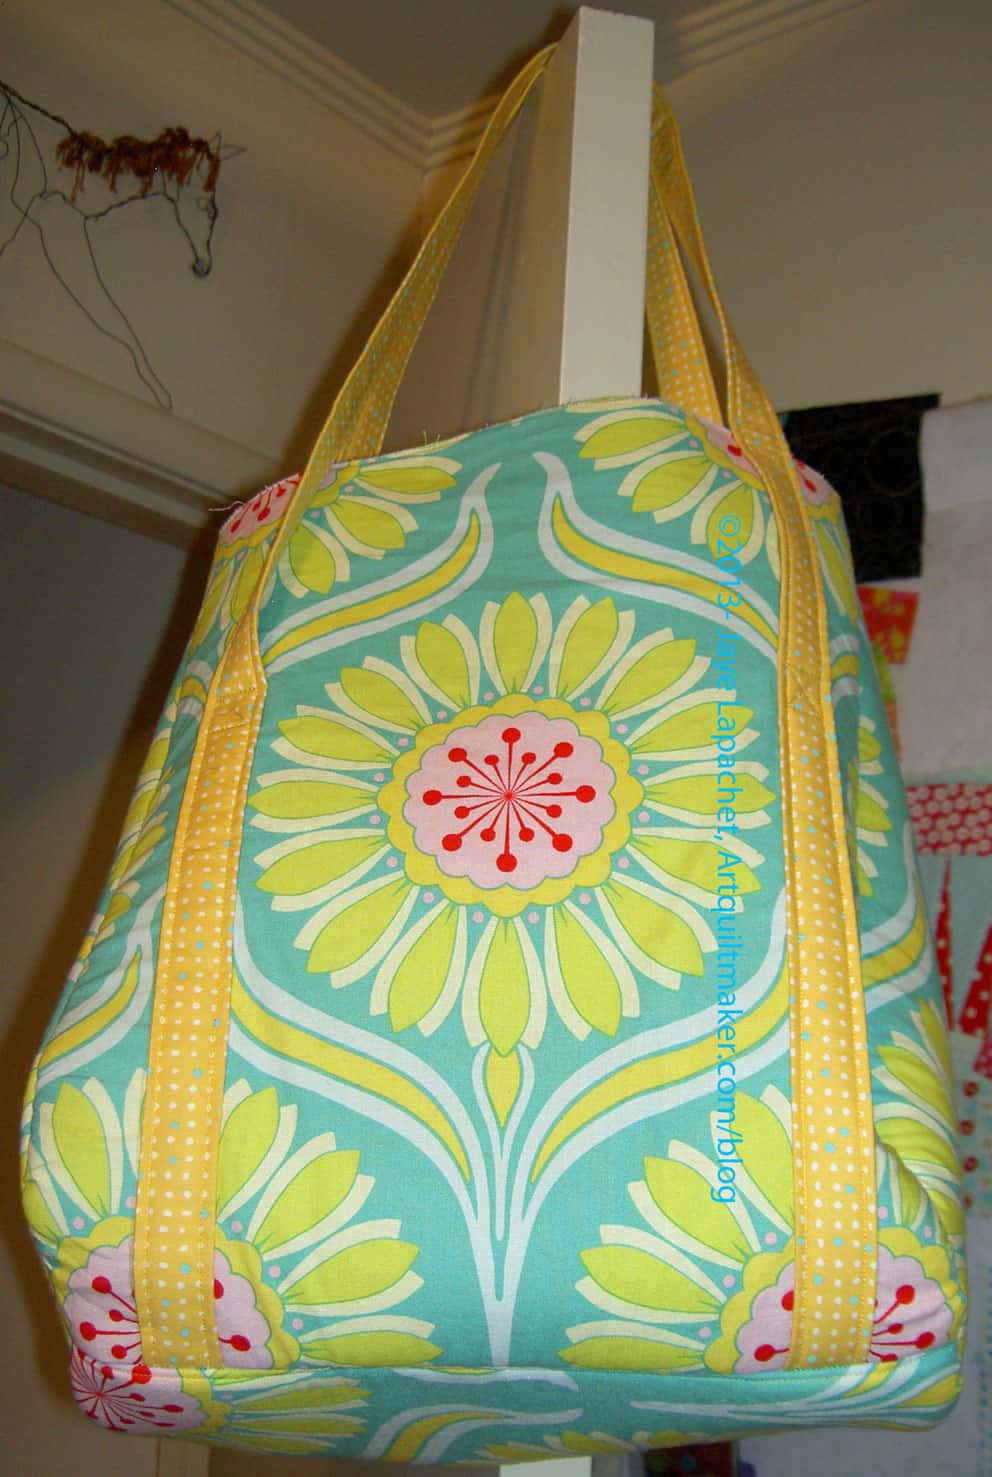
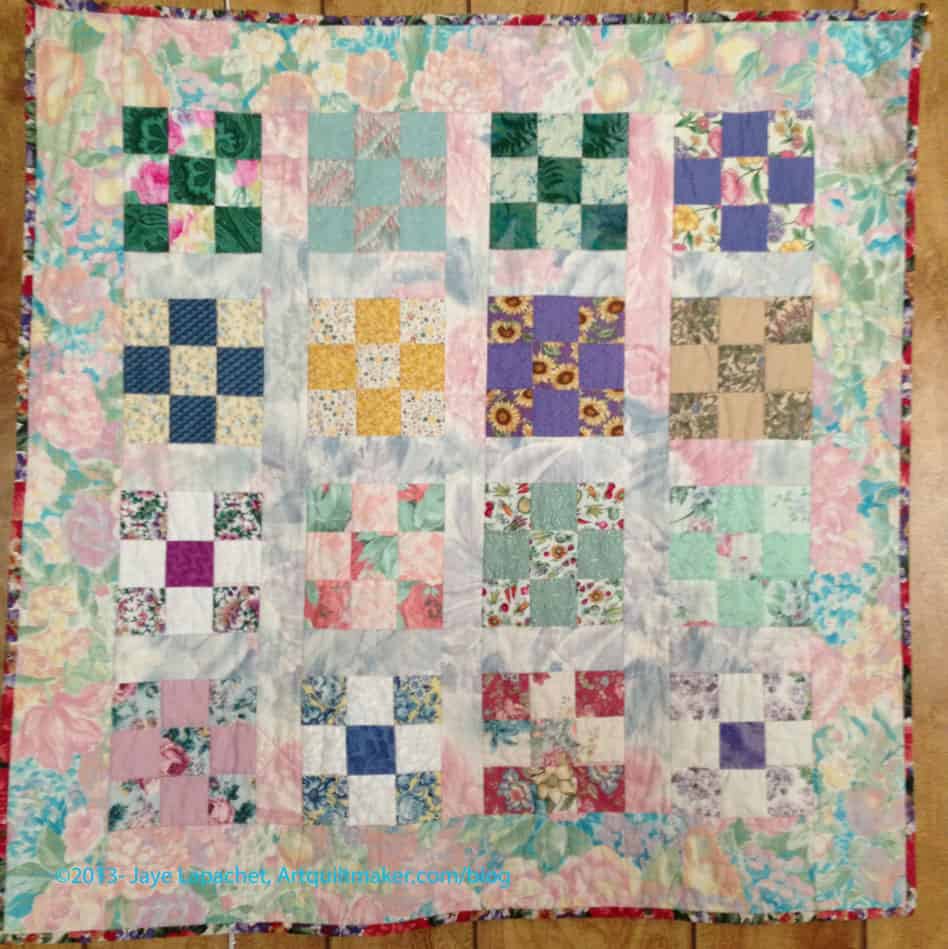
  5. Infinity blocks: blocks sewn together into a quilt top, borders on. Back and binding made; ready to be quilted.
  6. A-B-C (A-Z) BAMQG Challenge –At the quilter. Due April 1.
  7. New: Sparkle Pink – At the quilter.
  8. New: Swoon – At the quilter.
  9. Spiderweb: Top is together, binding is made. This is at the quilter.

Please note that even if you combine the two lists above, I do not have 26 projects on this list anymore. That is something, IMO.

In the Finishing Process

Abandoned

Nothing so far for 2013

Hunting and Gathering

  • Spin Wheel: really not started, but supplies gathered. Cutting fabrics as I go. TFQ does not consider this a UFO and made some good points to that end, which is why I have moved it to the Hunting and Gathering section. She says, and I have to agree, that quilts are not ‘projects’ until the sewing starts. OK. I’ll go with that.
  • Windmill quilt: Still hunting and gathering.
  • Stepping Stones #2 using Bonnie & Camille fabrics Bliss, Ruby, Vintage Modern: made two test blocks, but still in the thinking stage while I decide on the background colors. I want the contrast to be good.

As I mentioned, I am still trying to think of a new focus for this list for 2013. I feel that I made progress on the most ancient and difficult projects and I want to honor that. I won’t give up working on the projects on this list, but I also will not allow the list to prevent me from starting new projects in 2013. What else?

Last update for the 26 Projects List

*New – Project started after I started working on the 26 Projects list