Design Series: Unity/Harmony

Look for Sandy‘s podcast, which was posted on 1/12/2012. This post is a companion to the podcast and we discuss many examples and I provide a lot of explanations about the information below.

The Design Definition we are using in this series is:  Design is a problem solving activity within all the arts, placing or creating subject matter so it is of visual significance and interesting to the artist. (from The Quilter’s Book of Design, 2d ed)

Unity/Harmony are Principles of Design. Unity and Harmony are often combined as one principle. Harmony is used here as another word for Unity.

Definition:

  1. the presentation of an integrated image (Pentak & Lauer, 5th ed. pg.20)
  2. a design in which “congruity or agreement exists among the elements in a design; they look as though they belong together” (Pentak & Lauer, 5th ed. pg.20)
  3. some visual connection beyond mere chance has caused elements to come together. (Pentak & Lauer, 5th ed. pg.20)

According to Adventures in Design by Joen Wolfrom, “the backbone of any design is unity,” because it provides stability and control in a design as well as visual comfort. It also clarifies the design (Wolfrom, Adventures in Design, pg.97)

“The strength of the composition is that the parts are not there by chance, but that they appear to belong together… The parts don’t have to be the same or have to touch each other; rather, they must make sense together.” (The Quilter’s Book of Design, 2d ed, pg.13)

Creating Unity (aka Unity with Variety  (Pentak & Lauer, 5th ed. pg.19) )

Unity cannot exist without other closely related elements and principles (Wolfrom, Adventures in Design, pg.97), which means that this is probably the principle where we will discuss the most other elements and principles.

“Unity of design is achieved by the arrangement of the lines, shapes, colors, values textures and patterns that are used.” (The Quilter’s Book of Design, 2d ed, pg.13)

Methods of creating Unity are below:

  • The Grid
    • a checkerboard pattern using only black and white fabrics has complete unity. There is a “constant repetition of shape and obvious continuation of lined-up edges.” This design, however, can be a bit boring. (Pentak & Lauer, 5th ed. pg.34)
    • Many, many quilts have an underlying checkerboard pattern (blocks)
    • a checkerboard pattern using black, white and two kinds of grey adds in some variety to the basic checkerboard theme
    • a checkerboard pattern using black, white and two kinds of grey where rectangles are added to,” OR replace some of, “the squares creates even more variety while still using a basic grid. There is an “obvious, underlying feeling of unity, yet variations enliven the pattern.” (Pentak & Lauer, 5th ed. pg.34)
    • “shapes may repeat, but perhaps in different sizes; colors may repeat, but perhaps in different values.” (Pentak & Lauer, 5th ed. pg.34)
  • Unity through Repetition
    • “Repetition is another way to create unity in a quilt design. The repetition of an element in a composition can tie the whole together, creating a relationship among the elements.” (The Quilter’s Book of Design, 2d ed, pg.15)
      • “…repetition of an element creates visual rhythm.” (The Quilter’s Book of Design, 2d ed, pg.15) Static rhythm, alternating rhythm and progressive rhythm have an effect on unity through repetition, but we will cover that when we cover the Principle of Rhythm.
      • Examples:
        • http://www.flickr.com/photos/68806166@N05/6632122205/
        • http://www.flickr.com/photos/baileygirl5/5179971933/
        • http://www.flickr.com/photos/ericacrafts/4542434534/
        • http://www.flickr.com/photos/14922562@N05/6153186561/
        • http://www.flickr.com/photos/redpepperquilts/3361801067/
        • http://www.flickr.com/photos/goingsewcrazy/5102965576/ (also shows pattern interruption)
        • http://www.flickr.com/photos/daarrr/6609341817/
  • Varied Repetition
    • Variety is achieved by  position (straight set or on point), size and difference in proportion (e.g. all star blocks, but not the same size star blocks) of the features. (Pentak & Lauer, 5th ed. pg.36)
    • “Variation or contrast with unity creates a stronger design than unity alone.” (Wolfrom, Adventures in Design, pg.99)
    • “Variety creates increased interest in a design.” (Wolfrom, Adventures in Design, pg.99)
    • porch posts or stair rails are another example. Certain standard measurements repeat while a variety of carving vary the sections of each column. (Pentak & Lauer, 5th ed. pg.36)
    • “Repetition in design is simply repeating one or more elements. Every element does not need to be repeated. If too many elements are repeated, predictability, visual monotony, and disinterest can result.” (Wolfrom, Adventures in Design, pg.97)
    • “When elements of a design have a similar shape, we automatically create a visual relationship among them.” (The Quilter’s Book of Design, 2d ed, pg.14)
    • “Variation is added through the shifting of motif shapes;” “our eyes are most interested in the place where the pattern is interrupted.” (Wolfrom, Adventures in Design, pg.99)
      • Example: http://www.flickr.com/photos/goingsewcrazy/5102965576/
  • Emphasis on Unity
    • “To say a design must contain both the ordered quality of unity and the lively quality of variety does not limit or inhibit the artist. The principle can encompass a wide variety of extremely different visual images and can even be contradicted for expressive purposes.” (Pentak & Lauer, 5th ed. pg.38)
    • Subtle repetition can enhance the unity of composition. By using subtle repetition, the artist draws the viewer in to look more carefully for differences. (Pentak & Lauer, 5th ed. pg.38)
      • consider identical twins. When looking at a photo of identical twins, the eye seeks out the differences. The same can be said for a one block quilt. If the quiltmaker chooses subtle variations in color, the viewer will seek out the differences even if the block is the same.
    • “Unity without variety can evoke our worst feelings about assembly lines and institutions.” (Pentak & Lauer, 5th ed. pg.38)
  • Emphasis on Variety (difficult to explain in words, because it is easier to see a visual example!)
    • Star quilt where none of the star patterns are the same.
    • Quilt where none of the blocks are the same, but the colors unify the piece
  • Chaos & Control
    • “without some aspect of unity, an image or design becomes chaotic and quickly ‘unreadable’. (Pentak & Lauer, 5th ed. pg.42)
    • design can also become lifeless or dull (Pentak & Lauer, 5th ed. pg.42)
    • “neither utter confusion nor utter regularity are satisfying” (Pentak & Lauer, 5th ed. pg.42)
    • housing subdivisions often start out boringly the same, but as years pass elements of personal variations crop up (landscaping, paint color, fence style, etc) (Pentak & Lauer, 5th ed. pg.42)
  • Bridging
    • Bridging is used to gently move the eye from one extreme to another. (Wolfrom, Adventures in Design, pg.103)
    • considered a ‘principle’ by Joen Wolfrom, but is more of an element under unity for our purposes.
      • Color is often used for bridging. (Wolfrom, Adventures in Design, pg.103) Color gradation often shows up in quilts (consider my Fabric of the Year series).  Moving from light to dark can add great drama to a design. (Wolfrom, Adventures in Design, pg.103)
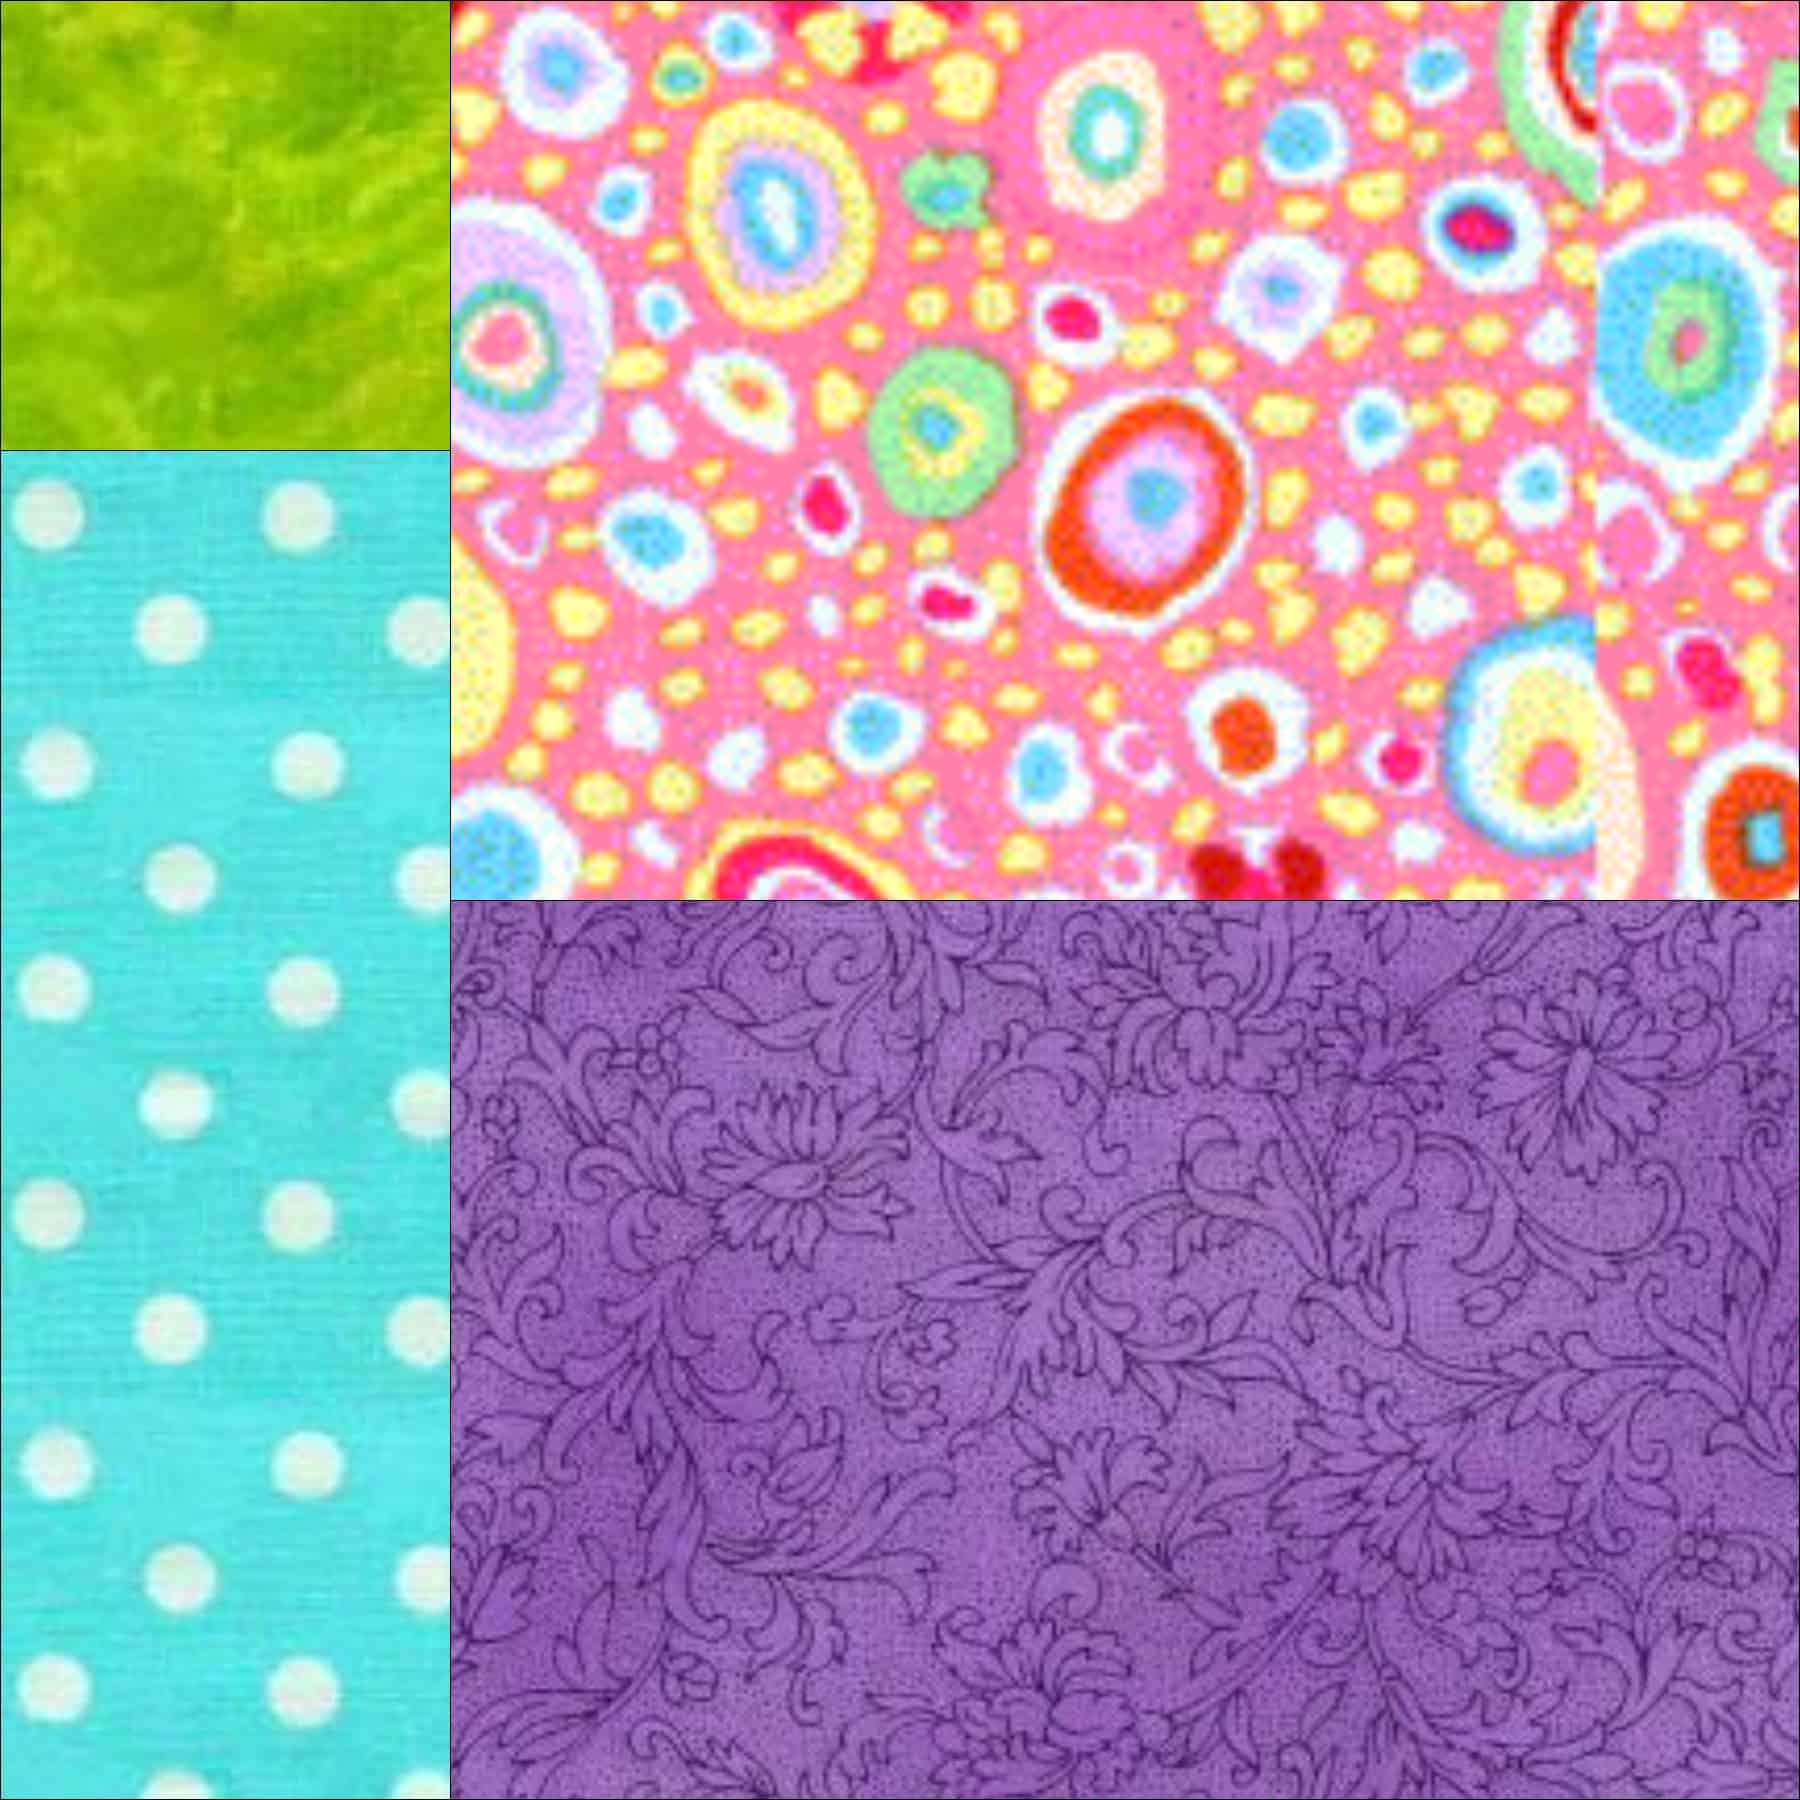
      • Size gradation is also compelling. Moving across your quilt from a large shape to a small shape can create variety and interest. (Wolfrom, Adventures in Design, pg.104). It kinds of looks like this series of rectangles
      • A quiltmaker can also change the configuration of shapes such as going from a vertical thin rectangle through a square to a thin, horizontal rectangle. (Wolfrom, Adventures in Design, pg.105)
  • Unity through Proximity
    • “One of the easiest ways to tie elements of a design together is to place them close to each other.” (The Quilter’s Book of Design, 2d ed, pg.13)
    • “Make sure the objects in your design are close enough that they have a visual bond – a visual relationship. Objects need to be in close proximity for unity” (Wolfrom, Adventures in Design, pg.105)
    • Different shapes can be placed in such a way that they have no unity, but shapes can also be placed in such a way that suggests a meaning. (The Quilter’s Book of Design, 2d ed, pg.14)
    • Tidal Flat by Inge Mardal and Steen Hougs uses proximity well.
    • Bagpipes by Judy Simmons
    • “Our eyes also organize the empty spaces in a design. The foreground or positive shapes are surrounded by the background, also called negative space.” (The Quilter’s Book of Design, 2d ed, pg.15)
      • “…the artist has to be aware that the shapes in the foreground create shapes in the background that can confuse the viewer, or dominate the positive shapes. Traditional pieced quilts often use this principle to add complexity to a design.” (The Quilter’s Book of Design, 2d ed, pg.15)
  • Movement
    • Repeating an object’s shape across the design creates movement when the repetition gives the eye the opportunity to move across the design. (Wolfrom, Adventures in Design, pg.106)
  • Unity  through Continuation
    • “…the arrangement of various elements in the composition so that their edges create a visual line. (The Quilter’s Book of Design, 2d ed, pg.18)
    • “Quilts often employ a grid as an underlying structure that gives the blocks unity through the principle of continuation.” (The Quilter’s Book of Design, 2d ed, pg.18)

Achieving Unity

  • “One way to tie the foreground and background together is to repeat a color in both the positive and negative spaces.”  (The Quilter’s Book of Design, 2d ed, pg.20)
    • This means that perhaps you have a batik with gold running through the predominantly black fabric. By appliqueing gold leaves to the background fabric, you have moved in the direction of creating unity. (The Quilter’s Book of Design, 2d ed, pg.20)
    • If your quilt has large yellow areas, you can quilt with yellow Perl cotton to help achieve unity. In this example, there must be contrast as well.  (The Quilter’s Book of Design, 2d ed, pg.20)
  • The balance of positive and negative space can also work to your advantage in creating unity. (The Quilter’s Book of Design, 2d ed, pg.21-22)

 Un-unified or Un-harmonious Designs

  • the whole design or the group elements appear separate or unrelated.
  • A viewer will ignore a chaotic design (Pentak & Lauer, 5th ed. pg.24)
  • “lack of unity is one of the major reasons a design is unsuccessful. Too much variety creates visual chaos. If not repetition exists, there is nothing to hold the design together.” (Wolfrom, Adventures in Design, pg.98)
    • this quote brings orphan block quilts to mind. These are difficult quilts to design, because of the variety included. The artist must create something to hold the group together such as unified sashing, a color that flows throughout the piece, etc.

 Notes:

  • “in the application of any art principle, wide flexibility is possible within the general framework of the guideline” (Pentak & Lauer, 5th ed. pg.38)
  • “To say a design must contain both the ordered quality of unity and the lively quality of variety does not limit or inhibit the artist. The principle can encompass a wide variety of extremely different visual images and can even be contradicted for expressive purposes.” (Pentak & Lauer, 5th ed. pg.38)
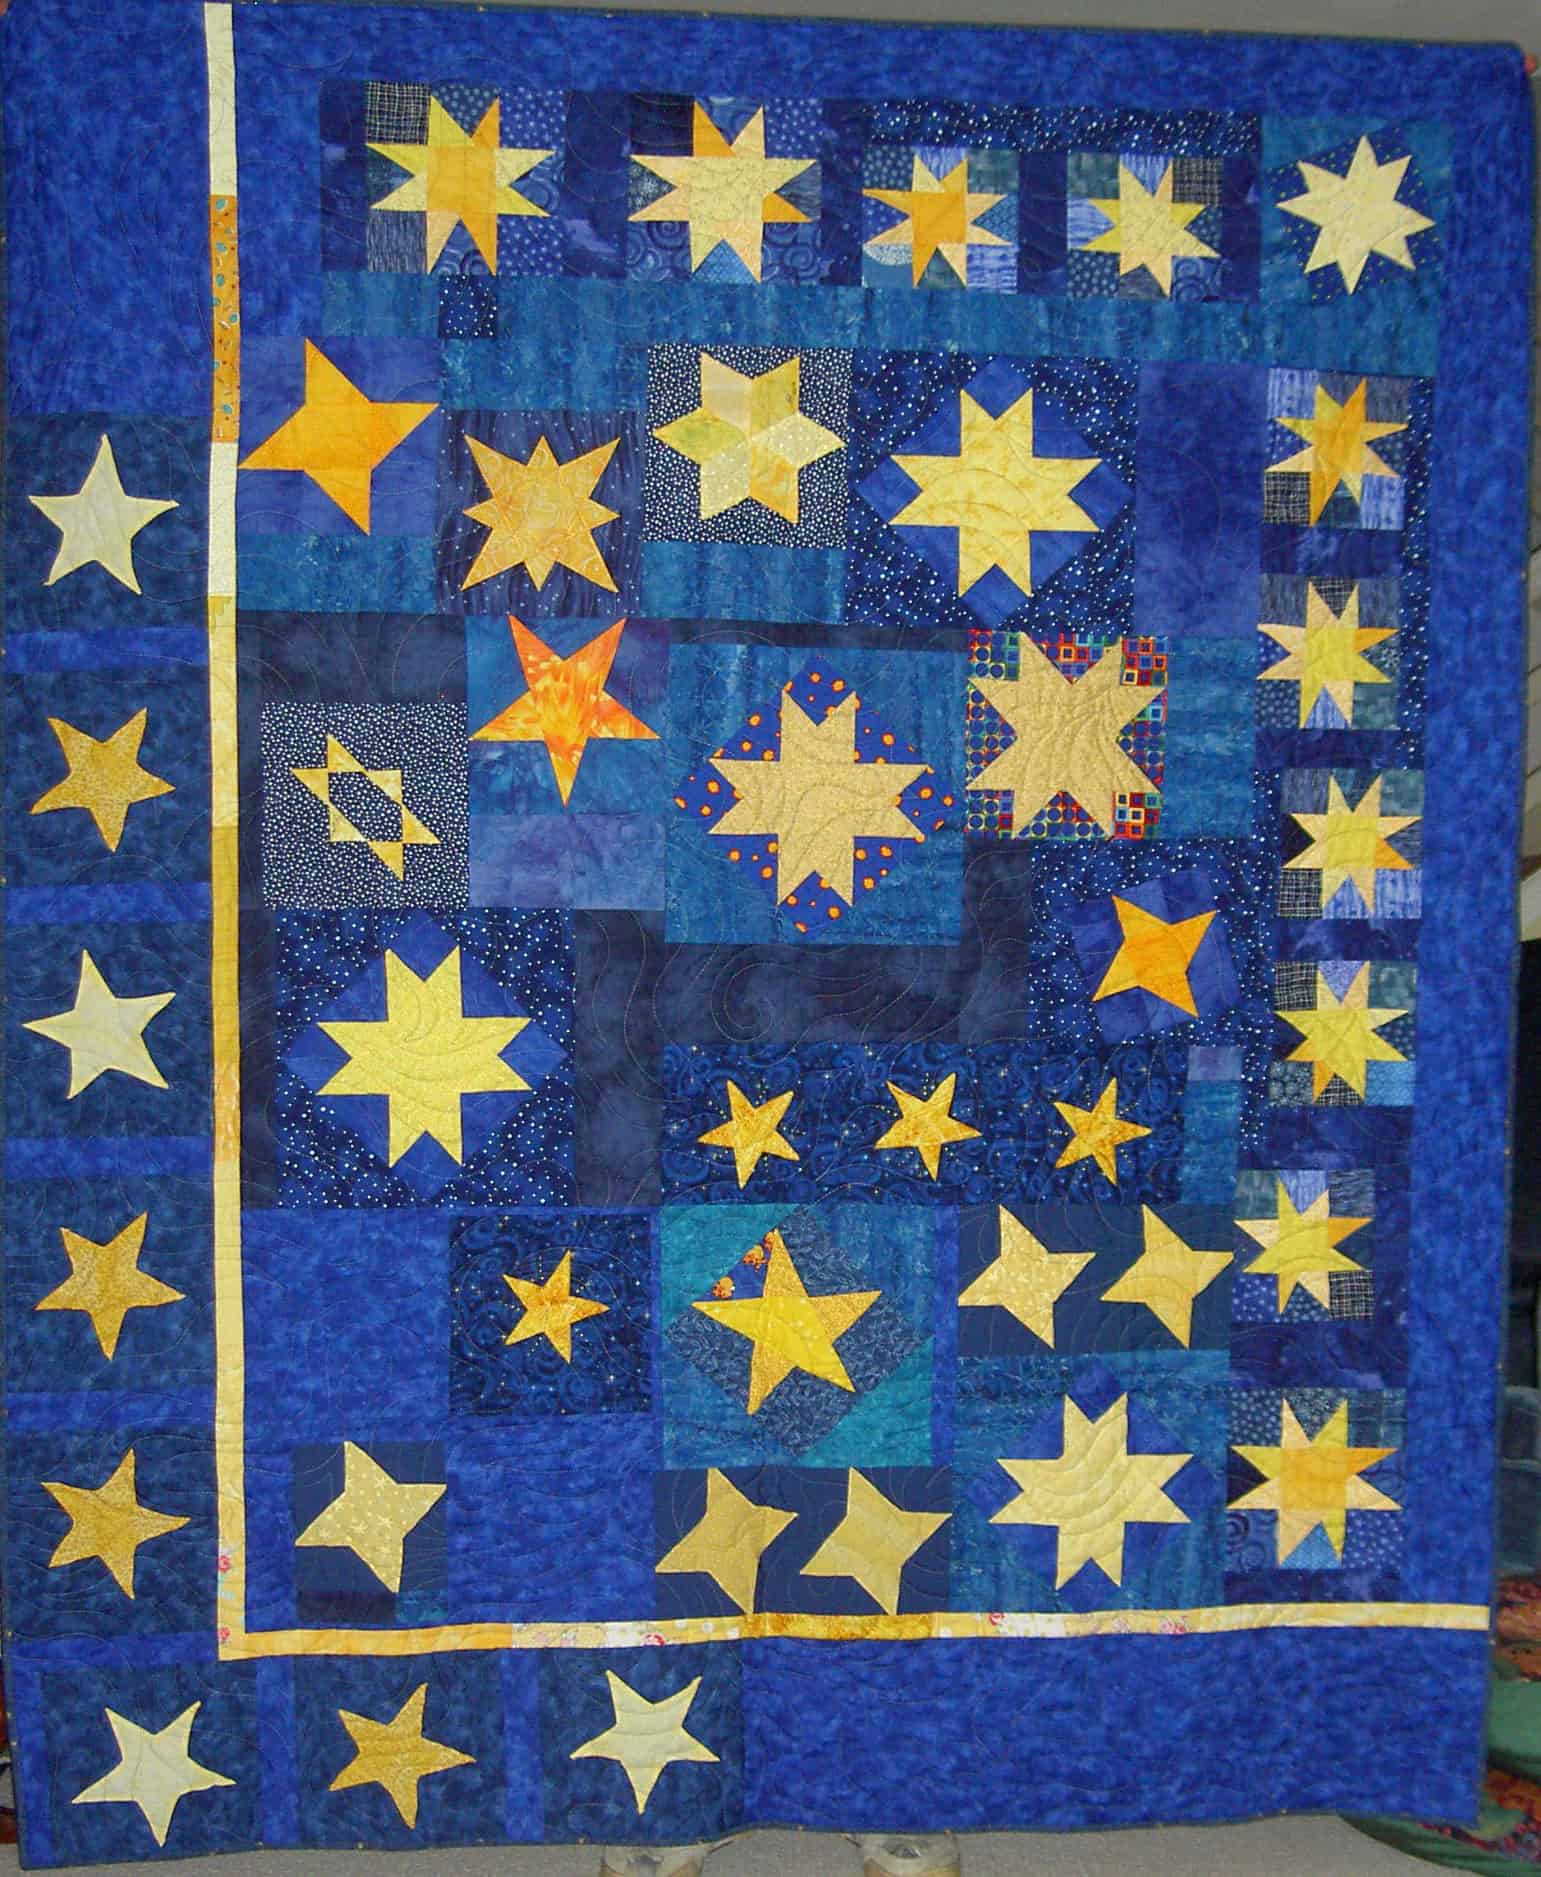
Stars for San Bruno #1

A kind of Star Sampler is my Stars for San Bruno #1 quilt.

Unity/Harmony Resources:

Art Institute of Chicago’s Art Explorer (the Millinery Shop): http://www.artic.edu/artexplorer/search.php?tab=1&resource=14572
Design Basics, 5th ed. by David A. Lauer and Stephen Pentak, pg. 19-43
NPR blog post on Unity: http://www.npr.org/blogs/13.7/2011/09/07/140211660/what-is-unity?sc=fb&cc=fp
Setting Solutions by Sharyn Craig

You can see the last Design class, which was on Balance on the November 29 post.
Various & Sundry 2012 #1

Here we are again, talking all things quilty (but not very often geeky. Go to Hip to be a Square podcast for that 😉   ).

  • Did you get any time off over the holidays?
  • Was it just another week at the office with less help from the people (like me) out partying?
  • What are your quilt plans for 2012? Sandy has put herself squarely into the quilt resolutions department and you can join her in that endeavor, too.

Quilt World News

Be*mused has a lovely post about the opening of a fiber art exhibit in Cleveland, which I found to be interesting.

Sandy, of Quilting for the Rest of Us fame, also talks about her idea of the Slow Quilt Movement. Are all of your quilts fast and easy? Are you ready for something different?

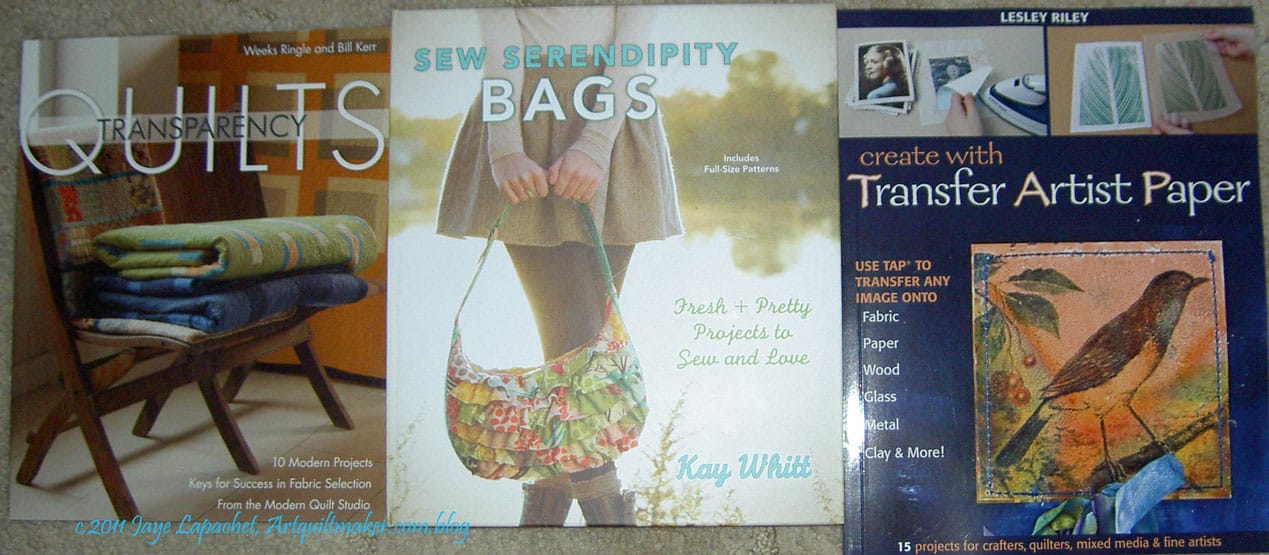
Stash Books has a new bag book. Do I need it? Perhaps. I just bought Sew Serendipity Bags with a gift card I received for Christmas, so I will probably wait. The blog also have an interview with the author. Within the post is a link to a Flickr gallery with photos of the projects. I like the Vespa bag.

We do Christmas pajamas in our family, too. Each “child” in the Young Man’s generation receives a pair of pajamas on Christmas Eve. Originally, it was to get small children into pjs before putting them in the car for the long ride home. One less thing to do when arriving home late. It is fun to see the cousins (my Young Man’s generation), ages 32 down to 5, wearing new pajamas on Christmas Eve. No Big Dill made her group’s pajamas. She is a better person than I am. I have not had the heart to tackle knit and elastic for making pajamas. She has a lot of interesting sewing tutorials, too.

Rhonda participated in BDSI (a lot of the tweets are too old to see on Tweetchat and Twitter) and was one of the winners of the things I was giving away. She received the pattern and posted about it. I hadn’t had a chance to visit her blog before and was really happy to do so. She posts a lot and has a variety of things on her blog. Check out the Grateful Stitcher!

Creativity

I have been working on updating my creative prompt responses. Vacation, laziness and the Young Man’s appointment being cancelled have wrought havoc on the time I usually spend sketching. I need to get back in the saddle! I saw the Doodlemum blog (from Twitter!) and her sketches inspired me. What are you doing to inspire creativity?

Products and Patterns

Do I need more bag patterns? Really? Do I? No, I do not, but how can I resist the bags at Clover & Violet? I especially like the Ruby Market tote. It looks so pretty in the Ruby line of fabric, too. Now to just find more time.

Pieced Backs

Not too long ago, Frances asked, in one of her podcast episodes, about making pieced backs and whether there was a tutorial.

I didn’t look for one, but I knew I had a back to make soon (for the Stepping Stones), so I thought about taking the opportunity to make a tutorial.

As I have mentioned in the past, once the top is finished, I am done with the project and want to move on. I love piecing. The other parts, such as making the back, making the binding and label, quilting are all dull for me. However, I have found that the Finishing Fairy does not visit my house and I have to do my own finishing or finish by checkbook.

My first step was figuring out how I make the pieced back. The basic premise is easy: sew pieces of fabric together until you have a piece large enough to accommodate the quilt.

What I realized is that it isn’t quite as easy as a step 1, step 2, etc tutorial. I sew bits and pieces together as I am making the quilt that end up larger when I am ready to sew the back together. You aren’t going to have the same size pieces as I have. So, this will be more like a guide rather than a tutorial.

I am a firm believer in not buying new fabric just for the back. Yes, it would be easier, but I have a lot of fabric and I might as well use it. I try to use the largest pieces possible as well as the pieces I have sewn together while making the quilt.

The first thing I do is make a label. I make my labels using a word processing program (Google Docs would work just fine) and then I print the piece out on paper backed fabric. I have also used the stitch letters on my sewing machine to write out a label.

The label will be sewn into the back, so as soon as I peel the fabric off the paper I start sewing. Know your paper backed fabric  and ink so that you know whether the ink will wash out immediately, over time, or not at all. I use fabric backed paper from Dharma Trading Company and my regular ink jet printer.

Tip #1: larger pieces make the back go together faster

When I made the back for FOTY 2010, I purposefully used really large pieces. That was the best back experience of my life, because it went together really fast. I suggest you start out this way with pieced backs so you don’t lose your mind. This is your fair warning!

Tip #2: As with blocks, sew from smallest to largest.

I start with the label and surround it with fabric until I have about 1.5′ from the right hand side of the back and about the same from the bottom.

I sew the label into the back so if a quilt is stolen, the label cannot be ripped off without ripping out the quilting.

Tip #3: Plan to leave extra fabric around the edge if you want to longarm. 4″ on all sides is usually sufficient.

Once I have one corner completed, I sew across the bottom of the quilt back until I have a piece the desired width. I make the width generous as I don’t want to go back when I think I am finished and have to sew on a strip to a long edge.

Tip #4: Coordinate your backing fabric with the fabric pieced into the front.

I use fabric that will coordinate with the front, though it isn’t necessarily the same fabric. If I have a lot of leftovers that I don’t think I will use in another quilt, such as in Stepping Stones, then I will use the leftovers for the back.

Tip #5: Leaders and enders techniques make the process of sewing the back go faster.

Where possible I will sew smaller pieces/shards (not schnibbles! I am not advocating doing something that will send you to an insane asylum) of fabric together using Bonnie Hunter’s leaders and enders technique. Now, I have not taken a class from her, so visit Quiltville, Bonnie’s blog or buy her books to learn her methods. My idea is that I put pieces/shards through the machine after the regular pieces for my top so I can get those to ironing board for pressing faster (discussed previously in this post). Also, this alleviates the need to put a scrap piece of fabric through the machine to keep your feed dogs from eating your triangle corners. Finally, it minimizes scraps added to the scrap pile.

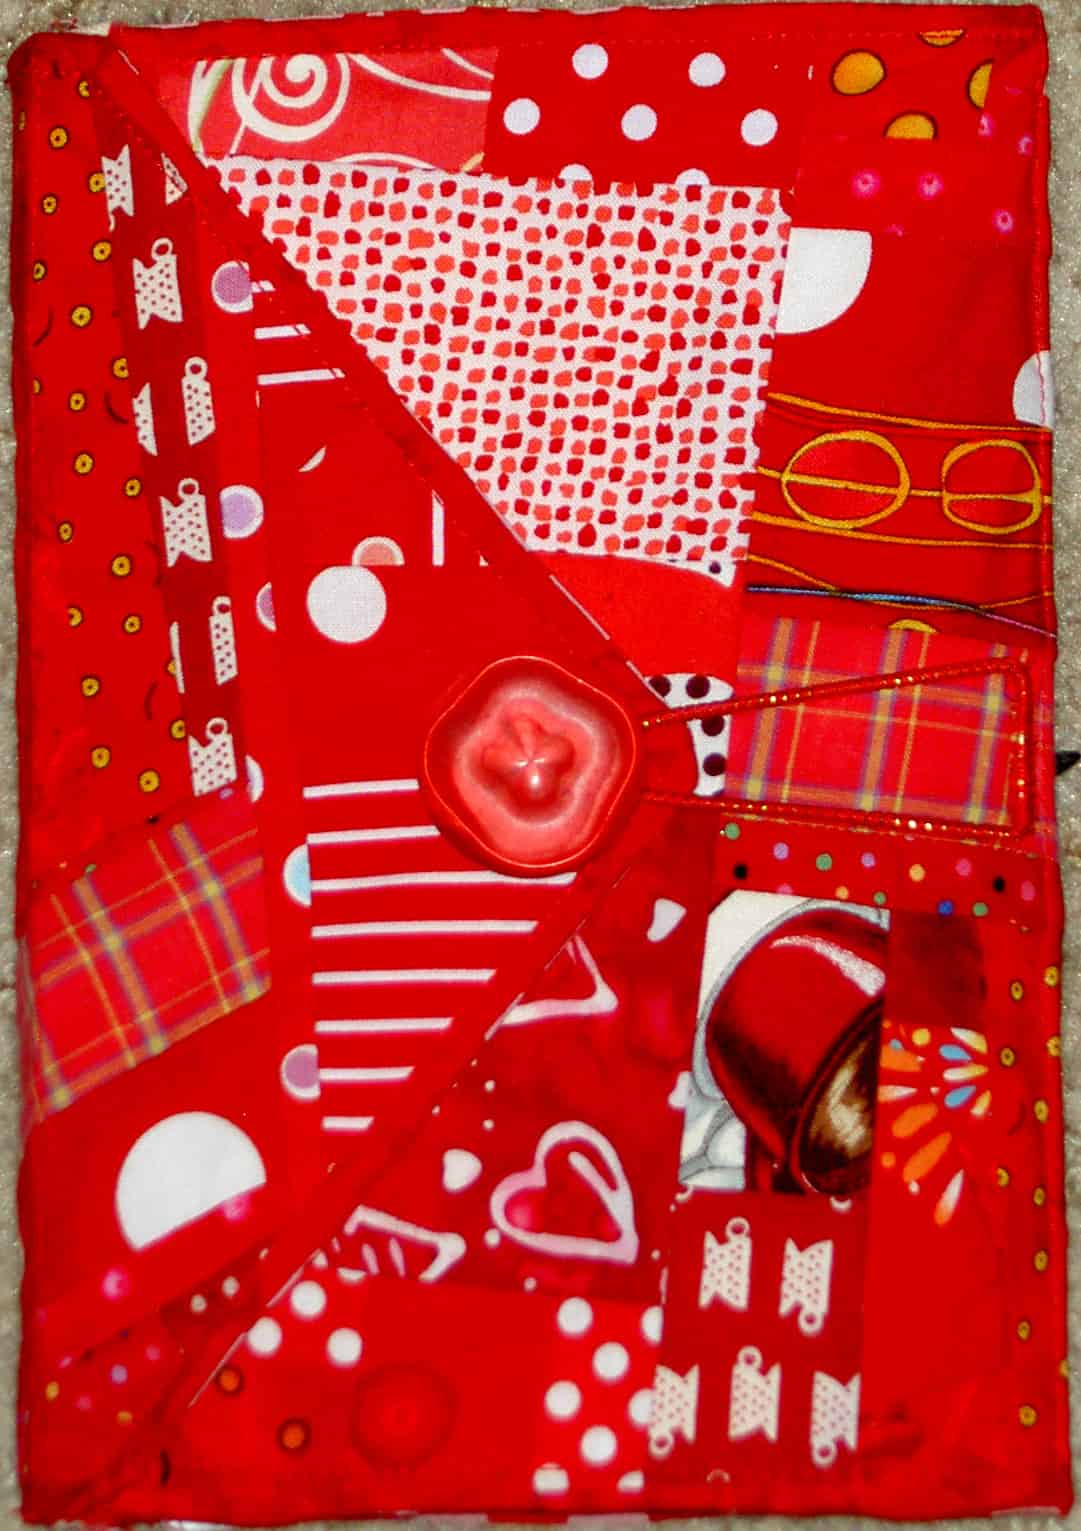
Red Journal - Closed
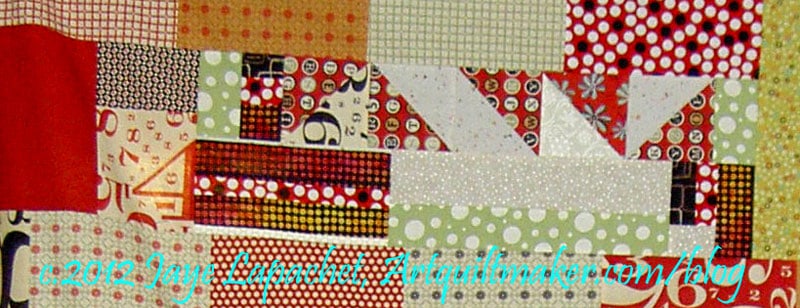
Red Journal – Closed

As I have discussed on different occasions, I call the end result of sewing bunches of scraps together randomly mosaic quilting. I use the leaders and enders method to facilitate the mosaic quilting result. I made the entire cover of the red journal by using the leaders and enders method to get a mosaic quilting piece. I enjoy sewing like colors together to make new fabric. If I have nothing else to do or I can’t think or I am stressed out, it is a good activity.

How does this relate to pieced backs?

Mosaic Quilting for Pieced Backs

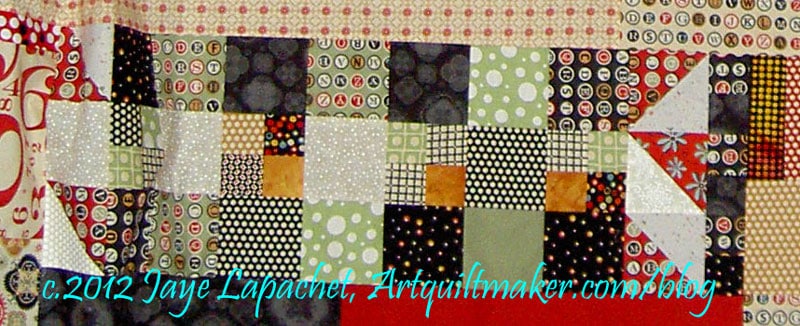
I do the same thing, but on a larger scale. When I am finished piecing the top and am definitely working on the back, I find pieces that fit together and sew them. When I am piecing the top, I sew the smaller pieces into larger pieces and then use the larger pieces for the back.

Mosaic Quilting for Pieced Backs

Tip #6: Skip sewing small pieces together if you have not done so prior to finishing the top.

I just want to finish, so if I have not sewed smaller pieces into larger chunks prior to starting the back, I skip it. It drives me crazy to have to stitch little bits together for no other reason than making a back. Why this doesn’t bother me when I am using them as leaders and enders, I don’t know.

Tip #7: Backstitch

Any seam that will be on the outside of the quilt or not crossed by another seams gets a few back stitches. All of my handling rips out those stitches and then I have to go over them before giving them to my longarmer. To alleviate the process I backstitch. I backstitch more than just the outside seams as sometimes I don’t know what will become an outside seam.

Finally, I sew chunks the same width as the first chunk (with the label) until I have a piece the same size as the top with an additional 4″ on each side. Depending how how small the pieces are, the back can take me 4-6 hours. I am slow, and get cranky when I do this.

Alternatively, you can just buy a big piece of fabric and put it on the back. 😉

Block-a-Long #38: Square Top

Square Top #38
Square Top #38

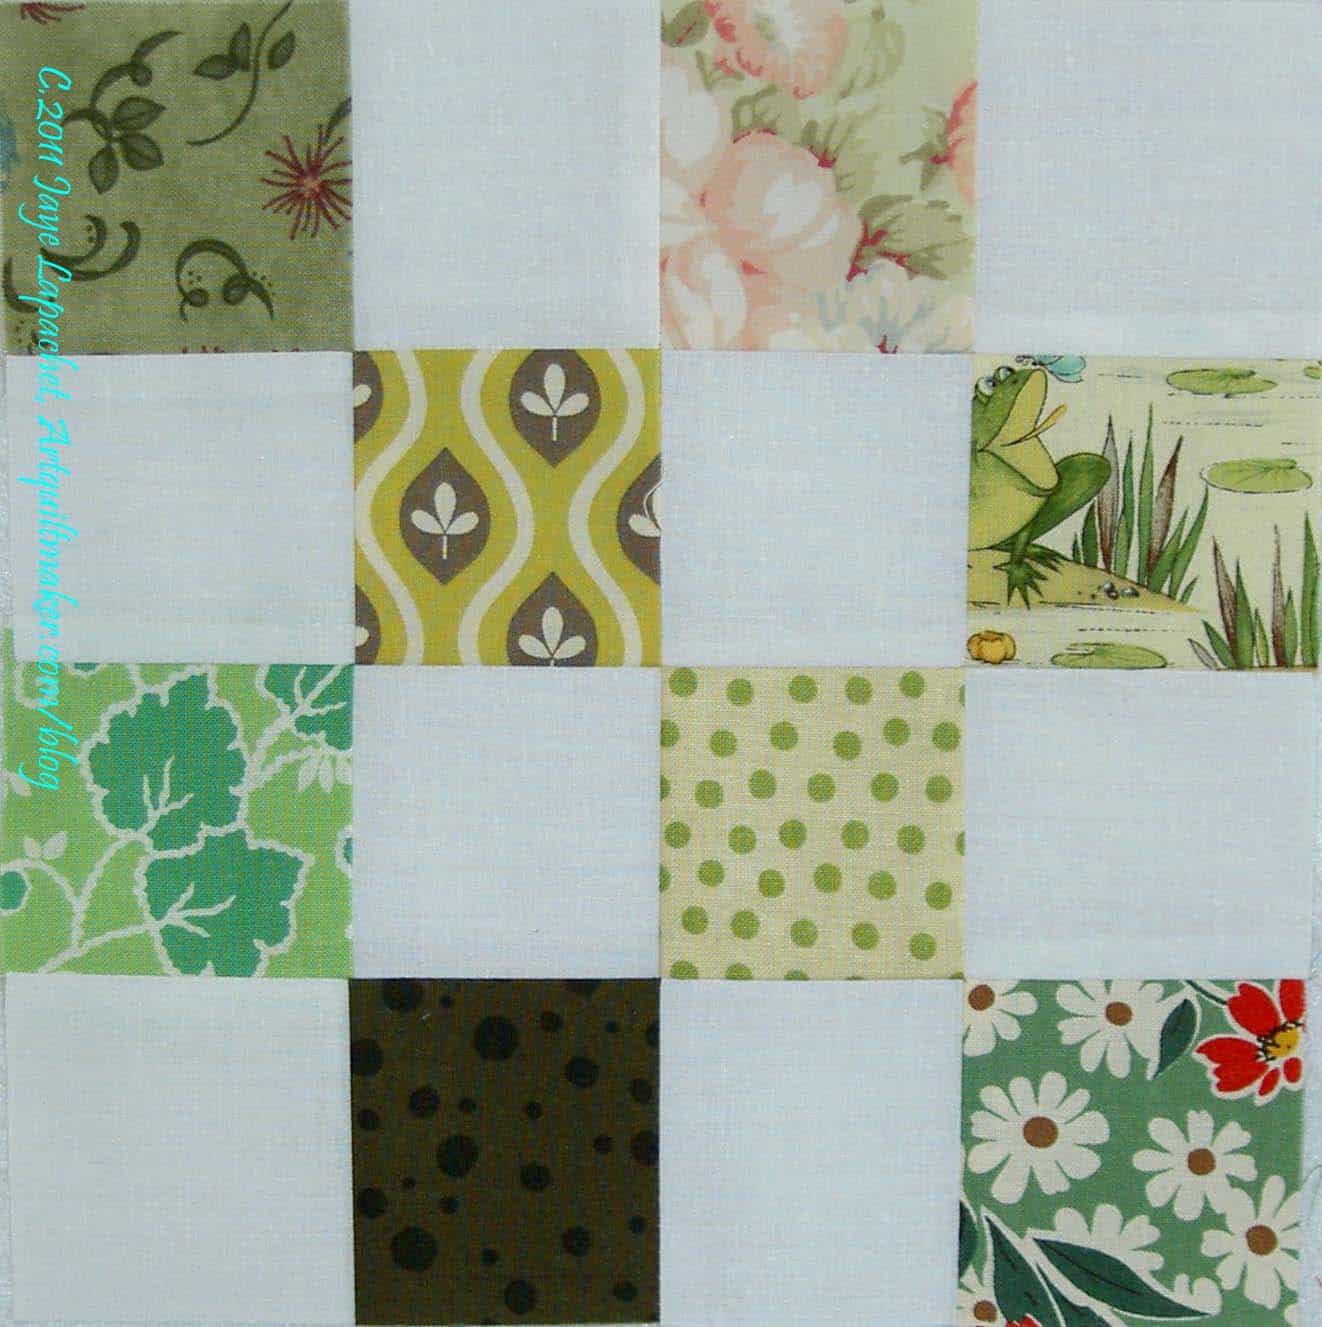
Yes, squares on top. You can cut squares, I guarantee it. And, of course, more rectangles. I think rectangles are definitely underrated in Quiltlandia.

This blocks calls for 5 fabrics, but you could put the same fabric on the two outer bottom rectangles.

Rotary Cutting Directions for Square Top #38

If you have made blocks or a quilt from these patterns, please post a link in the comments section of the relevant block or on the AQ Block-a-Long Flickr group. I would love to see what you have made.

What will you make today?

January BAMQG Meeting

The BAMQG meeting was yesterday. I was lazy and didn’t blog as much for them over the holidays as I should have. I blame the cold I had. I am having a hard time getting back into the swing.

Thanks for your Service

2011 Officers with Gift Bags

The 2011 Officers did a great job. I kind of nudged people to get some gifts together. People really ran with the idea, which was great.

Kathleen's Gift Bag
Kathleen's Gift Bag
Sara's Gift Bag
Sara's Gift Bag

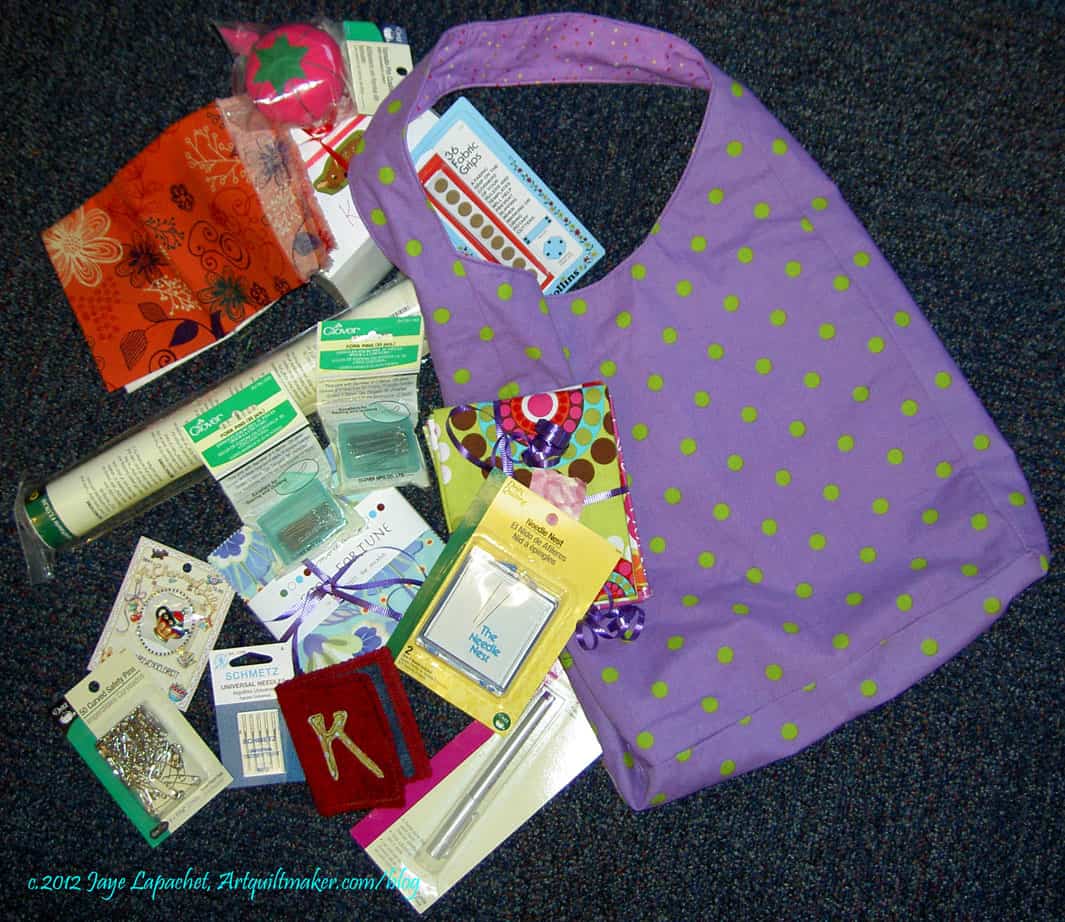
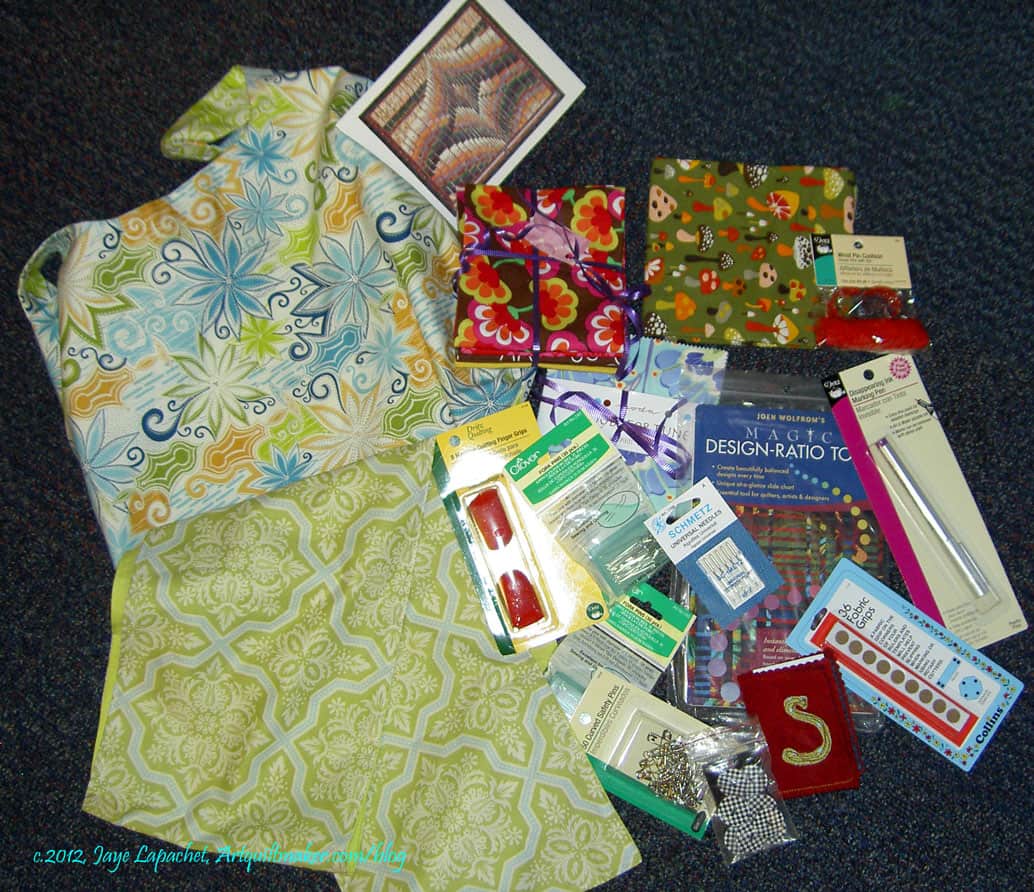
A few people made bags and everyone else added little bibs and bobs to create nice gift bags. It was nice not to make all the bags and I enjoyed seeing the different patterns and fabrics that the bag makers used.

I made the purple bag which ended up with Kathleen. The bits and pieces were nice to look at. Rhonda had put together the parts that we solicited from other members.

Some of the things in the bags were pins, fat quarters, needle cases, the Joen Wolfrom Design ratio tool, disappearing pen, grip dots, scarves, machine sewing needles, Invisigrip and many other fun things.

Ruth and Adrianne were really busy and I wasn’t able to get photos of their gift bags. Check the BAMQG blog and perhaps I will be able to post some photos there.

A-B-C Challenge

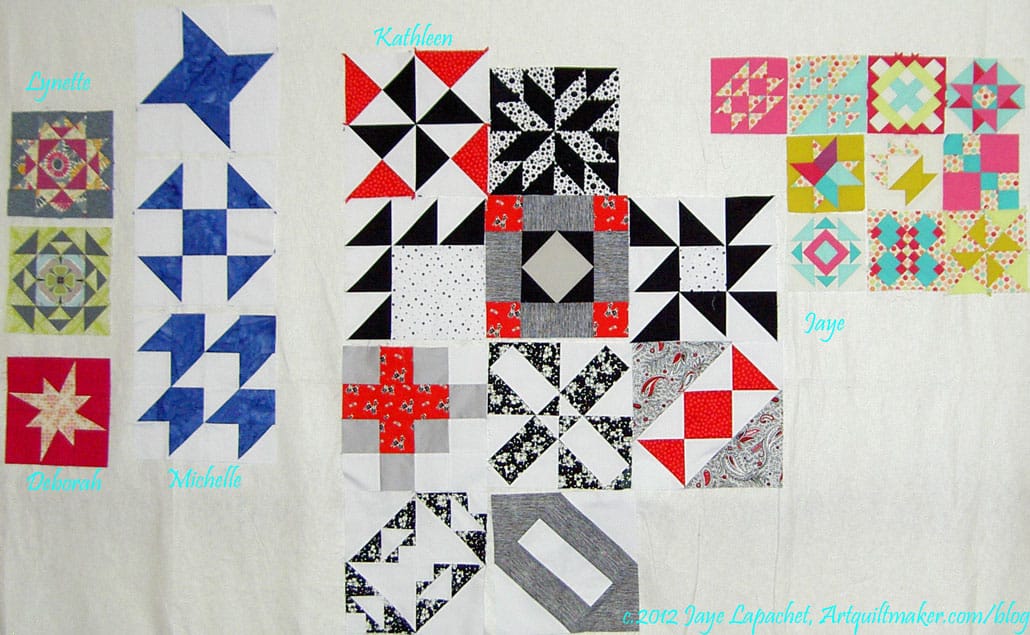
We have five participants who brought blocks for the A-B-C Challenge this time. Angela was too busy to make her Hawaiian versions, but I am sure she will bring some next time.  😉

Some people brought both G and H, others brought G, some of us brought all of our blocks. Kathleen and I have done a number of the same blocks and it is fun to see how different they look in the different sizes and fabrics.

January A-B-C Challenge Blocks


Glacier Bay
Glacier Bay

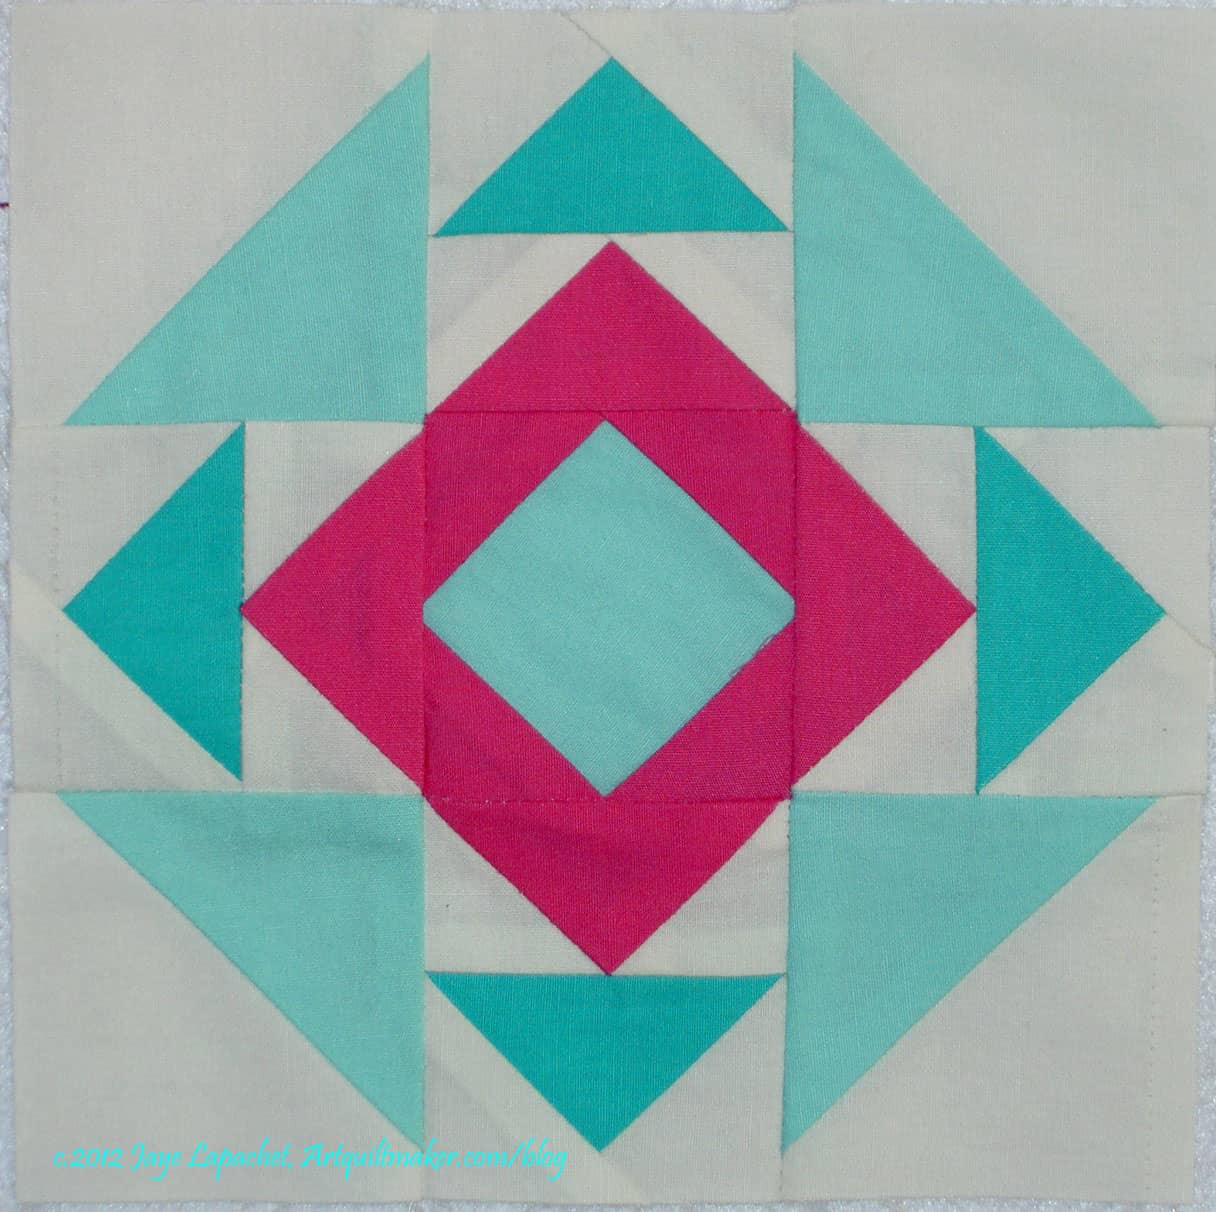
This is my G block for the A-B-C Challenge. It is called Glacier Bay and is from Around the Block Again by Judy Hopkins (pg.68). It is also a 6″ block and I cut nearly every piece a little bigger and then trimmed. It still came out a bit wonky, but I like the general effect. I think it would make a really cool secondary pattern if I put many of them together.

I don’t remember ever seeing this block before. Lynette has the 501 Rotary Cutting Blocks version of Around the Block, which I thought had ALL the blocks from the three books, but Glacier Bay was not in it.

Hovering Hawks
Hovering Hawks

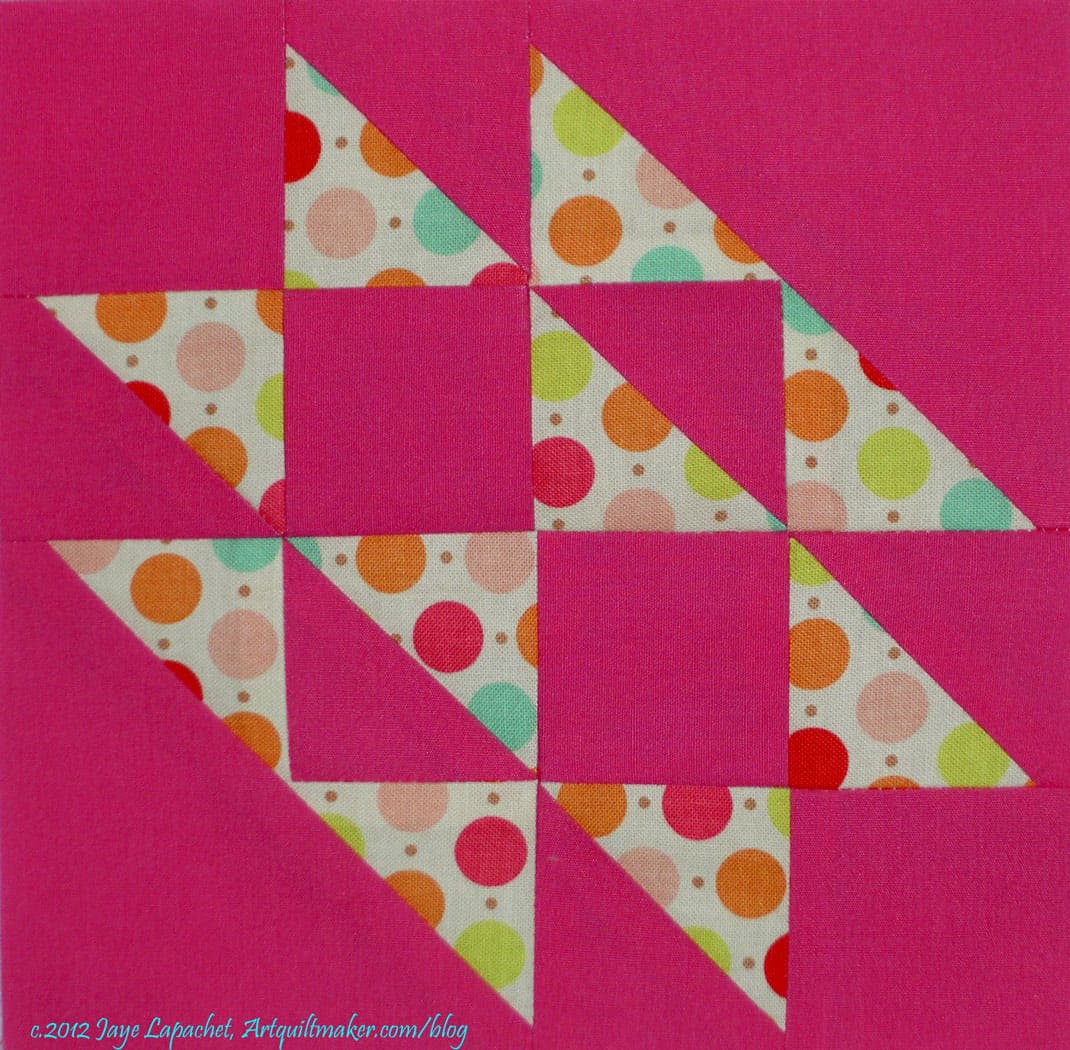
I am really like this challenge as it allows me to make one block rather than a whole something every month. Kathleen wants to speed the challenge up a bit, so we will be doing two letters each month for the rest of the year. Next month are I and J.

I am resolved to make the blocks sharpish rather than waiting. I have even thought of making the rest of the alphabet all at once and being done with it. I have a sashing idea that I got from Pam. I am thinking about starting adding the sashing as I go along so that I won’t have to do all the cutting at once. We’ll see.

Question of the Month

Rhonda creates the QotM and this month it was: “What are your quilt resolutions?” Most were normal resolutions about finishing and curbing buying, but some were really interesting. I wrote them out as people said. These aren’t my resolutions, necessarily.

  • use more than I buy
  • finish one project before starting another
  • buy less fabric
  • use scraps to make scrap quilts
  • finish virtual swaps and bees projects
  • teach
  • quilt one per month on the longarm
  • take sewing machine to be serviced
  • end year with 5 fewer UFOs than the year started with
  • improvise
  • organize so sewing does not take over house
  • make something from solids
  • stop fearing binding
  • make one charity quilt
  • bring something to show and tell
  • spend more time with real people than with sewing machine
  • trust the experience I am feeling
  • don’t buy fabric I don’t like
  • make husband a quilt
  • documenting quilts (labels and such)
  • be liberated and wonky
  • use orange and yellow
  • start a quilt/craft blog
  • make mom a quilt
  • try curved piecing
  • re-sort/organize fabric
  • finish husband’s quilt
  • plan less and do more

Charity Quilts

Art Gallery Fabrics offers a bag of scraps free for people who will be using the scraps to make charity/donation quilts. Contact Pat Bravo for details. I don’t have her email address, but Art Gallery has a page on FB so, perhaps, you can inquire there.

Deborah made a version of Elizabeth Hartman’s Mod Mosaic quilt with scraps (quite large scraps, actually) from Pat Bravo. What a nice idea.

Postage stamp-type block

Two quilts were finished. A very large number of the postage stamp kits from the December meeting were turned into blocks and returned. I only took one kit last time, but took several during this meeting.

Schnibbles for Cat Beds

Sadly, Amanda has too many scraps and will hold off taking any more until she has made more cat beds. She said that her garage is being overrun. She really needs help making the actual cat beds.

Angela and I were able to spend a few minutes chatting. I spent a lot of the sewing time chatting and looking at what other people were doing. I couldn’t be bothered putting up a table to work on my own projects, an action I will regret later.

First Finish

Young Man Pillowcases

A la Crafty Garden Mom’s Thursday Thoughts, here is mine:

  1. I like to finish a project on New Year’s Day.
  2. I think it sets a good tone for the year.
  3. Of course, some years it is fruitless.
  4. Still, I do it.
  5. It has to be a small project.
  6. Last year it was a bag.
  7. Not the bag I thought it was, but a bag.
  8. We all know how that turned out. 🙁
  9. The photo above is probably one of the worst photos I have taken in the right conditions – well, my normal conditions.
  10. Not sure what happened.
  11. Still I post it.
  12. I would take another photo, but the recipient changed his sheets (shock, horror!) and they are no longer available for your pristine viewing pleasure.
  13. Have a great day! You don’t need to call the looney bin.

Creative Prompt #138: Sunrise

Sunrise on the Hills  by Henry Wadsworth Longfellow [More Titles by Longfellow]

I stood upon the hills, when heaven’s wide arch
Was glorious with the sun’s returning march,
And woods were brightened, and soft gales
Went forth to kiss the sun-clad vales.
The clouds were far beneath me; bathed in light,
They gathered mid-way round the wooded height,
And, in their fading glory, shone
Like hosts in battle overthrown.
As many a pinnacle, with shifting glance.
Through the gray mist thrust up its shattered lance,
And rocking on the cliff was left
The dark pine blasted, bare, and cleft.
The veil of cloud was lifted, and below
Glowed the rich valley, and the river’s flow
Was darkened by the forest’s shade,
Or glistened in the white cascade;
Where upward, in the mellow blush of day,
The noisy bittern wheeled his spiral way.

I heard the distant waters dash,
I saw the current whirl and flash,
And richly, by the blue lake’s silver beach,
The woods were bending with a silent reach.
Then o’er the vale, with gentle swell,
The music of the village bell
Came sweetly to the echo-giving hills;
And the wild horn, whose voice the woodland fills,
Was ringing to the merry shout,
That faint and far the glen sent out,
Where, answering to the sudden shot, thin smoke,
Through thick-leaved branches, from the dingle broke.

If thou art worn and hard beset
With sorrows, that thou wouldst forget,
If thou wouldst read a lesson, that will keep
Thy heart from fainting and thy soul from sleep,
Go to the woods and hills! No tears
Dim the sweet look that Nature wears.

Sunrise, Florida

Tequila Sunrise

Sunrise Township, Minnesota

Sunrise by Norah Jones


Definition: Sunrise is the instant at which the upper edge of the Sun appears above the horizon in the east. Sunrise should not be confused with dawn, which is the (variously defined) point at which the sky begins to lighten, some time before the sun itself appears, ending twilight. Because atmospheric refraction causes the sun to be seen while it is still below the horizon, both sunrise and sunset are, from one point of view, optical illusions. The sun also exhibits an optical illusion at sunrise similar to the moon illusion.

The apparent westward revolution of Sun around the earth after rising out of the horizon is due to Earth’s eastward rotation, a counter-clockwise revolution when viewed from above the North Pole. This illusion is so convincing that most cultures had mythologies and religions built around the geocentric model. This same effect can be seen with near-polar satellites as well.

Sunrise and sunset are calculated from the leading and trailing edges of the Sun, and not the center; this slightly increases the duration of “day” relative to “night“. The sunrise equation, however, is based on the center of the sun.

The timing of sunrise varies throughout the year and is also affected by the viewer’s longitude and latitude, altitude, and time zone. Small daily changes and noticeable semi-annual changes in the timing of sunrises are driven by the axial tilt of Earth, daily rotation of the earth, the planet’s movement in its annual elliptical orbit around the Sun, and the earth and moon’s paired revolutions around each other. In the springtime, the days get longer and sunrises occur earlier every day until the day of the earliest sunrise, which occurs before the summer solstice. In the Northern Hemisphere, the earliest sunrise does not fall on the summer solstice around June 21, but occurs earlier in June. The precise date of the earliest sunrise depends on the viewer’s latitude (connected with the slower Earth’s movement around the aphelion around July 4). Likewise, the latest sunrise does not occur on the winter solstice, but rather about two weeks later, again depending on the viewer’s latitude. In the Northern Hemisphere, the latest sunrise occurs in early January (influence from the Earth’s faster movement near the perihelion, which occurs around January 3). Likewise, the same phenomena exist in the Southern Hemisphere except with the respective dates reversed, with the latest sunrises occurring some time after June 21 in winter and earliest sunrises occurring some time before December 21 in summer, again depending on one’s southern latitude. For one or two weeks surrounding both solstices, both sunrise and sunset get slightly later or earlier each day. Even on the equator, sunrise and sunset shift several minutes back and forth through the year, along with solar noon. These effects are plotted by an analemma.[1][2]

Due to Earth’s axial tilt, whenever and wherever sunrise occurs, it is always in the northeast quadrant from the March equinox to the September equinox and in the southeast quadrant from the September equinox to the March equinox. Sunrises occur due east on the March and September equinoxes for all viewers on Earth.

Post the direct URL (link) where your drawing, doodle, artwork is posted (e.g. your blog, Flickr) in the comments area of this post. I would really like to keep all the artwork together and provide a way for others to see your work and/or your blog, and how your work relates to the other responses.

The Creative Prompt Project, also, has a Flickr group, which you can join to post your responses. Are you already a member? I created that spot so those of you without blogs and websites would have a place to post your responses. Please join and look at all of the great artwork that people have posted.

Sketching #113

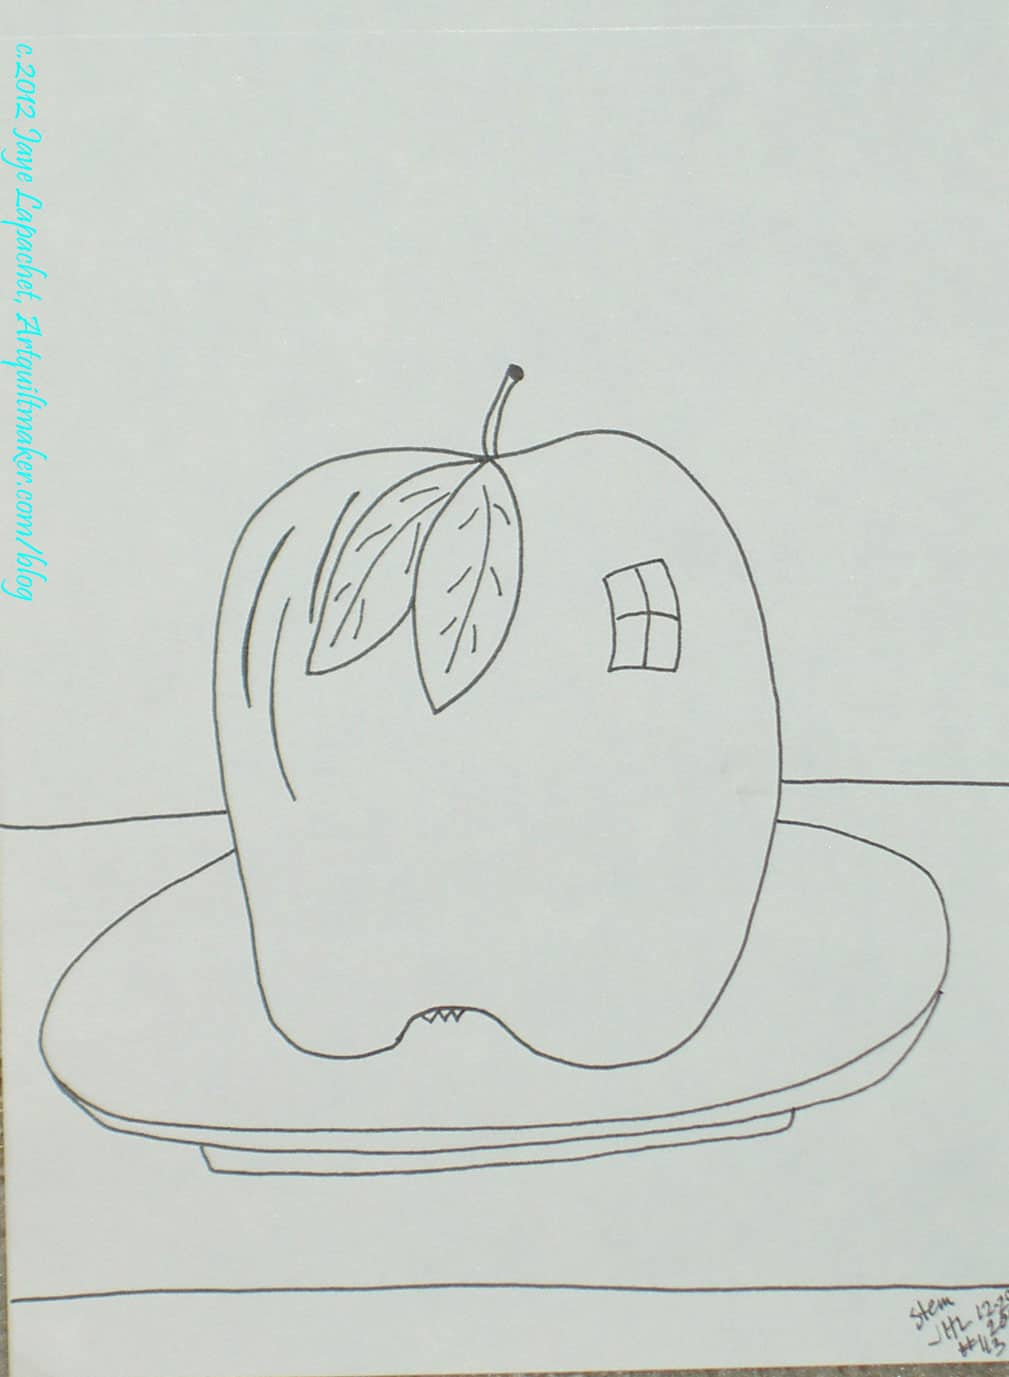
CPP Response #113: Stem

What else could I have drawn? I thought about putting something on the wall and making it look like the fruit was on a plate in the dining room, then I just didn’t.

Having a daunting number of responses to get through means I am not spending as much time as I should. Perhaps I should stop? Or cut my losses and start from where I am.

FOTY 2011 – Mid December

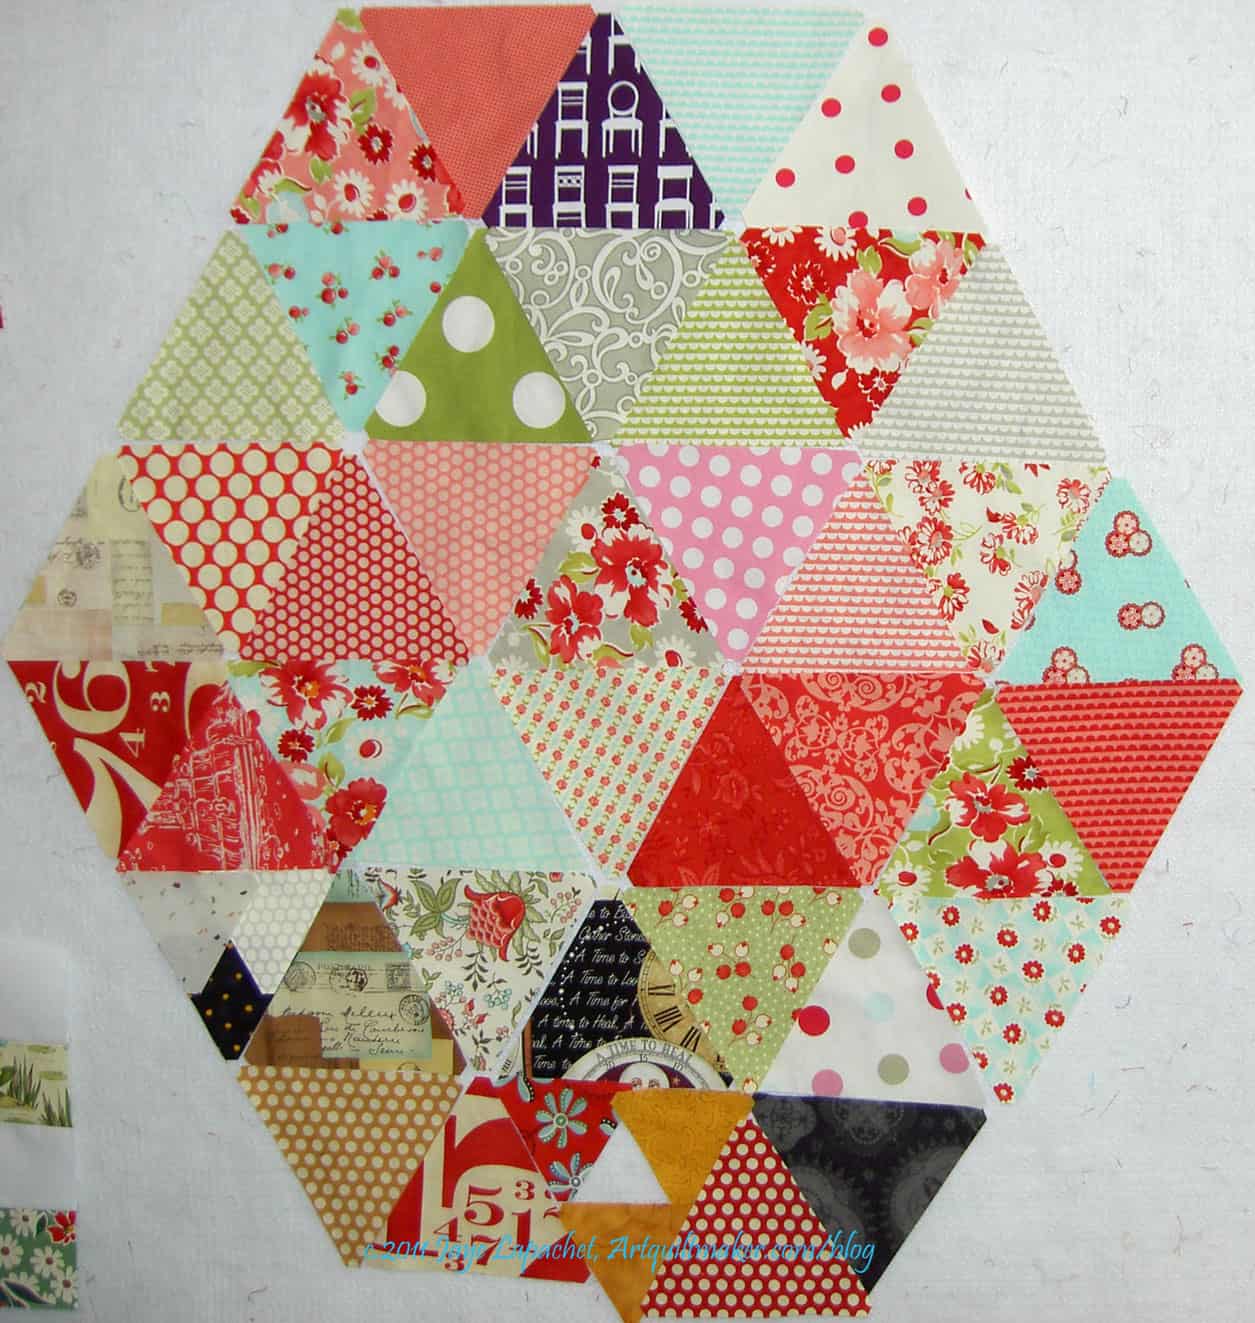
Mid-December Triangles

I am trying different arrangements of triangles for show. The previous arrangements have left so much design wall space in the photos. It took me awhile to cut enough triangles for this photo as I concentrated on the Stepping Stones top.

Many of the fabrics are from Camille Roskelley’s Ruby line. I have stacked them up as I search for suitable project for them. I have almost decided I will do another Stepping Stones quilt, though perhaps I will scale it down a bit as how many 100×80 quilts does a person need?

This may be the last batch of triangles as I have to start organizing them in preparation for sewing them at the CQFA retreat.

Block-a-Long #37: Big Stack & Square Line

Big Stack & Square Line #37

Happy New Year! I hope one of your resolutions was to participate int he Block-a-Long!

This is the first block of the New Year! Another simple block with rectangles. Yes, I am definitely continuing my rectangle love.

It looks good with four fabrics and I encourage you to select your own fabrics and not try and match mine.

Rotary cutting directions for Big Stack & Square Line #37 are posted.

If you have made blocks or a quilt from these patterns, please post a link in the comments section of the relevant block or on the AQ Block-a-Long Flickr group. I would love to see what you have made.

Stepping Stones Well Underway

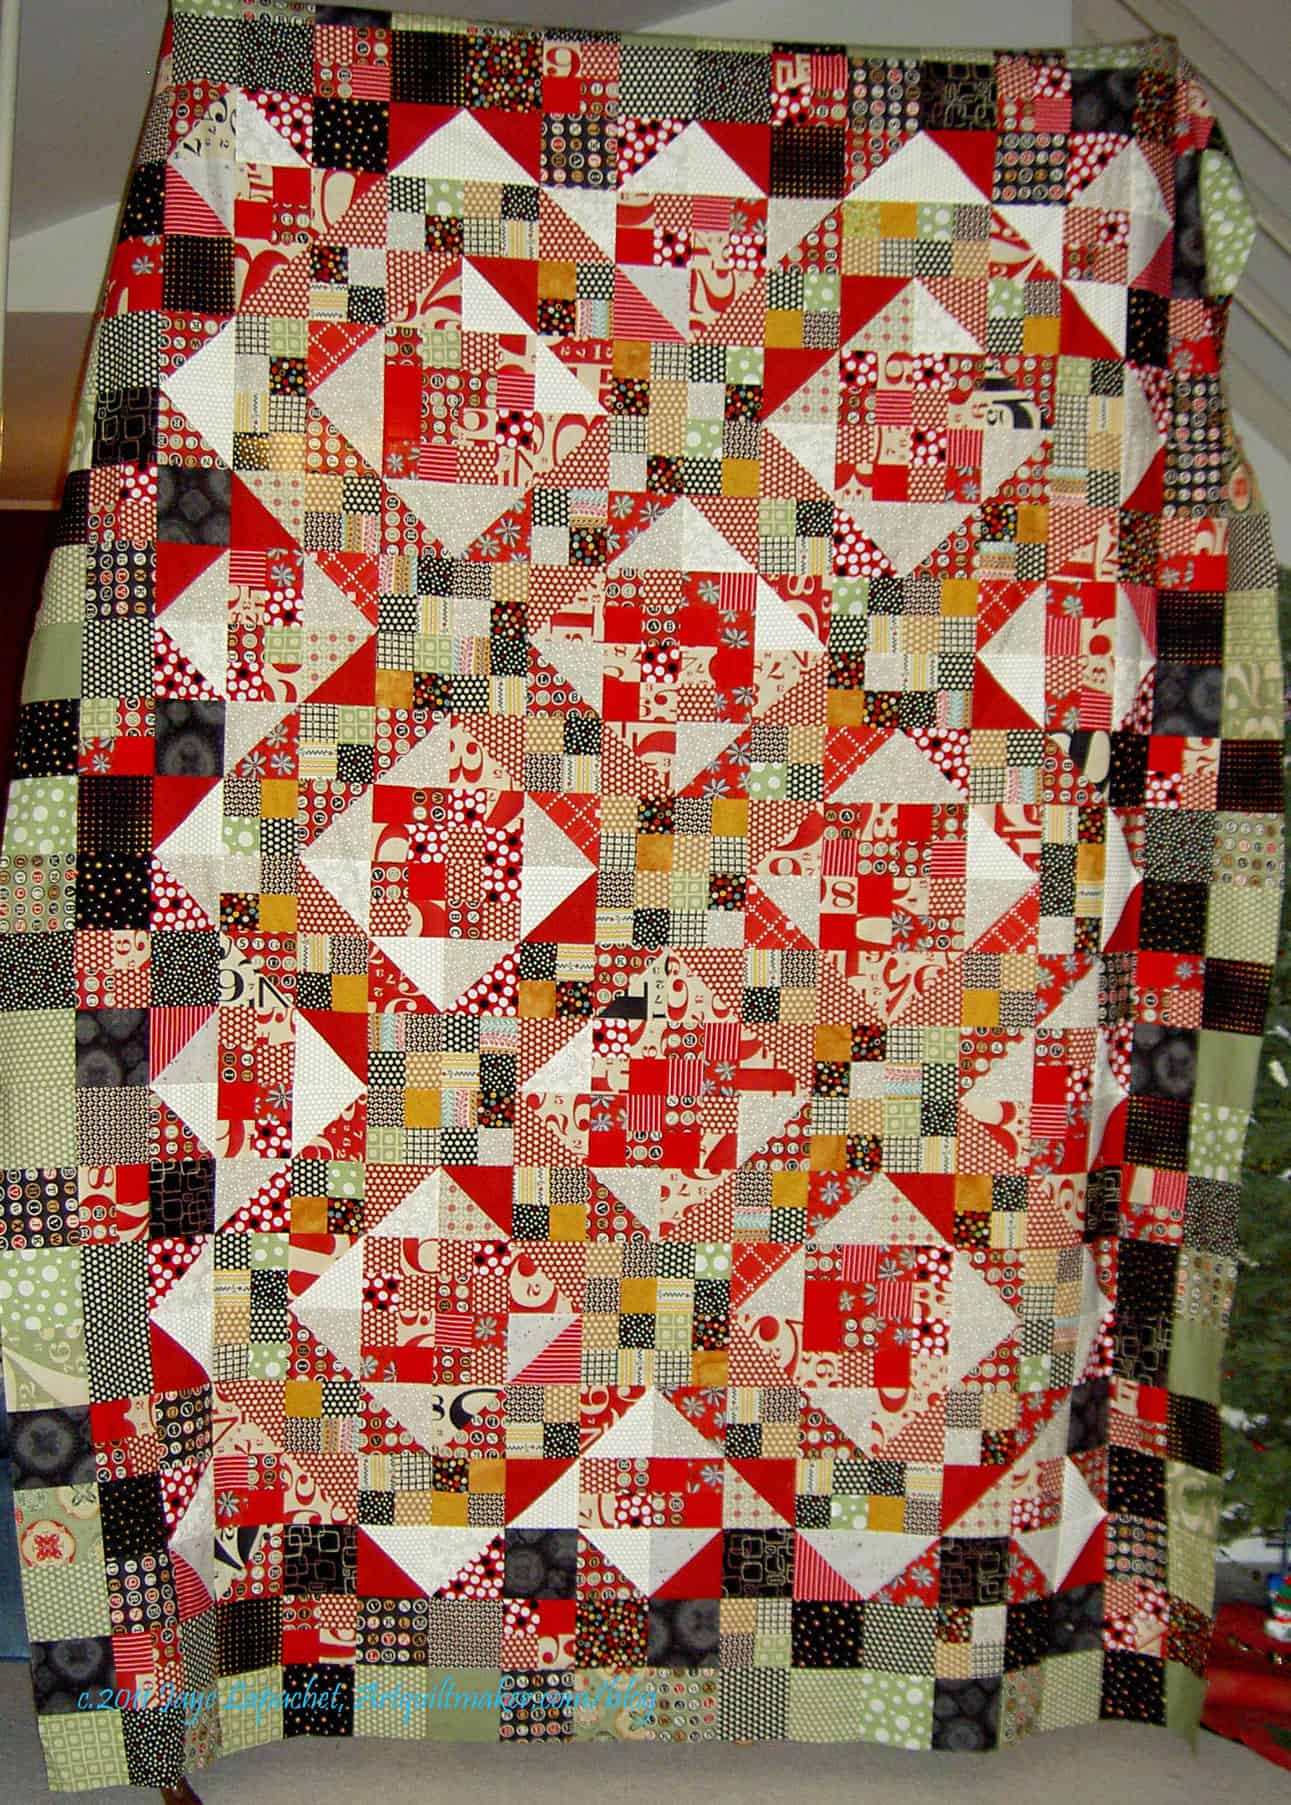
Stepping Stones Top
Stepping Stones Top

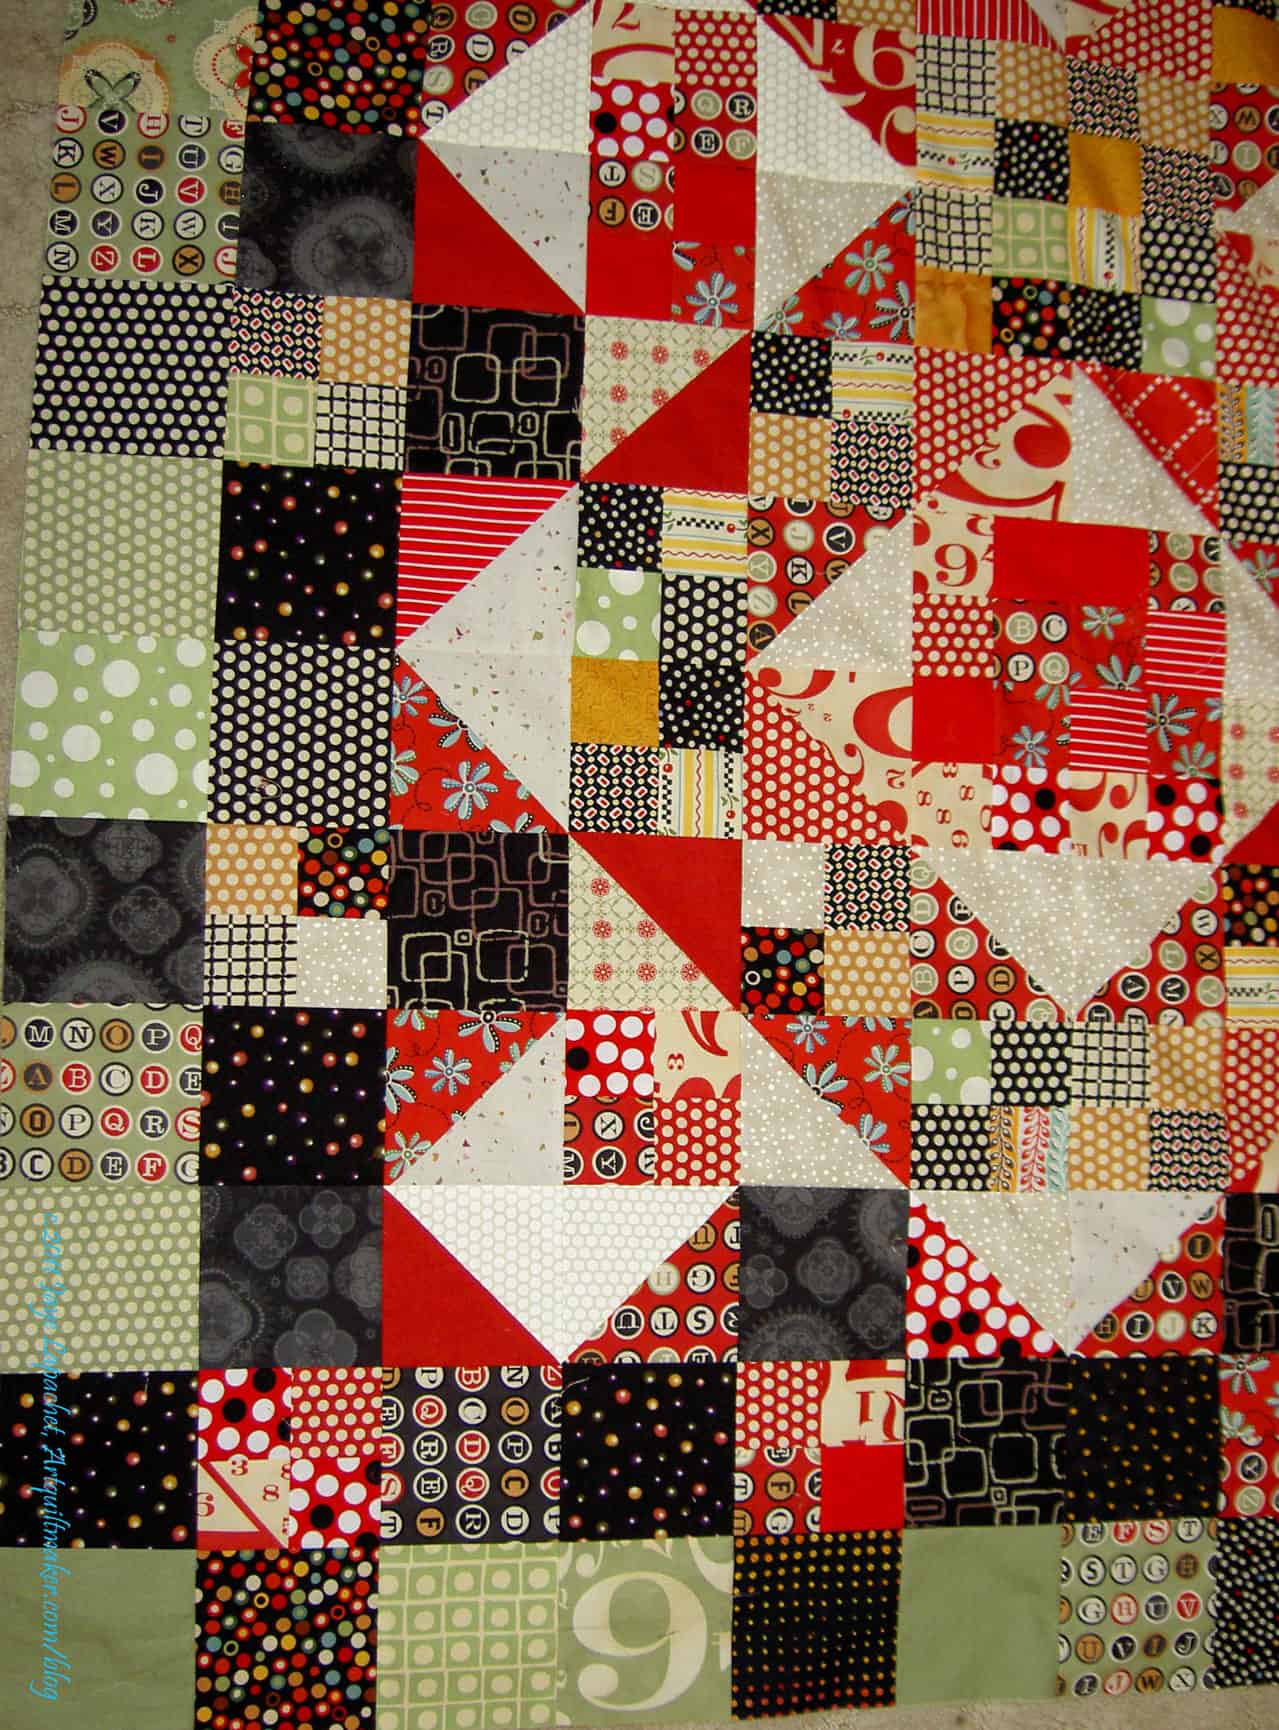
The Stepping Stones top is done. It is quite large and my quilt hanger was not able to hold it to its full width. I am pleased with how it came out, though I think I will add a quilting border to preserve the pattern.

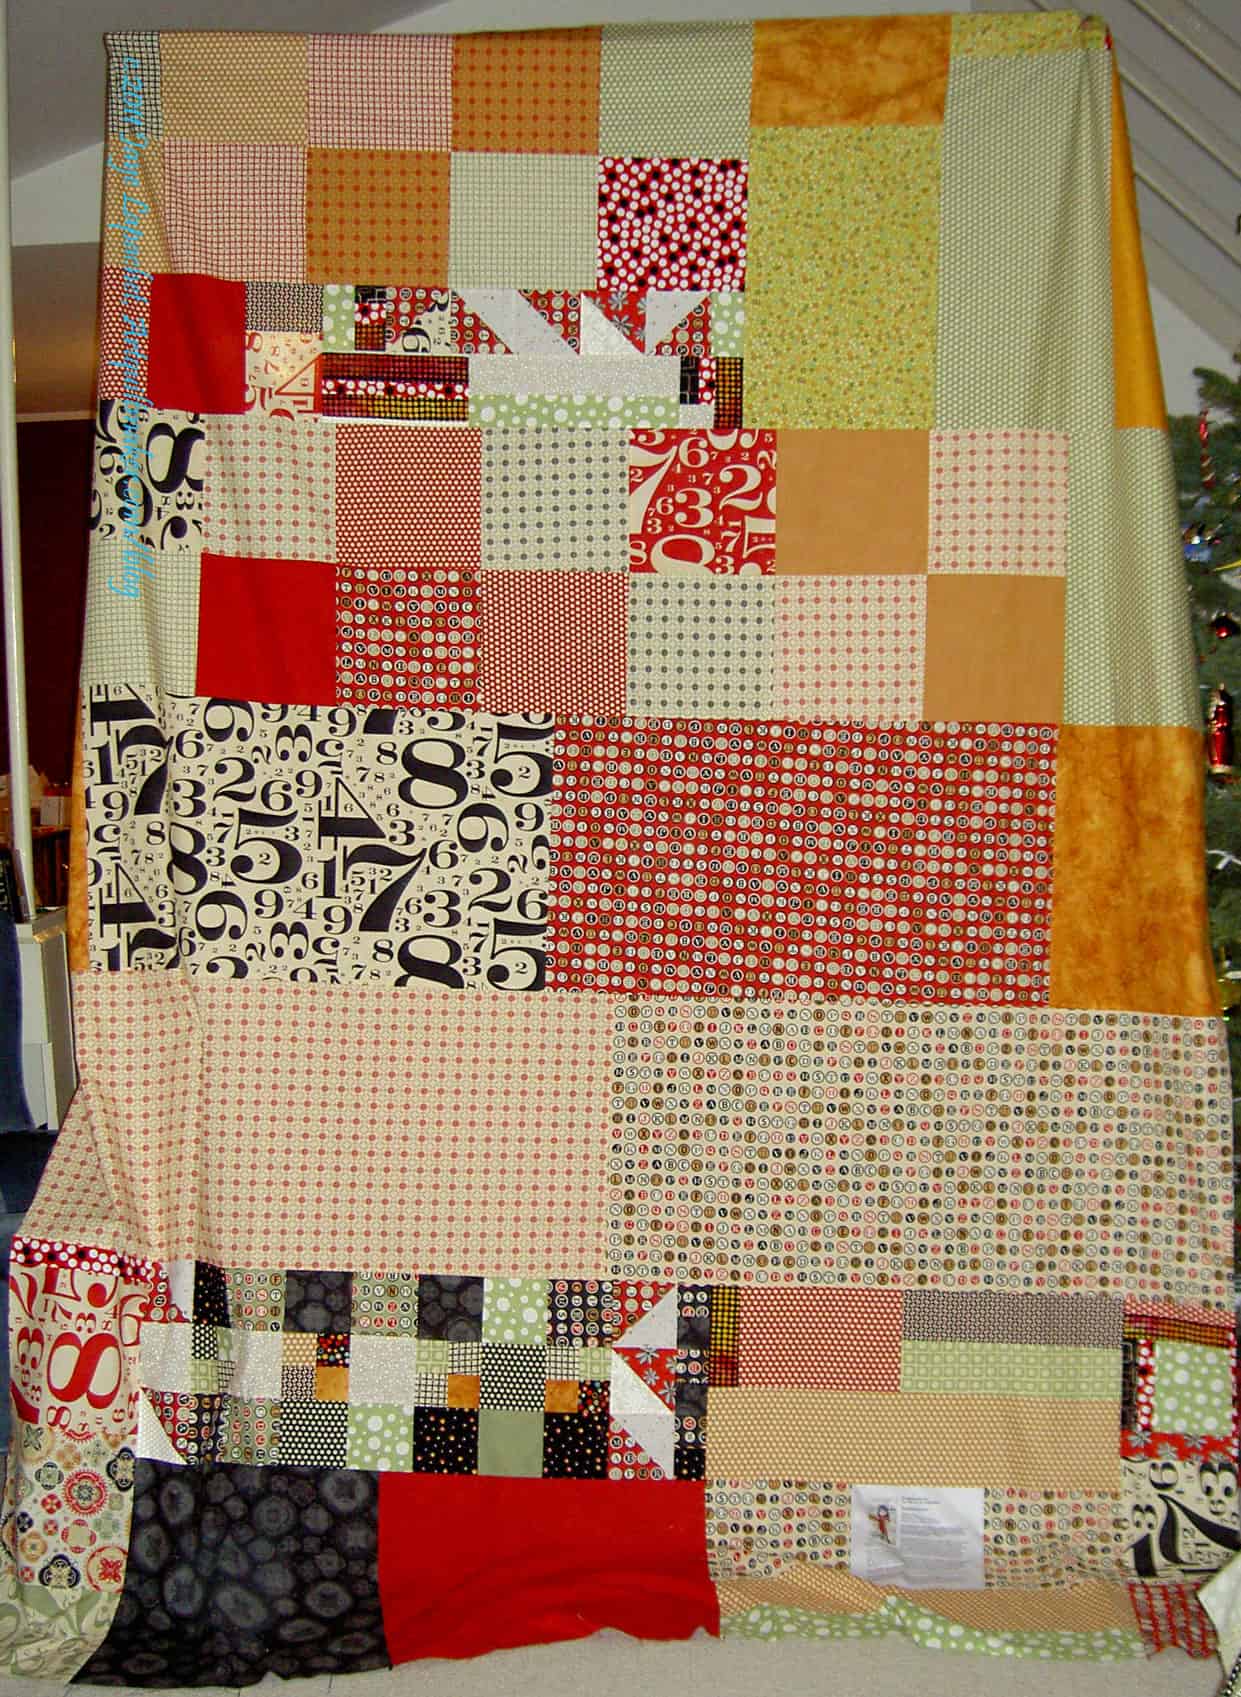
I used the leftovers to make the back, which is even larger.

Stepping Stones Back

I don’t know when it will be quilted as I have not heard from my quilter and have not found anyone suitable to step in.

Stepping Stones Corner

In the corner photo you can see the modifications I made to the pattern.I am pleased with how it came out and how the green in the center works with the green border blocks.

2011 WIP Report

Good-bye 2011!

Hello 2012!

I don’t care much about work except for the money it brings and the colleagues with whom I enjoy spending time. What matters to me is my sewing and quiltmaking. I have enjoyed 2011 and made some wonderful projects. Below is the 2011 inventory of the quilts, etc that I sewed or created in 2011. I am also took a look at where I am in the process of various projects as well as where I want and need to go. I feel like I have made progress since the previous roundup post of December 31, 2010, but let me know what you think. First, I want to tout my accomplishments. 😉

2011 started off a bit slowly. The piecing of FOTY 2010 took me longer than planned and that got me off schedule a bit. It came out really well, though, so I am glad I took the time.

I read 55 books this year. Of the 55 I read, 20 of them were quilt, bag or creativity related.

I had quilts in 3 shows this year, which was surprising and pleased me greatly:

  • Change of Seasons was at the San Francisco Public Library from March 2011-September 2011 as part of the CQFA’s Primal Green Show
  • Fabric of the Year 2010 was at the San Jose Museum of Quilts and Textiles from August 14-October 16, 2011. What a thrill to have a quilt in a museum show!
  • Zig Zaggy Quilt was part of the New Quilts of Northern California at PIQF, October 12-16, 2011

Completed Pieces in 2011

One of the great things about completing projects is that they roll off the ‘not done’ or WIP or “To Do” list and on to the completed list. Two birds with one stone and all of that. 😉

Completed means to me that they are now usable and can in no way be considered to have anything left to stitch.

2011 completed projects are:

Mostly Done, Needs Finishing

This category contains the projects that are past the UFO stage and nearly finished

  • Food Quilt: top and back finished, binding made, needs quilting and binding
  • Jelly Roll Race Quilt: top finished, needs borders, quilting and binding
  • Original Bullseye: decided, with help of my fabulous readers just to put a simple black border on and bind in black. Needs border, back and binding.
  • Stepping Stones – piecing the back
  • The Tarts Come to Tea: quilting in process. Needs quilting completed, embroidery and embellishment, binding and sleeve.

True UFOs

Here is my list of UFOs. As mentioned last year, this list in no way implies that I will discontinue starting new projects or finish any of these.

  • Flowering Snowballs/Cross Block quilt: I not worked on this quilt at all year and have finished the center blocks. The side and corner blocks are drawn out on EQ6. I worried on and off about how to keep the blocks from fraying after I square them up. Got some good ideas from fabulous readers after my December 20, 2008 post! No progress in 2010 or 2011.
  • Garden from Pamela Allen class: needs hand embroidery and embellishment. Worked on it in the 2009 Pamela Allen class and it is much improved. Needs quilting, embellishment and binding.
  • Laura Wasilowski Flower Garden: started in the Laura Wasilowski class CQFA held in July 2007: needs machine quilting, hand embroidery and embellishment. No progress in 2008.
  • He Tried to Make it Up to Her: needs back and to be quilted. This is probably a quilt I will want to quilt myself. TFQ has dug out a number of quilts, but I don’t know if this was one of them. No progress in 2008.
  • Her Eyes were Bigger than Her Stomach: needs a back and to be quilted. Very active quilt; probably not the best design, but a mile marker in the quiltmaking journey and an excellent learning experience. No progress in 2008
  • Moon & Stars: in the quilting process…by hand
  • Pointillist Palette 4: Night: This is the fourth (of six) in a series of Pointillist Palette fabric by Debra Lunn and Michael Mrowka that was popular a number of years ago. No progress in 2008
  • Quilt Sorbet: on hold.
  • See: started in a David Walker class. Needs fusing, satin stitching around fused pieces and quilting. No progress in 2009, but I did think about it a lot.
  • Self Portrait from Pamela Allen class: needs more piecing, hand embroidery and embellishment. No progress in 2009
  • Solid Star Friendship Quilt: I really need more friends so they can make stars for me in solids with black. Do you want to exchange a star block with me? No progress in 2009-2010
  • Spiderweb: foundation pieced project, still piecing. Pattern for the border blocks created, need to print on paper piecing paper and piece. I also think I may have made too many blocks and may make this into two quilts. Aside from collecting more strips, no progress 2008-2010.
  • Under the Sea:  brown piece from April 2009 Pamela Allen class with CQFA. Needs machine quilting, hand embellishment and finishing.
  • Women’s Work 2: In 2009,  I said that this quilt “needs focus.” Was inspired and have the design. No progress 2009-2010, except for finding my drawing and making a file.

On My Mind

Here are the quilts and projects I am thinking about. Some are on the list from last year. In some cases I have purchased fabric, but no sewing has been done, so they are not yet considered UFOs.

  • Bathroom ‘quilt’ out of heavy clear plastic. I want to make pockets that I can put interesting things in that won’t get waterlogged. I also think the stitching would be an interesting addition to the piece. I also saw a tallish tote bag with many pockets that is similar to what I have been thinking for this quilt, so perhaps I will do another tote instead.
  • Blue Rectangle Project-Blue monochromatic quilt with the 2.5″x4.5″ blue rectangles I have been cutting.
  • Colorblocks 4 with silks: I want to use silk fabric with a luscious sheen instead of the regular cottons. Background will be black cotton sateen again. What’s been holding me up? Backing all the silk. I have the backing and just can’t bring myself to do it. Barsha told me to skip the backing and just make the quilt without it. Can’t decide if the project has new life or not. Definitely not on the top of the list.
  • Dot quilt with inset circles a la Ruth McDowell: more uses for dots and a good exercise in piecing. The Twinkle quilt shown in the January 2009 issue of Quilting Arts magazine is similar and renewed my interest in this design. Took a Dale Fleming class in April of 2010 and learned another way to make circles.
  • Feathered Star dot quilt from Summer 2007 issue of Quilts & More: more use for dots. I thought I would get to this after making the Pineapple, but the Pineapple is still not complete, so this this dot quilt has not been started.
  • Interlocking triangles #4: love the technique and have at least one, if not two, idea[s] for more quilts using this technique.
  • Garden Quilt: I have been collecting photos and patterns of interesting flowers for years and have always wanted to make some kind of garden or flower quilt. It will probably be something like The Tarts Come to Tea. Need to finish the Tarts first before starting the same kind of project. Now I can use the Soft Fuse for this quilt.
  • Jack’s Chain: I saw a quilt of this pattern years and years ago and have always wanted to make one. Probably at least a partial hand piecing project after the Flowering Snowball (Cross Blocks quilt). I am more confident seeing how Liz Porter and Marianne Fons handled equilateral triangles. I also have that new ruler to use. I could, additionally, decide on a size and start piecing nine patches. I saw a quilt at PIQF 2011 that used other pieced blocks instead of 9 patches, which was quite intriguing.
  • Liesl tote/backpack: have fabric and pattern and after hearing her interview with Jennifer at CraftSanity, I also have the confidence.
  • P&B Pop Parade quilt a la Serendipity Puzzle
  • Paper pieced Nativity scene: I downloaded this pattern when it was free years ago and have never gotten up the energy to be as organized as I need to be to make this, but I still want to make it. You can find the pattern, for purchase, at Paper Panache.com
  • Piece O’Cake Daisies & Dots project
  • Pink Rectangle project
  • Ruby & Bliss Stepping Stones project – still a bit unsure on the pattern
  • Queen Street fabric project
  • Quilted Fish Sugar & Spice Project
  • San Mateo County Fair Dot quilt
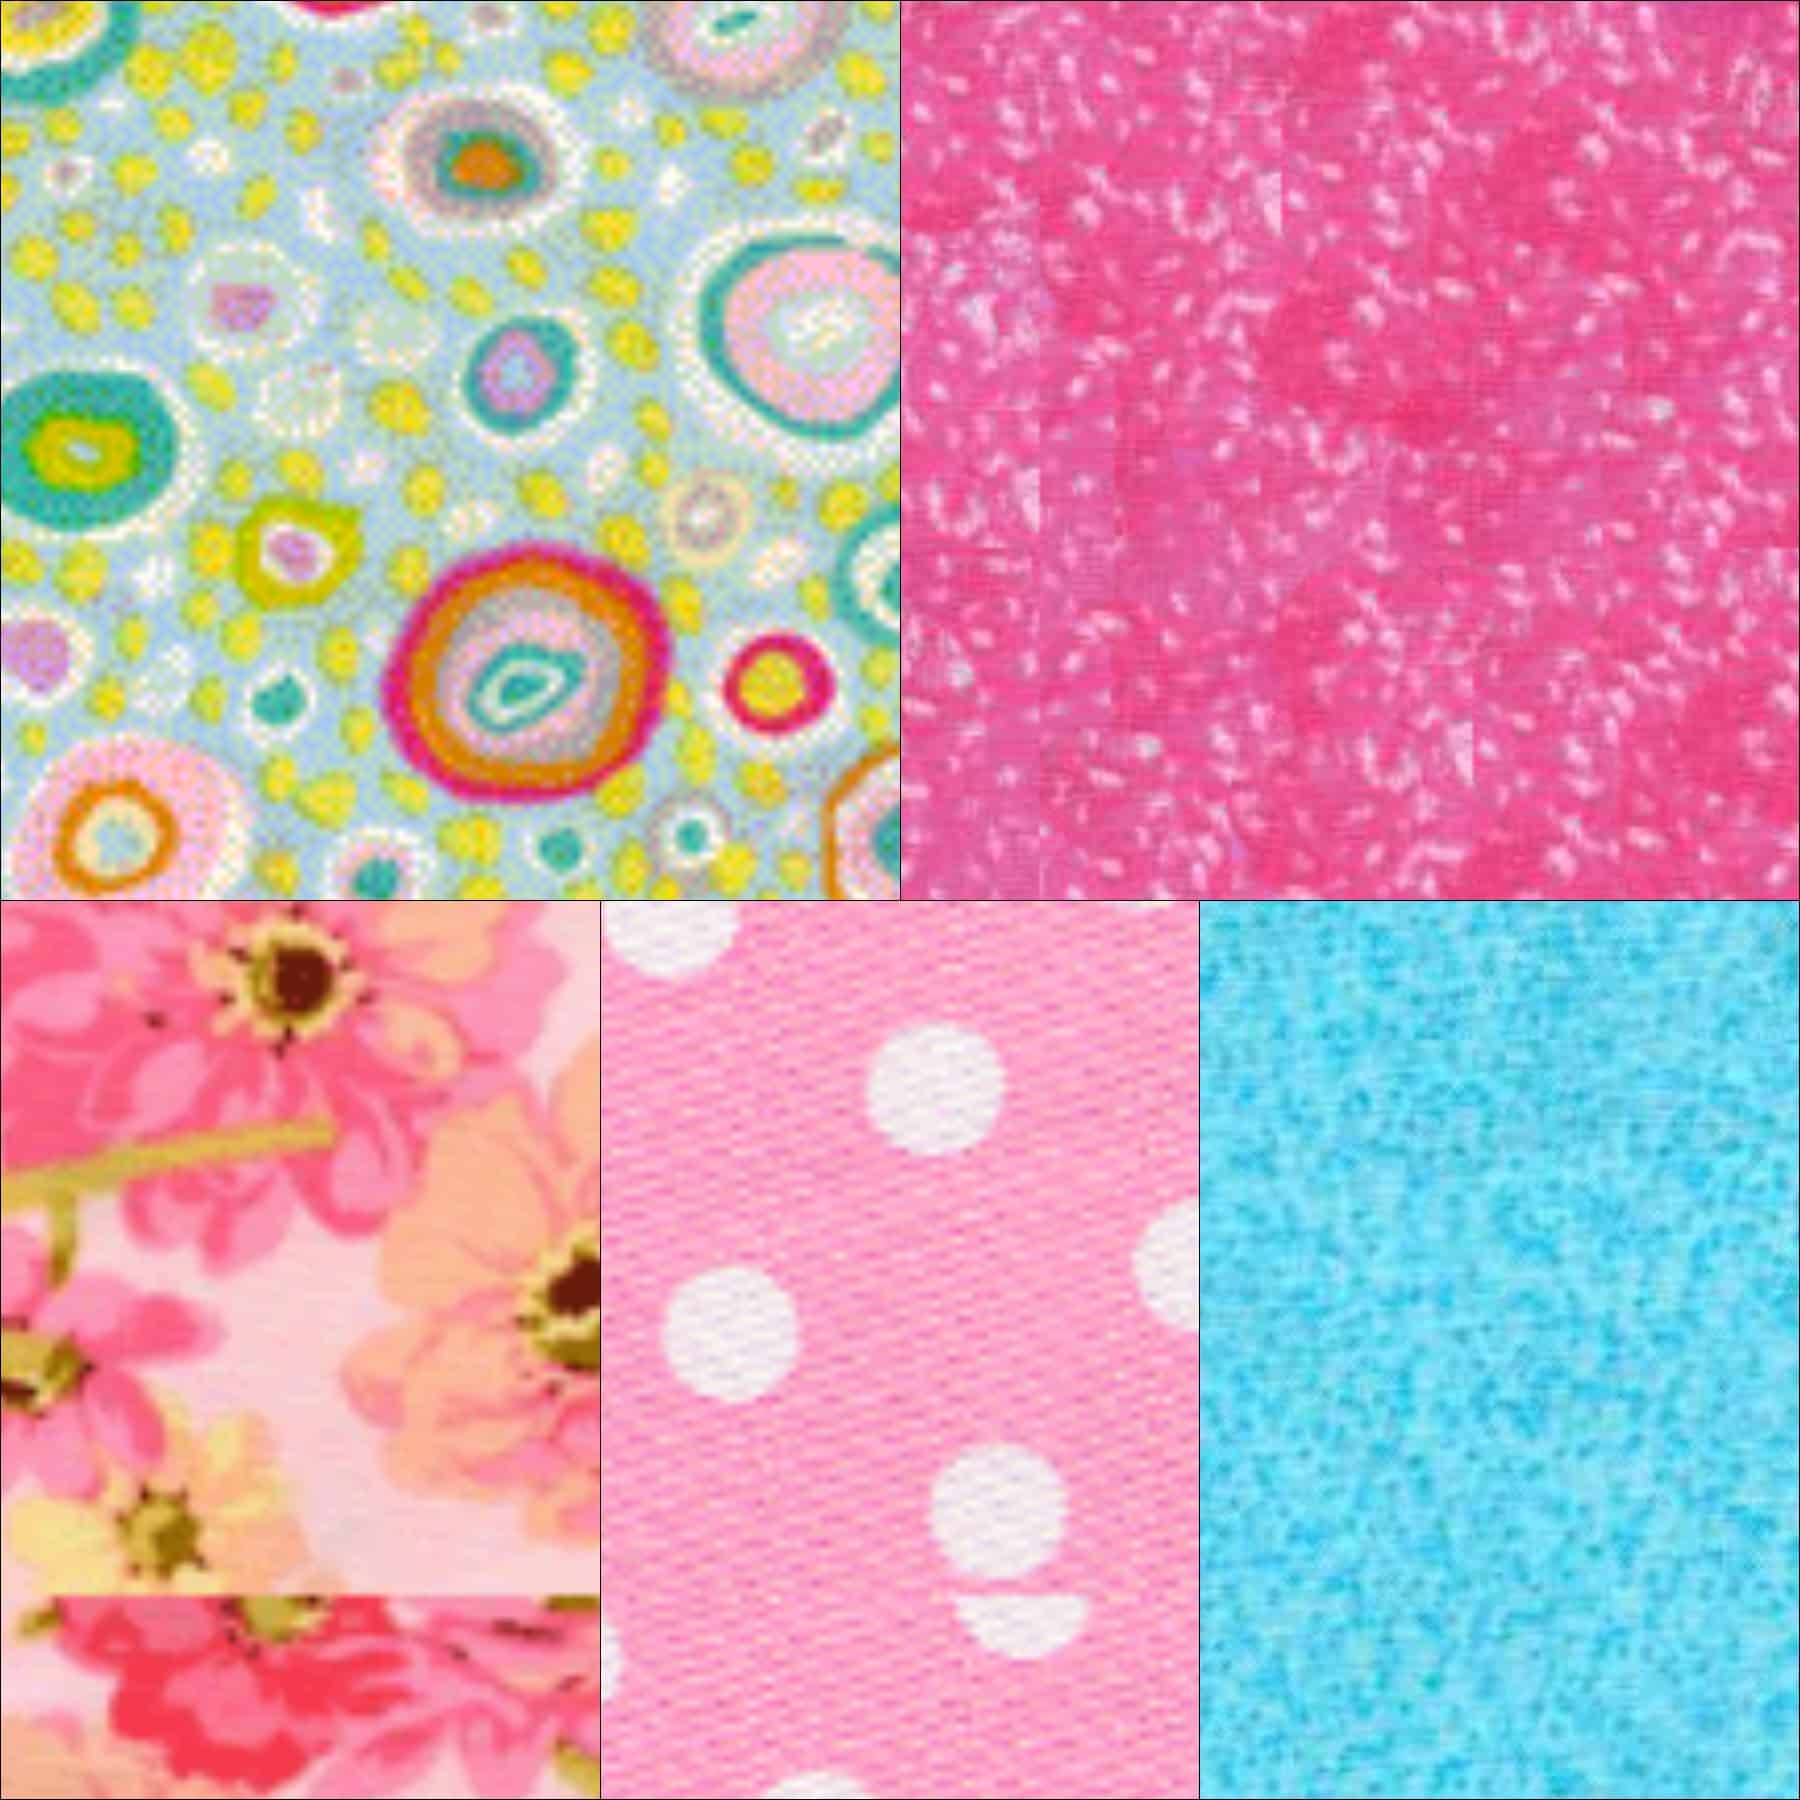
  • Some kind of pink quilt with all the pink fabric I have still been buying. I have begun cutting 2.5″x4.5″ rectangles of pink fabrics that cross my cutting table, so it will probably be some kind of rectangle quilt.

Abandoned Projects

This is also a new category. I decided to be upfront about the projects I got rid of.

  • Dot Pineapple quilt abandoned in 2011: I just can’t deal with the different sized blocks. I feel terrible about this one, but think that I will start it over and be better about tracking the size of each block.
  • QA Challenge Quilt: I needed to fuse the parts and rubber stamp the words, but I just wasn’t feeling the love. I have other things to do, so off it goes.

Happy New Year and Happy 2012 Sewing!