My rating: 4 of 5 stars
I heard about Rebecca Yaker and her book, One Yard Wonders, from Jennifer Ackerman-Haywood of CraftSanity. Jennifer did a podcast interview with Rebecca and I ended up with the book from the Library!
First, I love the look of this book. It is lay flat spiralbound with a hard cover. It is well designed in terms of color. Each page has a bit of fabric on the edge to add interest. I wasn’t that excited about the fabric chosen for the projects. It simply is not my style, however I found that the fabric chosen went well with the design and layout of the book.
The table of contents is pretty detailed. Each chapter is defined by the list of projects or elements included. I like that as I was able to flip to projects I wanted to look at immediately because of the detailed table of contents.
Second, the writing style has a sense of humor. The chapters are named things like ‘Dwell Redux’, ‘Household Affairs’, ‘From Head to Toe’, ‘Accessorize Your Little One’, etc. Yes, I like to be entertained!
The book has the obligatory chapter on equipment, notions, and sewing. I do like the stitch terminology section, which talks about what exactly the stitch means. That is useful. I never knew what a staystitch was, and this book defines it. “A staystitch is most often used when a fabric piece is cut on the bias or on a curve. it is a single stitch line on a single layer of fabric. Typically, a line of longer stitches is made at or just within the seam allowance, and helps to stabilize the fabric to prevent it from becoming stretched or distorted later when attached to another piece.” This section is 14 pages long and because of the length, I don’t mind it as much. I would have like to have seen some mention of where the reader can go to get more information.
I would have liked to have seen the chapter pages/section introduction include a list of the projects as well the text. It isn’t difficult to flip back to the table of contents.
The reason I have to put this book on my list to buy is that there are a number of projects that I want to make or use to modify something I already have. Some of the projects on my list are:
Framed Tack Board – I would use this project to modify some bulletin boards I already have
Lined Bookcase – (brilliant!)
Folding Chair Pinafore Cover – I would take the idea and modify it to fit my older dining room chairs
Organized Bed Pocket – great gift!
Smocked Pillow in the Round – would like to learn some of the techniques used to make this pillow.
Granny’s Clothespin Apron
Kitschy Kitchen Apron – I already used the specifications from the Kitschy Kitchen Apron to make the Petal Apron I donated to the CraftSanity Apron Challenge
Hey Hot Dish
Obi-Inspired Hot & cold Pack – I cannot make one of these soon enough and I also think it would make a great gift.
Hanging Wall Pocket
Origami Organizer – I would add a lid to this project
I wasn’t much interested in the clothes. I think that the clothes one can make with one yard of fabric are not the clothes that fit my style. Some of the pieces would be great gifts for my nieces or for friends who have babies and small children.
Another bonus is that this book has a pack of patterns rather than telling you to blow pieces up at the copy center to 5000%. I like the packs of pattern sheets better. I didn’t take them out of the envelope since this is a library book, but will once I buy (or receive as a gift!) the book. You do have to enlarge a few of the applique patterns, but they could be free hand drawn to a larger size as well. Yes, even those of you who do not consider yourself proficient drawers can do it with a little graph paper!
There is a glossary with more terms defined. The resource section includes fabric, inspiration, trims and forums, etc. I was glad to see the contributor bios section. The book was put together with the help of people around the blogosphere contributing projects and it is nice to see their names, a brief bio and a link to their website or blog. I was confused about why that section is organized by first name. Perhaps that is how the authors know the contributors?
There is also (YAY!) an index! Thank you, Storey Publishing for spending the money to include an index! This is the same publishing company that published the Sew What Bags by Lexis Barnes.
If you like to sew for your home or for gifts, I would recommend this book to you.
As I mentioned the other day, I enjoyed the Jelly Roll, because I was able to work with a wide variety of coordinating fabrics. I think my favorite in this set, though I do like them all, are the pieces with holly and ornaments. I also liked the diagonal striped fabrics as well.
Aside from the grain problems, the Jelly Rolls provide a quick start for a quilt. I am not saying that this quilt is quick since you haven’t seen the finished piece yet! I don’t really believe in the concept of quick quilts/Quilt in a Day for myself. I think process is important and I think that quilts take longer than a day. Why do you think I make receiving blankets as baby gifts?
Strip Organization
I have worked with my child a lot on learning styles, and strategies for successful learning. I have learned a lot from his teachers and the other professionals that work with him about learning styles, which has made me examine my own style of learning. I know that I learn best by someone showing me what to do and then doing it myself. I also learn okay from looking at pictures/diagrams. I don’t learn well by reading instructions. This is probably one reason why I don’t use a lot of patterns. It takes me too long to decipher them.
First, I sorted the strips into sets of two. I decided which strips I wanted to be in the same block as package and bow.
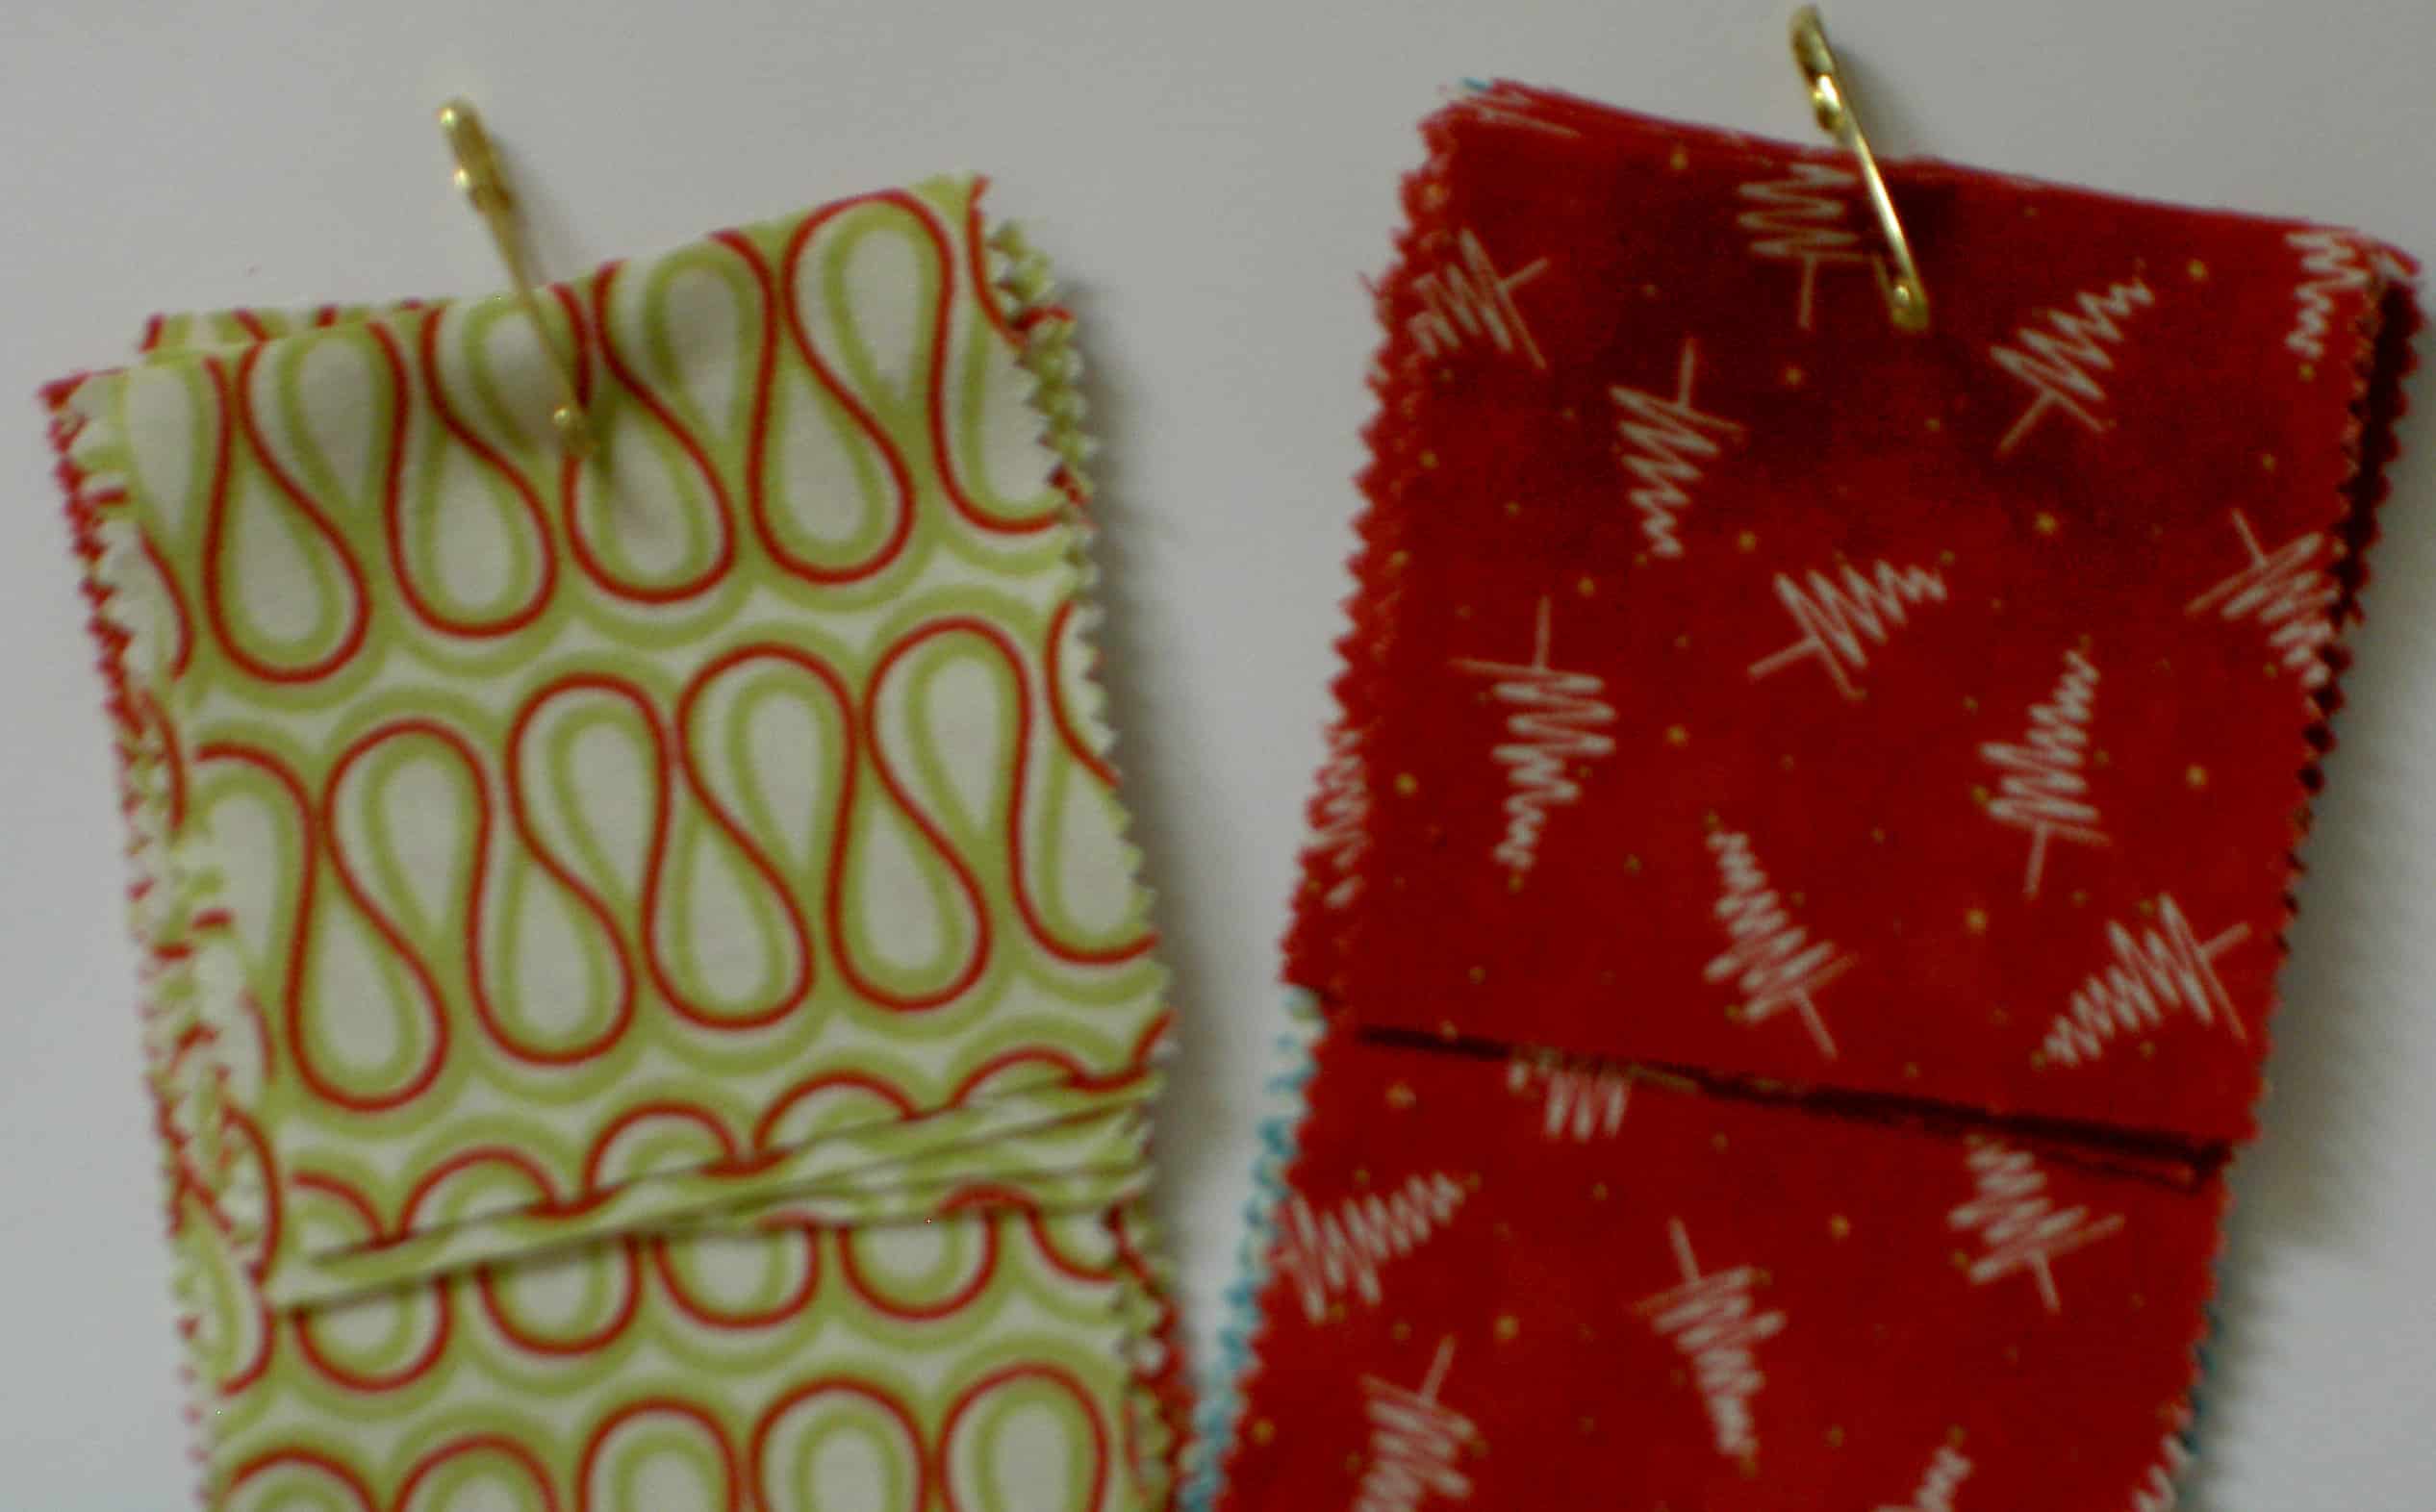
I cut pieces, as designated by the pattern, from the Jelly Roll strips and then I needed a way to keep them together. I don’t have the clips that Fons & Porter use, so I used my machine quilting safety pins. They are pretty sharp so they went through 4 squares, 3 rectangles and two strips pretty well.
Strip Organization – detail
I had large pieces of leftover strips and I couldn’t figure out what I was doing wrong. I went back to the directions and, finally, figured out that I needed to cut more bow and package pieces. From each strip needed to be cut enough pieces for a bow and a package.
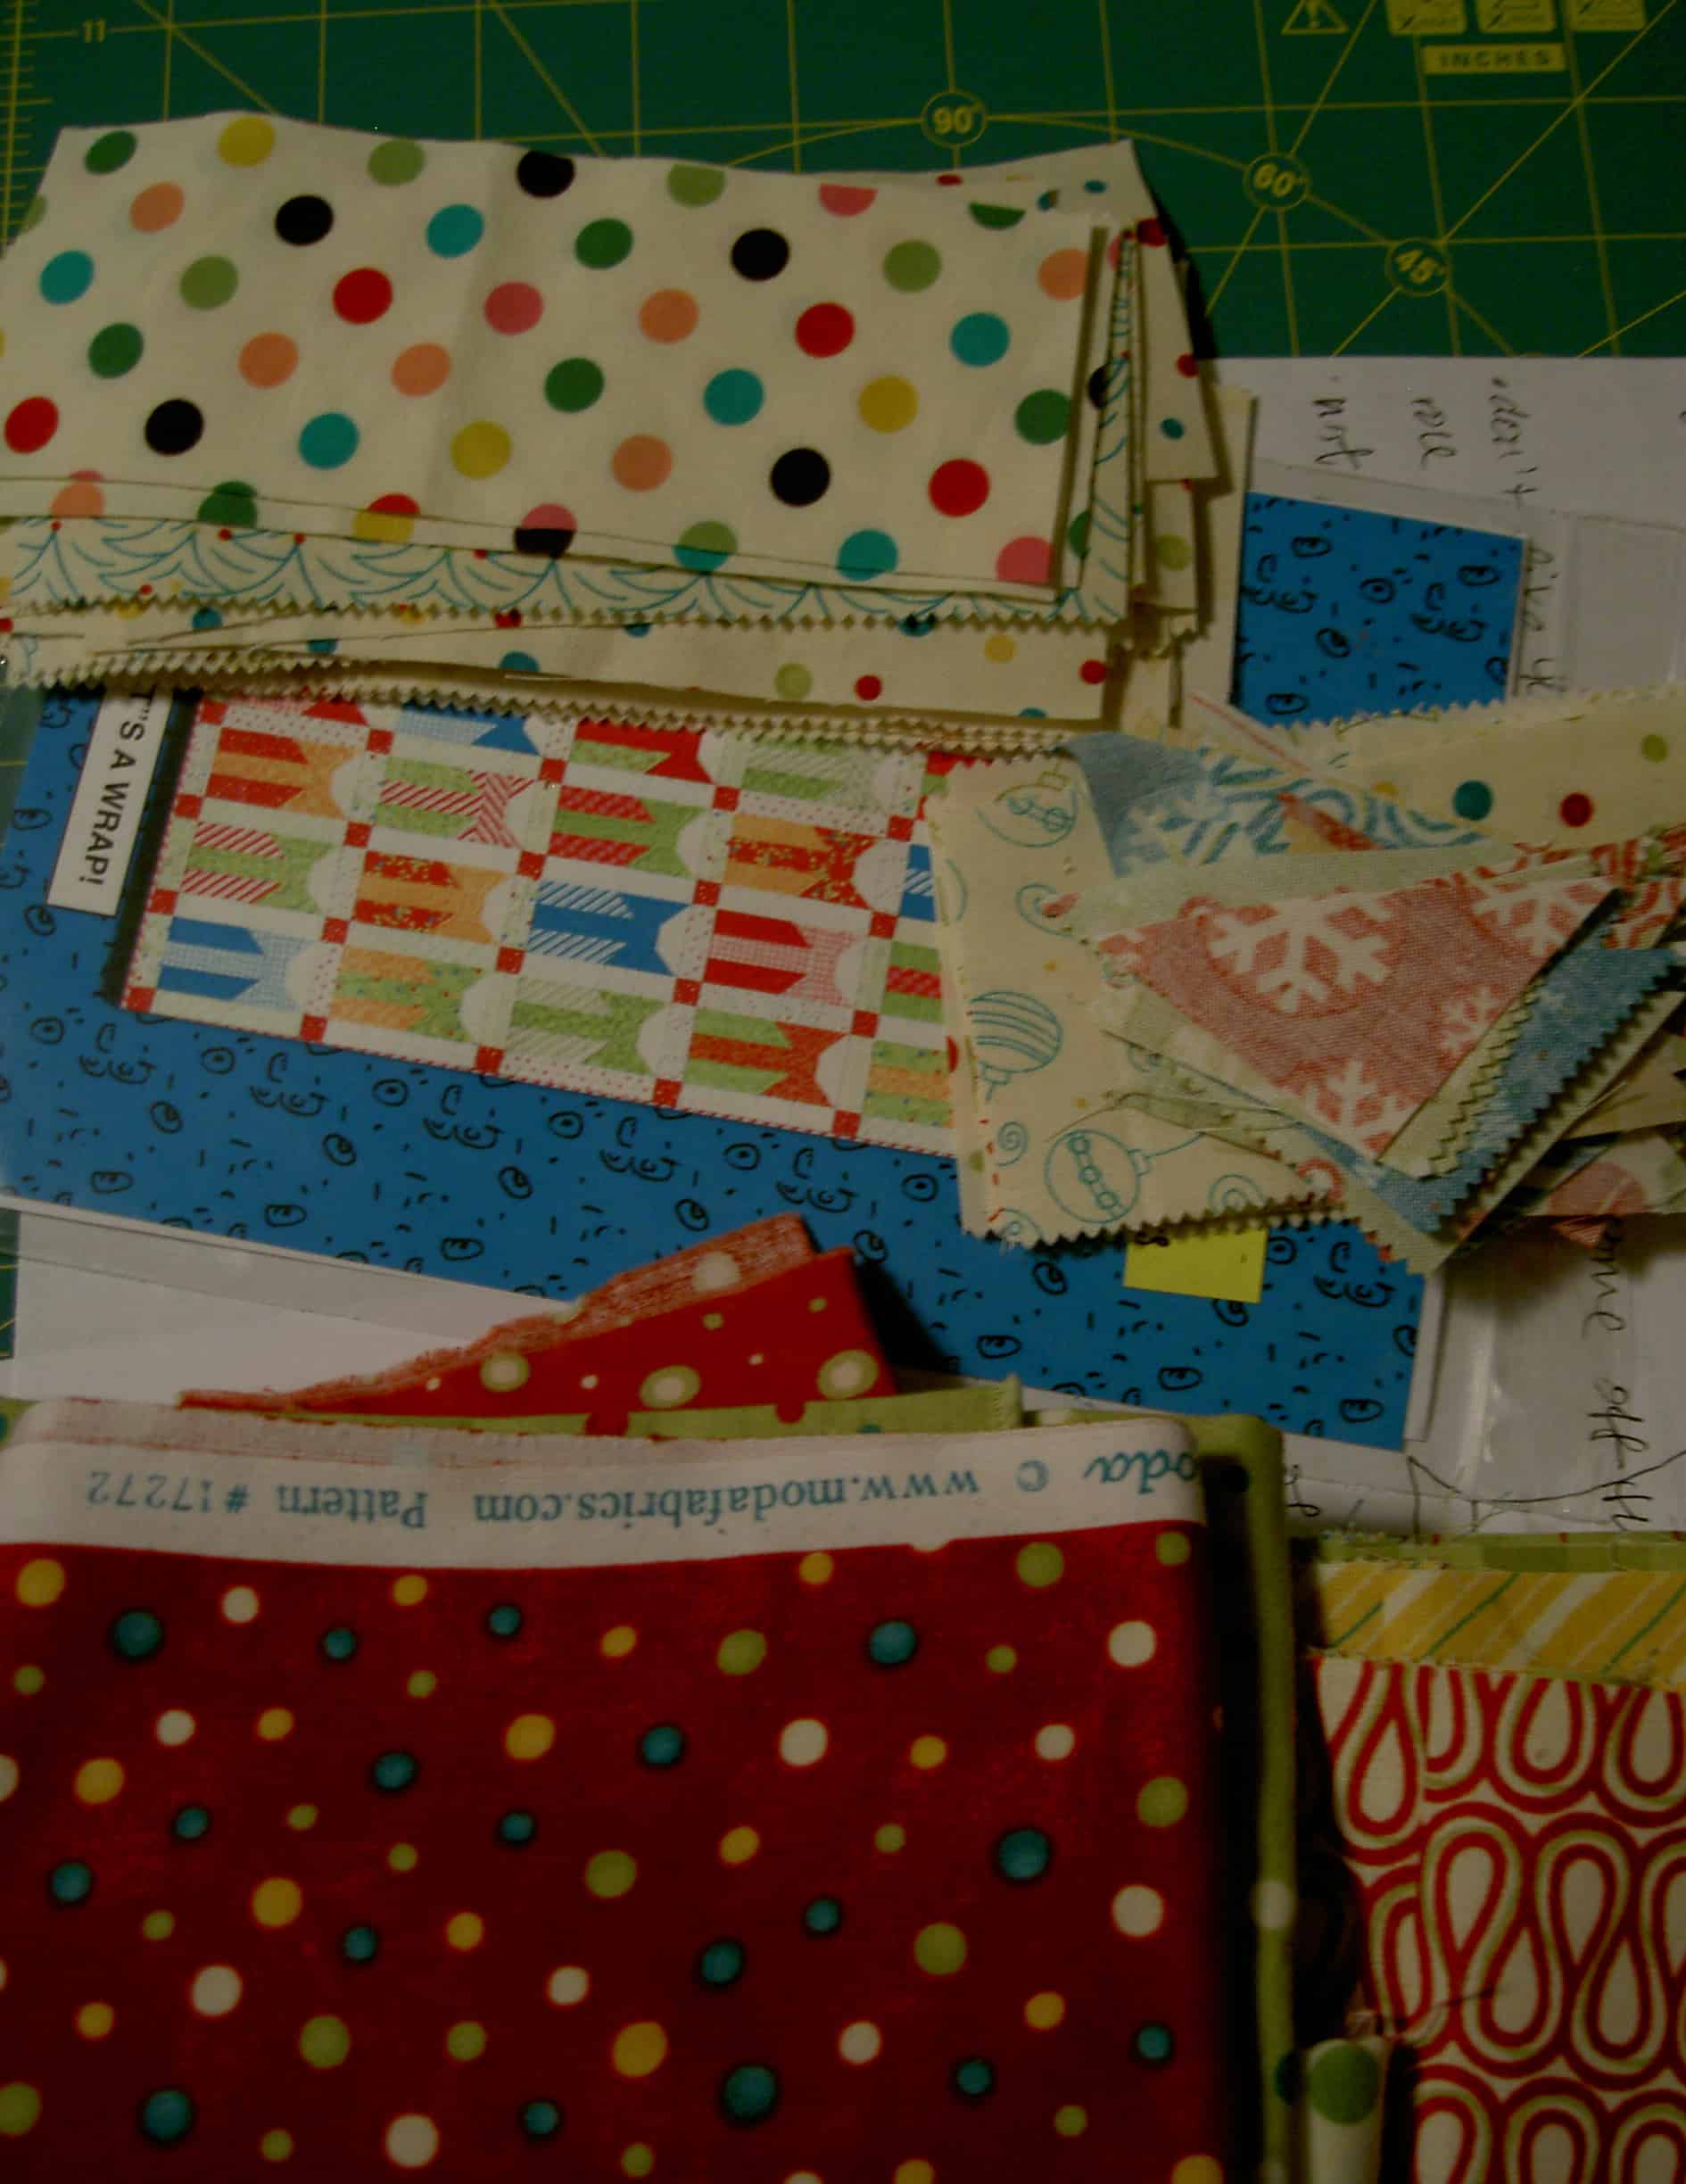
TV Cutting Kit
I did that extra cutting (more TV watching!) and then rearranged the new strips so that they had different mates for the second round of strips.
Fabric Combinations
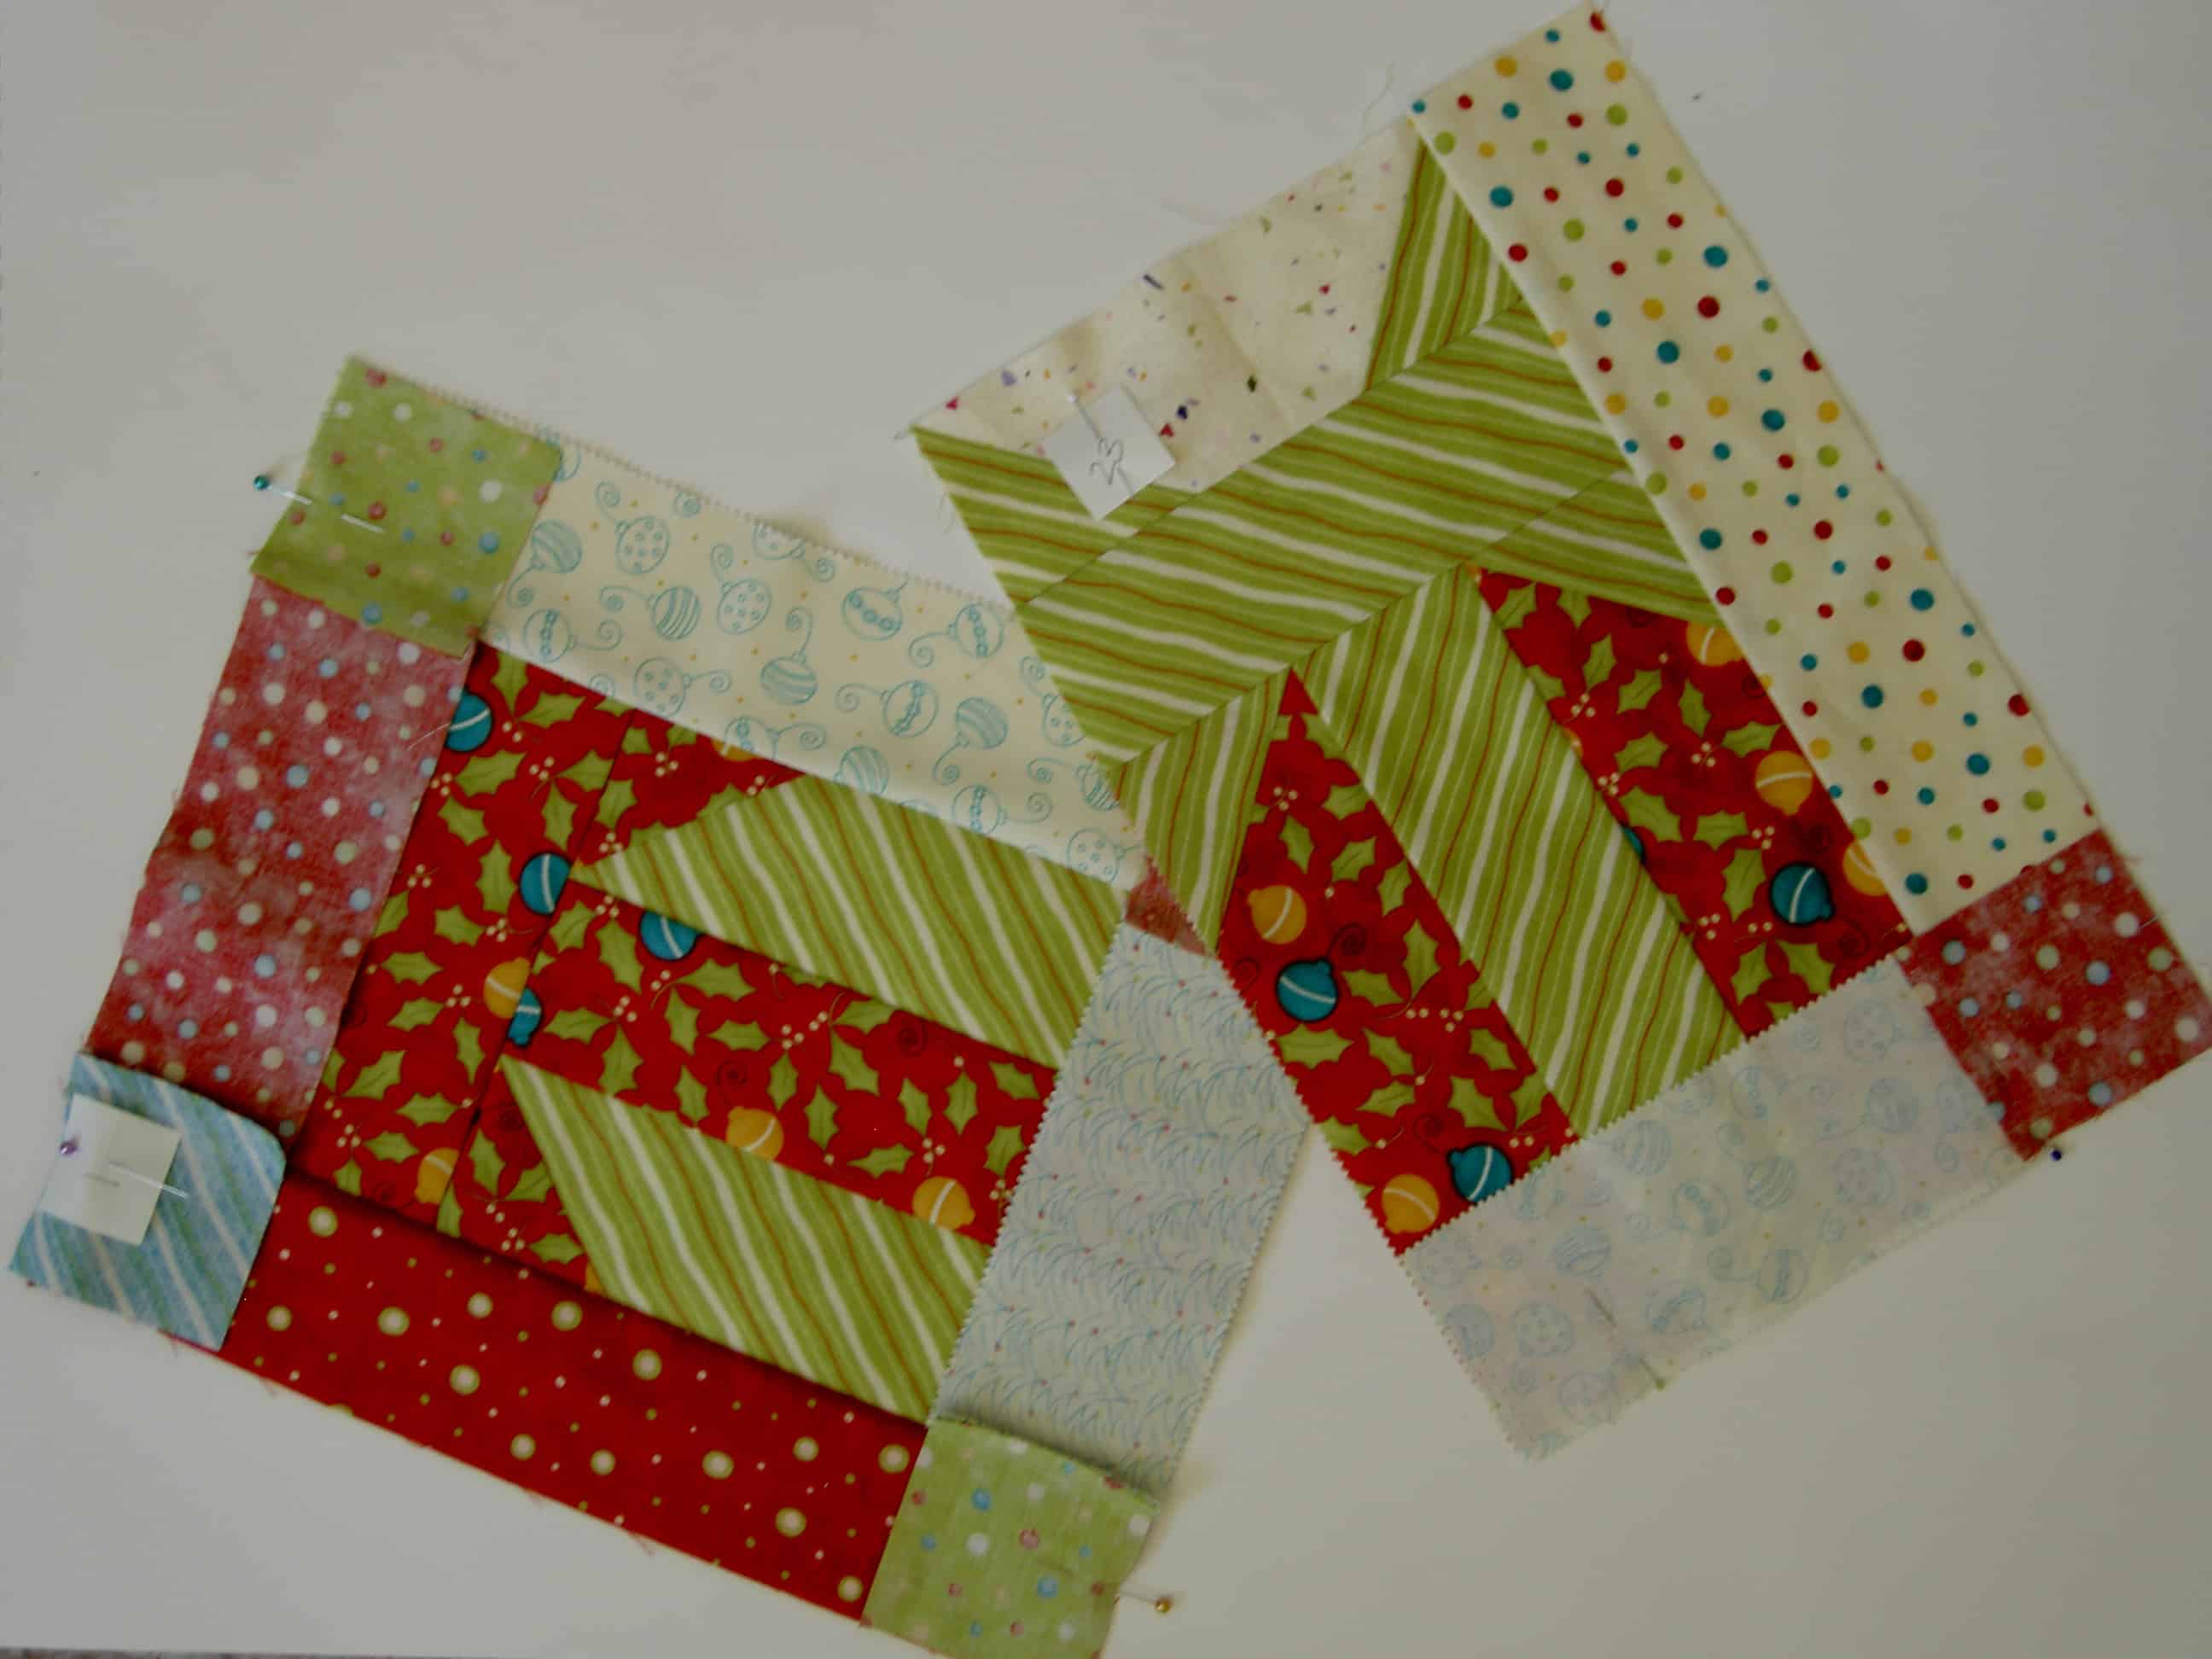
One step in the process is to put the bow together. This step involves triangles, but uses the square-into-triangle method to create the triangles at the top of the package.
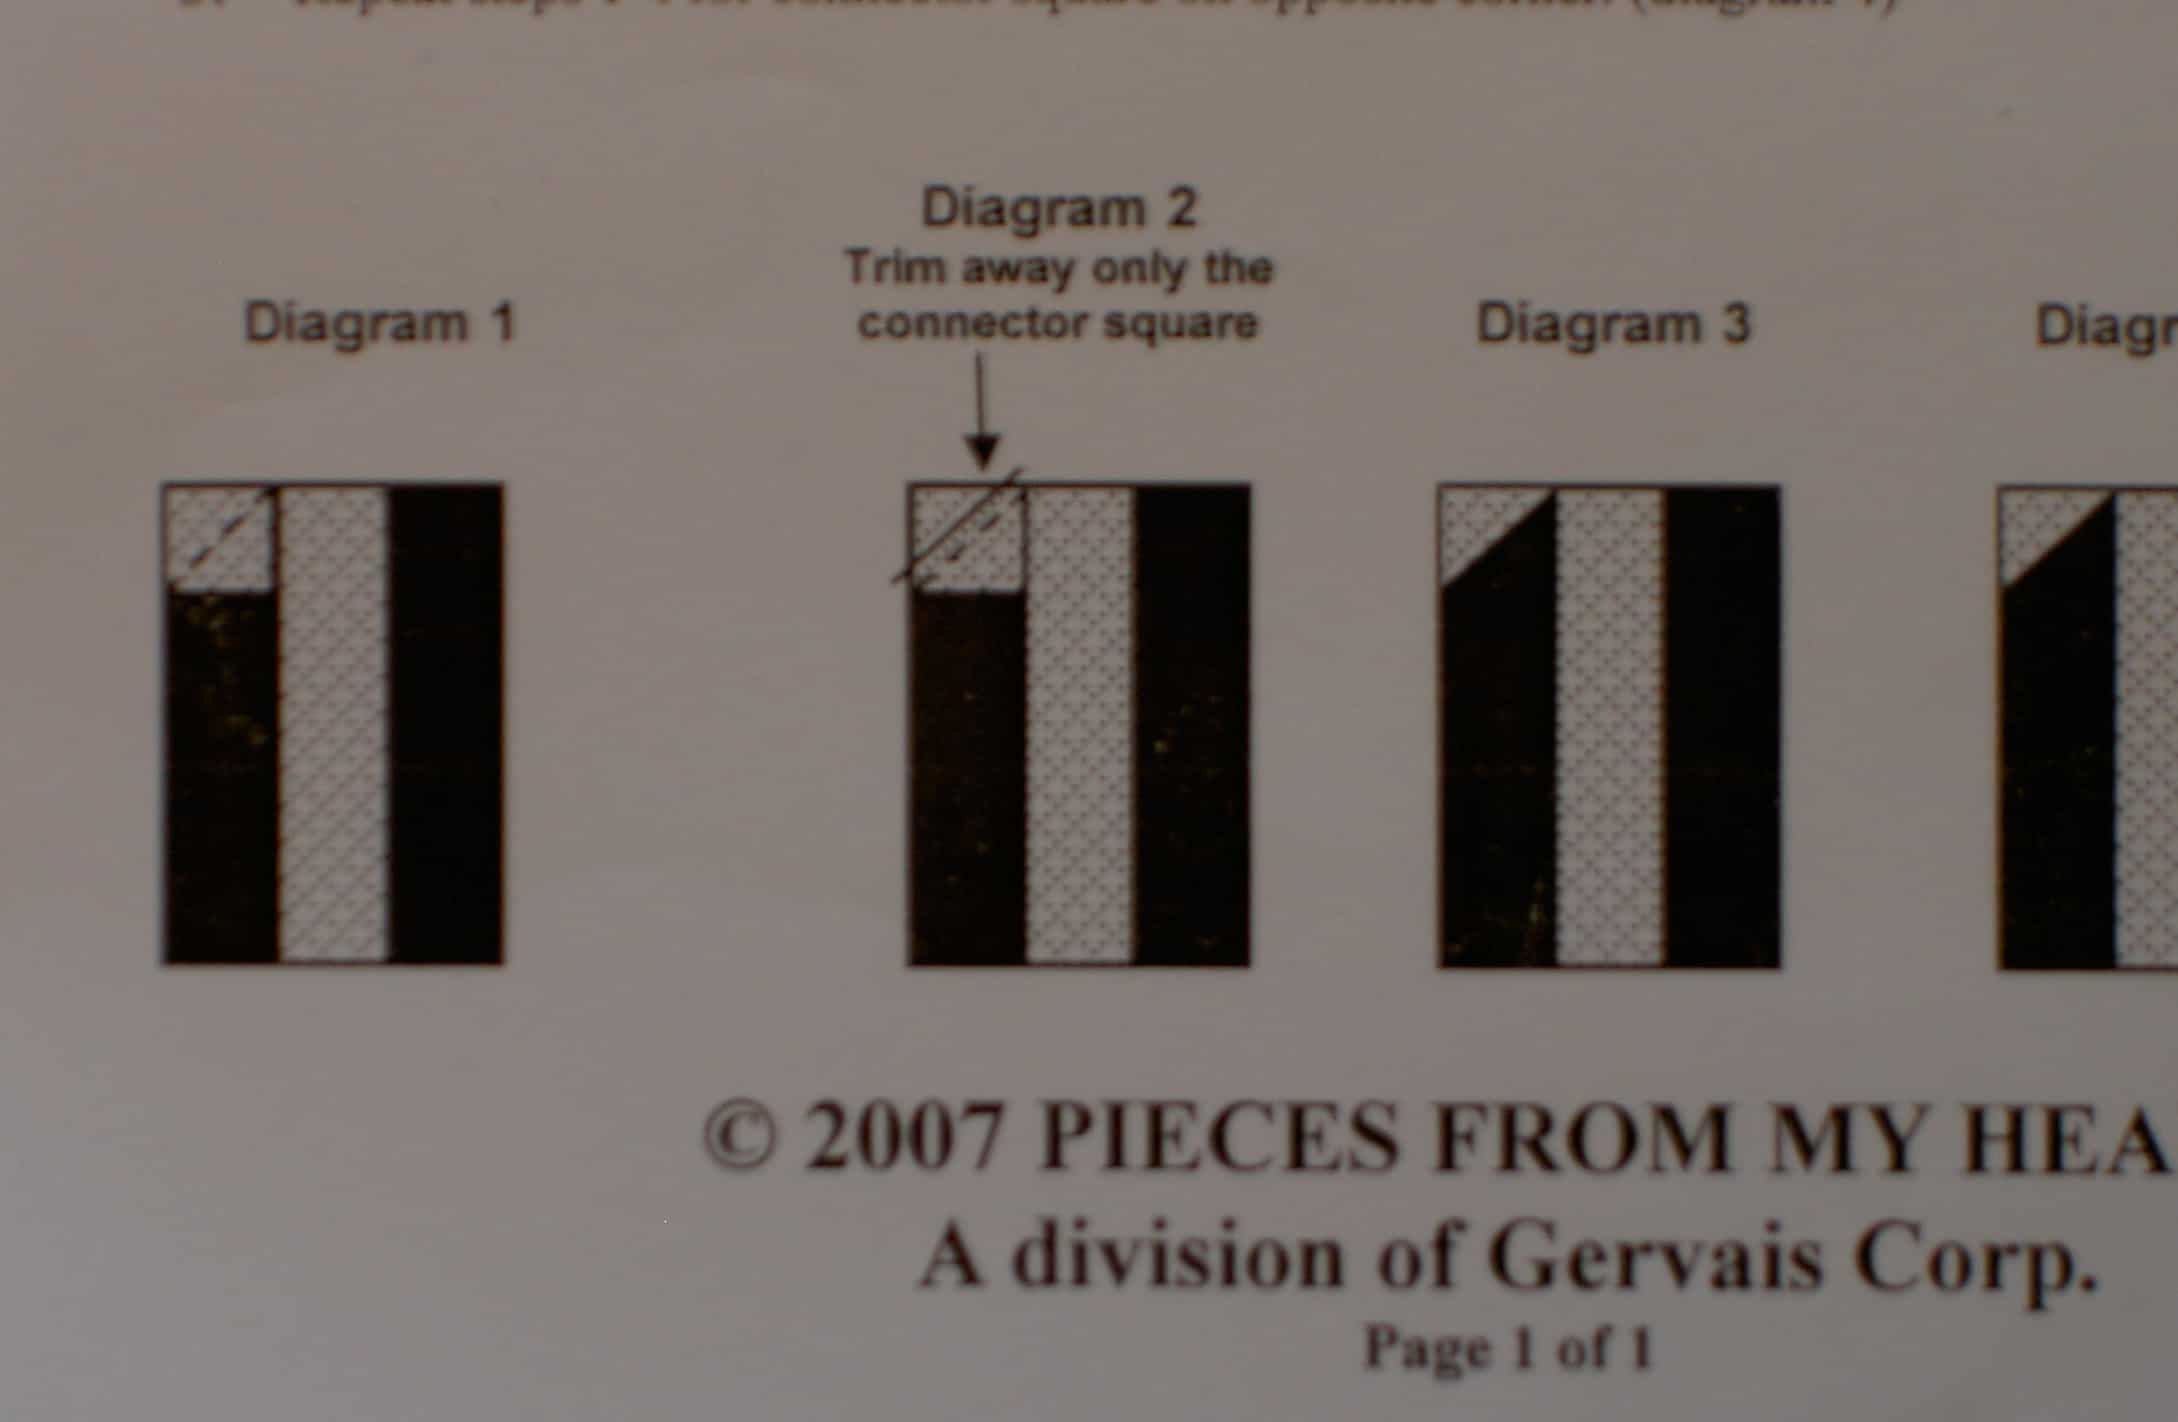
The directions show the following:
Adding Corner Pieces – directions
I think it is pretty hard to show this step in directions, especially for someone, like me, who doesn’t use a lot of patterns. I don’t know all the conventions that have been established.
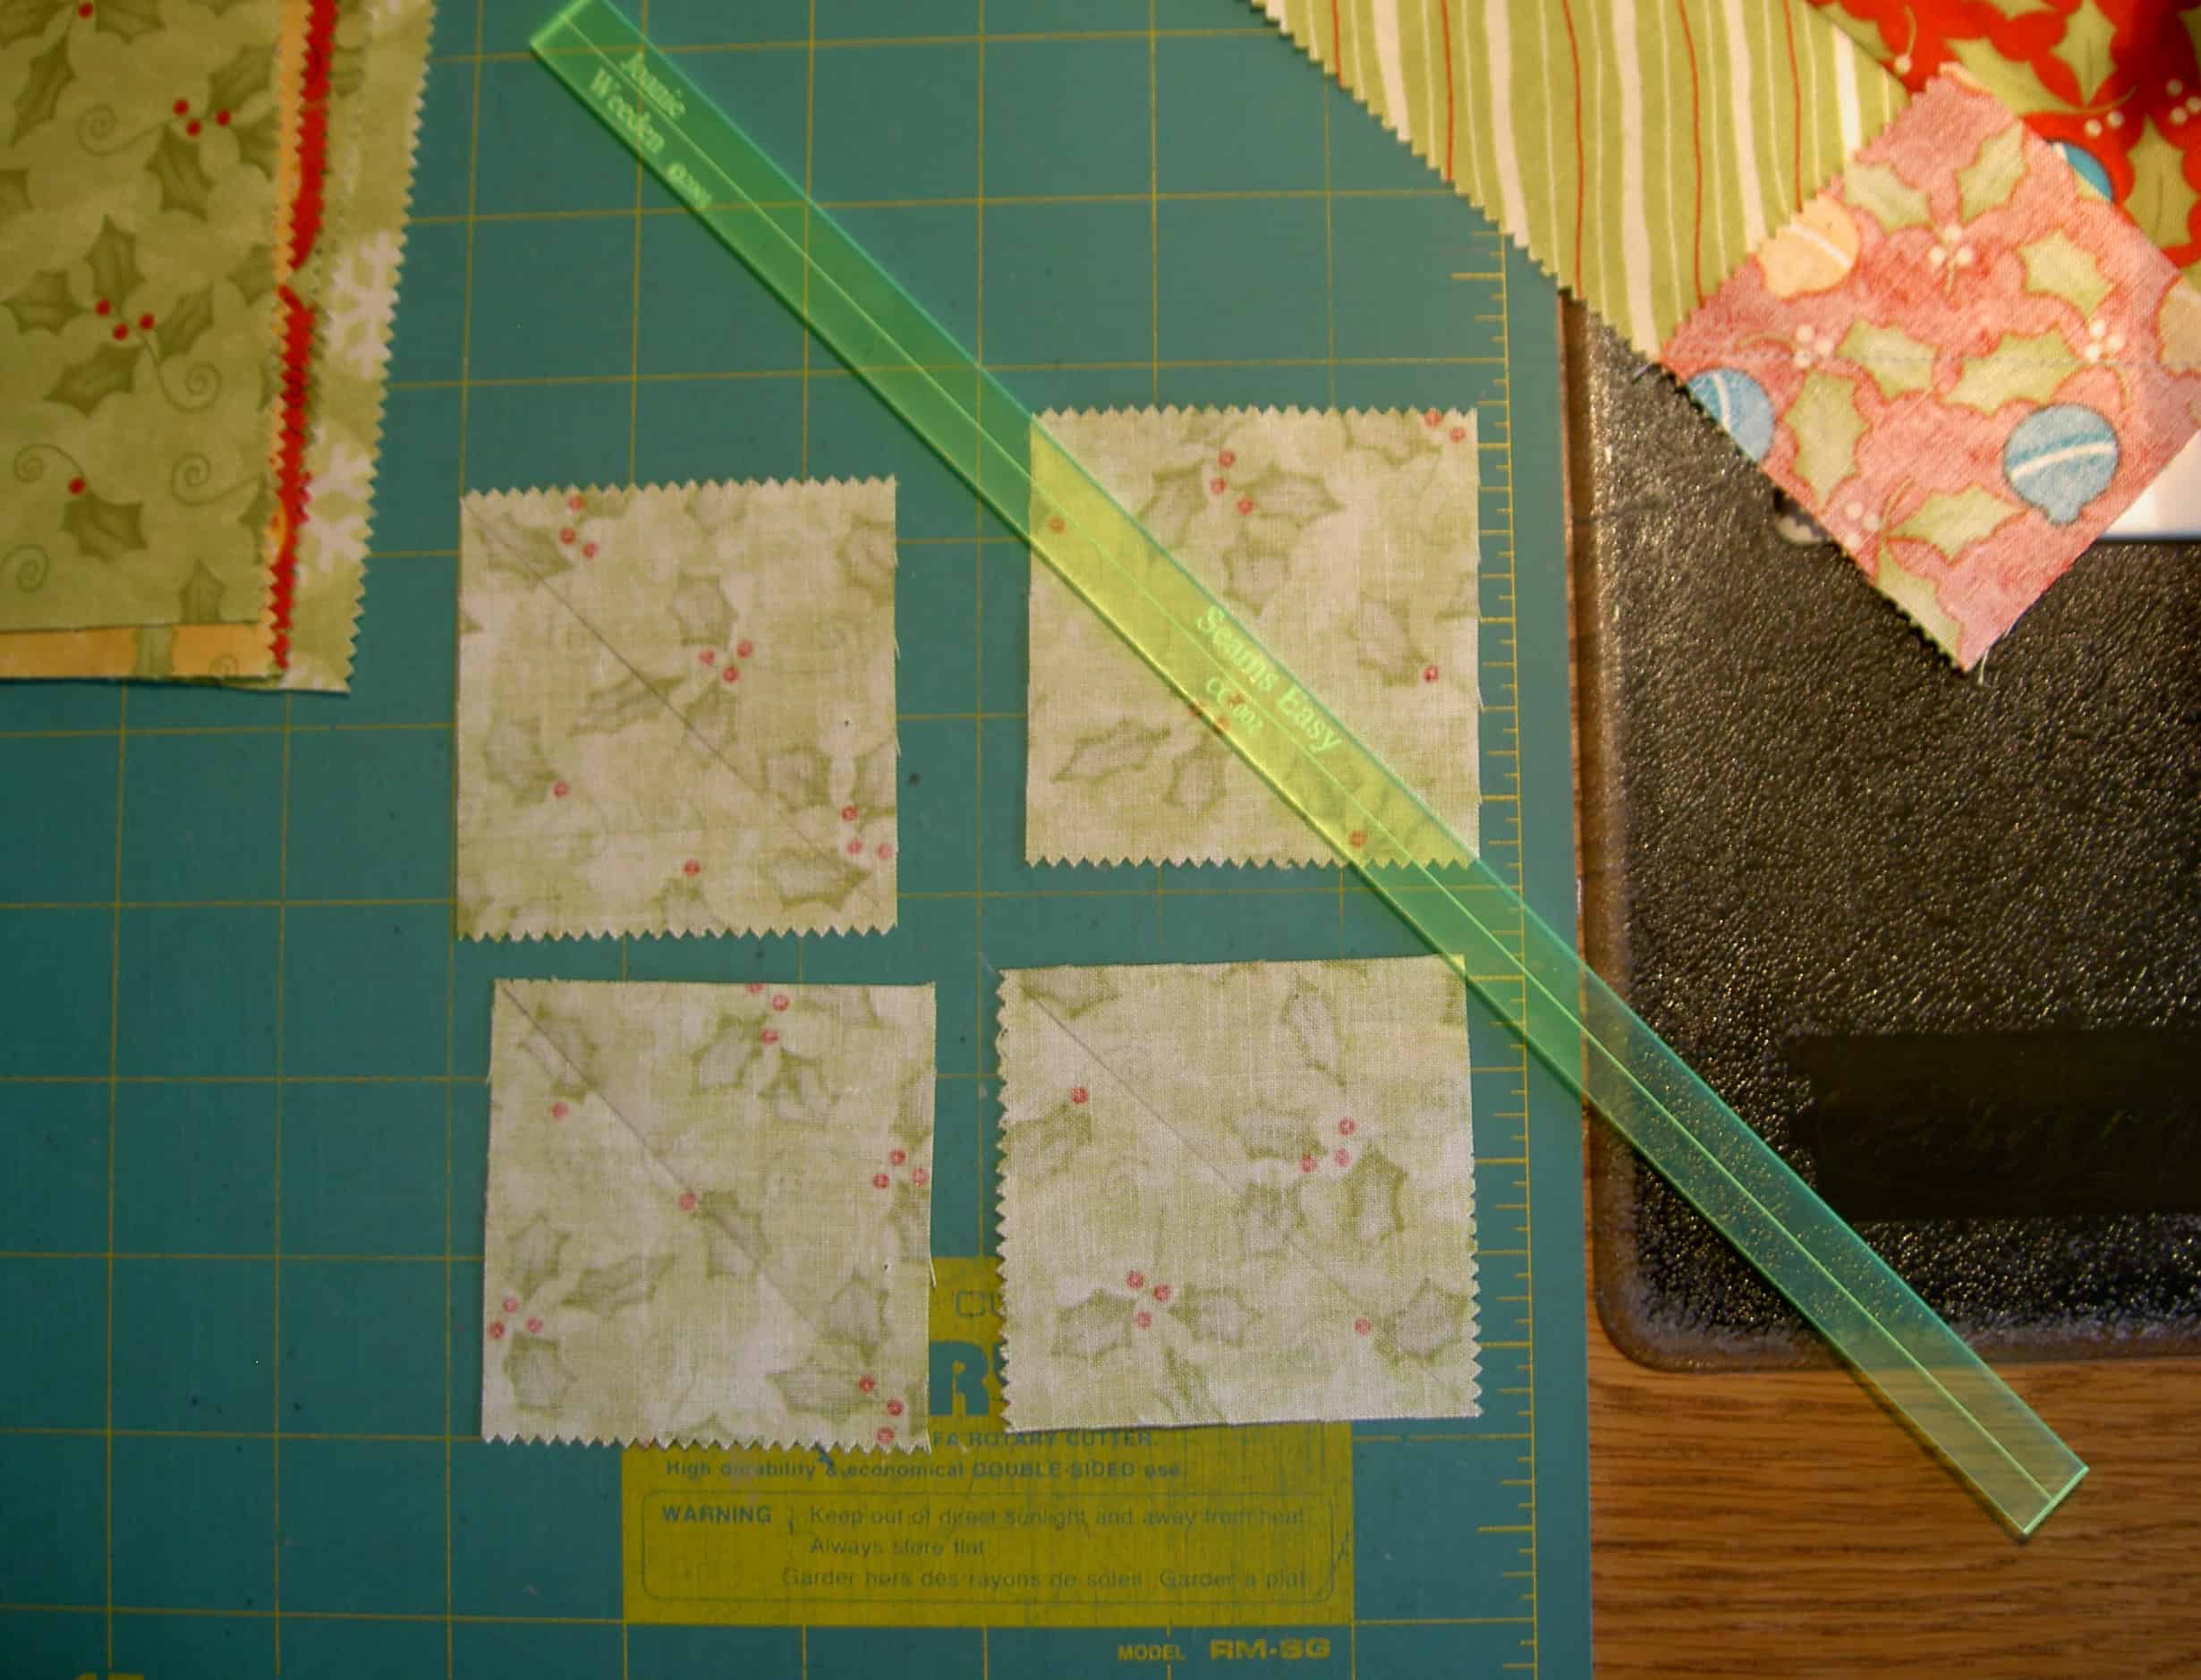
Marking Squares
First, I marked all the squares so I would know where to sew. This was part of the meditation of this quilt that I alluded to in the previous Jelly Roll post. This kind of step can really get on my nerves. I didn’t let it; I just sat there with my pencil and ruler and drew lines. I didn’t mark all of the squares at once, but did them in little batches as I needed them.
Marked Corner Before Sewing
One thing the directions do not show is that the square will overlap the middle rectangle when you lay it out to make the bow. The directions above show that the square fits exactly over the outside package rectangle. I worry about this kind of thing, because I expect directions to be accurate. Now, I don’t know the limitations of creating drawings in a pattern (on my list to find out about!), but words can certainly be included to explain that layout information. This is not a criticism, just an observation based on my style of working with patterns.
Adding Corner Pieces
In real life, above is how the directions say to add the triangles to the corners of the package part of the block to make the bottom of the bow. TFQ and I talked about this strategy when I first bought the pattern. I think this technique makes it less intimidating for those afraid of bias. I was a little lazy and just did it this way.
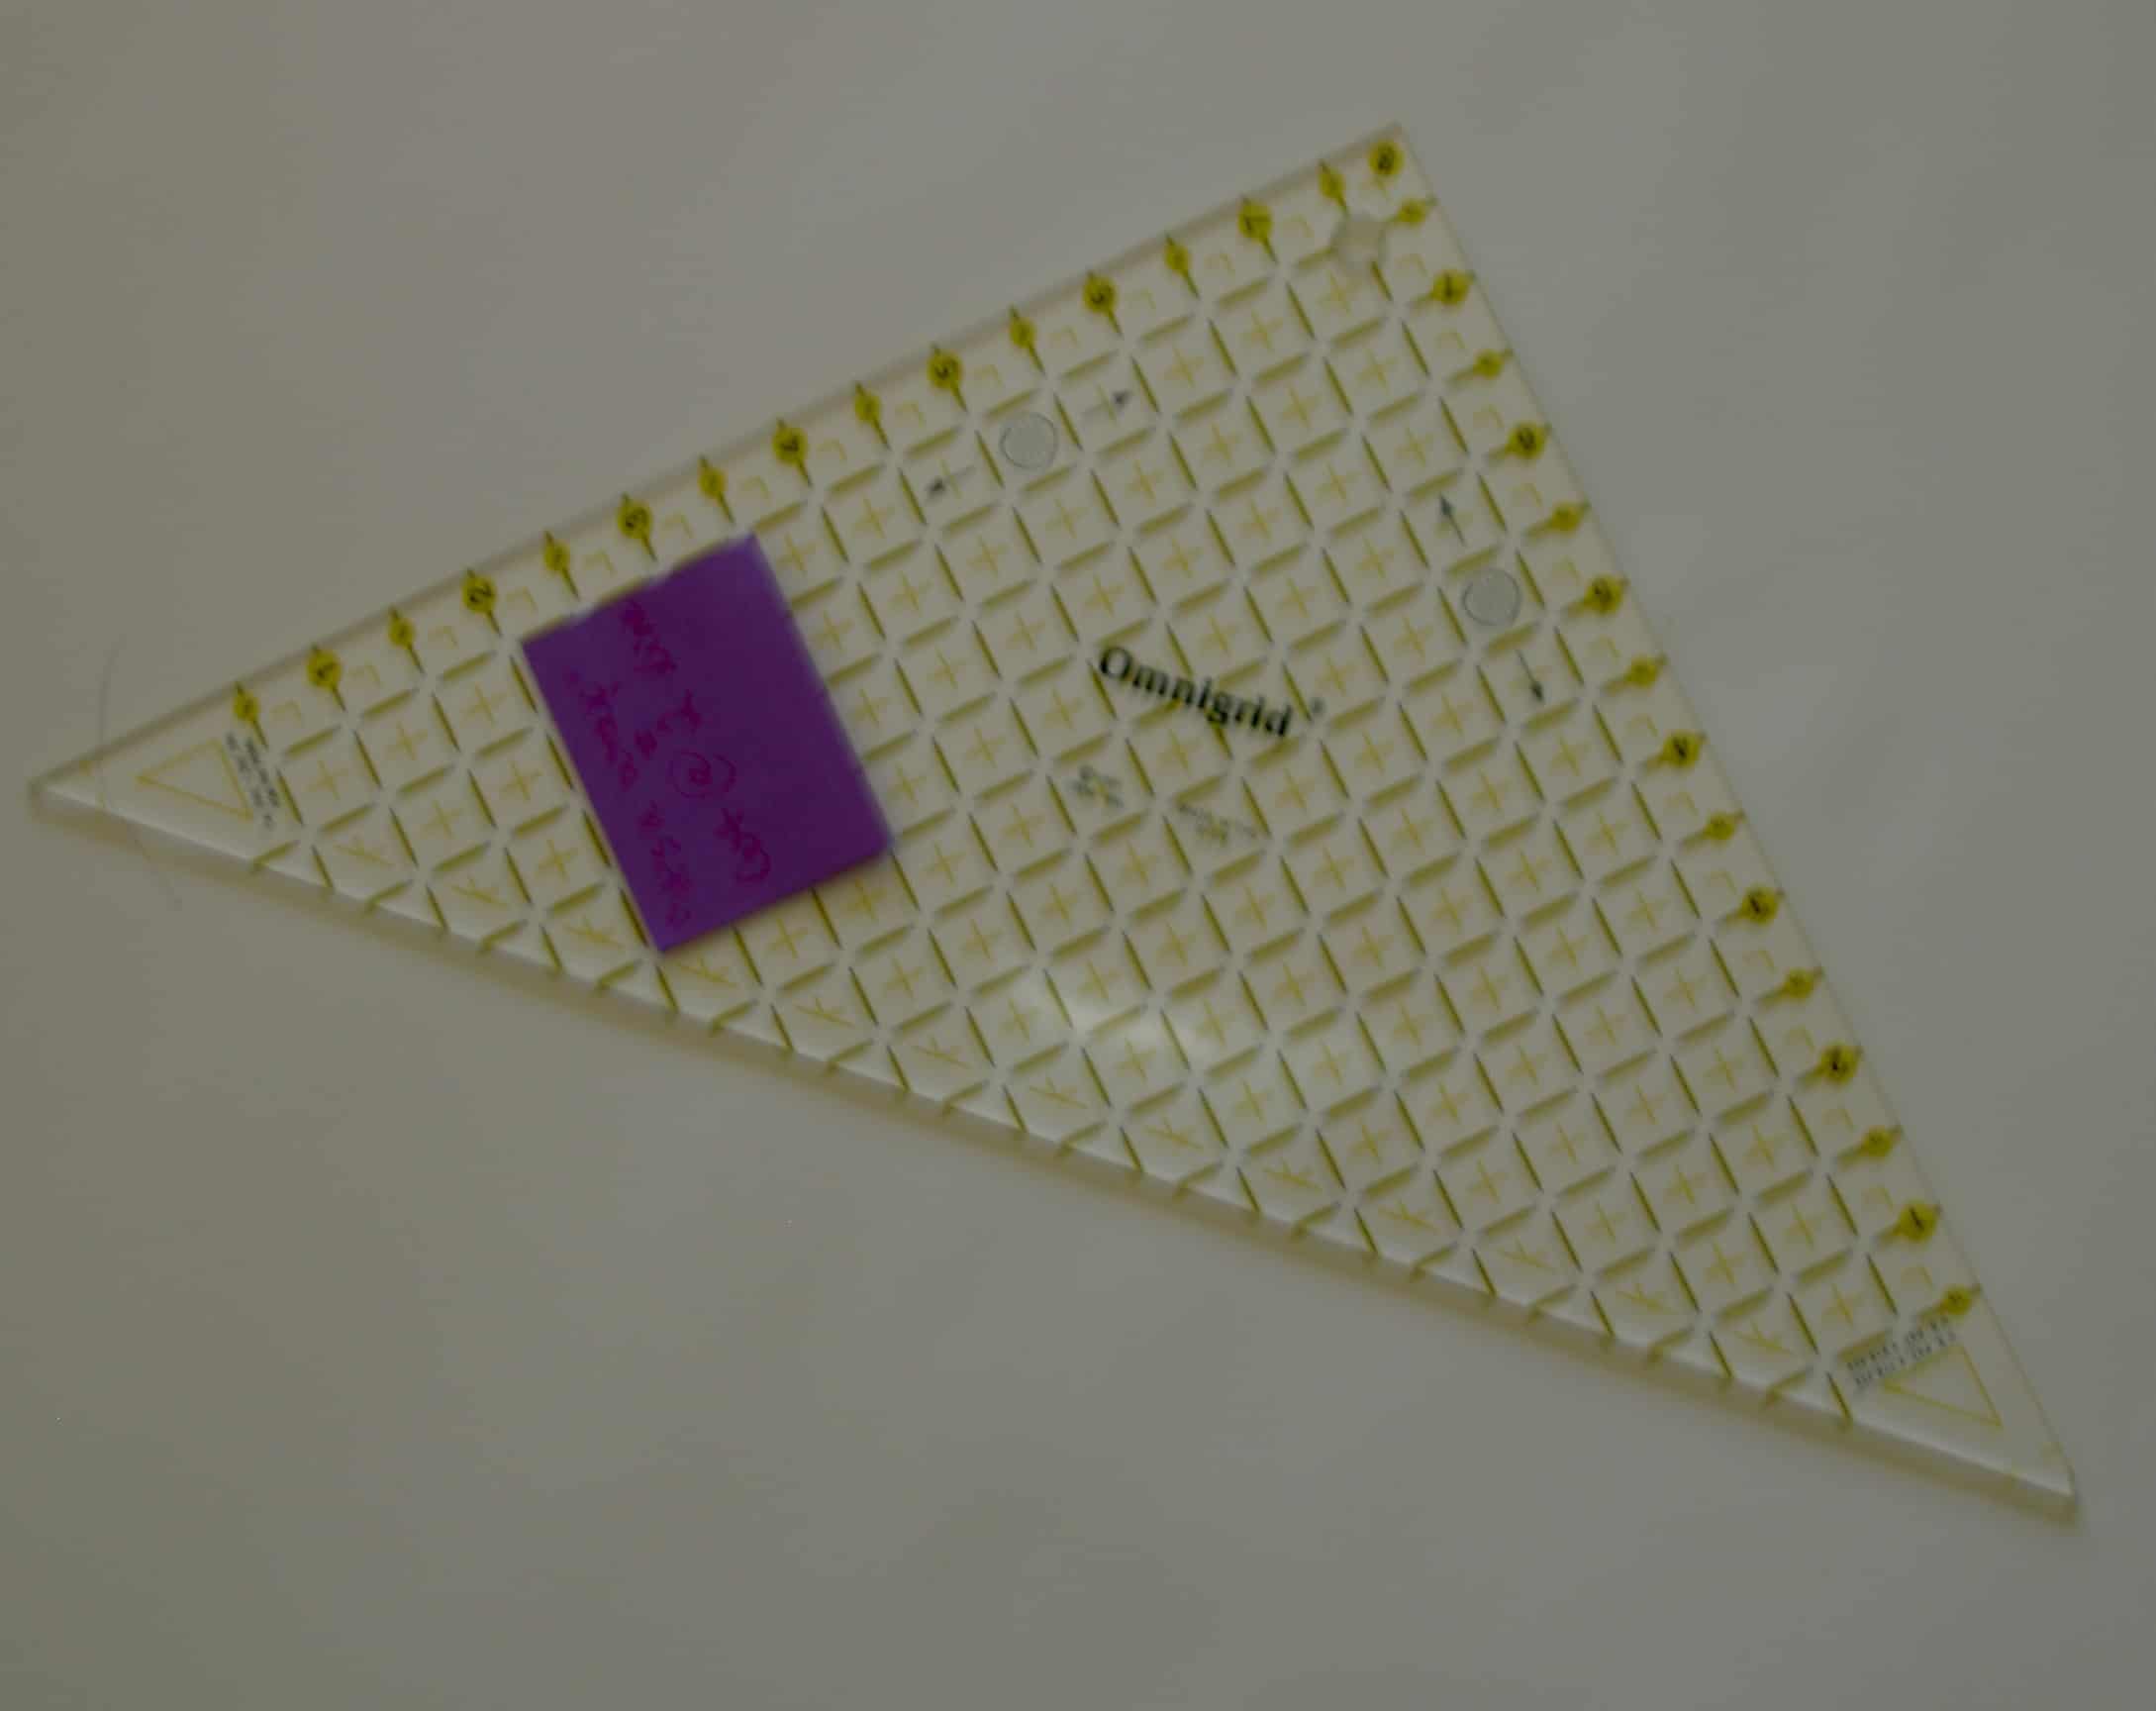
Omnigrid Triangle Ruler
One problem I found with working with THIS pattern using a Jelly Roll is that I only had a certain amount of fabric. When I cut something wrong, I was short. This happened twice. Once with these triangle and I was able to use the Omnigrid triangle ruler to cut some triangles instead of squares, which gave me enough fabric to finish. The other time I just had to add a piece to another piece to make the strip long enough. Working through the process.
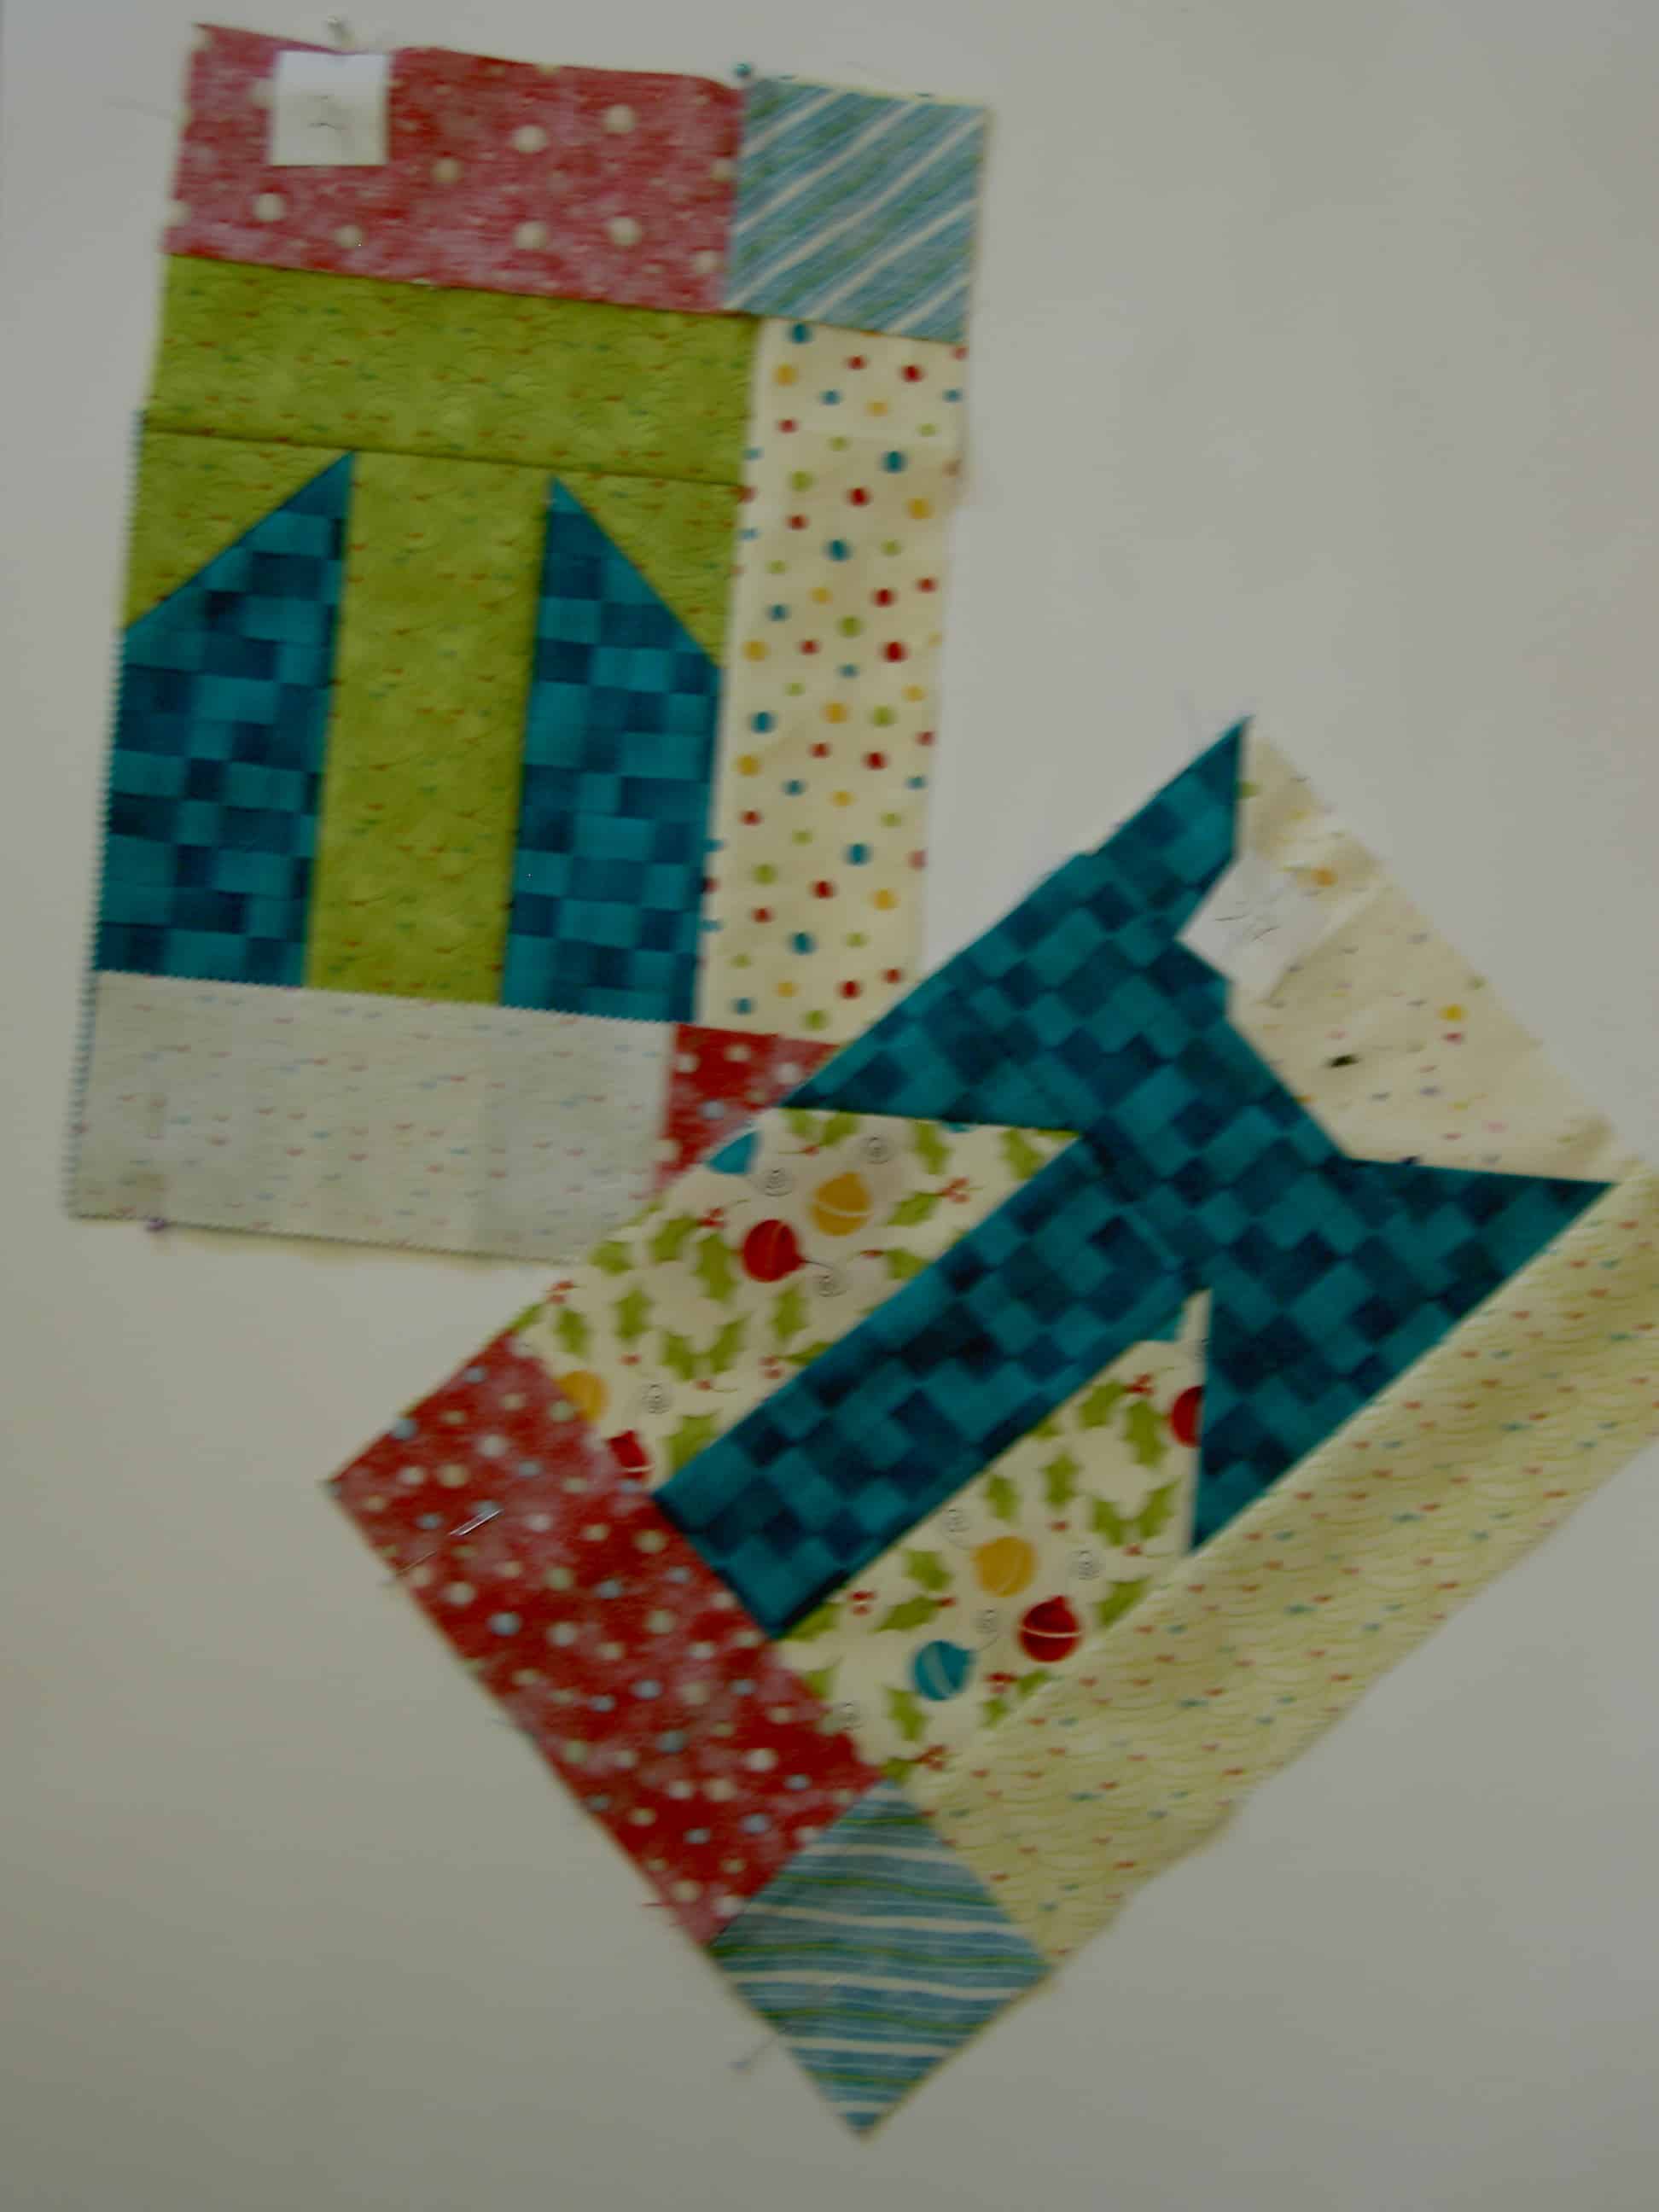
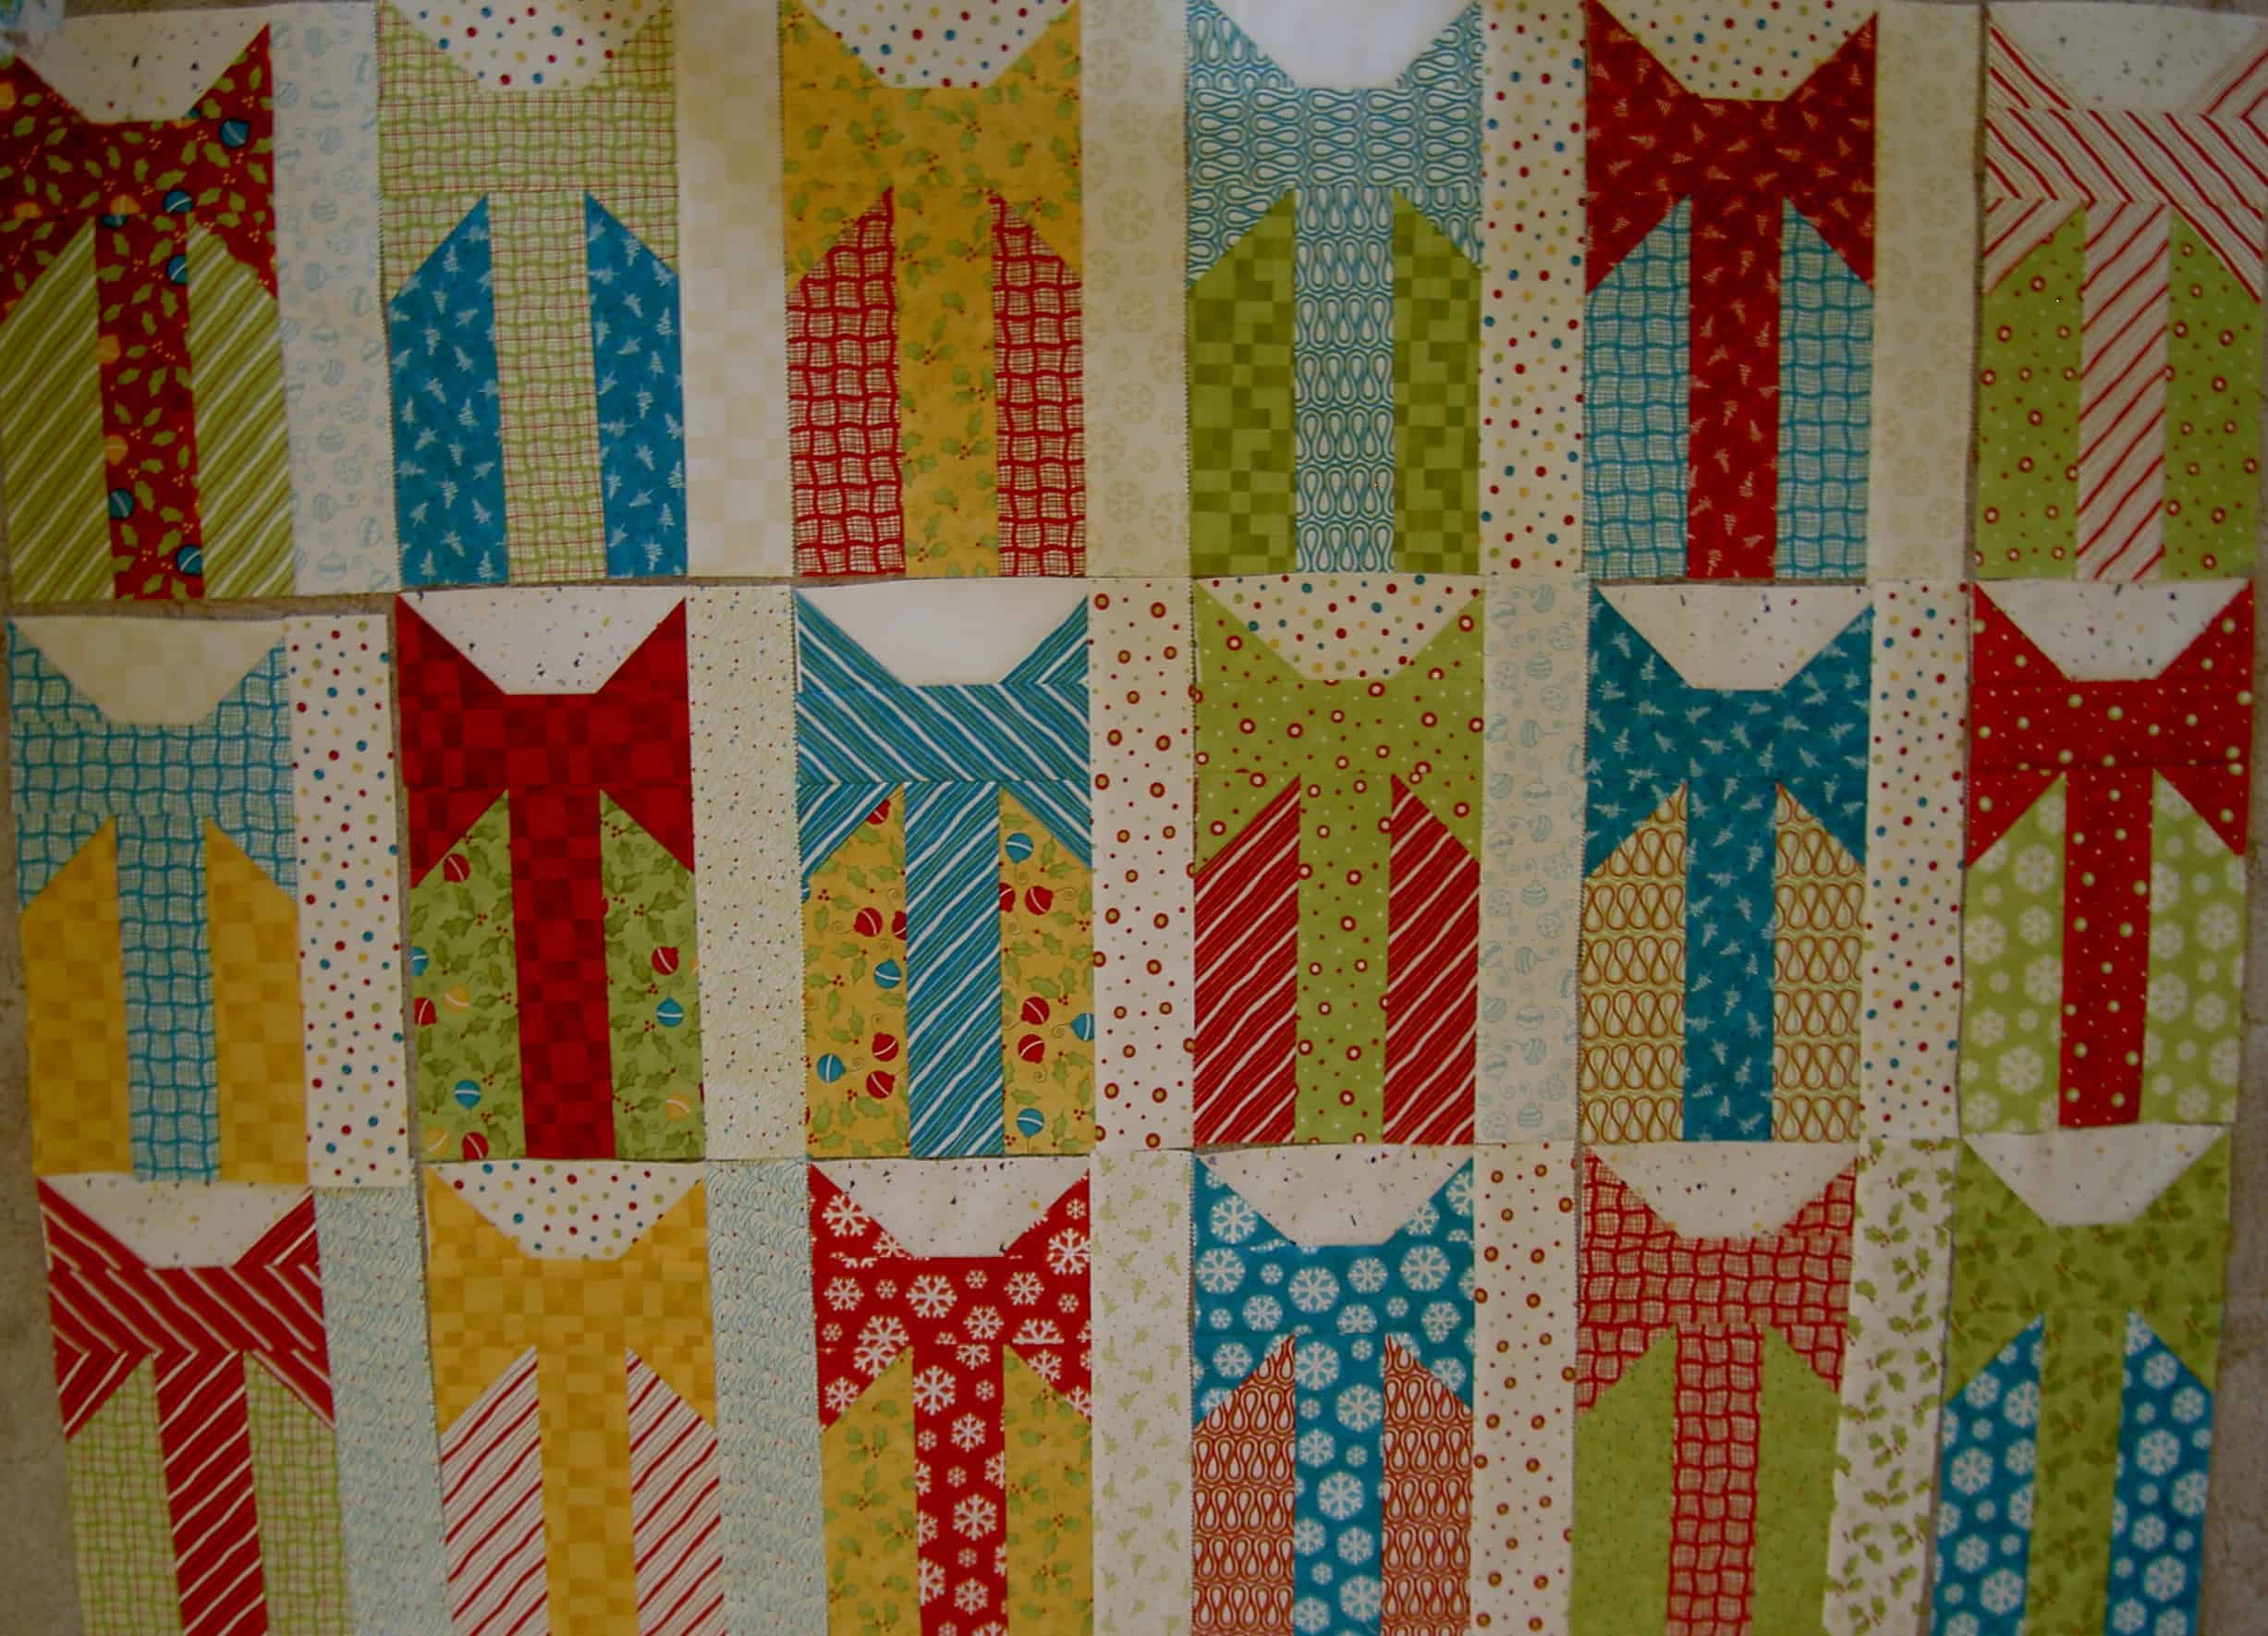
Same fabrics, different combination
There is a lot going on in the photo above. First, even though I tried to mix up the fabrics for the second round of block making, I did keep some the same. The two above are an example of how the blocks looks when you just switch where you put the fabrics.
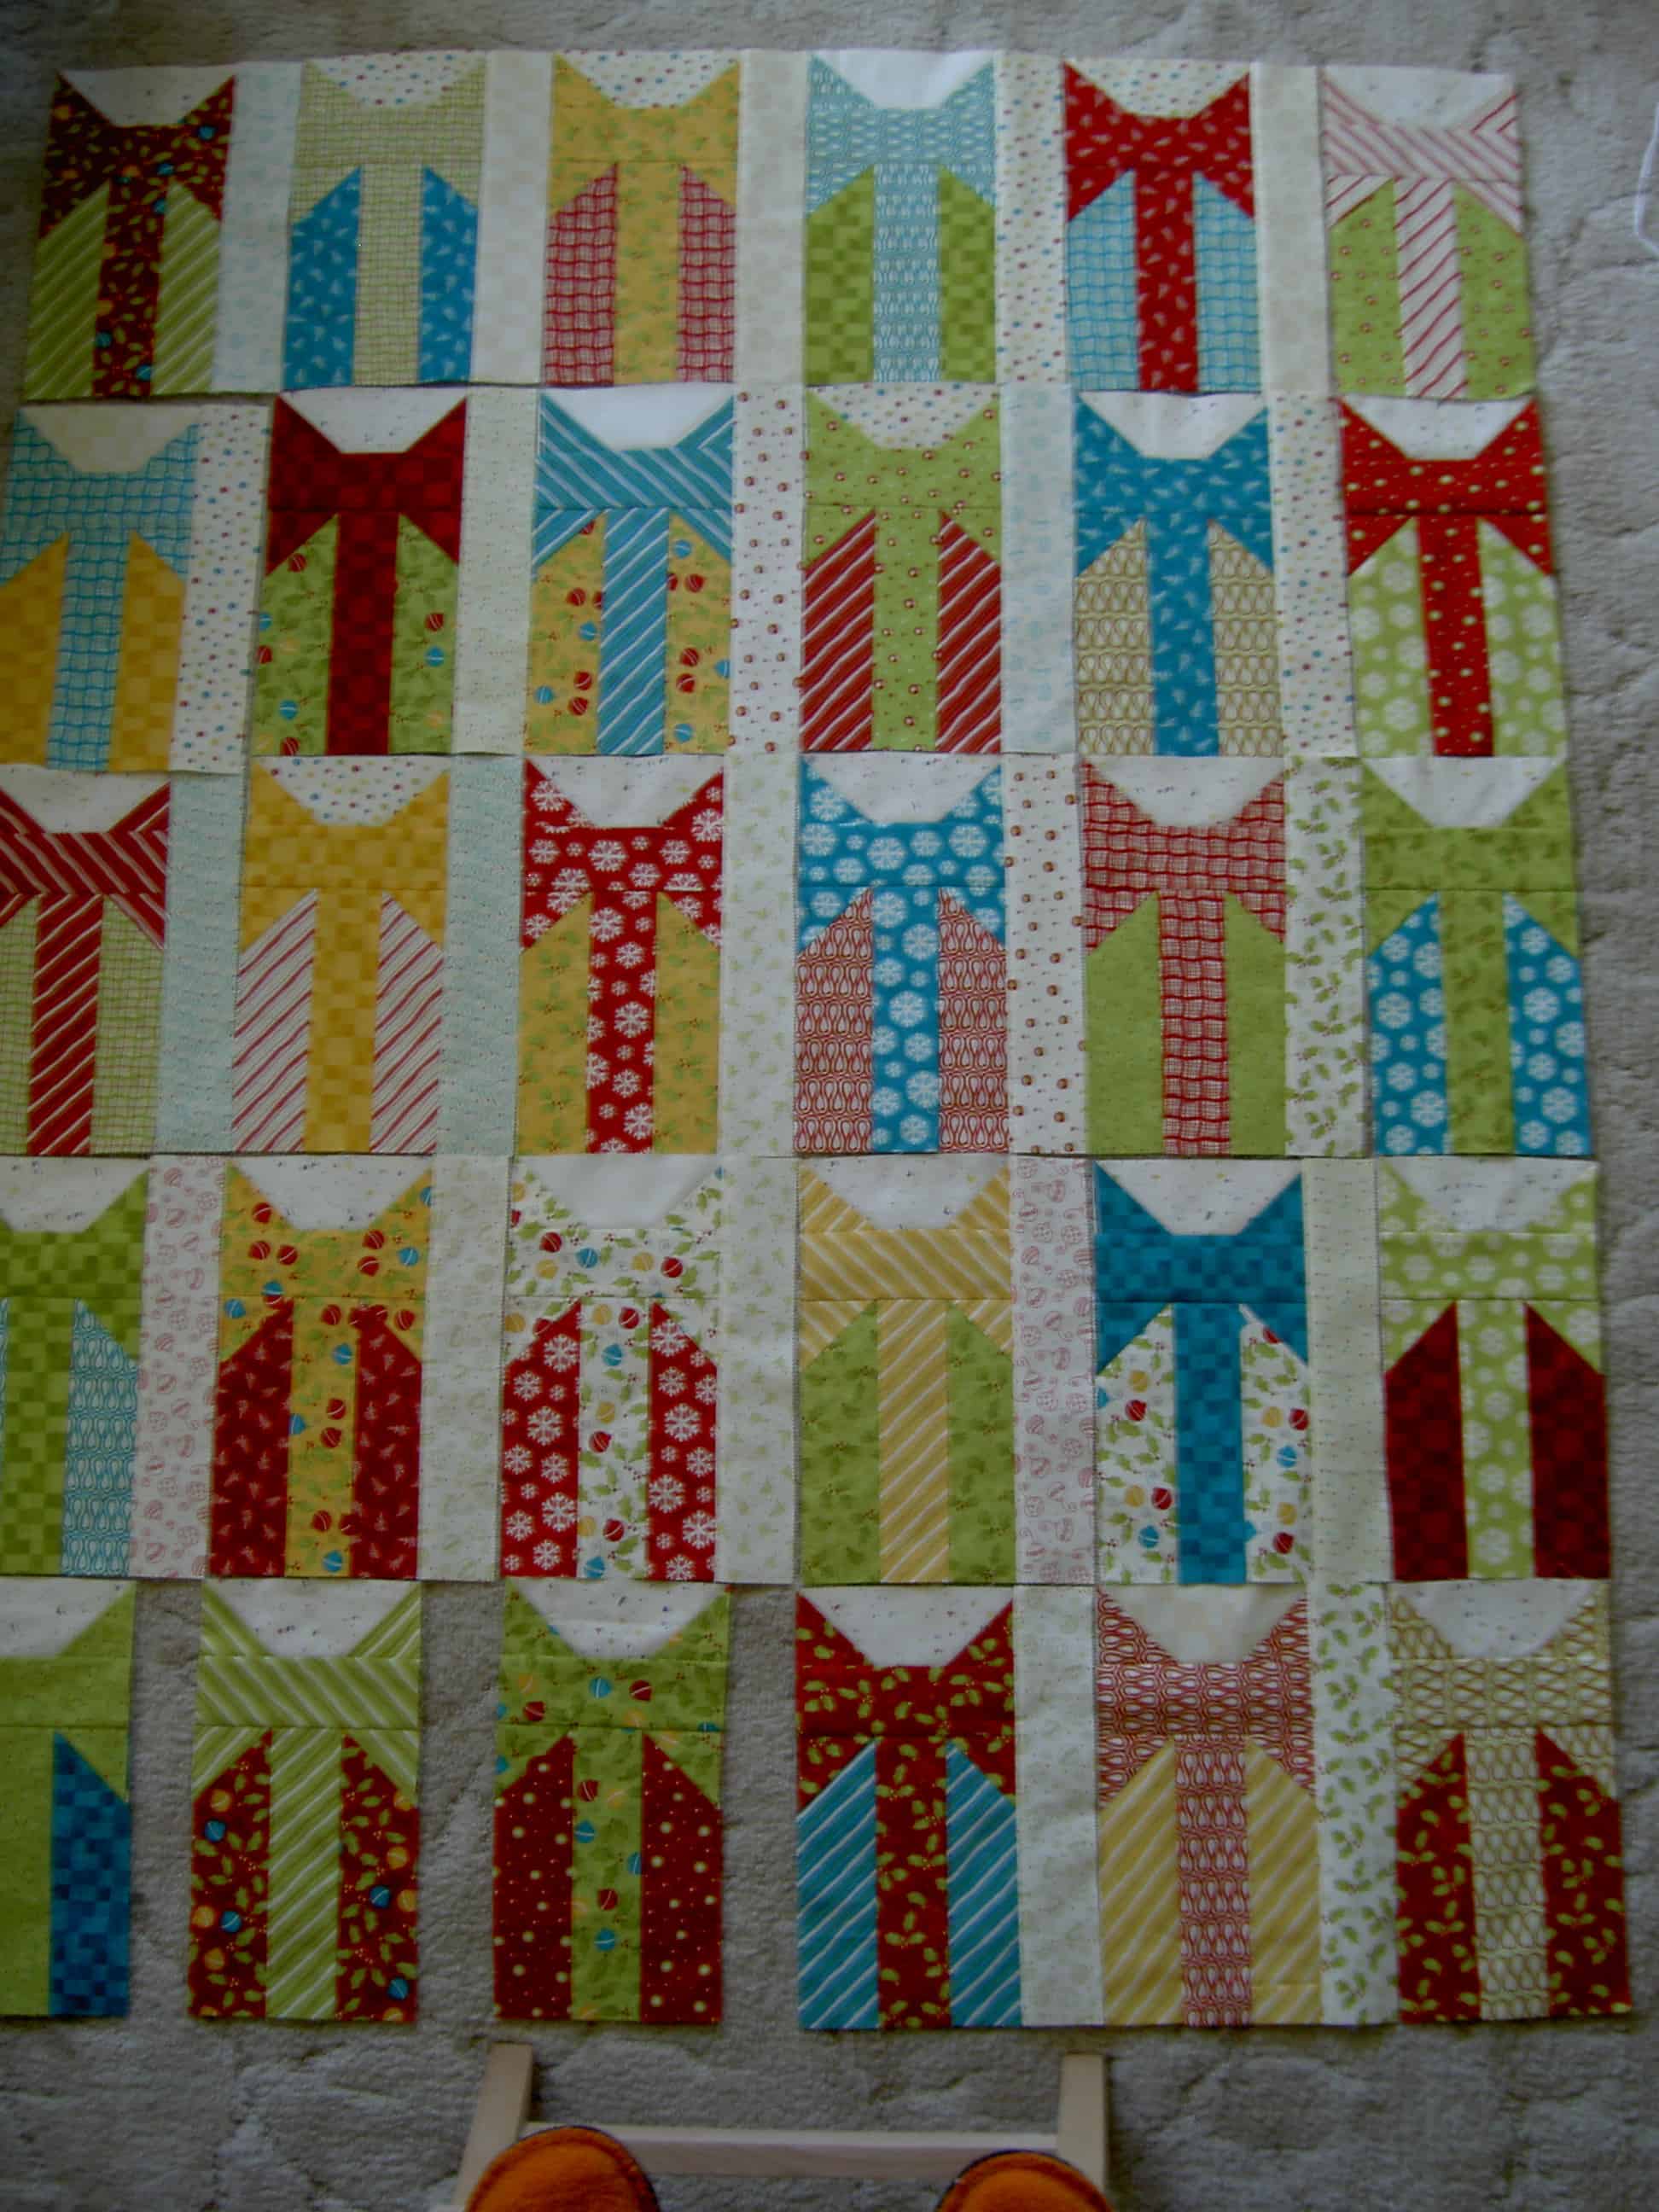
Blocks Laid Out
Second, I had to pick the quilt up off the floor earlier in the week where it was laid out while I pieced various bits. Since it is a scrappy quilt, I wanted to make sure that all the pieces stayed in their place. I drew a quick sketch of the block layout and then made numbers to pin to each block.
Third, not all of the sashing parts were sewed together so I sewed all the sashing squares (cornerstones) to the sashing strips and then pinned the larger pieces to the quilt blocks in such a way that I will know how to sew them when I get to that step.
Blocks Laid Out
Why, you ask, were these on the floor and NOT on the design wall? Because the Tarts are still on the design wall! Why didn’t I set up the portable design wall? I don’t know; I didn’t think of it. Yes, those are my toes in my orange wool slippers and, yes, I am standing precariously (joke!) on an IKEA stool (highly recommended for their stability) to not succeed in taking a photo of the whole quilt for you.
Post the direct URL (link) where your drawing, doodle, artwork is posted (e.g. your blog, Flickr) in the comments area of this post. I would really like to keep all the artwork together and provide a way for others to see your work and/or your blog.
The Creative Prompt Project, also, has a Flickr group, which you can join to post your responses. I created this spot so those of you without blogs and websites would have a place to post your responses.
Put a note in the comments about what comes to mind when you read this word.
In honor of spring, which should really be here already, I am posting this flower. I love the different colors of pink. I also love the pseudo spikiness of the petals in the middle.
I don’t know the name of this flower and I think I took the photo at the Denver Botanical Garden, but am not sure. Enjoy!
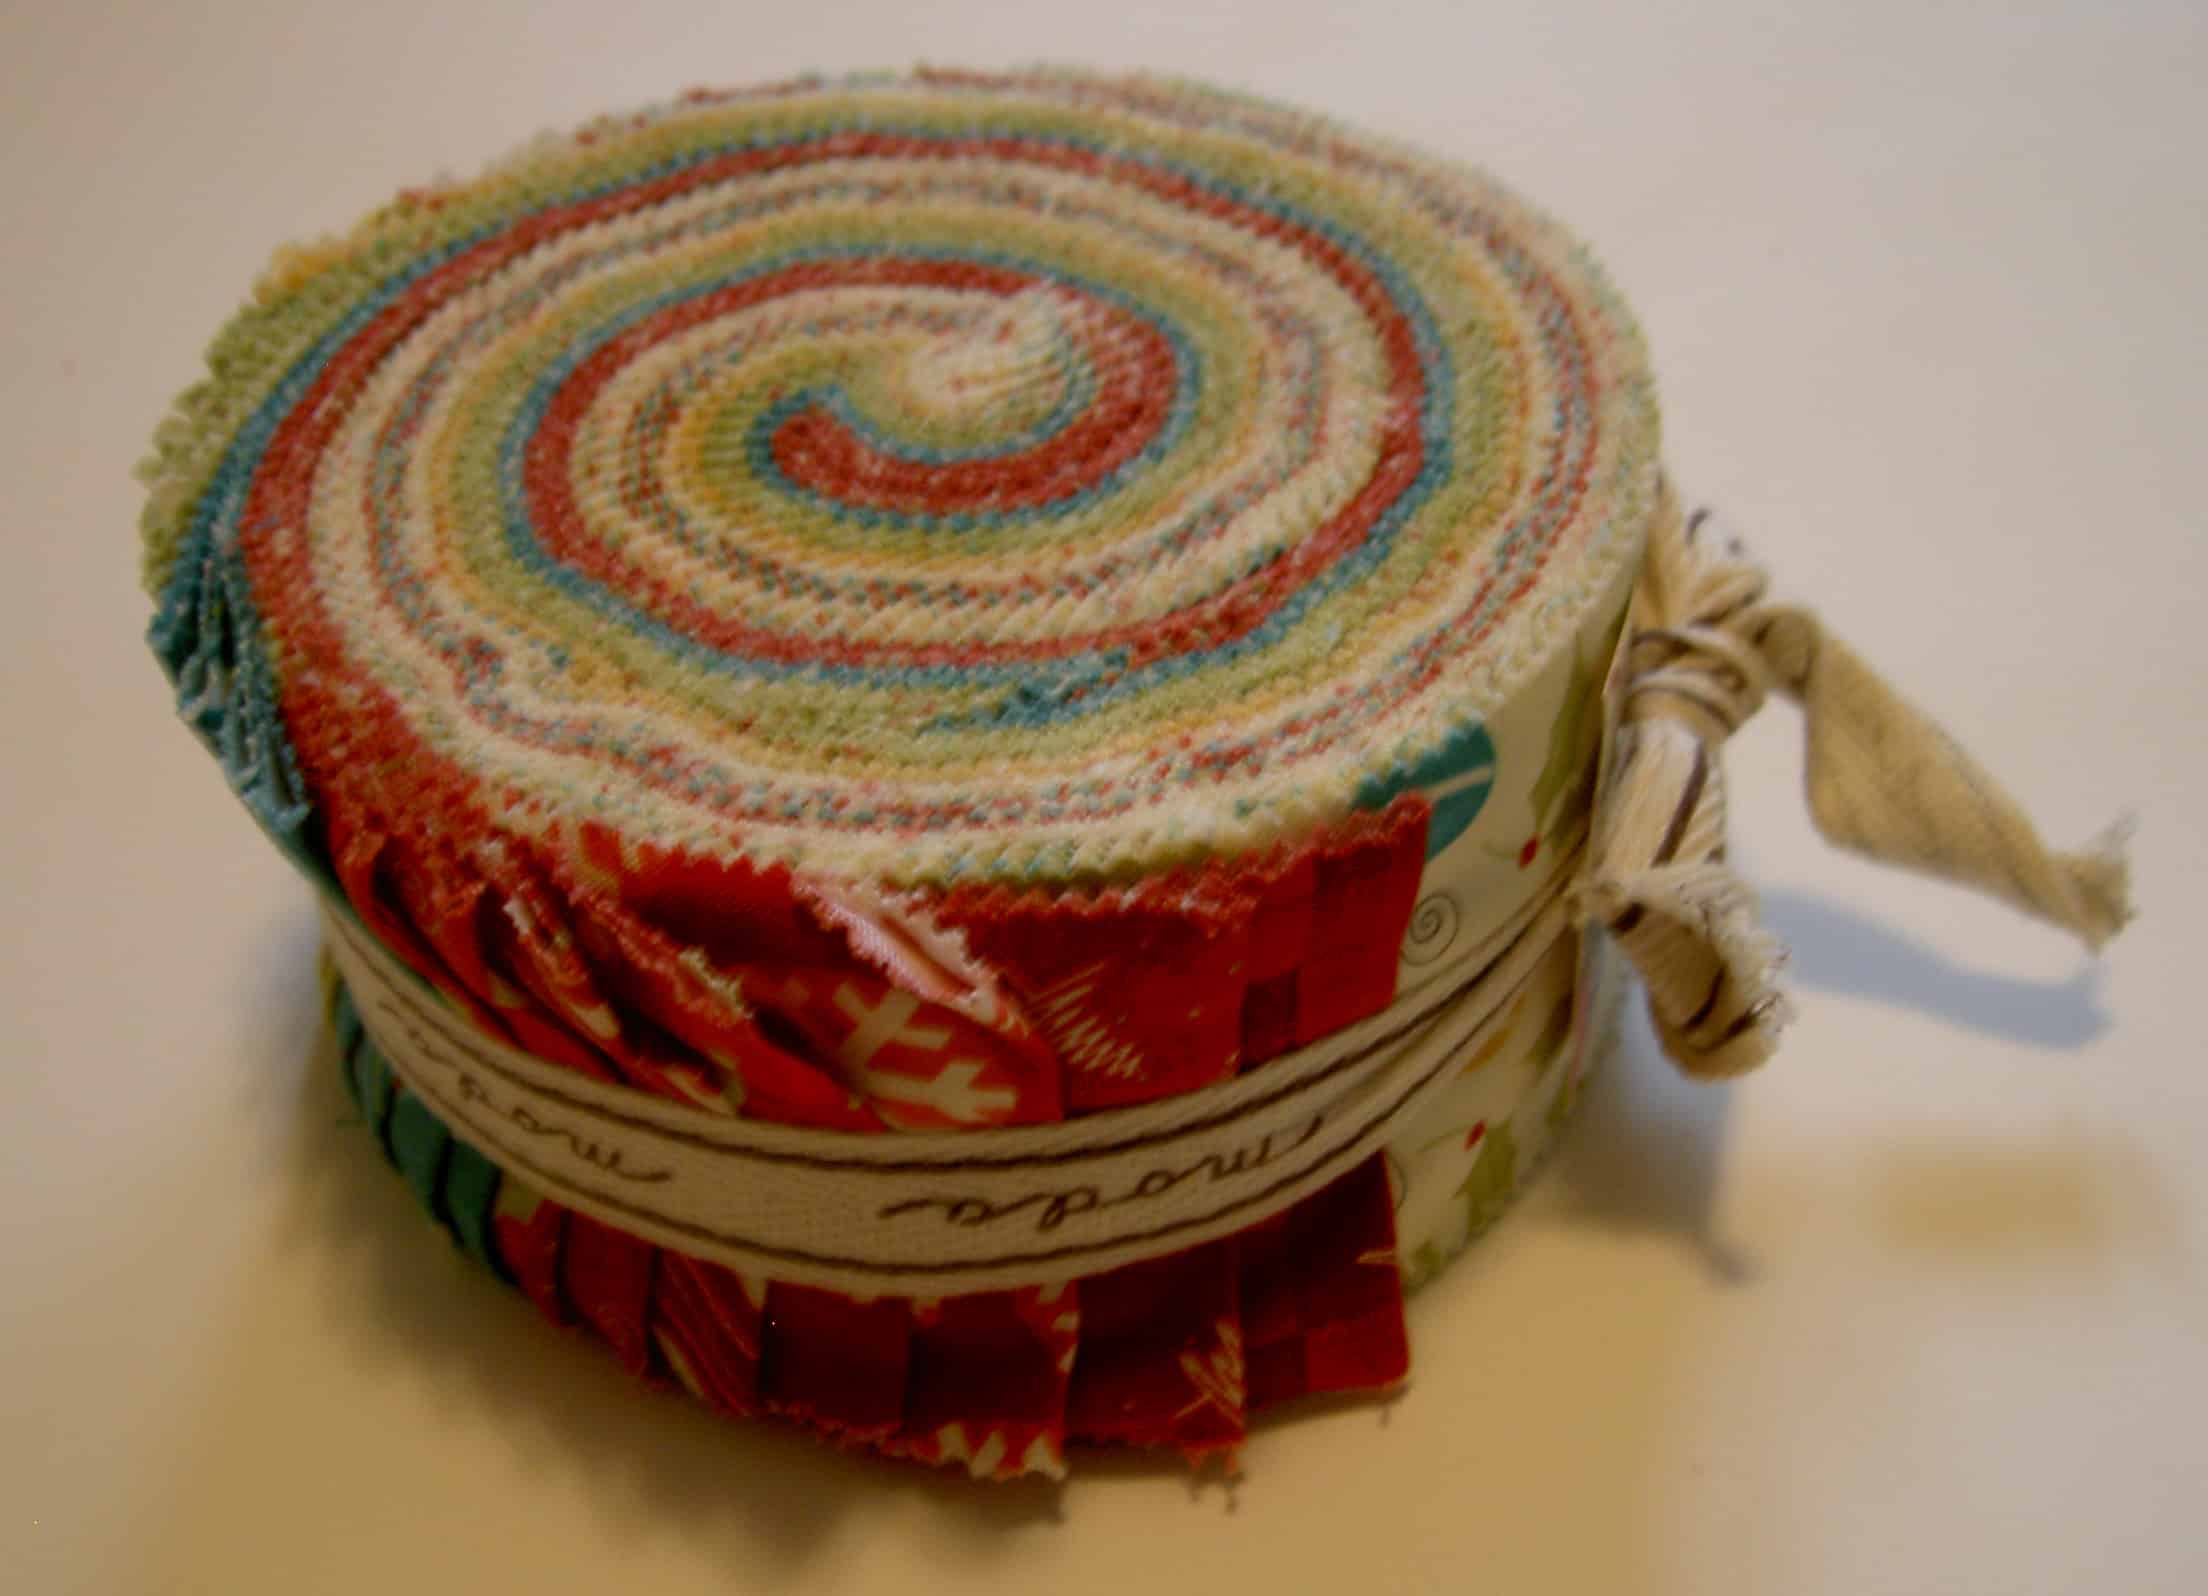
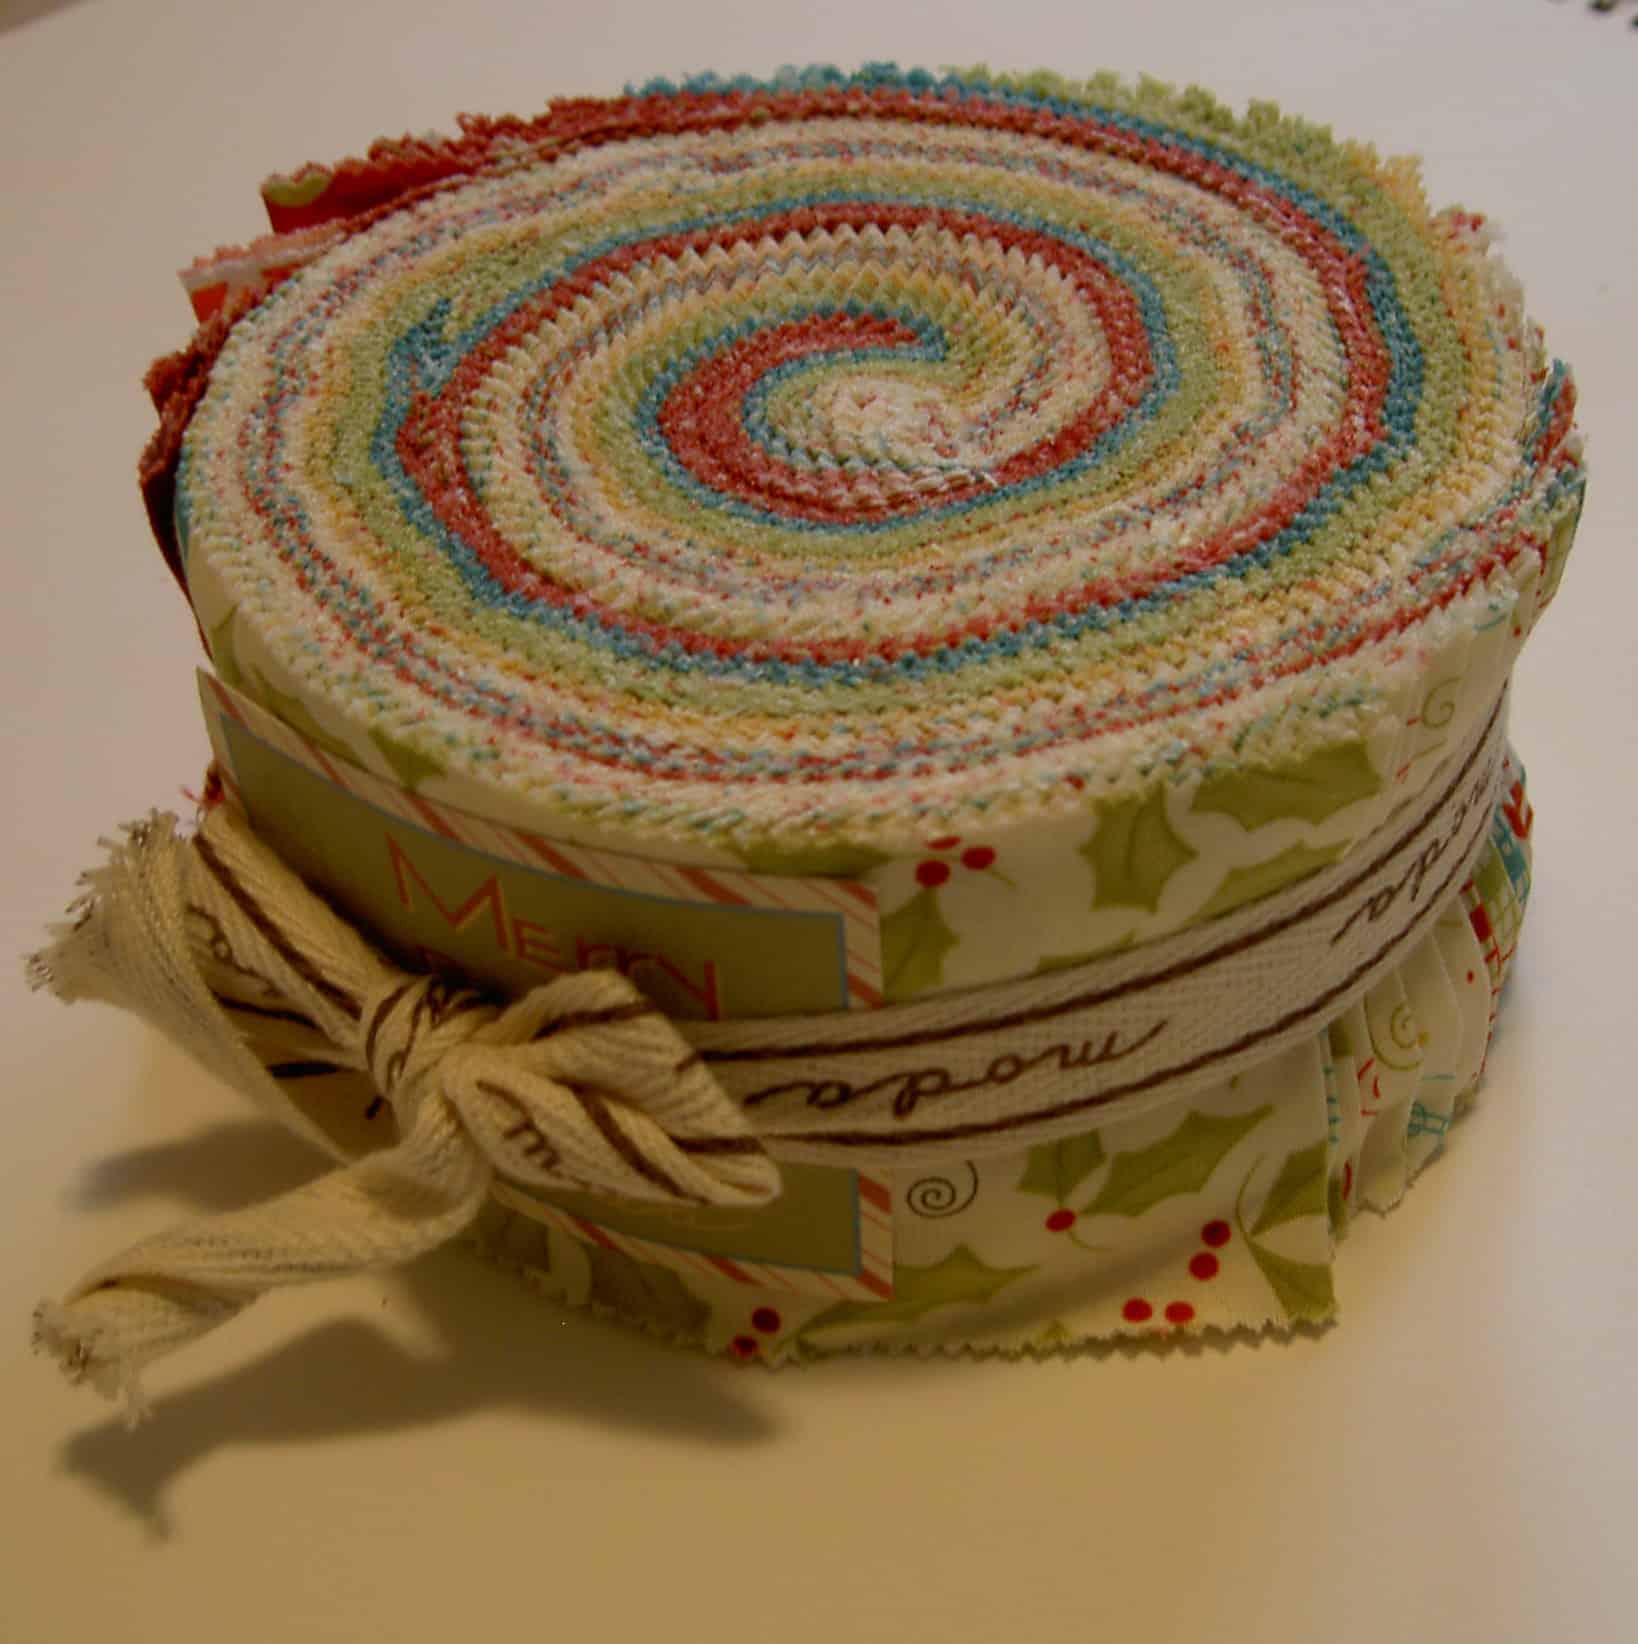
I have had a Sandy Gervais Merry and Bright Jelly Roll for a long time. This past weekend, I decided it was time to take the fabric strips and make the It’s a Wrap quilt. I had some other things to do, but I spent a lot of time just sewing and learning.
It was a somewhat strange experience. First, someone said they couldn’t believe I was using a Jelly Roll. I was hesitant to tell them about the pattern. I did tell her for shock value and I thought she would keel over. Sometimes, I think, by limiting choices, a quiltmaker can focus on other elements of the process. That is what I was doing, even though I didn’t start out with that intent.
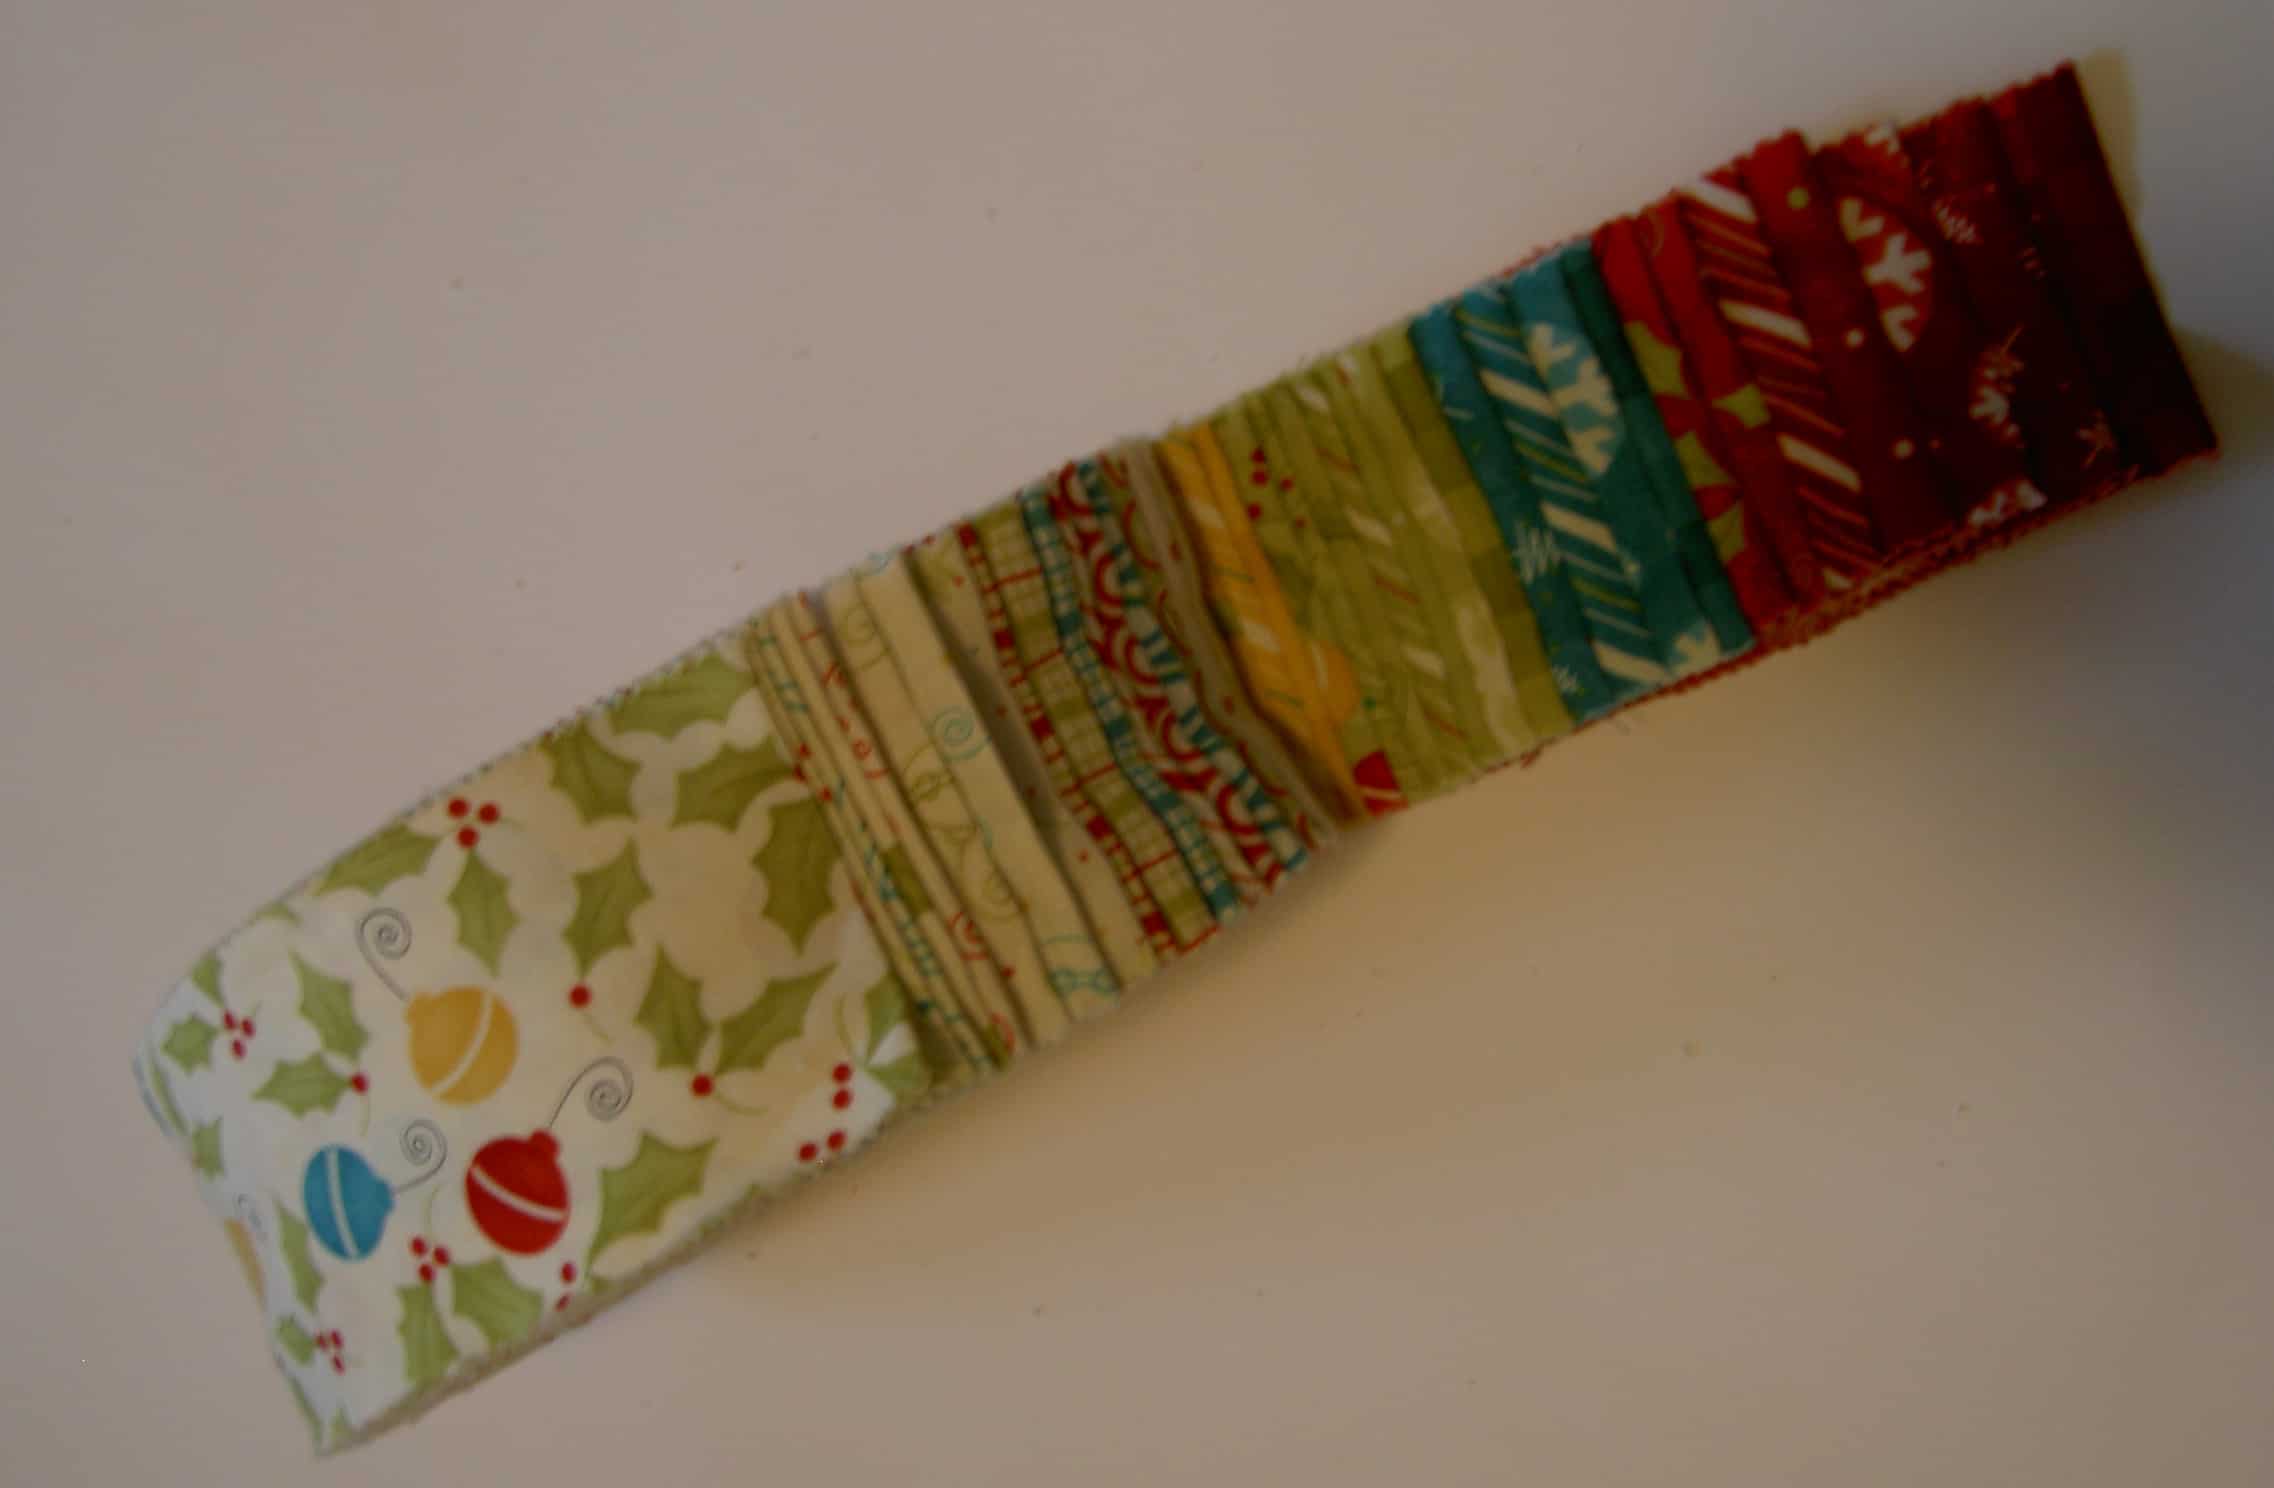
Merry & Bright Jelly Roll
One thing I learned is that there is value in trying things out: different fiber content, different construction techniques, different tools, etc. Having a pattern and the fabric choices taken care of gave me fewer decisions and I could focus on learning the pros and cons of the Jelly Roll.
There is no doubt in my mind that the Moda Bakeshop offerings are a brilliant marketing scheme. My biggest confusion with the one Jelly Roll I had was that many of the pieces were cut off grain. Nadine Ruggles mentioned this in one of her blog posts, but I got to experience it first hand. This means that my strips weren’t straight, but bowed – tending towards Cs and Ls rather than Is. This phenomenon was frustrating, but I also learned a lot about strip cutting and grain. I know that I need to line up the selvedges and trim the sides to make a straight cut. Seeing the bow in the the Jelly Roll strips made me understand (in an embedded in my mind sort of way) what cutting off grain does to strips.
I don’t have a Jelly Roll book, but I would like to know if they address that problem in the directions of the various projects. Nothing was said on my pattern.
Unrolled Jelly Roll
The things I liked about the Jelly Roll:
I got a little taste of a number of different fabrics. I could do this by cutting a strip off of fabrics that I buy (on grain, of course) and saving them for a future project.
I like working with full lines of fabric just to see how the designers patterns work together. A whole line of fabric is like a complete painting to me. I get a lot of joy out of working with a designer’s creation.
The strips were already cut, so I could take my small cutting mat down to the coffee table and cut and watch TV. If I cut a bunch of strips on ‘spec, I could do this as well.
I didn’t have to decide how many yards of each to buy.
I had a limited palette to work with.
I like the fabric and a Jelly Roll was just enough to satisfy me, especially since the only reason I buy Christmas fabrics is to make gift bags.
I saw this quilt on a blog called Sister’s Choice Quilts. She also used the Merry and Bright fabric line. I have always loved the Chinese Coins pattern and the combination of Chinese coins and 4patches make this a winner. I love seeing the same fabrics in different patterns and similar patterns in different fabrics. That concept is one of the things I really like about quiltmaking.
Joyce, my fabric temptress, and owner of Quilting Adventures, showed me this fabric, which is gorgeous. I think I might have to have some. It is called Fizz from P&B. See also the P&B page for this line. Call or email Quilting Adventures to purchase. Thanks, Joyce! (I think!)
I met Faye on a list back in the dark ages of the Internet, when normal users couldn’t upload any photo they wanted and write in a blog.
She and her husband came to visit me when I was on maternity leave and took a shine to The Child. They became his unofficial New Zealand grandparents. Every year for his birthday, they send him a classic New Zealand children’s book and write him a nice note.
Faye and I have also kept in touch, sharing our recent quilt projects, bags and stories about our families. Faye had less time to sew during the past few years as she cared for ill husband. After he died, she went on a world tour to visit her family and has started to sew again.
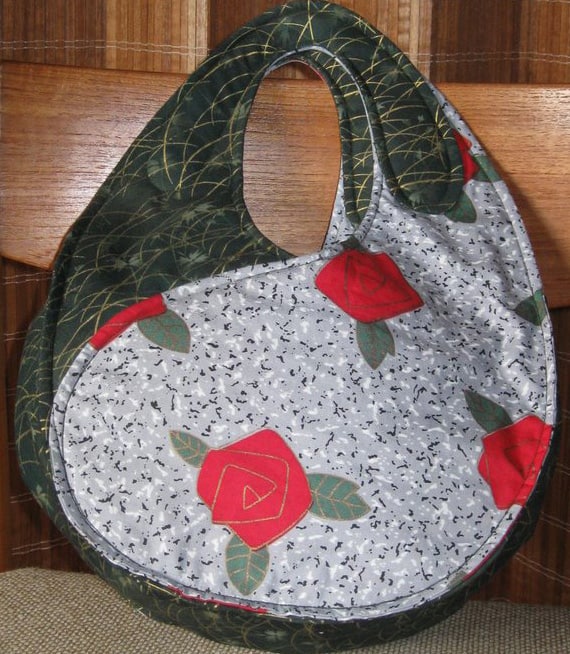
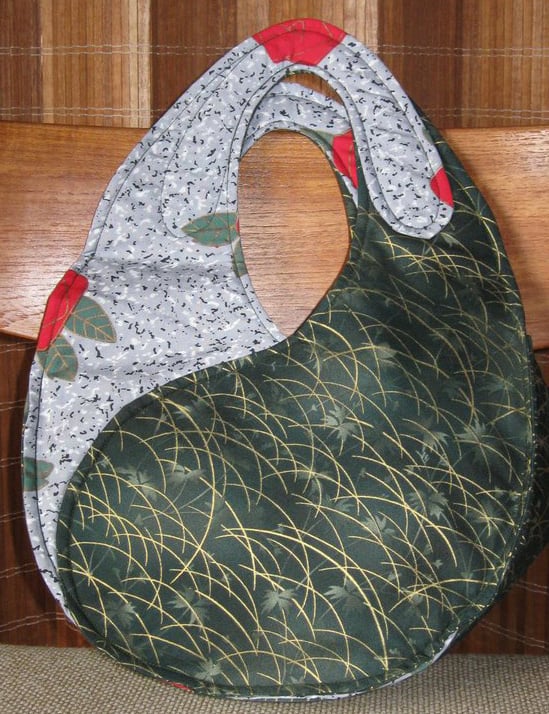
Faye's Rose Bag
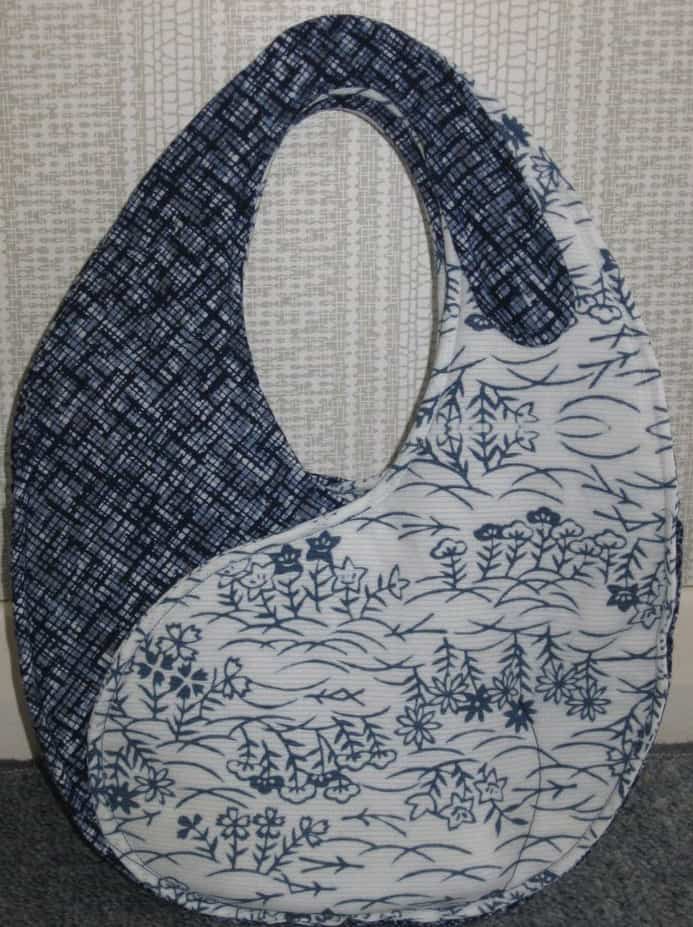
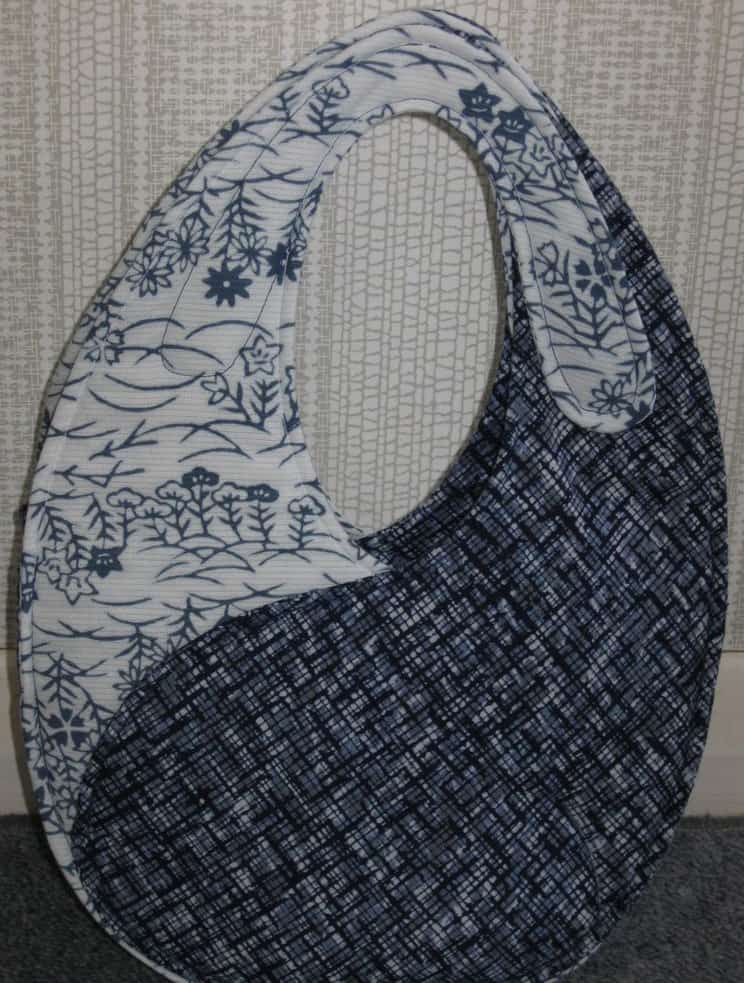
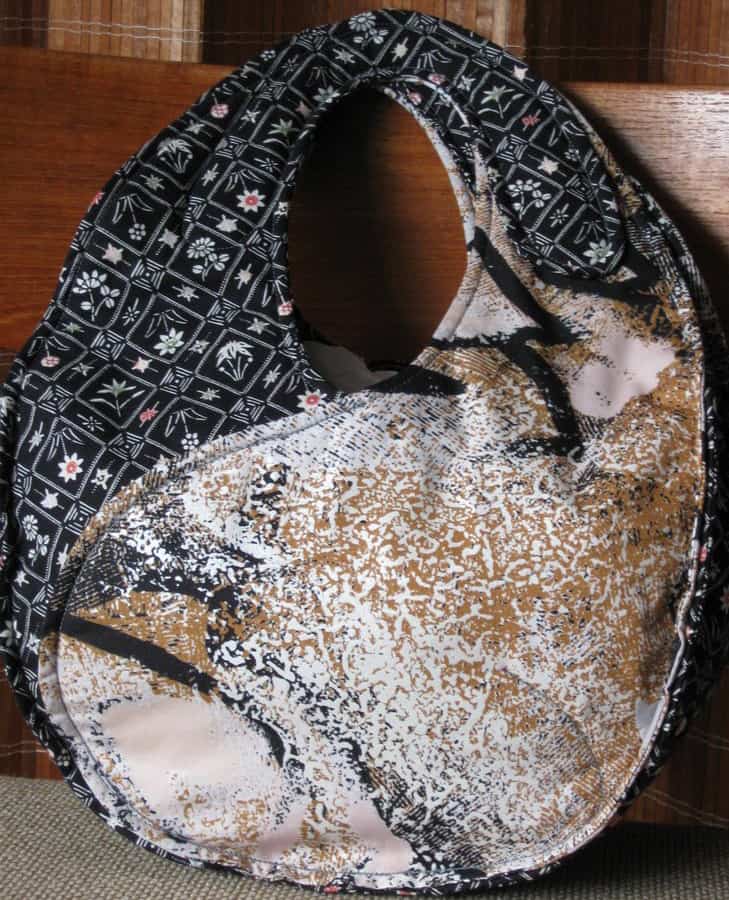
She calls these bags her Yin Yang bags. The pattern is by Jaime Kalvestran of Scrap Bags o Minnesota.
Faye's Rose Bag - backFaye's Black & White Ying Yang BagFaye's Black & White Ying Yang Bag - backFaye's Black, Brown & White Ying Yang Bag
Faye writes about these bags “I made several in the same Japanese fabrics; the blue and white ones were from unpicked antique kimonos. There are two inside pockets, suitable for a mobile phone and for keys, and the bag is deep enough for a wallet. Now I am “bagged-out” but may make more for gifts later.”
I didn’t find this quilt when I searched for it on my blog, so I think I may never have written about it. That wouldn’t surprise me since it was made in about 2003, before the blog. Perhaps I’ll start dredging up old quilts and showing them to you.
TFQ and I made it back in 2003 for a very special person in my life named Jennifer (yes, another Jennifer!).
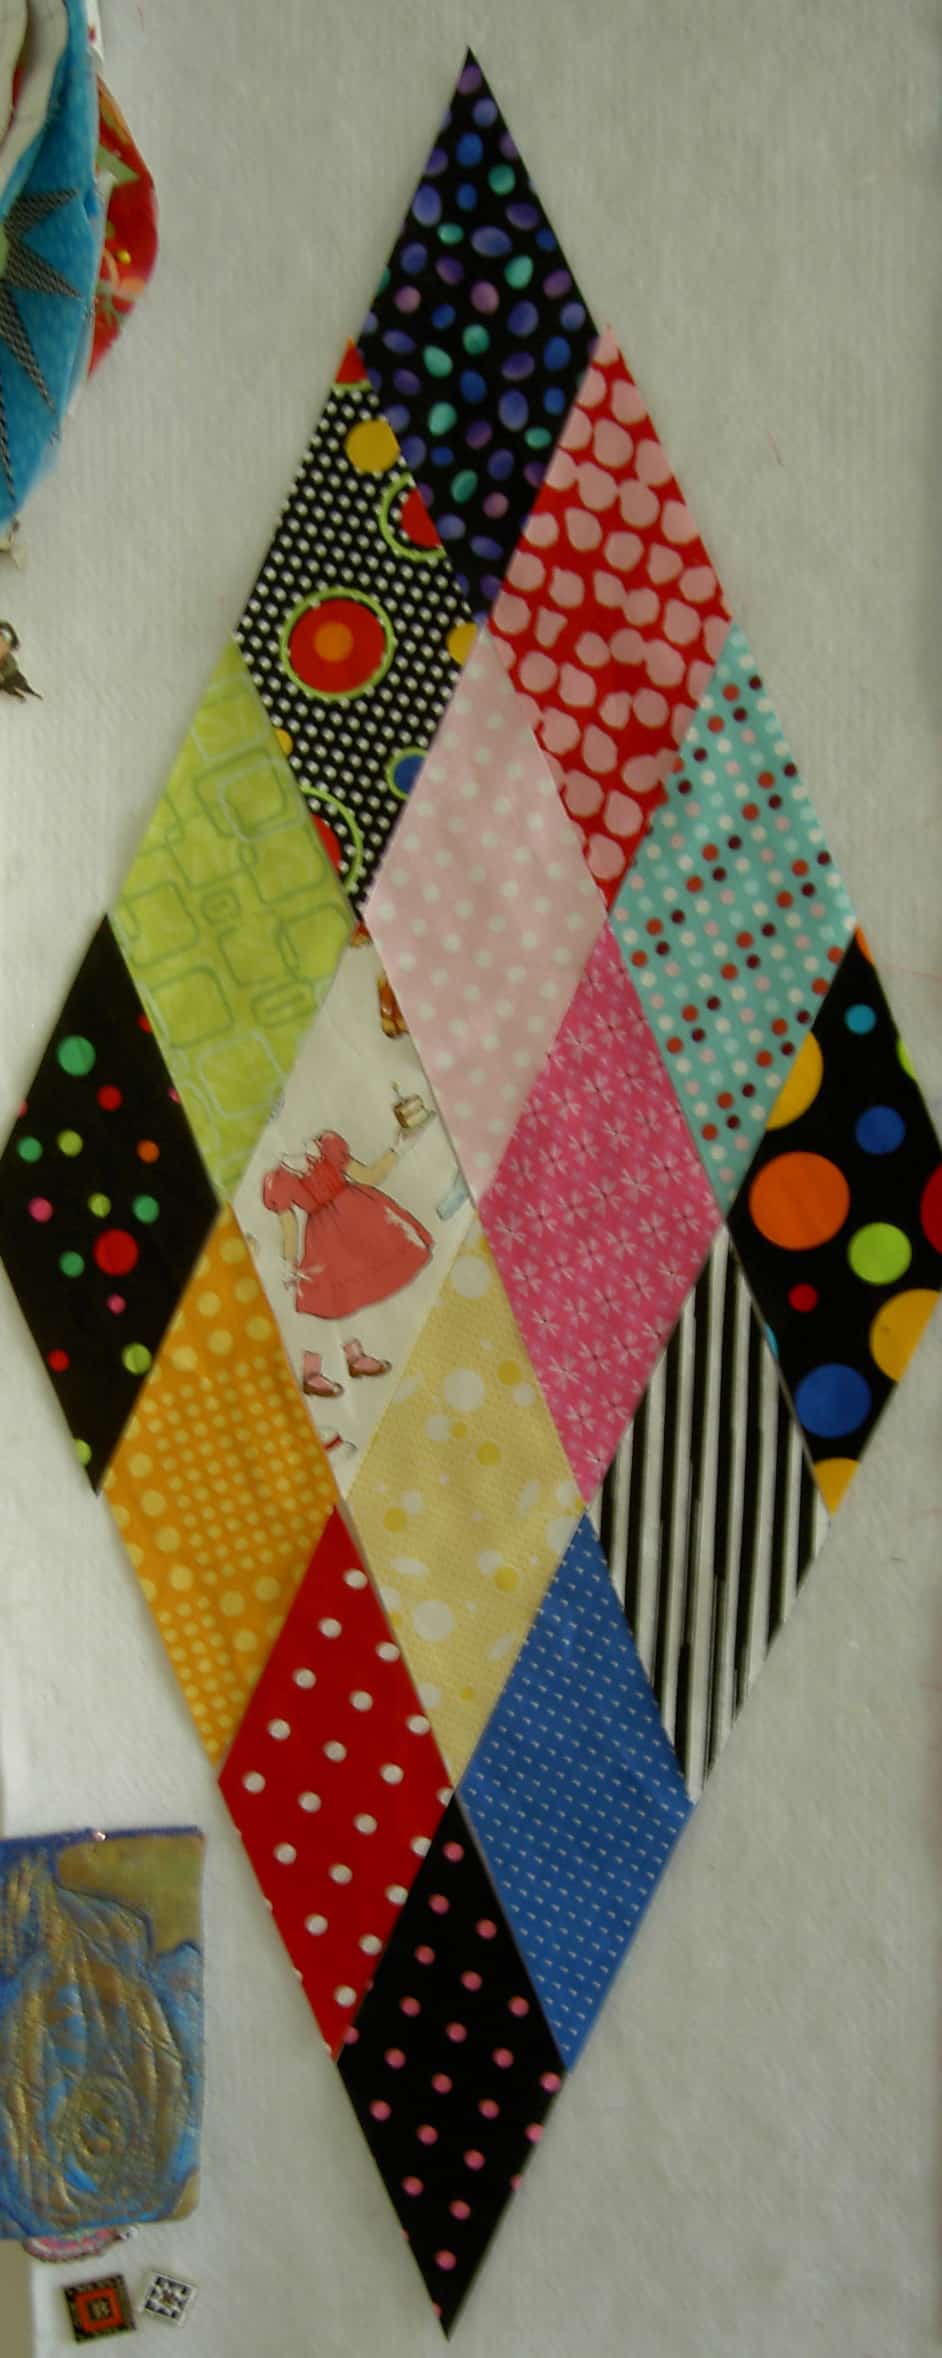
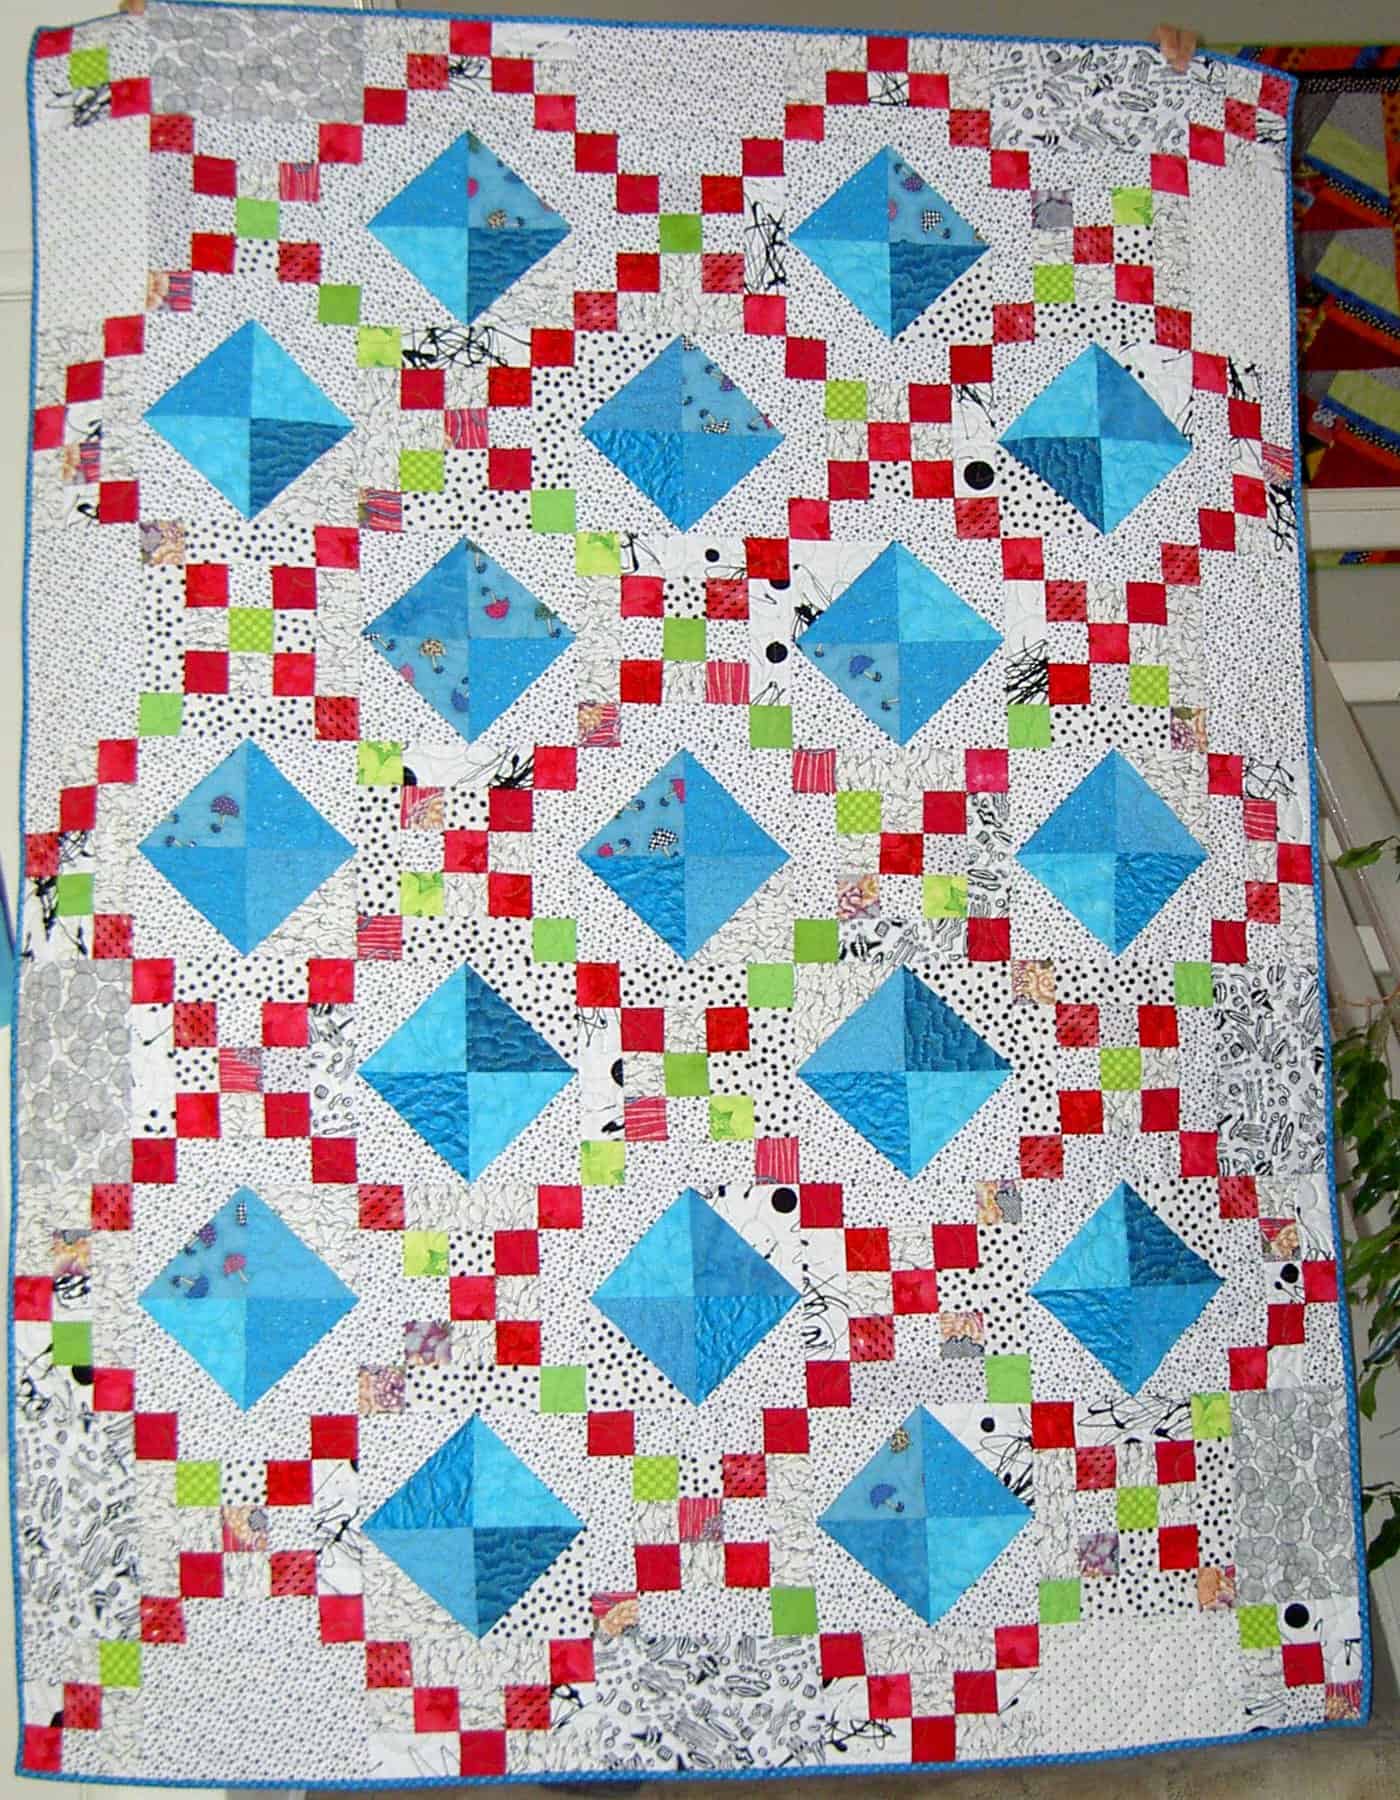
It is part of a series of quilts TFQ and I have made in a pattern we call Diamond chain. The pattern originally came from the Spring 1997 issue of McCall’s Quick Quilting and did not list a name for pattern (only a name for the quilt). We changed the pattern somewhat, so we call the overall pattern “Diamond Chain.” It is similar to a Jewel Box. andwe have made at least three quilts (Get the Red Out!, Ocean Avenue, Punk Rock Quilt) in the same pattern. I think TFQ and I have made all the different quilts in the series together.
This is a pattern that is a kind of single Irish chain and anything could go between the chains: stars, applique’, basket, any block. I would like to try to make a version where stars are in place of the on point squares (half square triangles).
I think this is also the pattern that we started working on the self-bordering concept.
I found out that Jennifer died on Thursday and I felt particularly sad. Not at all because of the quilt, but because she a person who really cared about me. She taught me the value of me. She took care of me, taught me to rest and taught me that if I took care of myself I could better take care of my family and others who depend on me. She cared about me in a way that was so valuable, because she didn’t want anything back from me. I didn’t get to say good-bye and that is very difficult.
I mostly don’t make quilts for people anymore, but I do on occasion and I was glad that I made this one. She told me about a month ago, when I last talked to her, that she thought of me whenever she used it and felt like she was getting a hug from me. That is one of the nicest things anyone has said to me about something I have made.
Post the direct URL (link) where your drawing, doodle, artwork is posted (e.g. your blog, Flickr) in the comments area of this post. I would really like to keep all the artwork together and provide a way for others to see your work and/or your blog.
Leave your comments about what comes to mind when you read this word.
The Creative Prompt Project, also, has a Flickr group, which you can join to post your responses. I created this spot so those of you without blogs and websites would have a place to post your responses.
I have been, slowly, responding to ancient emails and dealing with setting up my computer again as I try to recover from the crash. Below is a lot of different things that I have been thinking about or looking into.
The exhibit was called Modern Materials: The Art of the Quilt and the interviewee was Jill Rumoshosky Werner. She was the curator. I also saw a Flickr group of some of the quilts.
I thought the comments Jill made about her process and the different pieces included in the exhibit were interesting and thoughtful.
I wrote about the Apron contest/exhibit that Jennifer over at CraftSanity is having. I was pleased to see her mention my blog in her blog. Her husband made a funny YouTube video to entice people to take up the challenge. If any of you saw her blog post and came here, leave a comment and let me know.
Patterns
I am apparently in hunting and gathering mode. I am gathering supplies and fabric for a number of projects (and the class I am taking later this month). I don’t know if I will make all of them, but I am gathering. In a comment from the Happy Zombie blog post I made SherriD suggested a quilt-a-long. I have the supplies coming. Anyone else want to make their own version of the Oh Fransson/Happy Zombie quilt with me?
The other is the Basketweave Baby Quilt. I saw it again the other night when I watched a repeat of the Fons & Porter episode featuring the Basketweave Baby Quilt. This is part of series 1000. I wrote about this before and thought I would get over my obsession with this pattern, but when I saw the episode again I realized I haven’t. I got a piece of paper and made copious notes on making this quilt. Later, I went to their website to find the project notes/instructions. No dice. They don’t have the sizes or anything on their site. So, I went to see if I could order the magazine that included the instructions. Again, no dice. It is a Jan/Feb 2007 issue of Love of Quilting magazine and it is out of stock. I emailed them to ask about getting the back issue and didn’t hear back. I also looked for websites or information from the designers, Betty Hufford and Jean Nolte. I didn’t find anything there useful there either. I have looked at the library to which I have a card and I haven’t been able to find it. I can’t say that I explored every nook and cranny of their site. I find the Fons & Porter site difficult to navigate. If any of you have this issue and would be willing to loan it to me, leave a comment in this post’s comment area.
I feel a bit stuck, but I also think that I can draw out the design on paper and use that to make a sample. We’ll see.
Podcasts
I have been listening to Pat Sloan’s podcast while I sew. For some reason I don’t download her podcasts to my iPod. Not sure why. Perhaps the Toginet ads intersperse in the podcast is why. Not sure. Anyway, the interviews are really good. So far she has interviewed quiltmakers I haven’t heard before. One podcast that I really liked was with Bonnie Hunt of Quiltville. I had never heard of her until the podcast. One thing she said was that people who use steam when pressing have problems putting their quilts together. I don’t know if this is true or not. I have always used steam, so I decided to try this out. I have, mostly, not been using steam when I press blocks and elements for a quilt. It is an interesting experiment. I don’t know how long I will do it or if I will never go back to using steam. Some of the things I have found:
pressing wrinkles out of recently washed fabric needs steam
adhering fusible interfacing to fabric needs steam.
I don’t see that pressing seams need steam so far.
I don’t have any other feedback at the moment, but I enjoy the opportunity to try something new. Do you use steam or no steam?
My mom mentioned using Mary Ellen’s Best Press. She said that it really made cutting easy. It might be good to try, but I don’t feel like buying it right now. Mom is going to bring me a sample from her work. The owner offered me one. YAY!
Another Pat Sloan podcast I really liked was the episode with Linda M. Poole. I enjoyed it because Linda was an excellent interviewee. Pat asked her one question and Linda was off and running with interesting comments about her life, family, business and teaching. Linda was well spoken also. In the interest of full disclosure, I have to admit that Linda mentioned my Creative Prompt project. That isn’t the only reason I enjoyed the podcast! 😉 I did see a small spike in comments after that podcast, so, thanks, new readers!
The information related to Pat’s podcast is hard to navigate, though. She doesn’t have much information in iTunes or on her blog about which episode includes which quiltmaker. I had to go to the blogs of two quiltmakers mentioned above to find out which episodes they appeared. I like to have the information right in iTunes.
Inspiration & Momentum
Fabric Closet, Working
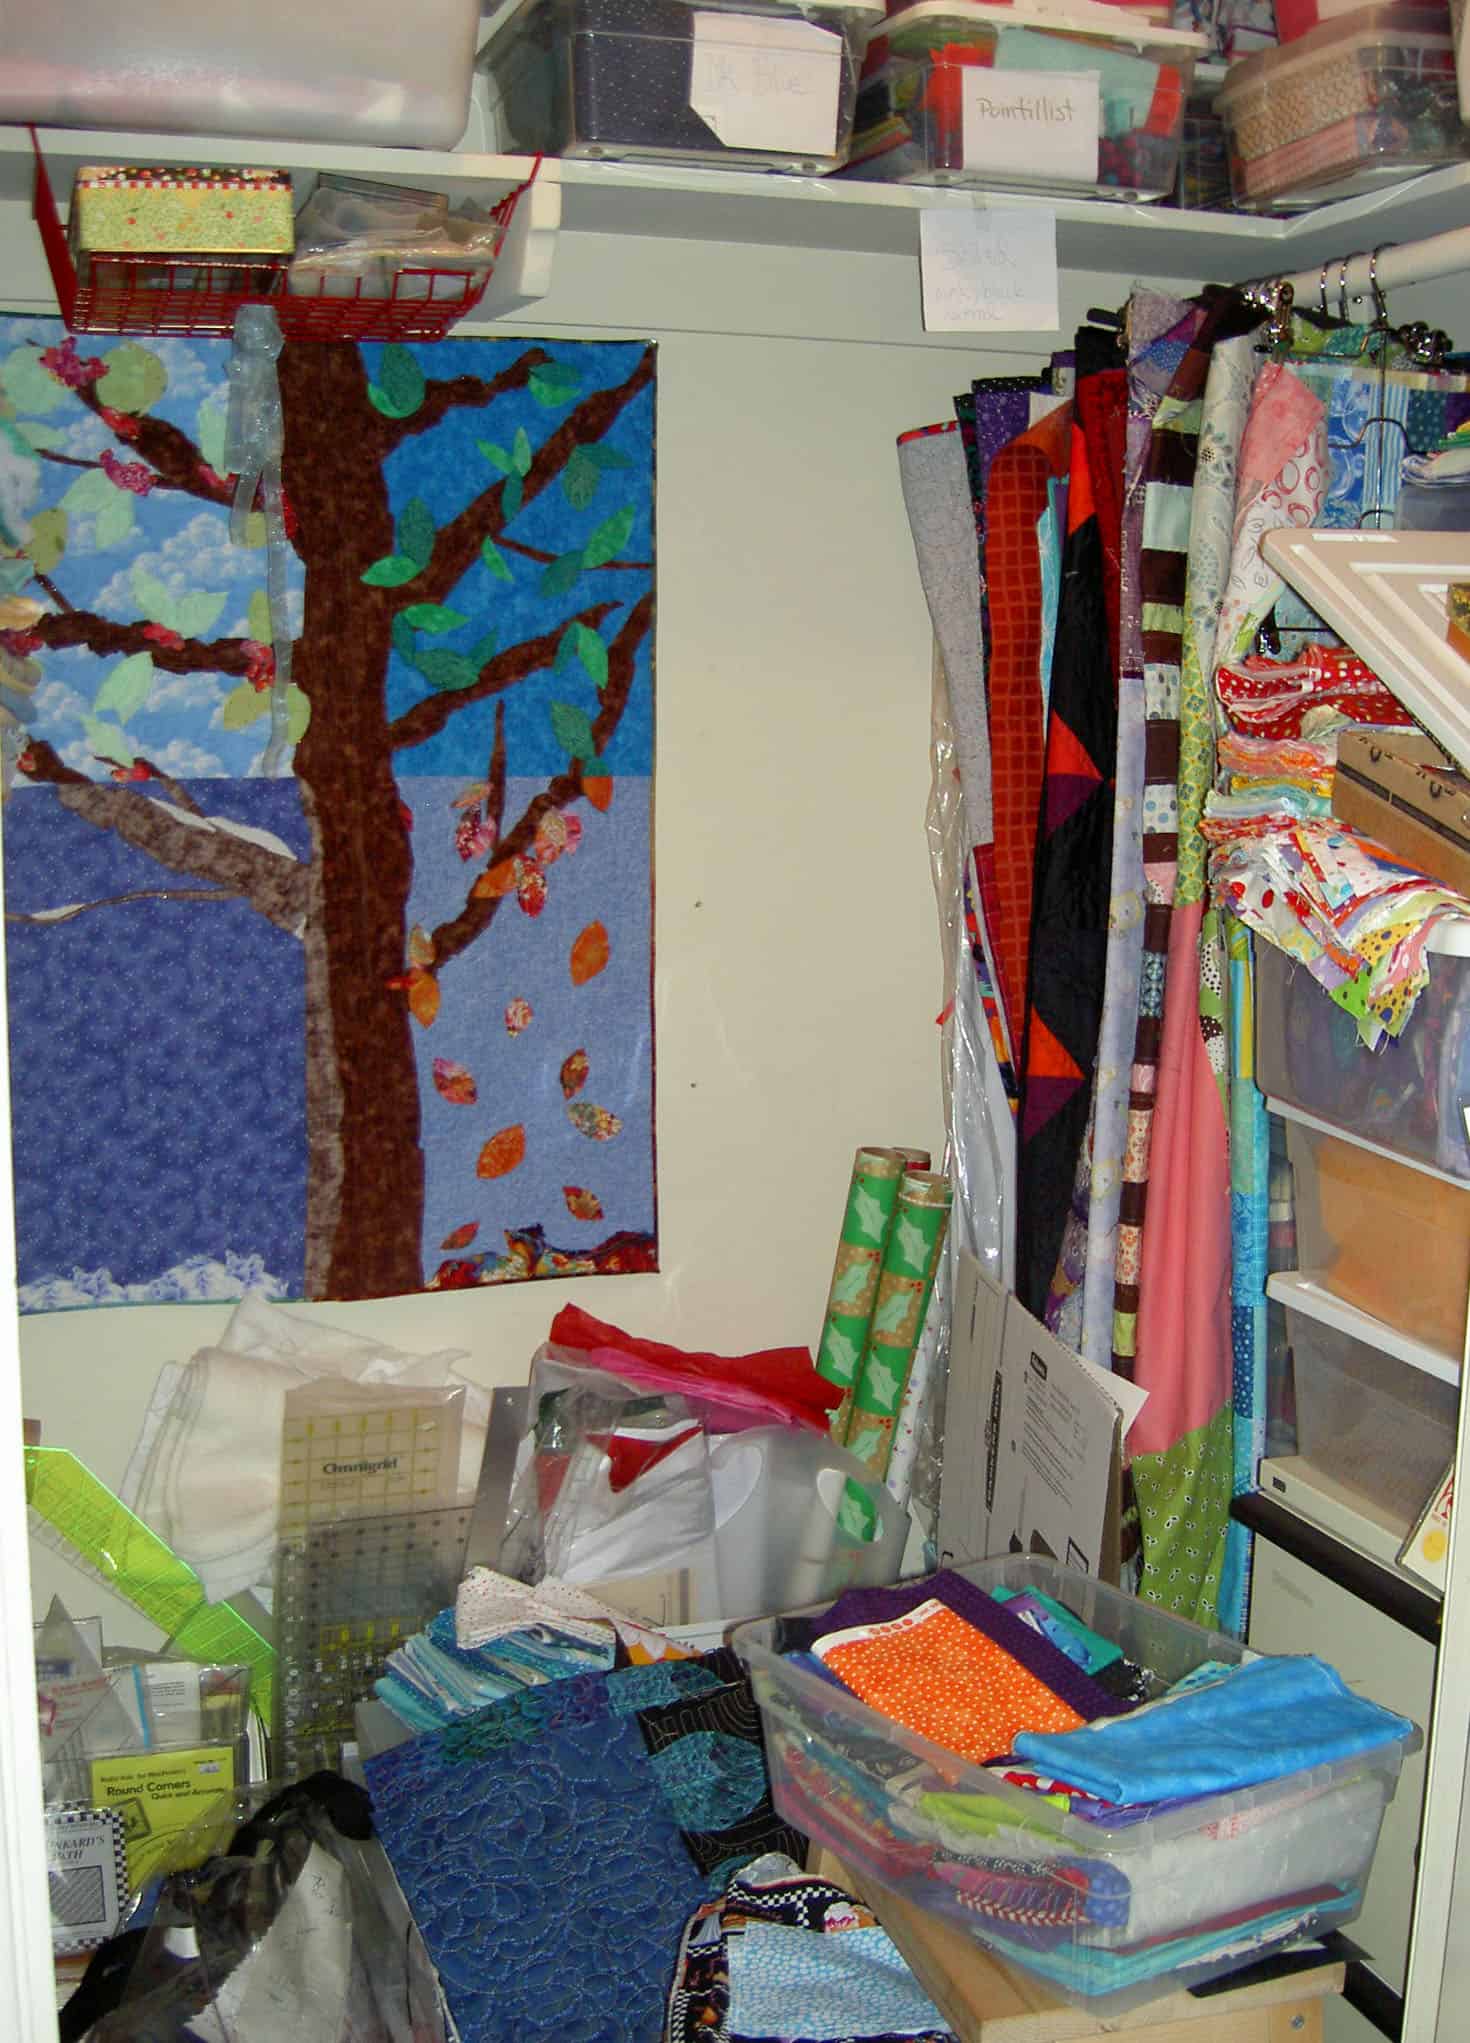
I had a fabric/project avalanche in my fabric closet last week. A bad sign was that I shut the door and haven’t really gone back in. I haven gone in, looked at it and left again.
I felt like I was losing my sewing momentum last weekend. I am not sure why. I had very little time on Sunday and I just couldn’t get going. I have to try and take my own advice about dealing with these issues. Part of it may have been that I was sick last week and am still feeling the last bits of that illness. I am blaming my malaise on that illness. I think I need to read a trashy novel.
Someone came in my workroom last week and started asking me about the various piles. I sincerely dislike that. Some are projects in process (yes, I need bins for them). Some are just piles of stuff I haven’t put away. Some are hard to explain. Regardless I don’t like justifying my piles. I work better with an organized sewing area. I need and want to build on the reorganization that TFQ and I did on the fabric closet some years ago. I need and want to reorganize and make beautiful the rest of the room – paint, shelving, the works. There are nice ideas at HGTV that I can use for inspiration. It all takes money which I don’t have right now. I can think about and plan for what is next in this room:
Bookshelves without a doubt! Bookshelves with LOTS of growth space!
Last weekend (Saturday) I went to a scrapbook day with a friend and worked on my Austria album. One of the things we did, aside from cut and glue down photos, was watch a video on how to be a better photographer by Nick Kelsh. I thought for sure the video would be on the web somewhere, but all I could find were clips. Look at Nick’s website for clips on using your digital camera to get better photos. I tried his techniques out a bit this week. We’ll see if my photos get better. I’ll let you know when I post them.
Shopping
I went to Jo-Ann a couple of weeks ago to get a “June Tailor Cushioned Square ‘n Blocker” for a class with Dale Fleming I am taking with EBHQ in a few weeks. I mentioned this class briefly a few weeks ago. I am interested in making a circle quilt and I thought it would be a good idea to learn a different technique. My other option is to use the technique Ruth McDowell teaches in her AWESOME Piecing: Expanding the Basics book. The quilt I am interested in making looks similar to the one that Malka Dubrawsky made that was published in Quilting Arts magazine some time ago. She dyed hers and I plan to piece mine. Why, you ask? Who knows? I may make three blocks, realize I had lost my mind and move on. We’ll see.
Anyway, I hadn’t really planned on buying board, though I knew it was a possibility. I wanted to see what it was and what it looked like. When I asked the price, the retail assistant told me and mentioned that they had 40% off coupons in the front of the store. I grabbed one and then went to grab the coupon. I was able to buy the board for about $10.
I barely ever go to Jo-Ann and I hadn’t been there in a long time. While I was there I noticed they had all of the Fons & Porter notions the two show on their Love of Quilting show. They also had a really good selection of rulers. No Creative Grids, but lots of other brands.
I was in a bit of a rush that day, so I just glanced, and left. Or so I thought. I went to the checkout line and found that Jo-Ann has a HUGE selection of craft magazines. They had some quilt magazines that I had never seen. I picked up the newest issue of Art Quilting Studio while I was there.
Since I just did a rush visit the first time, I went back on Monday just to look around. In addition to the other projects I have in mind, I have to gear up for Teacher Pillow time, so I am starting to gather materials. Finding affordable pillow forms is paramount. The cheapest one Jo-Ann had was $6.99. $6.99 x 5=too much. I also wanted to look more at their various rulers etc. I saw a Simplicity Studio Ruler Simpli-EZ Tri mate. I never knew that Simplicity made rotary cutting rulers. This caught my eye, because of the shape. I wonder if it will help me, more easily, create the setting triangles for the FOTY 2010 quilt? I’ll have to bring the diamond ruler there sometime to compare and see if I can tell.
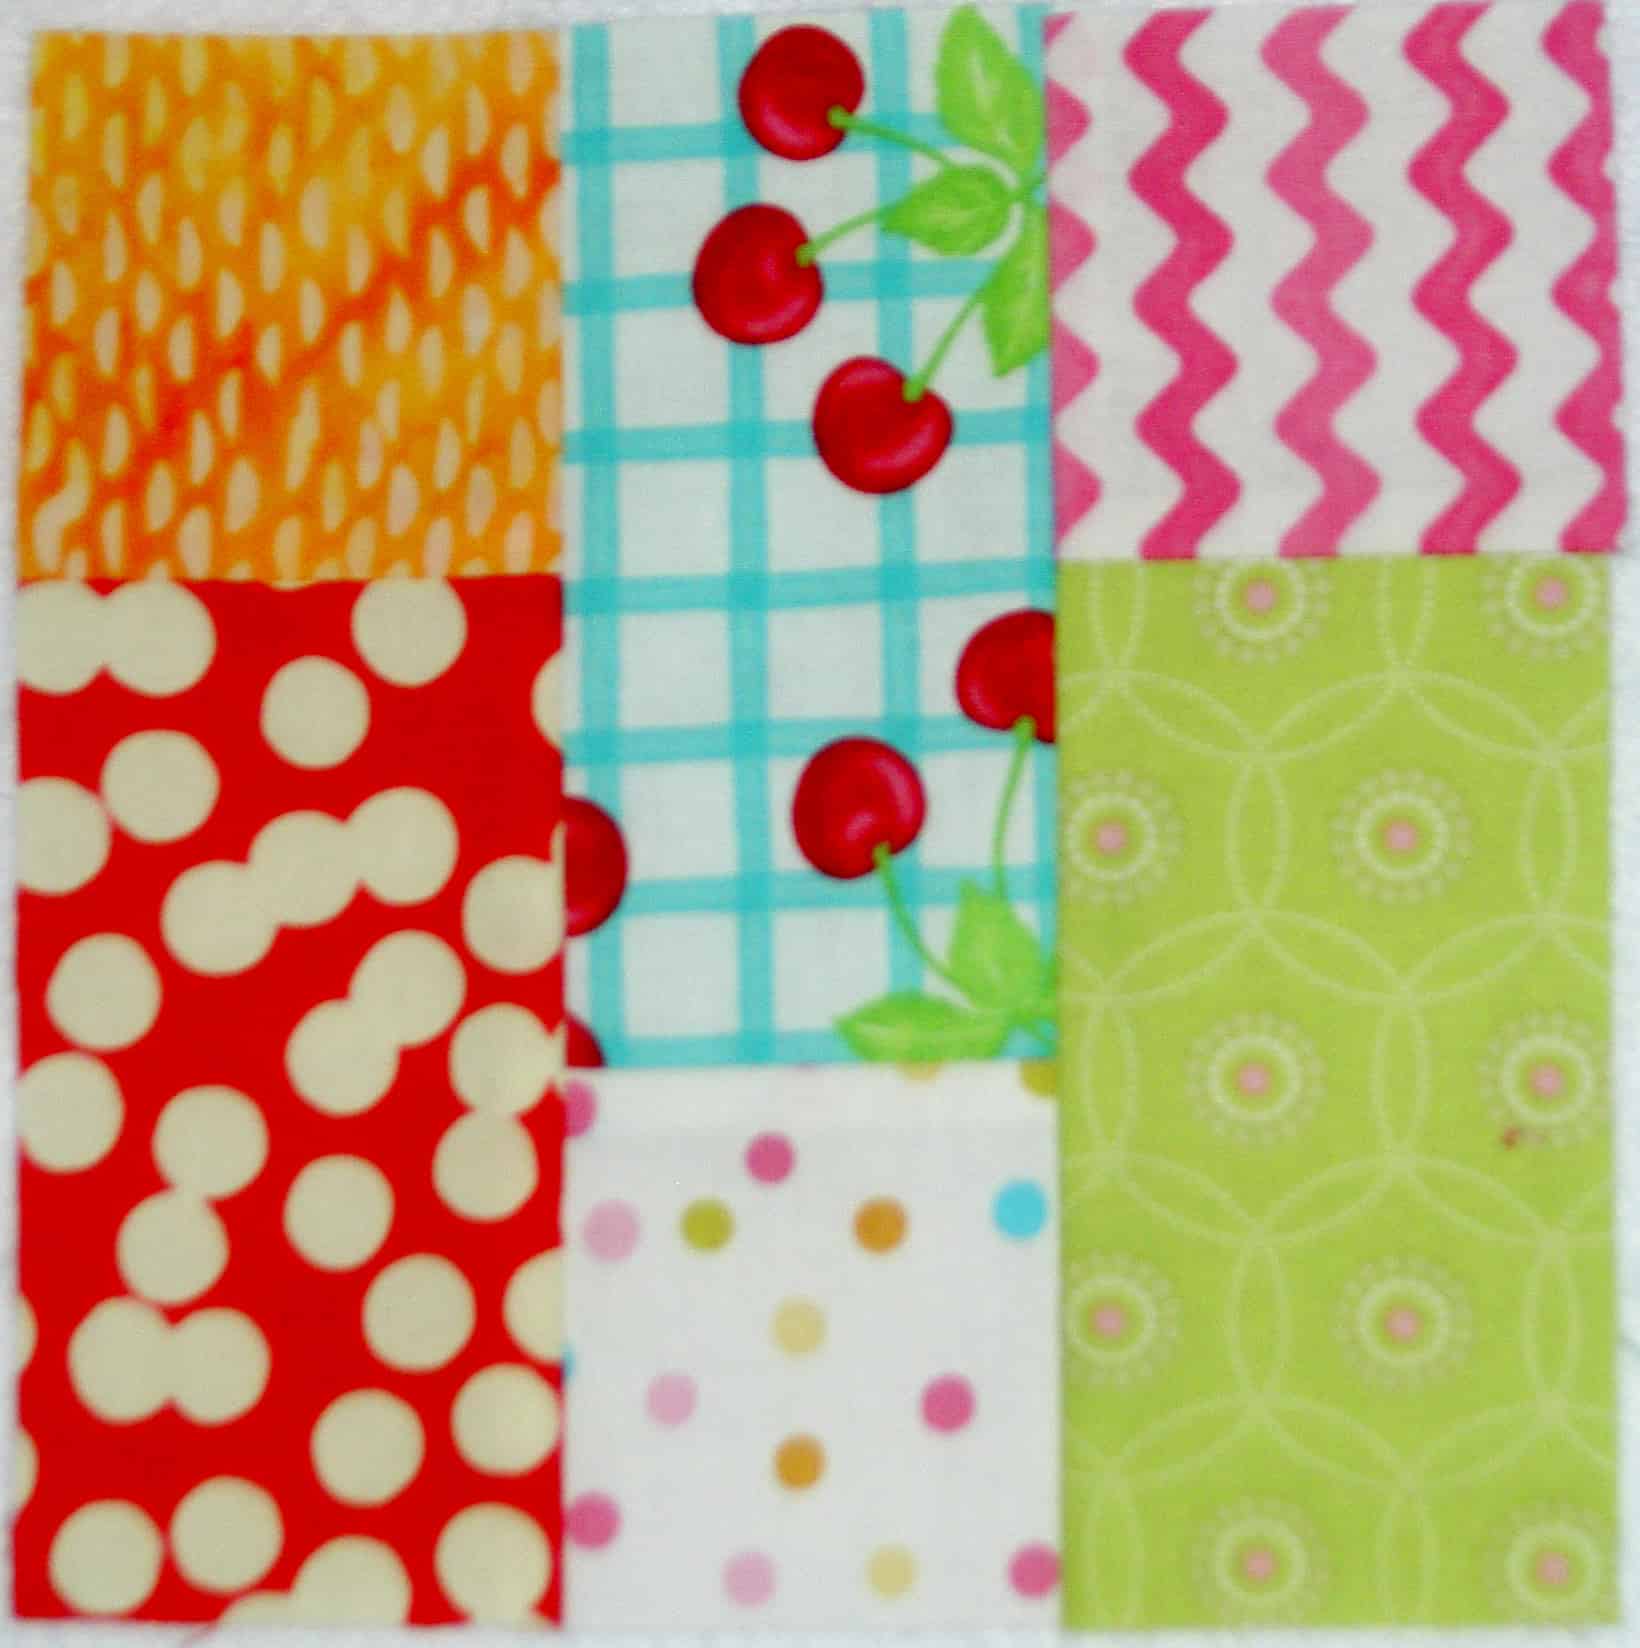
I was drawn in by some of their fabric designs.I saw some cherries on pink background that were CUTE! And the prices are great. However I felt the fabric, which I always feel compelled to, and didn’t like the feel of the fabrics, so I passed.
Magazine News
The Jo-Ann magazine selection was as good as ever on my second trip there and I saw the new Quilt Life magazine by Alex Anderson and Ricky Tims. I haven’t heard good things about it, so I didn’t pick it up. TFQ said she would send me hers to look at, so perhaps I will do a review after I read it.
Bad news on Art Quilting Studio. They have a new editor who said the magazine would be going on hiatus. I don’t think the new editor shuttered the magazine, but I am guessing that Jenny Doh didn’t want to be associated with a failure. I guess we didn’t give enough support to the 3 issues they did put out. Issues of the latest AQS issue were still available when I was at Jo-Ann the second time. I really enjoyed the first issue of that magazine. I thought the second issue had more of the Somerset look and design – muslin, lace, buttons – and I wasn’t enamored. I did like the in depth interviews with quiltmakers. Denyse Schmidt was in the first issue and Susan Shie in the latest. I am happier with what I saw in the 3rd issue, even though I haven’t read through the whole thing yet. Well, if you like that magazine, write to Somerset.
Finally, I got the latest issue of Quilter’s Home. I was really unhappy with the last issue, which was the first without Mark and the first with the new editors, Jake and Melissa. They did a poor imitation of Mark’s style. I had planned to cancel, but I’ll see how the next issue is before I decide. I am happier with this latest issue. I particularly liked the article about blogs and will try to get ArtQuiltmaker into that list.
Resources
I received the Edward R. Hamilton catalog the other day. If you have never seen their catalog, get them to send you one. They have an online presence, but I really enjoy looking through the catalog. I was really pleased to see the book American Quilts: The Democratic Art, 1780-2007 listed in the ART section. It is also only $27.95. I’d like to look at it before I buy, but if it were $10 I would have scooped it up. I love those books which are combinations of history and quilts, but I don’t want to buy a book with a lot of quilt photos I have in other books.
I decided that I am going to make this pattern, It’s A Wrap Pattern by Sandy Gervais, this weekend. We will see how much of it I get done and if I am able to actually follow the directions. Wish me luck. Hopefully, this will cure my malaise or make it go away long enough for me to make some other things.
I know I have said some things about patterns. I guess I am getting over my snobbery. Hope you won’t hold it against me. I think what I mean is not that there is anything wrong with patterns, but that I like to be able to analyze a quilt and make it by myself without using a pattern. I realize that not everyone has that spatial acuity and that pattern designers have to eat!
Around About Town
Last Friday I had to pick up some tea and return a library book, so I stopped in a little mini-downtown section of SF called West Portal. I parked, walked to the Library, crossed the street and found a newspaper/magazine stand near the place I buy tea! I love those shops where you can see about 300 magazines all at once and buy one issue of foreign home dec magazines as a treat. I have been up and down this street a multitude of times and never seen this place. It may be new. They had a wonderful selection of quilt and craft mags. I had to buy an issue so I picked up an issue of Quilt Mania. I was pleased to find an article about Judy Rothermel and a couple of blocks that were very inspirational. I didn’t know JR designed Civil War fabrics as well as her signature 1930s lines.
After I drank my tea I headed back to the car and saw a handwritten sign in the window of the bookshop saying they give knitting lessons. Hhhmmm.
Deirdre sent me this link a long time ago and now that my computer issues are getting resolved I can get back on track to posting inspiration. This is definitely for the girls in the crowd who just need a box of chocolates or an ice cream or other chocolate to make those “bad people go away.”
This is similar to the last block I made back in November. When I made the 3 Columns block, I wondered how it would look if I reversed one of the columns. The block to the left is the result.
I think the fabrics are a little busy, but otherwise it was a good idea. It is a simple idea.
I haven’t worked on the Sorbet quilt in a long time. The idea of a quick quilt to cleanse my sewing palette after the Tarts is working out like I thought it would.
First, the Tarts are still on my design wall calling to me. There is something else I need to do to it, but I am not sure what.
Second, as you have probably heard 1,000 times, my laptop died and along with it the notes on the quilt. The notes include all of the designs for blocks. I can easily remake them, but don’t have it in me right now.
Finally, I can’t find the other blocks I have made. I would really like to find them. This, partially, goes back to organization. I need a better organizational system in my workroom.
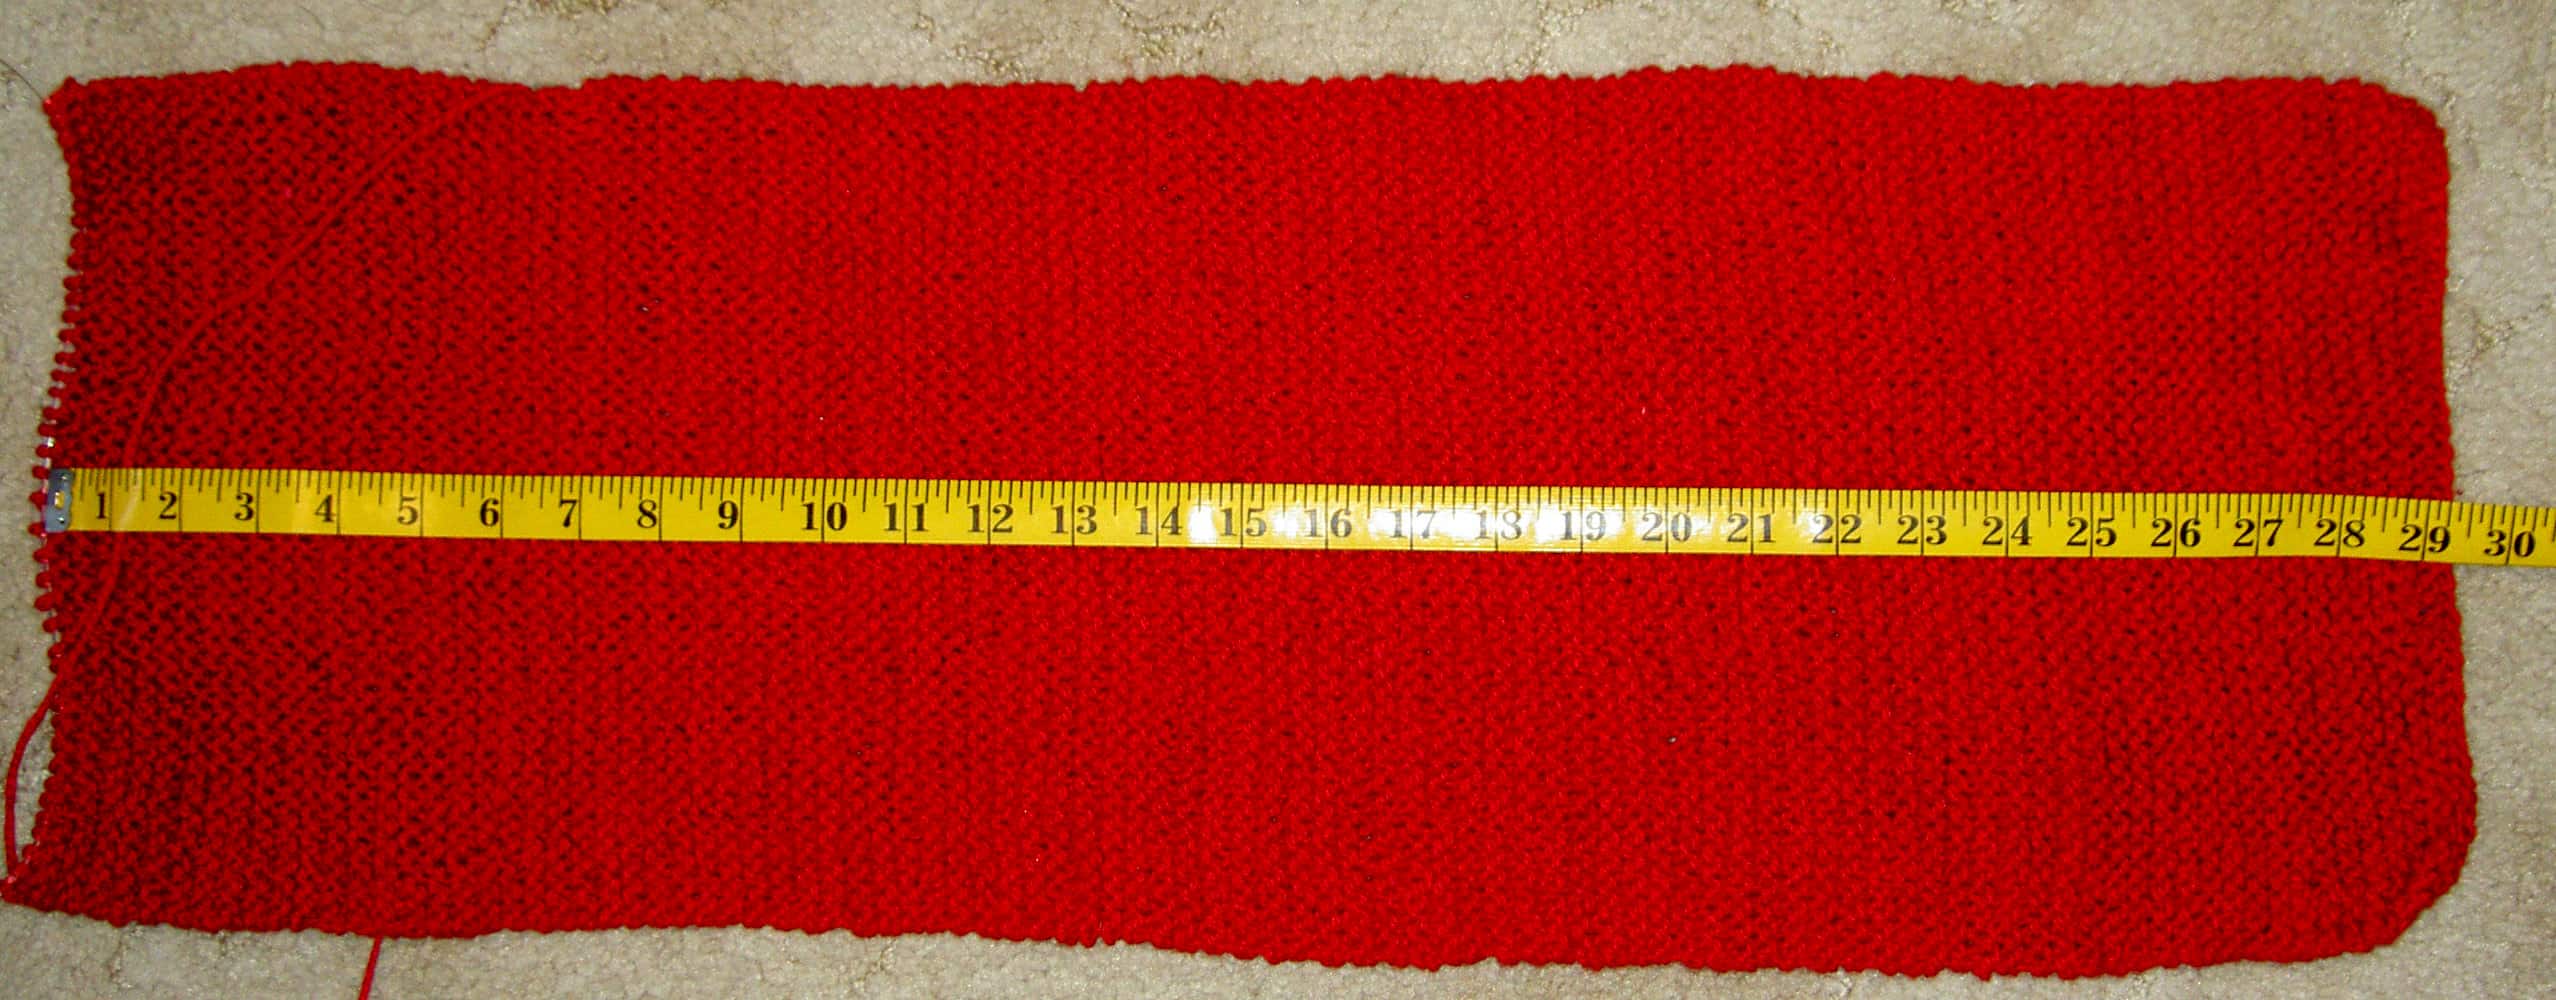
The progress I am making on the next Orphans.org scarf. They like them to be 60″. I am on the second hank of yarn and not even at 30″ yet, so I am not sure I will make it.
Sue, a CQFAer, suggested I not cast on so many stitches and make the scarf more like 25 stitches wide. I will try that on the next one. I like doing this because I feel like I am doing some good for the world. It might be a small thing, but perhaps it will make a difference
Somehow I ended up on the Happy Zombie blog. Yes, that is a quilt blog. I loved the turquoise and cherries theme. I was fascinated by everything that Monica, Happy Zombie’s mistress, has done in the quilt world. There are lots of fun links to look at in the sidebar.
While I did love the colors and theme I really liked her version of the Oh Fransson New Wave quilt and am actually planning on making one. I love the way she used a ruler to cut the pieces. I think it is a good use of a Jelly Roll. You can four photos of the quilt on her site, the main one is here.
As an added bonus, Monica and I had a personal exchange about the ruler she used, which was cheerful and nice.
Definitely go to her site to look at the photos. The quilt is awesome.
 One-Yard Wonders: 101 Fabulous Fabric Projects by Rebecca Yaker