Gift Post: Book Carrier/Cover

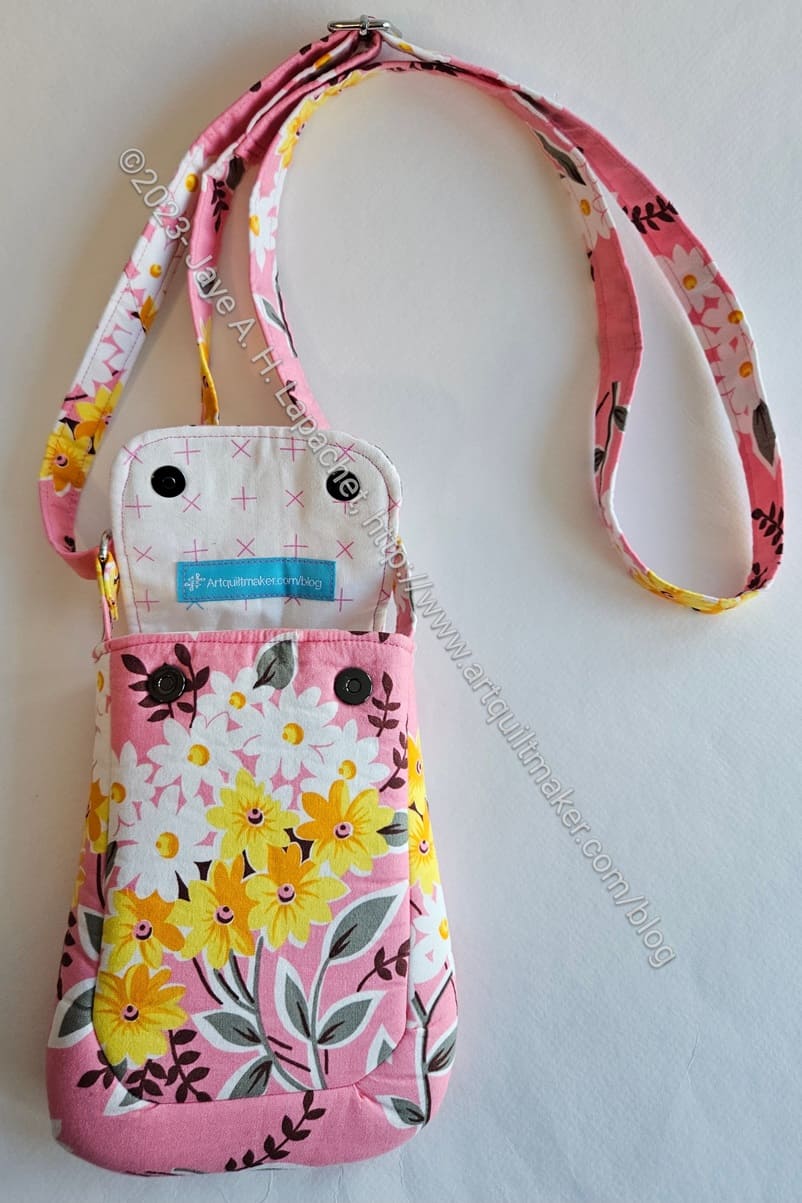
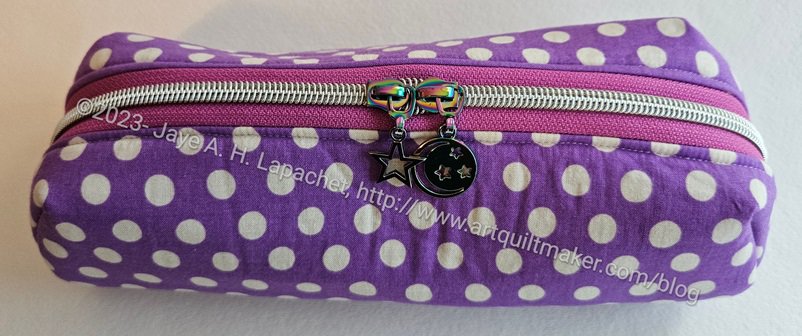
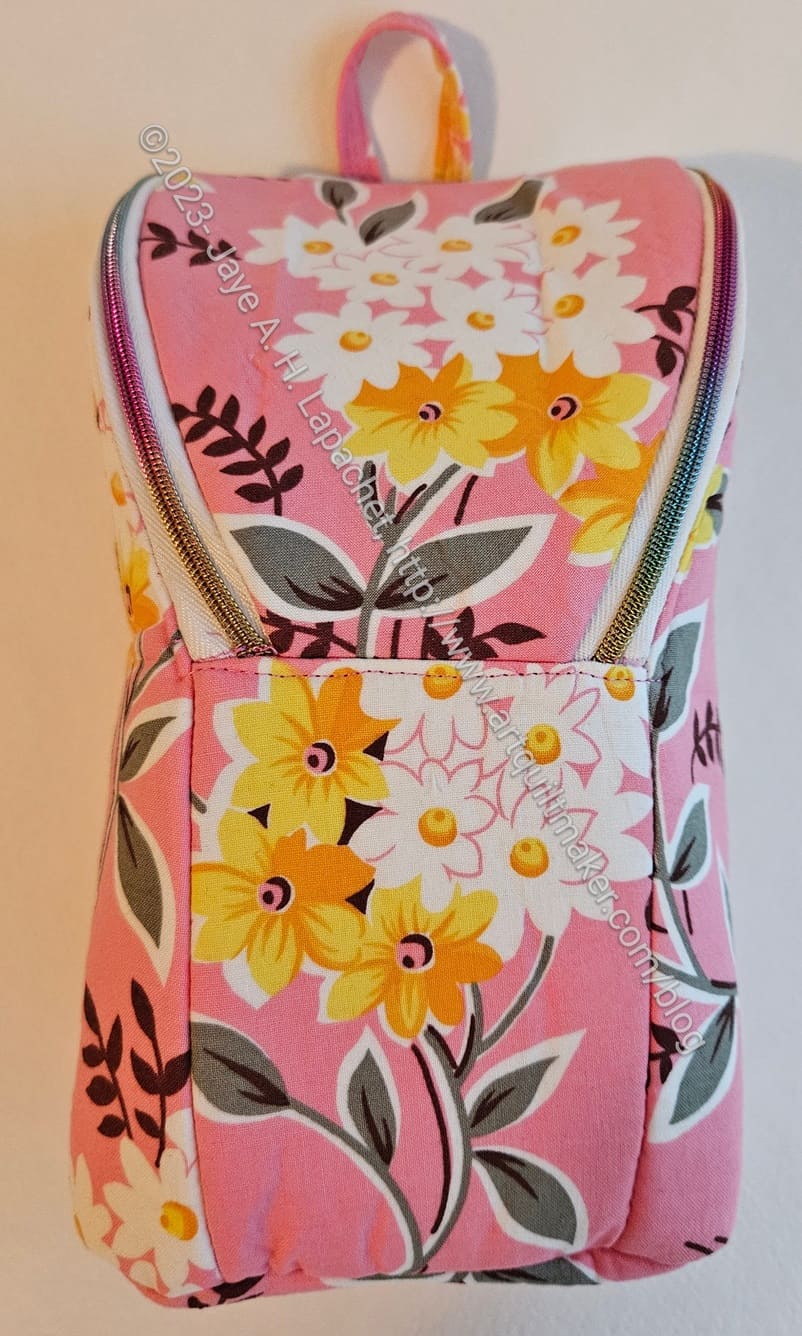
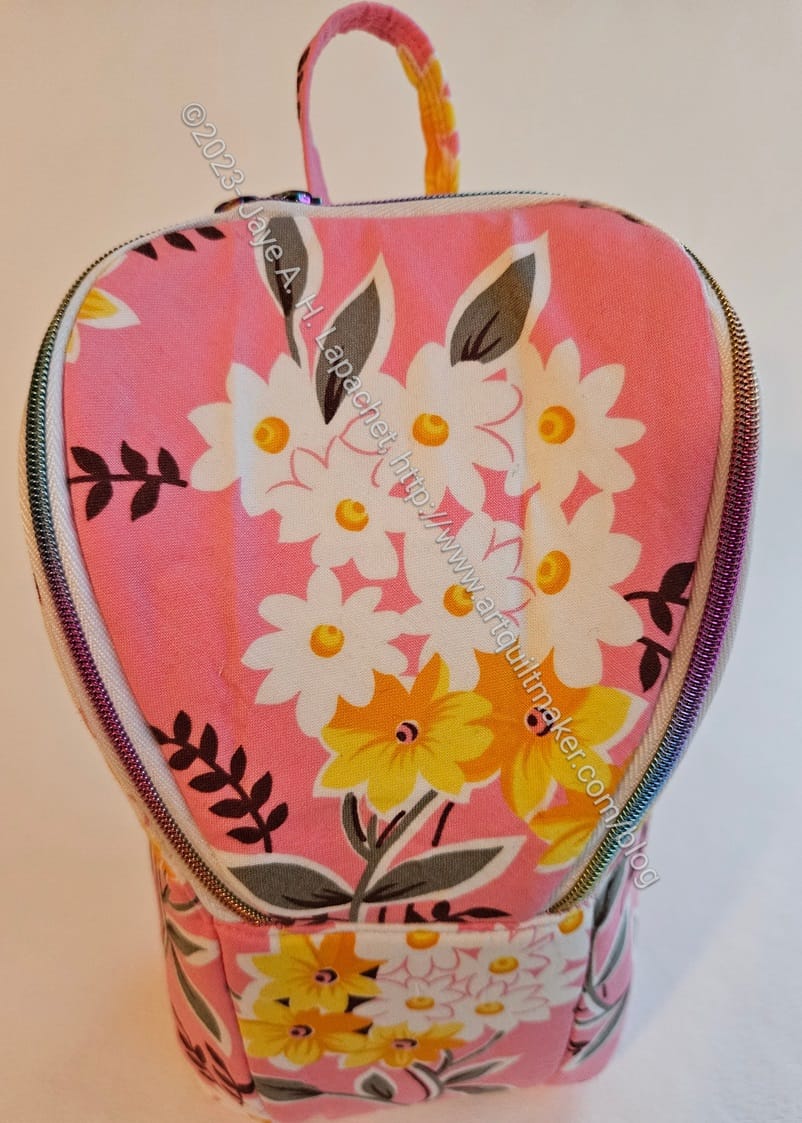
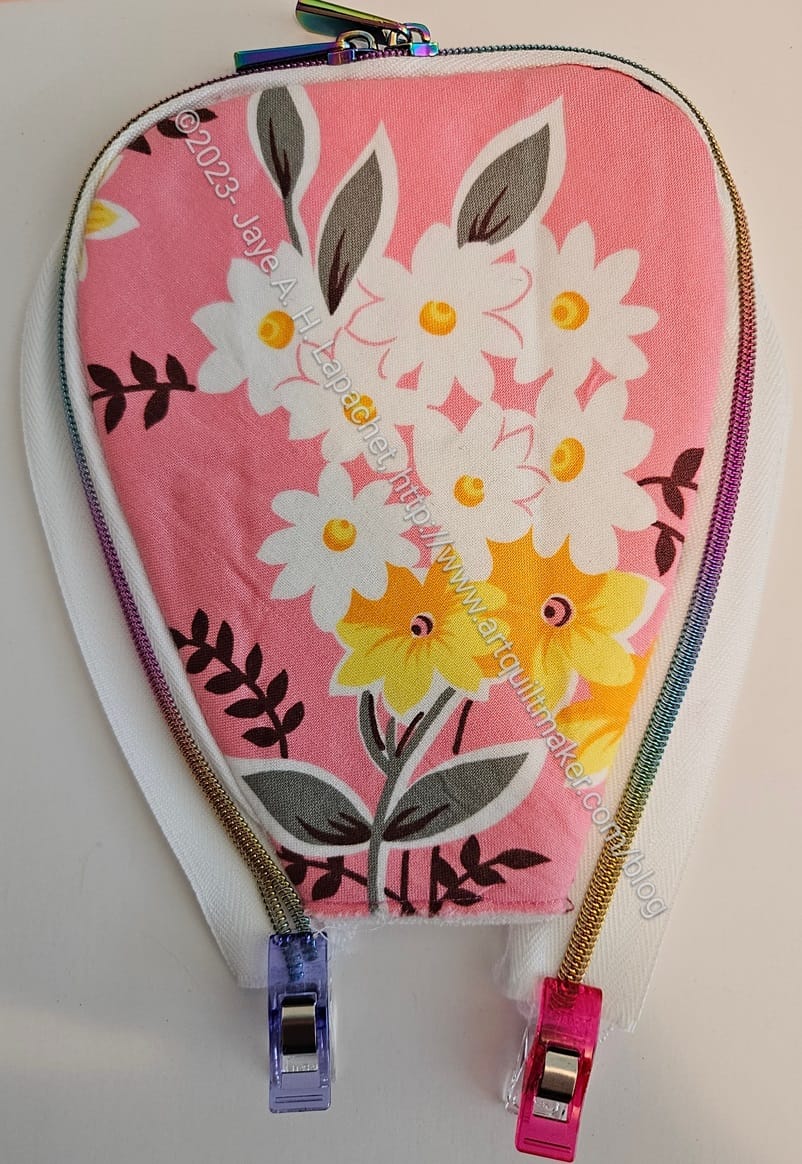
Goldenrod book cover

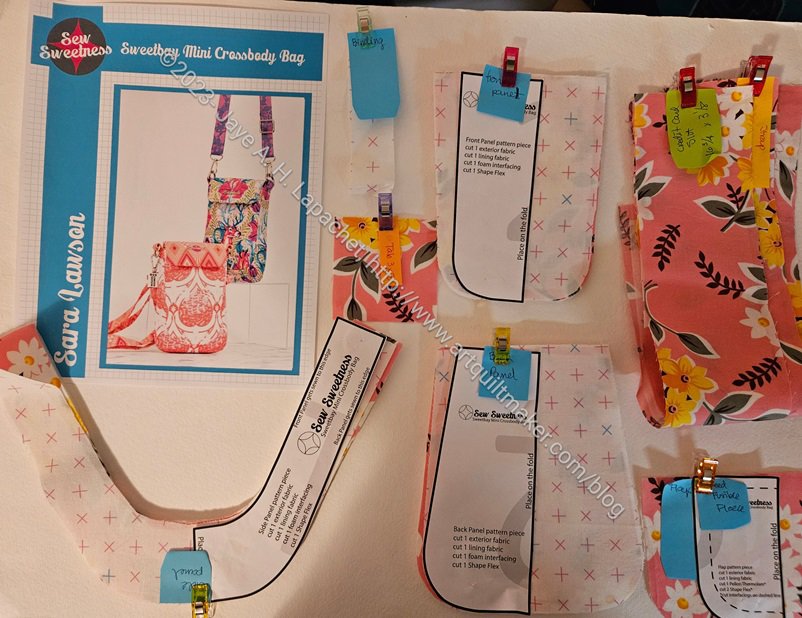
I made this book cover for my mom for Christmas. I wanted to enter the Sew Sweetness challenge for the month, which used this pattern. I didn’t think I would ever make it as I don’t normally carry books around. Then I talked to my Mom about her book club and all the pieces came together in my mind. It seemed like a good opportunity to make sure she can take her Bible to book club (Bible study??) in a chic and personalized manner.

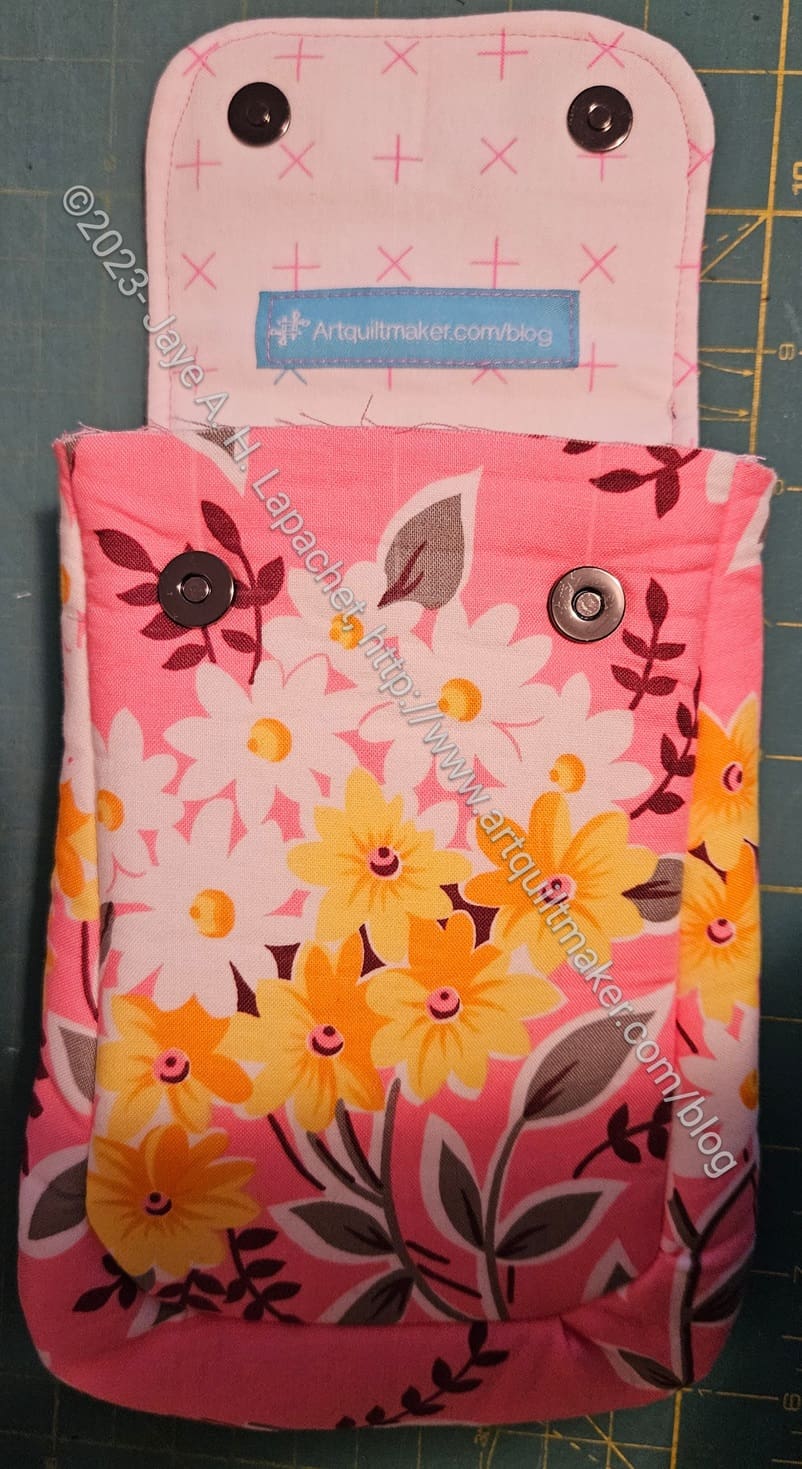
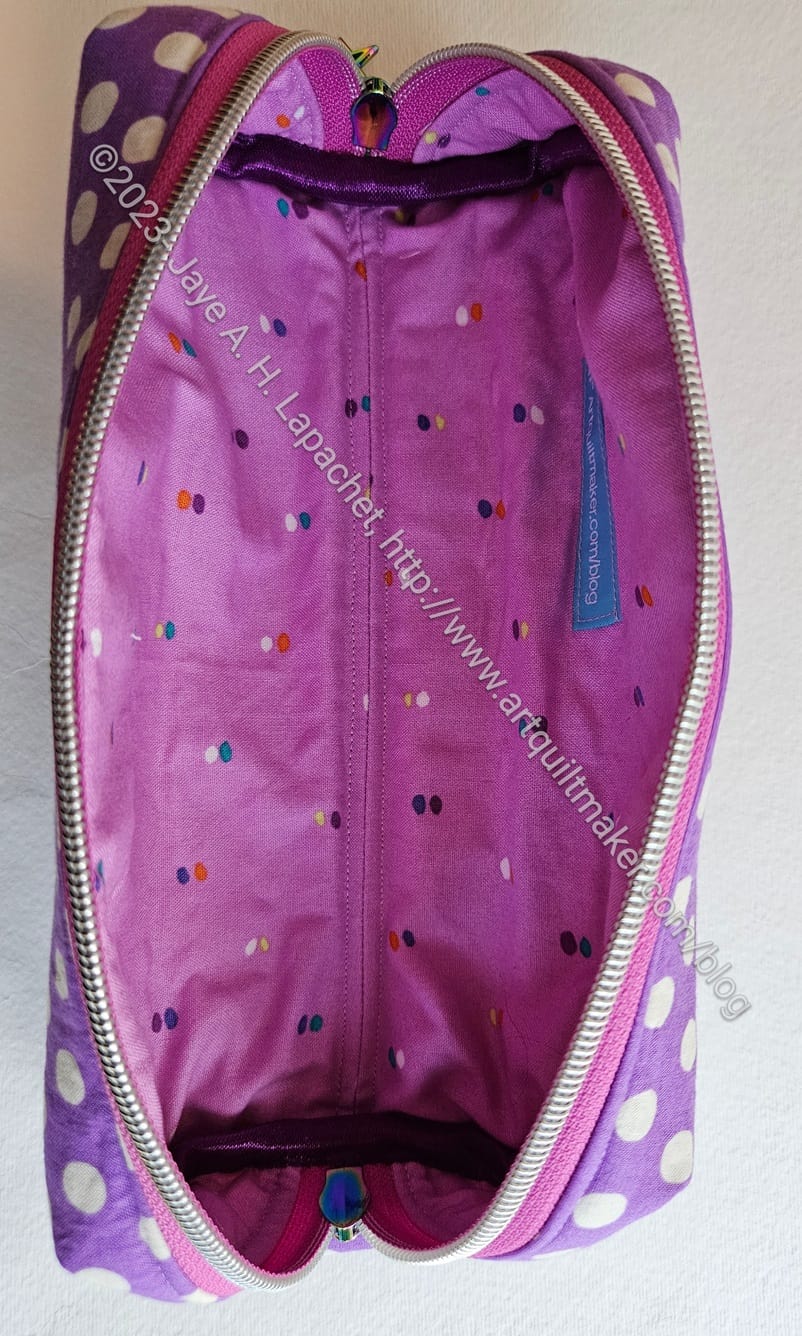
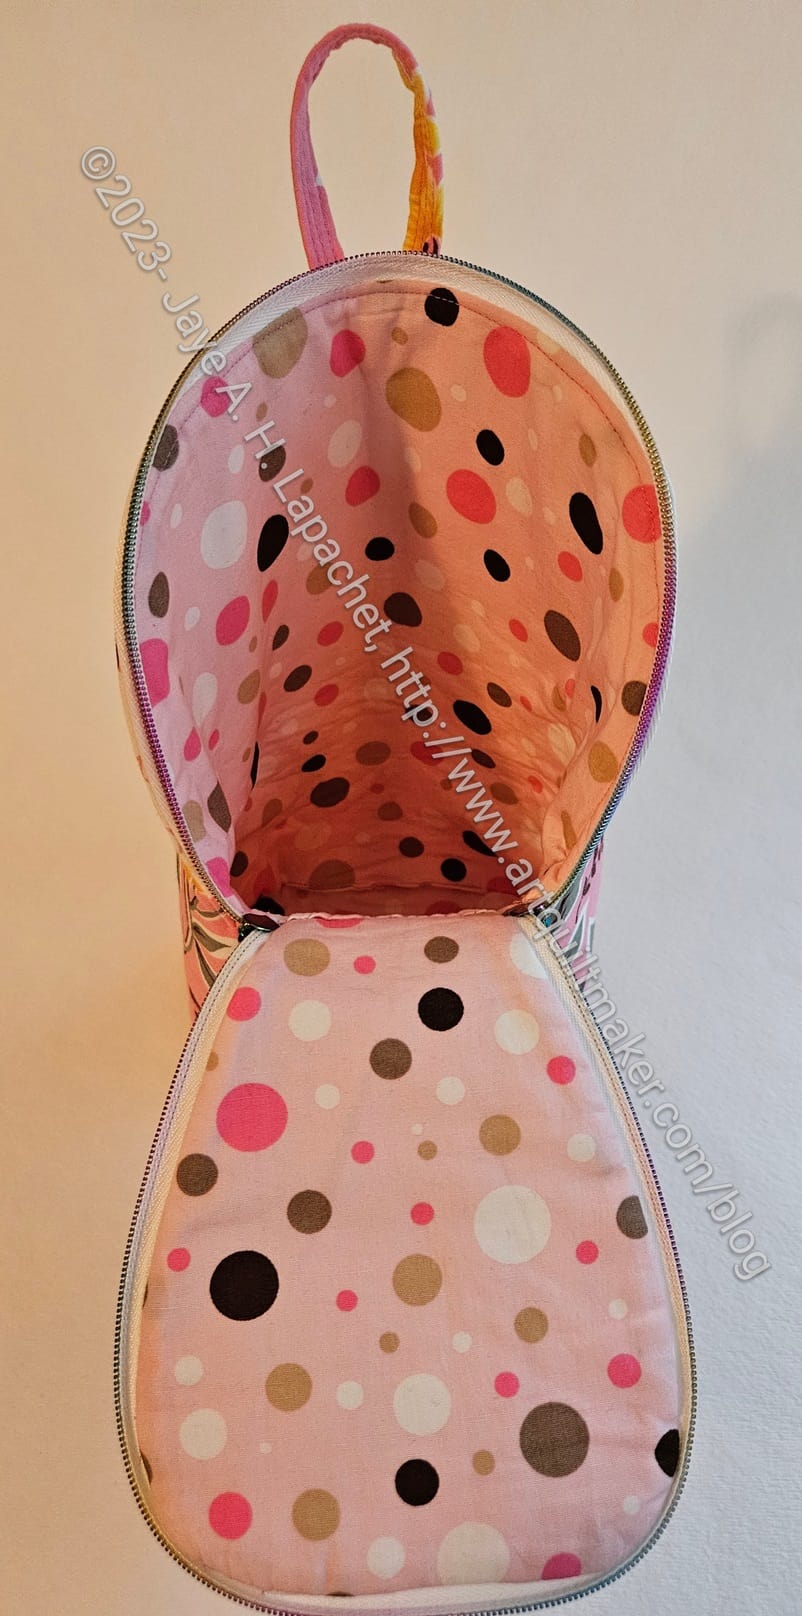
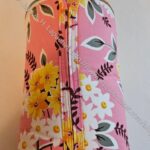
Goldenrod book cover - open
Goldenrod book cover – open

The Goldenrod Book Cover is one of the patterns that make up Minikins Season 4.

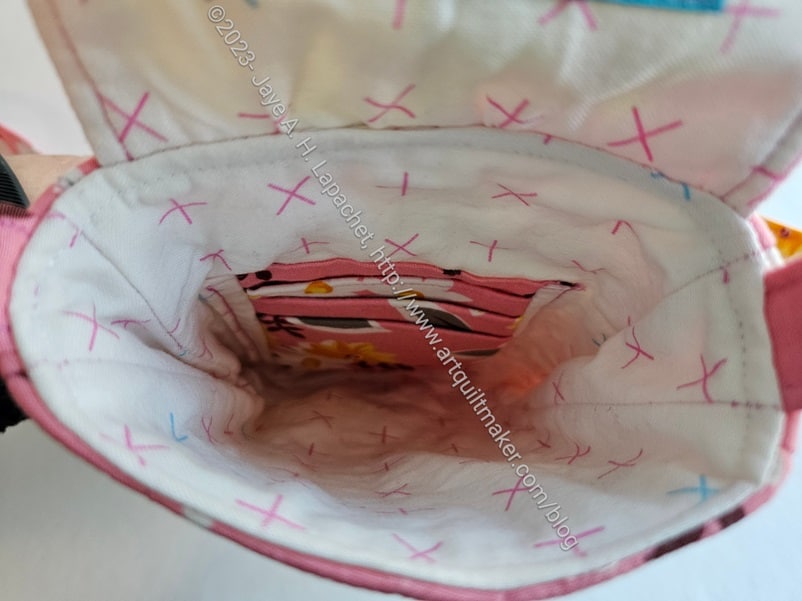
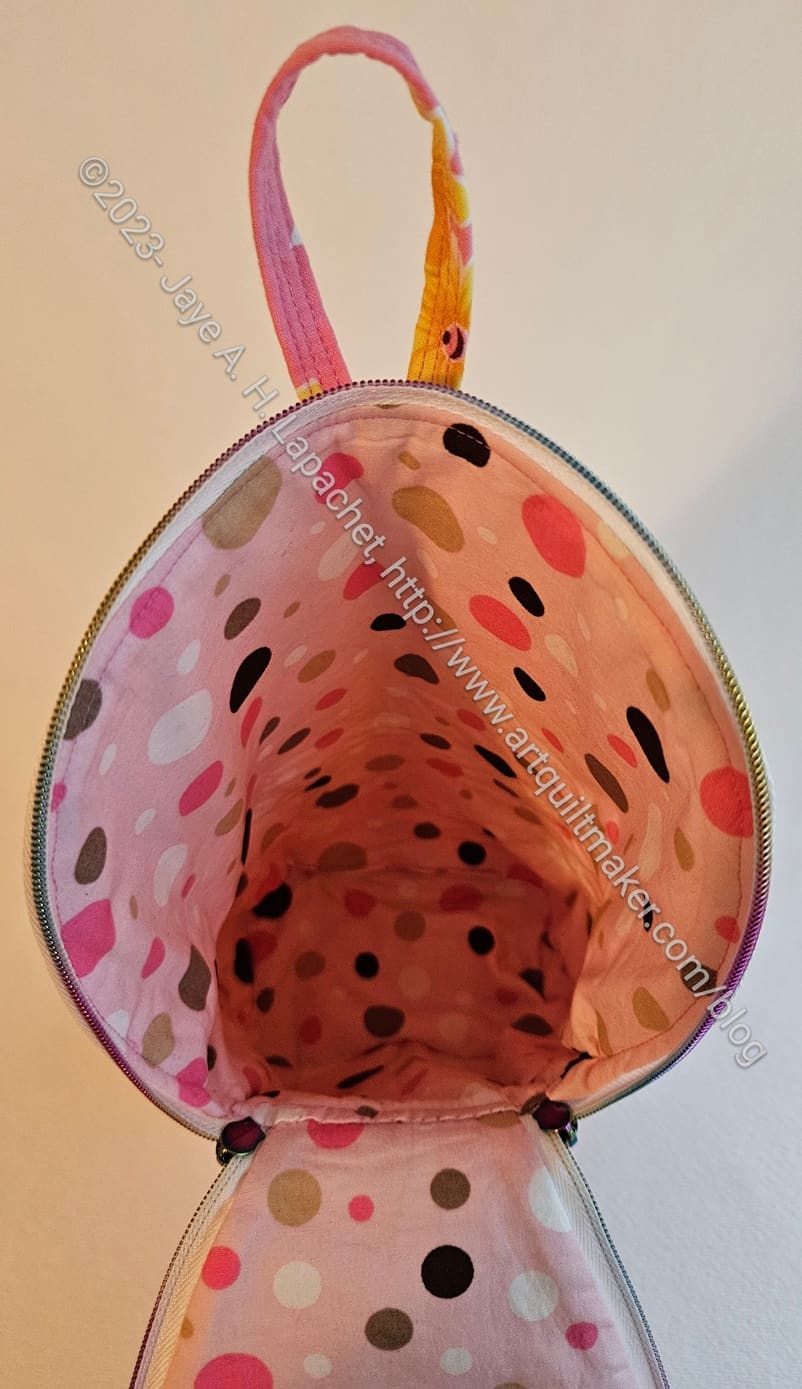
The idea is that you slip the cover of the book into each of the slip pockets and then zip the cover up. The handle is on the top (see above), which allows the owner to carry it. I thought it would be good to put a shoulder strap on it, but didn’t have the time to work out that change, so left it for another day. 

Some of the construction is similar to the Hackney pattern– the gusset and the piece under the handle that connects the ends of the gusset. I am sure it makes sense in terms of pattern writing, but I appreciate it as I feel like I am gathering a bunch of skills that can be interchanged between patterns.

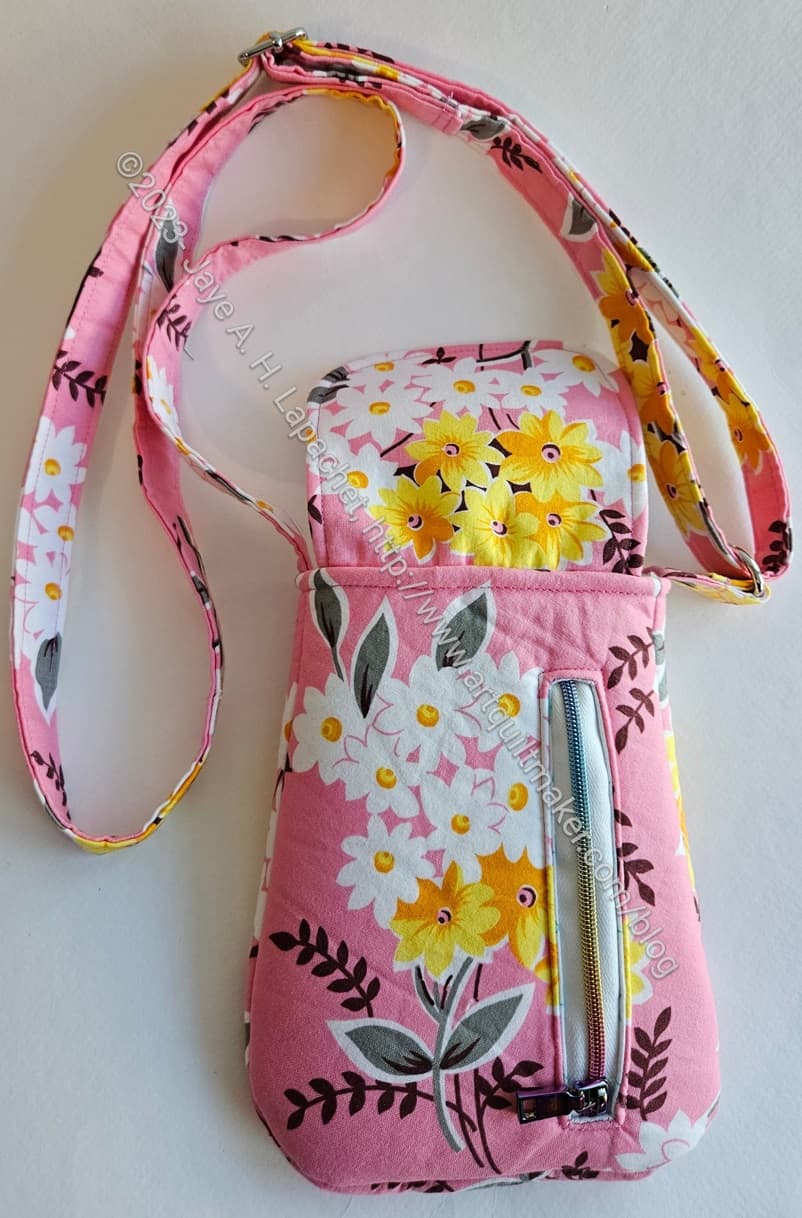
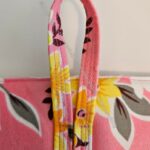
Goldenrod book cover - handle
Goldenrod book cover – handle

I used a piece of cork (?) I bought from Sew Hungry Hippie. They don’t have the exact color any more, so I am not linking to the product. It is called cork microfiber backing. I had some trouble with skipped stitches while sewing it. I tried different needles and rethreading. Nothing worked so I have reached out to the team at Sew Hungry Hippie to see if they have any suggestions. Writing to them made me think that I had not tried different thread. As you know, I mostly use Aurifil and have a lot of colors. Of course, I have other thread, but not in the array of colors.

It is important that I figure out how to use this material since I want to use it for the Rockstar bag. I’ll need more of it for that pattern and don’t want to fight with it the entire time.

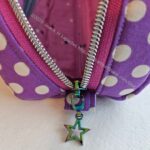
Mom seemed to like it and I hope she will be able to use it. She really liked the rainbow zipper.

All the Gifts

Haha! I am off work for a week. While I don’t get paid, I am excited to have some time off. The YM is home, so we are doing a lot.

I will post more about these projects, but I wanted to show you all the gifts I made for Christmas and December birthdays. It doesn’t look like a lot, but I have been busy.

I feel like I sewed more than are shown here, but I can’t find them if I did.

Black Strip Blocks with Cornerstones

Black Color Strip donation block with cornerstones

I spent some time yesterday, before I started cooking and wrapping, cutting sashing strips and cornerstones. I thought about putting colors in the cornerstones, but ultimately decided that I would stick with black. My goal, after all, is to clear out that scrap bin.

I wanted to get all the pieces cut so I would be able to sew if I had a few minutes in between the crazy. I tried  all day yesterday to press a gift and that hasn’t gotten done, so I doubt I’ll find the time. Still, I am making progress.

Comparing Black Strip Blocks

Even though I finished enough blocks to make the Black Color Strip donation top, I continued to make blocks. After all, I had more strips. I don’t have quite enough for two donation tops, but I am getting there.

I am nearing the end of my stash of black strips, but I still have a few blocks coming together. As I finish these new blocks, I have replaced a few of the original blocks you saw in the previous post. I thought I would show you a comparison and see what you thought.

I have added the dates so you can see the difference. Let me know your thoughts in the comments.

Contemplation of Zippers

I have been thinking about zipper installation since my sewing date with Cyndi. There, I installed two zippers.

Enigma #3 inner zipper pocket top

The first one was the small pocket zipper, which went into place with no problem. That small pocket is a great opportunity to use some smaller zippers.

The second was the zipper for the overall bag, which didn’t go together at all well. This was completely my fault, because I was being lazy. I didn’t install the zipper foot and, thus, the edge of the regular foot interfered with the smooth installation of the zipper.

Installed zipper looks beautiful

I suffered for my laziness and hope to have learned my lesson. I unstitched the whole zipper, installed the zipper foot and re-sewed the zipper. There were no wobbles using the zipper foot. My only complaint was that I found the end of the thread to be a pain because there is no foot  under which to anchor it. I hope I will now have the habit of installing the zipper foot in the future. 

Trim away foam in zipper opening

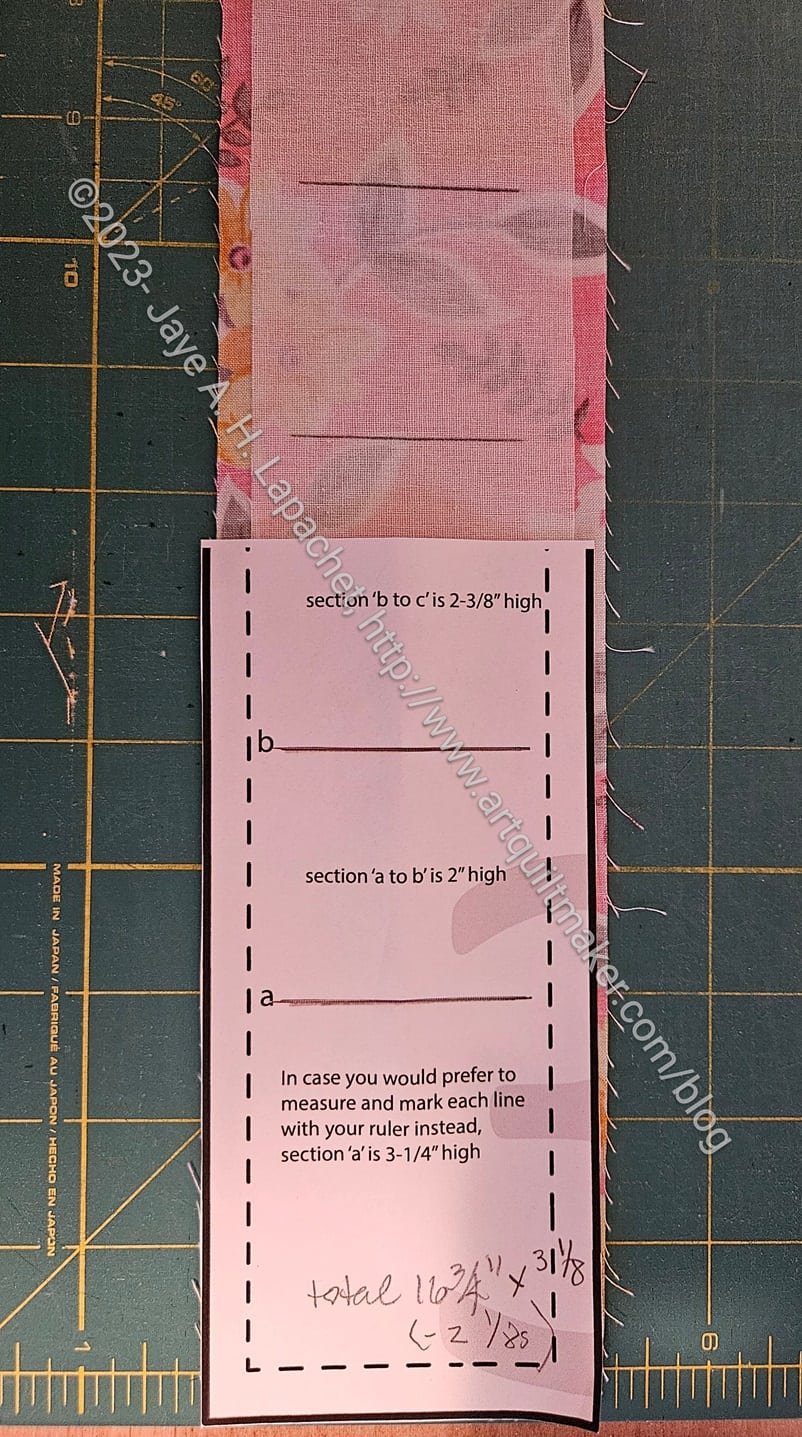
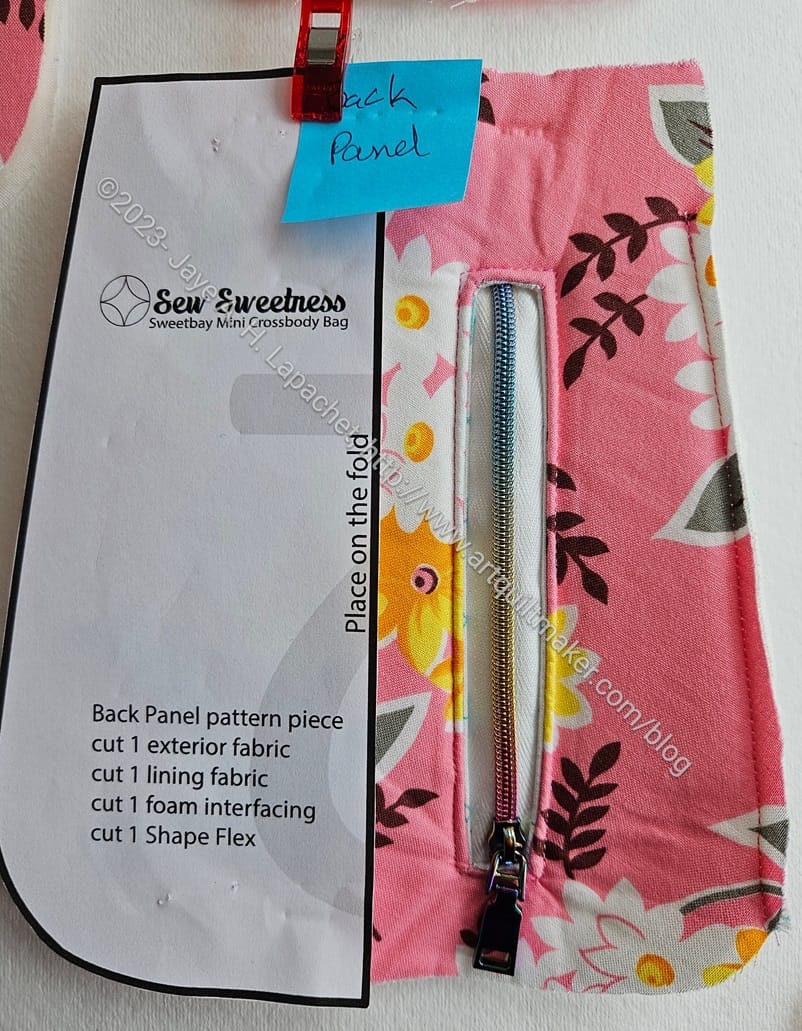
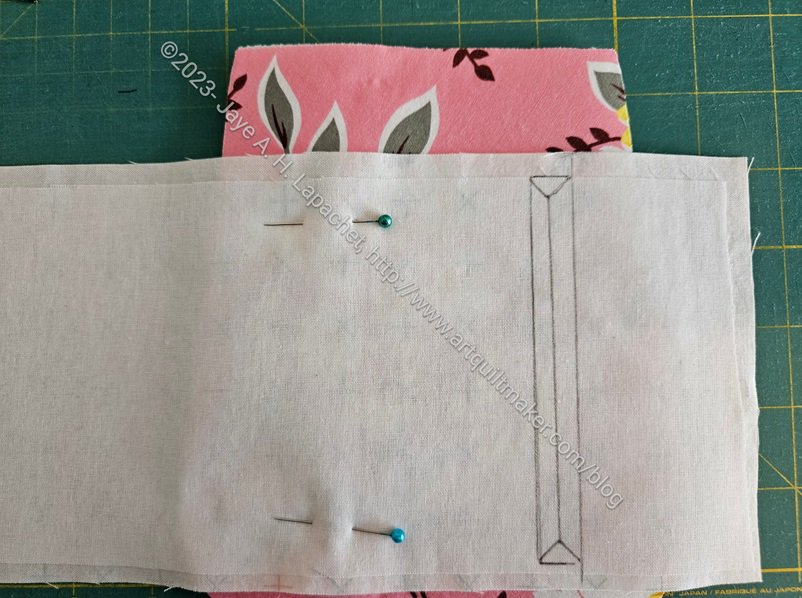
On another bag, I installed an internal zipper pocket. I have always found that pressing the area around the zipper opening into shape before installing the zipper to be less than satisfactory. In this latest pattern, the designer suggested trimming away the foam to make the preparation for topstitching easier. I did that and did find it a bit easier. I could have probably trimmed more, but was trying to be careful since I have never done that before. If you haven’t ever made an inside zipper pocket, take a look at this tutorial. Also, Sara from Sew Sweetness* has a video for using her acrylic template. I have one of those templates and use it every time I make one of these pockets.


*no affiliation; just a happy customer

Sewing with Cyndi

I went to Cyndi’s house and sewed the other day.

Enigma Bags in process

We planned to make the Enigma Bag (Sew Sweetness, Minikins Season 4) together back in November, but life happened, so we didn’t get to it until last week.

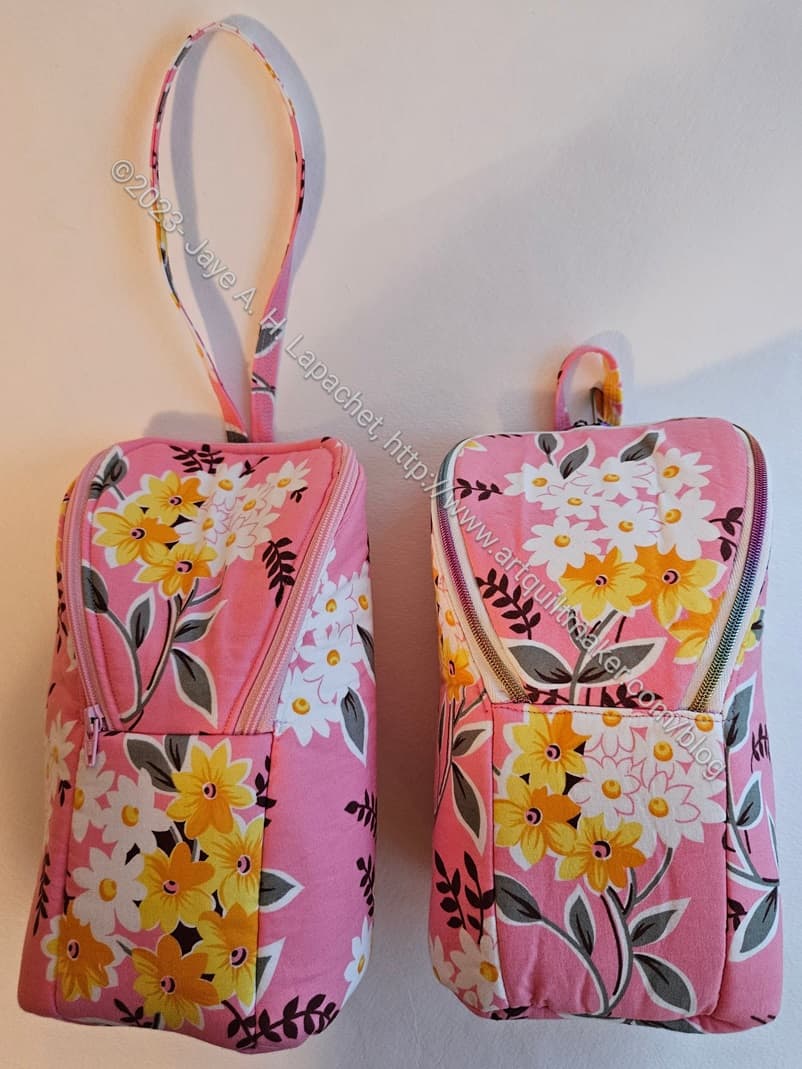
I have to admit that the Enigma Bag might be my new Hackney Bag – that is a bag I make for gifts for various people. I like it a lot. I especially like the diagonal zipper and how it opens flat. I haven’t given them to enough people to have feedback.

Sewing with Cyndi
Sewing with Cyndi

I didn’t feel like lugging my machine along, so Cyndi kindly let me use her machine. She has a Janome Skyline and I have to say that it was really nice to use for sewing. The bobbin loading was amazing. I might need to look into getting a new machine. That’s a story for another day.

As you can see, I moved in quite completely. My pattern and pieces are on the right and my go bag is on the left.

Sewing with Cyndi - spread to the right
Sewing with Cyndi – spread to the right

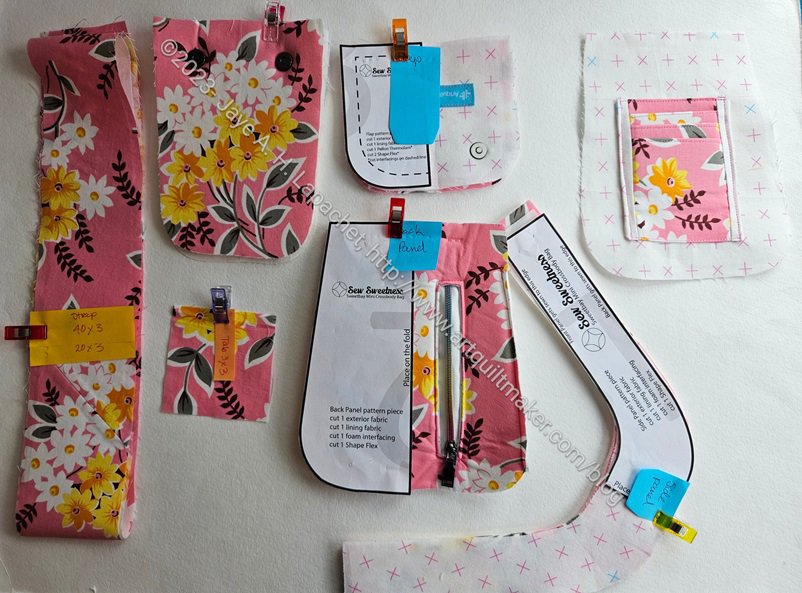
I had done all the cutting and prep for my bag, so I worked on cutting out the Goldenrod book cover, which I decided to make at the last minute, while Cyndi finished her prep. I started a bit before and was able to get to the point in the pattern where I installed the main zipper. I wasn’t happy with it, though and stopped, because I needed to contemplate the zipper in the overall scheme of making the bag.

It was a great day and I enjoyed sewing with someone else very much.


New Enigma

Enigma #3 inner zipper pocket

I went over to Cyndi’s house the other day to sew. We had decided a few months ago to make the Enigma pouch together. We both prepped our pieces at home, then worked on sewing them all together.

With bags the prep is the hardest and most tedious part. It doesn’t matter how many times I have made a bag. The prep is a drag.

Enigma #3 inner zipper pocket top

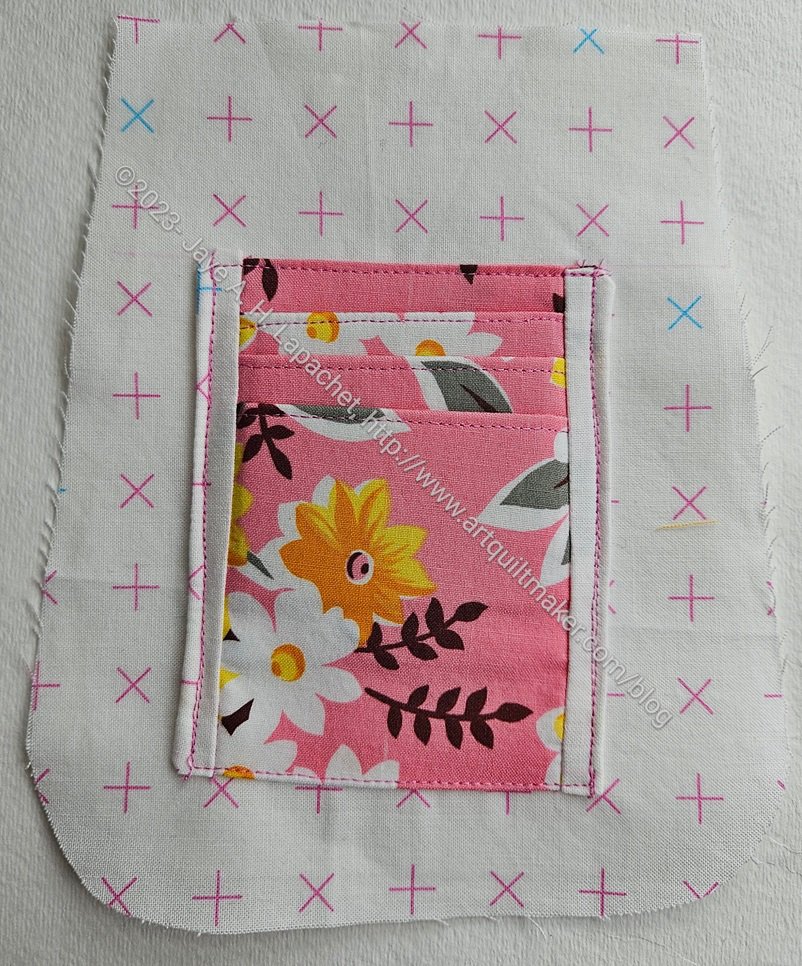
One of the things I had to do was make the inner zipper pocket. This is such a tiny little pocket. I have found it useful on my Peony Enigma. Still, I marvel at the small size of this pocket.

I ripped out the main zipper and sewed it in a second time. The second time I actually used my zipper foot and the zipper installation went perfectly. Now I have a big note on the pattern to install the *&^% zipper foot!

Ultimate Project Bag in Use

Ultimate Project Bag in use

I just posted about this bag the other day, but had to show you how I have already started to use it.

In the photo, you can see the pieces of the Crafty Gemini Retreat in a Bag, also from the 2018 Organizer Club.

I am still not happy with the Road Trip pouch, but haven’t done anything to fix the position of the clip. At the time I took the photo above, I wasn’t using the pouch for anything. I am not sure where the hardware is for this project, but have another box with all of the 2018 Organizer Club bits and pieces in it, so will look there later.

All of the Black Strip Donation Blocks

All of the Black Strip donation blocks

I have been busy making these blocks. I should have been doing other things, but I wasn’t. I just sewed after work, then sat with my DH.

As you can see, I have enough to make a quilt. I am going to start sewing the sashing on soon.

I am thinking of using pink cornerstones and a thin pink border. I like the black and pink color combination. The problem is that this would be a great boy quilt and pink would ruin that. Red might be a good alternative. I’ll have to see.

I still have more strips and am still working on making the grey blocks. My black/grey/brown scrap draw isn’t empty, but it is much emptier. That is a huge bonus as I can actually close it now.

Finished: Ultimate Project Bag

Ultimate Project Bag - exterior
Ultimate Project Bag – exterior

I finished the Ultimate Project Bag! After 5 years, I finished it. I am annoyed, because this was not a difficult project. It may have been more difficult 5 years ago, but my skills have improved tremendously since then. I was also swayed by the other members of the club saying that it was such a difficult project.
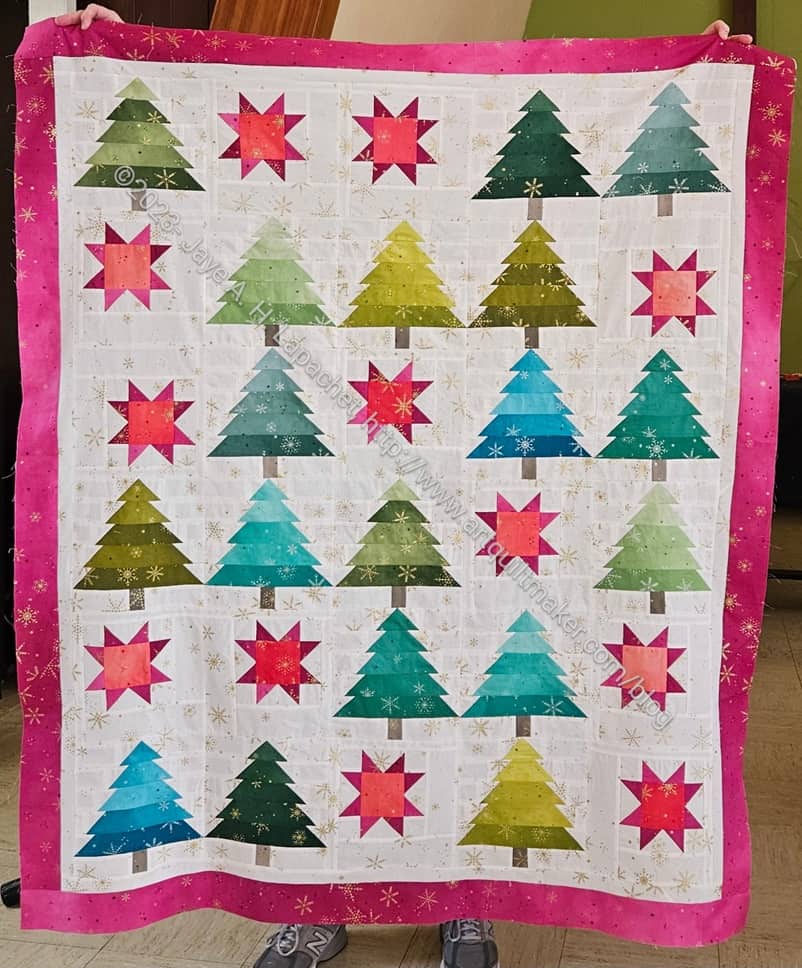
I am pretty happy, not only to have it finished, but also with how it came out. I have some ideas for changes, (of course!), if I make this again. I should make it again just to remind myself that it isn’t a very difficult project. It could be very useful for toting around bag projects in process!
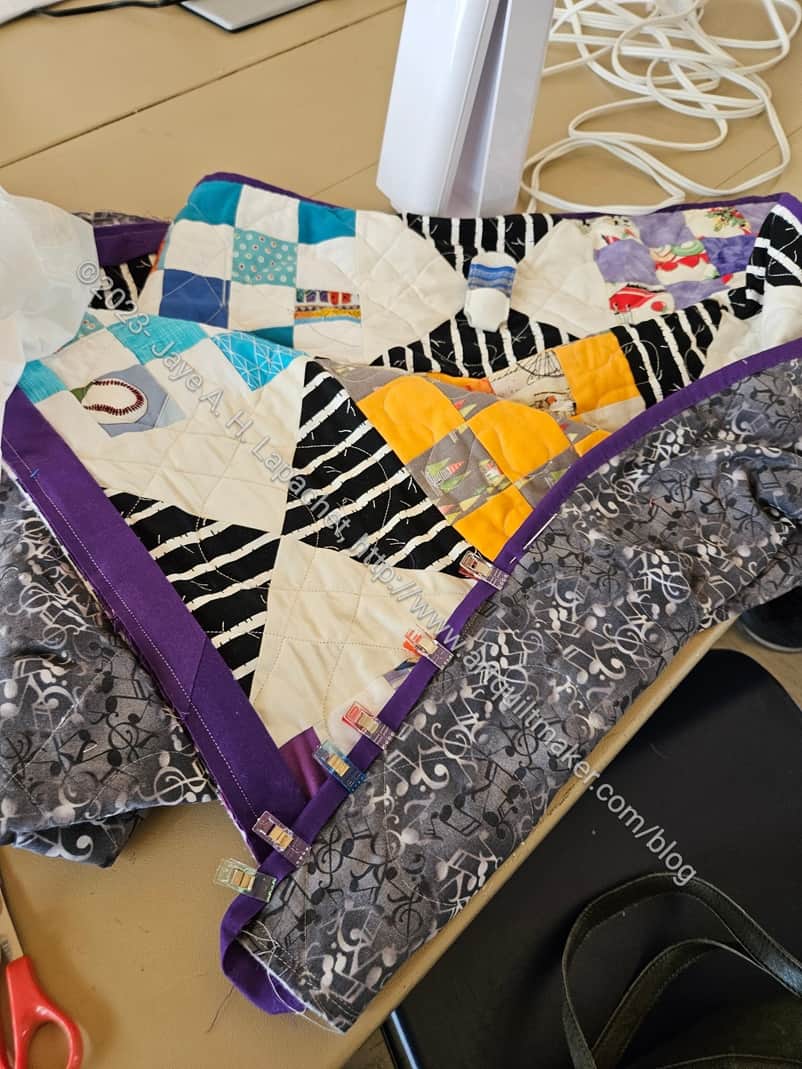
This is the exterior and you can see the quilting pretty well. I talked about it a little in the in process post I wrote a few weeks ago.

The exterior is like an Essex Linen, but by Figo. It feels like a very lightweight canvas, though drapey. It looks like the photo above on both sides when closed.

Ultimate Project Bag - interior
Ultimate Project Bag – interior

When opened it is about 39 inches long. I don’t know why 39 inches and not 40. ~\/0\/~ On one half of the bag (top in the photo, right) is a zippered mesh pocket.
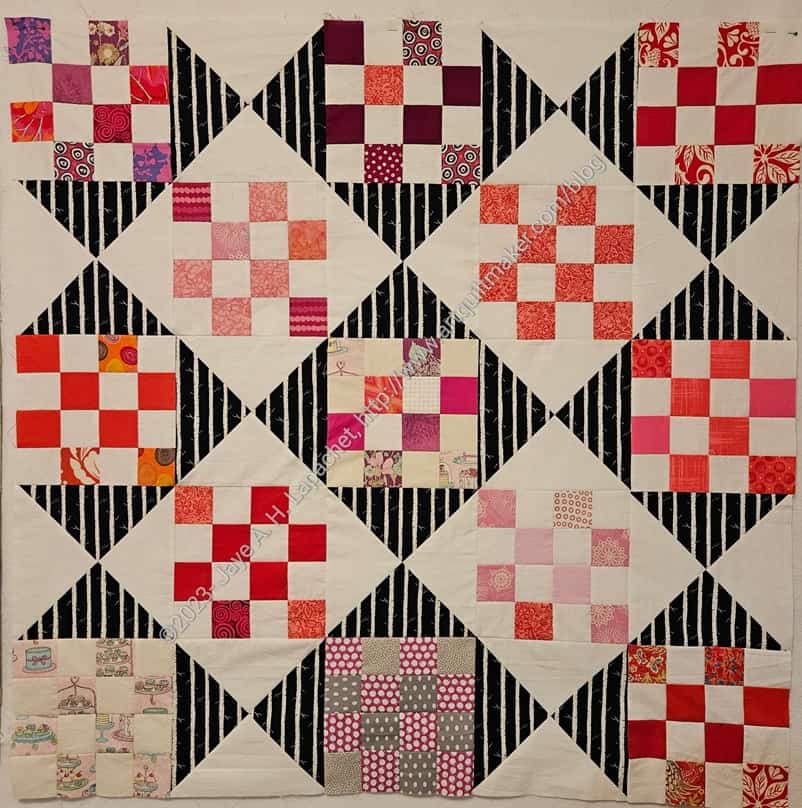
In the middle is a tab with a D-ring.

On the other half in a vinyl pocket where I used glitter vinyl (because I love it). The vinyl pocket also has a zipper.

The pockets are quite large – around 16×16 inches, which definitely holds blocks.

Ultimate Project Bag - interior - with Road Trip bag
Ultimate Project Bag – interior – with Road Trip bag

As I mentioned, this was part of the Crafty Gemini Organizer Club and one of the first projects we made was the Road Trip bag. The Road Trip bag was designed, from the beginning, to be attached to this Ultimate Project Bag. It is a good idea, because I often need a place to store bag hardware I have collected as I am assembling supplies to make a bag. I put a Lobster Clip on the Road Trip bag and a D-ring in the Ultimate Project Bag, because I prefer to be able to clip the smaller bag to larger bags. Crafty Gemini designed the patterns to have the D-ring on the Road Trip bag and a Lobster Clip on the Ultimate Project Bag. It is really preference. Neither is right or wrong. I try to remember to put a leash/tab and a D-ring on my larger bags just in case I want to clip something to it.

Ultimate Project Bag: detail-mesh pocket

I am not happy with the position of the clip for the Road Trip bag. As I carry the Ultimate Project Bag, the Road Trip Bag falls out and drags on the floor. I am thinking of adding a separate tab and D-ring to the top side, under the zipper, of the mesh pocket. If I do that the Road Trip Bag will still jut out a little bit, but at least it won’t drag on the floor.

Taking the binding off the mesh pocket, will be less destructive than taking it off the vinyl side.

As an aside, you will notice that the Road Trip bag looks very similar to the Sew Sweetness I Spy Pouch from Minikins Season 1. The pattern designs are very similar.


On to the Ultimate Retreat Bag!

La Pass Border Continues

La Pass bottom corner

Slowly, but surely, I am making progress. I finished the one side I was working on  last week and am now on to the next side.

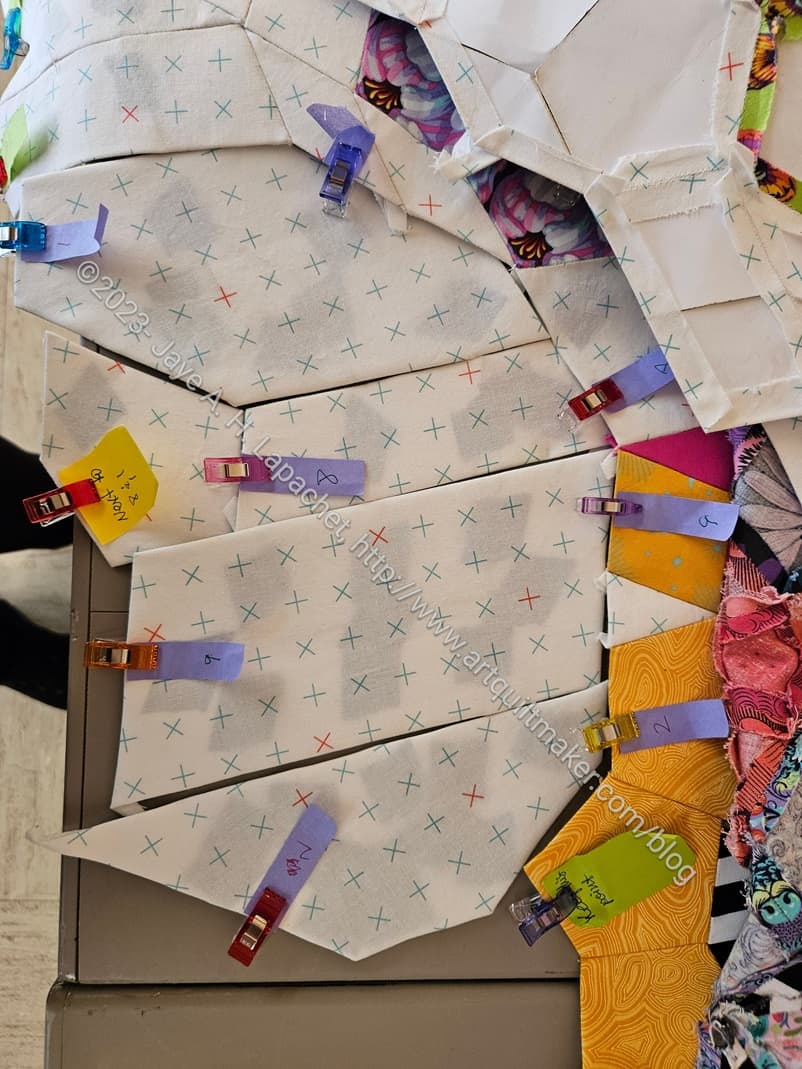
You can see my Post-it notes** as described in my Border Methodology post.

In this corner, I decided to add a bit to the red star and put my border fabric around it. I’ll probably end up cutting some of the star off, but I thought it would look weird to have border pieces where star pieces should be.

Yay for some progress!


**N. B. : Obviously, you should shop at local quilt shops and small businesses. However, if you are too busy or can’t find what you need there, I use Amazon affiliate links and may be paid for your purchase of an item when you click on an item’s link in my post. There is no additional cost to you for clicking or purchasing items I recommend. I appreciate your clicks and purchases as it helps support this blog.

Black Color Strip Donation Blocks – in Process

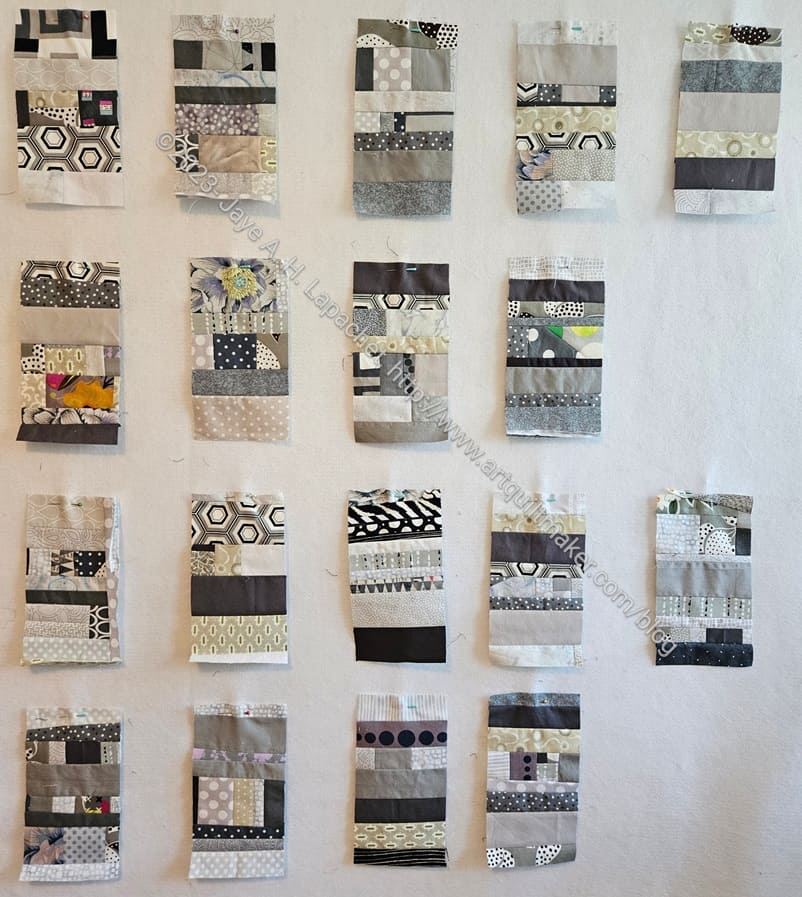
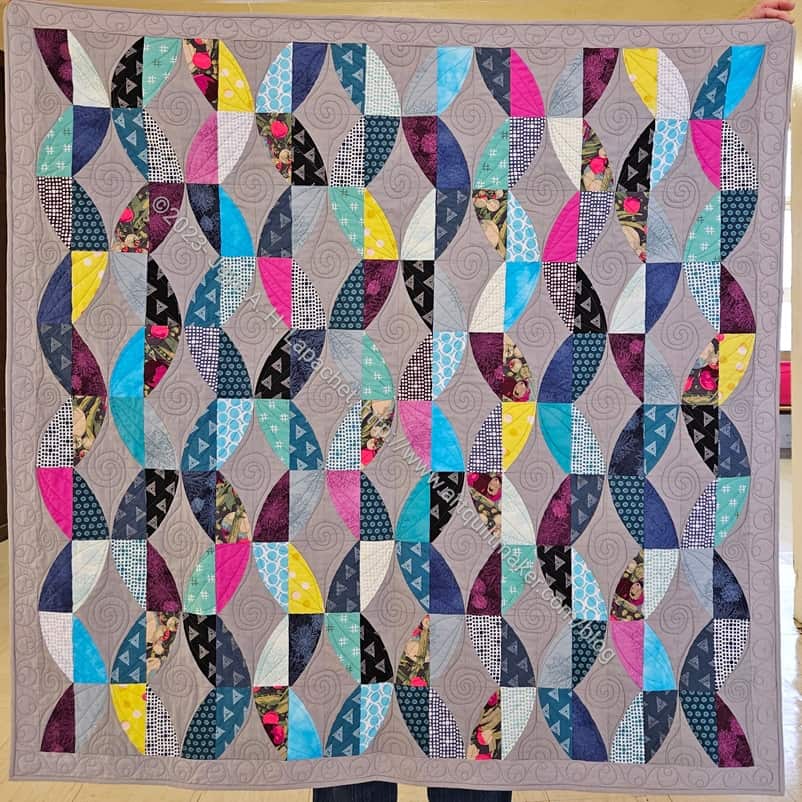
28 Black Strip donation blocks

I rearranged the blocks I have made and put them up on the design wall. I like this arrangement much better, but am wondering if I should add another row on top and another column on the side?

I have more scraps, so I think I will just keep making blocks for awhile and see. I can always make a second quilt where this size block has more chunks than strips. Or I can add more blocks to this quilt. We’ll see.

Gift: Sue’s Kit Supply Tote

Sue's Kit Supply Tote
Sue’s Kit Supply Tote

This is the Kit Supply Tote I made for Sue. As I said in the previous post about Carrie’s version, this one has a color wheel on the front.

Sue was the first one to open her gifts. Since the bags were the same and the small gifts were the same, it might have ruined the surprise for Carrie. They were both very good about it.

Sue's Kit Supply Tote: bottom
Sue’s Kit Supply Tote: bottom

One of the things I like about this bag is the way the bottom comes together. I can’t use vinyl or pleather for the bottom, because the side pieces become the bottom, but the bottom comes together so nicely.

This means the stitching looks good. I didn’t match the design of the fabric as I wanted to make sure the paint chips and color wheel were prominently displayed on the sides where people could actually see them.

Sue's Kit Supply Tote: bottom corner
Sue’s Kit Supply Tote: bottom corner

I am thrilled that the corner came out so well. I am going to try some Odicoat on the bottom of mine to protect it. I told them I would let them know how it went. I plan to paint it on theirs if it works out. If it ruin my Kit Supply Tote, I can always make another one.

Carrie and Sue both liked the turquoise handles. I was afraid they would be too glittery for them.

I made a couple of fabric gift bags to put them in so they looked a bit festive. I forgot to take a photo.