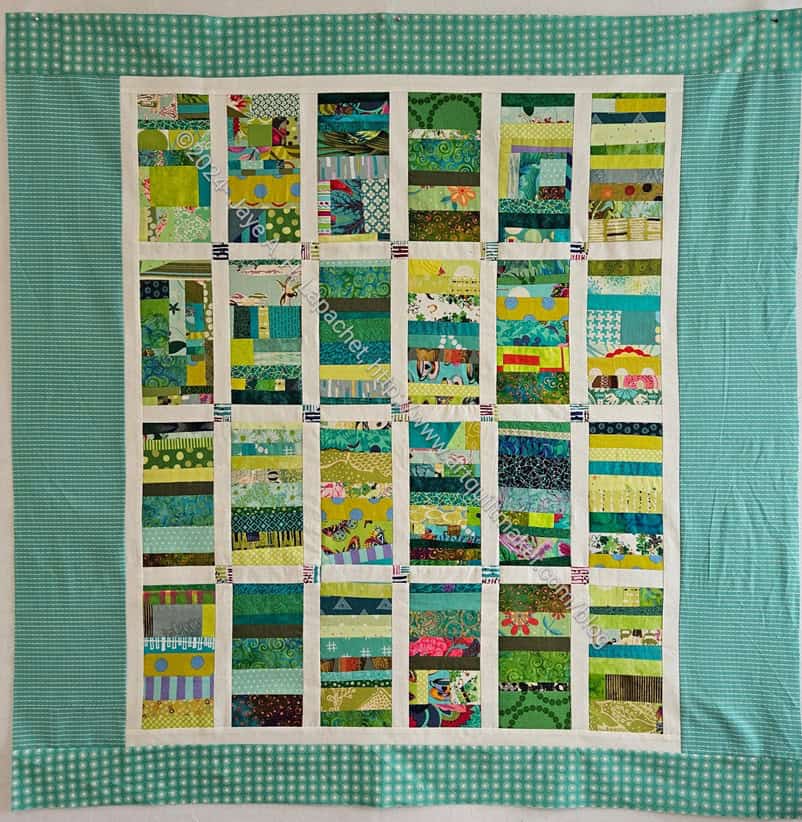
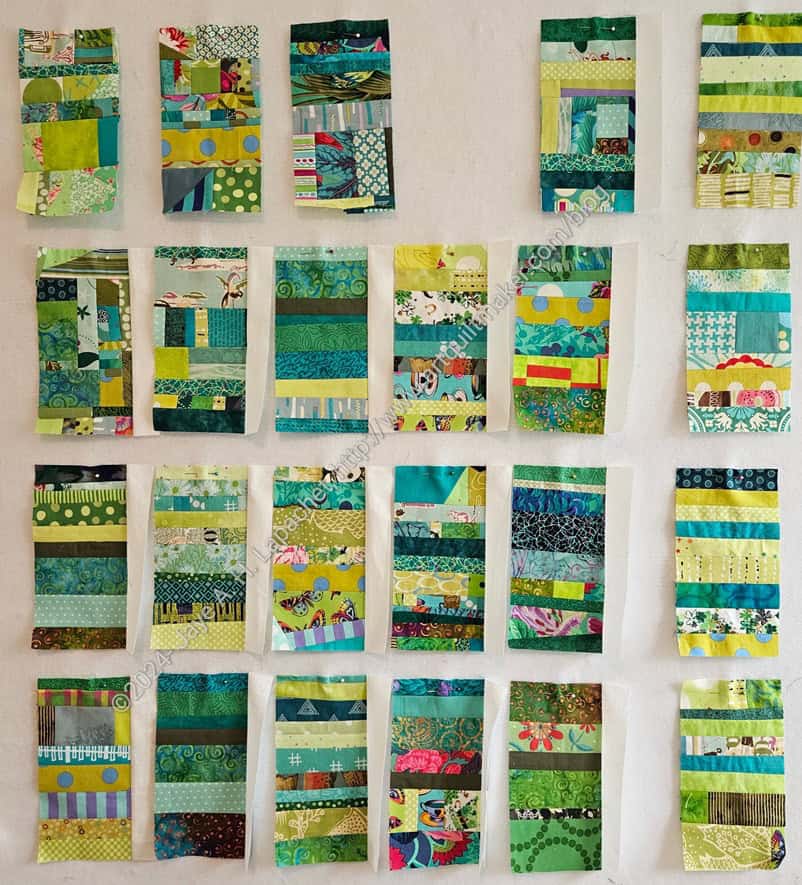
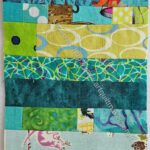
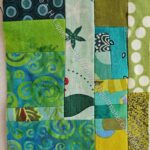
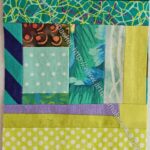
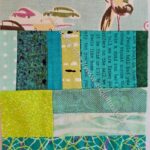
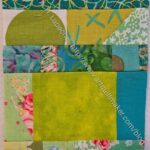
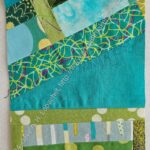
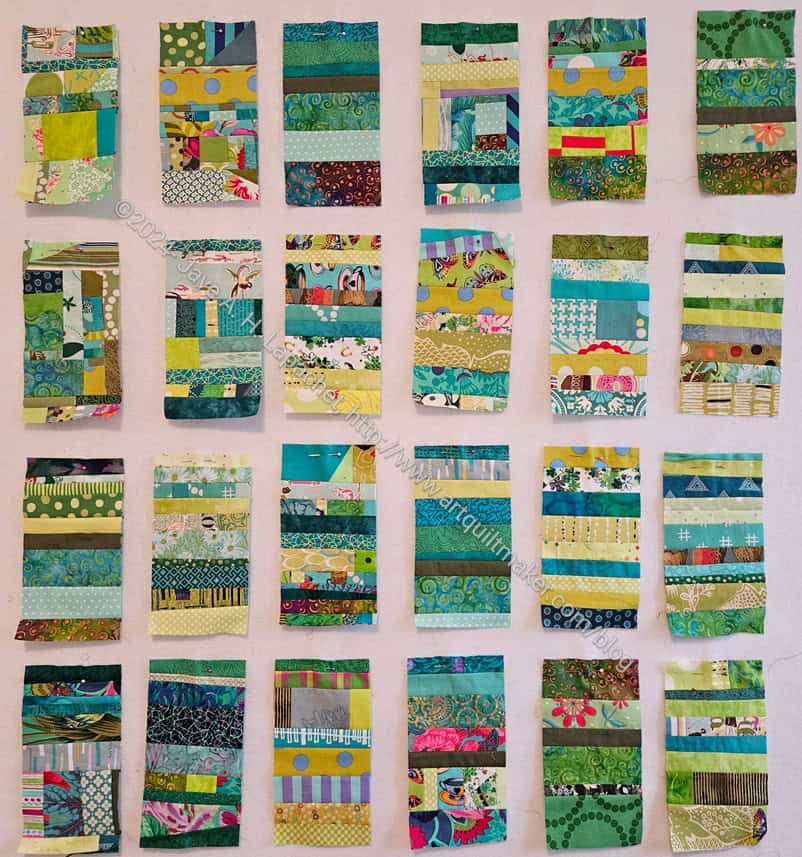
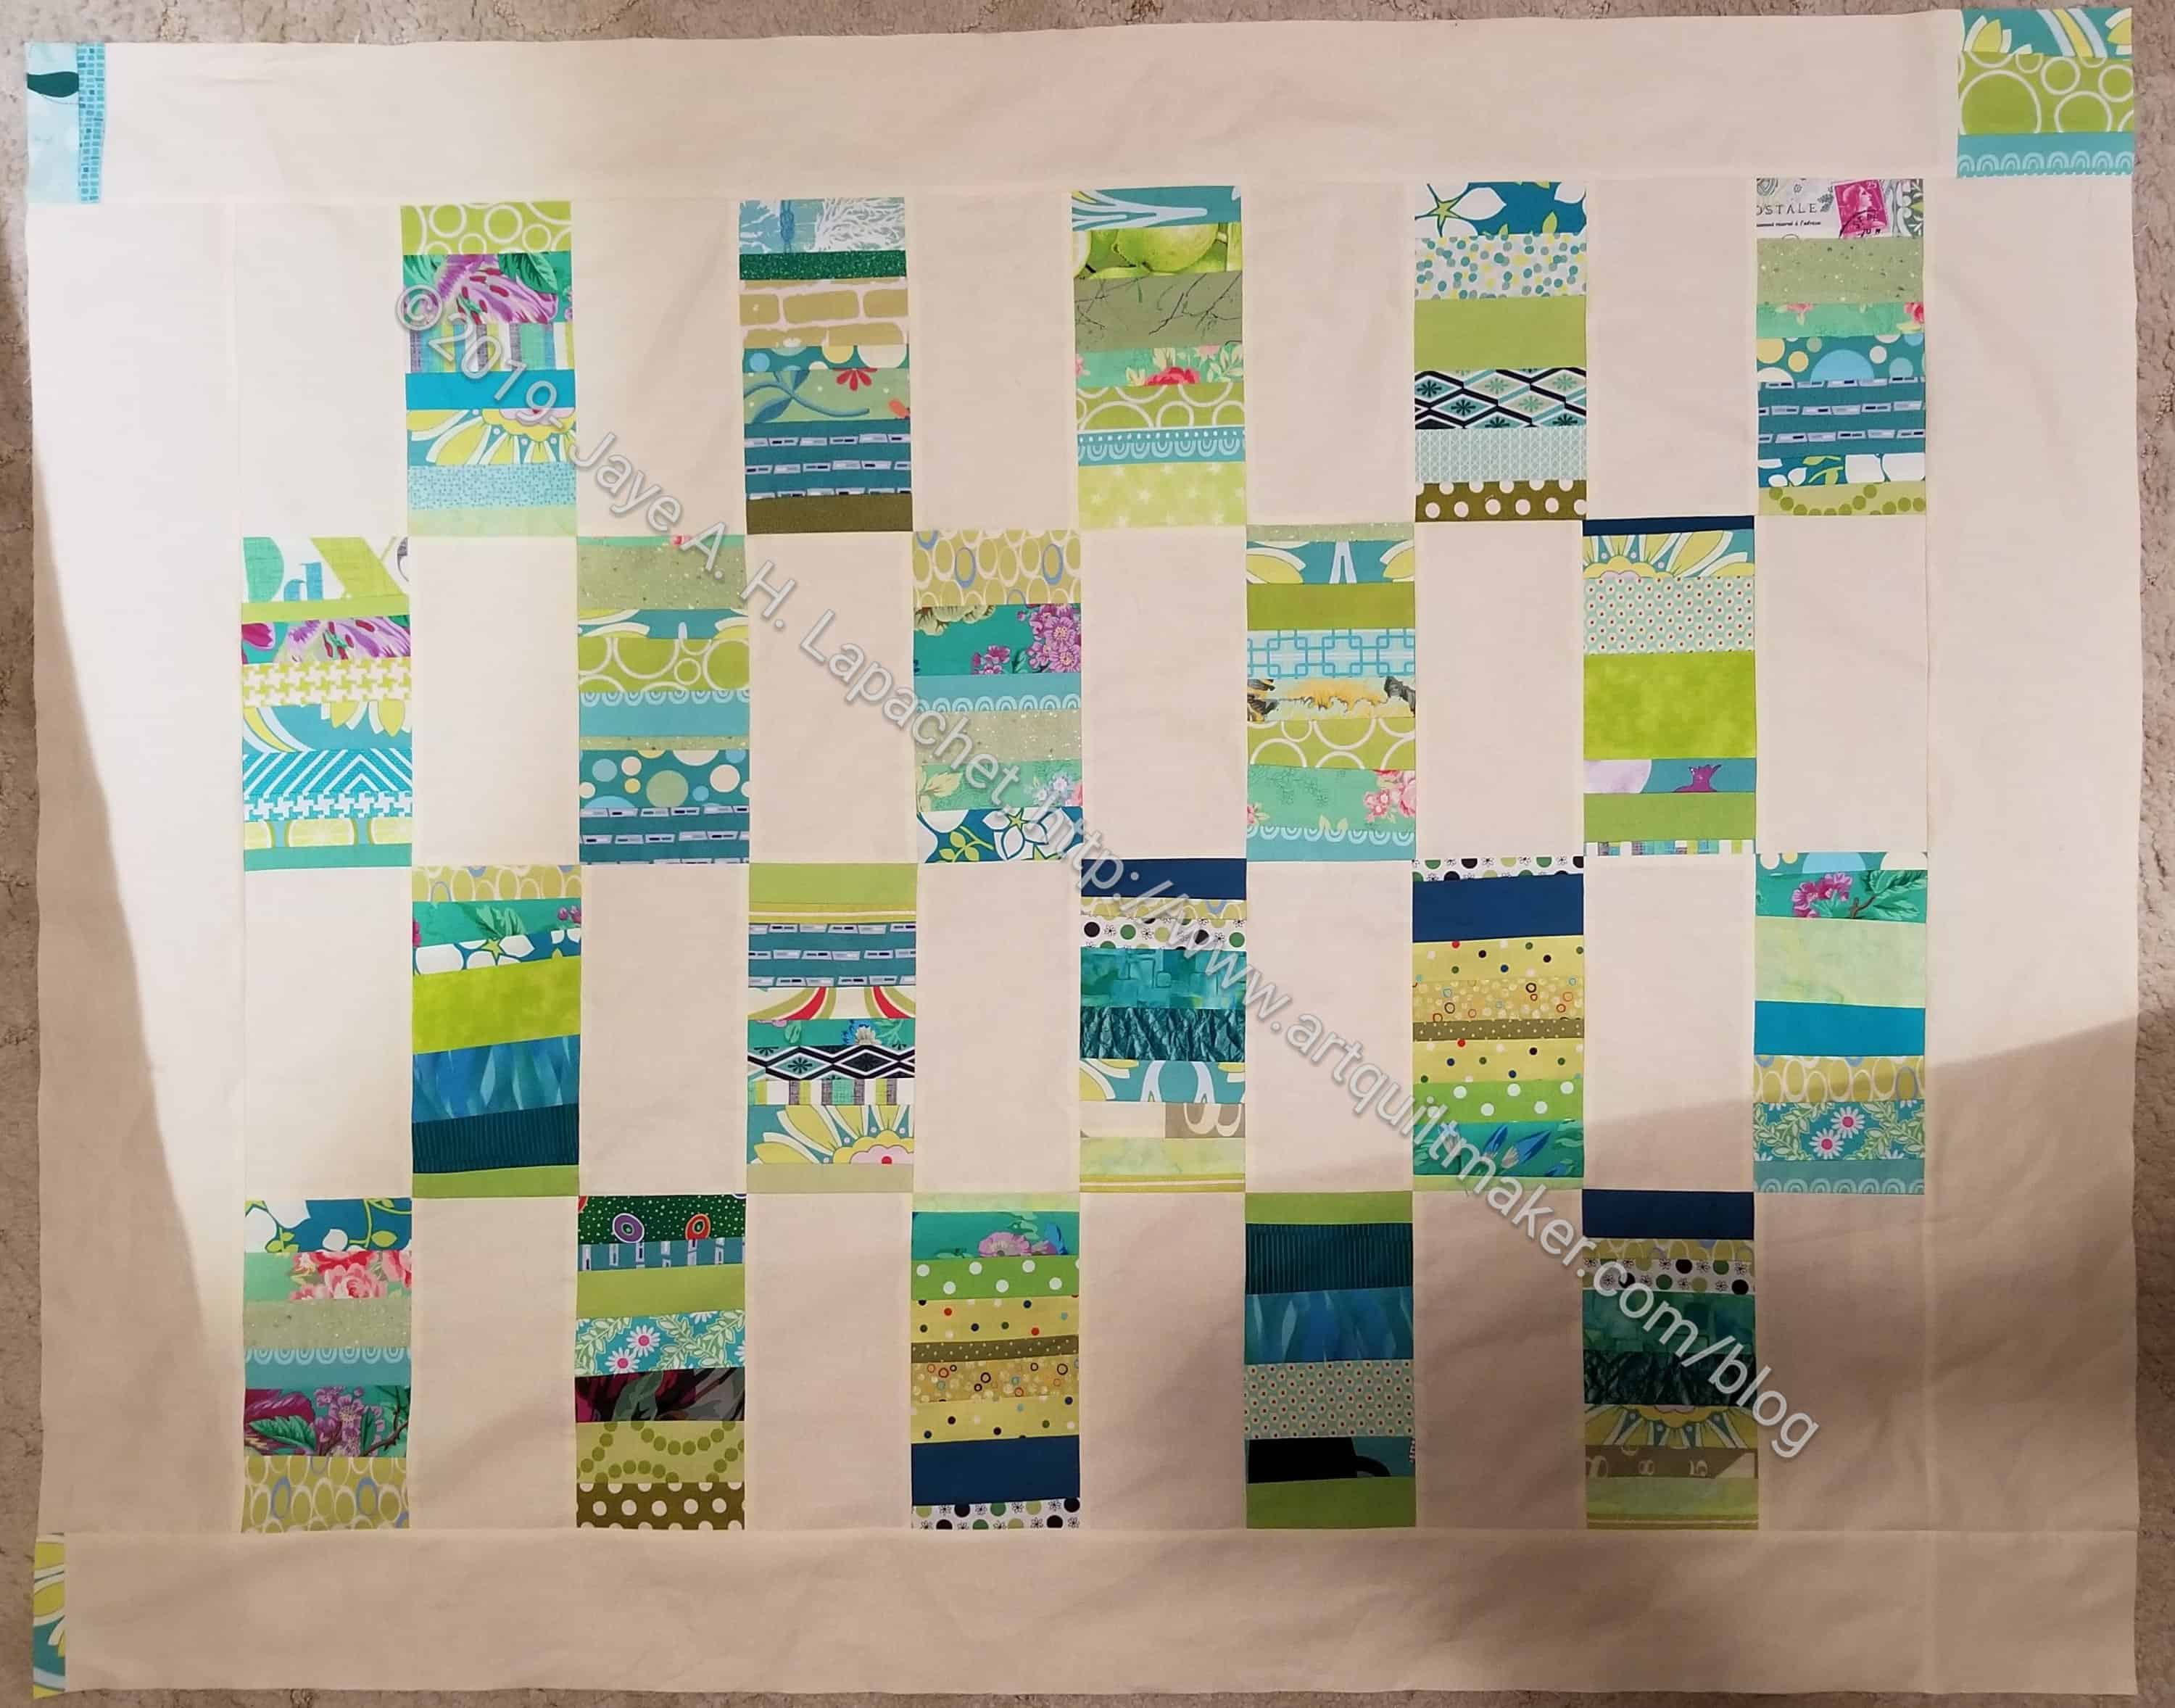
BAM Bag

BAM Door Prize Bag - Oct 2022
BAM Door Prize Bag – Oct 2022

I am preparing the door prize bag for the October meeting. I didn’t have enough time to make a bag myself, so I put a call out to my team. Mary C. came through and I picked up the bag at Sew Day.

It isn’t a shoulder bag, but would be great for carrying a magazine or a small hand project.

UCAB: Separating Zipper Top Tutorial

Art Themed Ultimate Carry All Bag

In order to sew along, you will need to:

You can find more information at the following links:

Additional Supplies**

  • Separating zipper

Notes:

I was not able to find a 12″ separating zipper so I used a 10″ and it worked fine. you might be able to find one the right size at Wawak.

Use E8 pieces for this step. The zipper flanges (fabrics surrounding the zipper) should be exterior fabrics ifyou want them to match the outside of the bag.

Tutorial:

Use a 3/8″ seam allowance for this step.

You will be using the pattern starting on page 20. Use the exterior fabrics for the fabrics surrounding the zipper (E8-zipperr flanges). Match thread to those fabrics.

Take the zipper apart. Keep all the pieces oriented as if you are going to zip them back together.

Clip E8 to the zipper

Make a zipper sandwich

    • Lay 1 E8 piece right side up
    • Position the zipper tape along the center of E8 half an inch from the end (see photo above where clips are)
    • Clip fabric to zipper tape
    • Put another E8 piece face down to make the sandwich
    • Reposition the clips on the E8 pieces to encompass the entire zipper sandwich
    • Clip the top of the zipper (side where the stop will be when the bag is closed) so you can veer it and the top of the tape will be hidden. Sew Sweetness has a tutorial on veering a zipper.
    • Follow these directions for the second piece. You want to continuously check that the two pieces of the zipper are lined up so the zipper will work properly.

Look at the images on pg.20 of the pattern as they will help.

Install the zipper. Stitch to the end of the fabric.

Check the zipper
Check the zipper

Stitch both short ends closed. You have, basically, sewn around the zipper lining/edges in a U shape so that the ends are closed and three sides are finished.

Make sure the end of the zipper is OUTSIDE of the seam allowance. You want to stitch as close as you can to the stop, then match the seam allowance on the second side of the zipper.

Turn the piece right sides out and press. Top stitch the U after you have finished the second side.

Throughout this step:                                                                              

  • Remember that this zipper comes apart.
  • Make sure the two sides of the zipper are in the correct orientation and the ends are even the whole time.

Keep checking.


N.B.: Quiltessa Natalie calls these zipper tabs, but I have never heard of zipper tabs being applied to the sides of the zipper. I call them zipper flangesI have also never used a separating zipper, so who knows?)


Separating Zipper installed

Previous Tutorials:

  • Large Pocket #1 pt.1 tutorial
  • Large Pocket #1 pt.2 tutorial
  • Large Pocket #2 Clippy Pocket tutorial (type 2)
  • Large Pocket #2 tutorial pt.2
  • Small Front Pocket Tutorial pt.1 – center section
  • Small Front Pocket Tutorial pt.2 – Clippy pockets (instead of badge holders)
  • Pocket information – post showing additional mesh pockets (not a tutorial)


**Obviously, you should shop at local fabric, knitting shops or quilt shops. However, if you can’t, please know that I use affiliate links. I may be paid for your purchase of an item when you click on an item’s link in my post. There is no additional cost to you for clicking or purchasing items I recommend. I do not recommend items I don’t like. I appreciate your clicks and purchases as it helps support this blog.

September 2022 Donation Blocks

I made a few more blocks for the guild in addition to finishing the Rainbow Strip donation quilt and starting then finishing the Creamsicle donation quilt.

Finished Creamsicle Donation Quilt

Creamsicle donation top

I finished the vertical orange donation blocks into a quilt. I did it on a day when I was really annoyed and needed some straight piecing – no pockets or zippers – that could soothed my jangled nerves.

These blocks were made from the strips I cut off of the Orange You Glad backgrounds. Waste not want not.

Creamsicle back
Creamsicle back

I am pleased with the way this top turned out and also glad it is done.

I put the back together quickly so I could give Peggy a whole package. Nothing special. There certainly has been a lot of orange in my life lately.

Rainbow Strip Finished

Finished: Rainbow Strip donation top

I finally FINALLY finished this quilt!

I am pretty pleased with the way it turned out and will be really glad to see it finished.

This piece seemed like it was on my design wall for years, but when I went back and looked, it wasn’t. I seemed to have started the layout in March 2022. In the grand scheme of things, it is only 5ish months ago. Why does it feel like this quilt took so long?

Finished: Rainbow Strip donation back

I dipped into my stash of dots for fabrics for the back. These are mostly dots I bought before I refined what I like in dots. I do like the prints, but probably wouldn’t use them in the foreground of a quilt and they are too large or too diffuse for the background. I think they make a really cheerful back.

I have more scraps, which is probably a super obvious staement. I have a lot of pink scraps, so that will probably be my next quilt in the series, after the orange vertical strip donation top.


Center Finished – Rainbow Strip

Rainbow Strip Center Finished

I finished the center of the Rainbow Strip donation top using the leaders and enders technique as I worked on the Project Bags.

I am pleased with how it looks, though it does need a border. I am thinking white, but that may not finish the quilt enough. It could be if there is a colored binding applied. I don’t have control over the binding unless I make one to go with the top and back.  Hhhhmmm.

Super Sew Day

Super Sew Day view
Super Sew Day view

I spent the last three days at Sew Day, well, 2.5 days as we started Thursday at 1pm. Saturday was the busiest with about 16 people. Thursday was the least busy with about 8.

Month 14 basting/cutting in process

I arrived a little early so Mary and I could set up the tables, irons and food. We had help from Sue S and some others. Then we started sewing. I started off basting La Pass Month 14. Yep, Month 14 is here and Nope, I haven’t finished Month 13. Like Month 1, however, Month 14 is the outer right of Month 13, so I can sew them together at the same time. It makes hand sewing a little easier that I have not finished Month 13 yet.

My station is on the other side of the sewing machine in the first photo (above). That is Friend Julie’s machine in the bottom right of the photo. She joined the guild and I was able to convince her to come to Sew Day. I am almost more excited about what she got done than my accomplishments! 😉

Julie's Kitchen Sink quilt
Julie’s Kitchen Sink quilt

She worked on finishing her Kitchen Sink quilt, which she started in a BAM class with Maria Shell. She had already quilted most of it, but did a little more quilting then made and attached the binding.

I think the quilt looks really good and quite cohesive. The colors are fun and interesting, too. There is also a lot to look at. This is one of the projects on Julie’s September to do list and I am excited she made such great progress.

Another project on Julie’s September To Do list is her Japanese houses. She worked on making the back, which turned out really well, but could be another top! I forgot to take a photo, so you’ll have to go look at her blog for more info and a view.

I had a little more basting to do when I arrived on Friday. I had left one of the fabrics in the dryer at home. After I finished the last few small pentagons, I started cutting out other projects.

First I worked on cutting out pockets for the Brocade Peony UCAB. Remember I cannibalized the pockets I made for that UCAB for my improved UCAB? I was able to finish all the pieces and parts for the pockets on Saturday, I think.

Sew Hungry Hippie Essential Tote order

As soon as I finished the pockets, I started cutting out the fabrics and vinyl for the Sew Hungry Hippie Essential tote pattern. I was able to cut out all the pieces except the exterior, because I am waiting for another piece of AMH’s Glow to arrive and I forgot to wash the other AMH fabric (left) I bought. I wanted to use that Spanish Rose vinyl (photo left) and I wanted to use it with Anna Maria’s Glow colorway. I know it is a shocking pink. I just bought it recently and I want to use it while I am excited (and not horrified) about it.

I didn’t mean to make two of these totes, but now I am. The webbing won’t be super comfy, but it is glitter webbing and super fun. One good thing is that I used up most of my regular vinyl with all of these projects, so now I can switch completely to glitter vinyl. Yay!

Once I finished cutting what I could for the Essential Totes, I started cutting for the ByAnnie Project Bags. I need more holders for in process projects. I know I am a glutton for punishment since I started making 5 of these. Yes, FIVE. I am a lunatic.

I had to lay out the cut pieces on a free table, clipped together, so I could be sure I had cut all the pieces for each different bag.

I was able to finish cutting out all of those Project Bags pieces on Saturday before lunch. As soon as I finished lunch, I started quilting the main panels.  Somehow quilting at Sew Day is less terrible than quilting at home. I quilted four of the main panels, which leaves one left to quilt, then I’ll be done and ready to put them together. I kind of wanted all the quilting done at Sew Day, but we don’t get everything we want.

Maria's eggs at Sew Day
Maria’s eggs at Sew Day

A lot was going on at the event. I don’t know why Maria had eggs next to her sewing machine, but she did. I didn’t get a chance to ask.

You can see Patti and Anna talking in the background. Their table was pretty full, though people moved around the room quite a bit so it looks pretty empty in this photo.

New Mary came and got her door prize bag. There was a lot oohing and aahing over the contents. That made me feel good.

Sue S' grandson's quilt top
Sue S’ grandson’s quilt top

Sue S has a grandson who is interested in quiltmaking. He has made a quilt, which we were pleased to having hanging on one of the design walls at Sew Day.

I was impressed with the sophistication of the design. It is all half square triangles, but the design is quite elaborate. I kind of want to make that design in different fabrics.

He joined us for Sew Day via FaceTime and got to see what we all were doing.

Maria basting her Plus quilt

Maria basted a quilt on the wall. I tried that technique a few years ago and it didn’t work for me, but she was very successful. I love the quilt, too. She did a nice job choosing fabrics.

I came home on Friday exhausted. It was a result of walking back and forth to the cutting table all day. That was hard. I took a break from my daily walk on Saturday and didn’t feel the exhaustion as much, though I was still tired.

All in all, I am pleased with what I accomplished. I don’t know that I can cross anything off my to do list, but I’ll soon be able to do so.

August Donation Blocks

These are the result of the Orange You Glad project

Rainbow Color Strip Donation Top

Rainbow Color Strip top on design wall

I finally bit the bullet and started putting the Rainbow Color Strip Donation top together. Once I finished all the Orange Strip donation blocks, I needed another leaders and enders projects while I put the Orange You Glad quilt top together. I decided that enough was enough and to get busy on this top.

Finished is better than perfect, right?

Rainbow Color Strip top on design wall-detail

As usual, I don’t have a pattern. While I sort of have a plan, it is subject to change based on the number of blocks. At the moment I am going with a width of 7 blocks plus sashing for the center of the quilt.I am reserving the right to make it larger once I can move the blocks to the large design wall and see what I have. I have a feeling I will need to make a bit larger, but I want to minimize making more blocks, if I can.

I don’t have enough space on my design wall for all the blocks I have made (remember most of these except the yellow are leftovers from the other Color Strip donation quilts). You can see the blue blocks and the white blocks in the photo at the top floating around. This is one reason why I feel so anxious about the various projects going on.

Rainbow Color Strip leaders & enders-detail

I need the space on the large design wall for two quilts. The Orange You Glad piece and the Rainbow Color Strip top are jockeying for position in my mind and it is starting to make me a little crazy. This is the point where I usually focus on one quilt, but I can’t (don’t want to??) in this case. I need leaders and enders and the sashing for the Rainbow Color Strip top is great for leaders and enders. And I really want to make progress on the Rainbow Color Strip top.

Putting on the sashing is relatively easy and makes the blocks ready to put together. I may have to add more sashing to the end blocks, if I make the quilt wider, but we will see.

All of this means I am not quilting the Tarts. It is still on my mind, don’t worry. I just need to get through this patch of piecing crazy. This is a great example of why UFOs are really not good for my process. If I had finished the Tarts back in 2010, they wouldn’t be making me crazy as well. It is really hard to enjoy my quiltmaking when I feel pulled in so many directions. Yes, this is a #firstworldproblem and one of my own making.

Orange You Glad Leaders & Enders

I used the trimmings from my bullseye blocks to make some more donation blocks. These started out as the orange Color Strip blocks like I made before. However, the strips were pretty thin and I quickly tired of sewing them together and making, what felt like, no progress.

I decided that arranging the strips vertically would work. I, later, realized this change would be an evolution in the process (or series). Now I have quite a few of them and soon will be able to make another donation quilt.

I am NOT starting it, though, until some of the other projects are off my design wall.


Yellow Strip Donation Blocks

I finally just buckled down and made some yellow strip blocks for the Rainbow Color Strip Donation top. I couldn’t stand that nothing was happening with that quilt anymore. I needed to make some progress towards getting it off my design wall and off to someone who needs it. This was the way.

I cut some strips from yardage and made the blocks. They aren’t as interesting as blocks made from scraps, but in the grand scheme nobody will notice.

I have more of the strip set and could have probably cut two more, but I thought five was plenty. I think the Rainbow Color Strip Donation top will be on the large size as it is.

Sew Day Work

The guild Sew Day for August was a Community Quilt Sew Day. Mary C and I collaborated again to make three tops. Normally, I would make a top, then make the back. We focused on tops this time.

Mom Blocks donation top

Mom gave me some orphan pieces and pieces that she didn’t want anymore. I had left them in the car so I didn’t even know what was in the bag. What I found in that bag was some ugly pieces. We also found some pretty nice looking blocks.

The blocks in the top on the left are the ones Mom made and handed over. Once we saw these, we decided we could just put them together quickly and move on to the day’s community quilt pattern.

I had some strips left over from the Libs Elliott class I took at QuiltCon in 2018. Fortunately, we had enough for sashing and borders. The turquoise and pink ones were already sewn together, which made things easier. The blocks weren’t all square, but we squared them up as much as we could.

Mary C sewed and I pressed and trimmed, which worked really well.

I am pleased with how this came out and how we were able to use some of the pieces that Mom sent along. I think someone will like this quilt.

July Donation Blocks

I thought I would combine the July and August blocks, because by mid-month I hadn’t made any donation blocks. However, finishing the Diagonal Nine Patch gave me the opportunity to sew some. Not tons, but every little bit helps.

I definitely need to cut more 2.5″ squares to keep up the project.


Ends n.14 Quilted

Ends n.14 (Typewriter) quilted

Ends n.14 (Typewriter) was also in the batch that Laura quilted for the guild. It wasn’t very long ago that I put it together.

I saw it Saturday and couldn’t tell whether what I was looking at was the back or front! I had forgotten that I did a lot of small piecing for this top.

Laura did a random meander and it looks pretty good. It doesn’t overshadow the piecing.