Ooops! I skipped block #2. I’ll have to get back to that one!
Also, today block 10 comes out. EEKK! I need to get sewing.
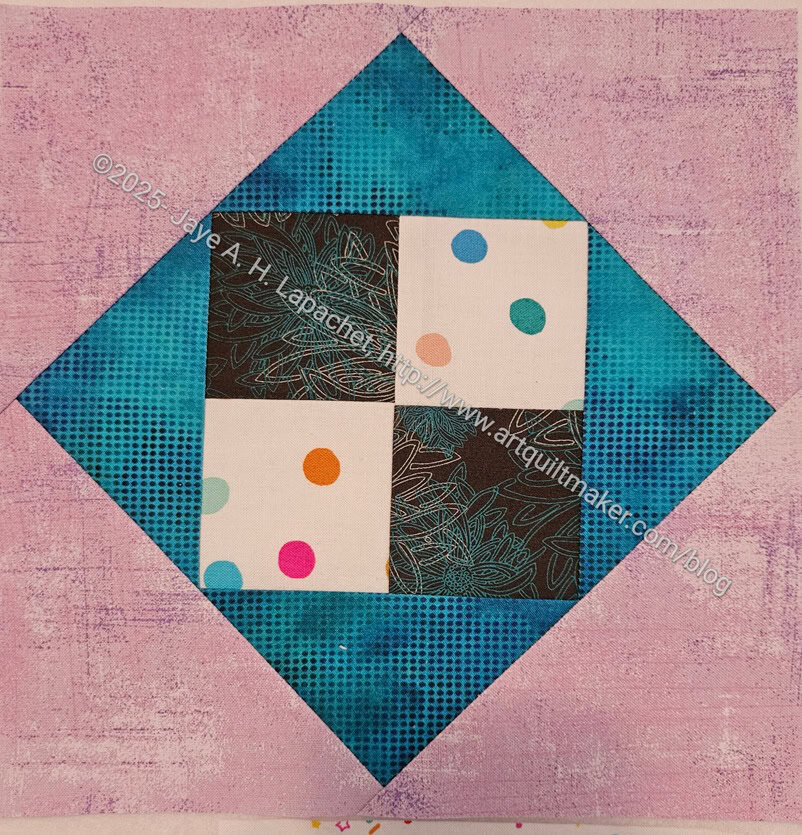
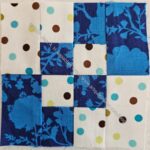
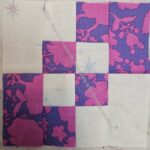
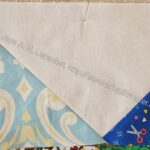
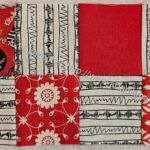
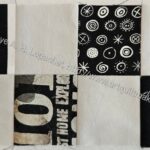
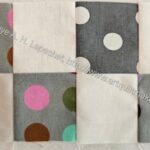
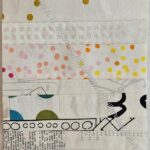
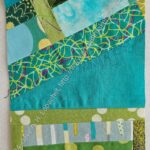
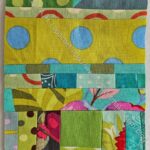
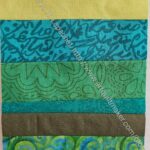
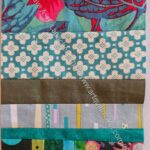
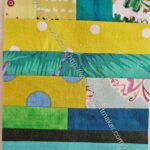
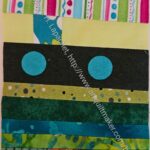
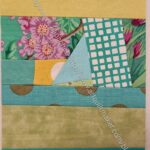
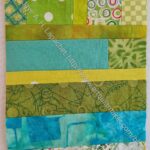
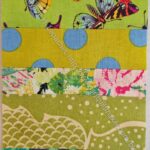
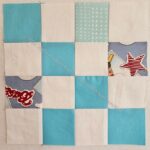
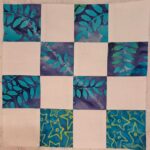
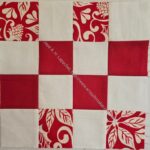
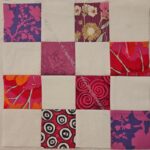
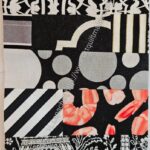
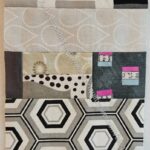
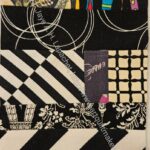
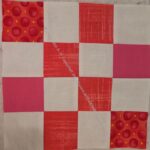
Patchwork Palooza Block 3
Block 3 took a long time after I cut it out, because I sewed it using leaders and enders while I worked on something else. I am pleased with the way it came out.
Of course, I am not sure how it will look once I start making the setting blocks, but for now I am happy.
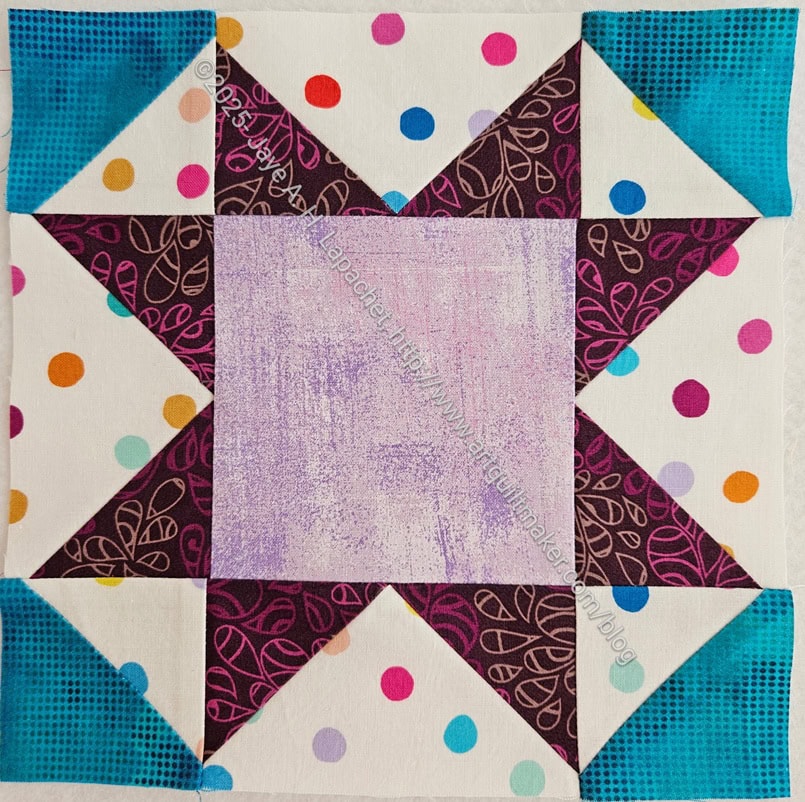
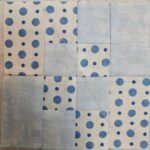
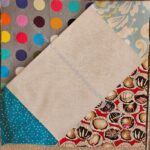
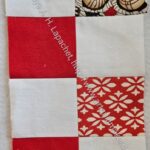
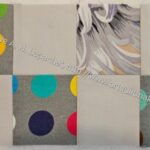
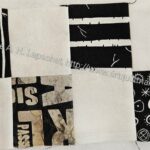
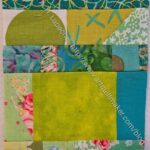
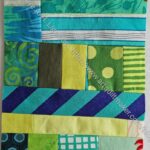
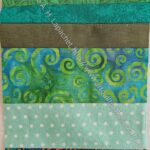
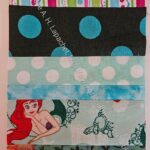
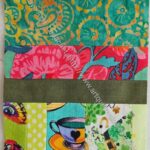
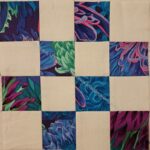
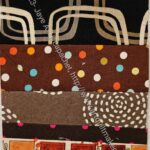
Friend Julie is doing much better at the Patchwork Palooza than I am. However, I am undaunted! After my success with the Patchwork Palooza 8 Redux, I couldn’t rest on my laurels. I stopped myself from making too many of these blocks all at once. After all, I have other projects on which to work. I did make this block, n.1. I want to catch up and then start making the secondary blocks.
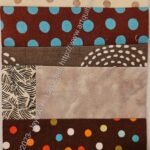
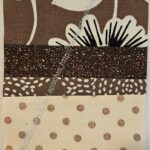
The dots will be the background and I have added in a new Art Gallery Natural Elements print for the Flying Geese. I have kind of decided to use that Grunge lavender every time I have to cut a 4.5 inch square. I may need to buy more. I’ll need to add in some other fabrics but will do that over time.
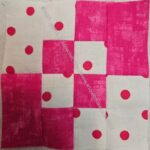
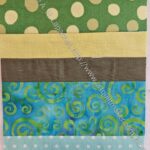
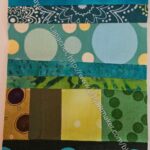
This is basically a Sawtooth Star with some shenanigans in the corners. In Barbara Brackman’s Encyclopedia of Quilt Patterns, this block is called Magic Cross Design from Woman’s Day 1931. I didn’t find this block in Jinny Beyer’s The Quilter’s Album of Patchwork Patterns. I didn’t find a reference to Women’s Day in the bibliography. I guess you have to draw the line somewhere.
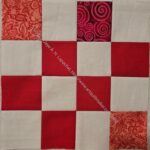
The block came out much better the second time. I followed the directions exactly except I did sew a little to the left of the drawn line so the flippy bit covered the whole corner. The flippy corners method is actually a good way to make the block.
I guess I should have trusted the directions the first time out.
I also changed the pink to a lighter one.
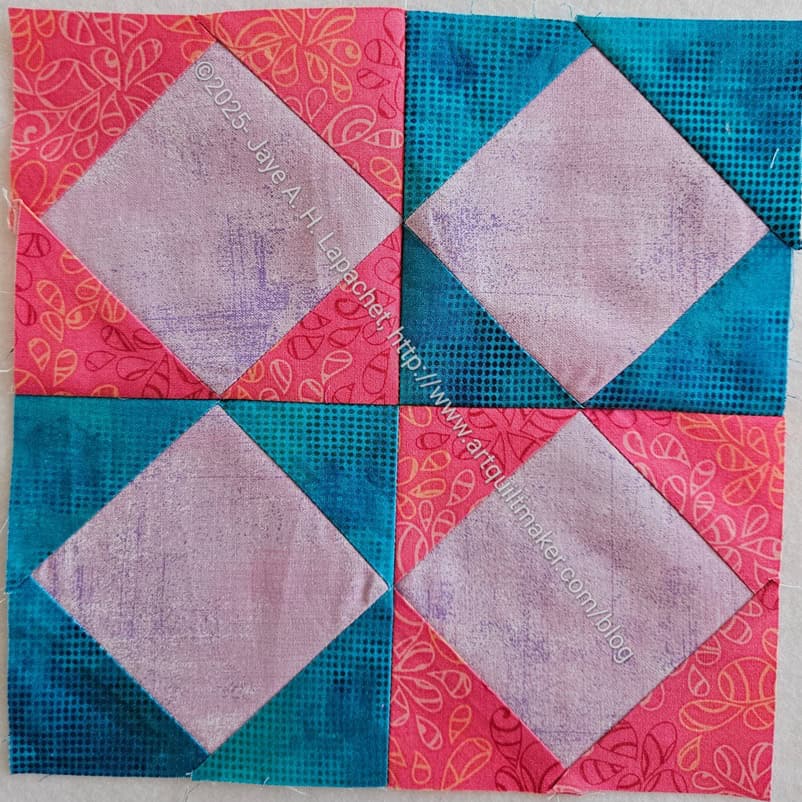
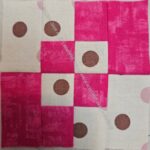
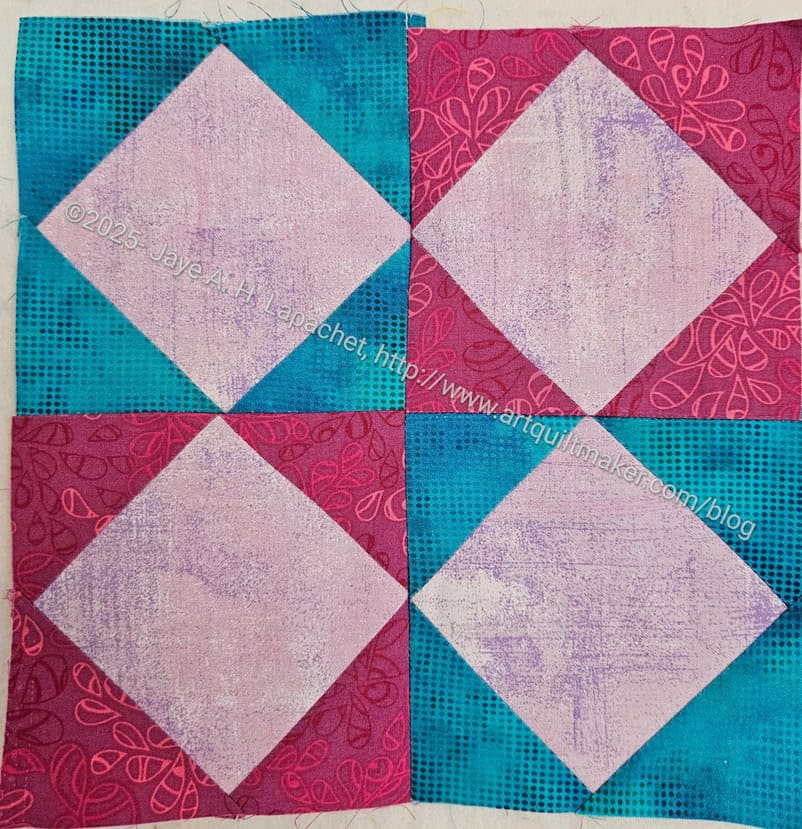
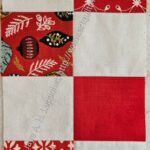
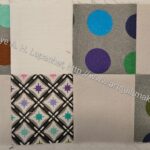
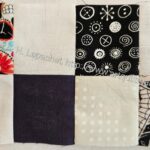
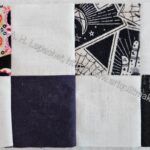
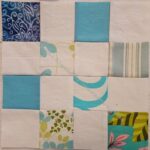
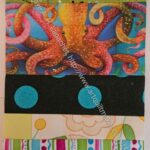
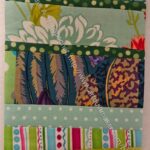
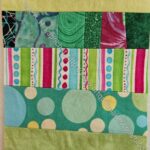
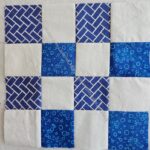
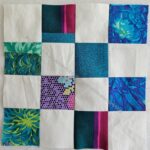
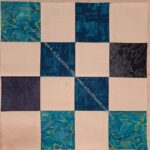
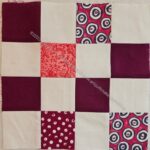
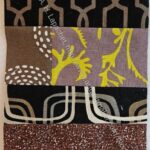
The Patchwork Palooza project calls this block Dancing Diamonds. I found it in Jinny Beyer’s The Quilter’s Album of Patchwork Patterns, where this block is called Godey Design from Godey’s Ladies Book, 1857, or Mosaic n.3, Ladies Art Company 1897.
Later I was looking for the Wing Clipper ruler and found a Square-in-a-Square ruler** by Studio 180 designs. I have no idea where or when I bought this. Maybe it was a gift? Since Square-in-a-Square blocks are one of my least favorites it seems like a odd choice. Maybe I bought it to use for the Boy Scout Patch quilt that’s lingering on my Dream Projects list.
**N. B. : Obviously, you should shop at local quilt shops and small businesses. However, if you are too busy or can’t find what you need there, I use Amazon affiliate links and may be paid for your purchase of an item when you click on an item’s link in my post. There is no additional cost to you for clicking or purchasing items I recommend. I appreciate your clicks and purchases as it helps support this website.
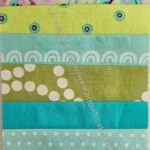
I have been working on these little blocks here and there. I have a few more to show. They go together really fast and are great for leaders and enders, which is the whole point, after all.
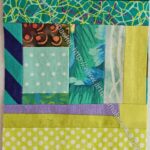
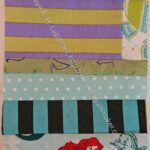
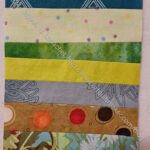
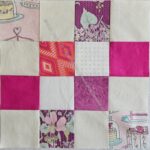
I spent a little bit of time yesterday starting the Patchwork Palooza Project (PPP??). I started with Block 8 as that was the most recent one. I’ll go back and do the others as I have time.
I pulled out the Art Gallery Natural Elements fabrics I bought at Quilter’s Hollow a few months ago. They aren’t the fabric pull I discussed when I first mentioned this project but I think they will look nice. Ultimately, the blocks are too small for the fabric pull since the two main fabrics are comprised of big blowsy prints.
I also added a lavender Grunge print I bought on a whim.
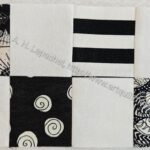
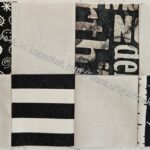
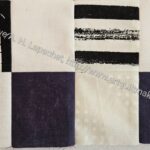
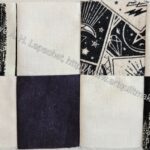
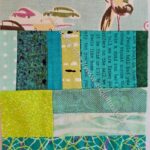
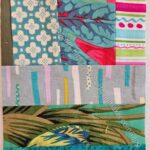
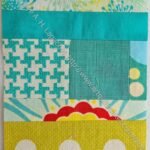
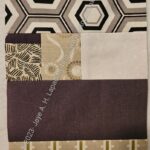
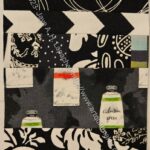
Patchwork Palooza block 8
Talking about the fabric was the most exciting part as the sewing didn’t go well. Despite my years of experience and careful cutting this block came out terribly. I cut off all of the points. Even after I fixed it it didn’t look right. This is a write off and I’ll do it again. Maybe it can be used as the beginning of a improv piece? An improv piece that I slash up so nobody sees how terrible it is.
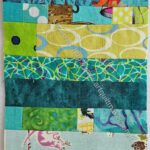
Mostly, I am trying to stock up on Half 16 patch blocks so I can make another Sidewalk quilt. A couple are from Sew Day. I am cutting some 4.5 x 8.5 inch rectangles from larger scraps and yardage to make another Sidewalk quilt from plain pieces of fabric. I am not including those ‘panels’ here as they are not really that interesting since there is no piecing.
I eeked out the last few blocks from what was left of my blue scraps. Most of the scraps went to the Blue Improv #2 donation top. Mostly they are too small for the blocks, so were perfect for an improv top.
I have also included some blocks I am making for one of the upcoming Sidewalk donation quilts. As mentioned before, they are half 16 patches. I am so used to making the 16 patch blocks that it feels weird to include these half blocks. Still, they make up really nice quilts, so I am trying to get over the weirdness by including them.
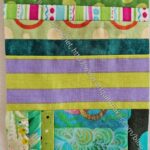
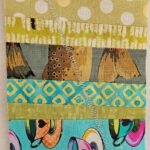
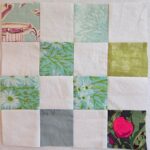
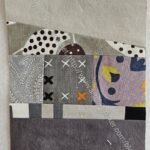
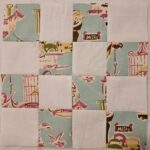
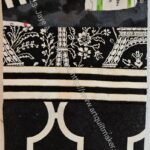
I couldn’t help myself. I said I wouldn’t, but I really couldn’t help myself. I made two more blocks for the Handbag Sampler.
I decided that the quilt needed a few more blocks and I took the time on Sunday morning to choose a couple of easy blocks. I chose Sawtooth Star, because it is a favorite. I also chose Fox & Geese, because I thought it would look good with the other blocks. I really had to stretch that blue fabric, because I had barely enough to make the background.
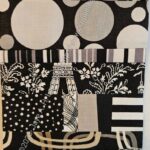
Handbag Sampler – all the blocks
The blocks went relatively quickly and I think they look good with the other blocks. I am well on my way to finishing the quilt.
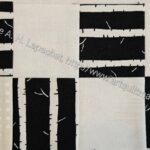
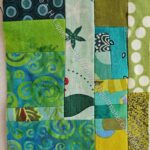
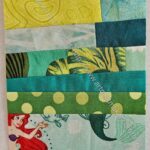
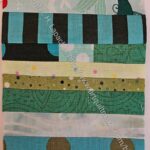
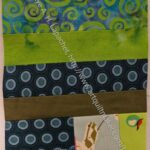
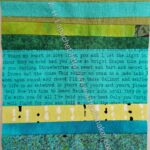
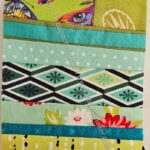
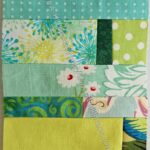
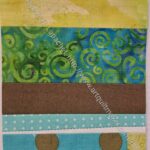
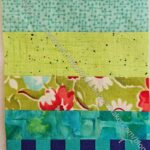
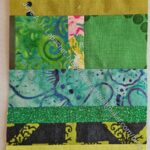
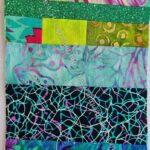
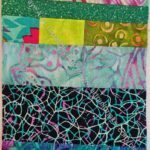
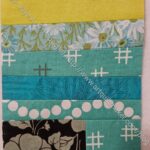
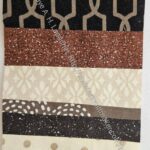
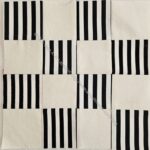
Hooray! I have some blocks to report. 44 is a good number. I had to start on blue strip blocks even though I didn’t make a white improv quilt after I finished the white strip donation top. My blue scrap drawer is overflowing. I can’t shove anymore scraps in it, so here we are.
I really like making these strip blocks. They are so much more fun than the Half 16 patches, though it could just be that I was sick of them because Sidewalk came out really well.
I plan to use the blue strip blocks for another Sidewalk quilt. The blocks are the same size and I am not done with that Sidewalk design yet.
I finished enough of the blue strip blocks to make another Sidewalk quilt. This will be the third blue strip donation quilt I have made! Apparently, I use a lot of blue. I am really excited to try the Sidewalk pattern with these strip blocks.
This is not all of the strips blocks I need. It is the group I put up on the design wall as I was making them.
I have made a little dent in my blue scrap drawer. I can probably close it now. I plan to keep making these blocks until I have used most of the strips. I did find that a lot of the scraps are smaller than 4.5 inch strips, so another blue improv donation quilt is in my future, too.
I made some effort to make some blocks this month, but spent most of my charity time on the Grey Improv donation quilt. I also started working on the sashing blocks for the quilt I saw at the Sonoma County Fair. I have about 3 half 16 patches done.
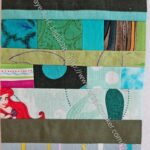
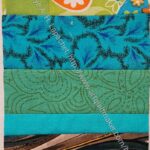
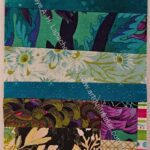
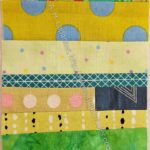
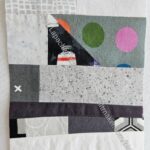
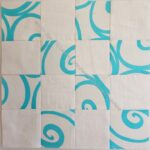
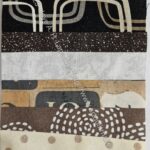
I made really good progress on Old Town at the Retreat.
I was able to piece 15 (of 25 total) blocks. Each block has 69 pieces so that was a LOT of piecing. I was SUPER happy to be doing that piecing, I have to tell you.
Julie helped me put them up on the design wall so we could look at them.
Even with out much sashing, there is a distinct secondary design going on.
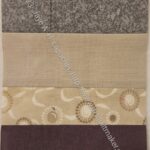
Old Town Retreat progress – detail
I sewed a little bit of the sashing and put that up as well, so we could kind of see what was coming.
After turning in a batch of 16 patches, I switched back to making my white strip donation blocks. I should have done it ages ago as the strip blocks lead directly to quilts whereas the 16 patches lead to someone having to store them until someone takes them to make into a quilt.
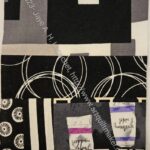
I almost didn’t make any donation blocks this month. As mentioned my mom is sick and it is taking up time (time I am glad to have the opportunity to use). I worked on a donation quilt for most of my leaders and enders time. I finished that and did get to a few blocks. Not the 31 I had hoped for, but some is better than none.
This is quite a few donation blocks! I am pretty pleased with how many blocks I made this year. I know you saw many of these yesterday. Scroll down to revisit the ones I made earlier this year. I made 149 donation blocks. That is less than half of my goal, but it is still a significant number. I hope to do better in 2025.