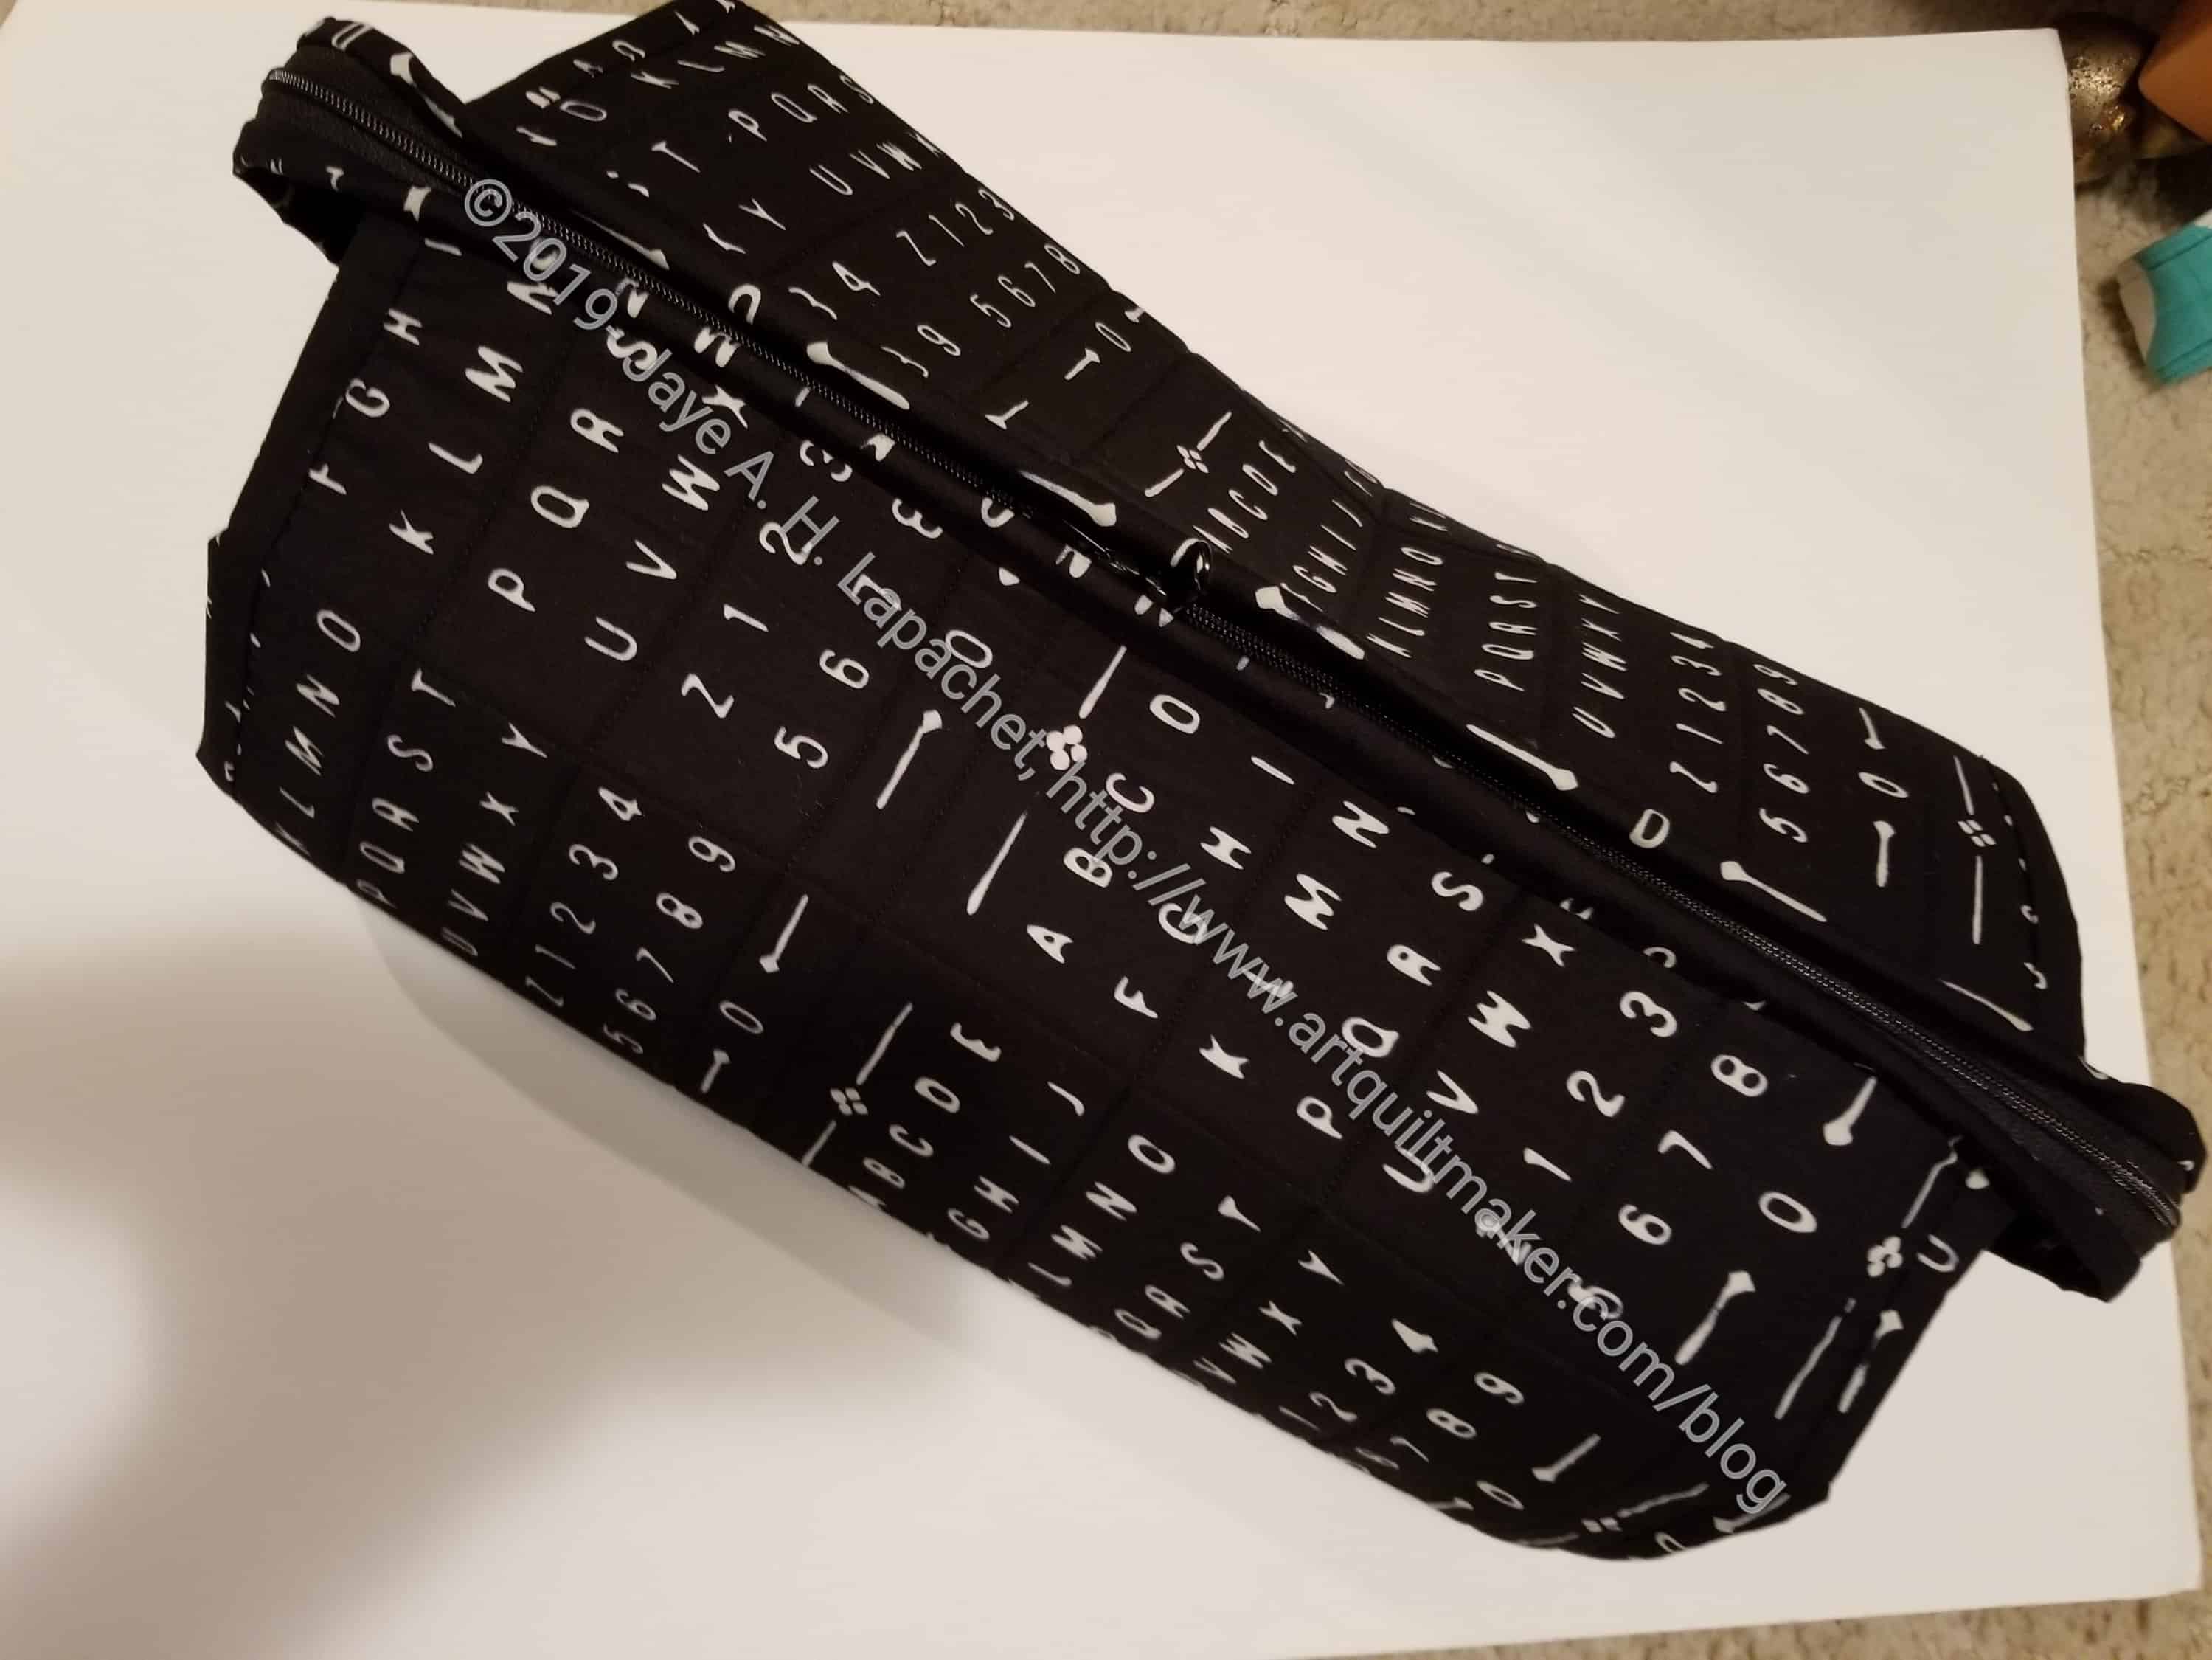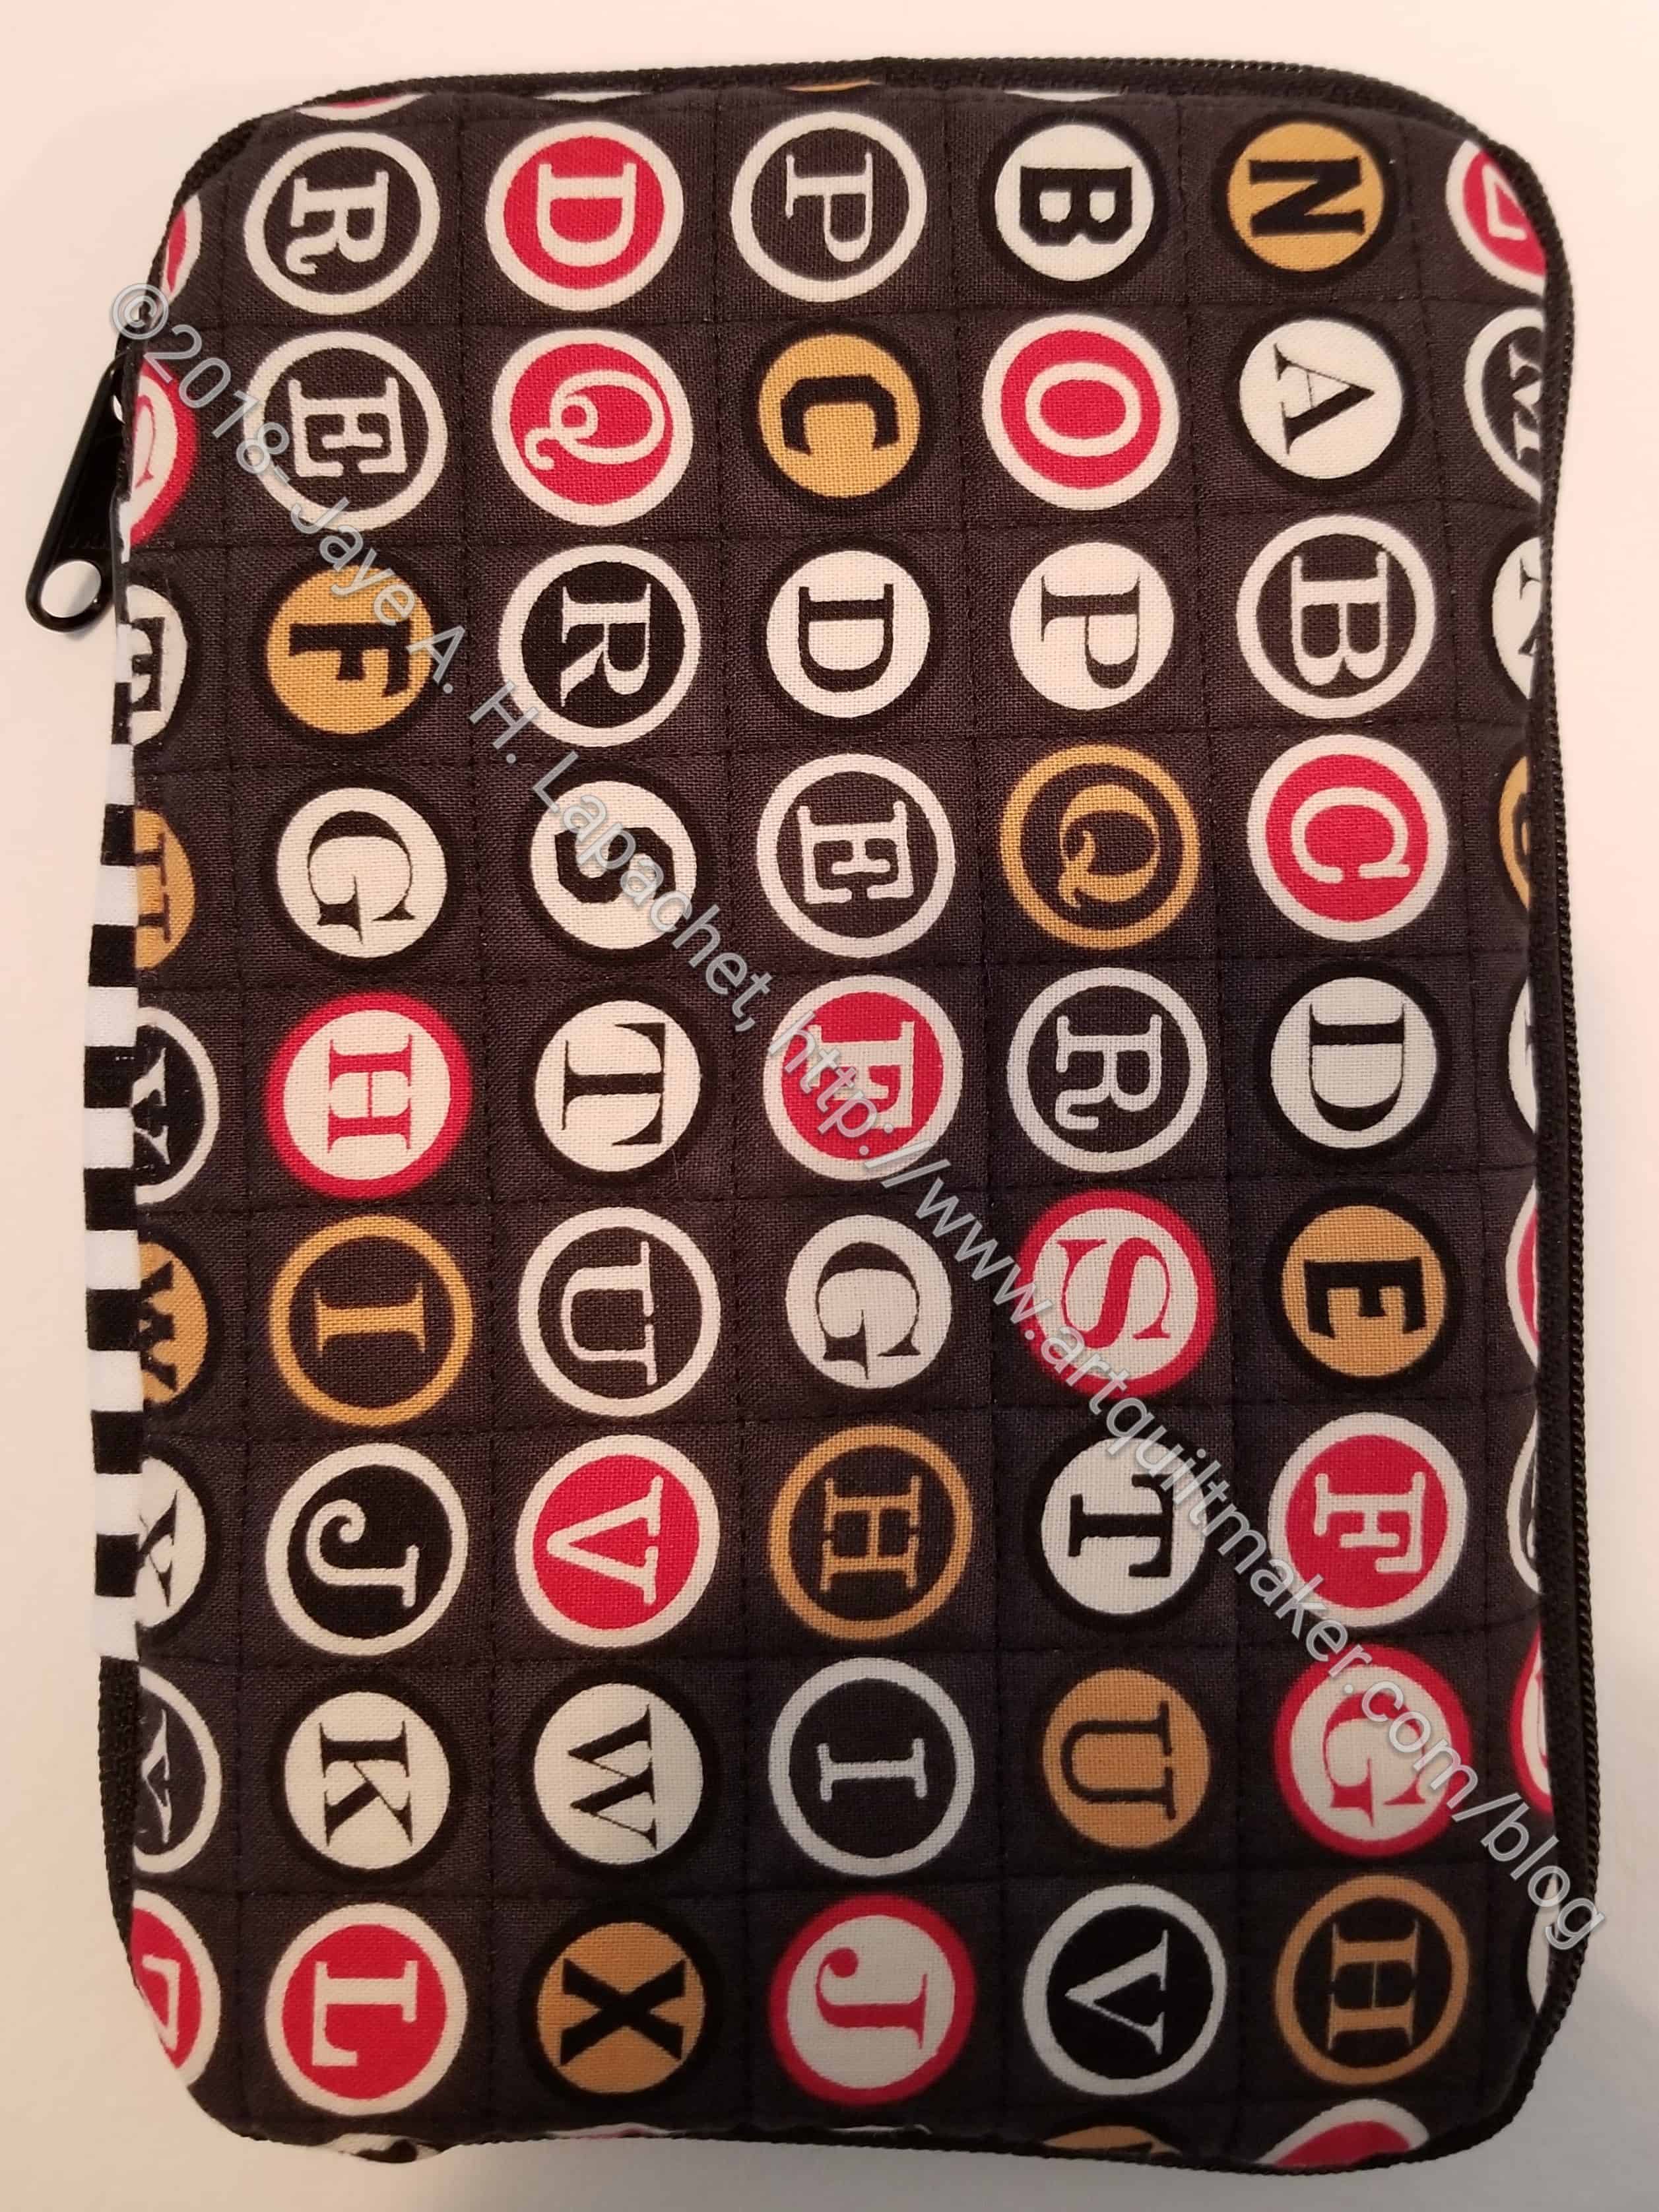
I finished the 4 Zip Organizer on Saturday after a nice long day of sewing! I am pretty excited about the recent finishes, and this one in particular because it has been hanging around for so long.
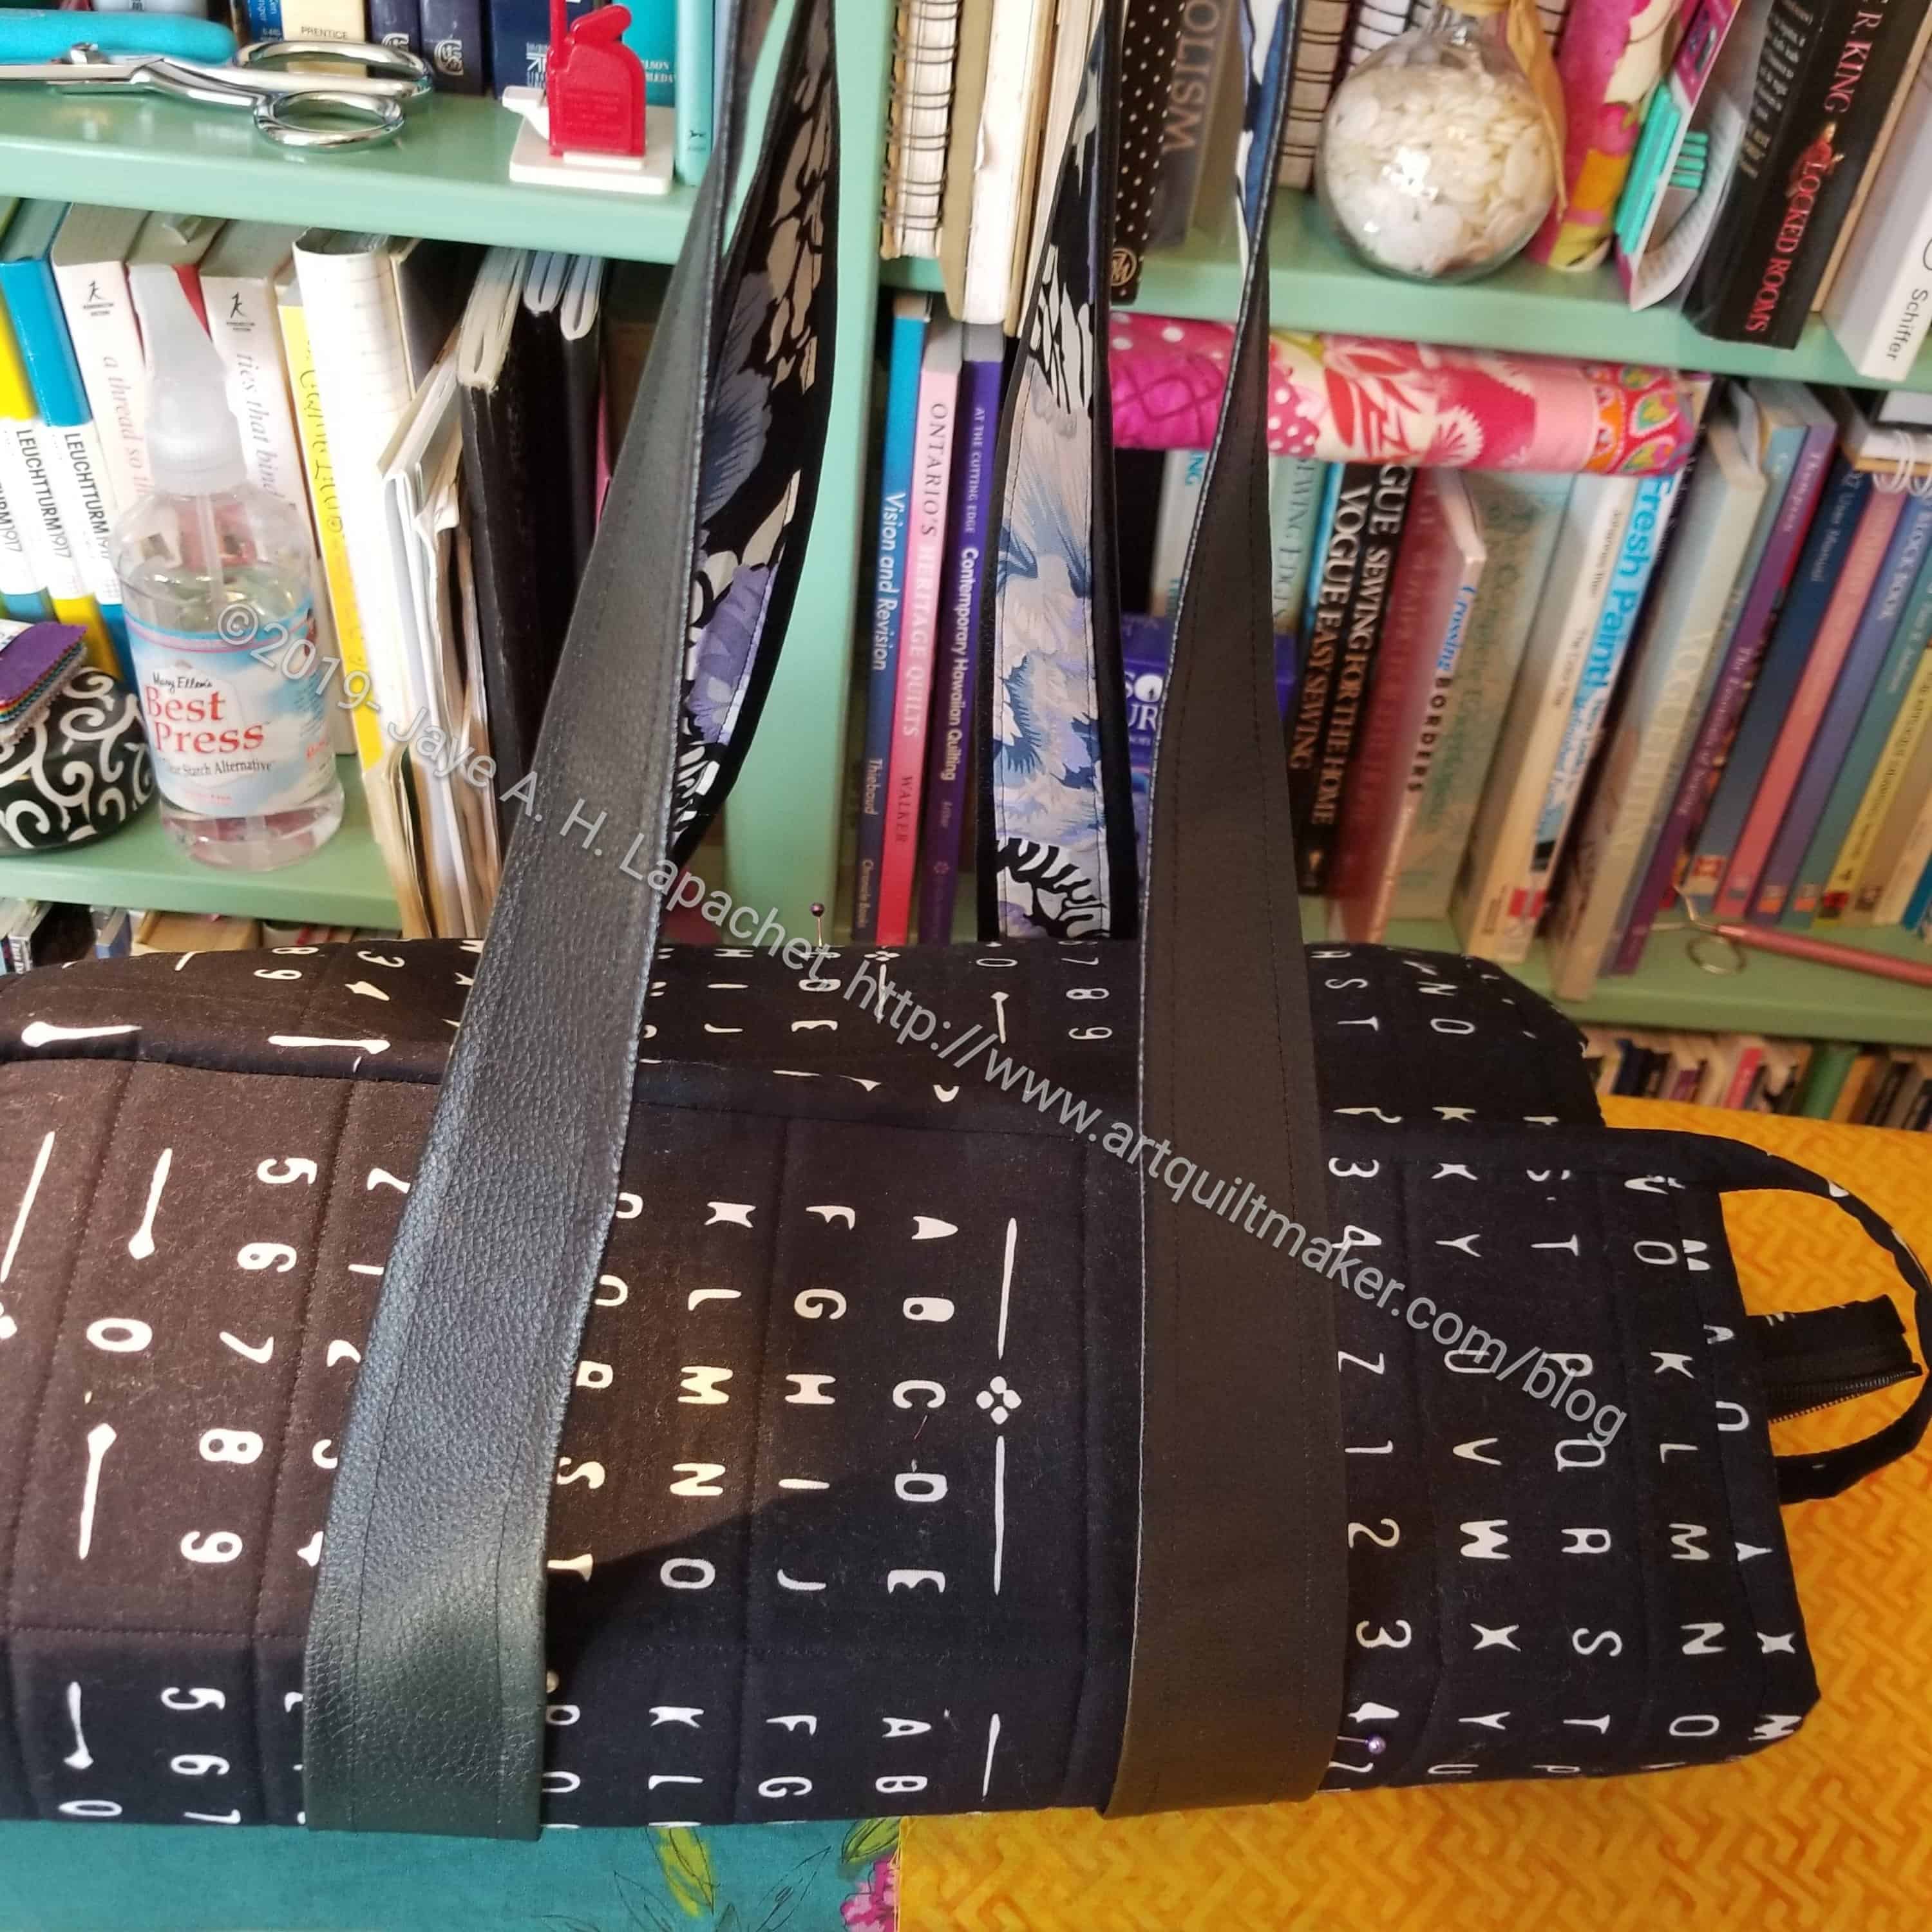
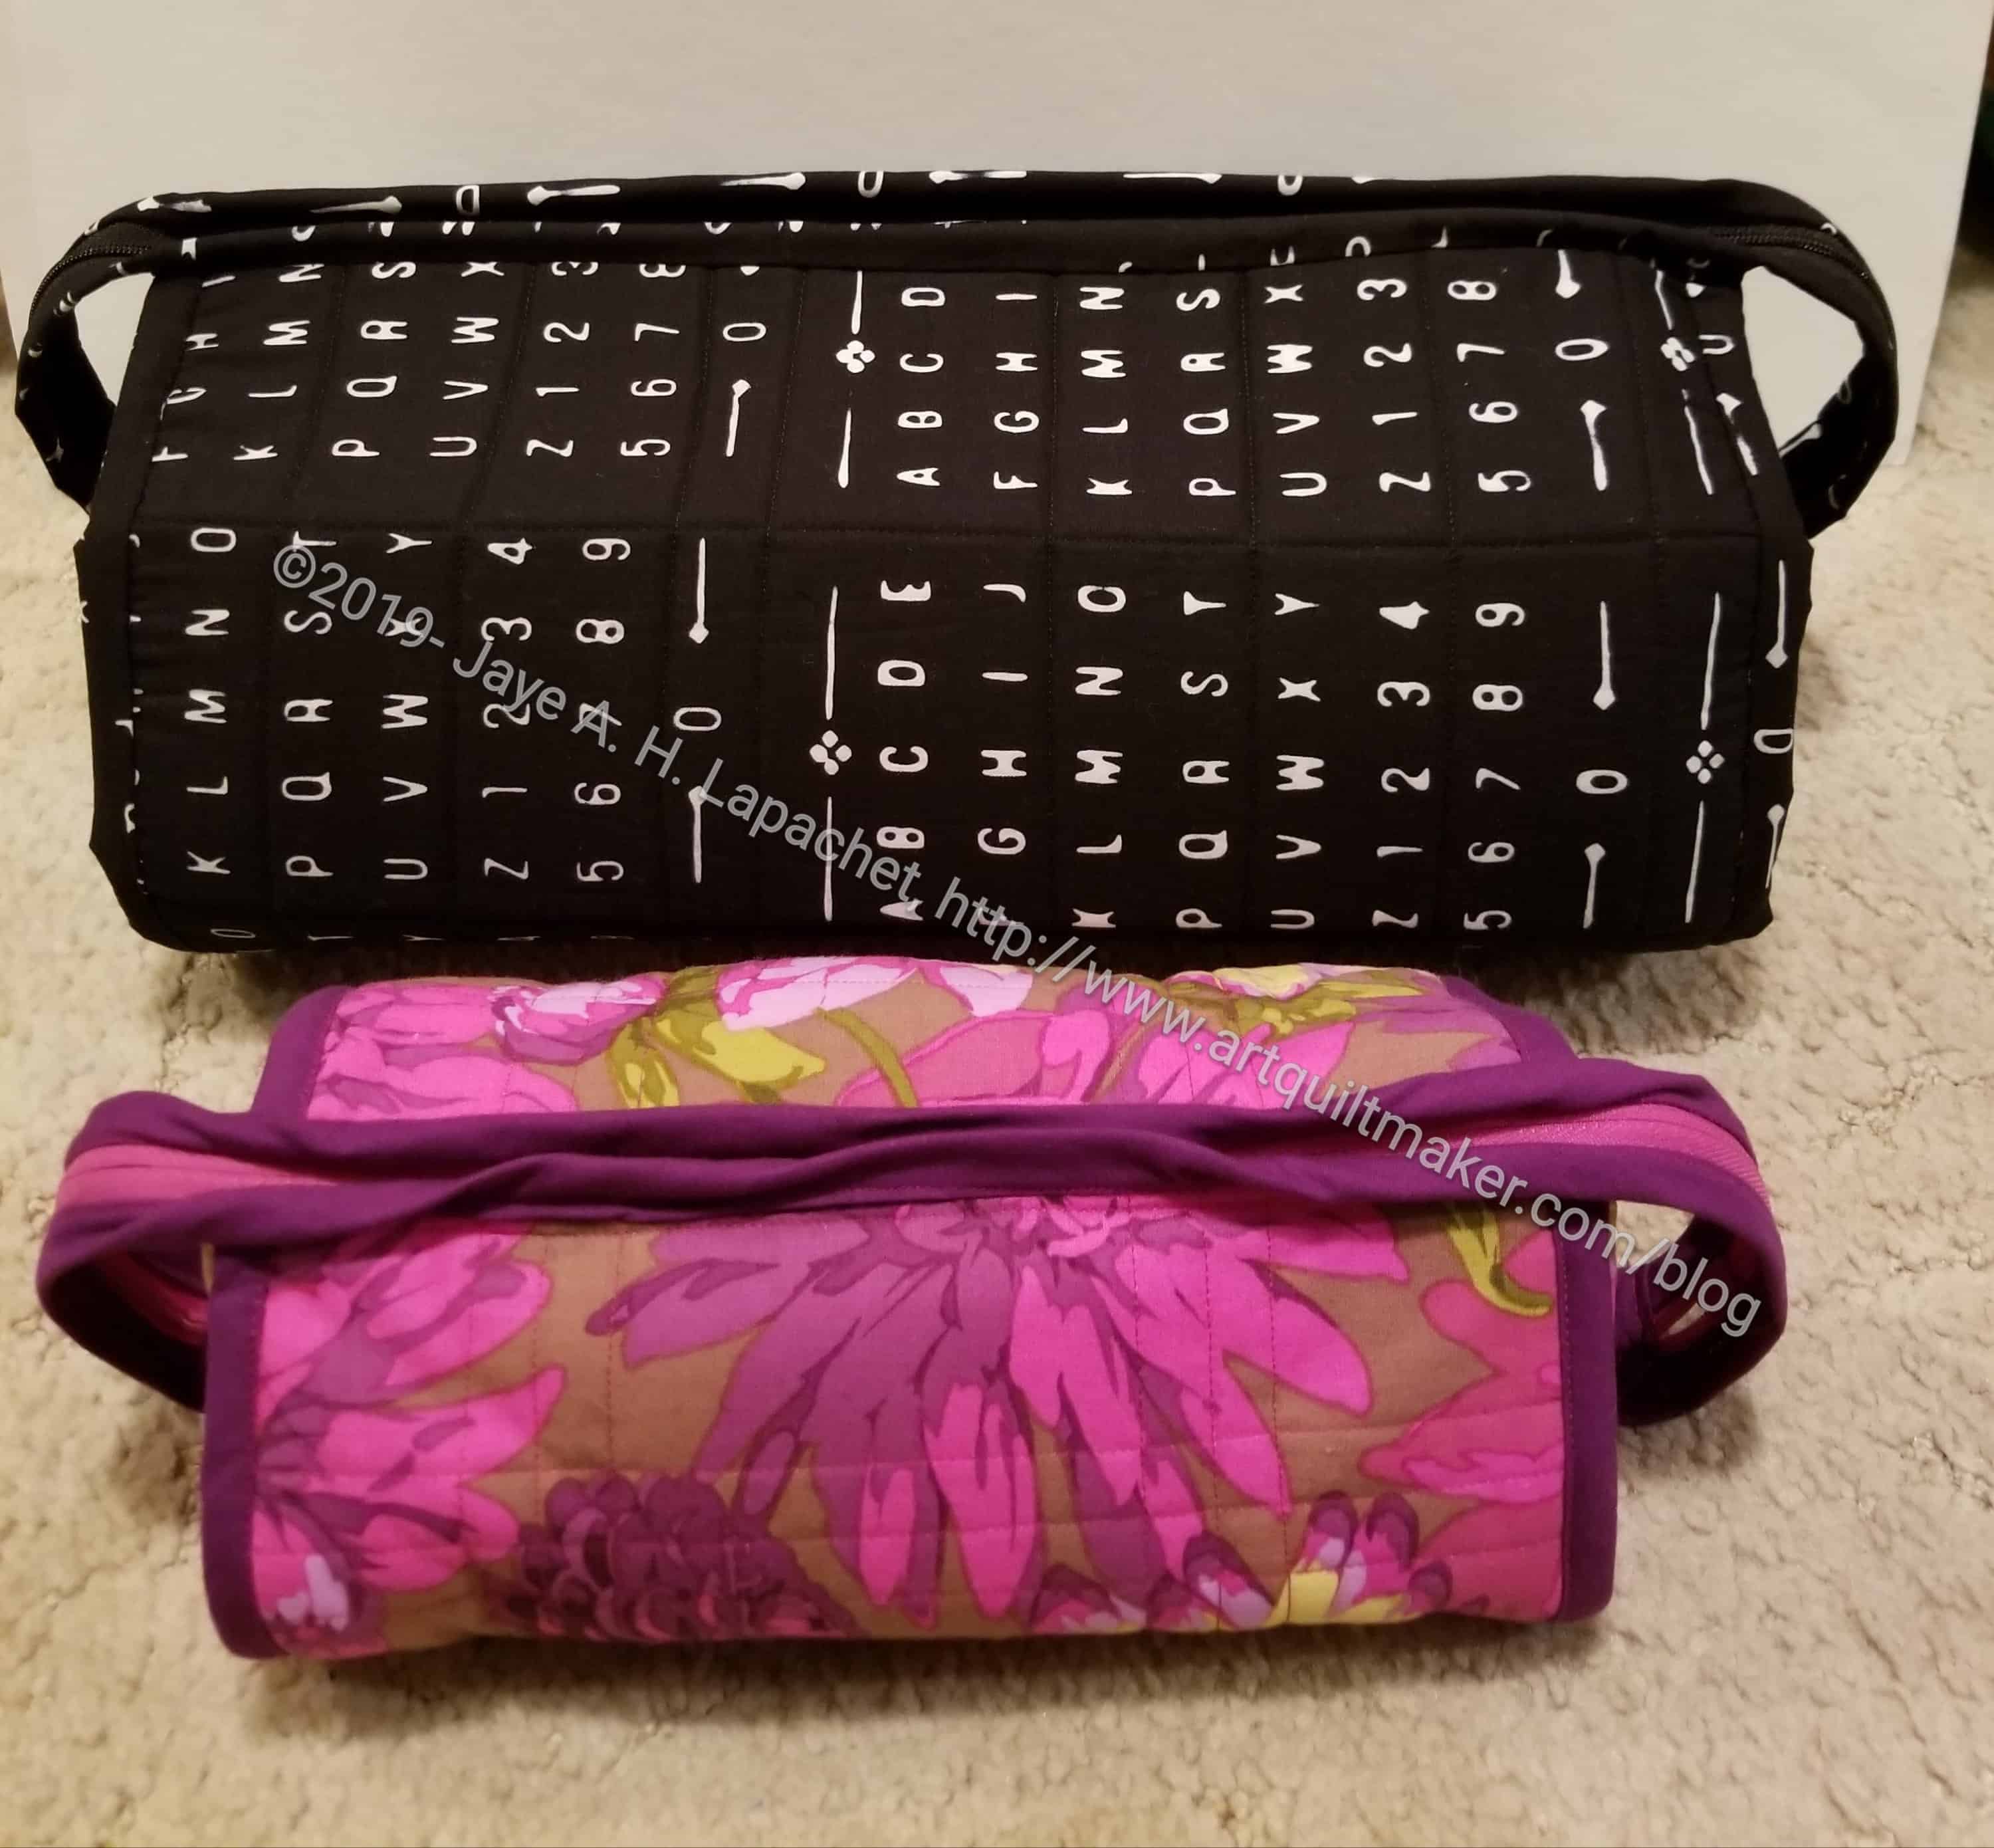
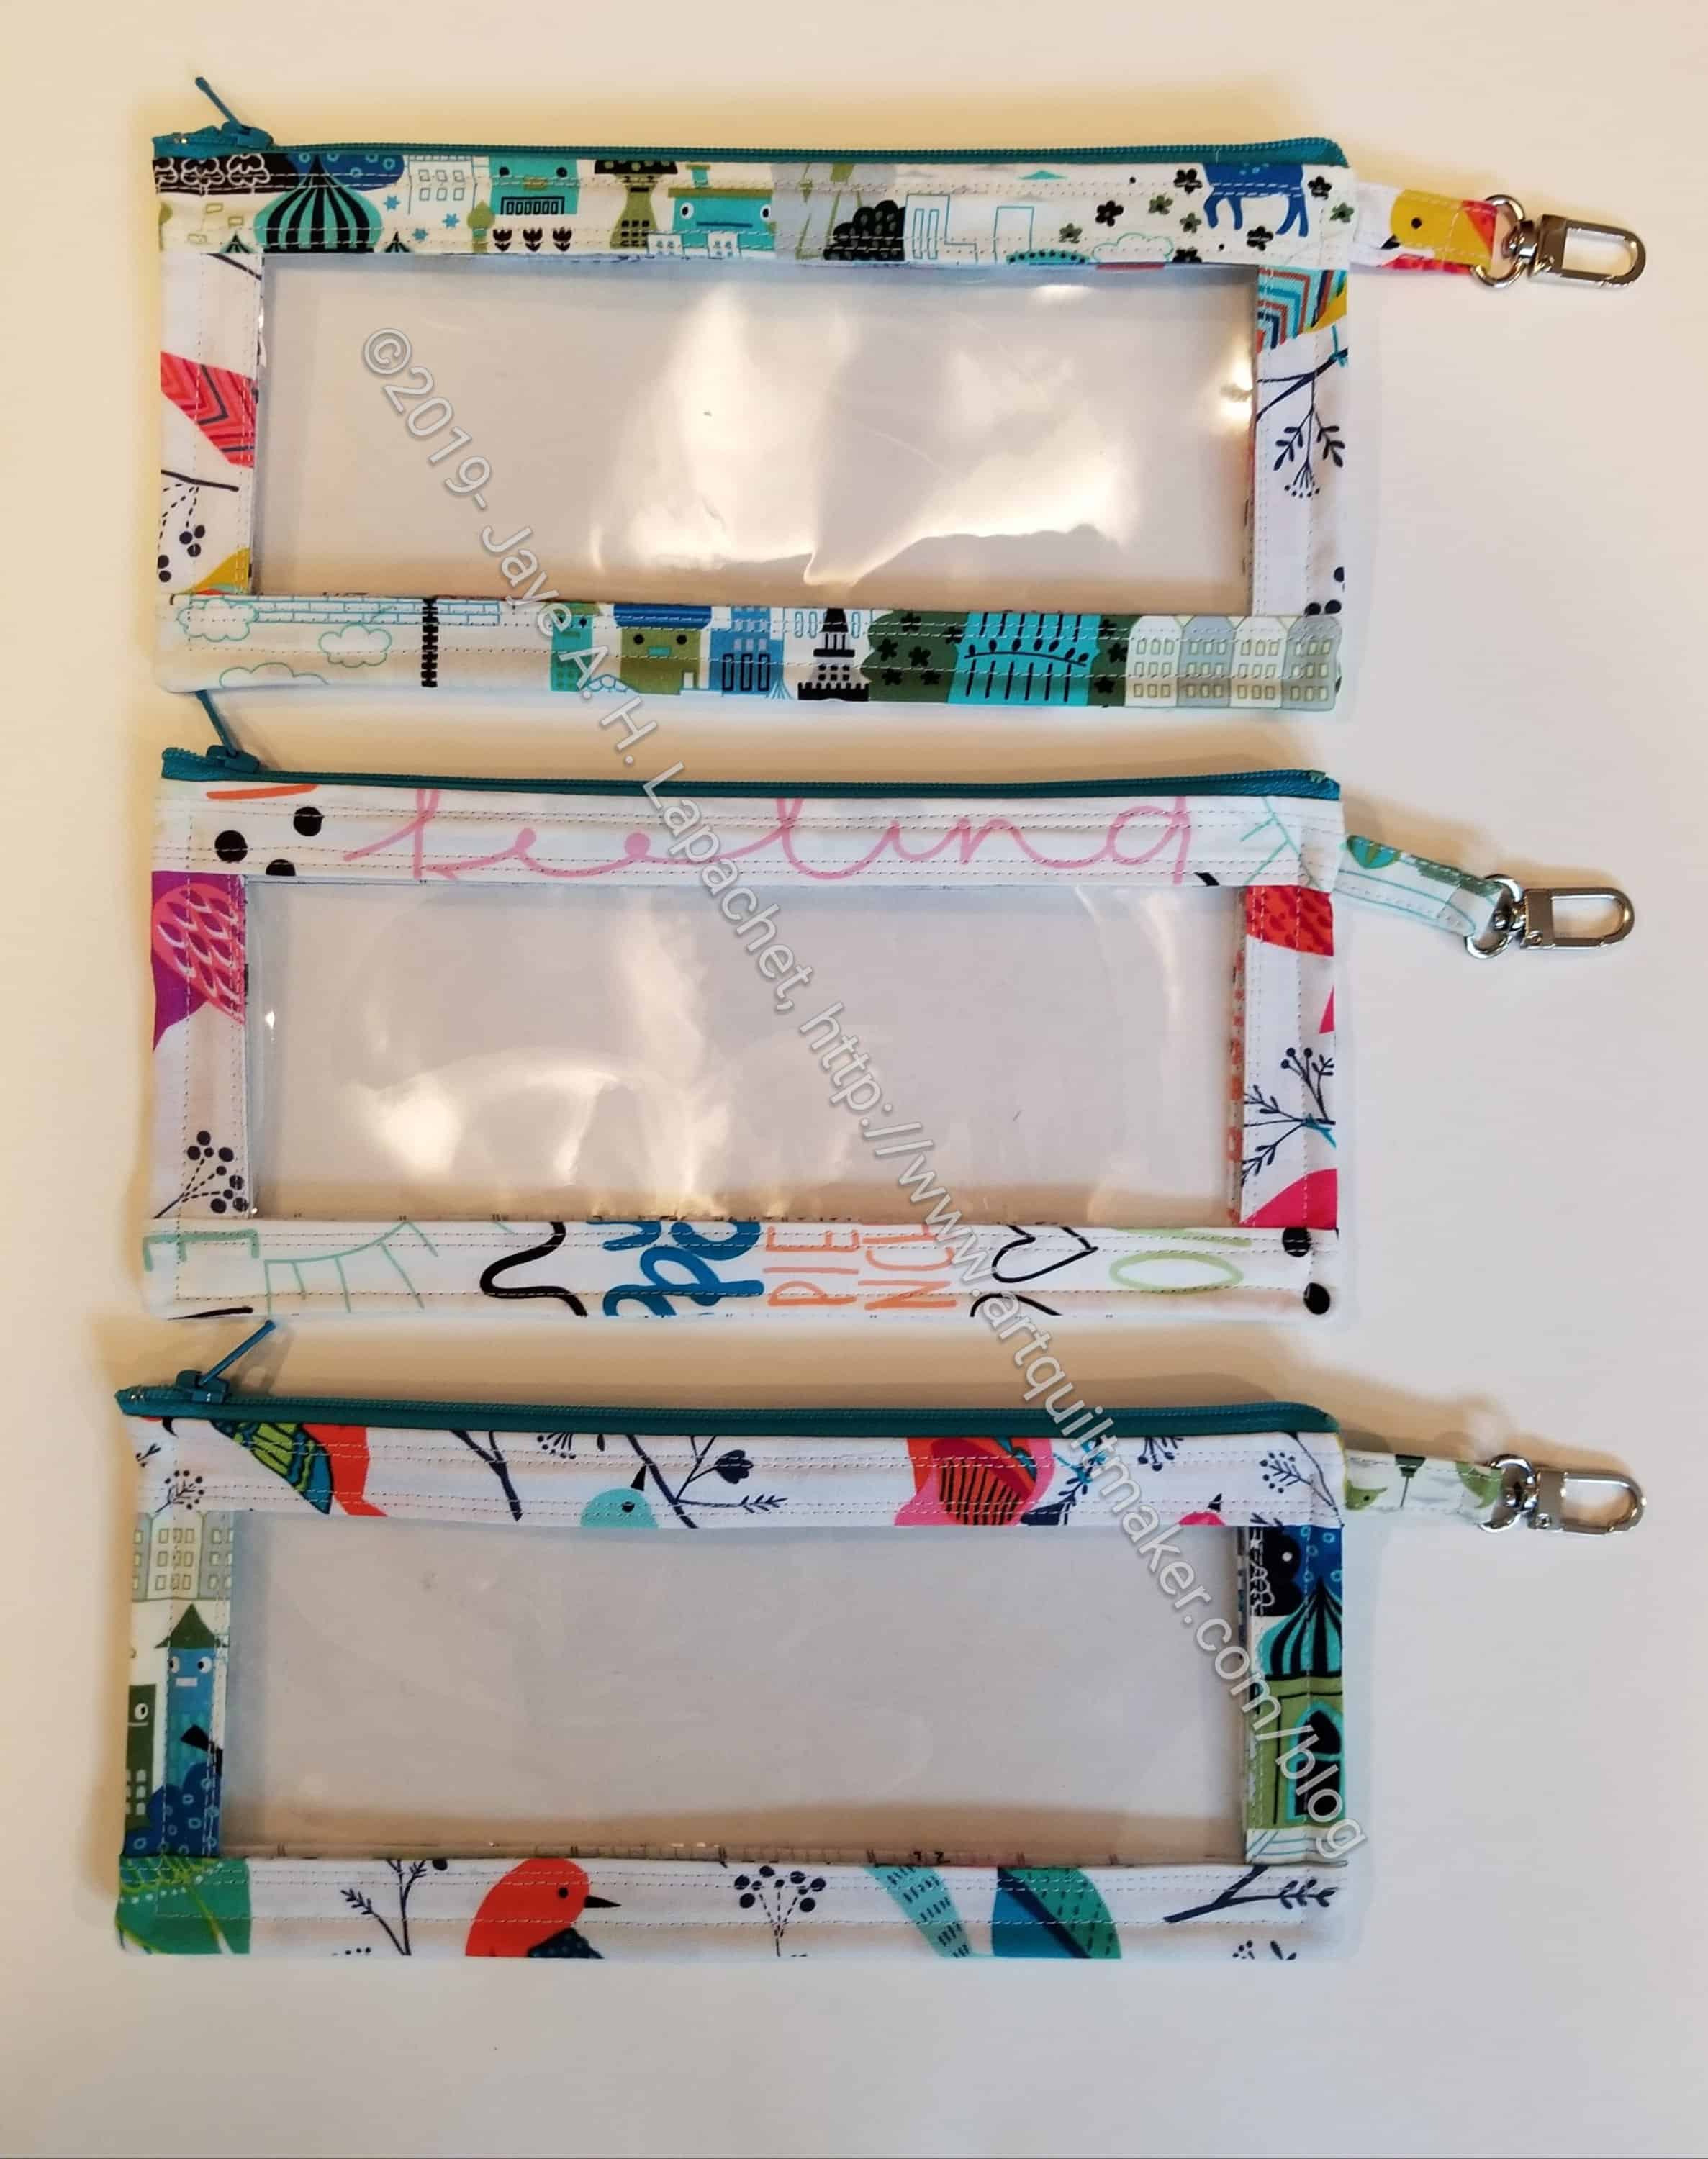
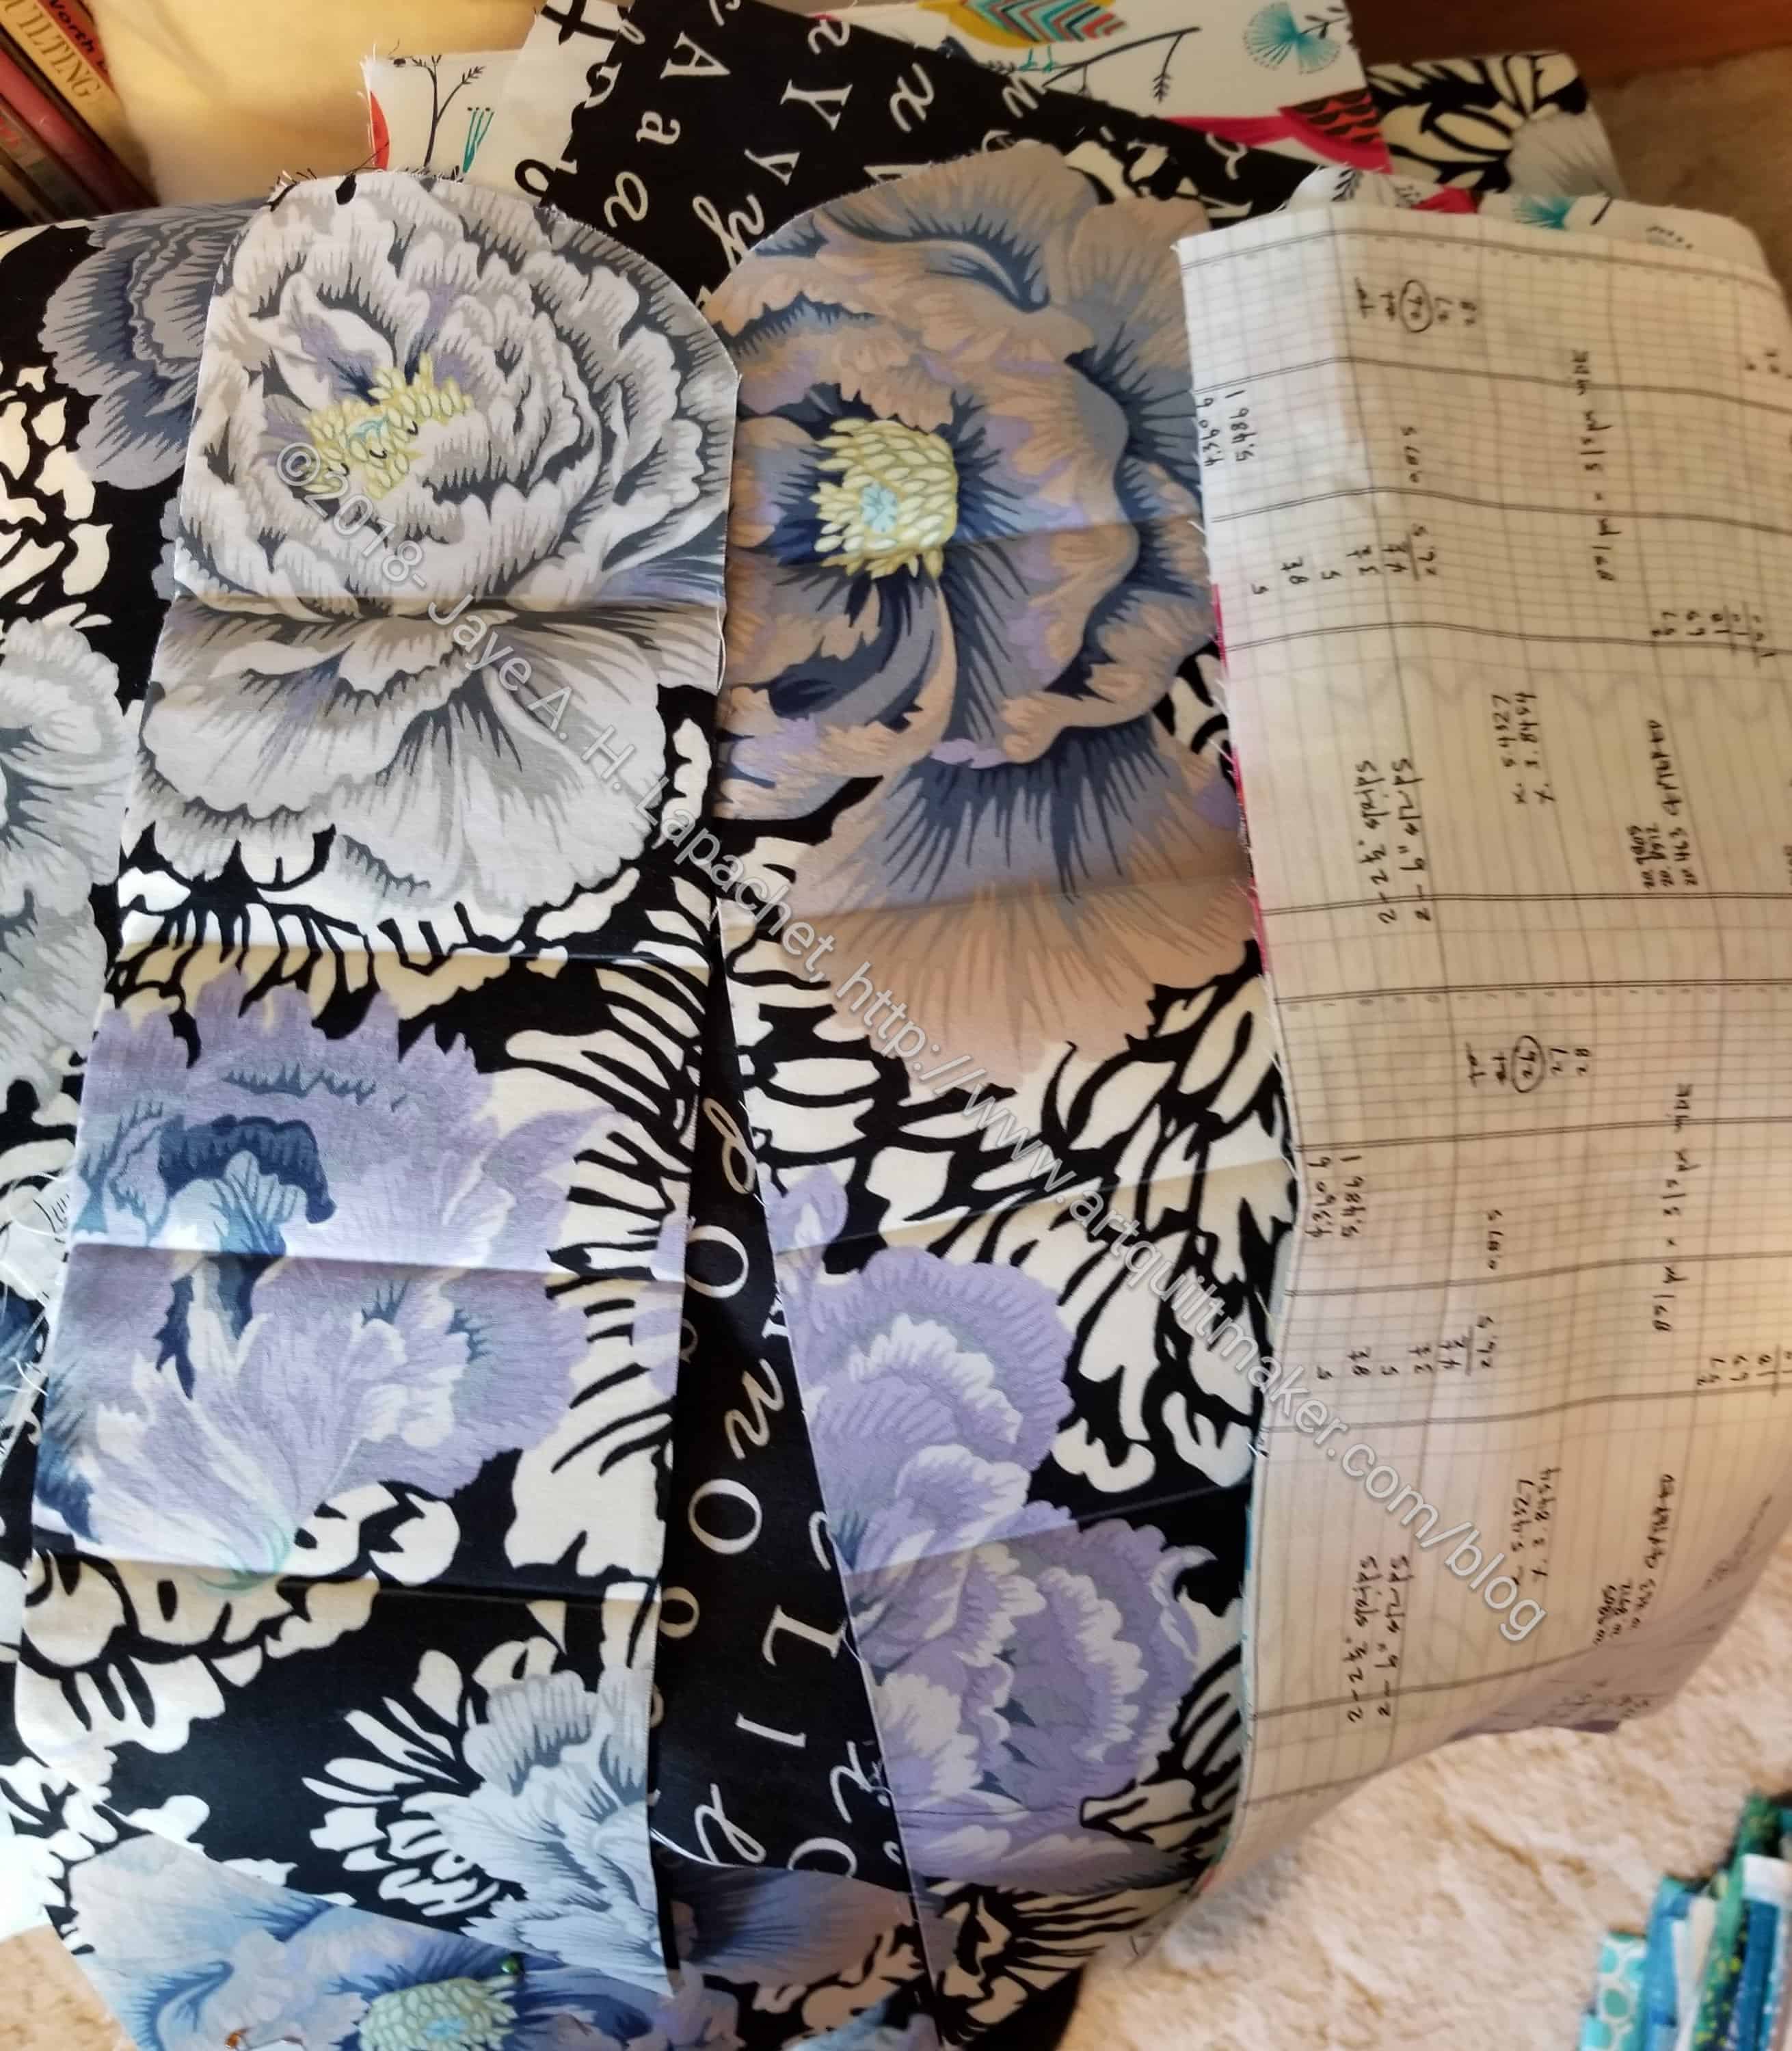
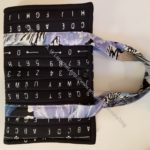
I used fabrics that went with the All Rolled Up Tote. I am trying to create a matching set of bags and totes, but I keep switching fabrics!
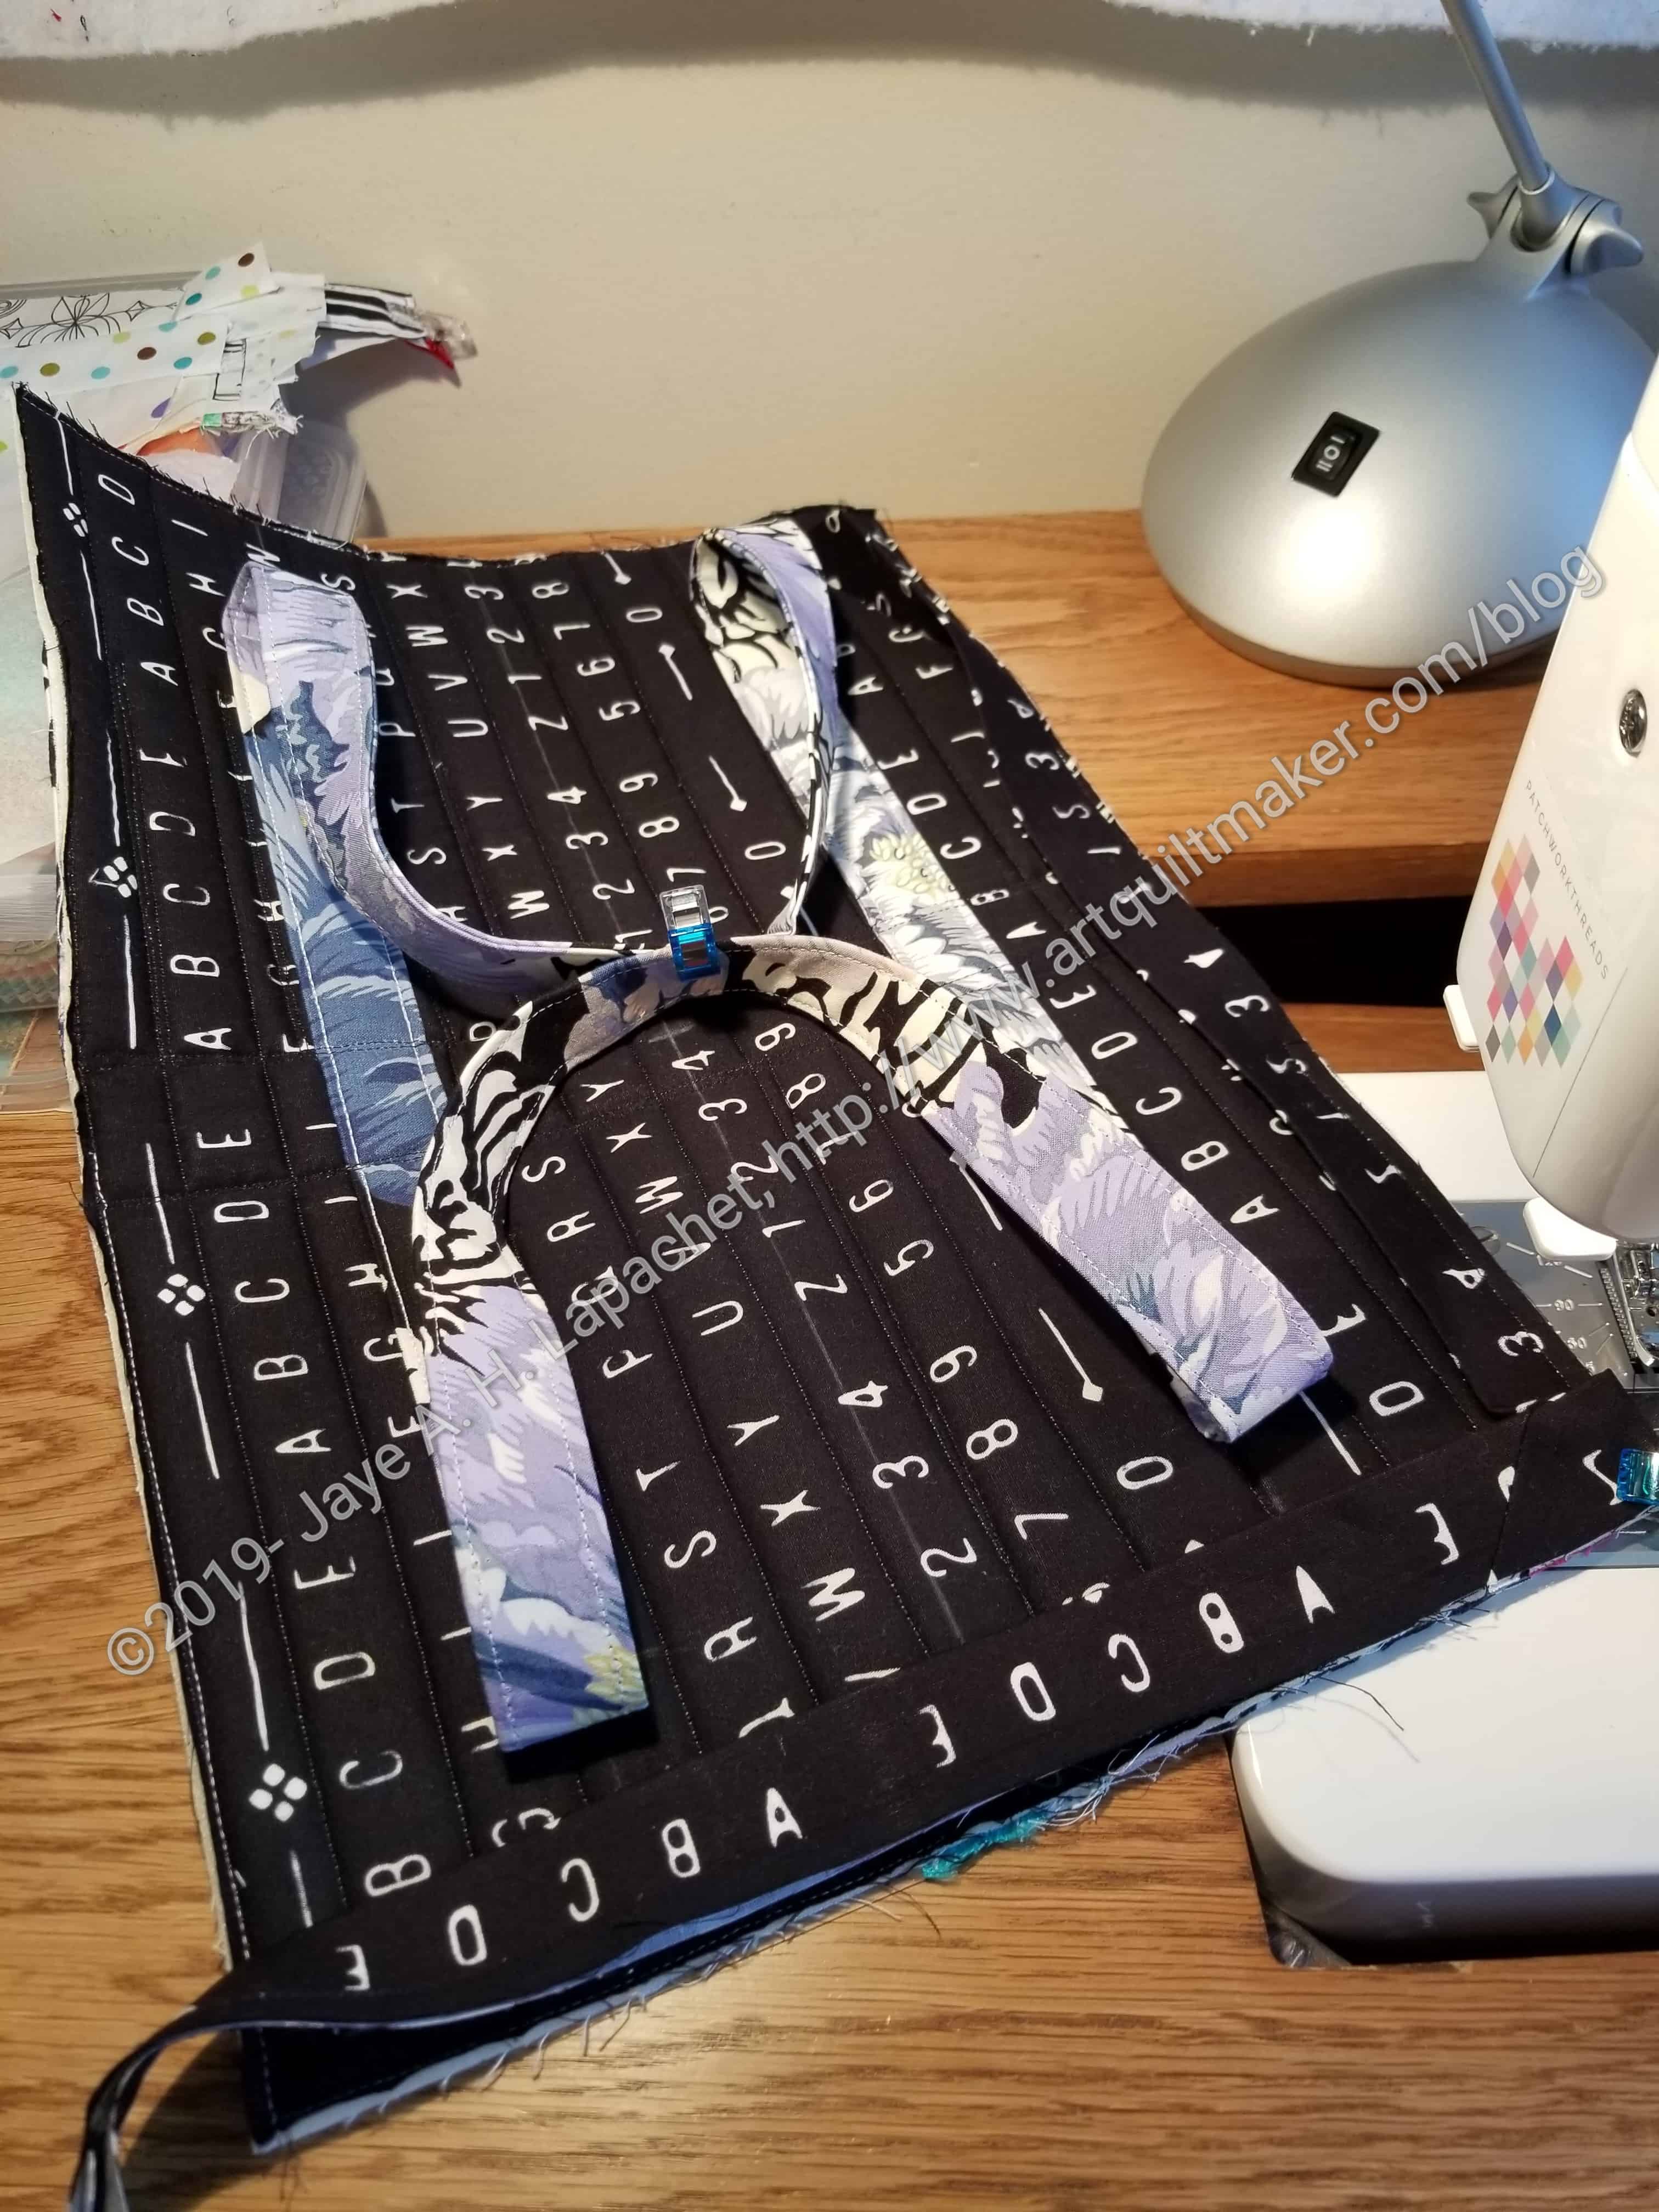
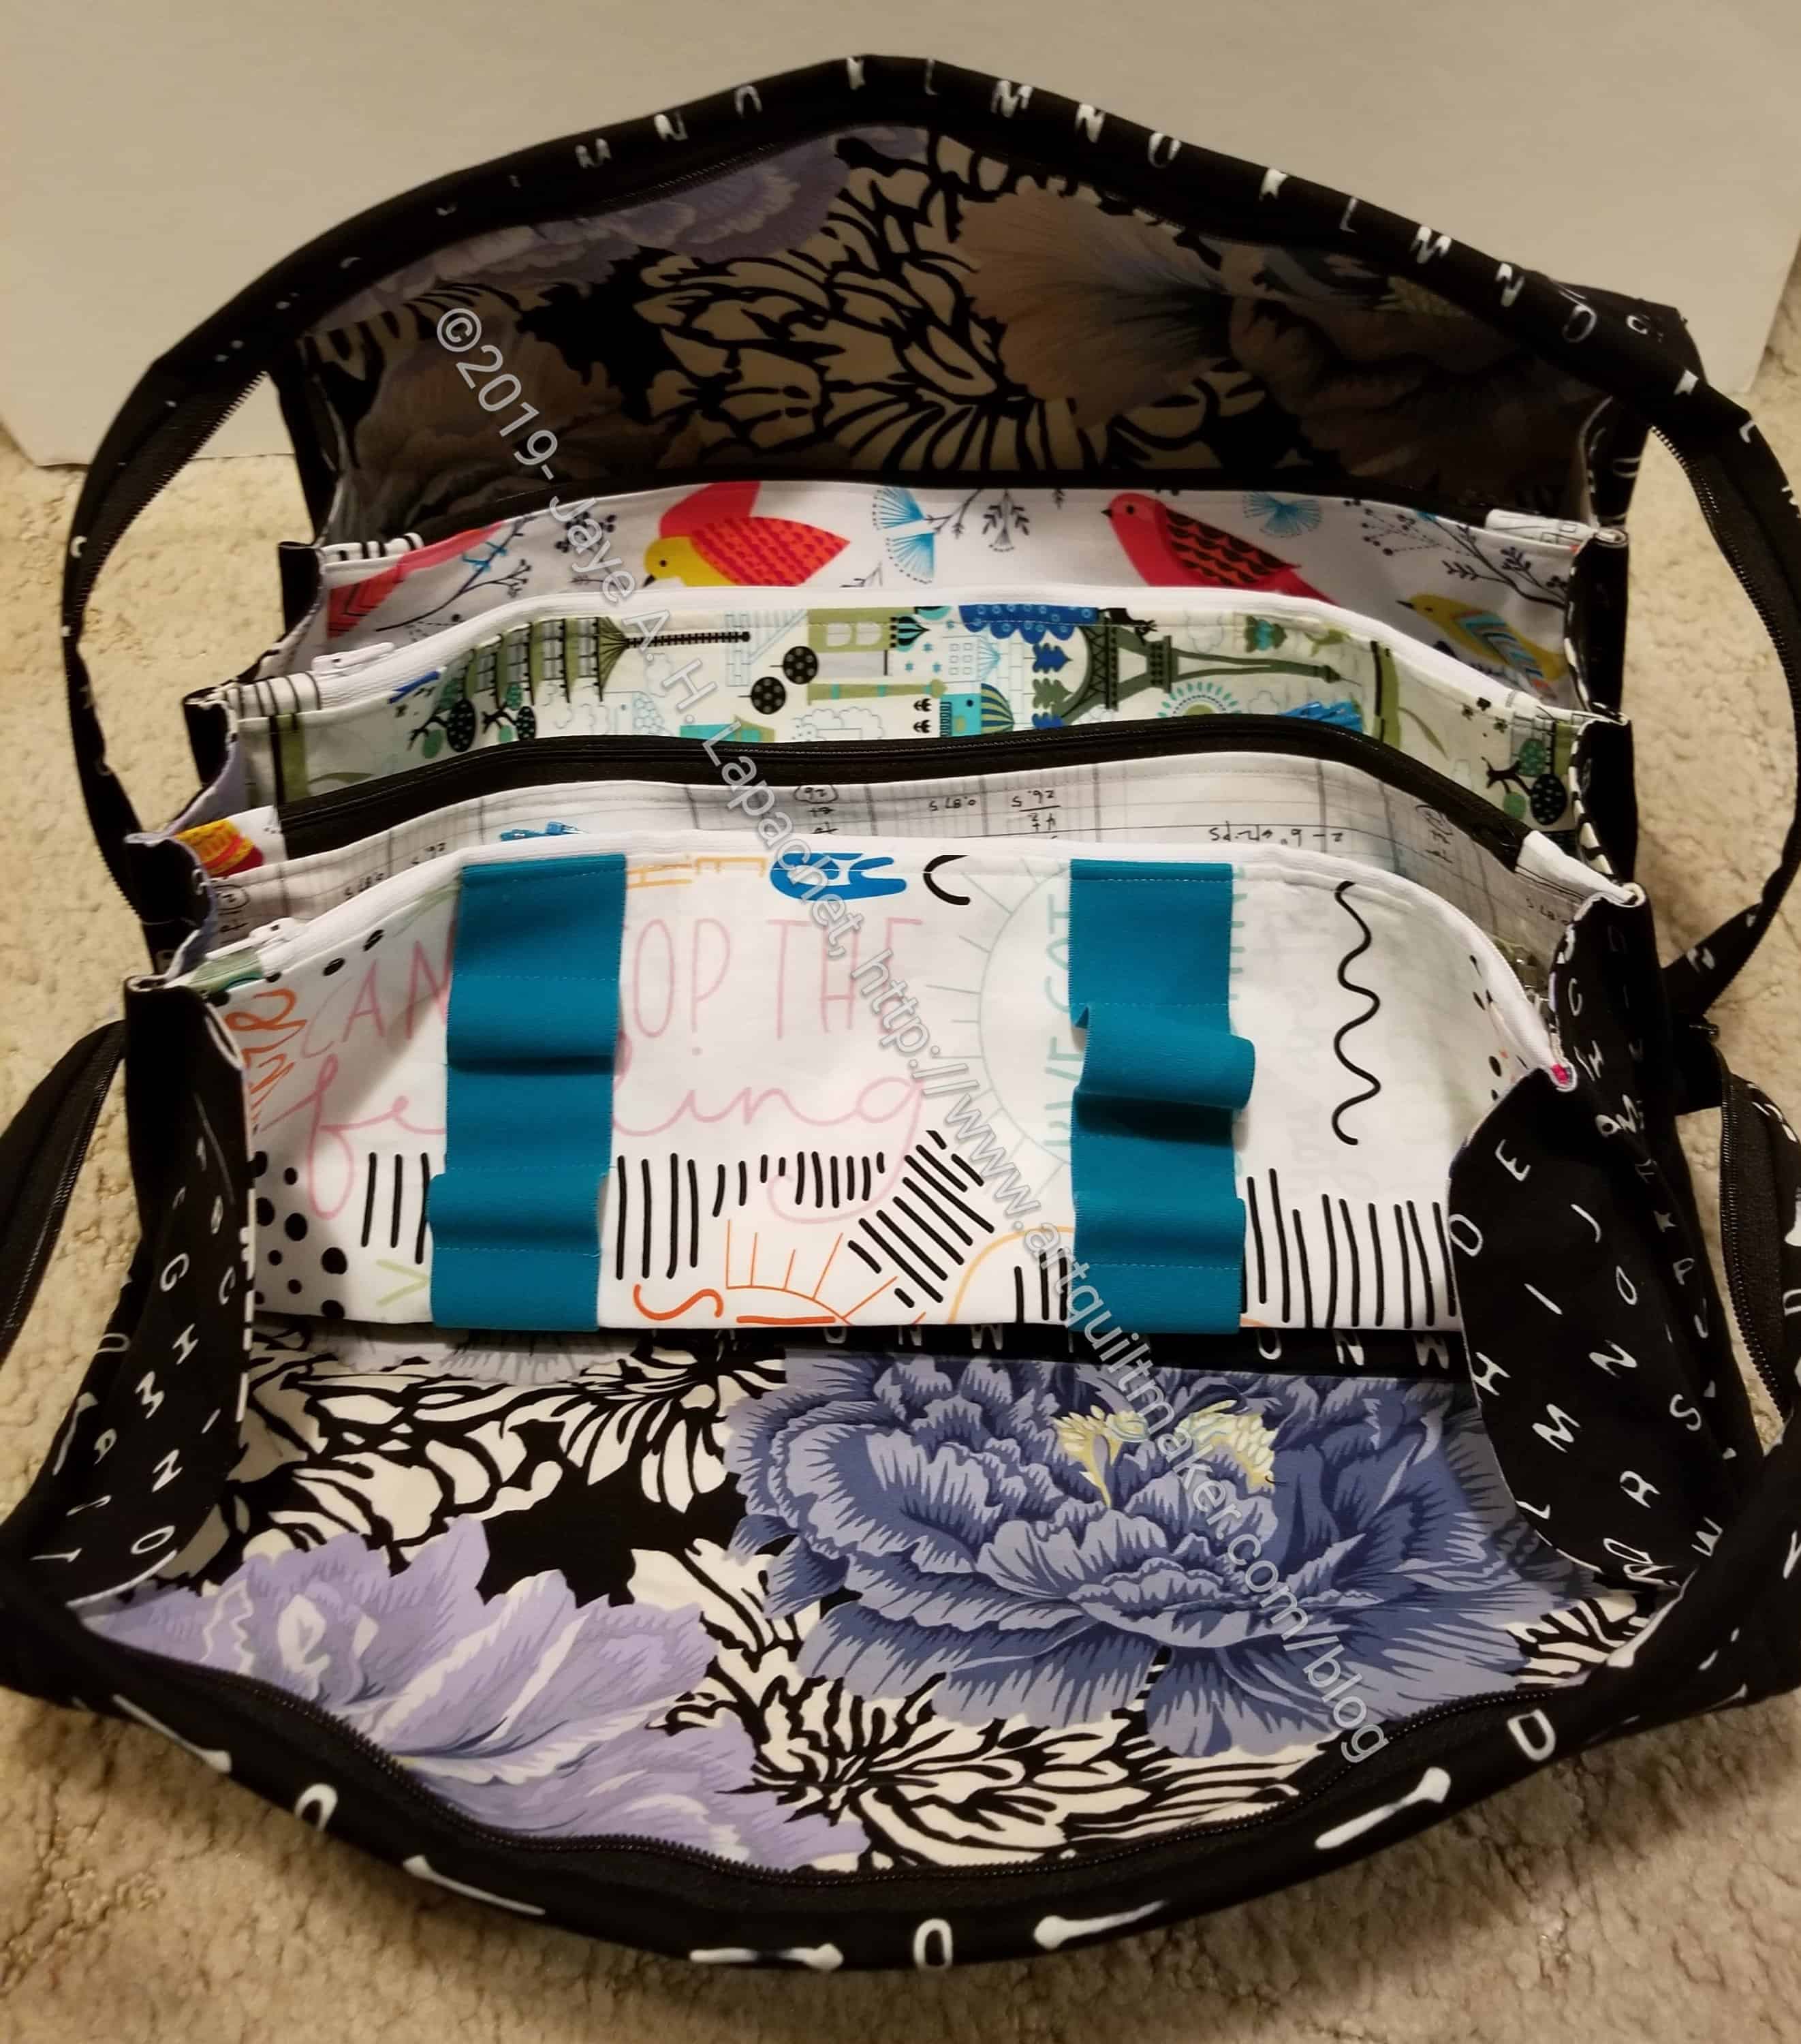
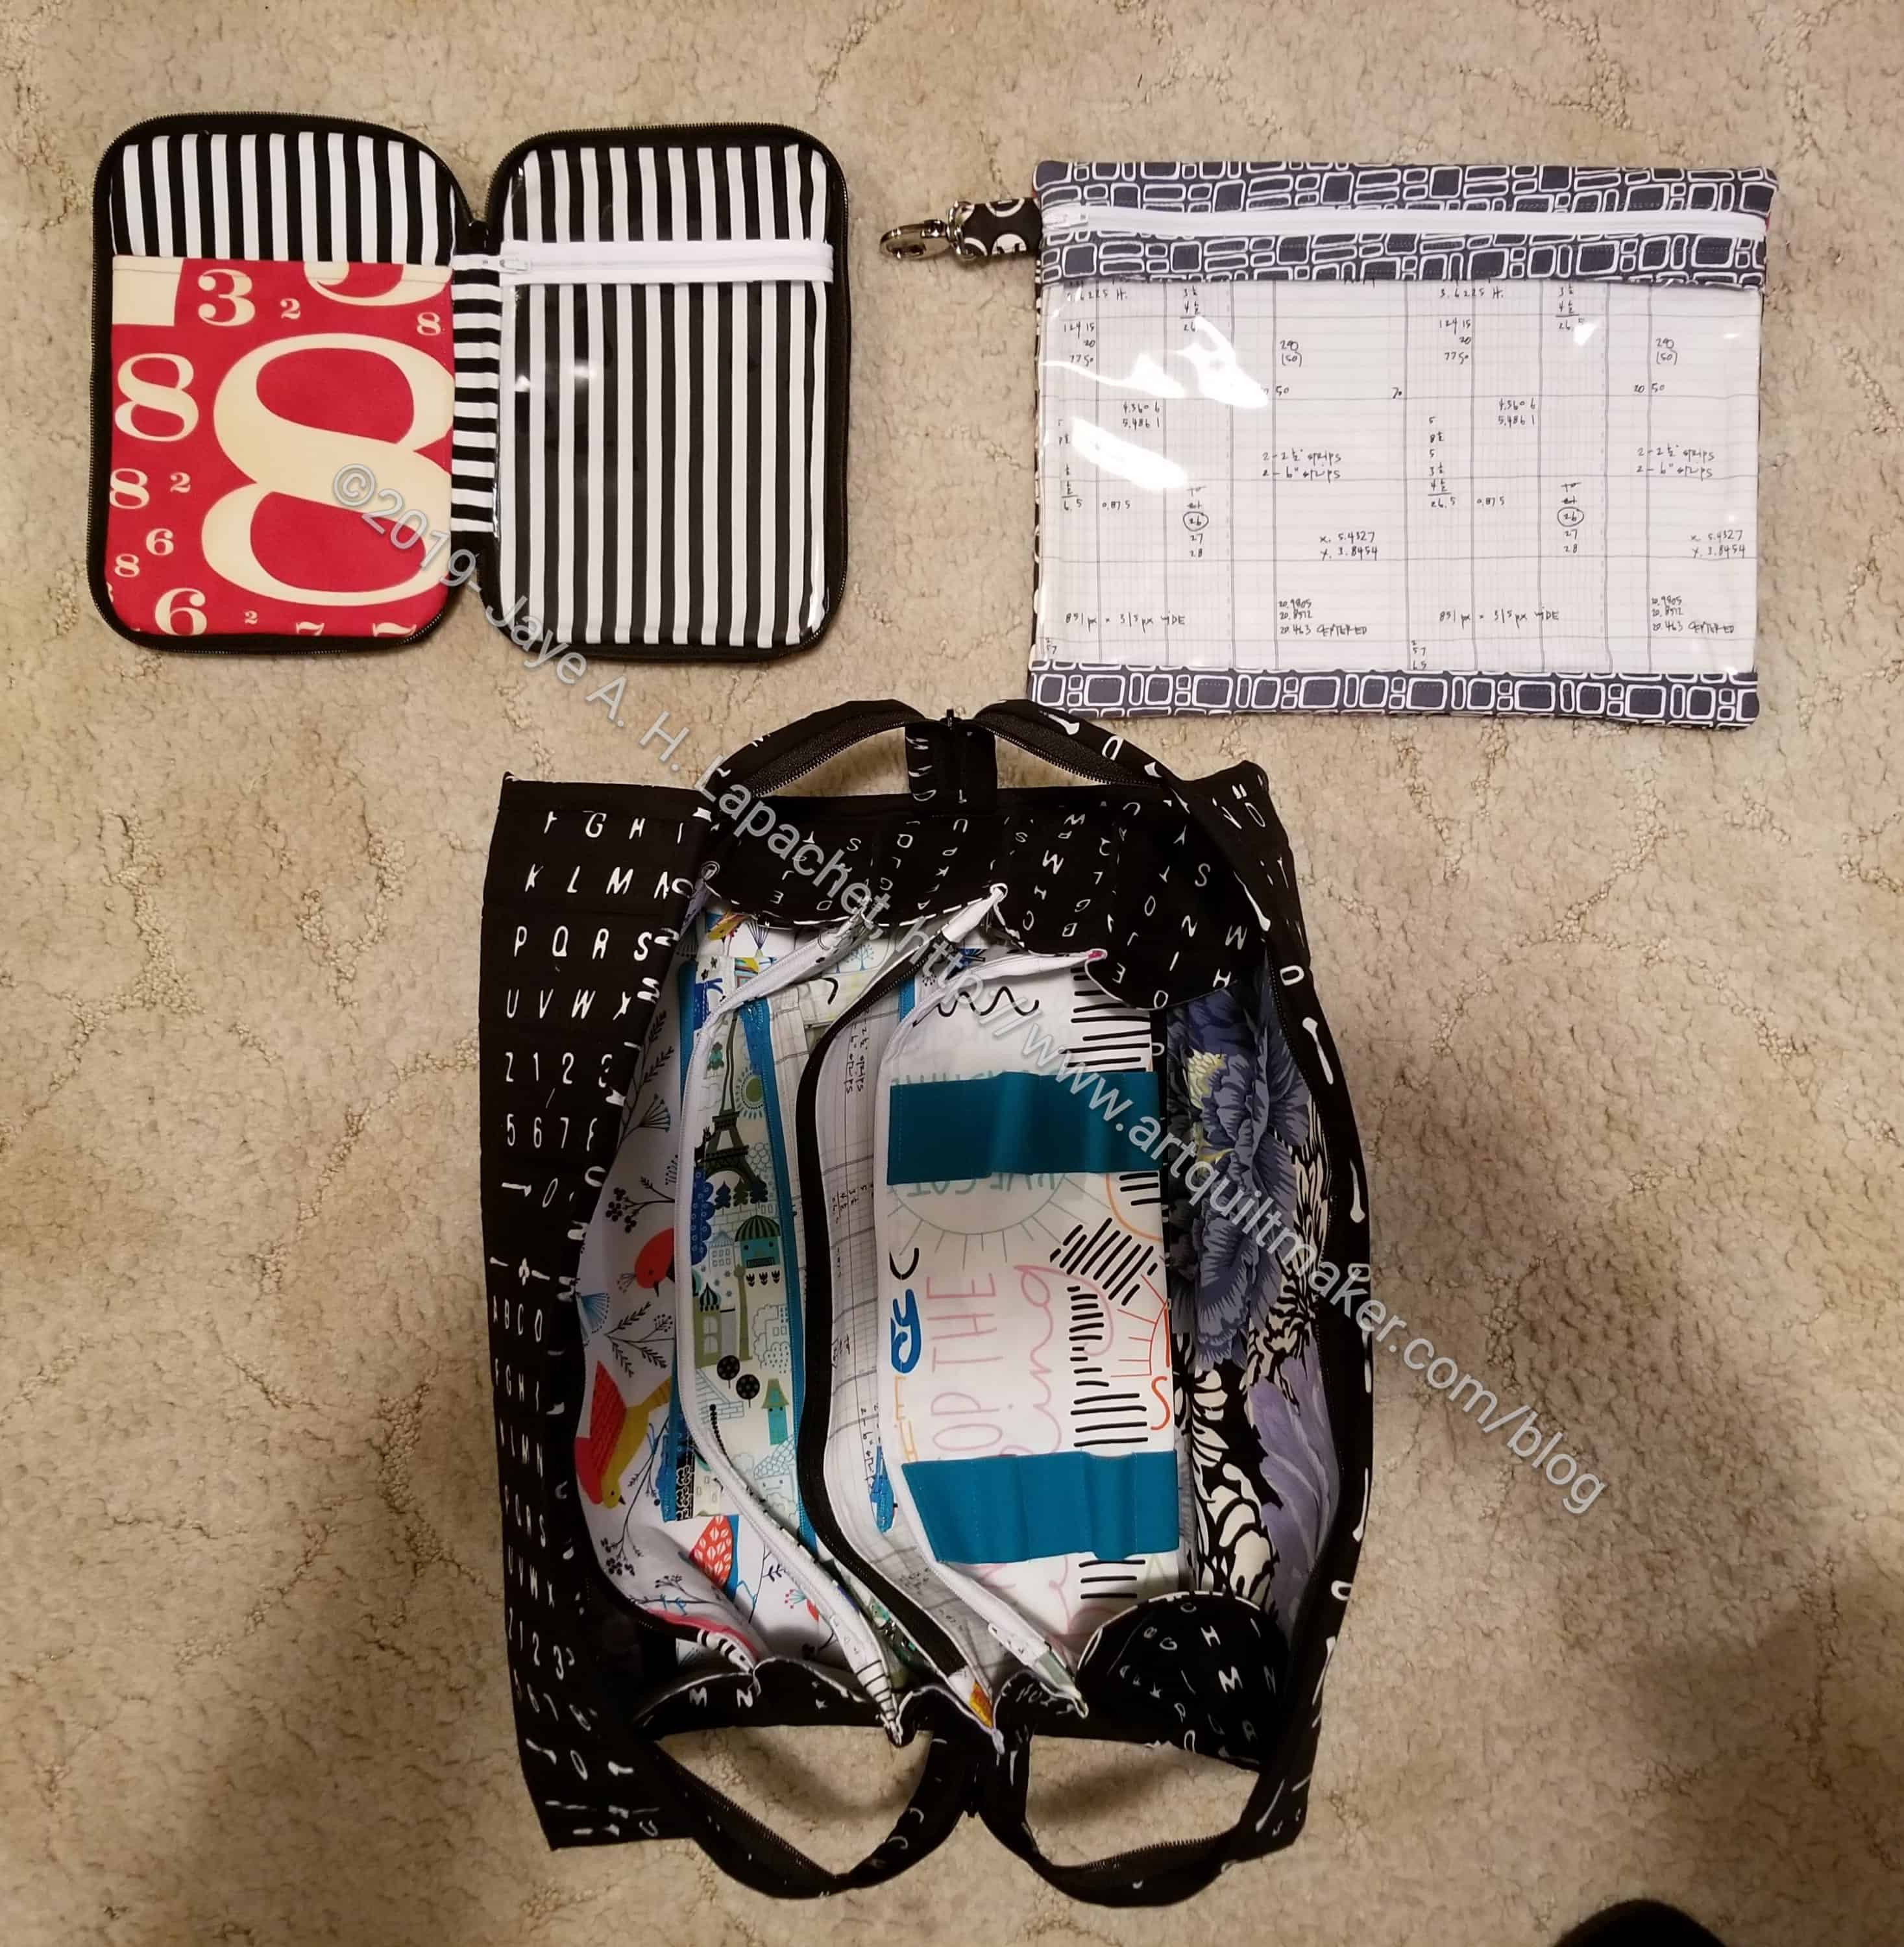
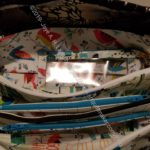
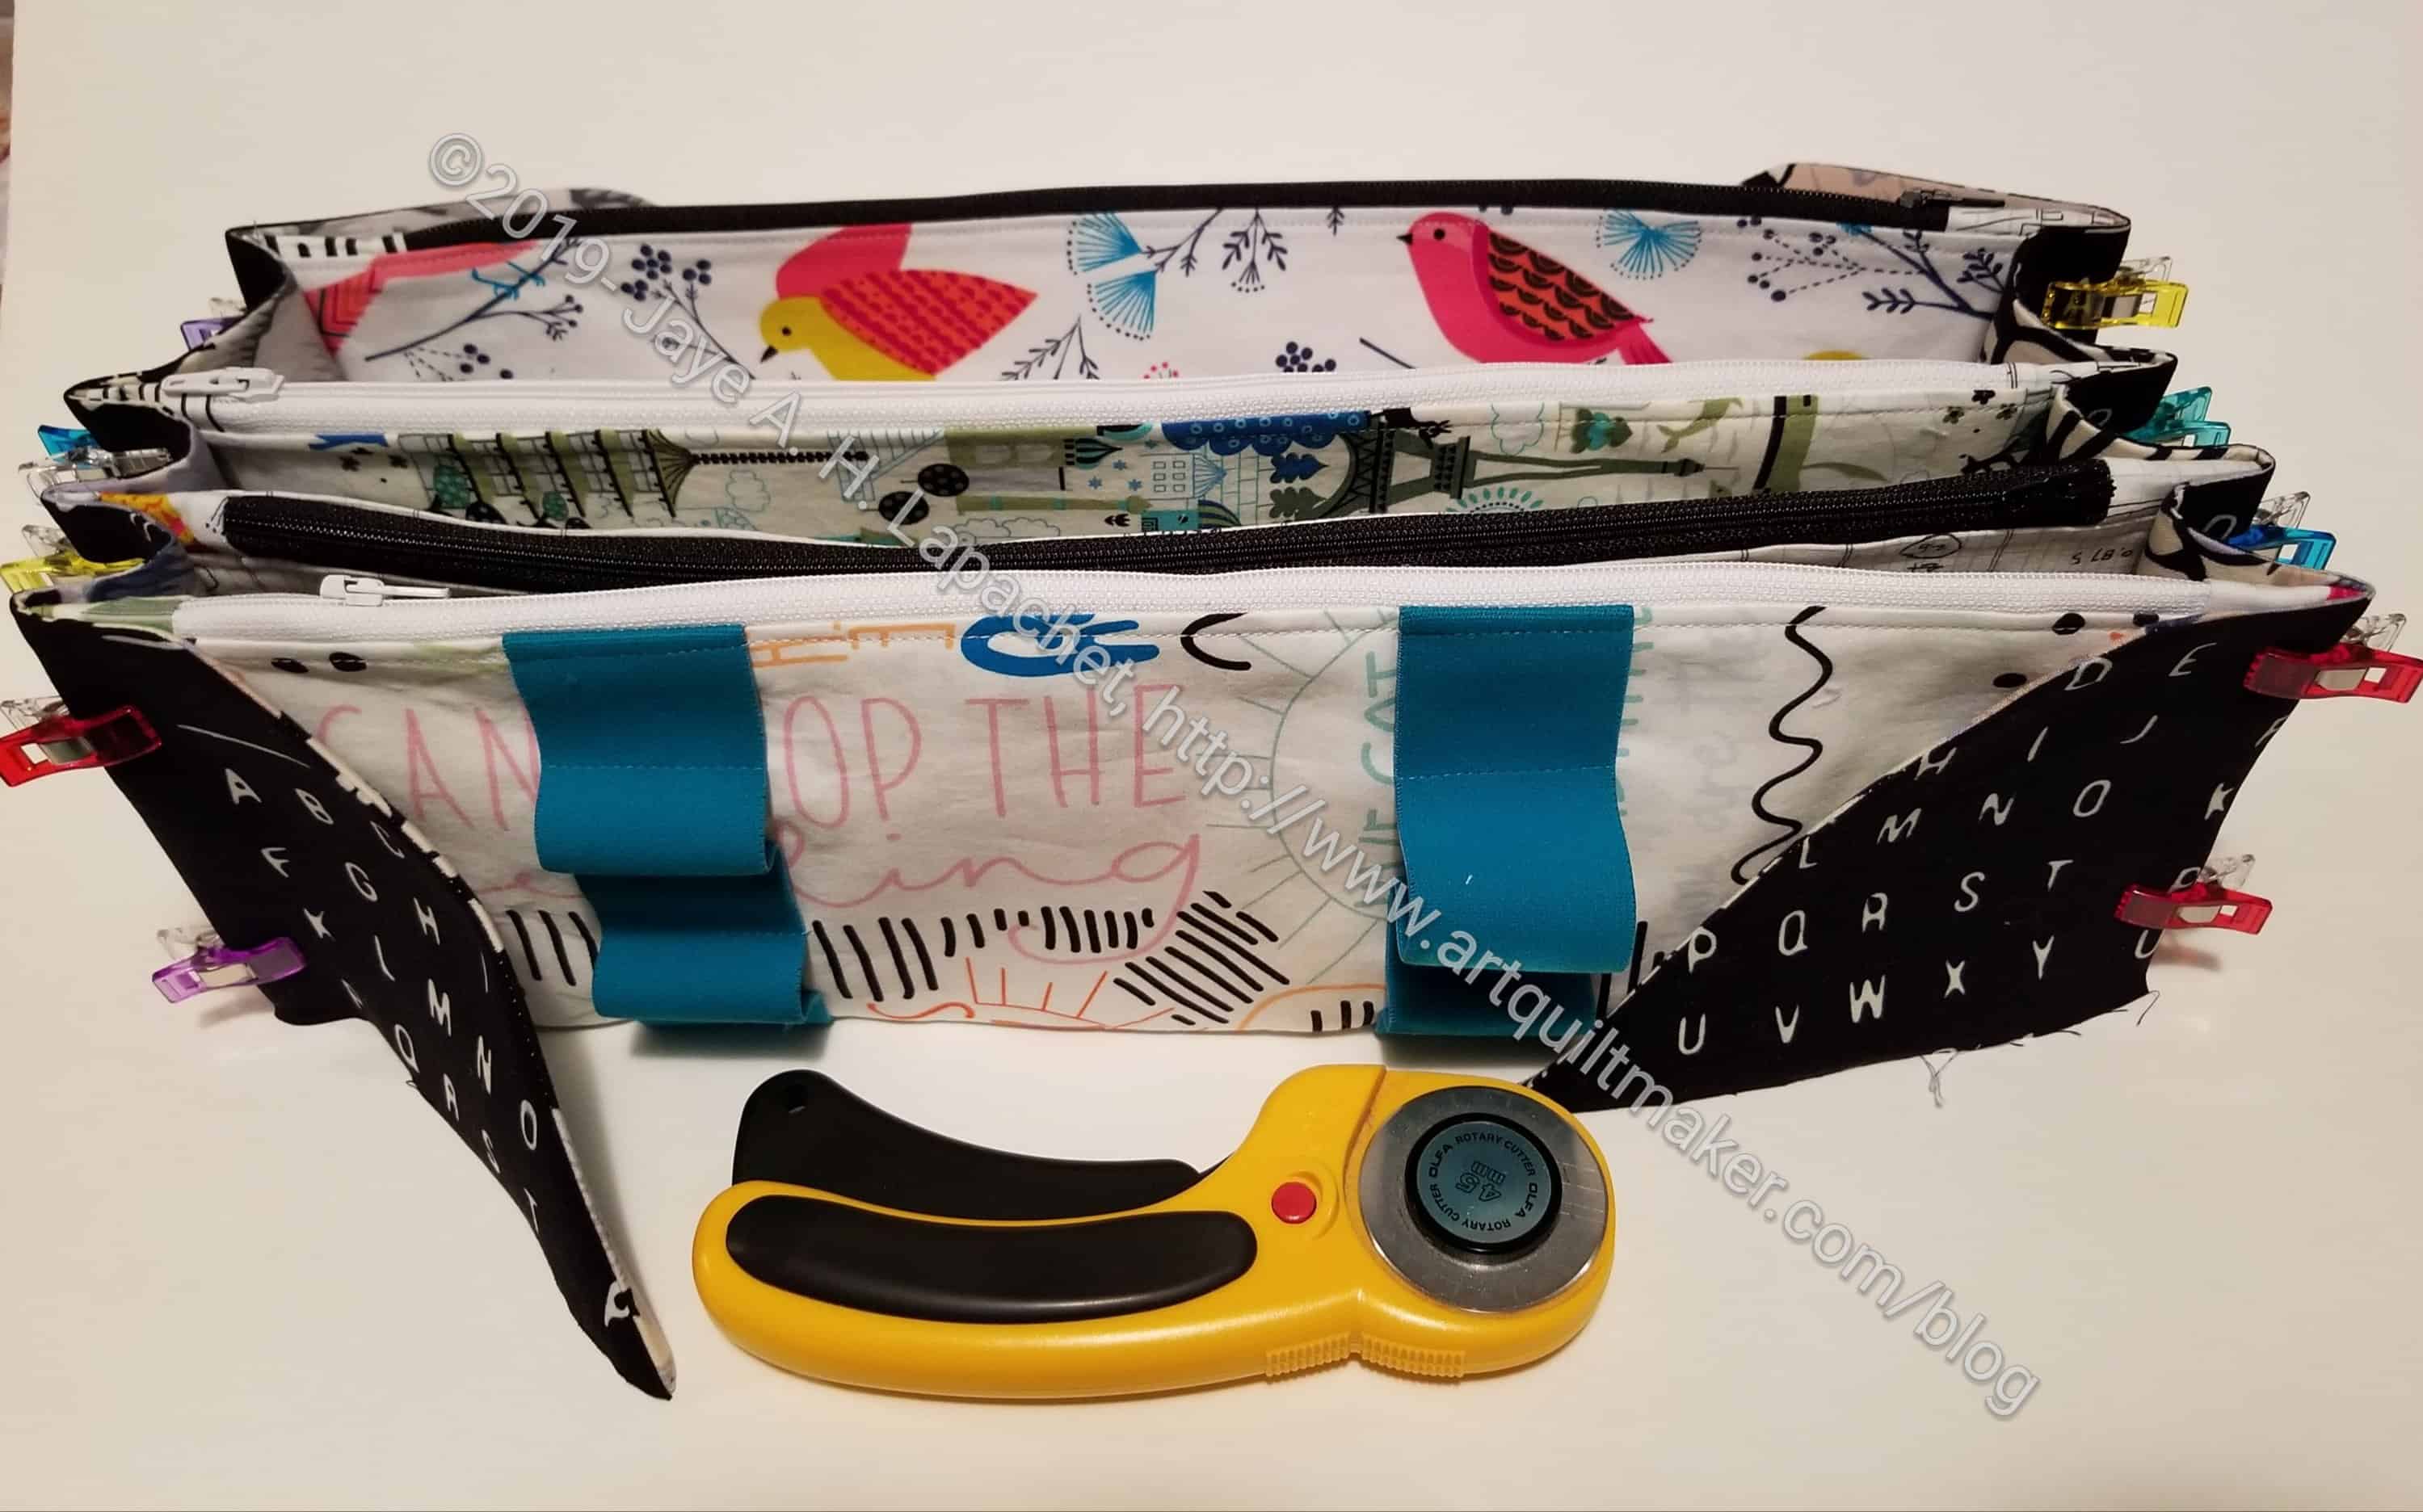
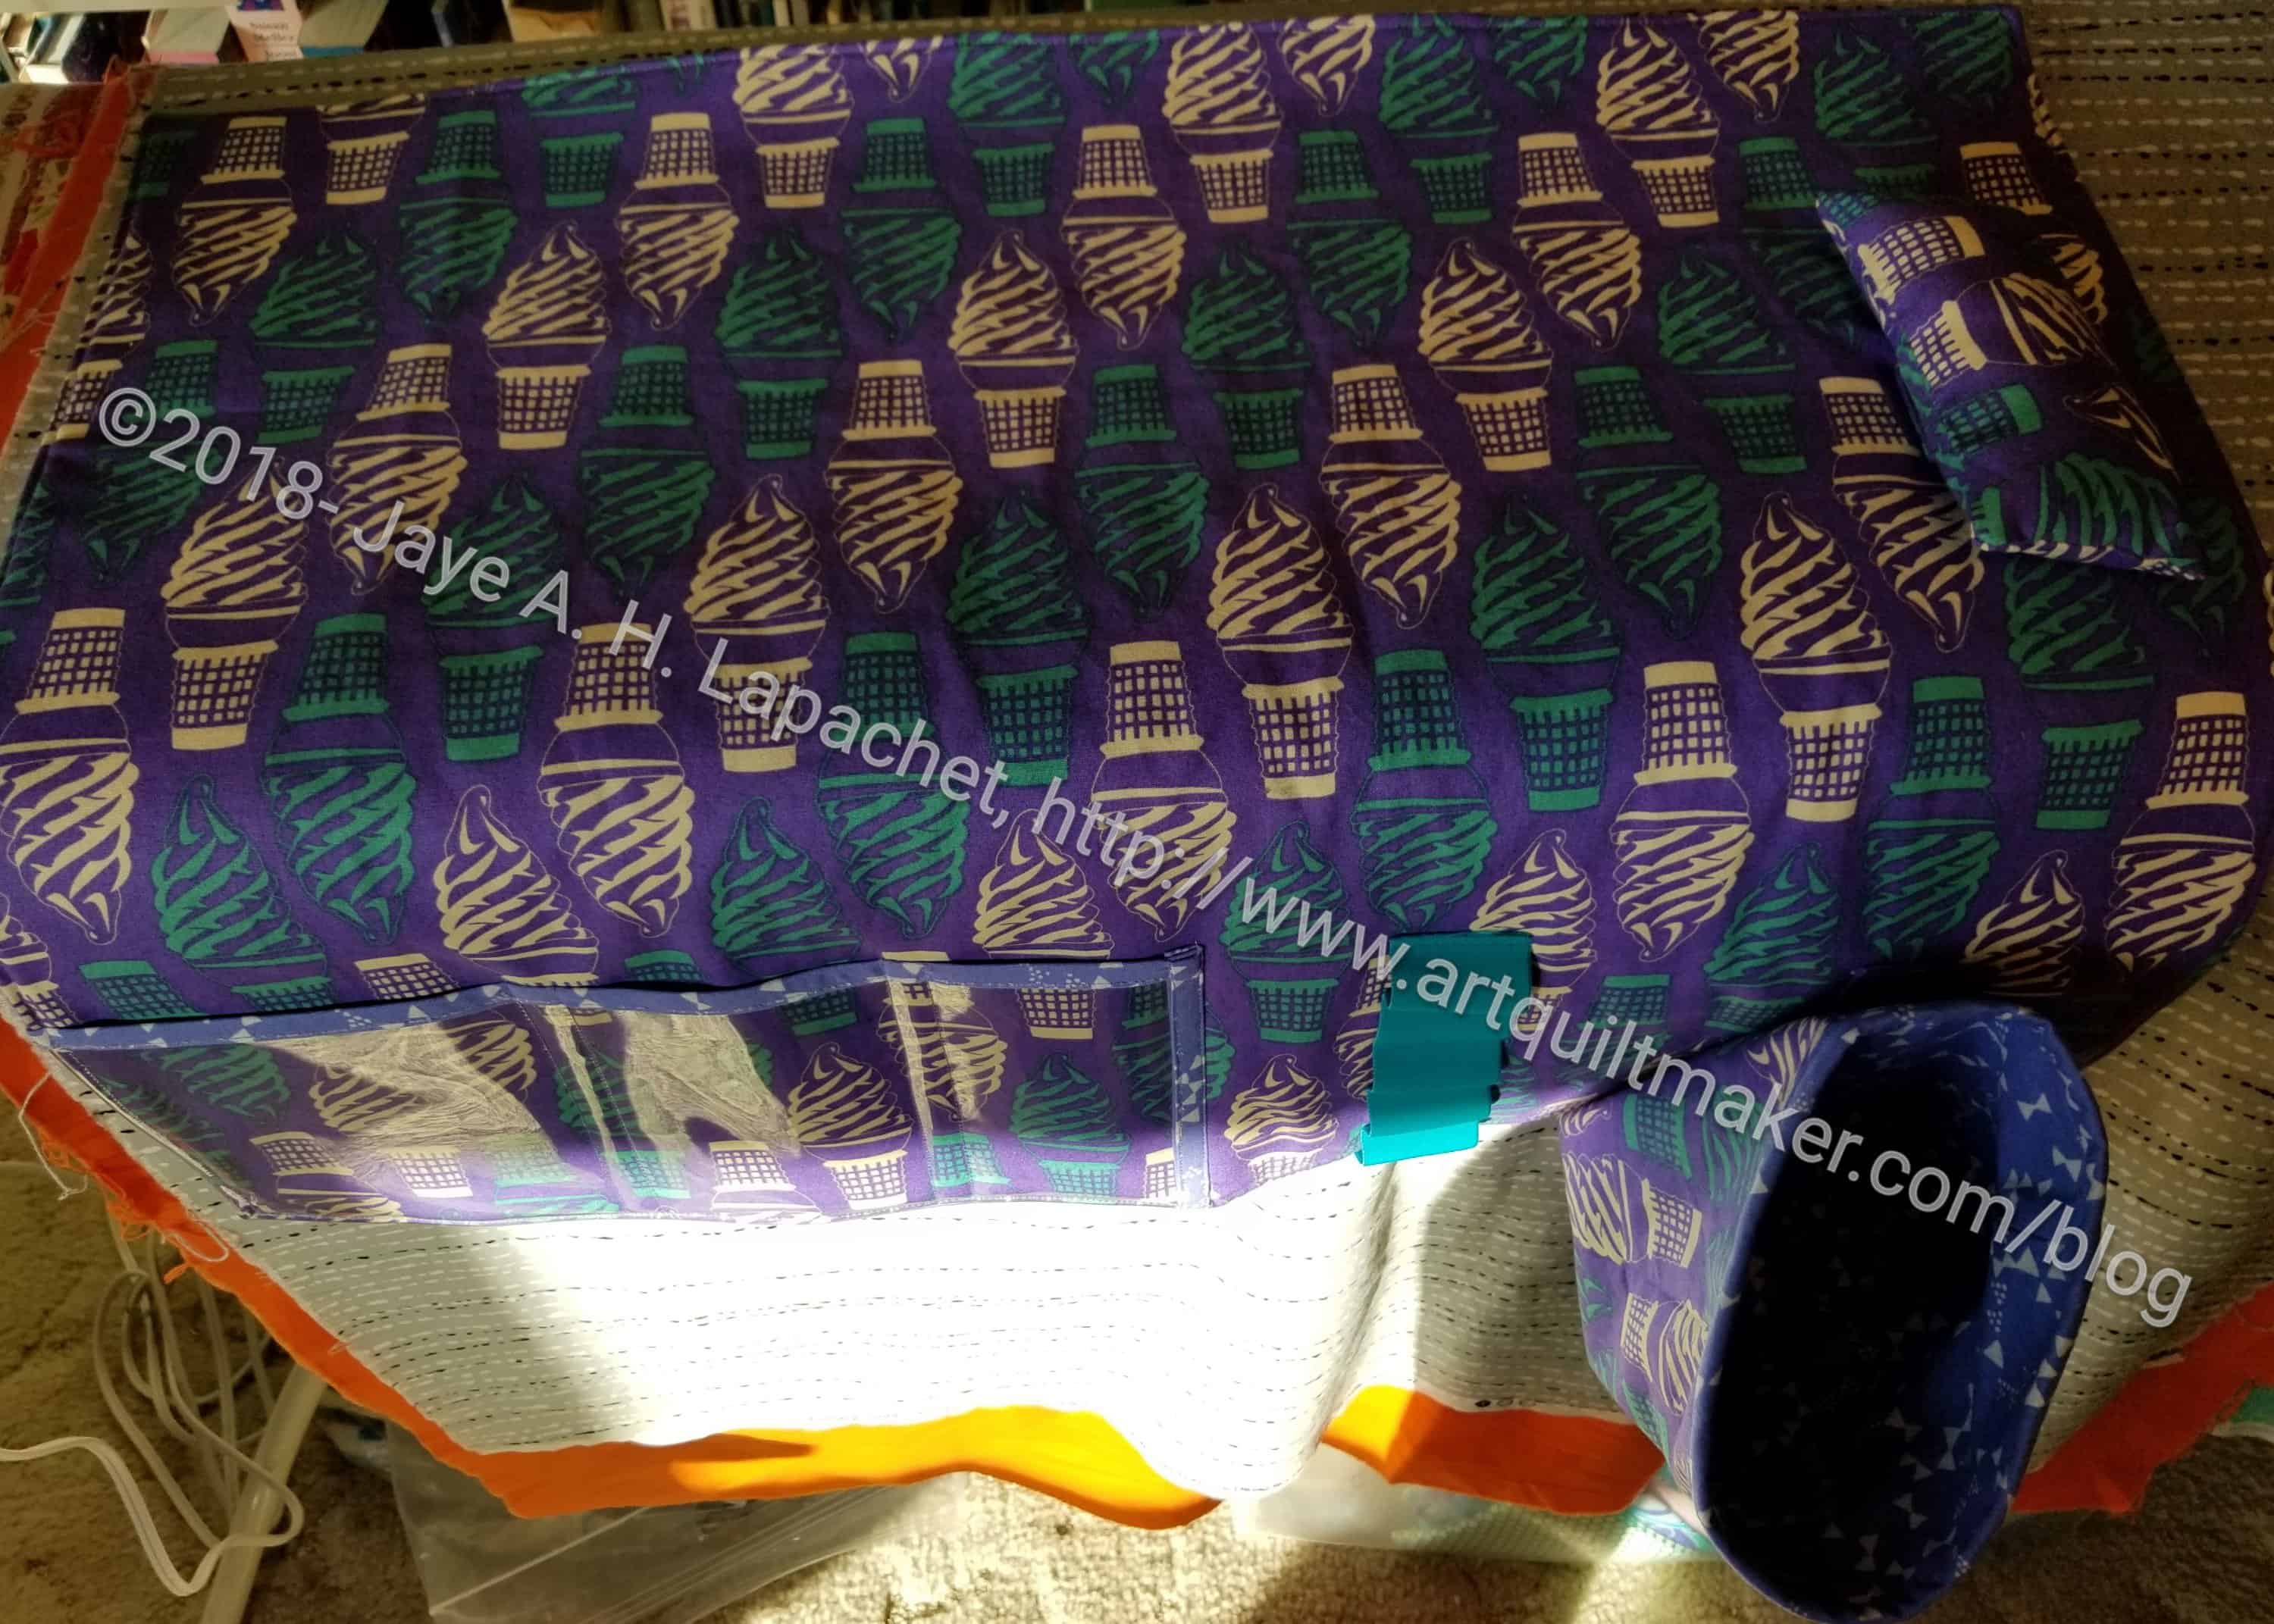
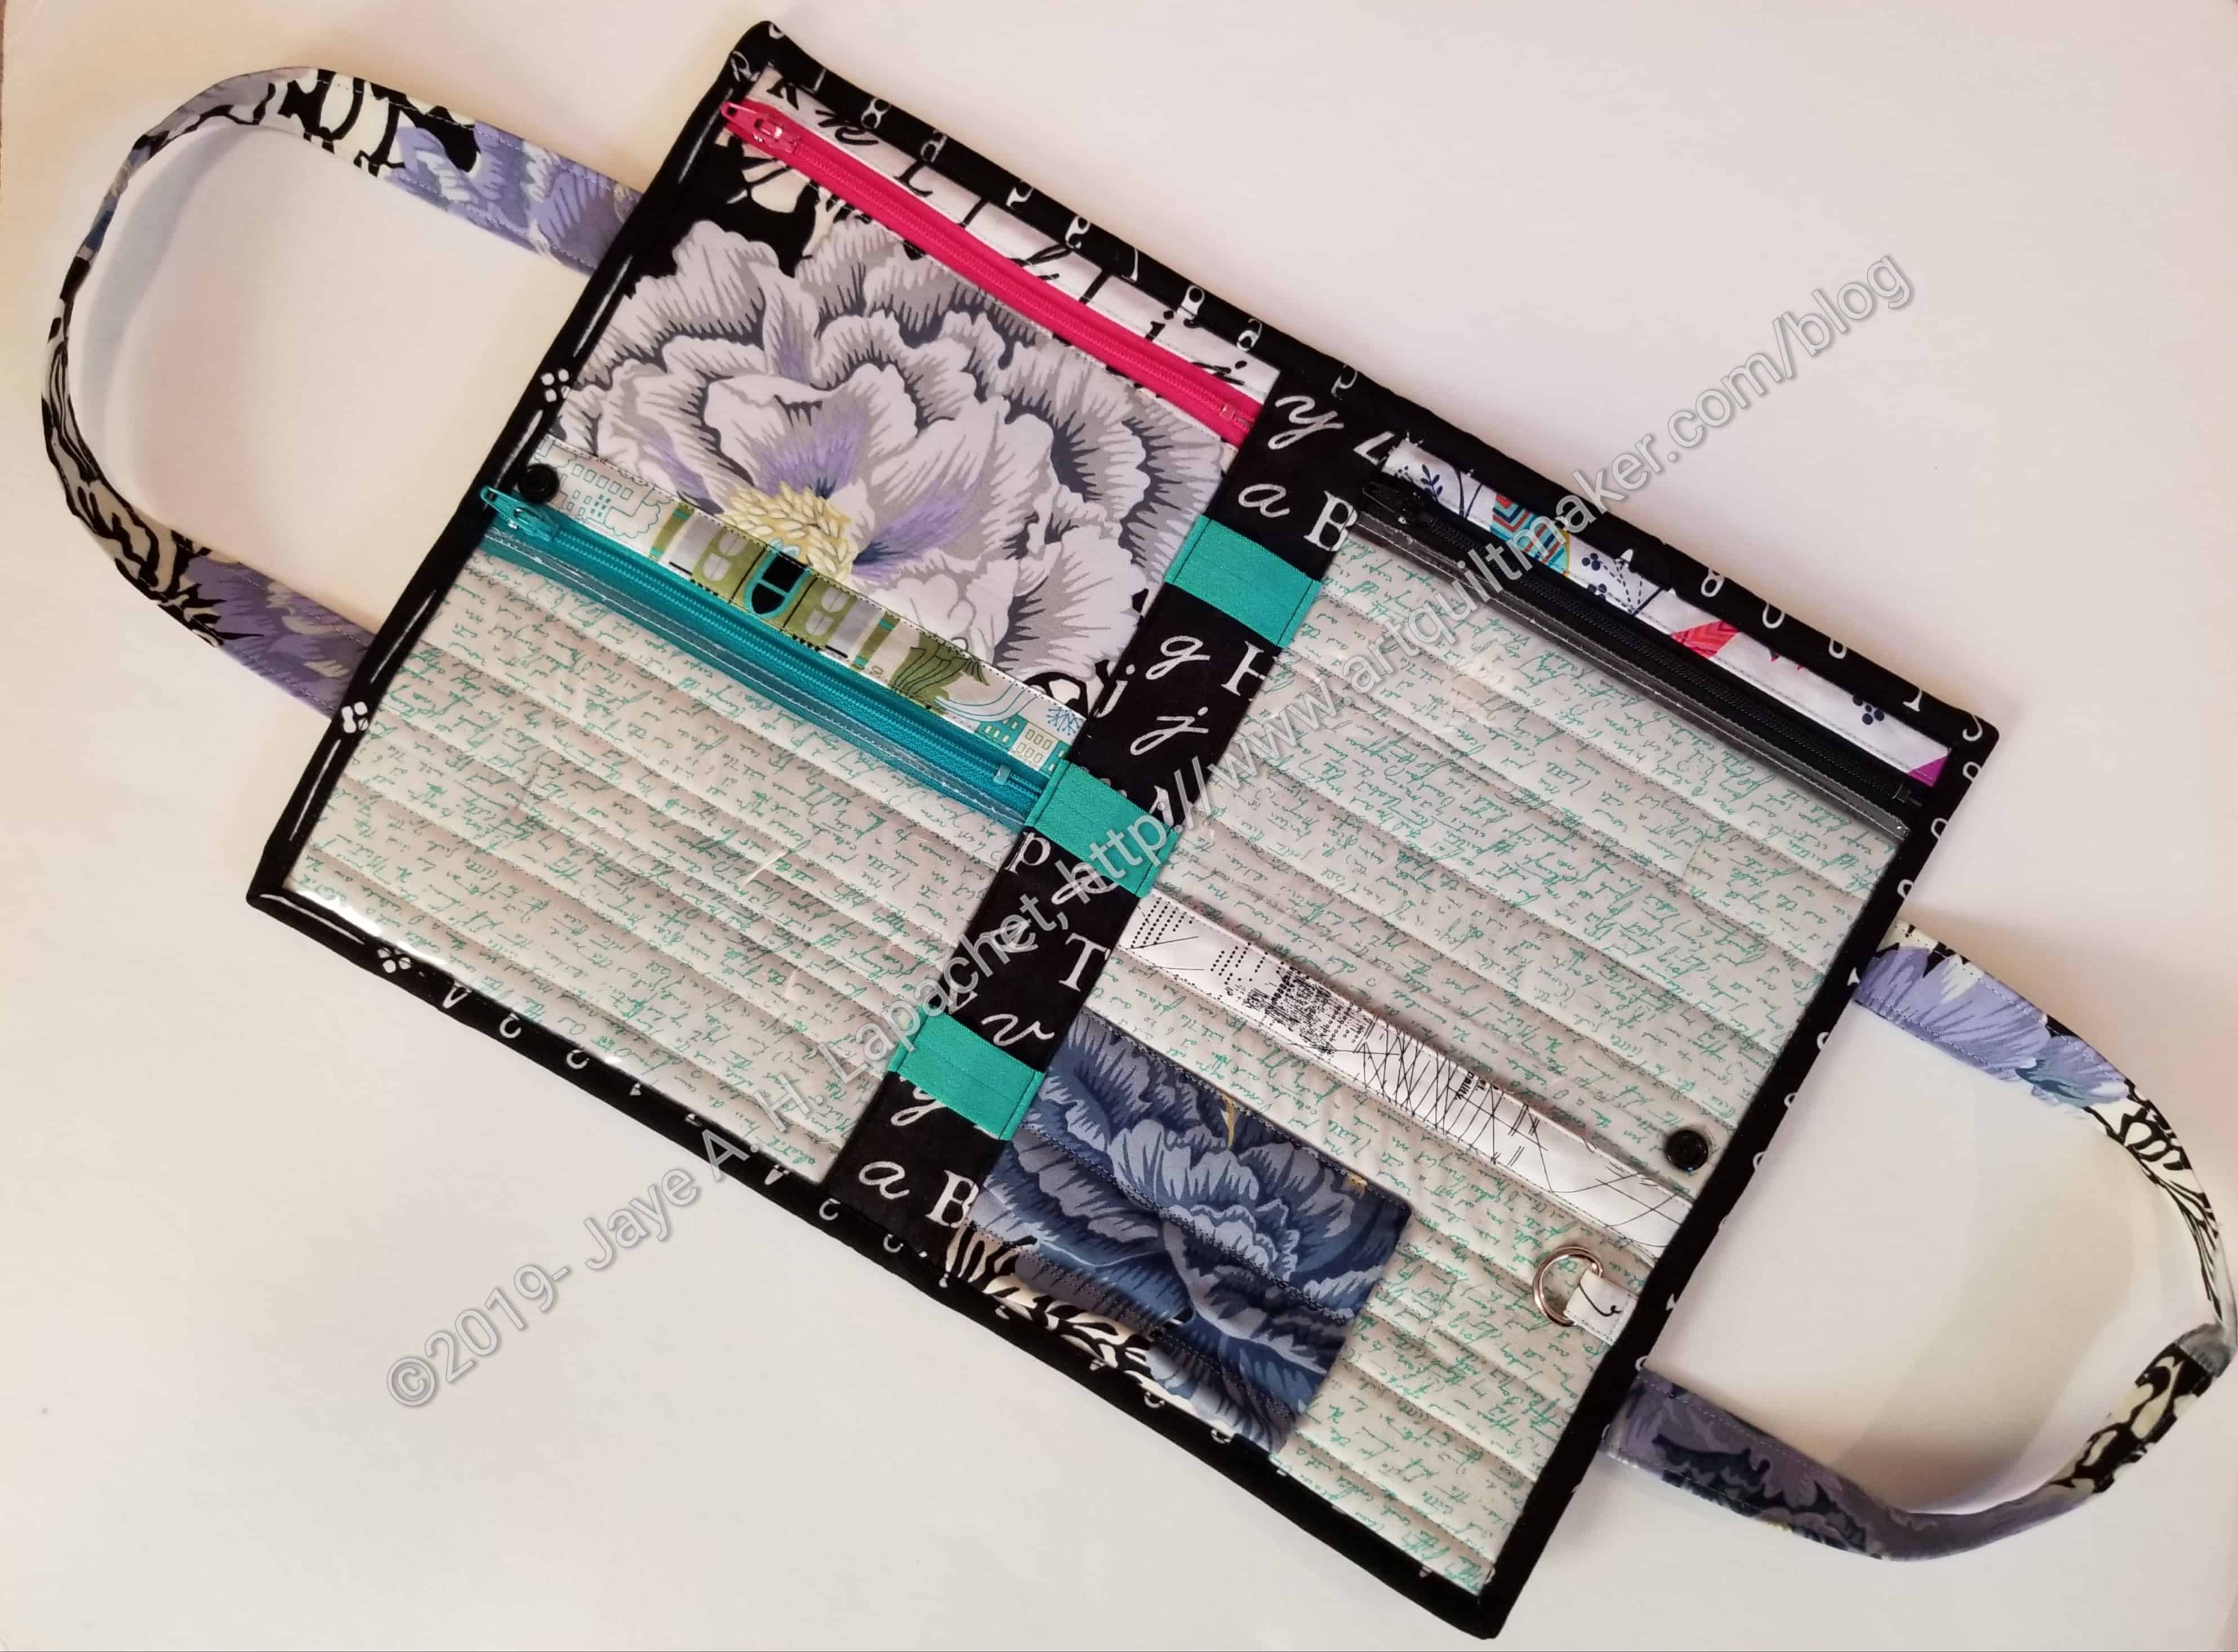
As you can see, my Organizer has 3 pockets and a pencil holder. The pattern talks about making 4, but I used the directions from the Classmates tote to make the pencil carrier instead. I had to add another facing to the vinyl pocket above it. Though, Vanessa’s video didn’t say to do this, I figured it out from how she explained what pieces were covering others to finish them. I had an extra zipper facing, so I was all set.
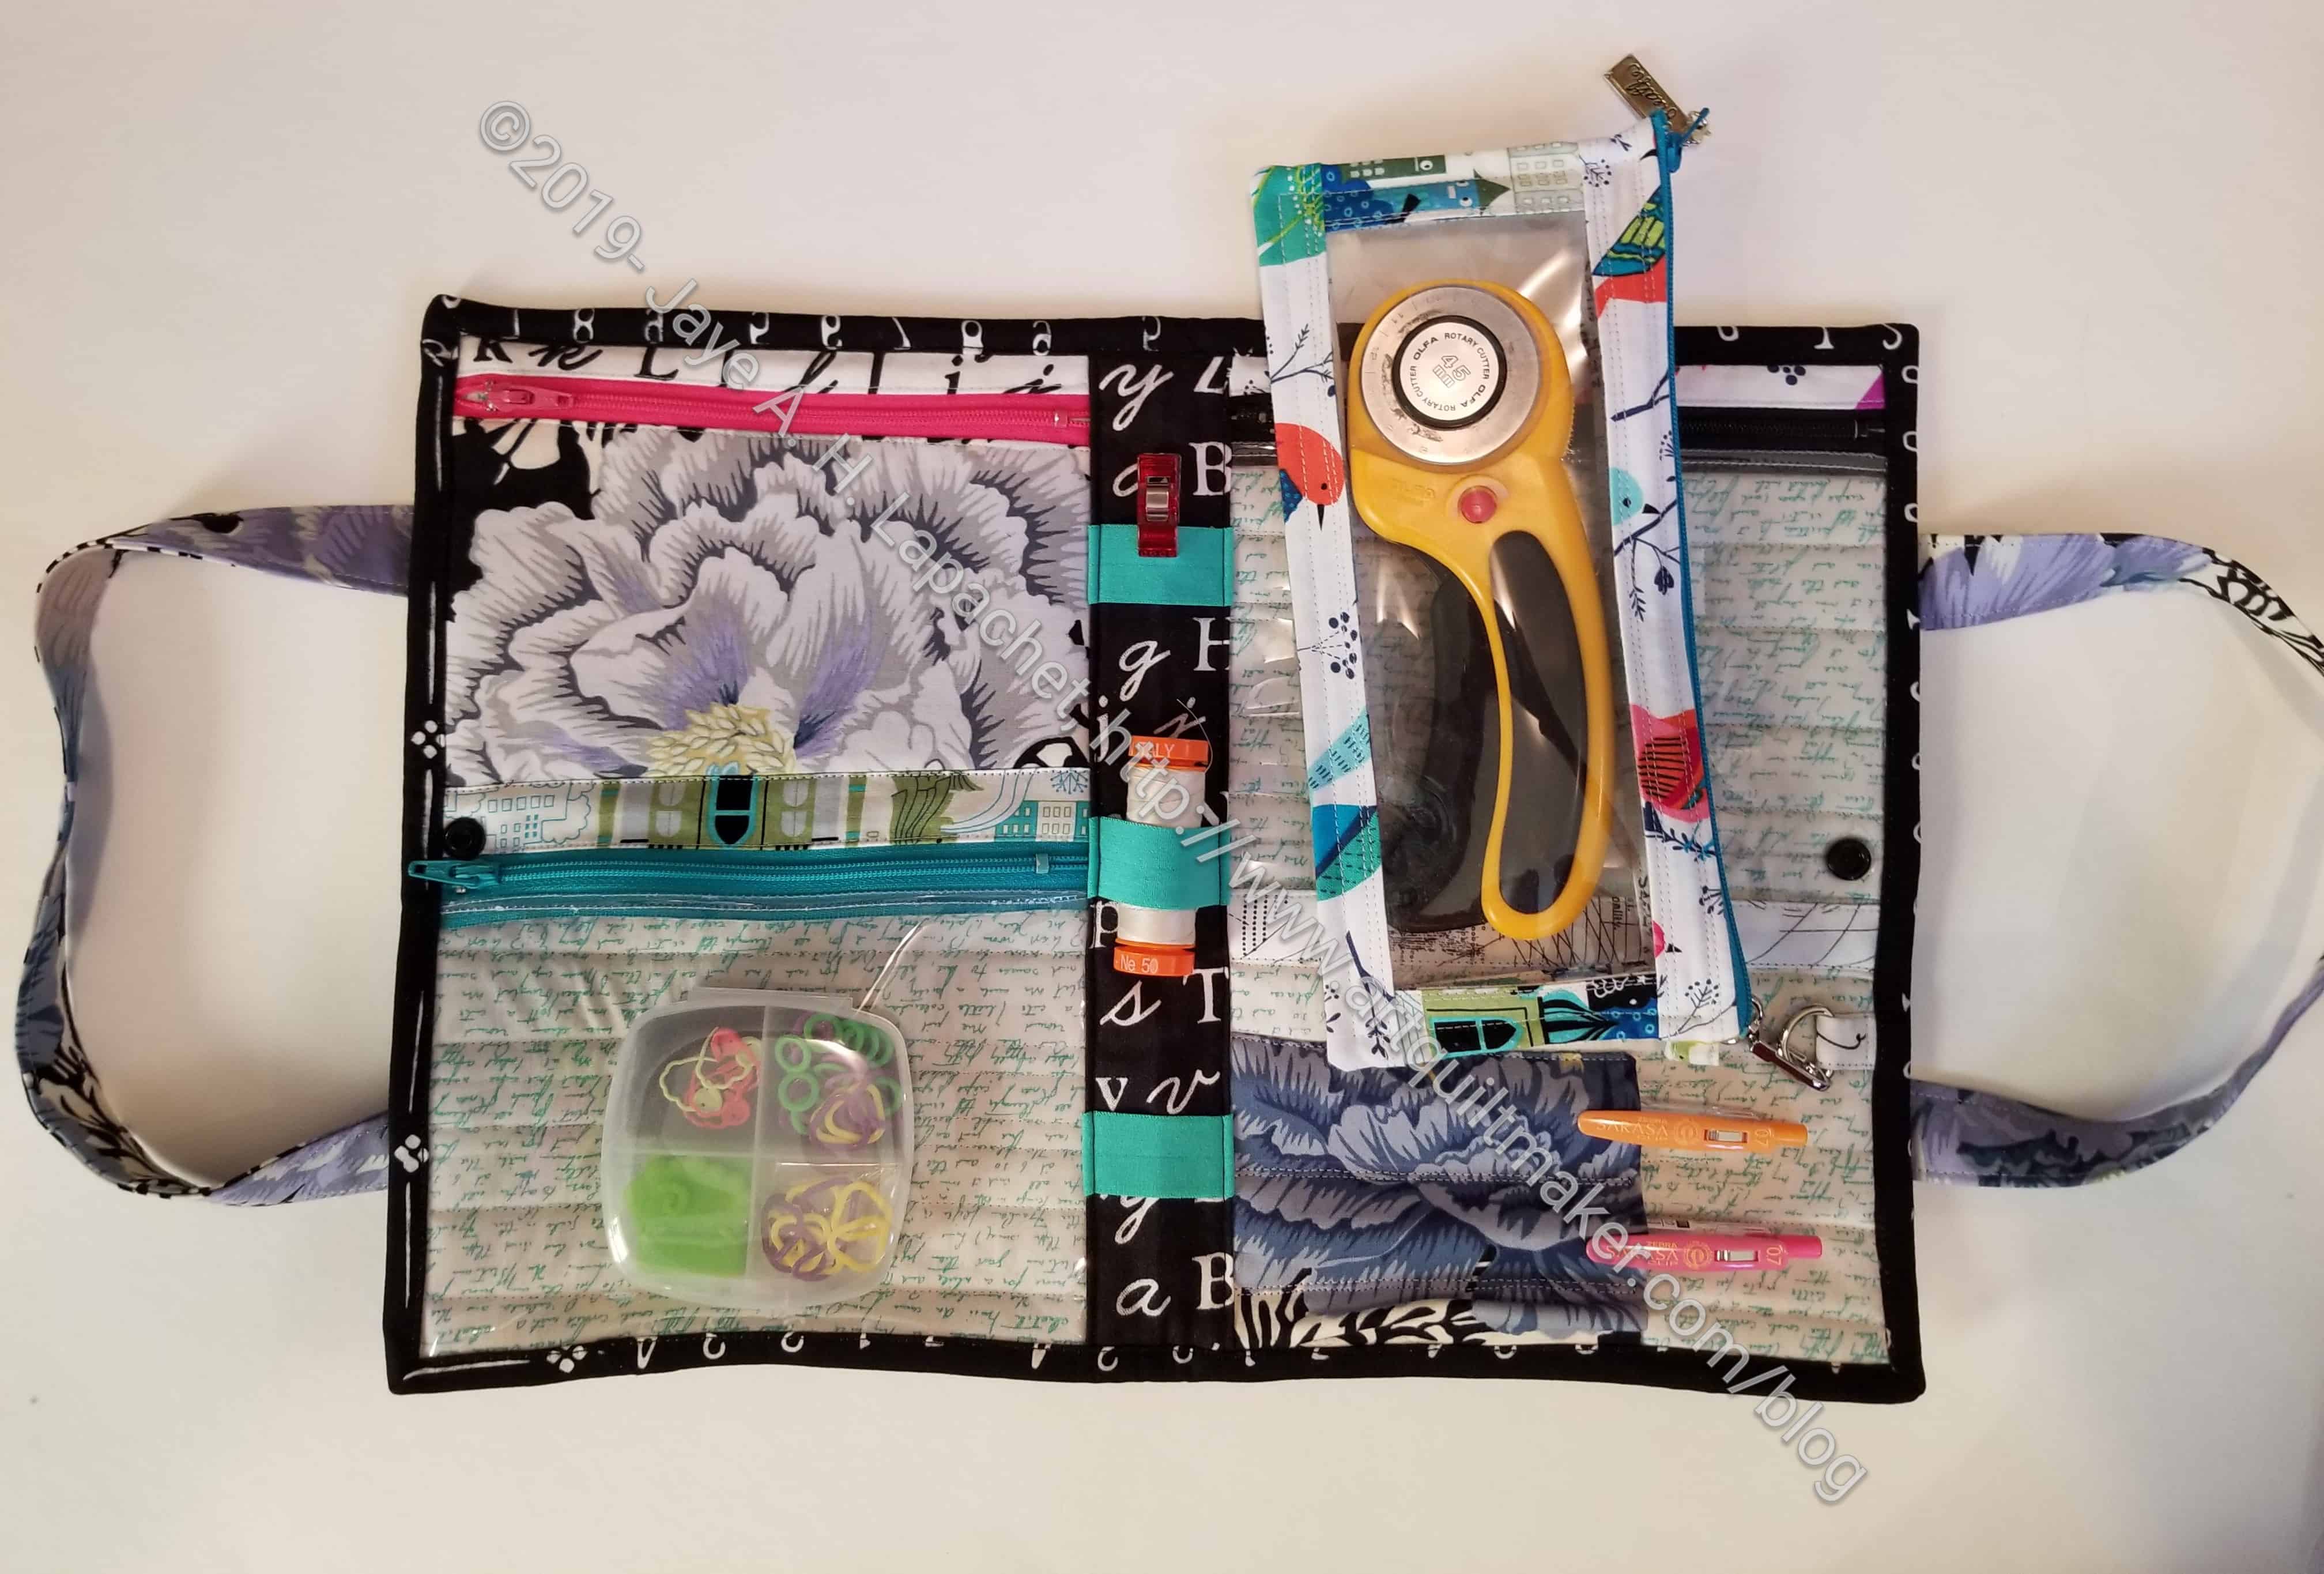
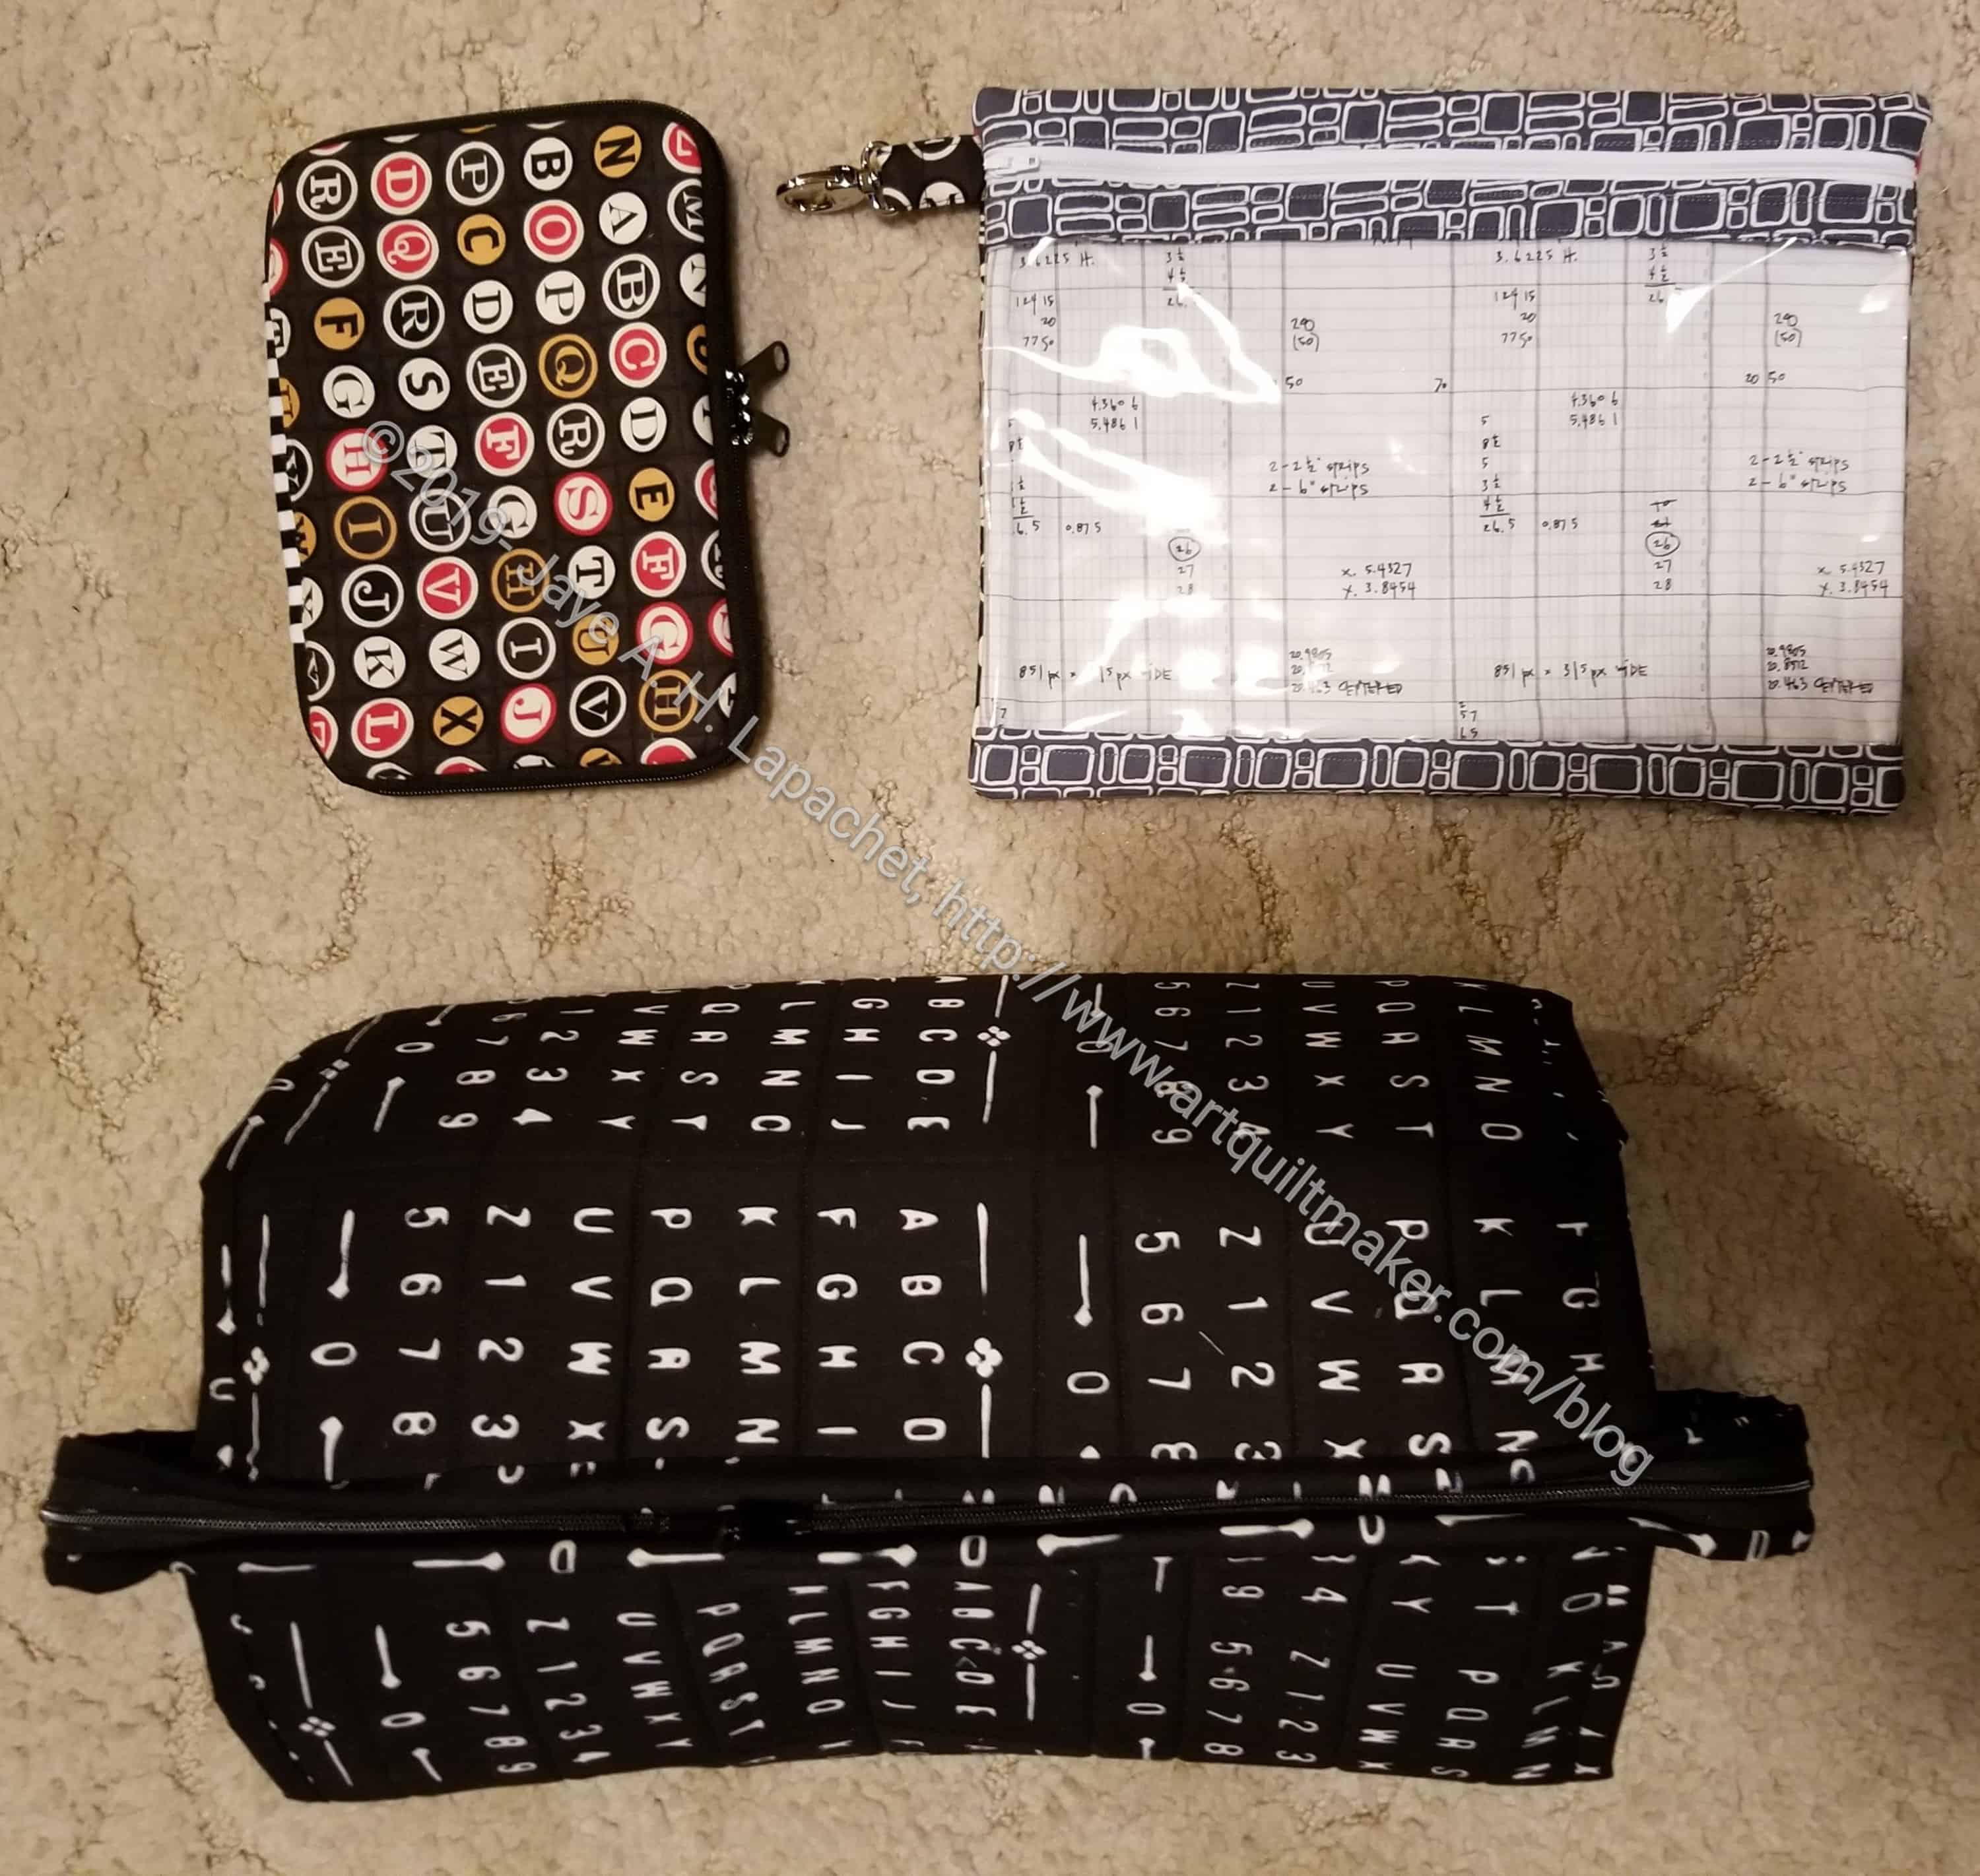
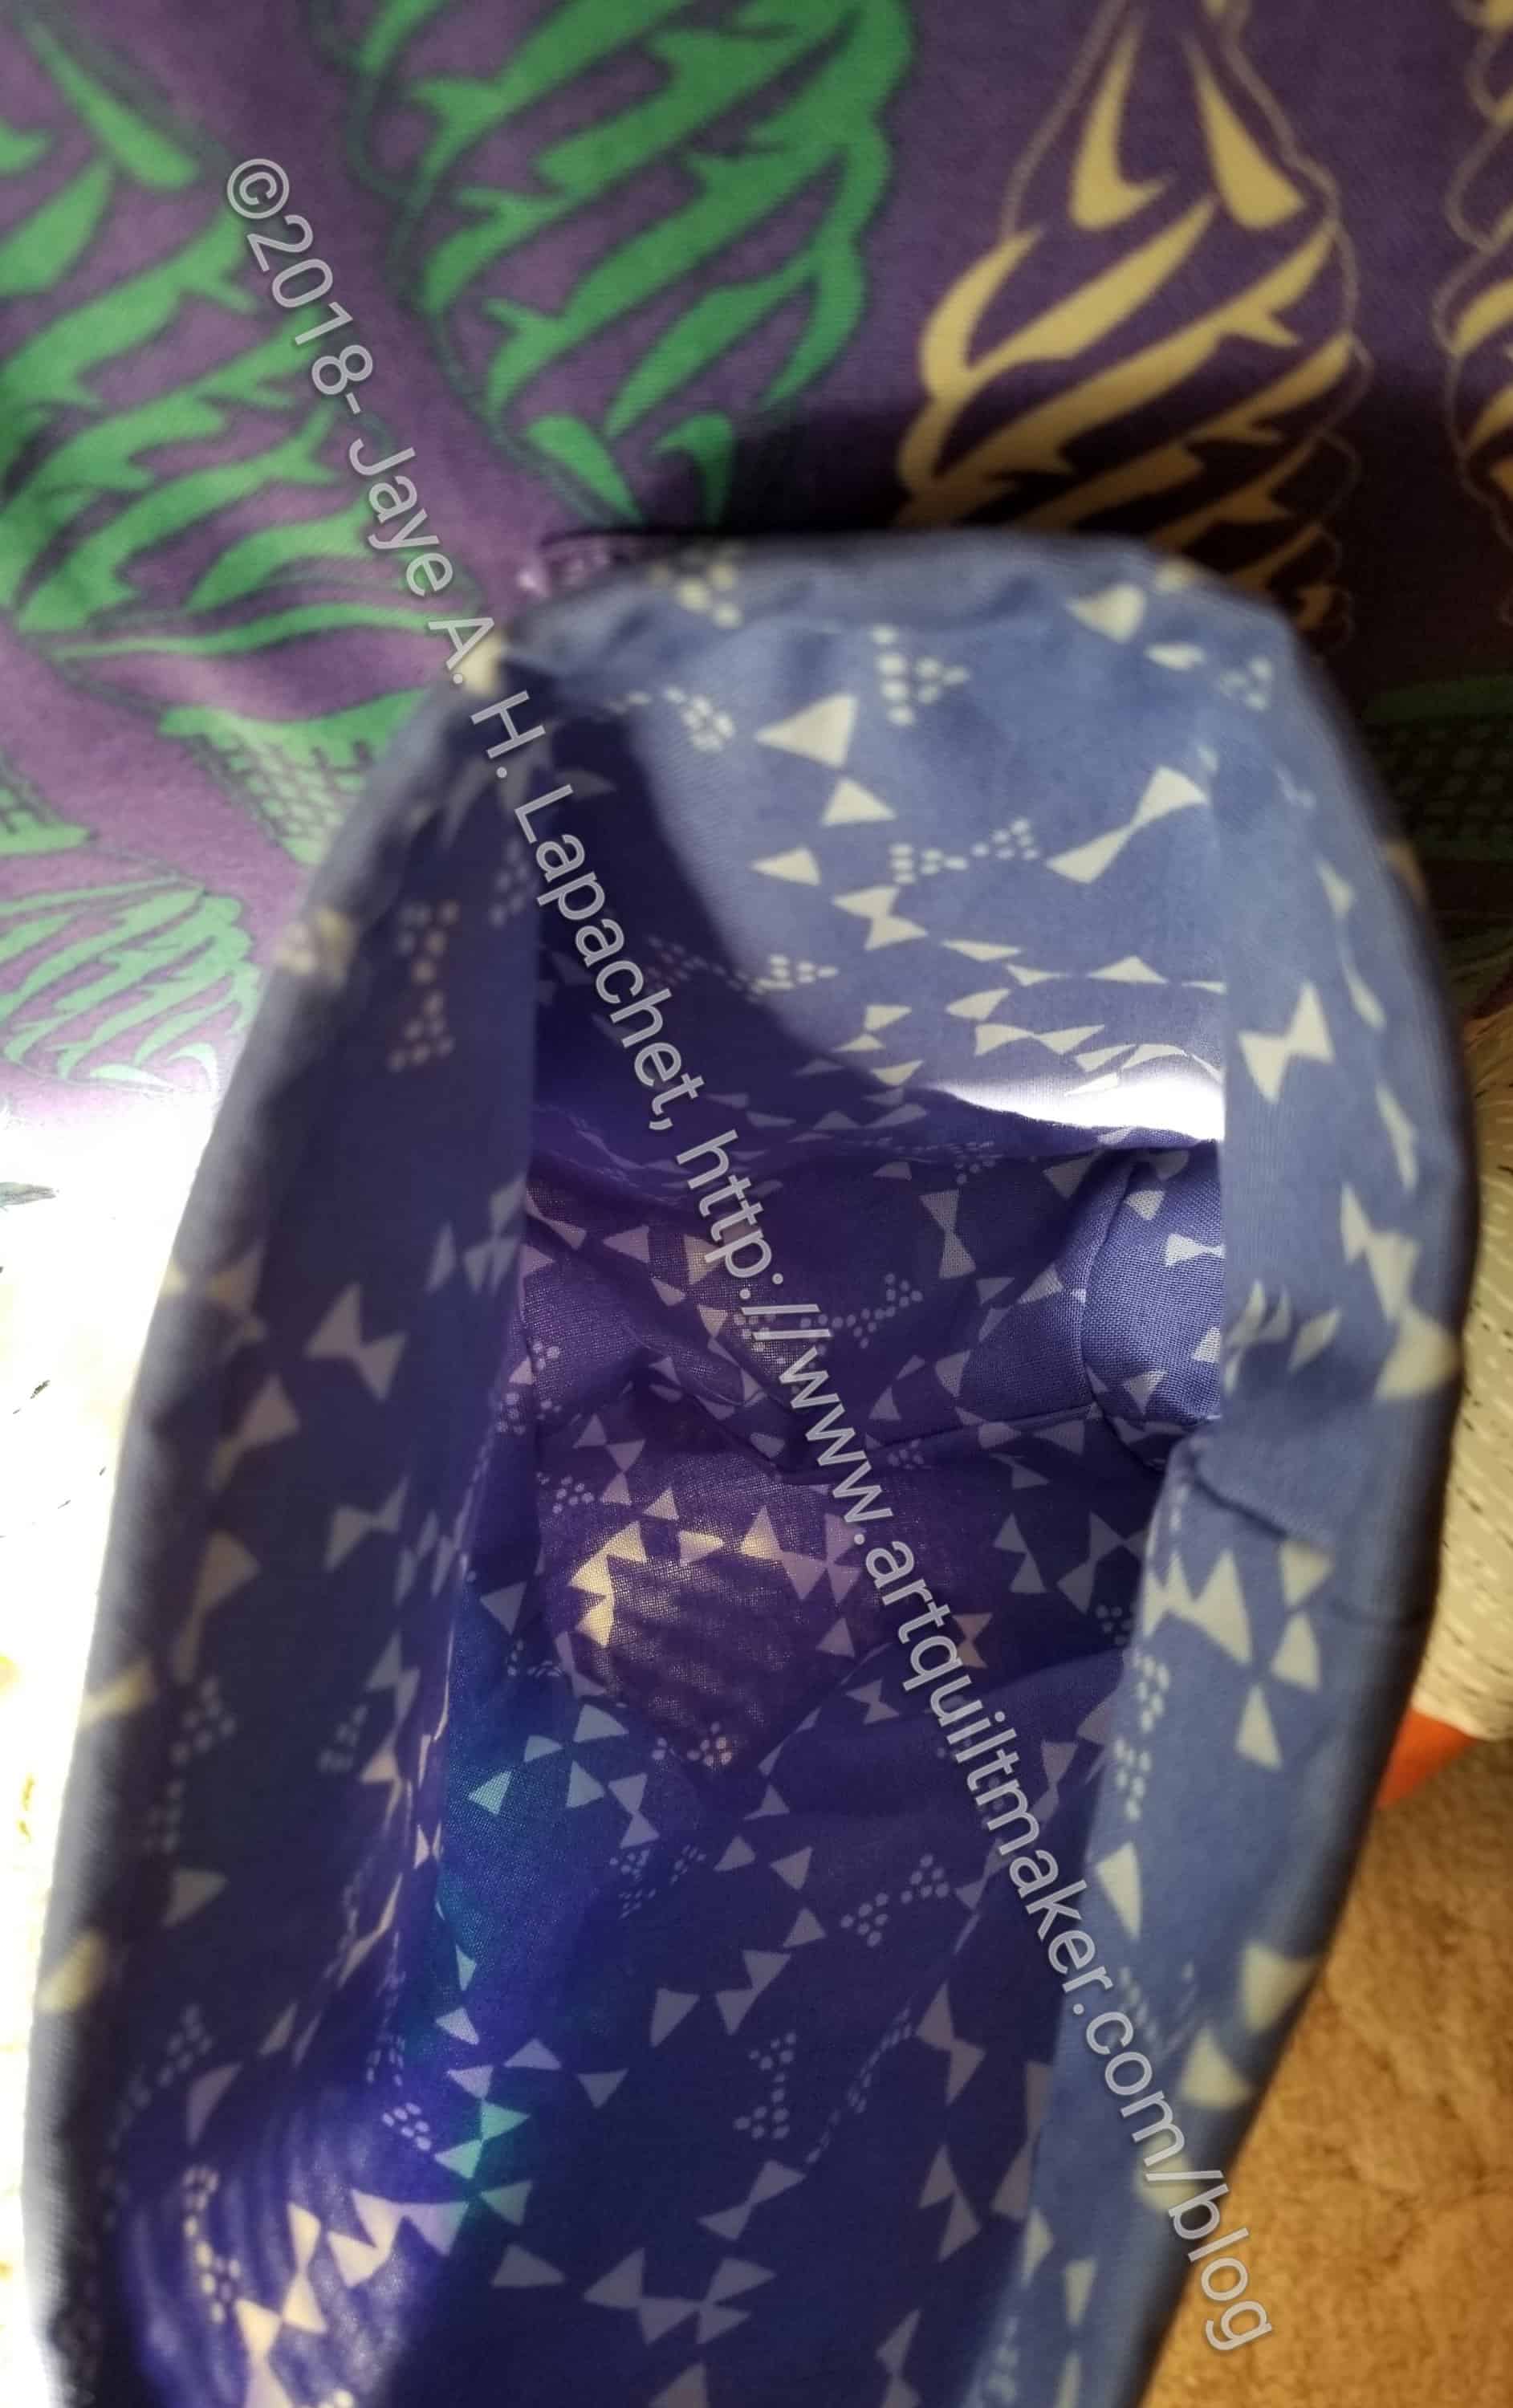
While I was taking photos, I decided to try out the D-Ring. I grabbed one of the vinyl pouches I made for the All Rolled Up tote and clipped it on to the 4 Zip Organizer. I filled it a little too much for this bag, but it will work.
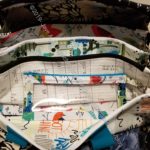
I didn’t want to put any fabric pockets in this bag, but somehow the bit of vinyl I had left disappeared after the Retreat, so I made one fabric pocket. I fussy cut the flower and think it looks nice.

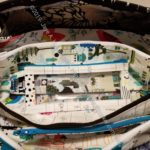
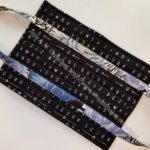
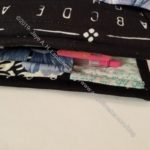
After watching Vanessa’s video about snaps, I was shocked when I opened the KamSnaps supply bag. The device that secures the snaps was included! I knew I bought some snaps, but was convinced I had forgotten the device. It took me a few tries and some wasted snaps, but I finally was able to install the snap closure.

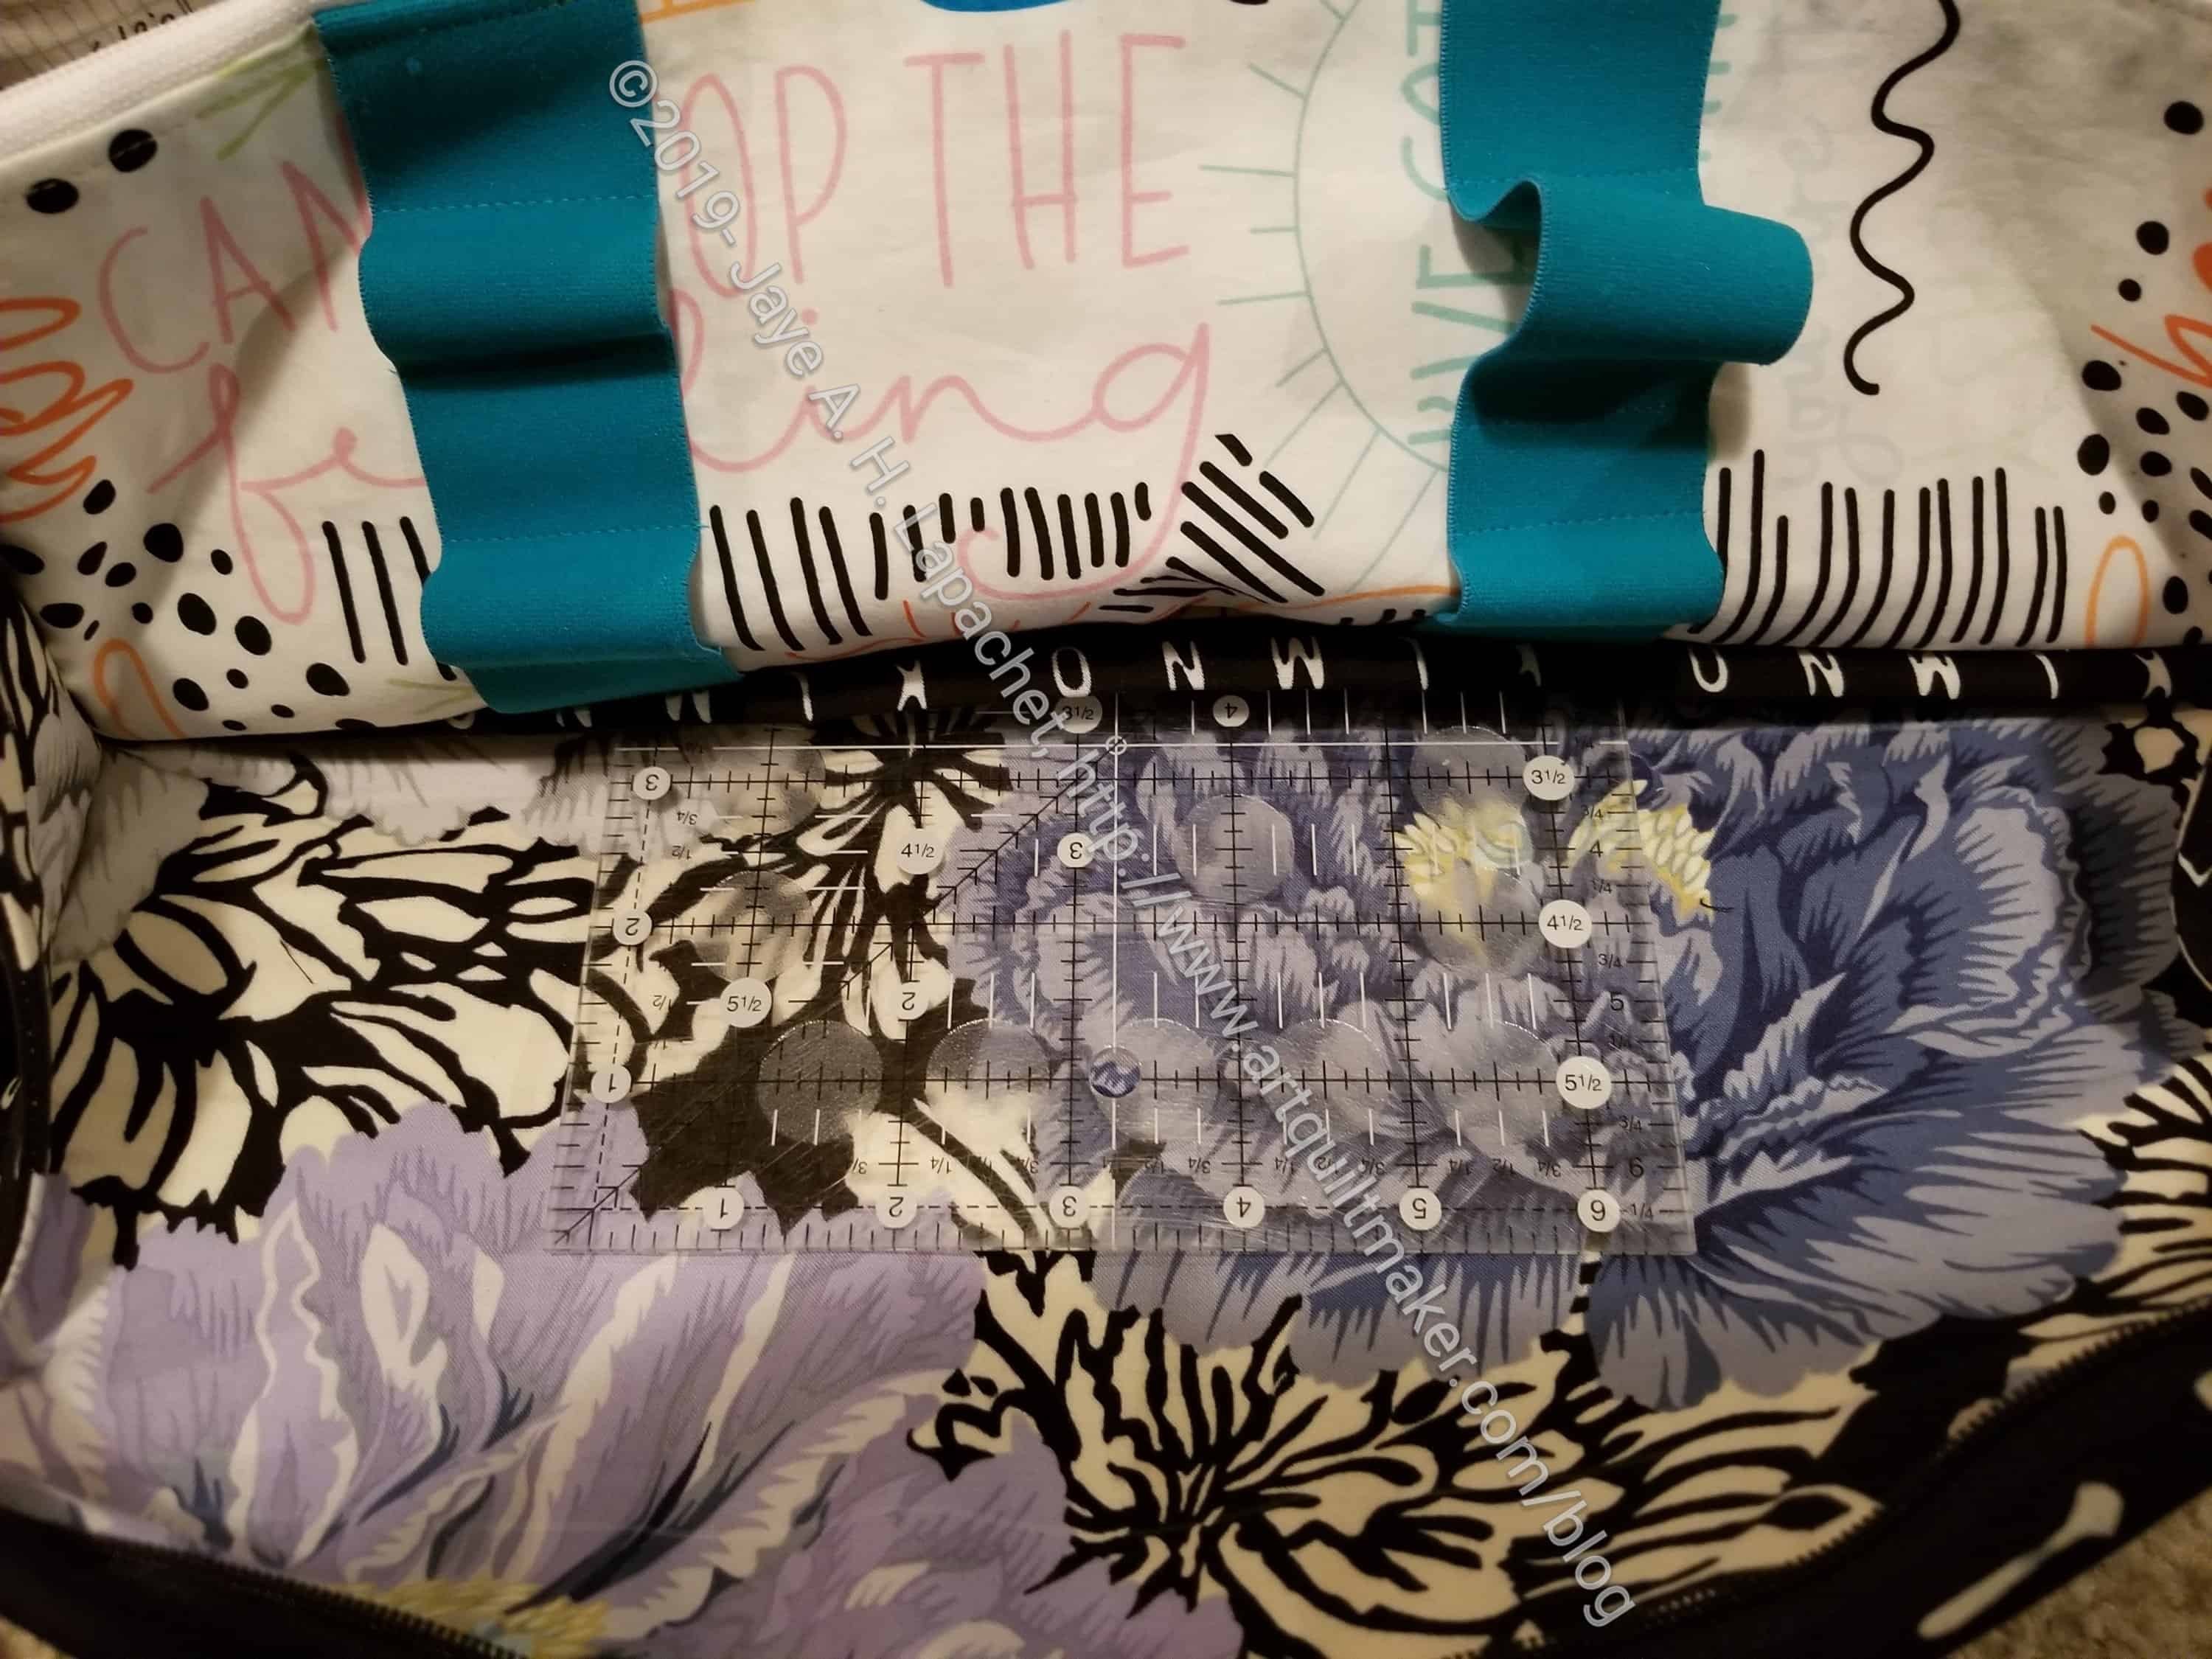
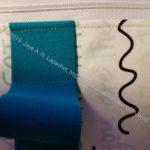
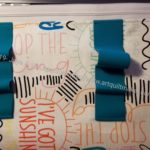
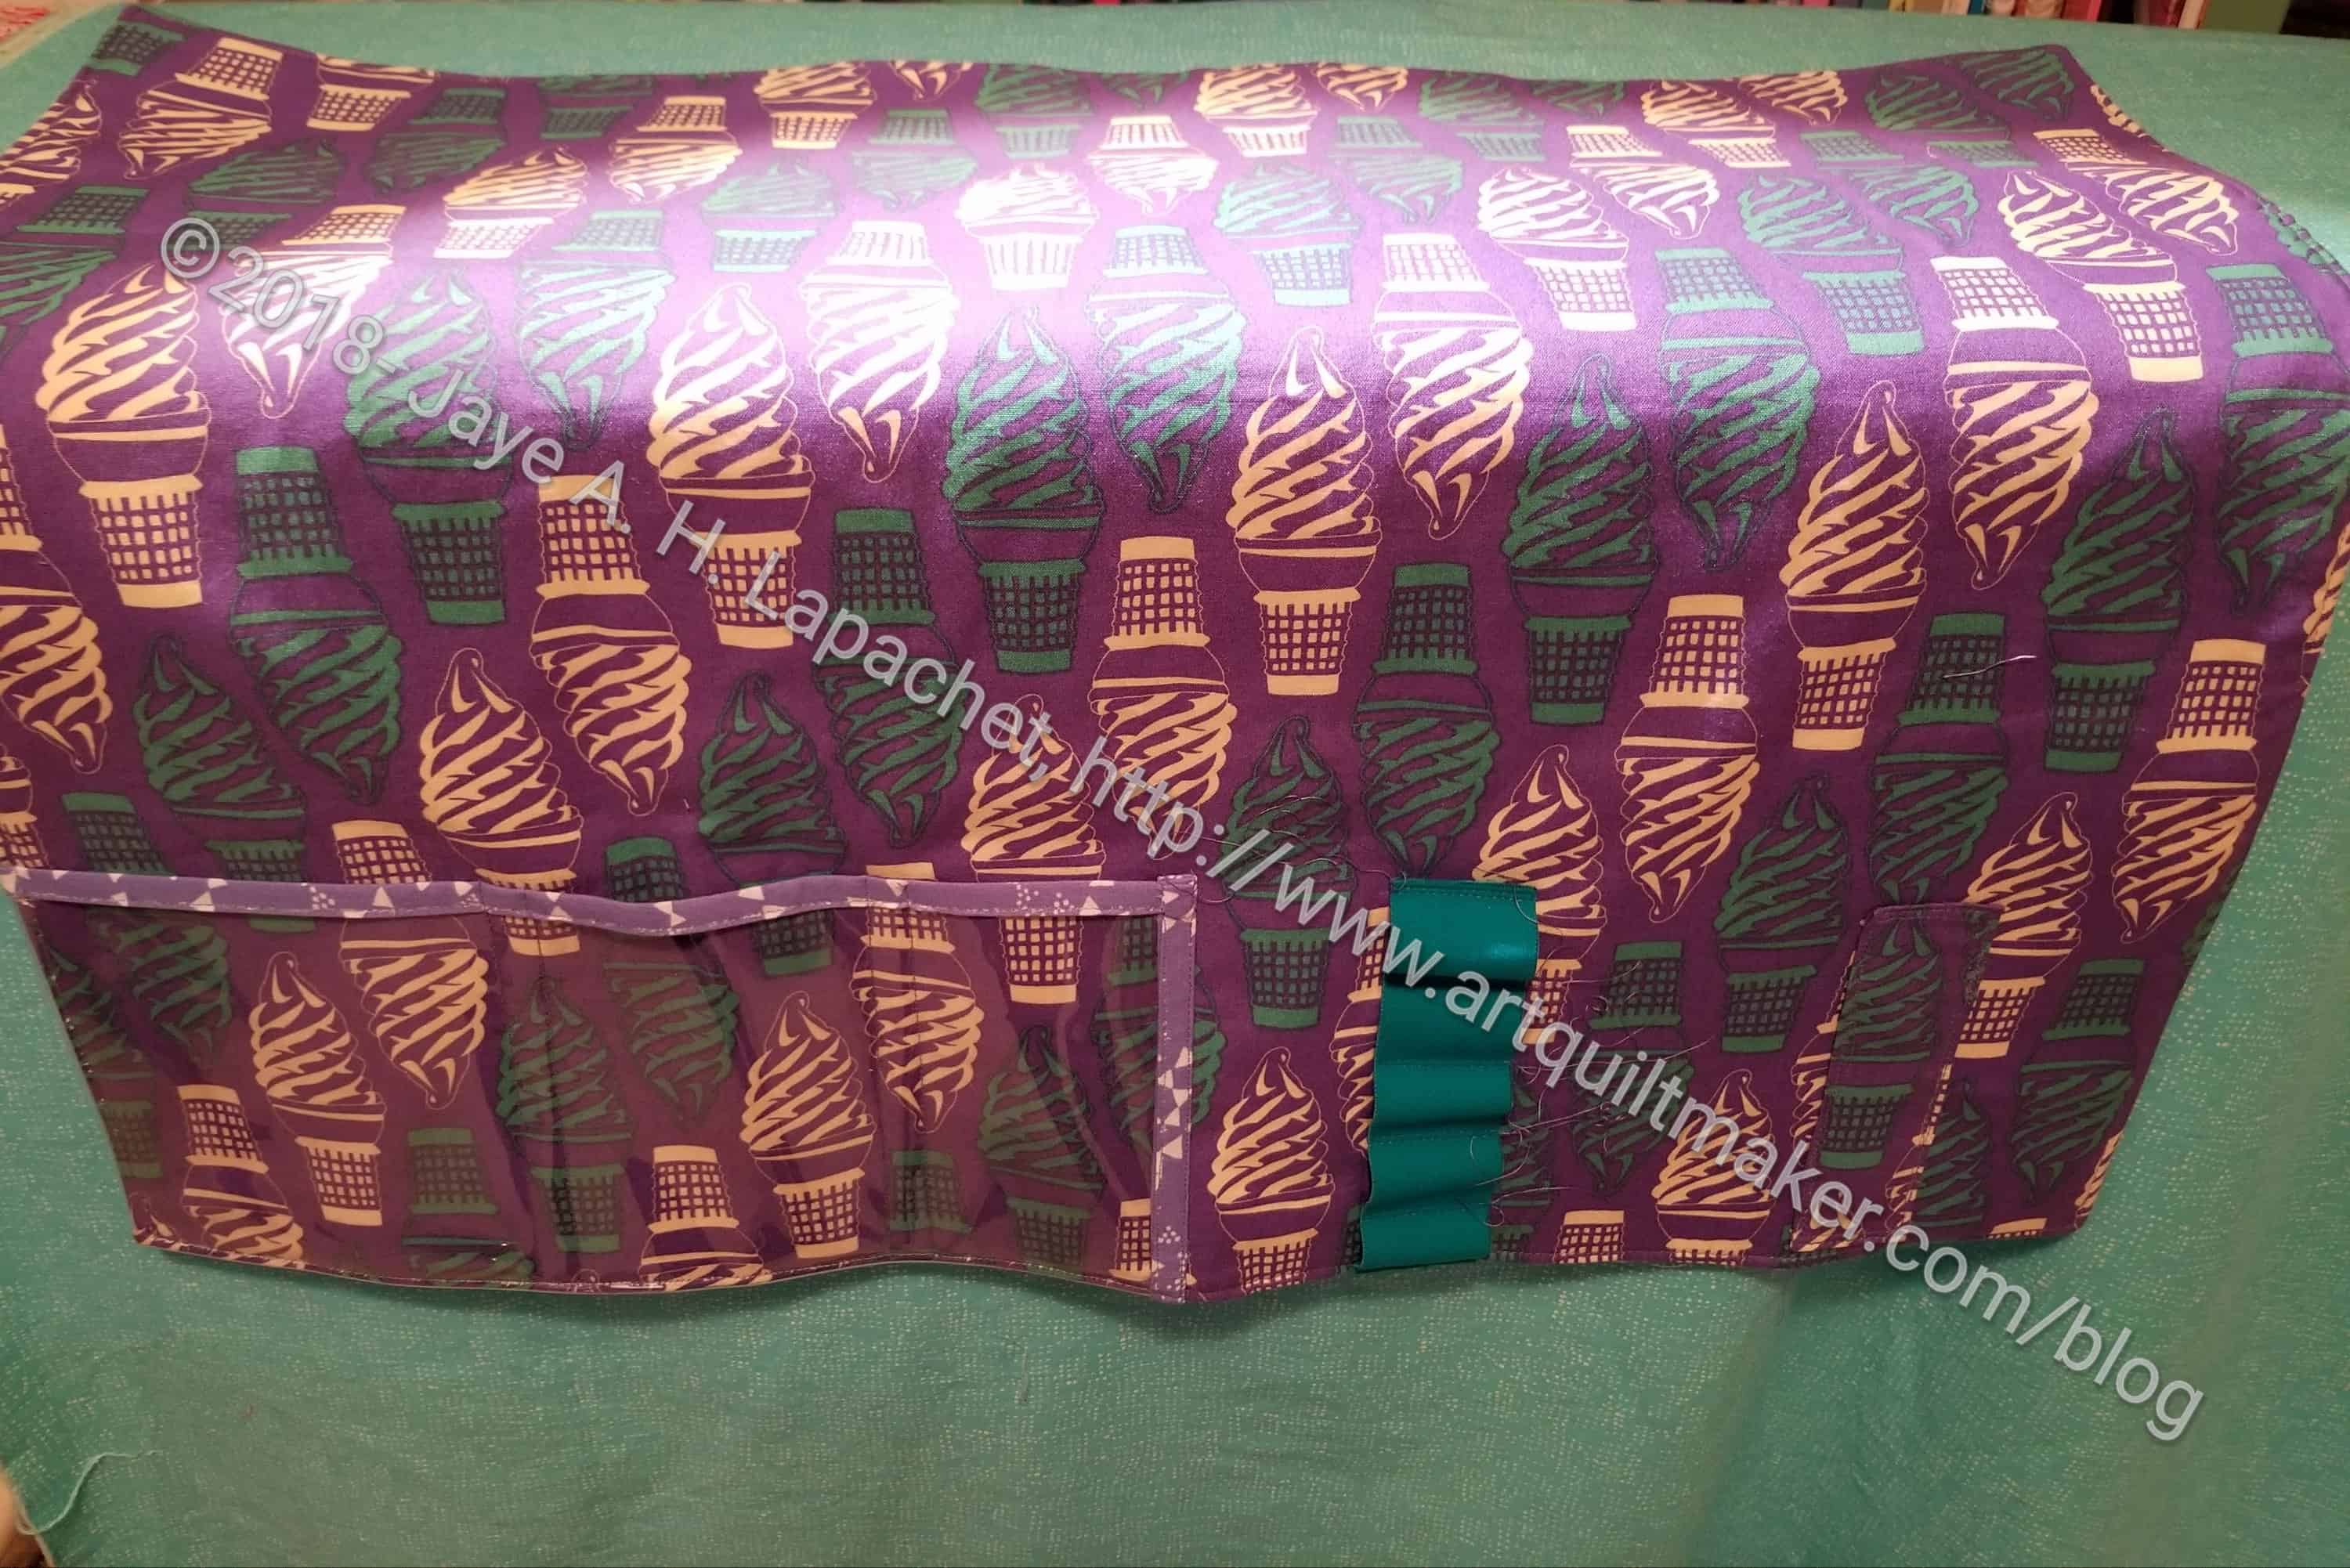
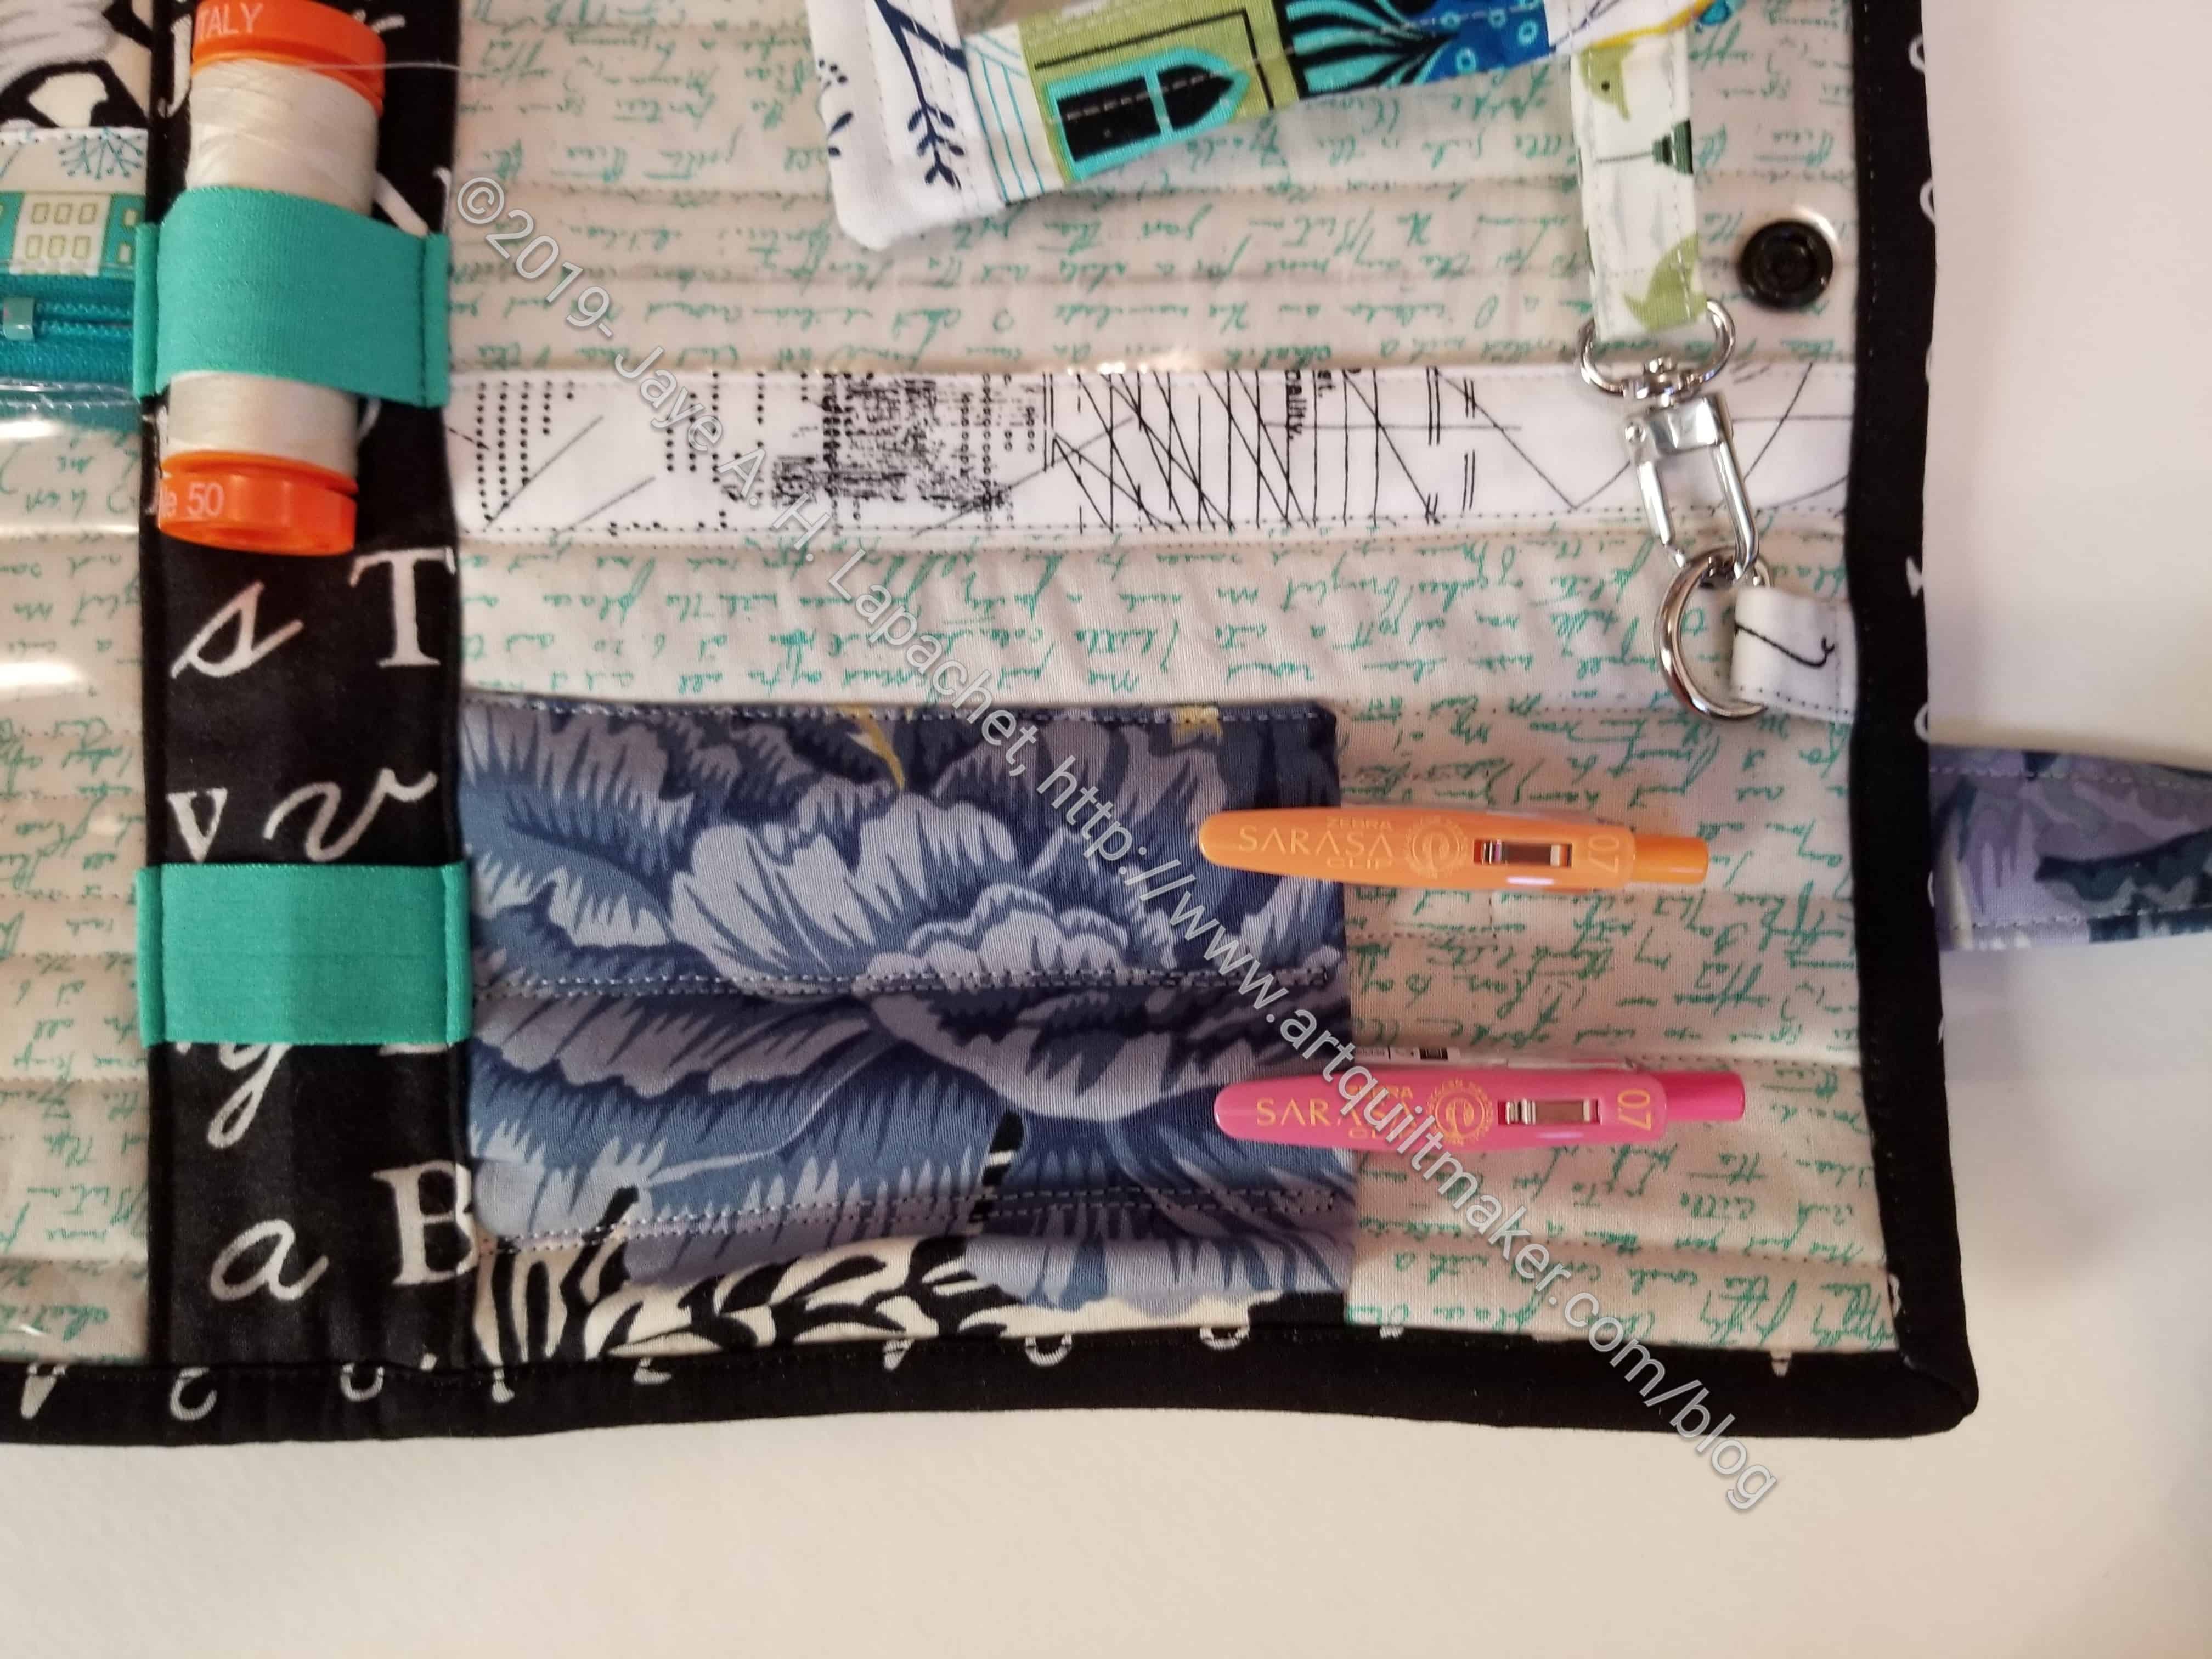
The Running with Scissors tote had thread holders on the center facing. I decided that I would add the same thing to this bag. Why not? I know I said I would use it for knitting, but who knows? I may need some thread or storage for Wonder Clips is always needed. Fortunately, the center is kind of round when the bag is closed so it can accommodate some thread or Wonder Clips. I bought the double fold elastic from ByAnnie.
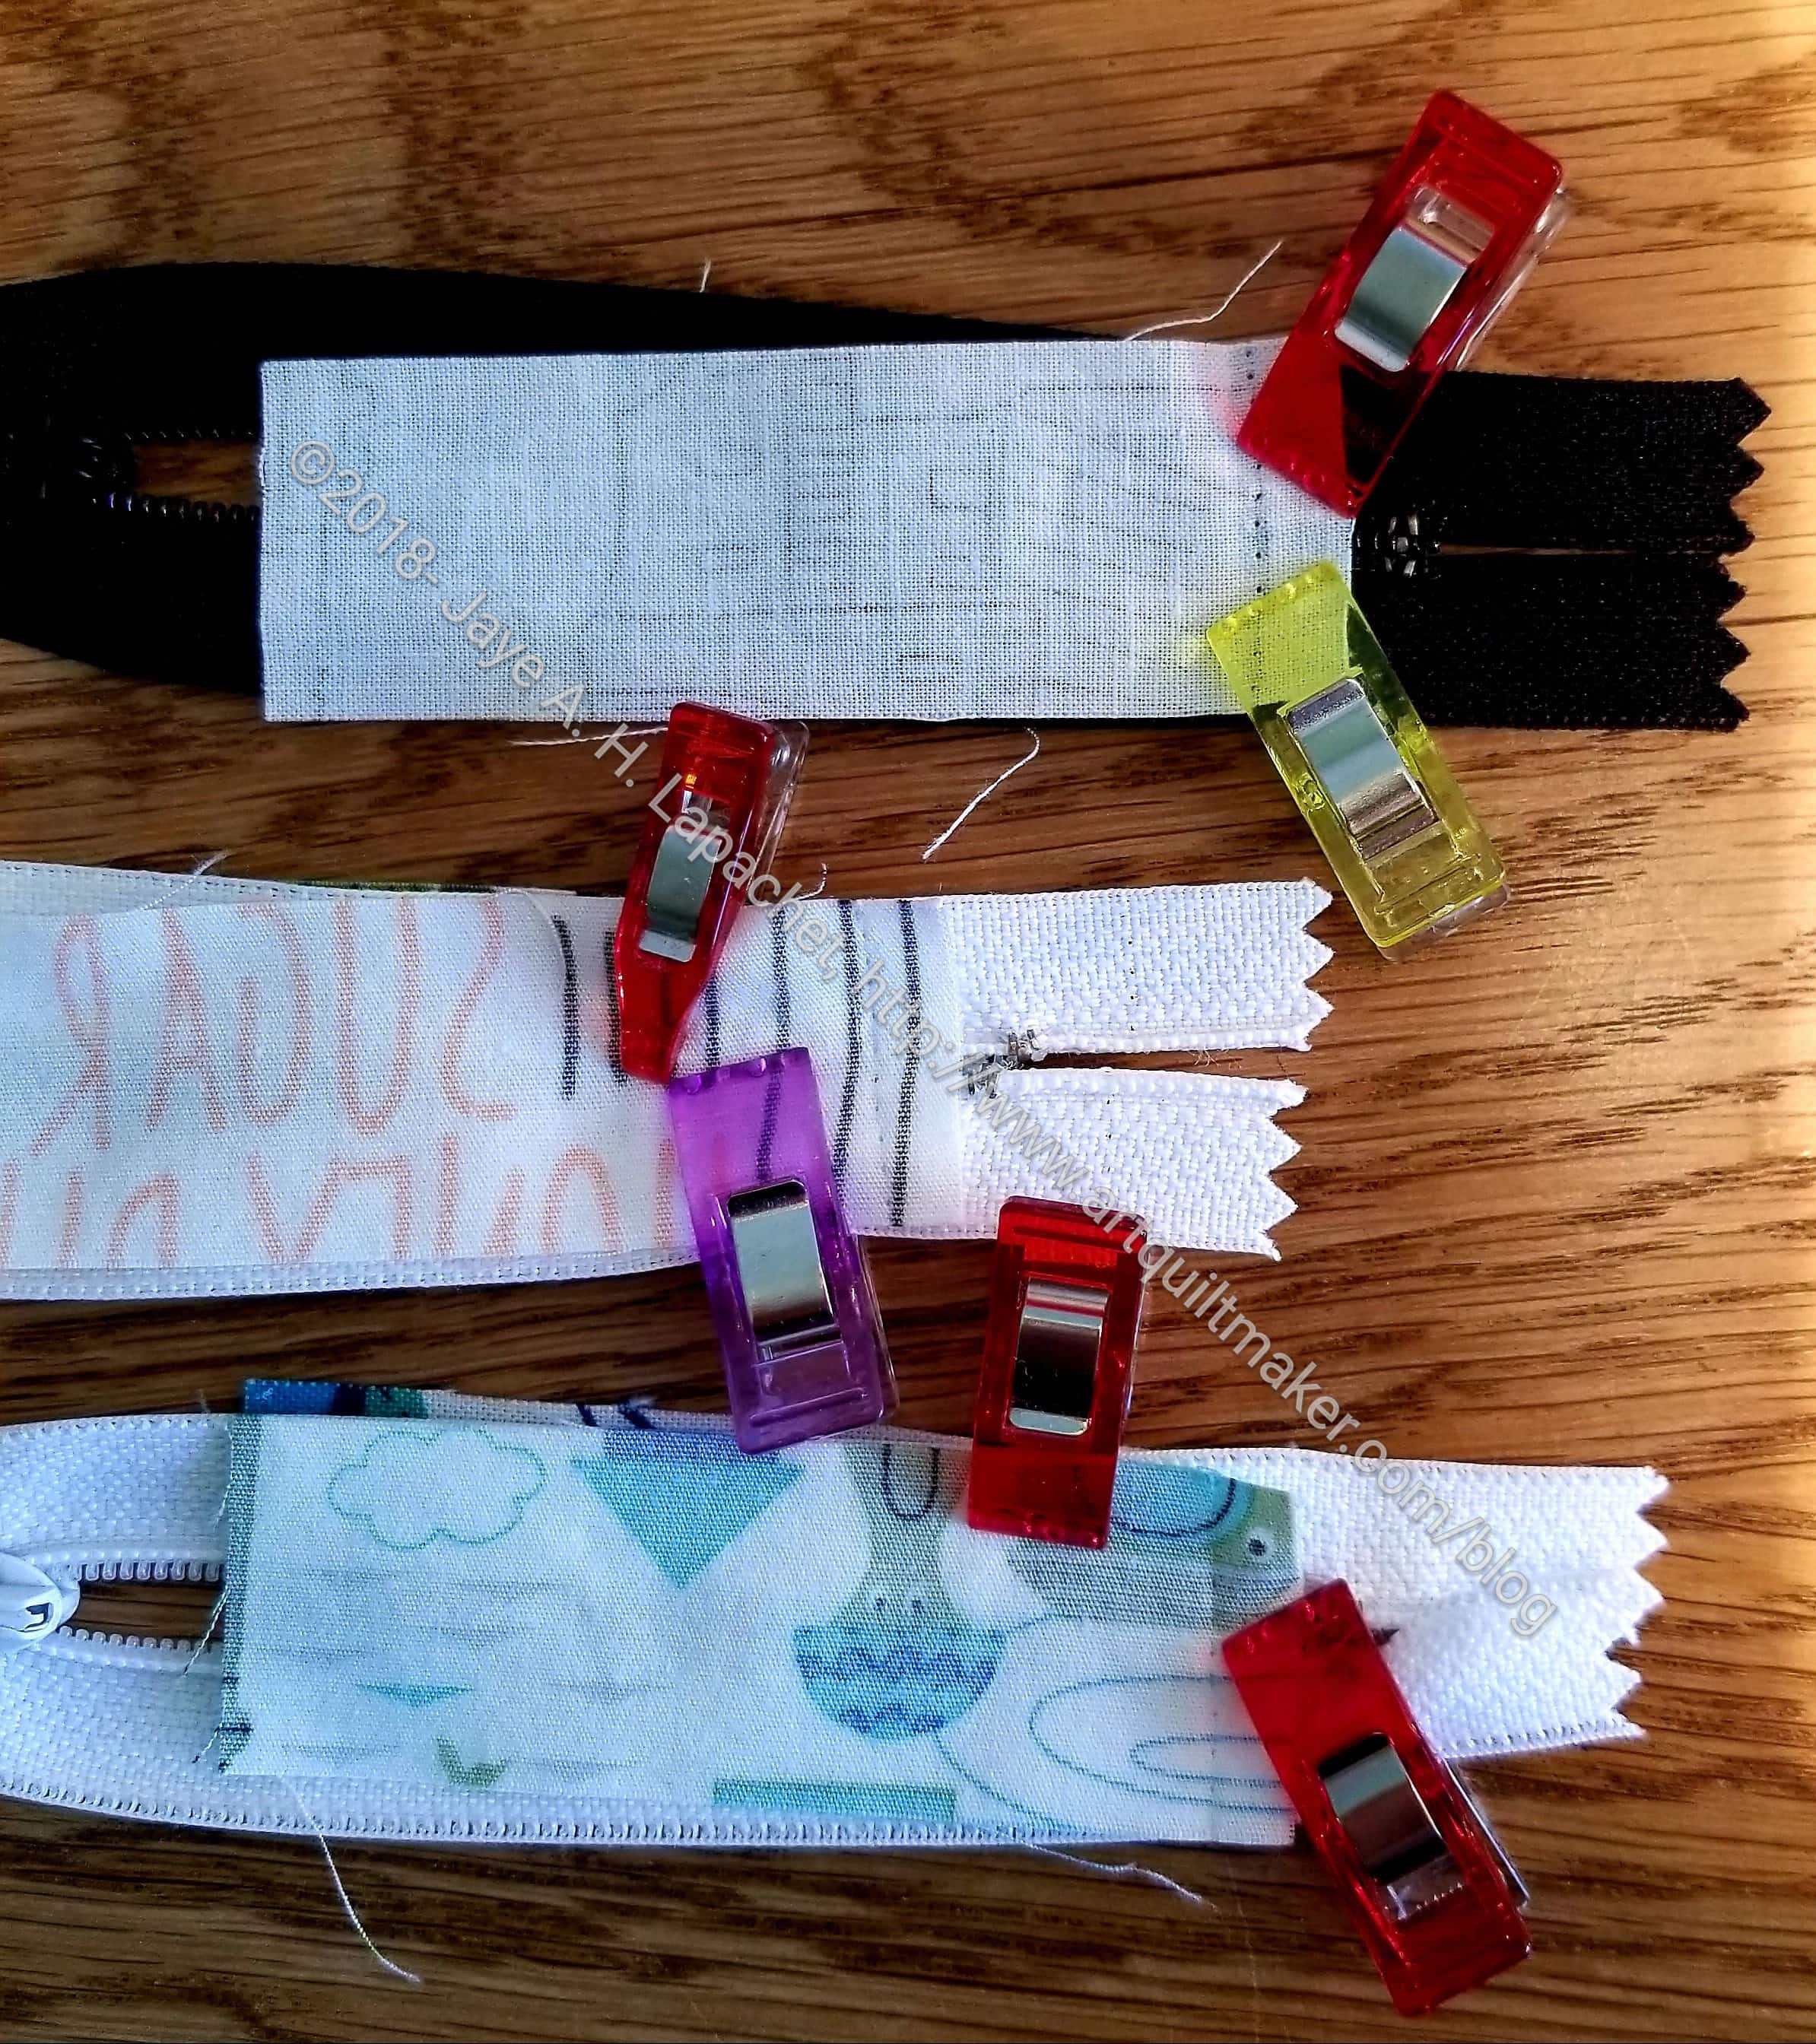
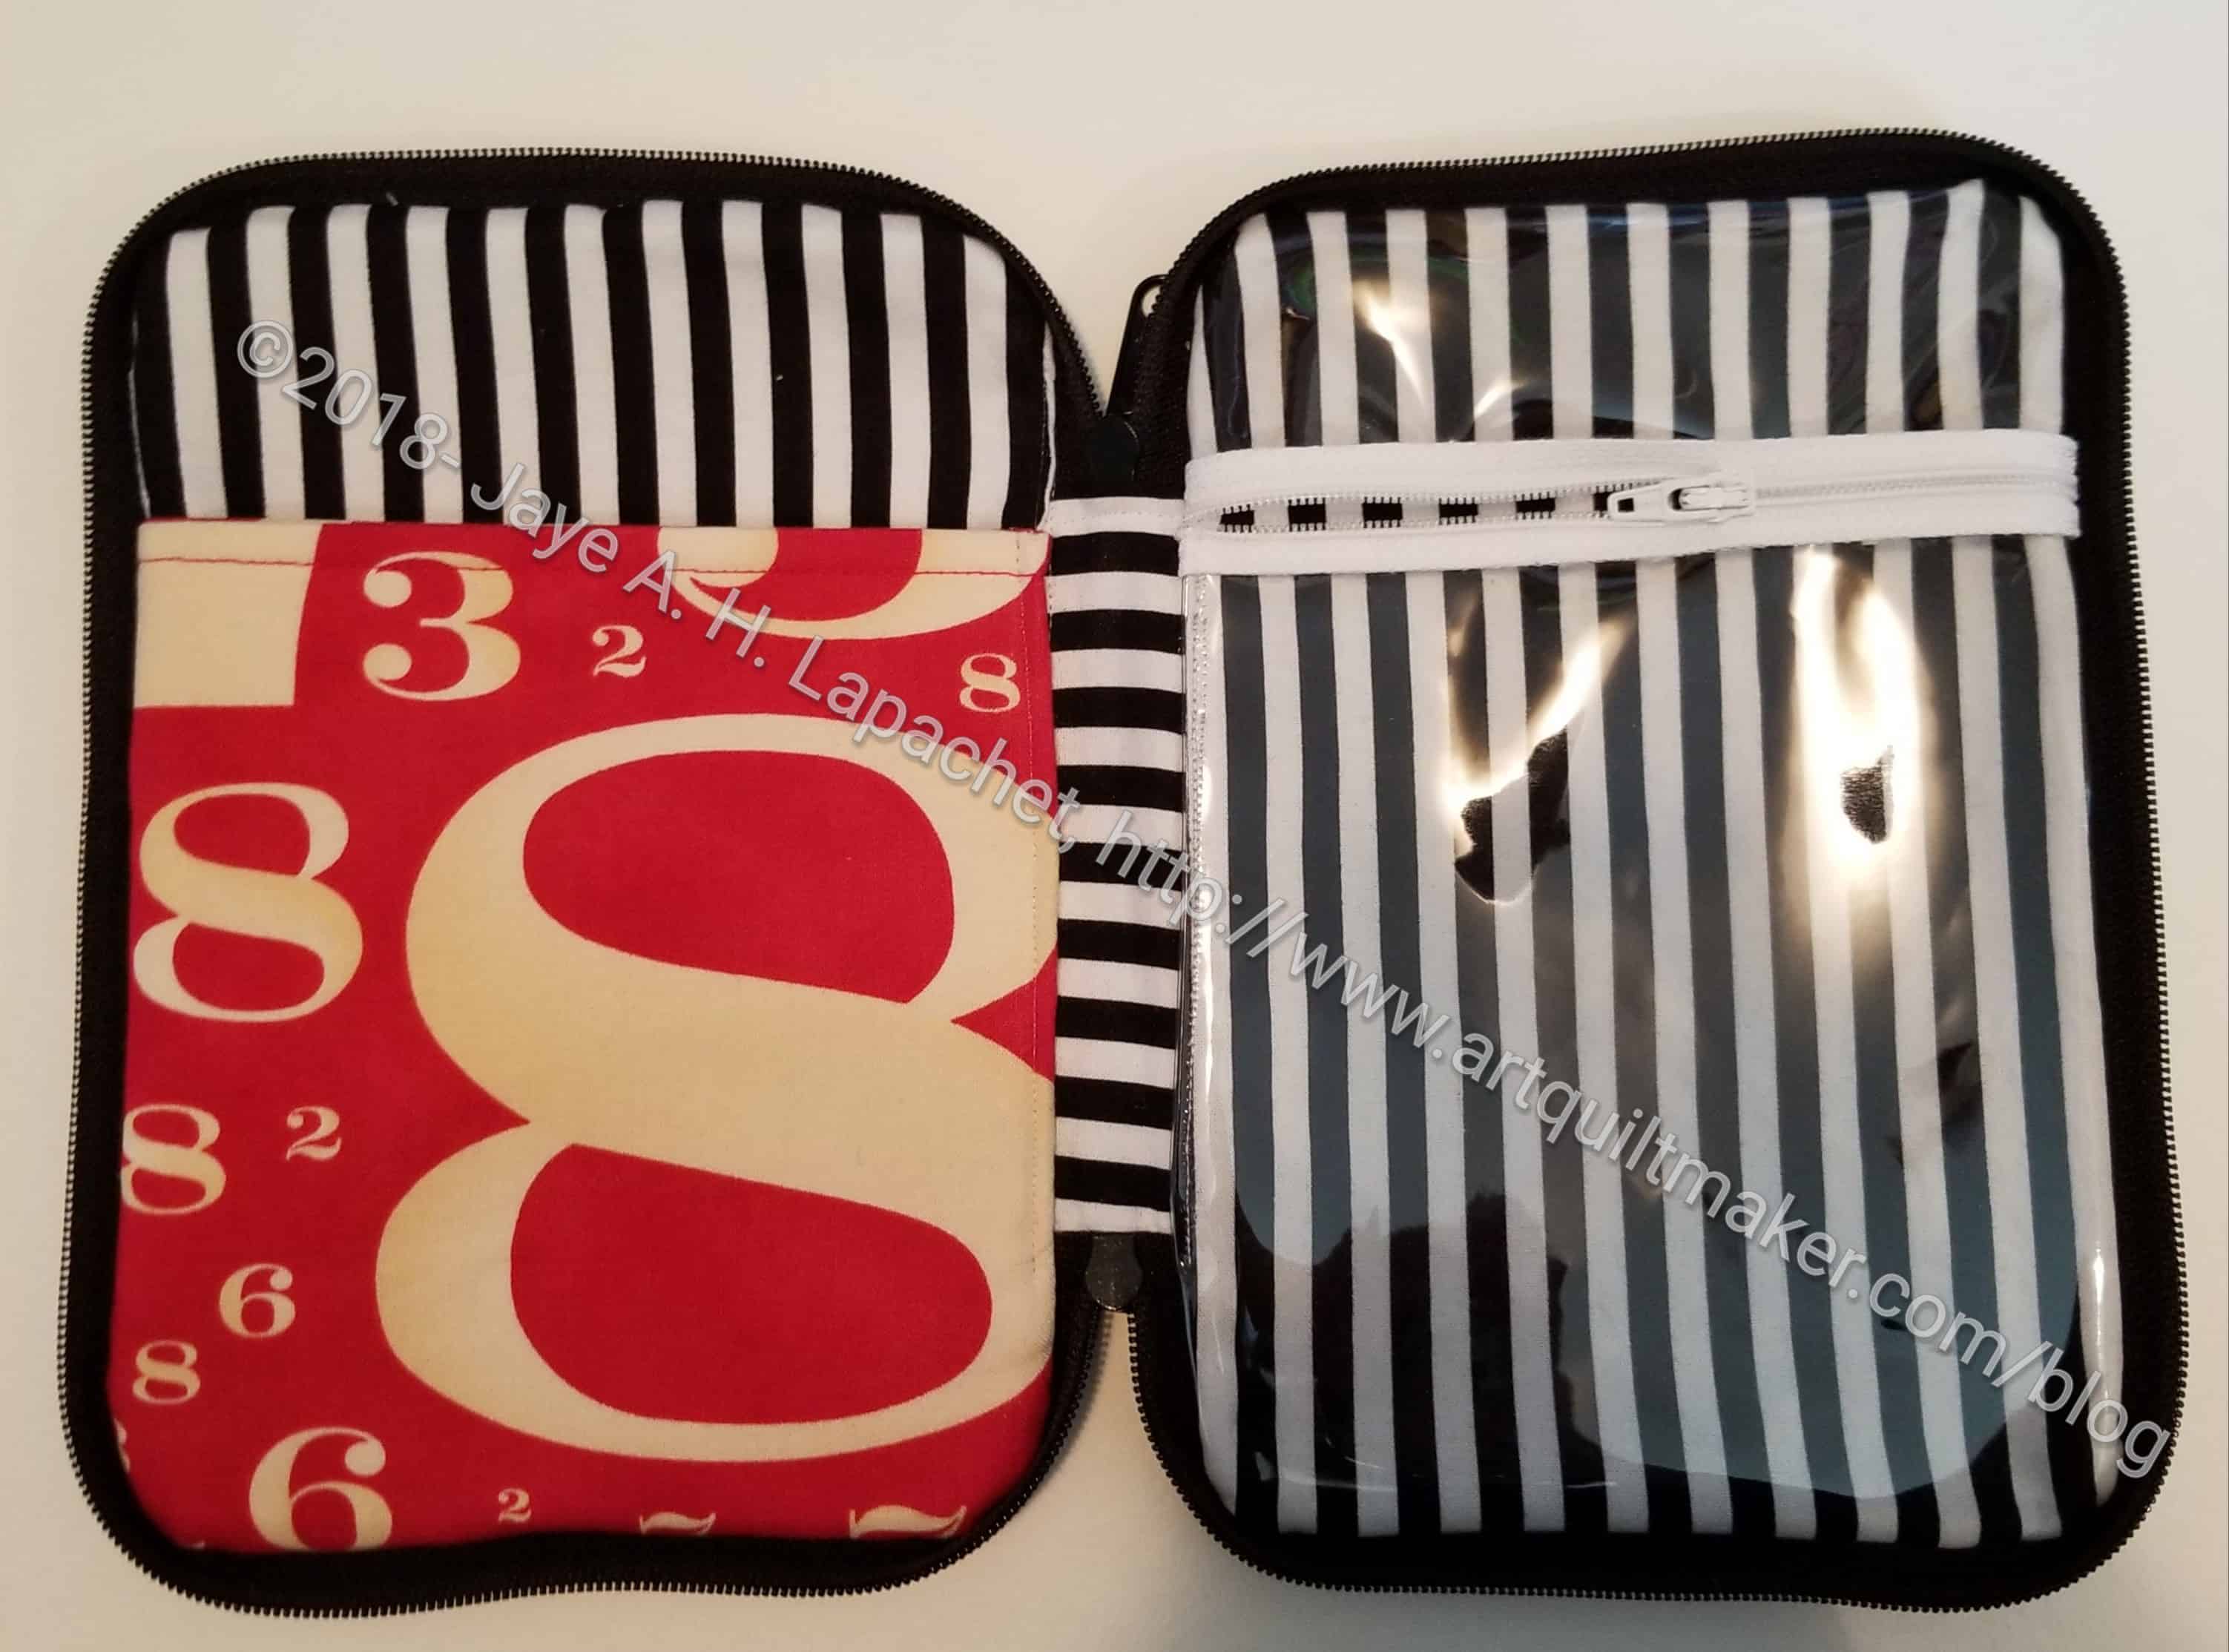
I used a variety of colors of zippers from the selection I bought recently. I was pleased that I had a few extra for this project. I thought the zippers I used would be too small, but I had to trim less zipper tape on these.
I am pleased to check another Crafty Gemini Organizer Club project off my list.