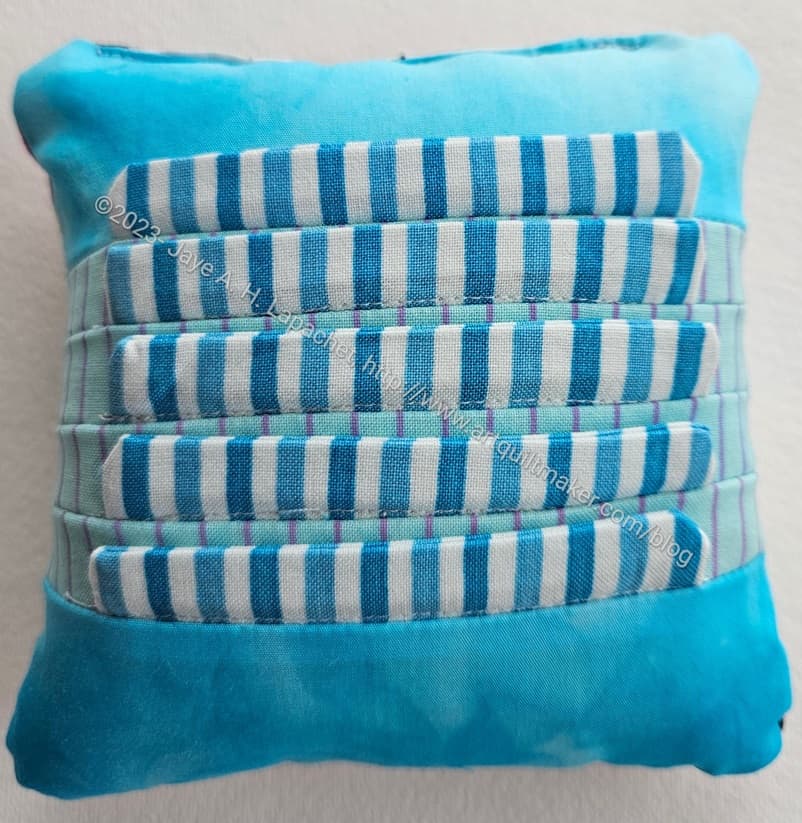
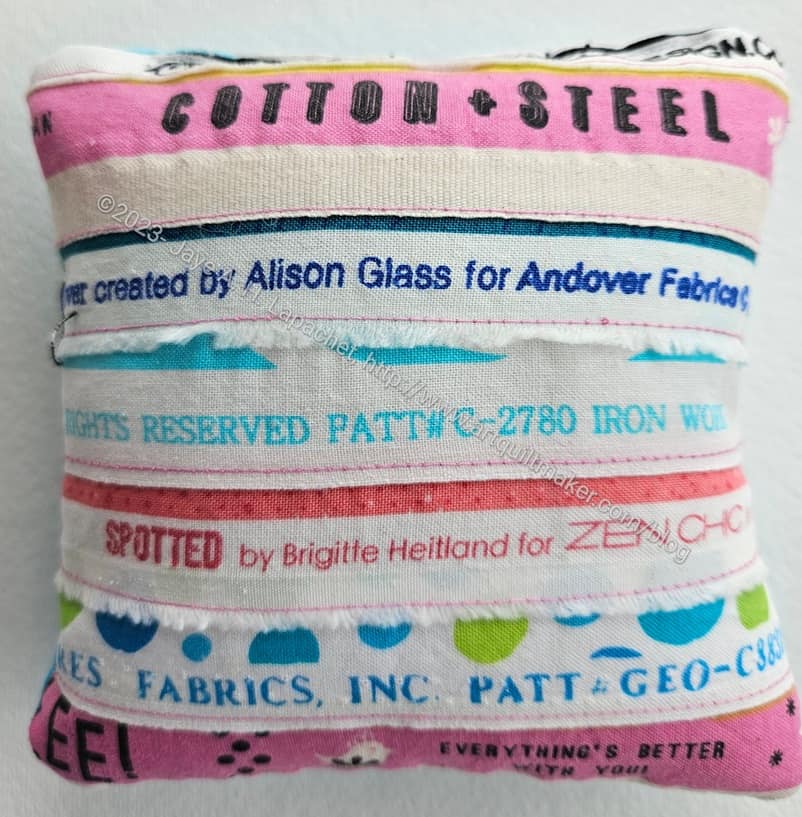
I decided to participate in the BAM swap, which was a pincushion swap. I was a little overwhelmed with life, so I just sewed my old standby pincushion, the Clippy Pincushion. The pattern is from Love of Patchwork and Quilting, issue 39. The pattern is also available digitally in the Apple and Google Play stores. I used this pattern to make the Clippy Pockets in the UCAB, which I find to be very useful. It isn’t rocket science, so I am sure you can make something similar without the pattern.
BAM Swap pincushion 2023
I did supersize this one a little bit. I wanted to make it slightly larger to accommodate the cool selvedges from which I made the back.
At first I machine sewed the stuffing hole closed, but then I unstitched and hand sewed it closed. I think it looks better hand stitched.
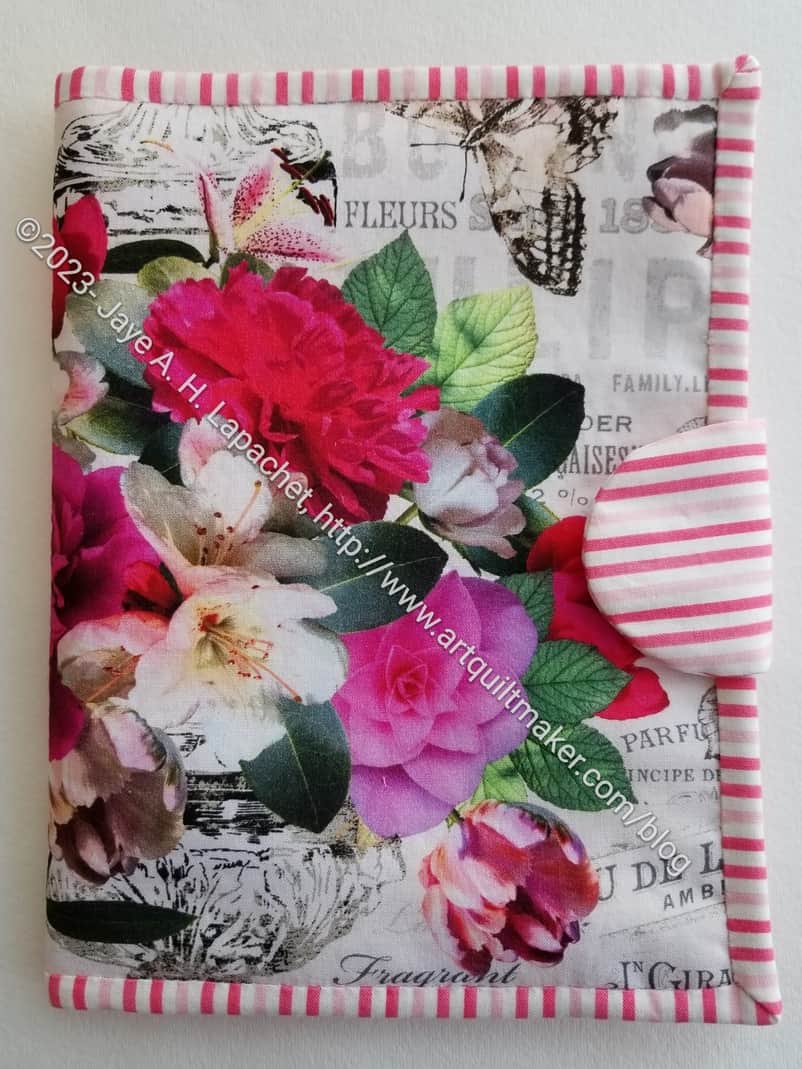
I am pleased with how it looks. I like the fussy cutting of the flower fabric (I bought that flower fabric at the Quilt Loft). It is sweet looking, though not modern at all.
I am a sucker for striped binding. I think it works. I think black and white would have been classic, but too much of a contrast with the flowers.
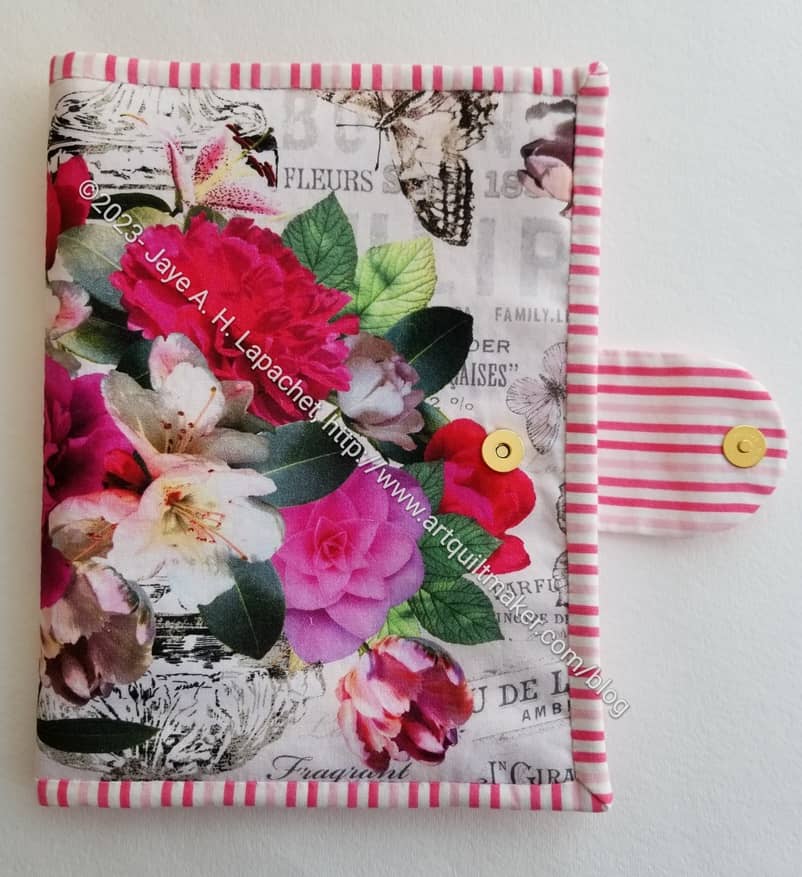
2-in-1 Case #4 exterior – open
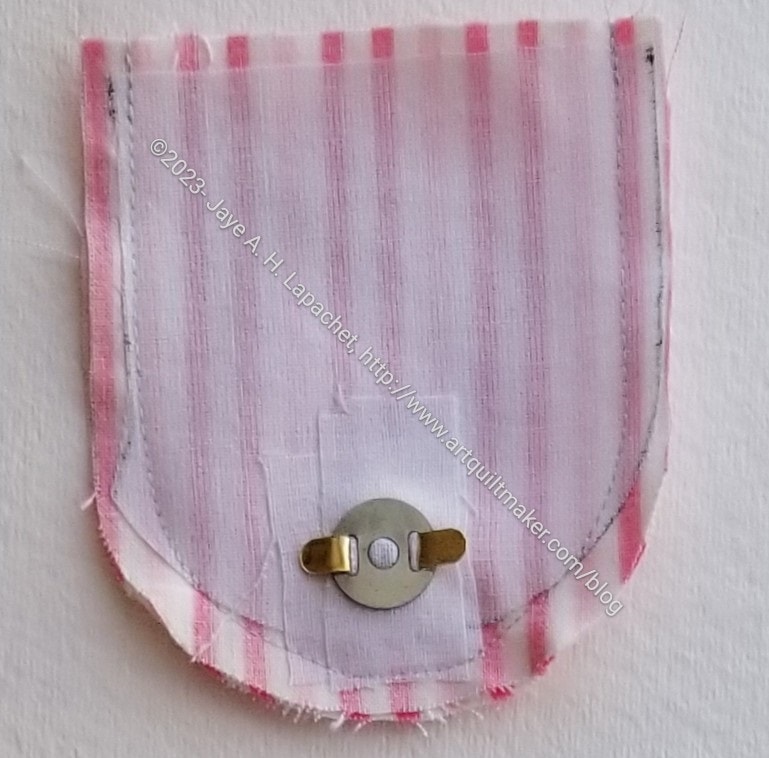
The magnetic snap is gold. I am not sure why I had a gold one. I don’t usually buy gold, but the brand was one carried by Joann, so maybe I bought it there on ‘spec?
I was able to line up the stripes pretty well on the snap tab. Honestly, it was a happy accident. 😉
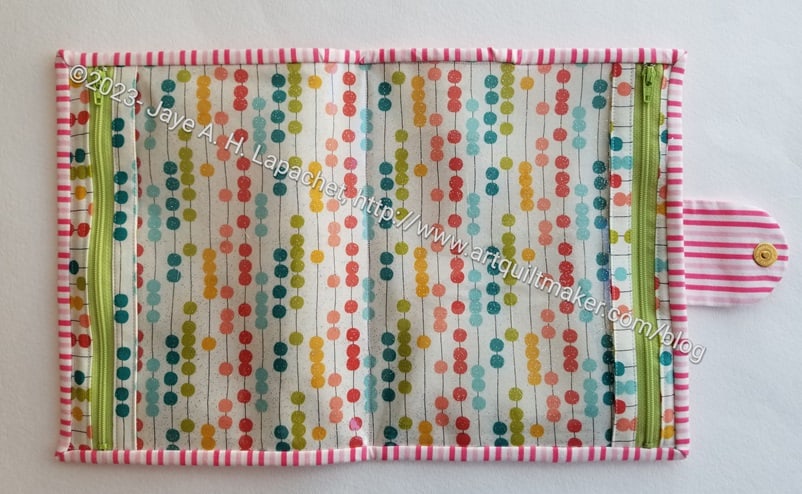
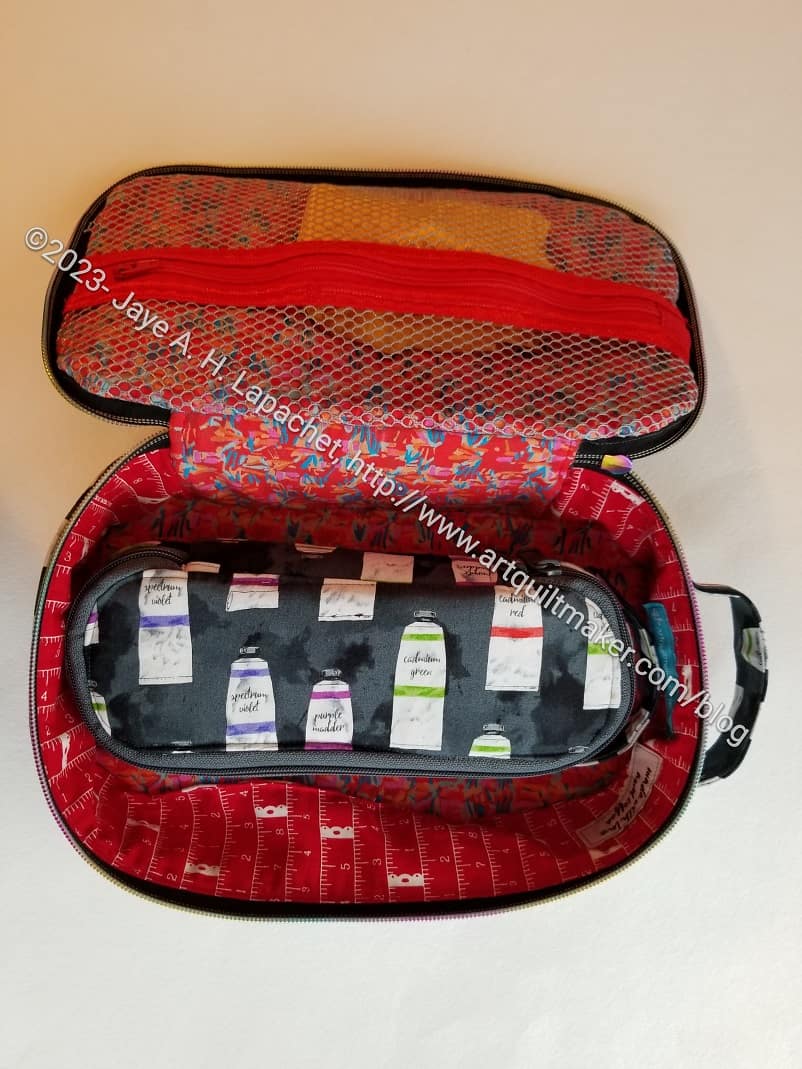
2-in-1 Case #4 interior
The inside looks pretty good as well, though the contrast between the outside (sweet and flowery) and the inside (modern) is very obvious. At least the user can’t see the flowers when the case is open.
I am looking forward to seeing the last two. The photo below shows the ones I have so far.
2-in-1 Cases – closed
Joelle made the red version. Cyndi contributed the blue example in the center and mine is on the right. They look so different!
I continued to work on the 2-in-1 Case (#4) and have decided that making at least two of each bag is the best way to go. This one is so much easier than the others. Still, I am taking my time.
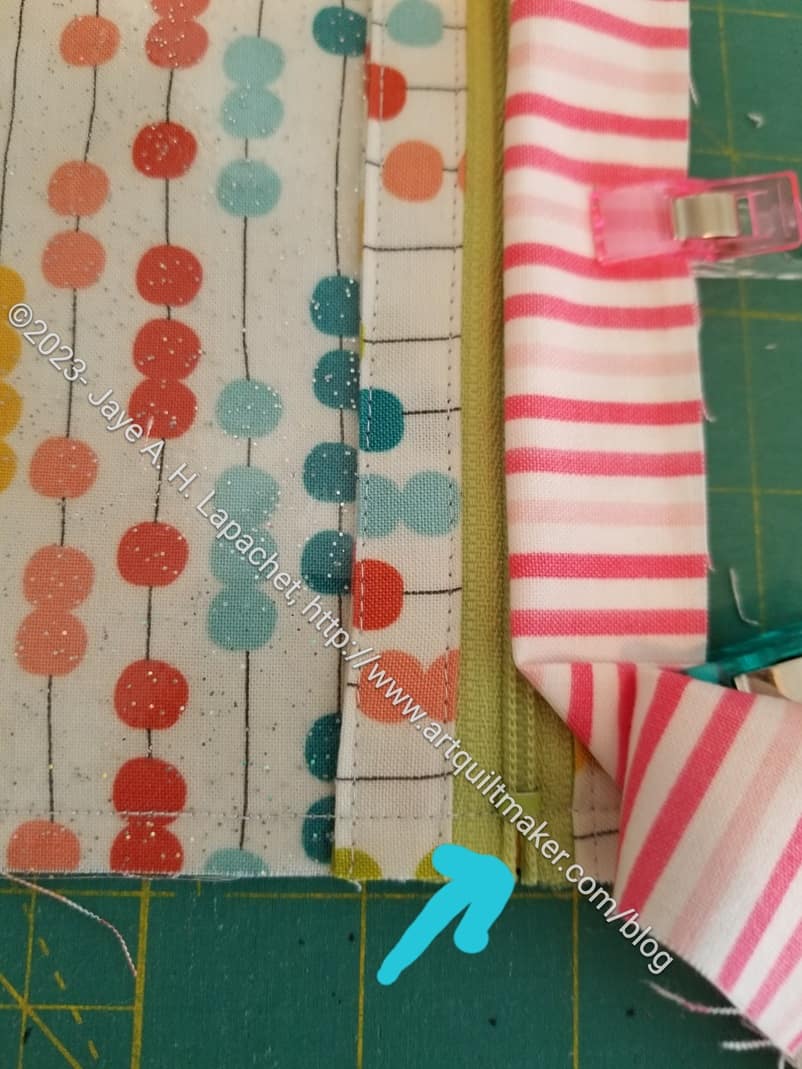
2-in-1 Case #4 – zipper stop
I forgot that I thought I should use a longer zipper than the one the pattern calls for and broke a needle.
The pattern calls for 8″ zippers. Inevitably one or other of the stops gets in the way and I break a needle. ERGH!! I wrote myself a note to use a 10″ zipper or continuous zipper tape. It doesn’t matter if the stops get cut off as the binding acts like a stop anyway.
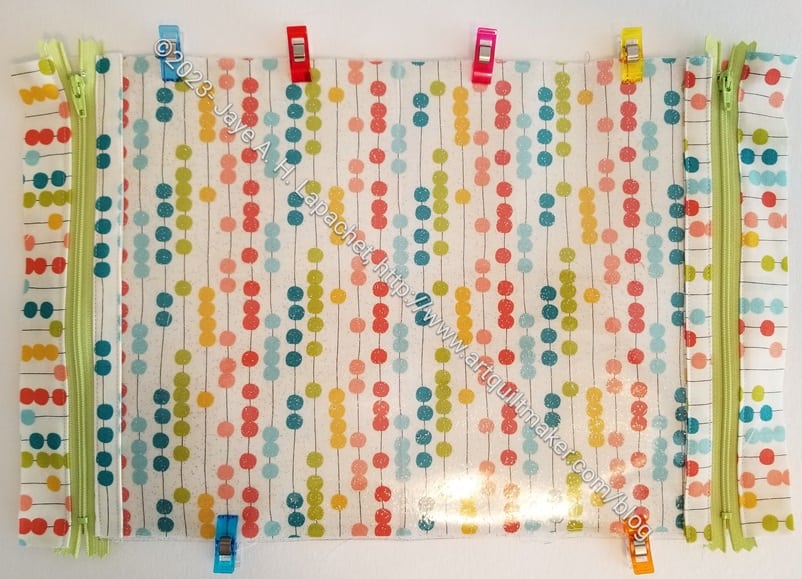
2-in-1 Case #4 interior
Besides breaking a needle, the case is coming together.
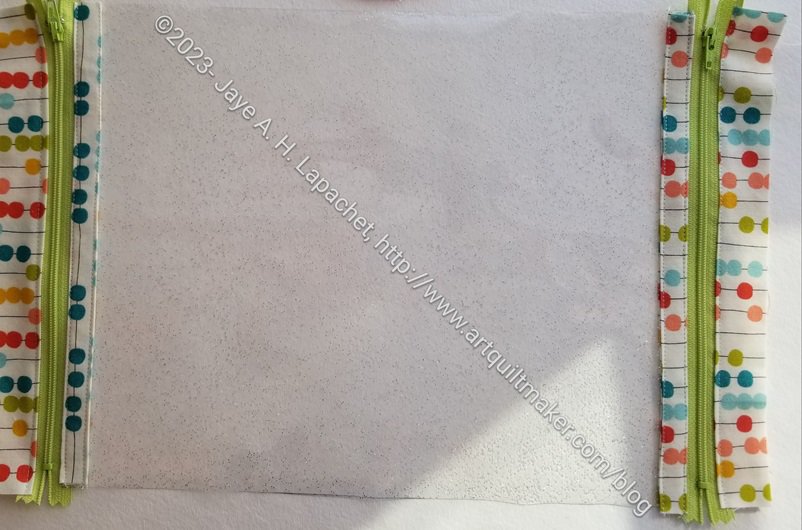
I changed zipper colors right before I sewed them to the vinyl. The ones I chose match the light green in the fabric pretty well. I was going to use a brighter green, but like these better.
I followed the seam allowance directions, but the section with the vinyl and the zippers was still too big. I could have ripped it out and done one part over, but decided just to center the section with the vinyl and cut off the extra. Maybe lame, but it will look fine.
2-in-1 Case #4 with binding
The binding is on and I will hand sew it to the back.
I decided that 2-in-1 Cases would be great to use for the gifts going to the guild officers. I am, once again, in charge of organizing that effort. I think it is important to thank the officers, but I seem to be one of the few who wants to organize the effort. Sue and Carrie are helping, which is great. they are sensible friends who offer excellent advice.
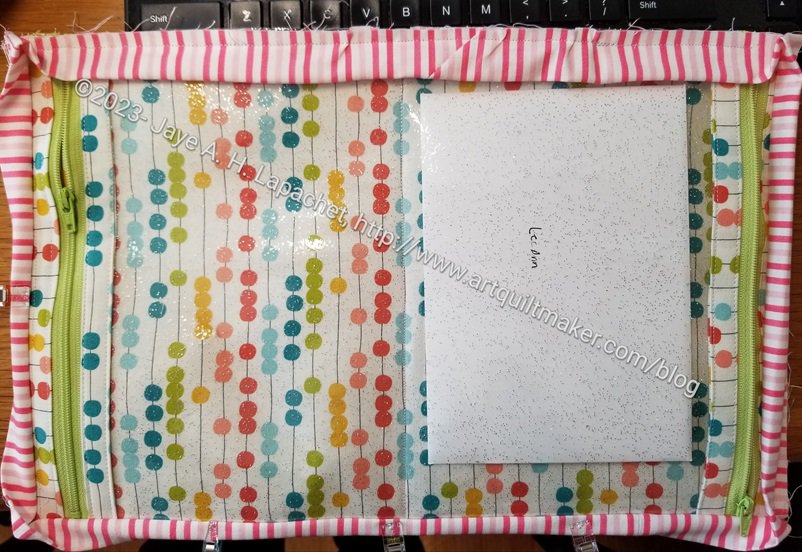
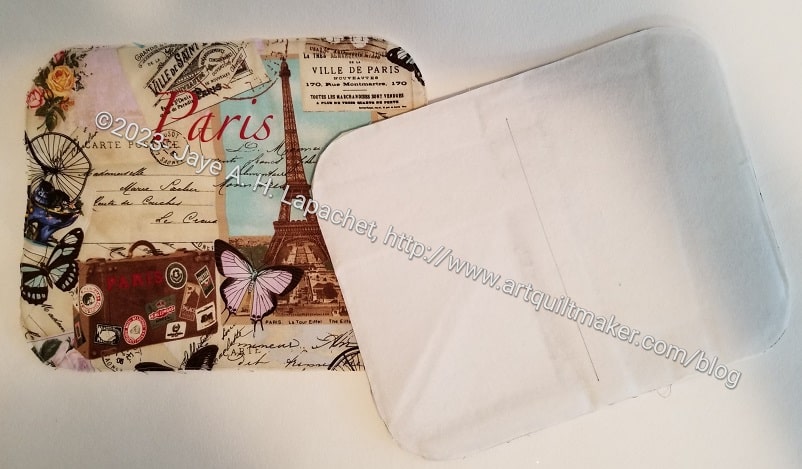
2-in-1 Case #4 size test
In the past I have made large bags and then had people make small gifts to fill the bags. I didn’t have time for that this year, so I am gathering cash and gift cards. I needed something to hold cards and gifts and the 2-in-1 cases are the thing. They are useful for sewing supplies, but also the right size for cards and gift cards. I am gathering quite a hoard, so I hope they are large enough.
This strategy also means I do not have to cajole people into making large bags or small gift items. I was prepared to make all of these 2-in-1 cases, but a few people volunteered. I was very grateful for the others efforts. I am making one, as you see.
I had to take a break for some seam ripping on the Kit Supply Tote and do some handwork on the other bags I worked on over the weekend. That meant I was able to start sewing this bag. I cut it out at Sew Day earlier this month. It is going together much more quickly than the first ones.
2-in-1 Case #4 magnetic snap
One of the things I did was try a magnetic snap, which is recommended in the pattern. These are different than the other snaps, installed with a Snap Setter, that I used before.
Except for being quite large, I think the magnetic snap came out pretty well. The instructions in the book for installing it were a little vague, but I used some pliers to bend the arms of the snap down. That worked for me.
The pouch itself is quite large and with the extra Decor Bond, it is not very squishable. It would fit well into a Chubby Charmer to organize all the things someone needs to take somewhere.
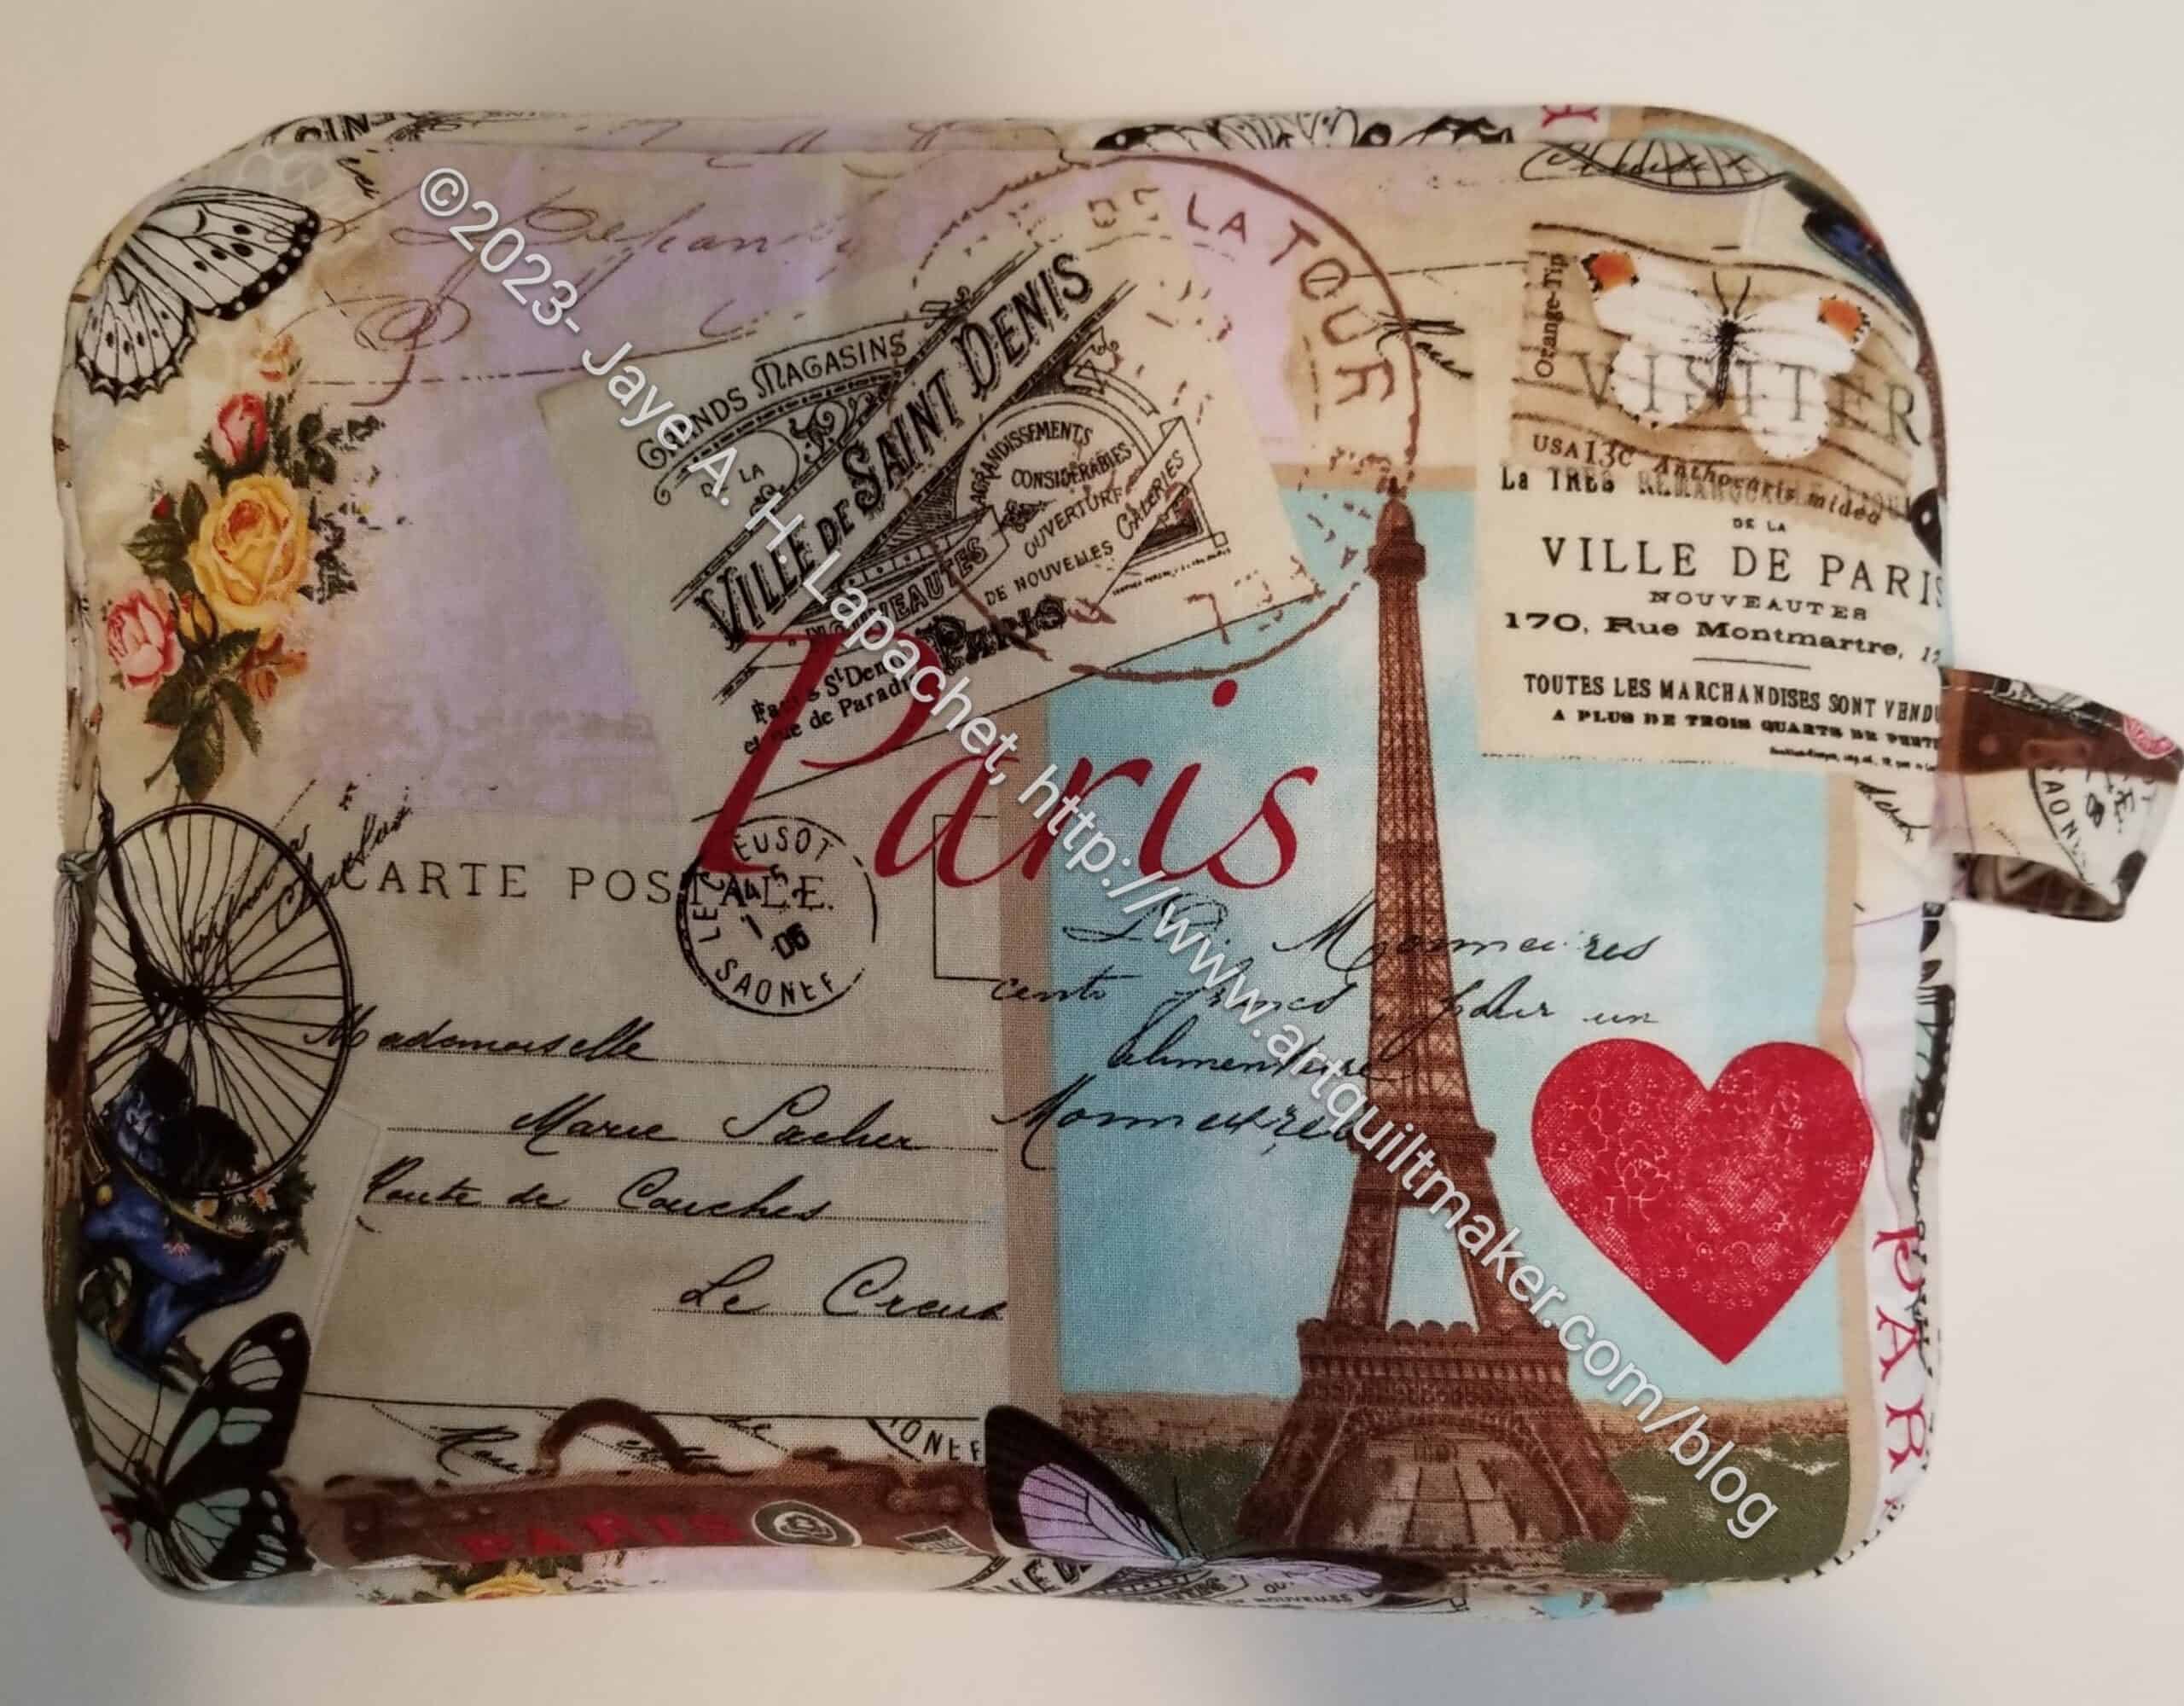
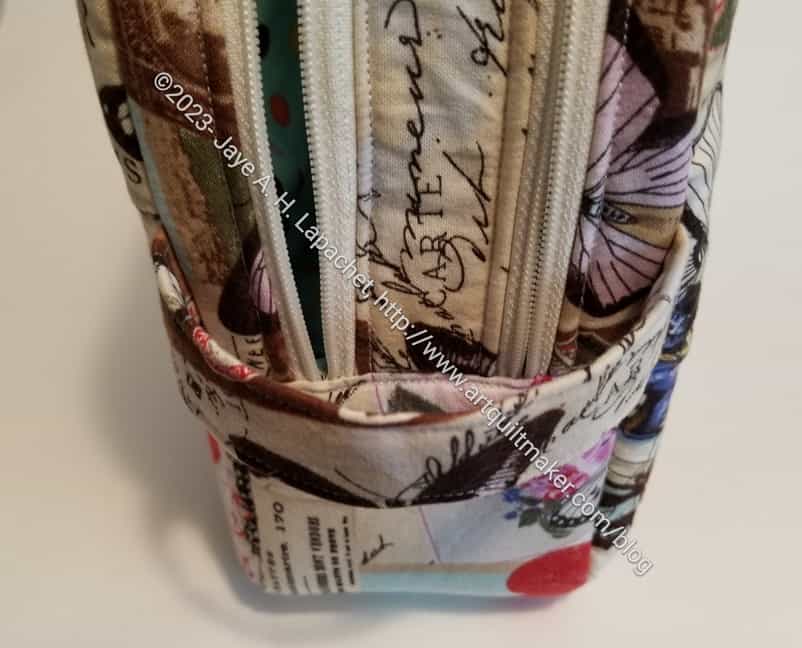
Disco Double Zip Pouch – top
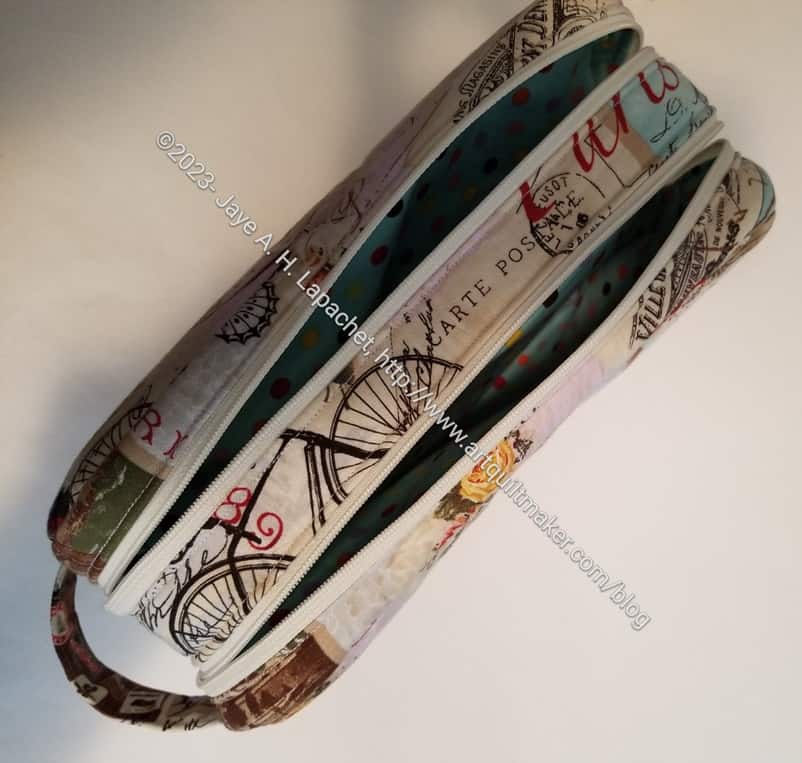
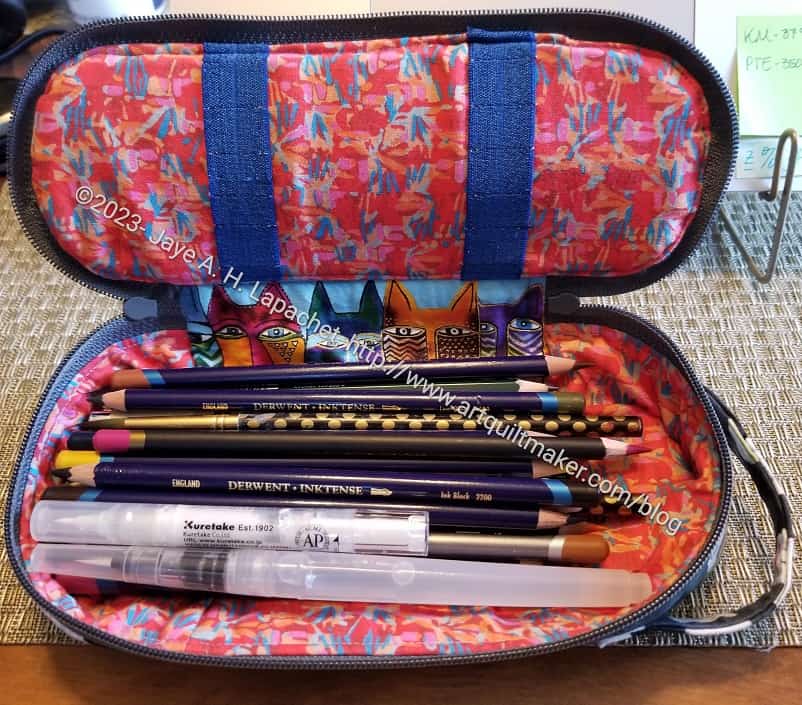
If I were to make this pouch again, I might add some interior zipper pockets. I am not sure how useful they would be, but there is enough space and I think you can never have too many pockets. It would also be good to add some pen holders. As the pattern is written, you just toss things into the pouch. It would fit my Leuchtturm notebook, but then what? I just don’t know how I would use this pouch.
Disco Double Zip Pouch – handle
The handle is very useful, I think. One of the reasons I added a handle to the Hackney was that it made the bag more usable. I am glad the pattern included a handle for this pouch. The weird thing is that the zippers are behind the handle. I might add some zipper pulls.
This pouch is great if you want to fussy cut some special fabric, or use an embroidery design. The large size has a great space for a specific motif. Frankly, I am not sure how I would use this pouch, but I am glad I made it.
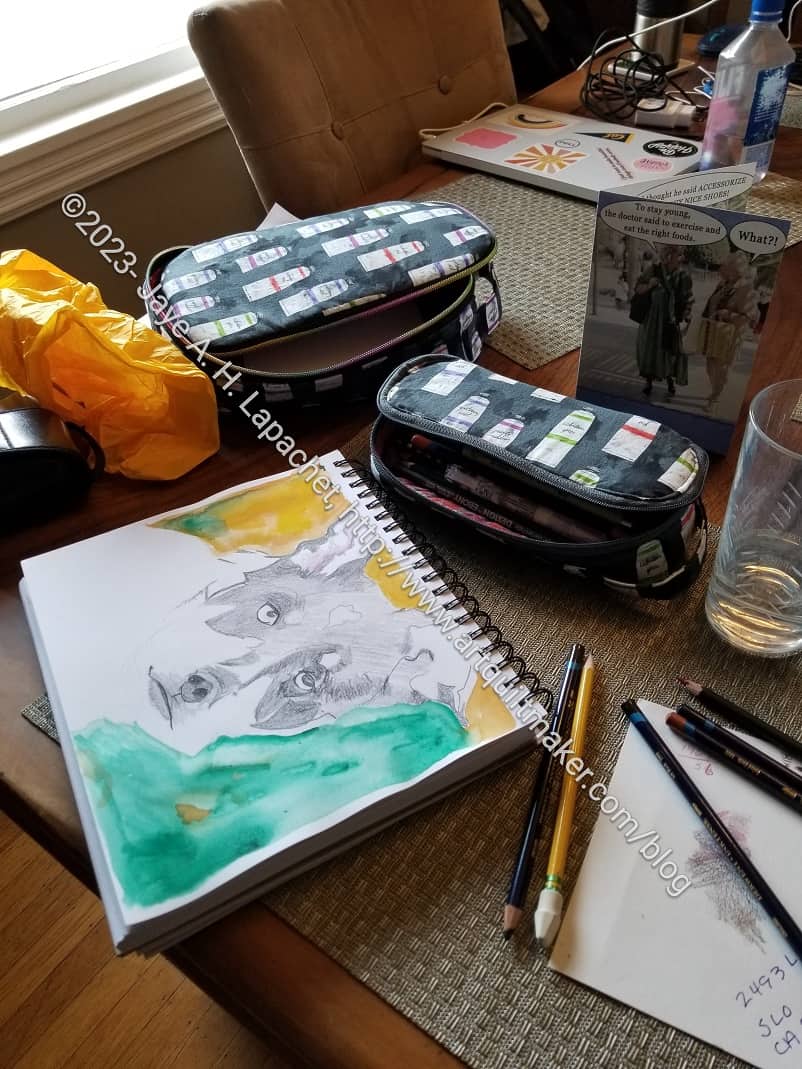
I took this picture soon after I gave the Hackneys to my mom. She is really great when I give her gifts. She puts them to use right away, which is very gratifying. On our trip to Portland, she had at least 3 of the Paint Tube bags with her.
This is the small Hackney. I am not sure what she was using for her pens and pencils before I gave her this Hackney. She liked being able to see them all. I am continually amazed to see how much these Hackneys hold.
Carrie is having fun making door prize collections.
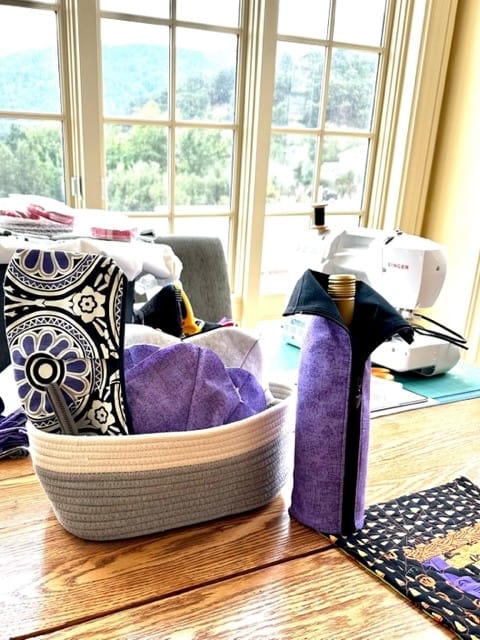
BAM Picnic themed Door Prize
This one has a picnic theme, which I think is very clever. She is using some contributions from other team members, such as an interesting pouch that Tim made. The basket is from Amazon**, but there free patterns* for rope baskets, too. They are a good project for using up fabric scraps.
*N.B. I haven’t tried this pattern so your mileage may vary.
**N. B. : Obviously, you should shop at local quilt shops and small businesses. However, if you are too busy or can’t find what you need there, I use Amazon affiliate links and may be paid for your purchase of an item when you click on an item’s link in my post. There is no additional cost to you for clicking or purchasing items I recommend. I appreciate your clicks and purchases as it helps support this blog.
I spent some time over last weekend cutting out a Disco Double Zip Pouch. This is another pattern from Sara Lawson’s Minikins. In this case, it is from Season 2. Yes, you have to buy the whole set. The individual patterns are not sold separately.
I haven’t made this pattern before and I am not sure what inspired me. I made the recipient a Hackney pouch already, so that pattern was out. This one came to my attention and here I am! It is always good to try out a new pattern, though I do tend to get comfortable making several of the same pattern over and over.
So far, I am still at the prep stage. All the pieces are cut and most of the lining has ShapeFlex applied. I am sewing the exterior pieces to the foam at the moment, then I can start preparing the zippers.
Augmenting the Frankenfoam
One problem I had was with the Frankenfoam (see the glossary). Once I cut the pieces required, I felt the larger, exterior pieces weren’t stiff enough. I added some DecorBond** to the exterior pieces to make it a bit stiffer. Stay tuned to see how that works out.
Another thing about the Minikins is that I have only made one project from Season 2. Season 2 includes the DayTrip Cell Phone Wallet and was the whol reason I bought that group of patterns. I do REALLY want to make that project; I just haven’t yet. I have to admit that I am kind of scared to do so. People talk about the horrors of turning the project. That doesn’t mean I shouldn’t make it. I spent some time screenshotting various versions off IG to get inspired and might be ready to work on it. Perhaps I can cut it out and go from there.
The other idea I had from Season 2 is to enlarge the Sewing Stand. Sara has a tutorial for this. I keep looking at the image and thinking that it looks larger than the one I made. Then I realized I could enlarge the pattern. It wouldn’t impact cutting it out as most of the pattern pieces are squares and rectangles. I didn’t buy templates for it and I don’t even think they are available.
Obviously, Season 2 isn’t dead in the water. I just need to get inspired and I have a little bit.
**N. B. : Obviously, you should shop at local quilt shops and small businesses. However, if you are too busy or can’t find what you need there, I use Amazon affiliate links and may be paid for your purchase of an item when you click on an item’s link in my post. There is no additional cost to you for clicking or purchasing items I recommend. I appreciate your clicks and purchases as it helps support this blog.
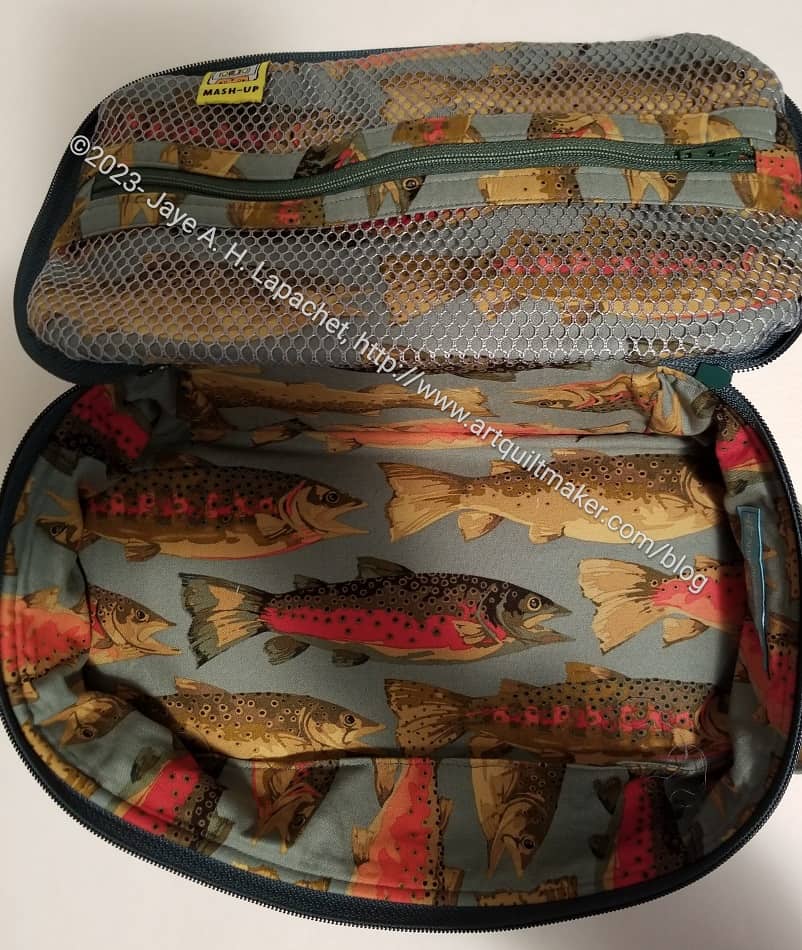
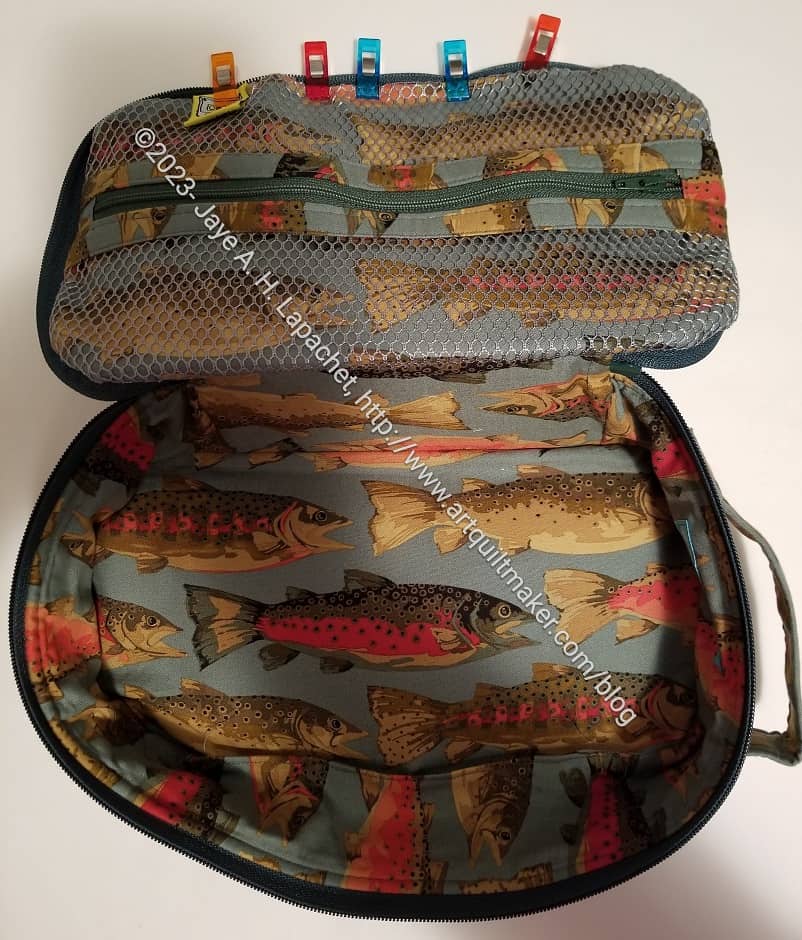
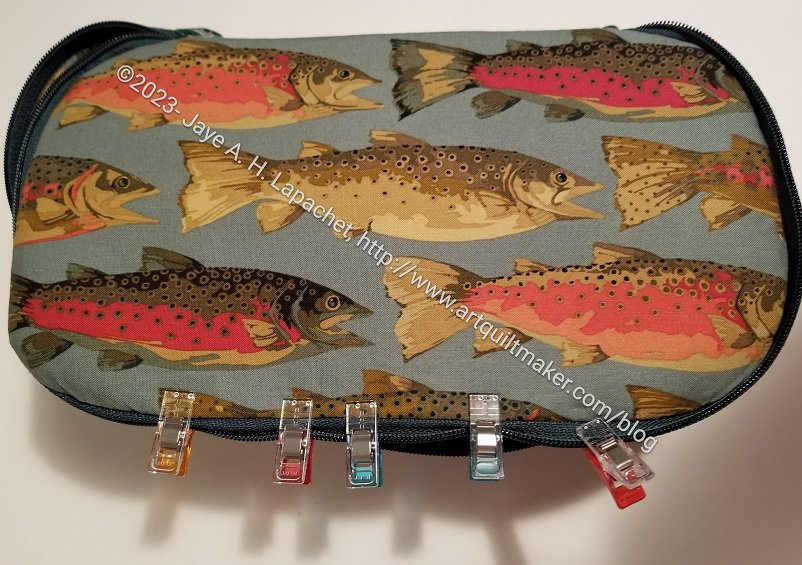
Hooray! The Fish Hackney is done. I am going to get a gift card and store it in my box of gifts. I can cross off one holiday gift requirement.
It looks pretty good. I am happy with it and hope my Dad will like it as well.
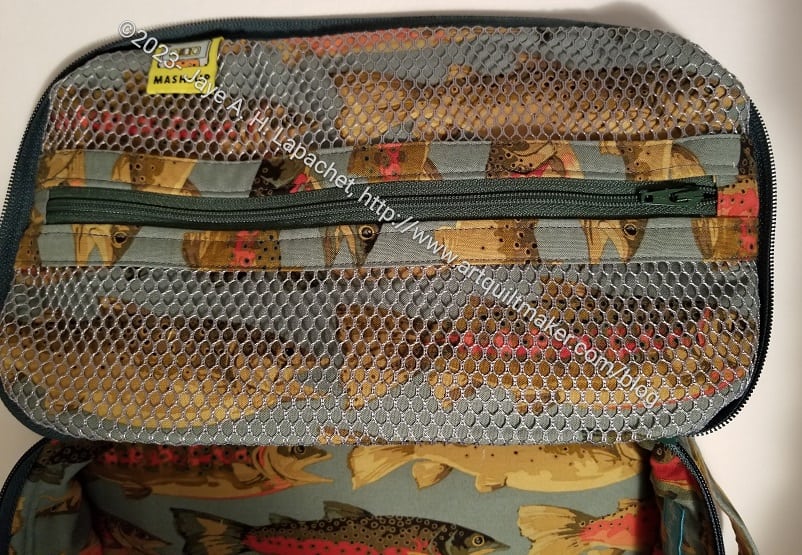
I think next time I will try a smaller vertical zipper for the mesh pocket. I think it might be useful and there is something about the zipper in the center of the pocket that bugs me a little bit. I’ll have to adjust the size of the zipper binding (called Mesh binding in the pattern) to accommodate a different sized zipper.
Fish Hackney – done – top
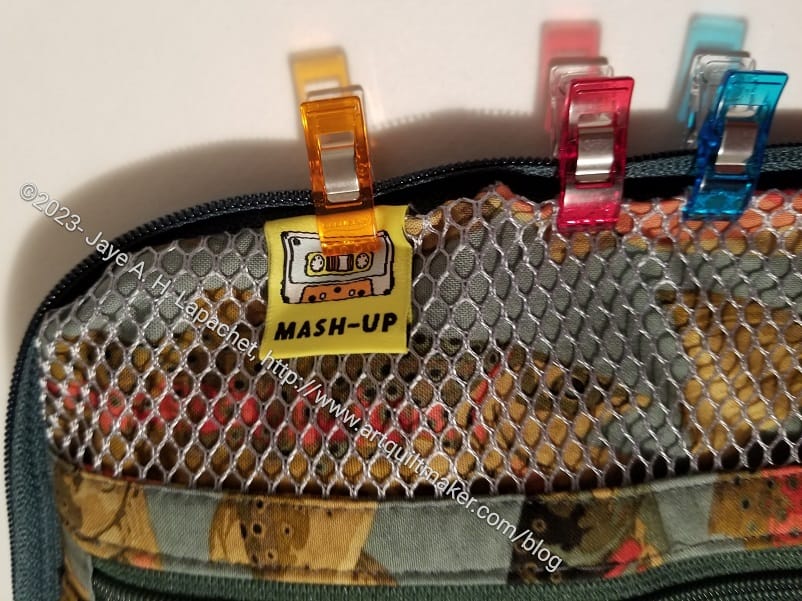
I was able to fix the label. I connected the bottom of the label to the mesh by sewing it carefully to bits of the mesh. I should have used yellow thread, but I didn’t.
I’ll have to think about where to put non-artquiltmaker labels in the future. Middle bottom of the top? It would mean they were upside down, but might be an option.
Fish Hackney – done – handle
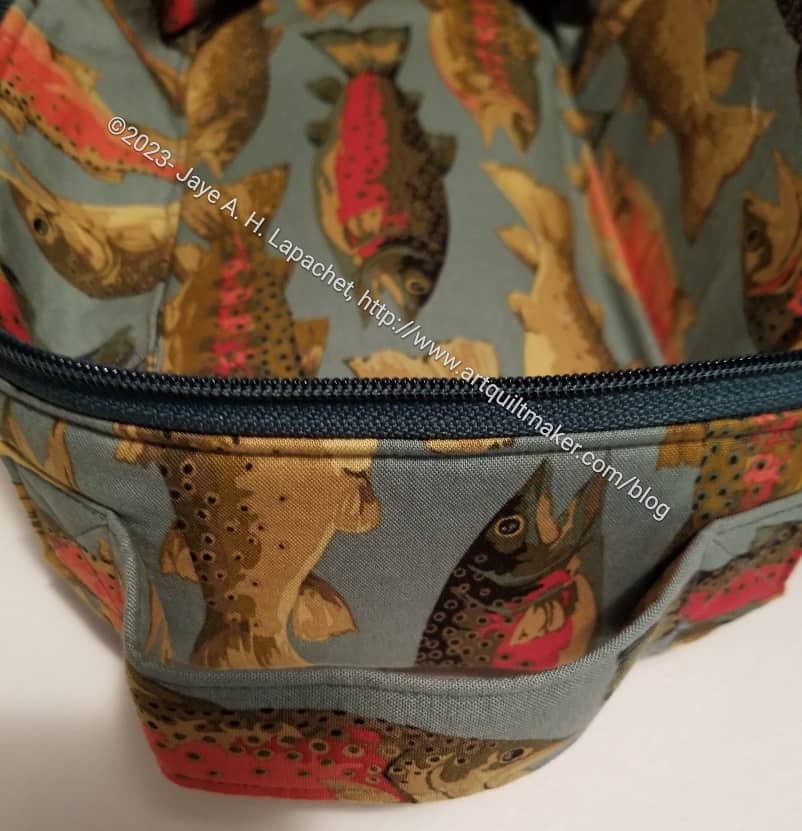
The handle looks good. I think I need to position them a little higher up in the future.
I know I will make at least one more of these bags, maybe two.
My Dad has always been a fisherman. He taught me to fish. He still fishes whenever he can, which is often since he retired. I associate fish with him. Every time I see fish fabric, I think of my Dad.
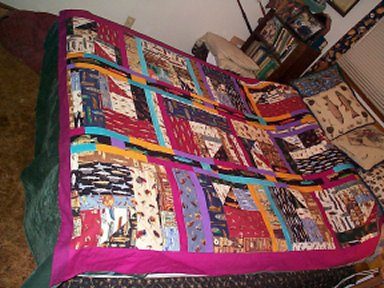
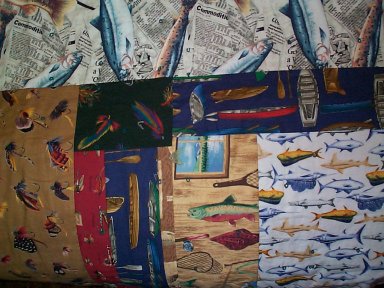
This quilt is in my gallery, but I made it before I started this blog. I never wrote about it in the way I write about other quilts I have made.
Friday Fishwrap detail
Soonish after I bought my Janome MC 9000, in about 1997, I made a quilt for my Dad. I bought some novelty fabrics with fish on them and made a quilt using improv techniques.
One of the reasons I bought the Janome MC 9000 was so I could do machine quilting (shocking, I know). I did machine quilt this quilt. I used an eyelet stitch. That means, I sewed little circles all over the quilt. I chose this stitch, because straight quilting all over the was even too much at that time. I should have known machine quilting wasn’t for me. 🙂
I called this quilt Friday Fishwrap because of some of the fabric I found, which was fish on newsprint. It’s shown on the top of the fabric above.
Since making this quilt, I have made two sets of pillowcases for my Dad. I made the first set a few years ago, in 2015, when my Dad retired. The other set I made this year. They kind of go with the quilt.
I am finally nearing completion of the Fish Hackney! Hooray!
It isn’t that it is difficult. It is that I have been working on other projects and, also, as usual, haven’t had time. Good thing I started early.
I am pretty happy with the fussy cutting. I lined up some of the fish in the center of the top and bottom, which looks good. I made one mistake and put the back panel in upside down. Oh well. My dad loves fish so I think he will like it regardless.
Fish Hackney – inside top detail
I remembered to put on all the labels, but the label I put in the top inside is in a terrible location. It flaps up and gets caught in the zipper and I am going to have to do something about it. What was I thinking?
Fish Hackney – in process – closed
As you can see, I only have to close up the gaps. I’ll take a break from La Pass and get it done.
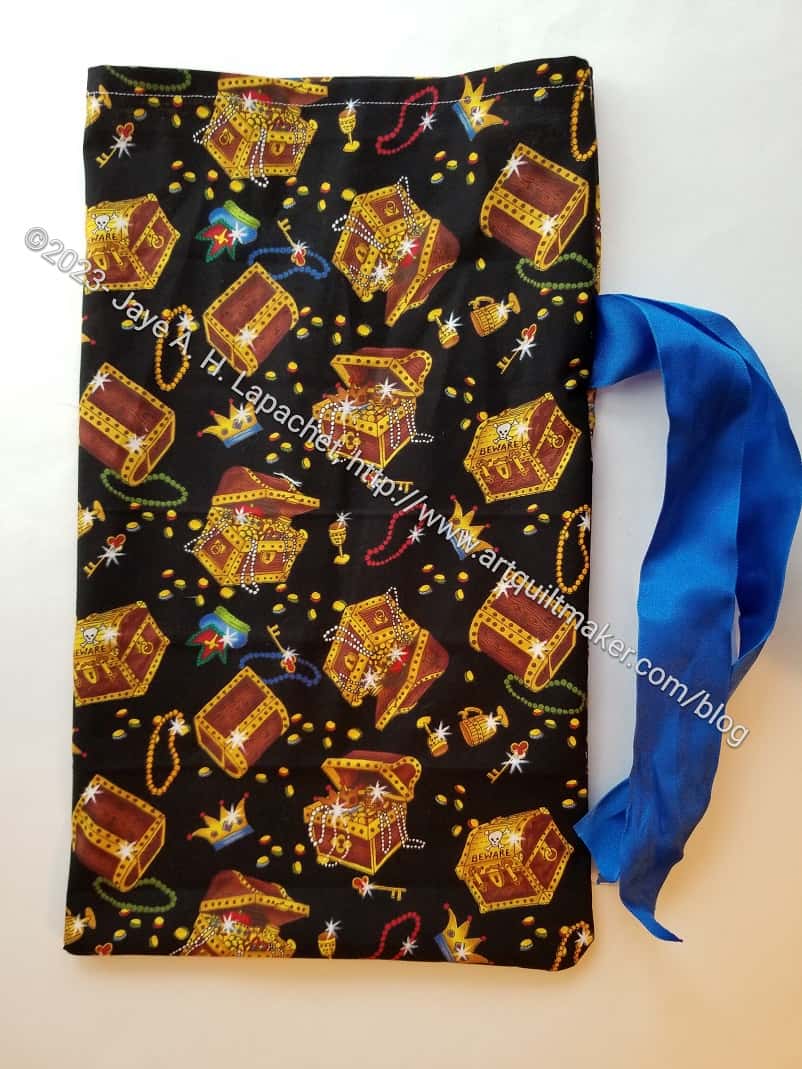
I rummaged around in the drawer I have for fabric intended for gift bags. Amazingly, I found a fat quarter of pirate treasure fabric. It is the perfect fabric for my little great nephew.
The EPP ball is all wrapped up and will be heading off to San Diego tomorrow. I need to look up why I bought this fabric.
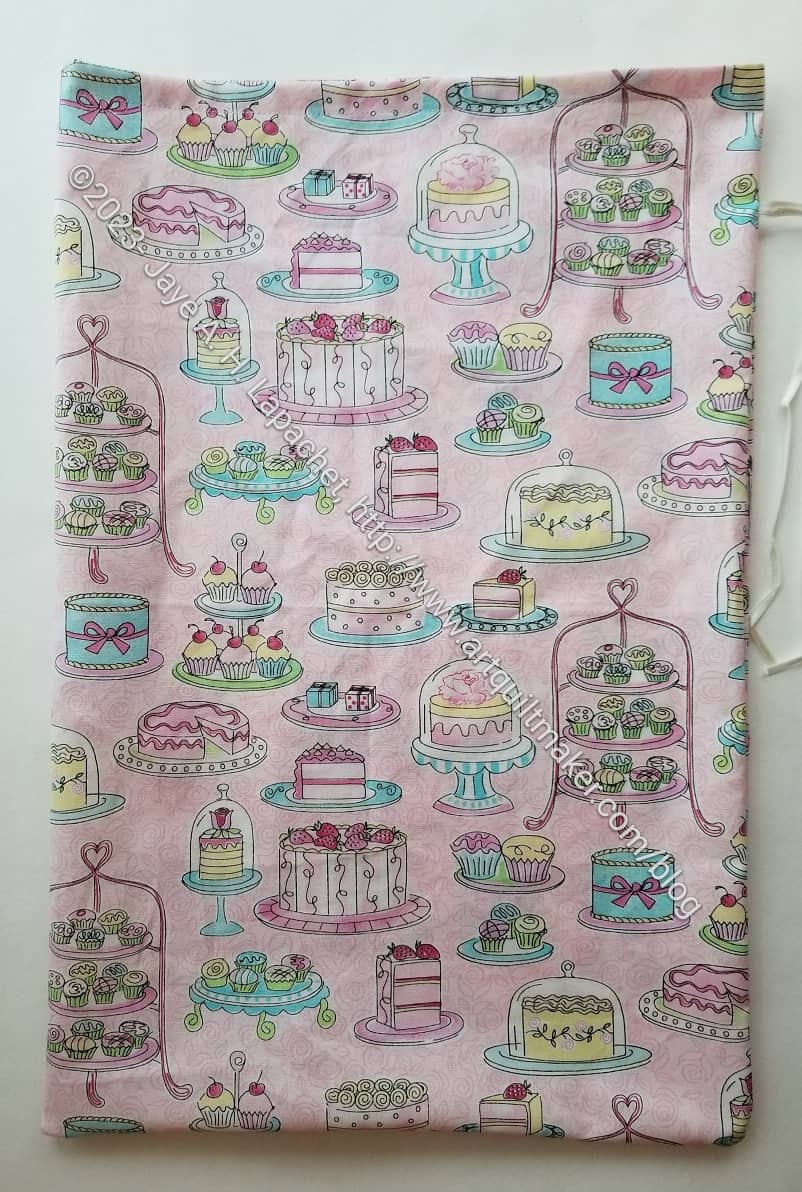
Remember when I made the EPP ball? Well, it is time to send it off. I have, as you know, two of them to get off to their recipients. I decided at the last minute I needed to make some gift bags. This is for my great niece. It is her second birthday.
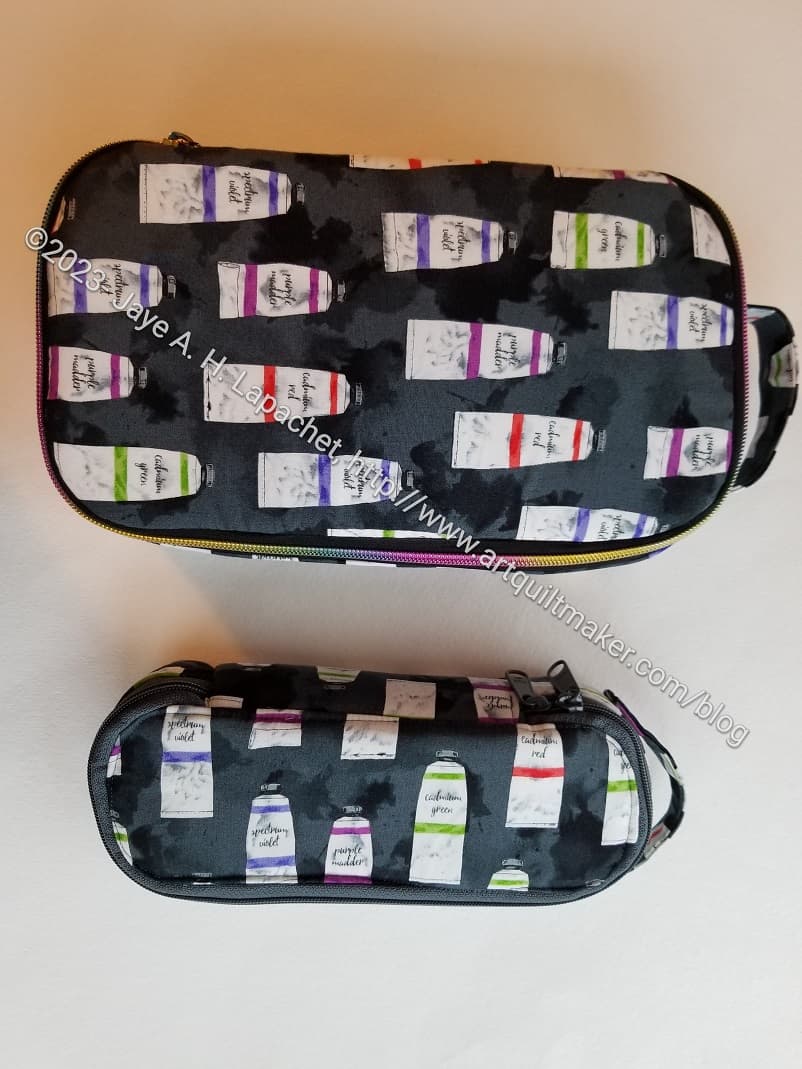
I know I showed these separately the other day, but I had to show you how they fit together. Aren’t they cute together?
As mentioned, I think the small one came out the wrong size, but I still think it is cute. I think it could be useful, too. It would fit very well into not a very large purse for … small items – makeup, sweets, toothbrush and toothpaste, etc.
Two Hackneys for Mom – interior
The small one also fits inside the large one. I am not sure why a person would use it that way. It is an observation, however.