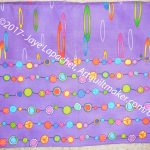
After much drama, Gelato finally arrived in Switzerland. My friend had to go pick it up and pay duty despite me sending it as a gift. I always have problems with Swiss customs.
Right now it is resting after spending 4 months folded up in a box.
My friend says he will probably frame it and hang it in his living room. I can’t wait to see it when I go back to visit.
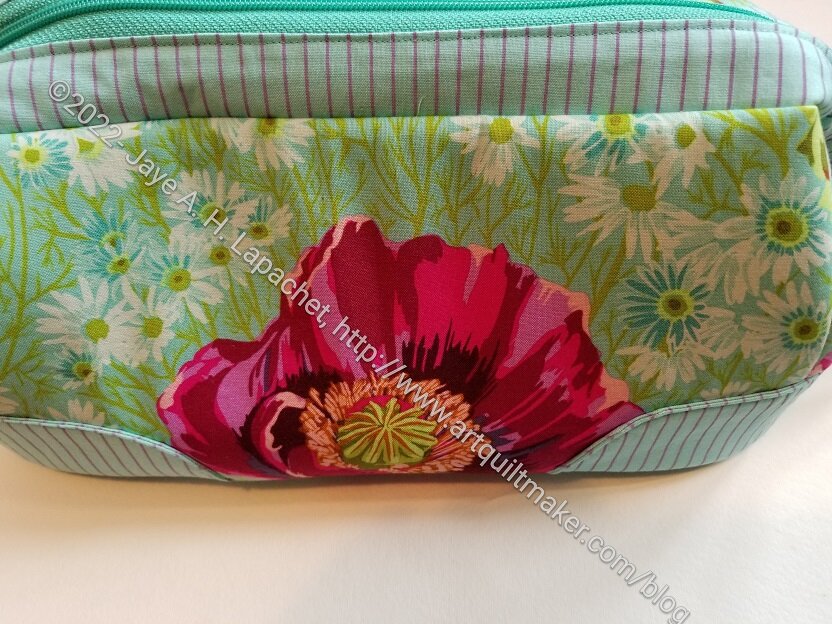
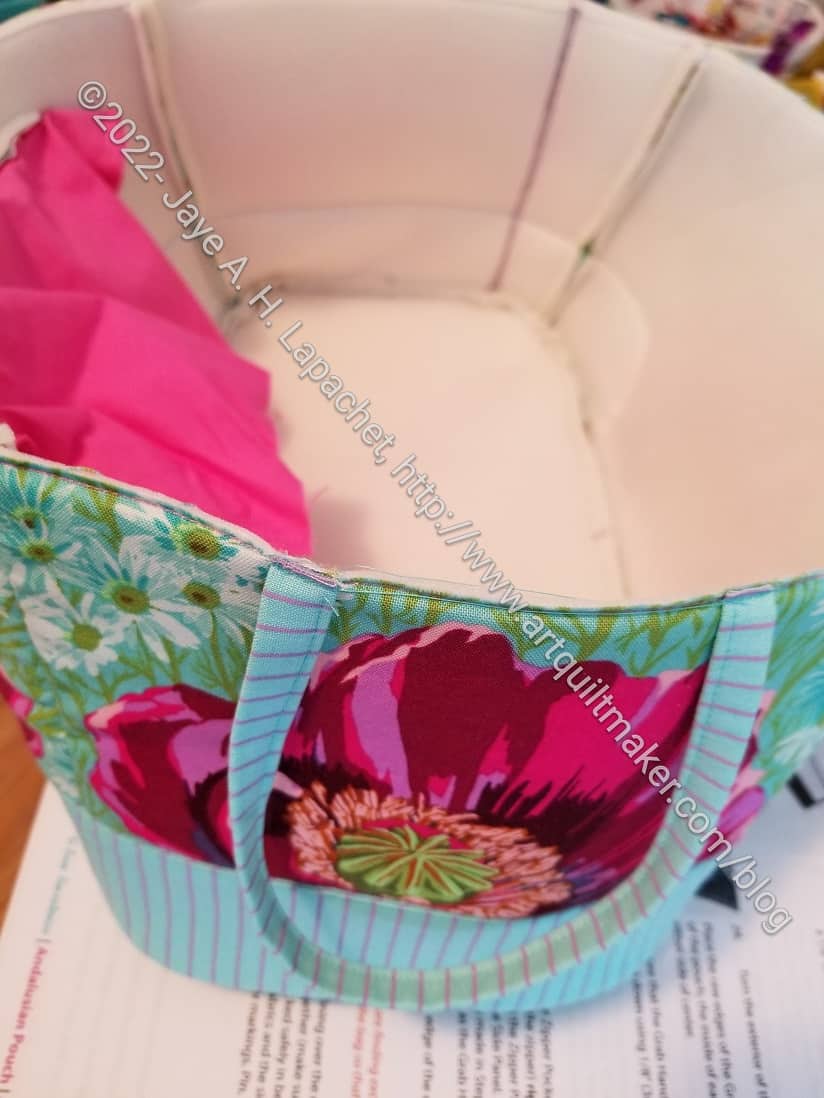
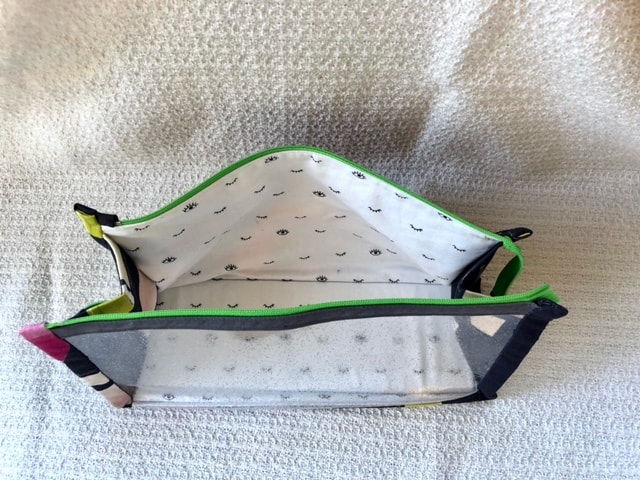
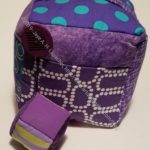
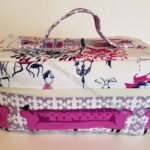
I was able to finish the Andalusian Pouch over the weekend.
It went together amazingly well. I barely used my seam ripper at all.
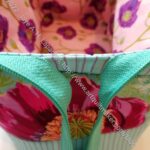
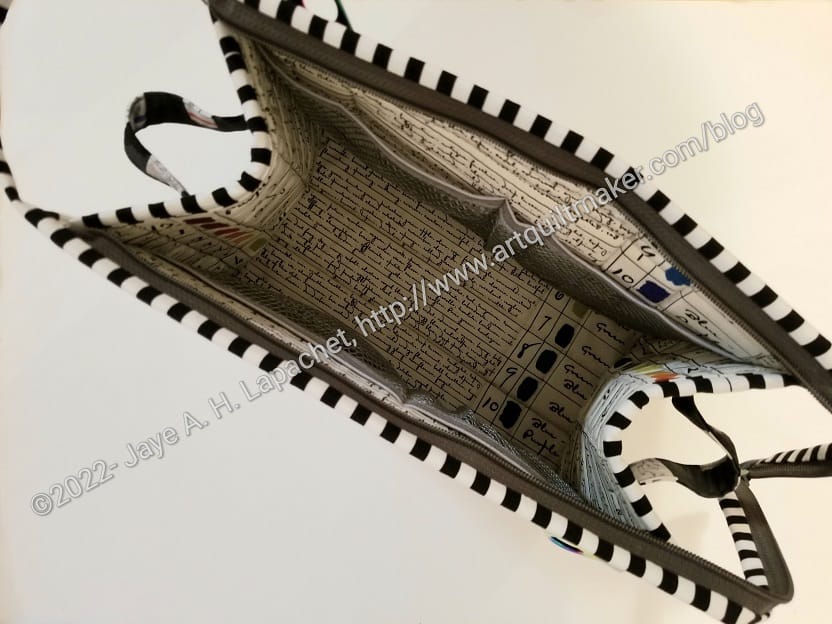
Andalusian Pouch- open/side view
This pouch started because I had a fat quarter, cut a few pieces then put them away for later. I got more of the Anna Maria poppy fabric and decided to make the pouch for a friend who has been super helpful at work. I used one of the new True Colors fabrics for the accent fabric.
This pouch has rounded corners and those rounded corners made it so easy to put together! It was really a dream, which makes me want to make another one TODAY.
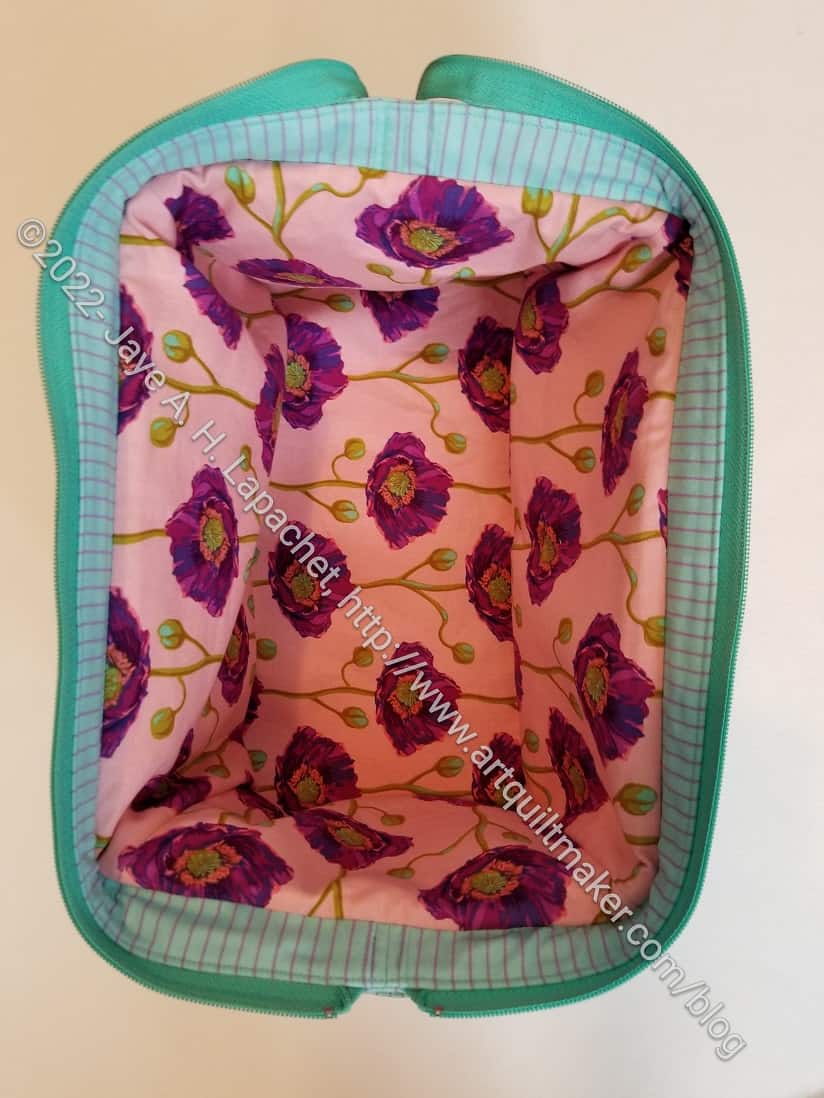
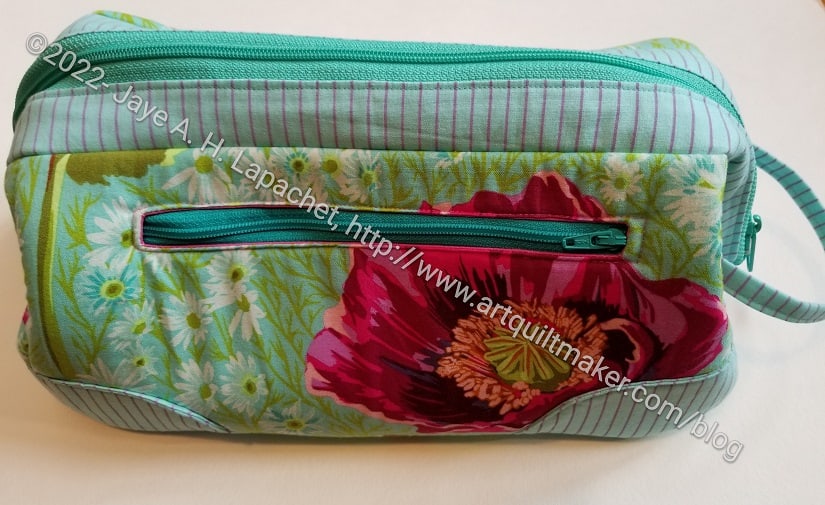
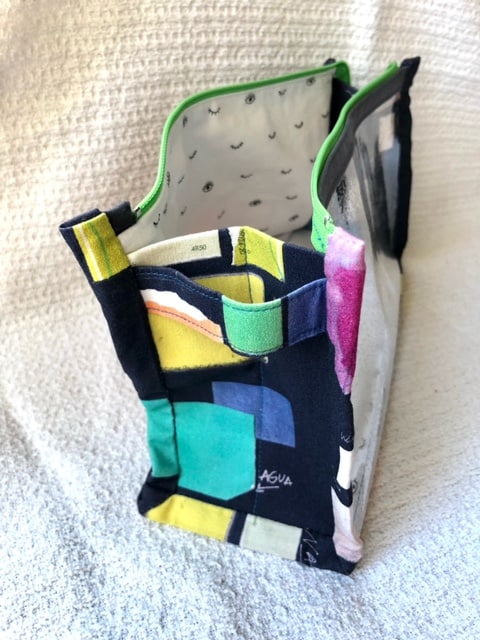
Andalusian Pouch- open/top view
The pattern is from the Minikins 3 series by Sara Lawson of Sew Sweetness. It comes out looking more like a man’s shaving kit when closed, but when open, it would be great to carry sewing supplies (one track mind, I know, I know!) to Sew Day.
The man’s shaving kit shape is a little weird, but I really like the open wide mouth that the frame provides. I like being able to see all of my stuff.
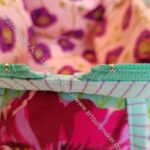
I am super proud of the way the zipper came out. Both ends of the zipper look like they are supposed to look.
Andalusian Pouch – zipper start
Andalusian Pouch – zipper end
The start of the zipper had the ends sewn at 90 degrees and it looks so finished. I really like it.
The end of the zipper required veering at the end. I think, after much practicing, I have finally gotten the hang of veering the zipper. I have to admit that I did watch that part of the video and followed the directions multiple times. I am still a little unclear on the exact purpose of veering the zipper. I plan to keep practicing so it will become second nature.
Andalusian Pouch – side zipper
My careful fussy cutting didn’t work 100%. I have never made this bag before so that was part of the problem/issue. The accents covered up some of the flowers. I knew there were accents were part of the bag; I just couldn’t judge where the flowers would end up. Still, I think it looks nice. I hope that my friend likes it.
I think if I make this again (and I do have another frame) I would use a fabric with an all over pattern, then use cork or vinyl for the bottom accents and the bottom of the bag. Sara has some turquoise cork that I have had my eye on.
I am making good progress on the pouch. I think I overestimated the time it would take to finish in a recent post. I made good progress, but the last parts seem to take longer than I usually anticipate.
I had to put the Zipper Panel pieces that hold the frame and the zipper panel together. These were a bit fiddly, but not too bad. I was in a good place when I decided to work on this project and it wasn’t too late in the day so I wasn’t tired.
I also ended up putting the grab handle on. I hope the thinness of the handle doesn’t prevent it from being useful.
I feel like I am making good progress and will be done soon.
I made a Sheffield Tote for Gerre as a gift in 2020. I make gifts because I want people to know I am thinking about them. I do know that what I think is great may not be great for someone else, but I don’t have hard feelings when someone doesn’t use a gift I made for them.
Alternatively, I am super thrilled when I see a gift being used. This ‘t the first time I have seen Gerre bring it. She says she uses it all the time. Whenever we sit near each other I see it packed with supplies. It makes me so happy that it is a useful tote.
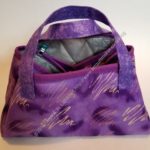
The Take a Stand** bag (which for some reason I keep wanting to call the “Without a Trace” bag) bag is done and I am on my way to give it to my Mom for Mother’s Day.
This is the first time I have made this bag and it has the usual things that annoy me about a ByAnnie pattern: quilting all the pieces and lots of binding. It is also a great size and shape. It might be a good replacement for my Travel / Go-to-Sew-Day Bag. Or at least a partial replacement.
Yes, I used the Tula Pink webbing for the shoulder strap. It isn’t the perfect color, but works ok and Mom can unhook it and use it for other things. Using webbing means that I don’t have to make straps. I seem to remember making straps with webbing as the inside a la ByAnnie, but I can’t remember (or find) what project they were used on. It wasn’t a completely smooth process, but the strap went together pretty quickly and I am happy with them.
I adore the rainbow hardware!
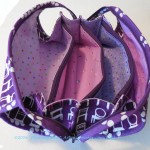
Take a Stand Bag for Mom lining/inside
I am pretty proud of the inside/lining. It is hard to see in the photo, but easier if you make the photo larger. I used a text print with color wheel type paint blobs on it. It is perfect for my mom and came out really well in terms of placement in the bag.
I have two more in the works, meaning that I have two more cut and quilted (such a chore), so you’ll see at least one of those soon. I decided that I want to make the larger size as well, but will have to cut and quilt that one before I can decide if it will be a good replacement for my Travel / Go-to-Sew-Day Bag.
I hope Mom likes this bag. She is getting quite the collection.
**Obviously, you should shop at local quilt shops. However, I use affiliate links and may be paid for your purchase of an item when you click on an item’s link in my post. There is no additional cost to you for clicking or purchasing items I recommend. I appreciate your clicks and purchases as it helps support this blog.
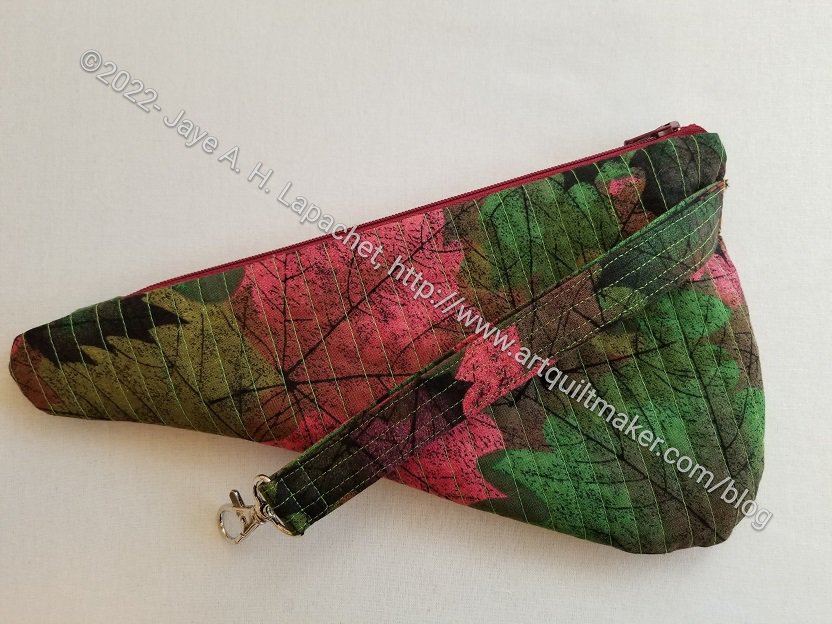
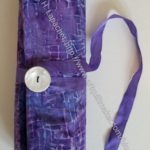
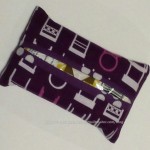
I made another scissor cozy the other day to give as a hostess gift. As I said when I made Maria’s and Gerre‘s, I like making these. I don’t know if they are useful, but they are kind of a unique gift and something not everyone makes.
For once I remembered to quilt the piece before cutting it out. It was quite a bit of quilting, but I think it looks nice.
I can’t quite decide how long to make the leash, so this one is pretty long.
I used some fabric I have had for ages, which turned out well.
A few months ago I made some bowl cozies for my boss. The other day she sent me a picture of them in action. She has told me several times that she and her husband both use them and like them. I am always so amazed that other people don’t have houses filled with useful items (potholders, napkins, bowl cozies, tea towels, TP totes, etc.) made from quiltmaking fabric!
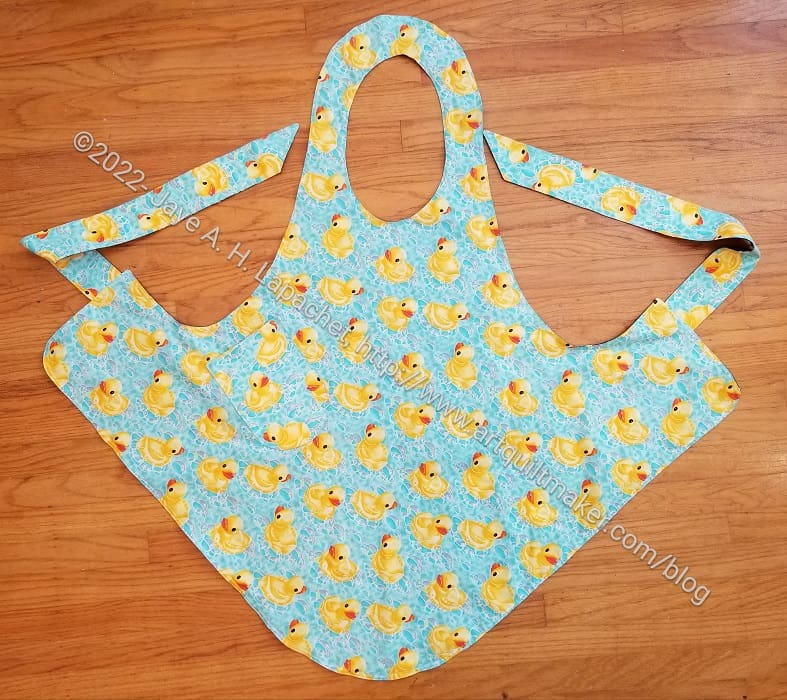
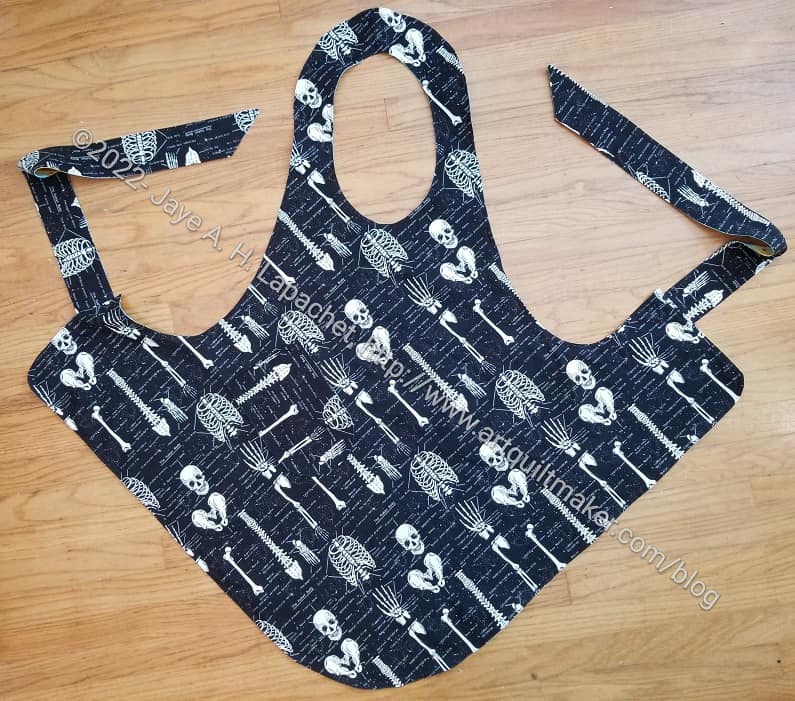
I finished another Flapper apron over the weekend. I call this the Duck Bones apron because one side has rubber duckies and the other bones. This will be for the YM’s partner. She is on a pathology course and really liked it when I included the bones fabric in a bag I made for her for Christmas.
Duck Bones Apron
The bone fabric is a favorite of various recipients. I have an alert on a shop site so whenever it comes in I buy 3 yards and decide what to make. I have enough left to make more pillowcases, which is probably a good idea for my SIL. Who uses only two pillowcases?
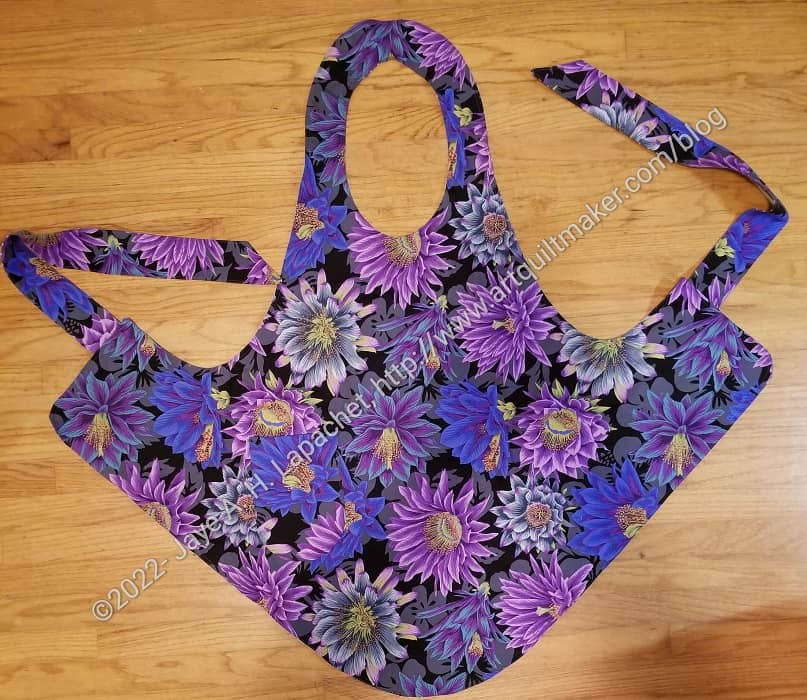
I have made several of these over the past few years and still like the way they turn out. The last one I made was for my mom, I think.
I made two of these at a time. The second one is still in progress. No, it isn’t Christmas or a birthday, but I had them on my mind, so I decided to make them.
I have been adjusting the neck hole a little, but left it the original size this time. I don’t remember why I adjusted it originally. I think the fabric looks really nice in apron form.
Yes, I used some of my precious Philip Jacobs fabric, but why not? It isn’t like there is a shortage at my house.
This is the pattern you can use with a yard of fabric. The pattern is called Flapper Apron from the Decades of Style pattern company. I bought it in 2018 when I was out shopping with Amanda. The clever part of this pattern is that you cut the pattern out on the bias. The biggest attraction is that you only *need* one yard of fabric to make it. I usually make the apron reversible, which takes 2 yards. As mentioned before, I like to give myself a little breathing room with 1.25 yards on each side. Still, the pattern is designed for one yard of fabric.
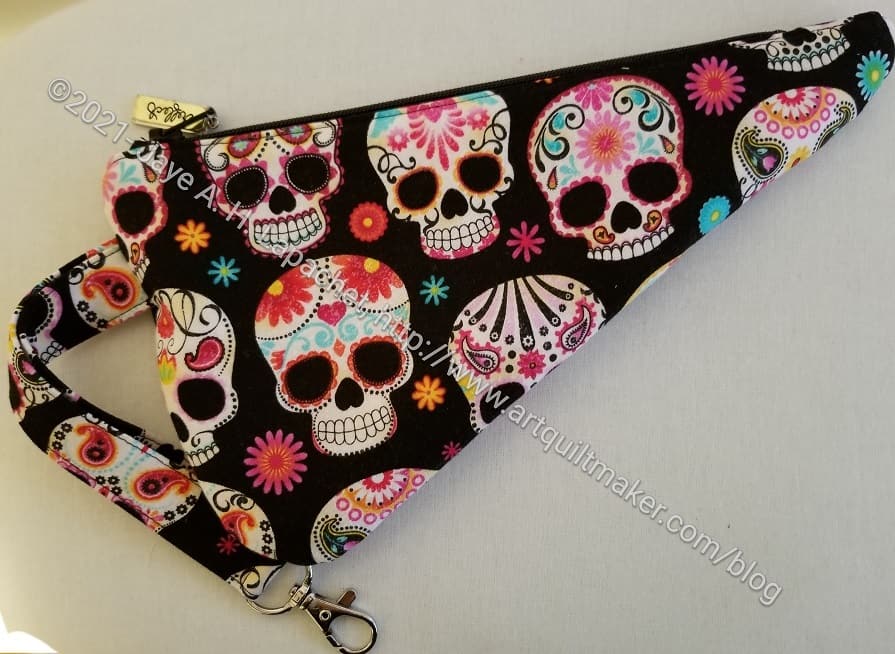
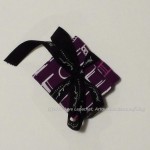
I got a bug in my ear to make some scissor cozies over the weekend. I’m not sure why, but I just went with it and made two. I didn’t like the way the tips came out, but I am pleased with the overall effect.
I made a scissor cozy for Julie and one for my Mom some time ago, so I had the directions, which I tried to use. There was some confusion, so went and looked up the pattern on Sotak Handmade’s IG feed. It turns out she has a YouTube tutorial now, so I watched that. She has tightened up the pattern and made a few changes, which worked well for me.
I used flannel for the inside instead of batting. I am not sure it made the corners much thinner. I might keep the batting away from the corners in a future version.
This one was for Maria just because. No particular reason. Making two was just as easy as making one. I added the leash.
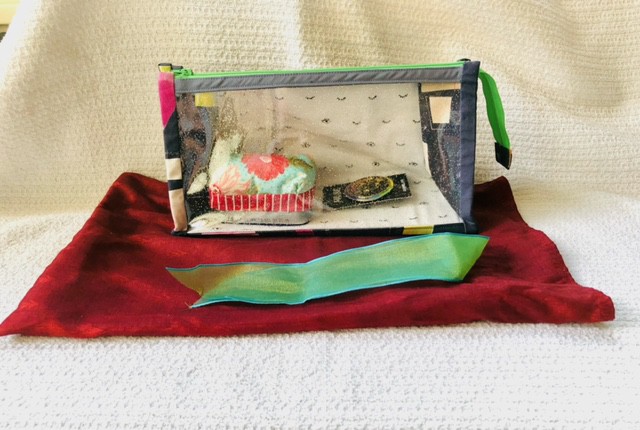
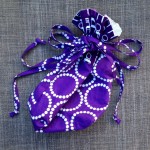
I forgot to take pictures of Carrie’s pouch, but she kindly took some and sent them to me. You’ll get a different view from the ones I usually provide. Perhaps it will shake up my photographing a little bit.
Carries pouch
In the pouch I put one of the color wheel pins I bought for gifts. I also put in one of the small Altoid tin sewing kits I made for the officers earlier this year. (see above)
I tried something different with these based on my desire to cover the ends of the zipper tape on the Inside Outside pouch. This is, however, a different bag and I ended up ripping out a lot of work when I realized it wouldn’t work. My idea of zipper tabs will work on the Inside Outside pouch, if I make it again.
Carries pouch end
Carrie was really happy with it and sent me a lovely thank you note. Don’t you love a good thank you note? I can’t wait to see how she uses it.
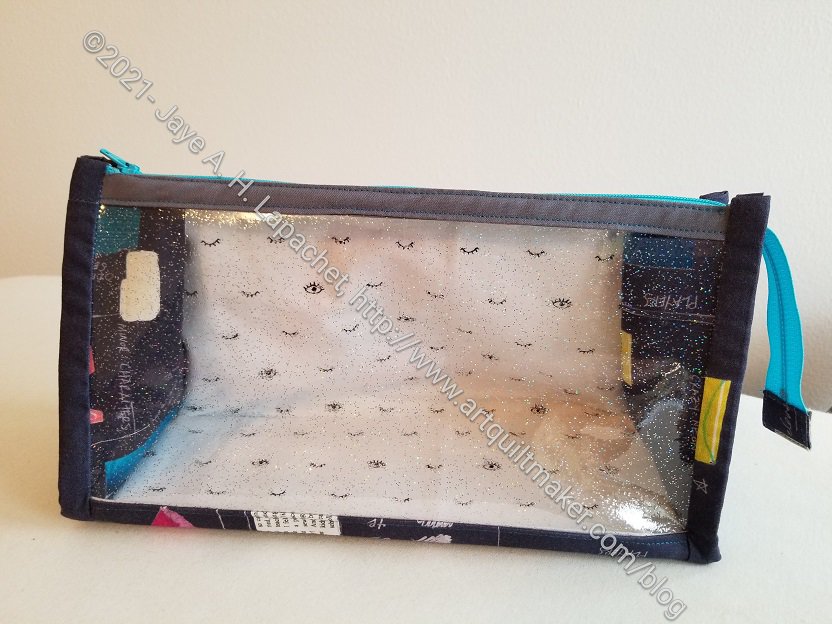
I finished another Boxy Clear Pouch right before Christmas. This one is for Tim and I gave it to him when we had an after Christmas Sew Day. It is the same pattern as the ones I made for my students. The difference is that I used fabric that will coordinate with the Sew Together Bag I made him last year.
The Bernard
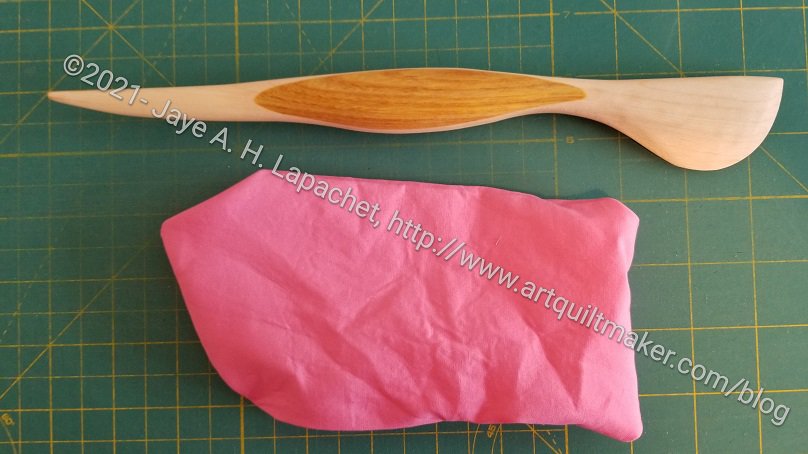
Inside I put a point turner from Modern American Vintage. Remember I talked about them in a recent Various & Sundry post? (Ignore the pink pocket in the photo; that is from an unrelated project.) The company have some beautiful tools. They make wooden point turners, seam rippers and Hera markers. Often wooden tools are over the top, but these are simple, gorgeous and amazingly functional. Tim is a great friend and my bagmaking buddy, though he makes fun of me for the complicated bags that I make. Every bagmaker needs a good point turner. I have several different ones and this is the best. I know Tim would like it as well.
Tim’s Boxy Clear Pouch – back
Aneela Hoey’s patterns are pretty well written. The thing I don’t like about this pattern is the binding on the ends. It looks great in the end, but is a hassle to hand sew down at the end of the project.
I think this is a useful bag, because you can see what’s in it.
In the past, I made a list of gifts I had made for Friend Julie. I am doing it again because I want to see all the items together. I still feel like I have made more for her, but I’ll have to update it as I come across items.
Julie’s Birthday Gifts
Julie’s Journal Cover – front
Julie’s Purple Pincushion Gift
Kaffe Pillowcase Gift for Julie
Halloween House #3
Halloween House #2
Halloween House #1
Walker Bag
Purple Chair Sew Together Bag for Julie – open
Scissor Cozy for Julie
Julie’s Iron Caddy
Julie’s Pencil Roll
Mega- Pinnie for Julie
Tissue Holder
Purple Chair Needlecase
Purple Chair Bag – closed
Julie’s Mini Maker Case
Large Retreat pouch -aerial view
I used some really good fabrics for her gifts.
I forgot I made her the Halloween blocks, which I hope she will use to finish her Halloween quilt at some point.
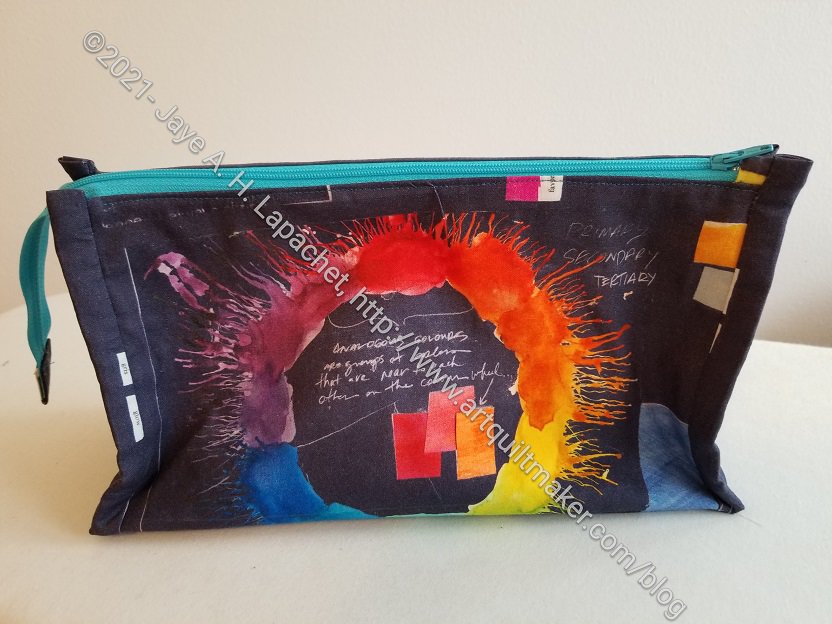
I used the Boxy Clear Pouch pattern from Aneela Hoey. It is related to the Inside Outside Pouch I made for myself. The difference is fewer zippers. I think I like the Inside Outside pouch better, though this is in no way a terrible pouch. It would be great for a small knitting project.
Color Wheel Boxy Clear Pouch – back
I am pleased with the fabric I used. It is Carrie Bloomston fabric. I am constantly referring to the color wheel when we are in class. Sue will have a color wheel with her if she keeps this pouch around.