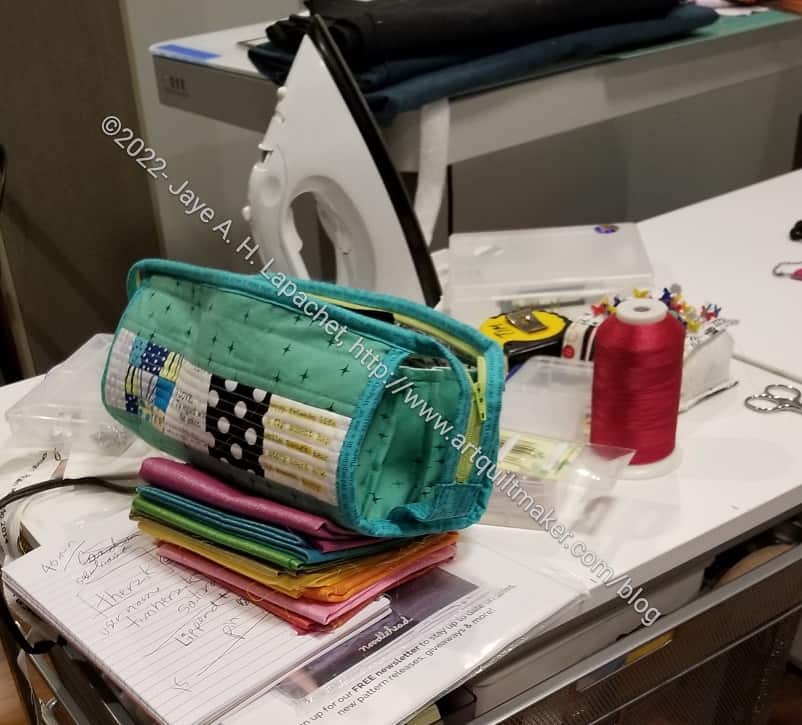
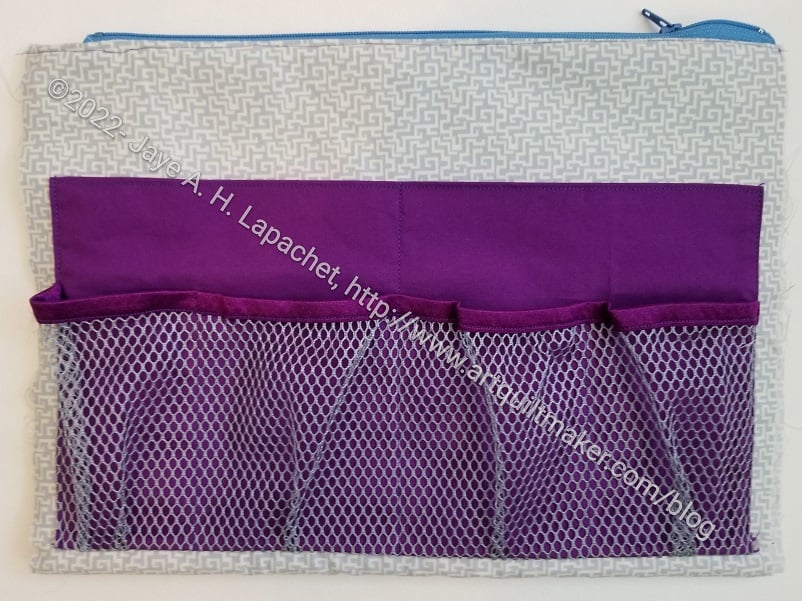
I was really pleased to see the Sew Together Bag I made out in the wild.
I went over to Tim’s the other day and saw the bag I made for him. It was full of supplies, which made me very happy.
Commentary about works in progress, design & creativity
I was really pleased to see the Sew Together Bag I made out in the wild.
I went over to Tim’s the other day and saw the bag I made for him. It was full of supplies, which made me very happy.
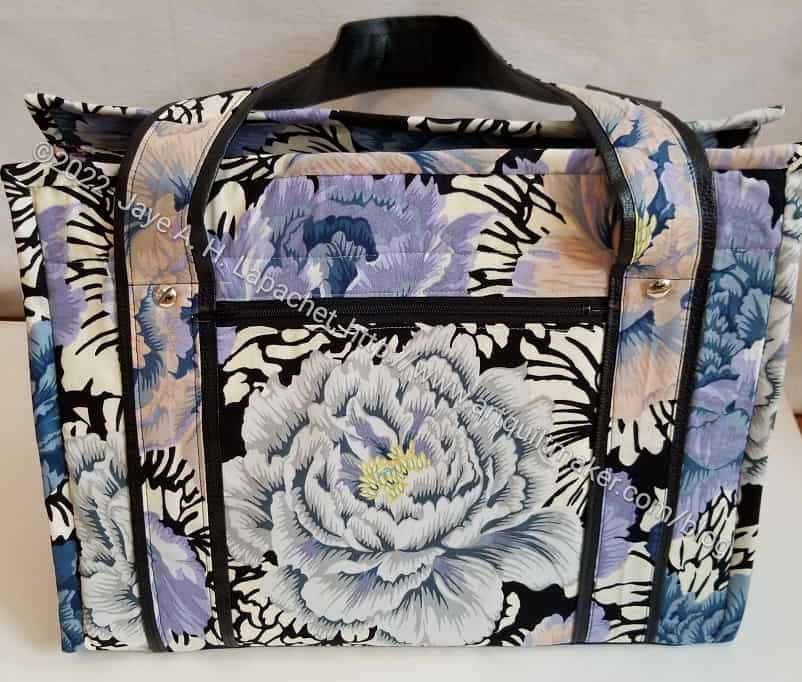
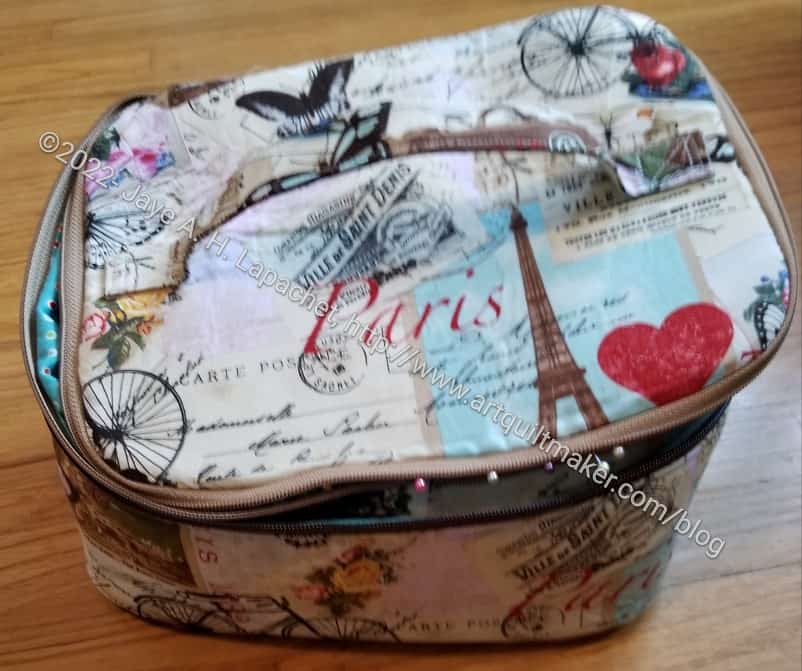
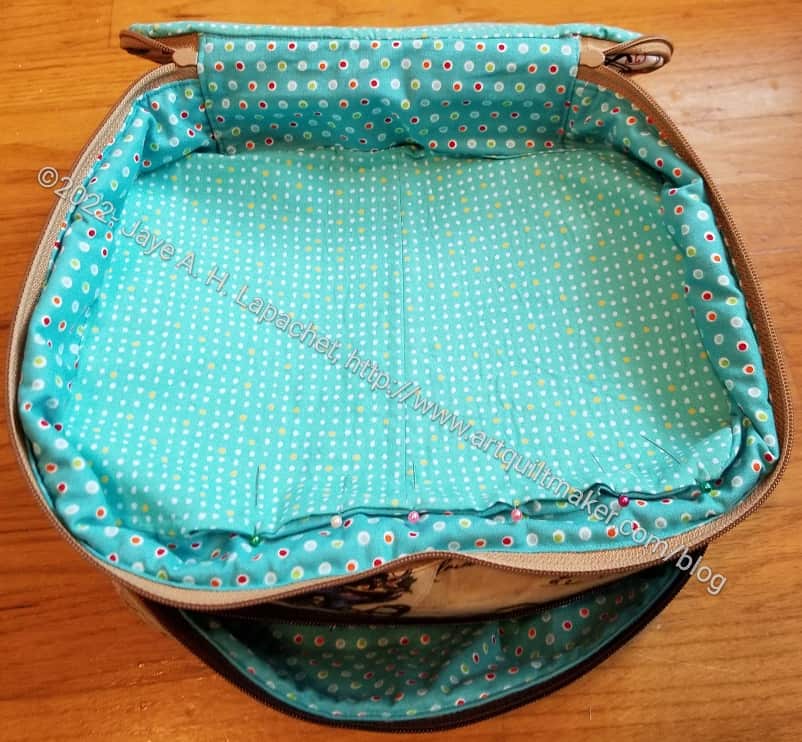
Yes, I made Julie a UCAB. This wasn’t planned for her, but she admired mine at Super Sew Day so much that I showed her the outside of the Brocade Peony UCAB and we made a deal. I would finish it for her and she would forget our conversation and be surprised.
I didn’t wait until the last minute to get the project done. About a week after Super Sew Day, I started on the pockets and just powered through. This is my third UCAB and I don’t find it any easier than the first two. Well, maybe a little easier.
Anyway, I sent it off the day before Thanksgiving and I am sure she got it. I can’t wait to hear if it is useful or her.
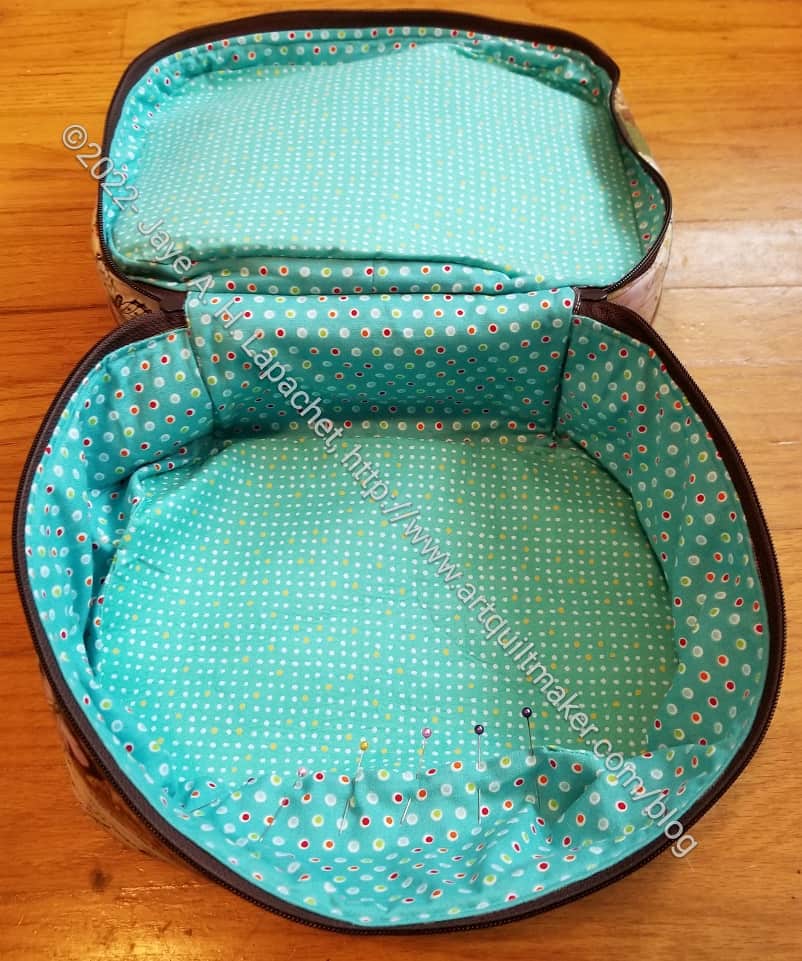
The Percheron (part of Minikins Season 3) by Sew Sweetness is classified as a pouch, but it is definitely larger than what I would consider to be a pouch. Remember I made one of these before? I wanted to make it again since I struggled with Mom’s. As mentioned, it was going very well and I think I mastered the hinge, which was one of the steps that caused me a headache.
It isn’t going as well as it was before. I am not quite sure what went sideways, but I have been really, really struggling with putting the whole thing together.
I know the picture of the whole thing makes it look very sad. I think I was in a rush. I don’t have to throw it out, don’t worry.
I just really fought and fought with the lining and the assembly. It looks really ugly in this picture. The saving grace is that I haven’t finished the last seam by hand, so there is hope that I can save it. I really don’t want to unpick it.
I can also give the thing a good press (this is where my small Oliso comes in very handy) and I am sure that will help, too.
Is there always a point in my bag making where I despair completely?
Now I need to remember to sew a Wunderlabel in it.
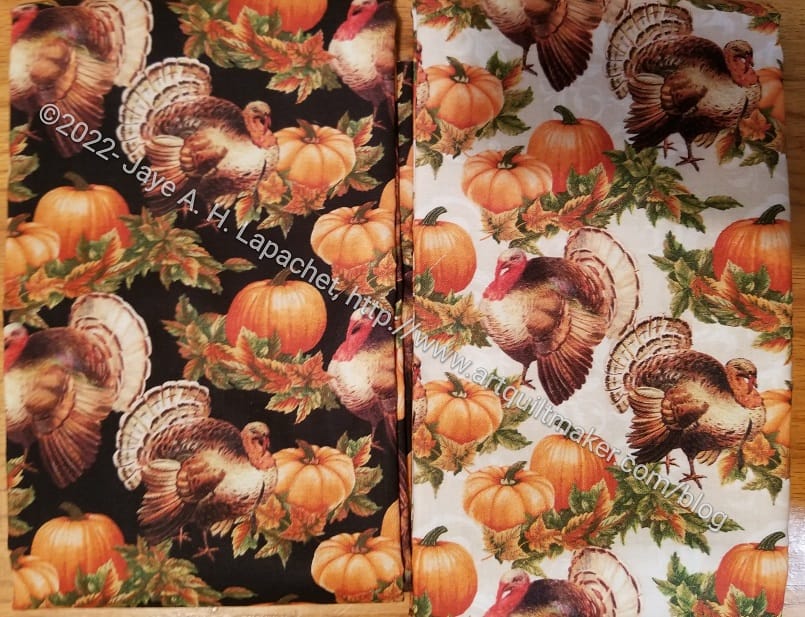
Once the Halloween pillowcases were done, I knew I needed to start thinking about Thanksgiving.
I finally (that must be my word of the month!) bought some fabrics for the Thanksgiving pillowcases. I was inspired to get turkey fabric by some photos one of my students sent me. The photo showed a flock of turkeys she sees in her yard. They looked like the turkeys on this fabric.


I need to choose some cuff fabric and wash these pieces, then I can make them. I have about two weeks before I need to send them off.

I totally forgot to show you the Halloween Pillowcases I made for the nephews and the YM. The black cat pillowcases are for my YM and his partner in honor of their black cat, Marie. I hadn’t intended to make him more pillowcases, but I couldn’t pass up the fabric.
The pumpkin pillowcases are for my two nephews who are in their first semesters of college. They are not twins; they are cousins, but are only two months apart. My intention is to send them a themed pillowcase every month, but we will see what happens.
I just want to let them know I am thinking about them and pillowcases are useful.
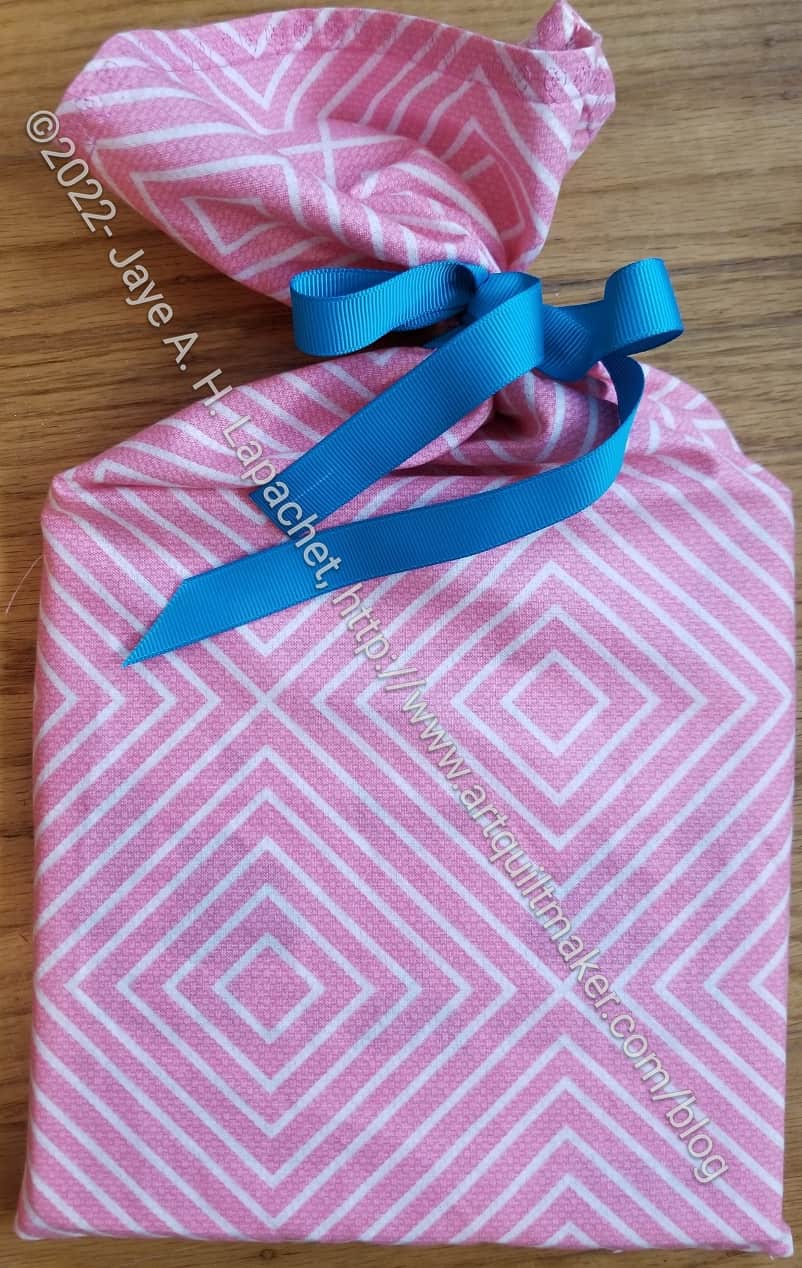
I spent some time on Friday making gift bags for my mom’s gifts and for a book** I bought for my baby niece.
I realized as I was sewing that my ribbon stash is getting low. I’ll have to buy some ribbon before I start making Christmas and holiday gift bags.
The first bag uses the last of the pink Textured Basics fabrics by Patty Young. I used this fabric for Marianne’s Fresh Fruit quilt. I am pleased with how the bag came out. I did save some of the fabric for Fabric of the Year 2022.
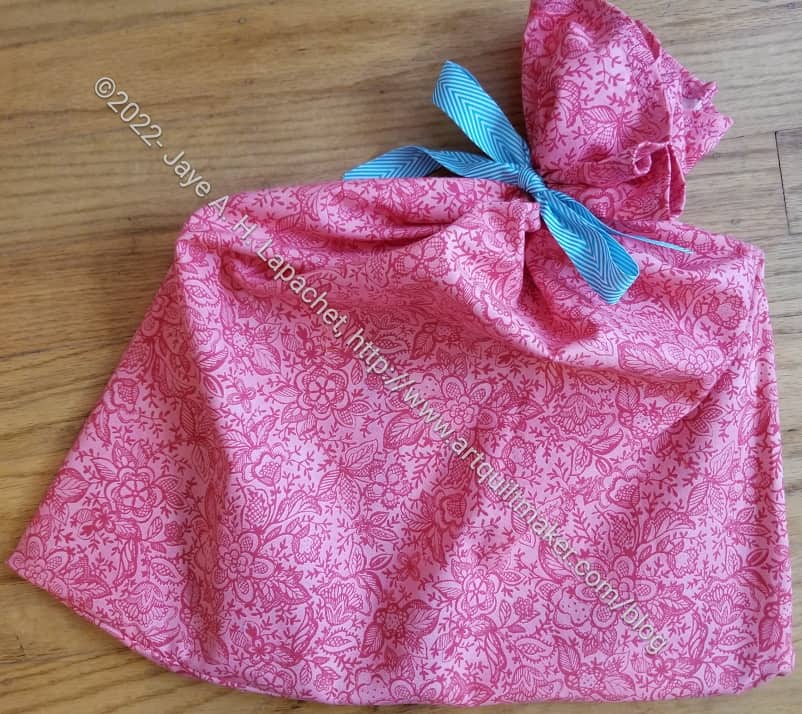
I used some fabric that I found when rummaging for the first Pantone Project blocks for one of my mom’s birthday gifts. I was going to give it away, but ended up using it for the bag. This bag looks great in the picture and the bag construction itself is good. I was going to give it away because the color was too dull. I don’t see that in the picture. It is really old, though I had cut a piece out of it so maybe I bought it after I started on the FOTY series.

Finally, I took a piece of fabric out of my dots collection. This is probably not one that I will use as a background, but I still like it. I think the bow looks especially posh.
All of these bags have French seams, which keep them from raveling.
**Obviously, you should shop at local fabric stores, knitting shops, independent booksellers or quilt shops. However, if you can’t, please know that I use affiliate links. I may be paid for your purchase of an item when you click on an item’s link in my post. There is no additional cost to you for clicking or purchasing items I recommend. I do not recommend items I don’t like. I appreciate your clicks and purchases as it helps support this blog.
I really wanted to make Mary something for helping me with the Westchester top.
When she made the ballgown I needed for Political Wifery, I made her a group of gifts, including Tooly McToolston. I don’t think she really liked the colors I chose, because I have never seen them again. I don’t mind since it is the thought that counts and once I give a gift, people can do with it what they want. Mary C. is also a GREAT seamstress, quiltmaker and bagmaker, so she make whatever she wants. However, I wanted to use the gift grouping experience to inform my future fabric choices. I took the opportunity to look around her studio at everything there to see what I could see in terms of colors and patterns. It is a great space!
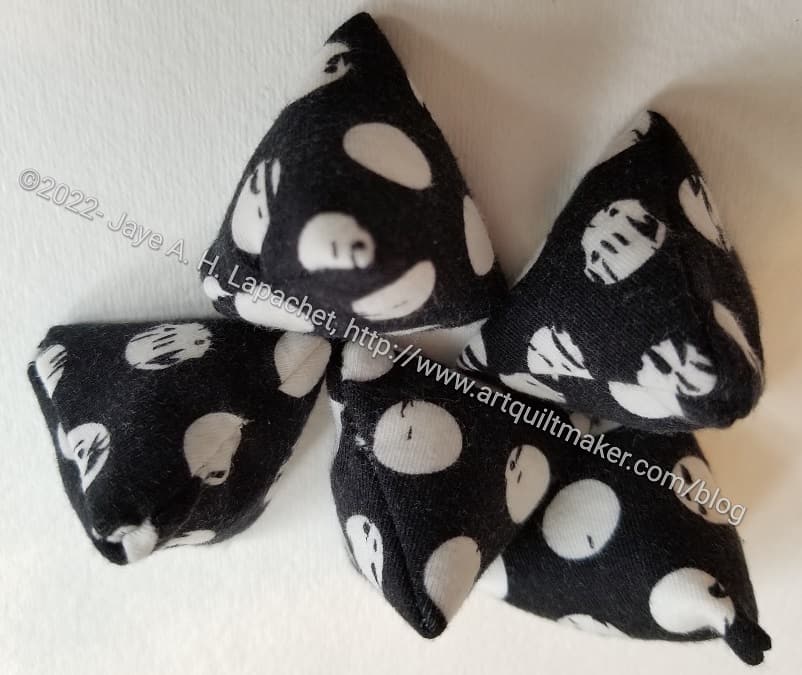
I had some of the t-shirt material left, so I decided to use that. For some reason, pattern weights were on my mind. I knew Mary would use them. I found some patterns for the weights. The pattern I used, basically, was from Tea Rose Home. I had to request access to the free template, but the owner was very quick about responding. I made a small batch of those pattern weights. I found them small and not very heavy.
She uses rice for the filling, but I used Beanie Baby pellets**. Rice is a little on the pricey side right now and the Beanie Baby pellets (Poly Pellets) are more hypo-allergenic than something like crushed walnut shells.
I tried again using my Fons & Porter Pyramid Ruler**. You can also use the Creative Grids 60 degree Triangle Ruler** or any brand of 60 degree ruler. I found using the small ruler was better for me. There was less leaning awkwardly over cuts.
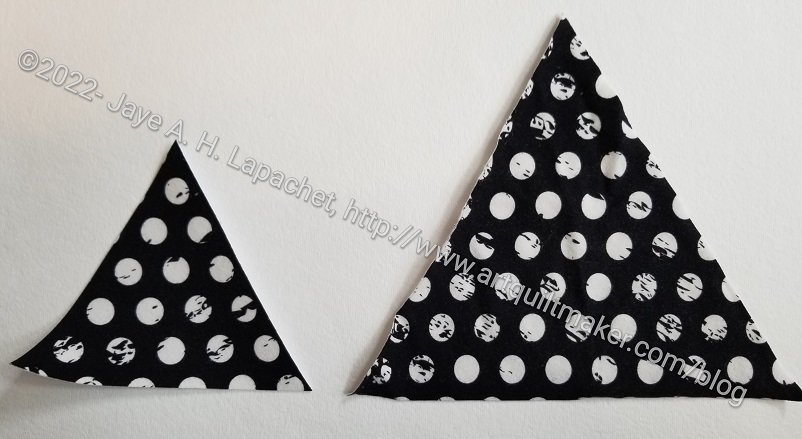
I used the full size of the ruler rather than the size of the template. When finished, the weights were larger, but not a weird size. They were also heavier and, thus, more useful, I thought.
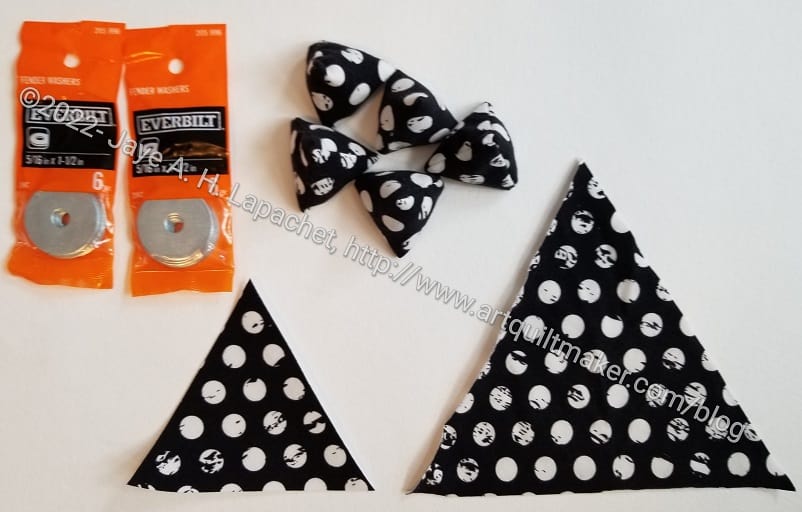
I did augment the weight with some washers I bought at Home Depot. I measured the side of the larger weights so I knew what would fit once each weight was sewn. I put the washers in and then filled the rest with Beanie Baby pellets**.

I was pleased with the set in general. I gave them all to Mary at Sew Day following our t-shirt session. She said she uses pattern weights all the time, so I hope this will be something she can use.
**Obviously, you should shop at local fabric, knitting shops or quilt shops. However, if you can’t, please know that I use affiliate links. I may be paid for your purchase of an item when you click on an item’s link in my post. There is no additional cost to you for clicking or purchasing items I recommend. I do not recommend items I don’t like. I appreciate your clicks and purchases as it helps support this blog.
I am back on the UCAB bandwagon! I worked on the pockets for the Brocade Peony UCAB over the weekend and made some good progress. This is part of my effort to clear off my to do list. I know I have gifts to make, so there is a push-me-pull-you going on in my brain. Fortunately, this ticks off both areas.
I started the work on the two large pockets at Tim’s on Saturday. We got together for the meeting and to sew and catch up. I started in carefully on the large pocket #1 and made good progress until I realized I had screwed up. I had the wrong piece noted in the pattern and sewed the extra pockets to the wrong piece of fabric. I didn’t have the extra fabric with me, so I stopped and worked on binding some other bags.
By the next day, I had figured out the problem and was ready to go. I thought I would abandon my efforts and start over. Unfortunately, I couldn’t find the extra fabric I thought I had, so I unpicked everything and redid it. It worked out. It took time, but unpicking is rather meditative.
Despite this inauspicious start, I was able to complete the two large pockets and make the center section of the small front pocket. I also started making the sides of the small front packet, including the Clippy section. There is a lot of fiddly sewing and cutting, so I didn’t make much progress yet.
Previous Tutorials:
We attended a wedding and a baby shower in Tahoe a few weeks ago. My niece and her husband came up from San Diego so we were able to celebrate them and their baby.
I gave them the Diagonal Nine Patch. I was super gratified at how well the quilt was received. My niece did like the storage bag I made for the quilt very much. She said she might keep it and use it for her own purposes. 😉
I was worried that the baby’s dad wouldn’t like it, but he pointed out the quilting thread color right away and really liked it. I was very relieved.
One of the other nephews said he thought this quilt might be my best ever! I didn’t tell him I got the design from Peggy! I am glad this quilt was a success. The happy couple received three quilts total.
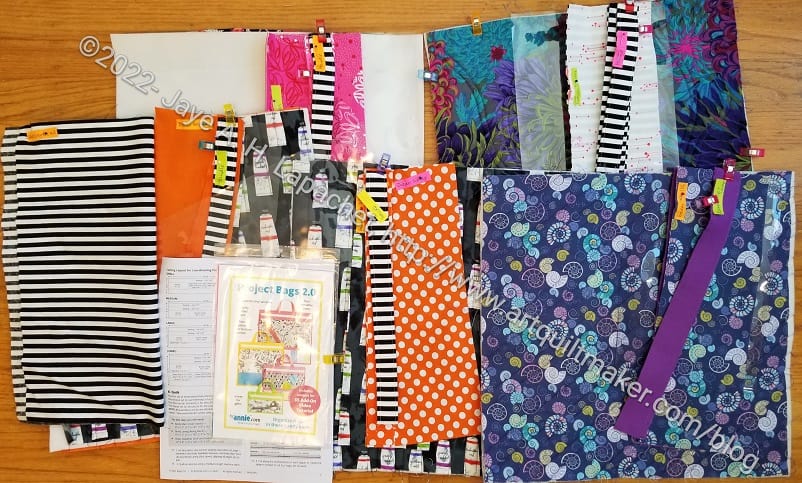
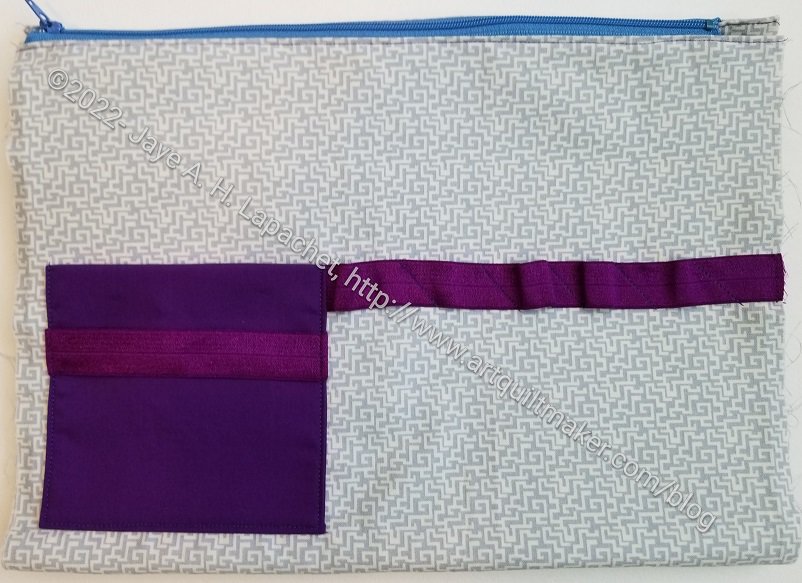
As I mentioned, I spent part of Super Sew Day cutting out Project Bags. My idea for these bags is that they will allow me to collect pieces and parts, such as thread, templates, fabric, of projects so everything is together when I am ready to sew.
Partly, this project and the process has to do with organization. If I have a few minutes and am not at the machine, I can gather some fabric or find the pattern and templates for a future project. This uses my precious time well.
The way I have organized them helps me keep all the pieces with their fellows. This works especially well when I am making more than one at a time.
Yes, I have plenty of ziploc bags and other, purchased containers for projects, but this allows me to use some of my fabric stash. It also makes my space prettier.
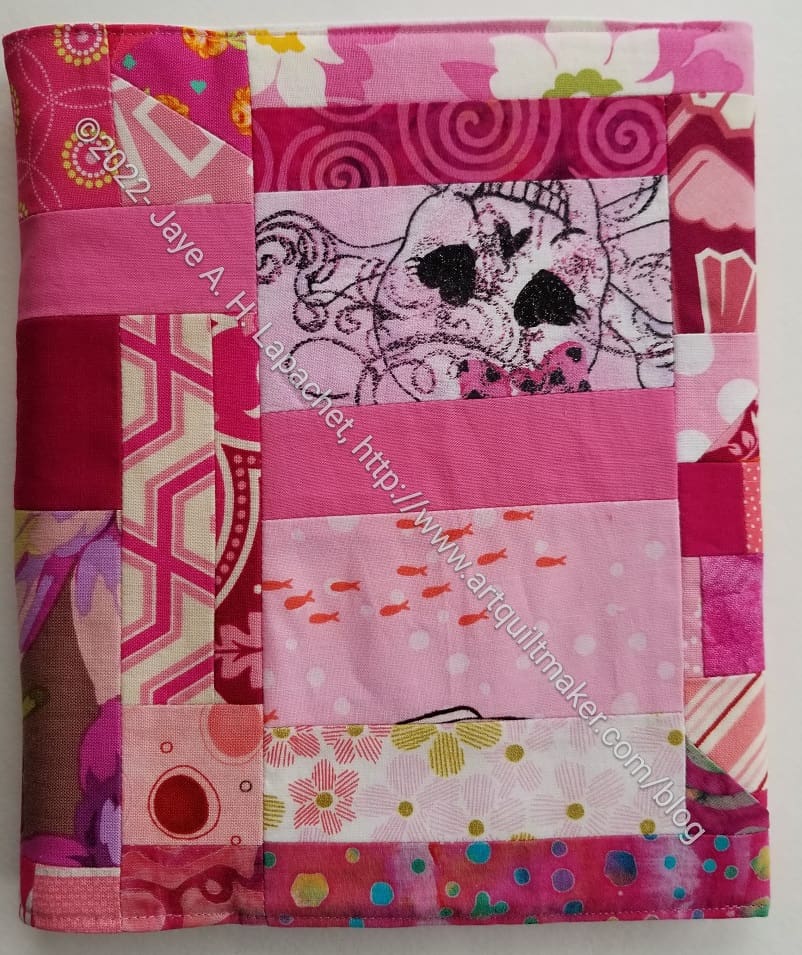
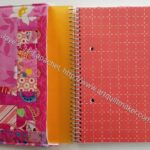
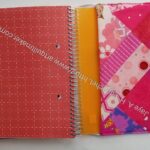
I made a journal cover for a friend. I meant do this task before she left her job (with the same team I was on) and started her new one, but that was a particularly busy time for me and I just finished last week.
She received it the other day and was totally thrilled. She loved the pink, which was great. She told me she likes pink, but I wasn’t sure if this was too much pink. Apparently not, which is great!
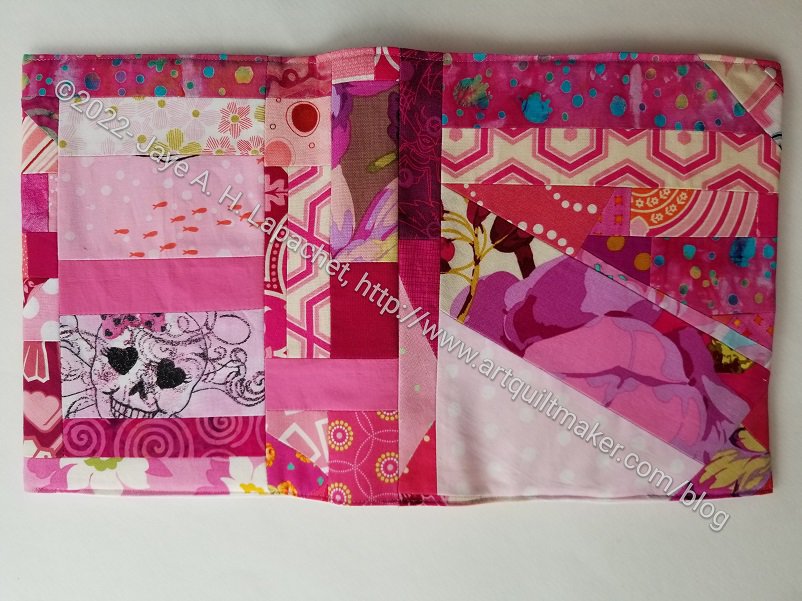
I really like this journal cover and would have kept it for myself if I hadn’t planned to give it to my friend. On the plus side, I made a lot of extra ‘made fabric’ in the process of getting pieces big enough to cover the journal. This means I have almost enough to make another journal cover for one of my journals that doesn’t yet have a cover.
It is so odd to be in touch with former work colleagues. Somehow we formed a bond and I can feel it is fragile, but still there, which is heartening.
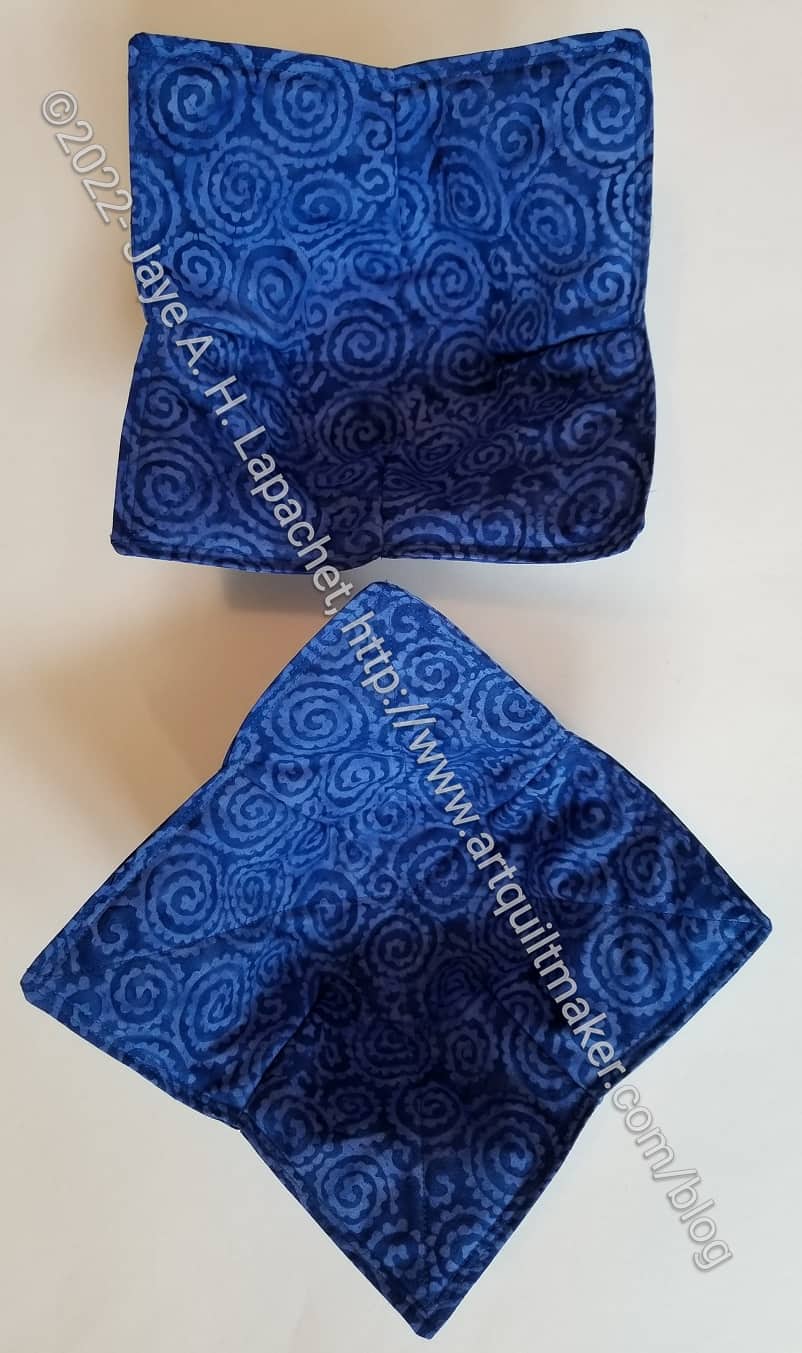
I have a former co-worker who is super kind. I wanted to make him and his new wife a gift. I know mug rugs and some other fabric gifts quiltmakers give to each other are a bit strange to non-quiltmakers. I decided to make some bowl cozies because they are universally useful. I was able to finish them relatively quickly after I ripped out the same mistake I made last time. My error was to sandwich one piece of batting between two pieces of fabric and sew. Instead, I need to layer ONE piece of batting and one piece of fabric then sew. I need two of these elements (top and bottom) for each bowl cozy. Either I assumed or it was hard to see on the instructions. Using the blog post works better for me than just the PDF instructions.
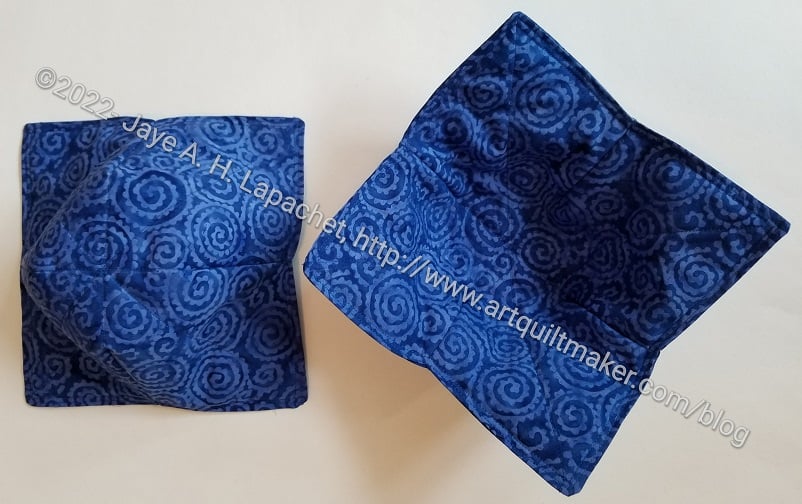
Once I got that cleared up, the project went quickly. I am pleased with the results and need to send them off.
I love it when people use and love the items I make for them.
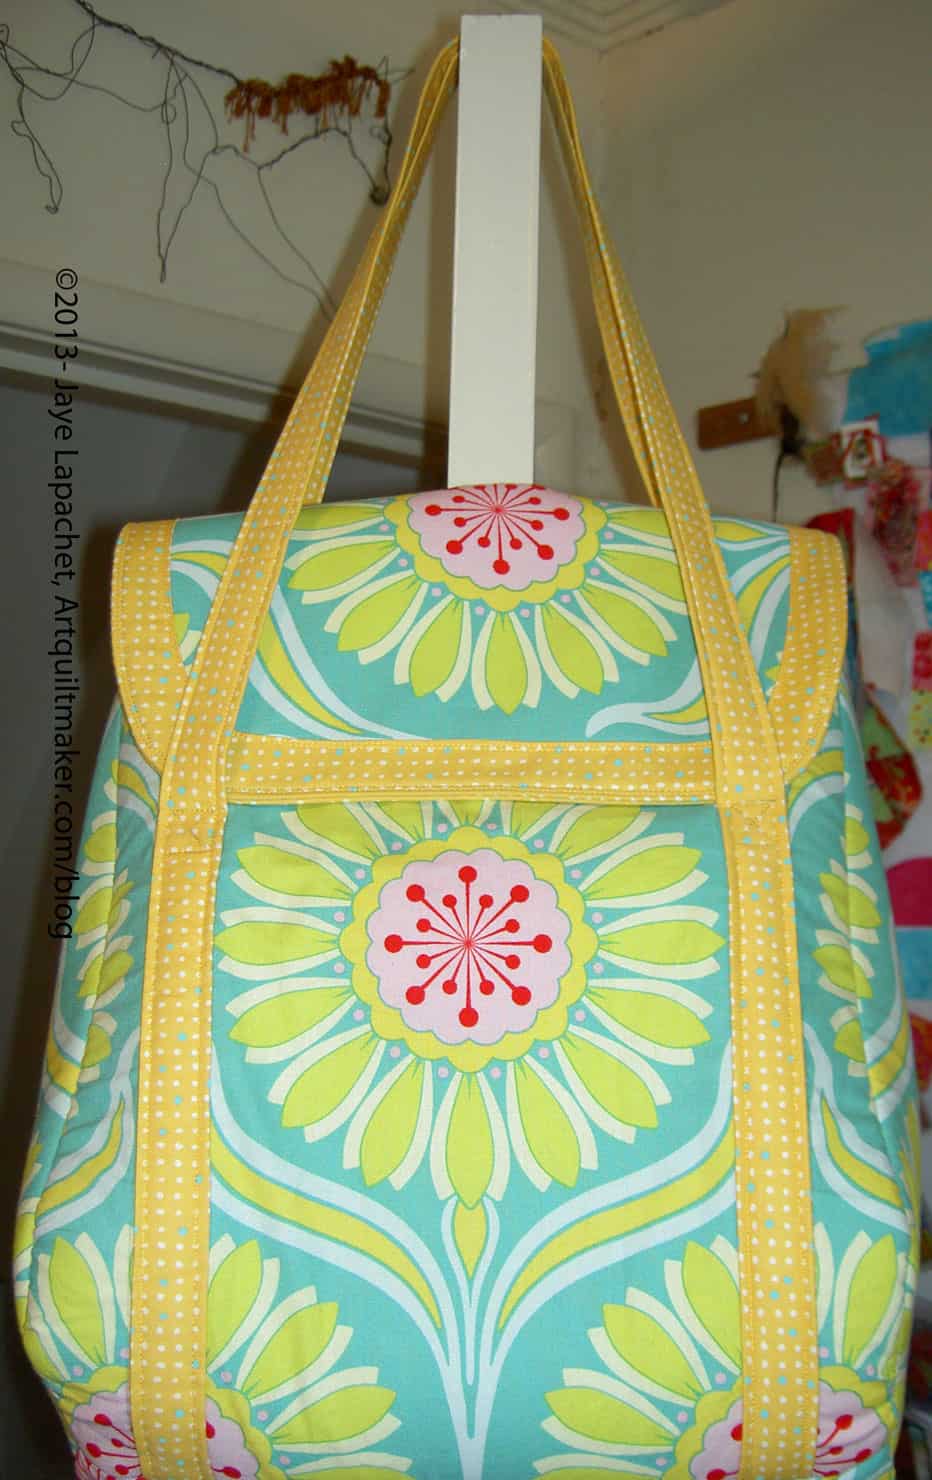
I went to a conference recently, as mentioned, where SIL#4 and I shared an apartment at the resort. She brought the Petrillo Bag I made for her back in 2013.
The bag was beautiful and pristine in 2013. It was probably the first Petrillo Bag I made and may have been the first Sew Sweetness pattern I made.
I was reminded that I am a good bagmaker and the bag looked great when I gave it to her.
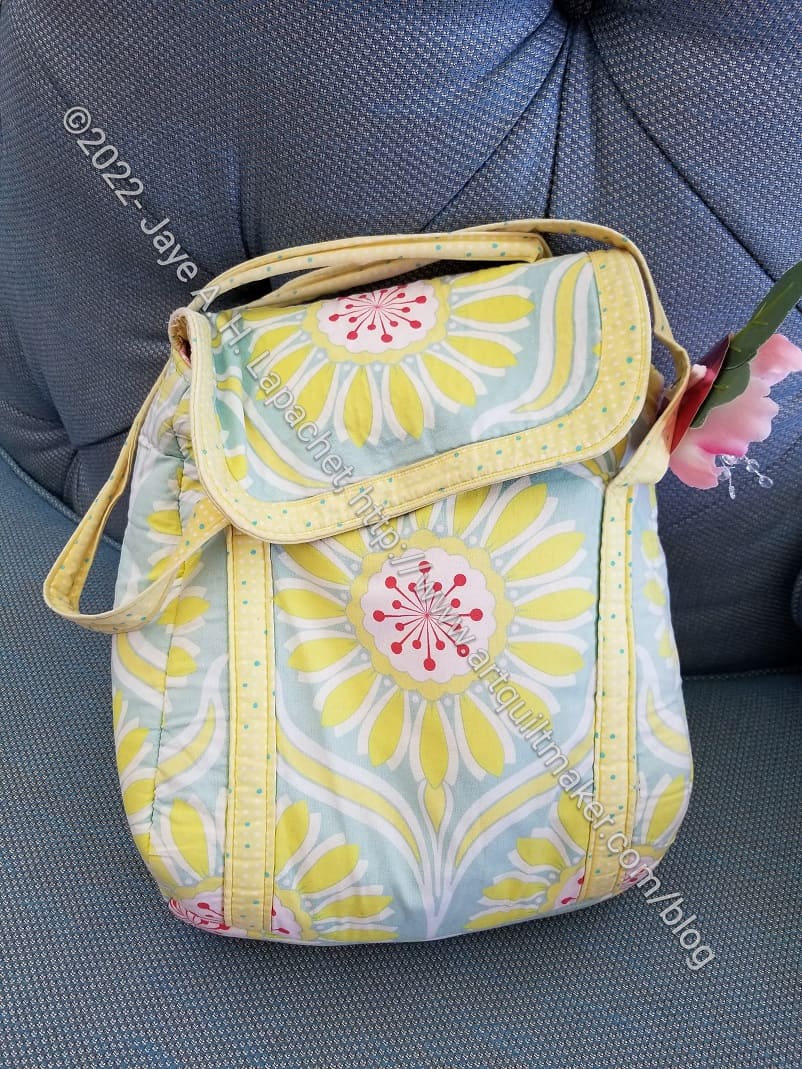
The bag is now well loved and well used. It has been to Australia at least once and maybe even to to Europe. Not sure. It has been through the wash and SIL even Oxycleaned it when the dirt from carrying it on trips got to much.
I am tempted to make SIL#4 another one. I don’t know if I still have some of the same fabric, but I think I might.

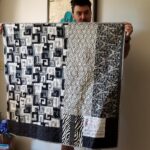
This is a pretty easy quilt so as soon as I finished all the bits and pieces required to make Pies & Points ready for quilting, I turned my attention to the Diagonal Nine Patch. I talked about the size in my last post and, as you can see, I increased the size. I think this size will be fine, but am still reserving judgement.
With 7×7 blocks, the quilt top will be about 42 inches square and my hesitation is whether that is a large enough quilt. I think it is on the verge of being large enough, but I may want to add another column and row.
I have about 7 more blocks to go in this configuration. The issue is that I am eager to get this quilt done and move on to Orange You Glad. I also want to bring this quilt to Colleen.
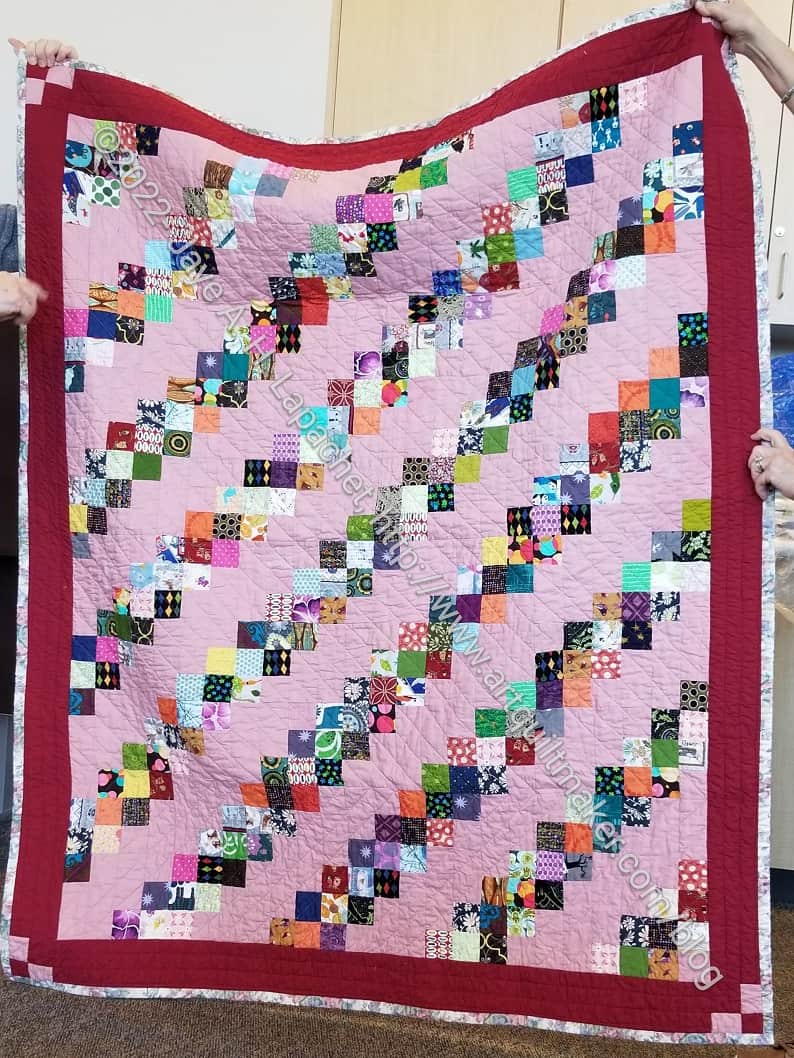
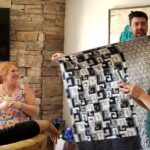
I got this idea from Peggy at the June BAM meeting. It was so simple that I slapped my head and wondered why I didn’t think of it.
Peggy is font of good ideas. The quilt she showed was scrappy and had a rose background. It was great and made me start thinking about my newest great niece-phew. S/he is expected in October.
I wanted to make the new baby a quilt, but nothing was generating any excitement. I wasn’t finding the mix of interesting patterns, ease of construction and appeal in the millions of patterns I have. When I saw this one, I felt a flicker of interest.
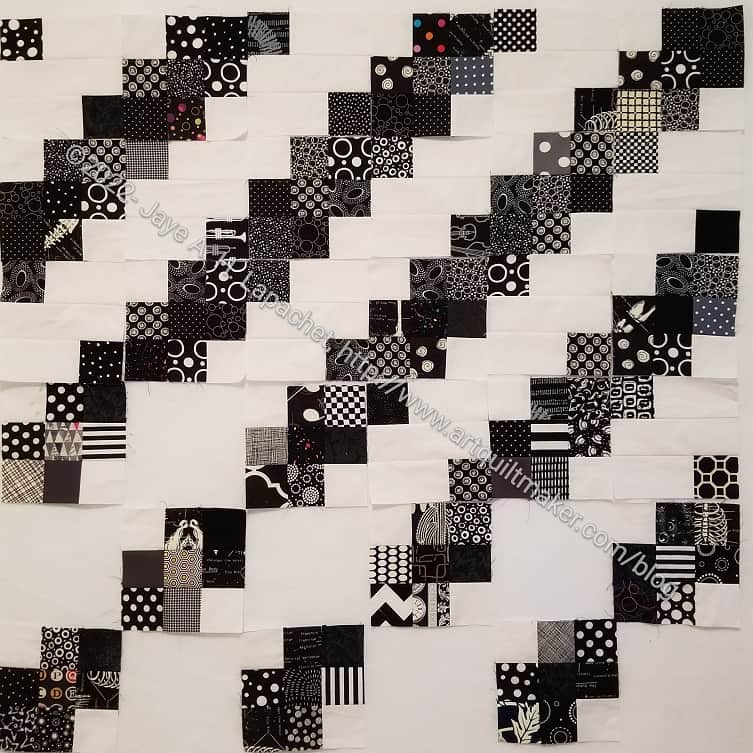
I decided to try some blocks in black and white and see what happened. I made them while working on Pies & Points.
I am really pleased with how they look. Most of the fabrics came from my bin of white on black dot fabrics. I got those out after I rummaged through my 2.5 inch square bins and pulled out all the white on black squares. Recently I have pulled out another bin of white on black fabrics to make more blocks. This is a great quilt for scraps, as you can see from Peggy’s version. Also, my black and white blocks are a controlled scrappy.
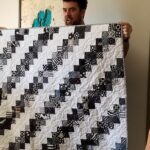
I started with the idea that I would make 18 A and 18 B blocks. I made most of the 18 blocks using the leaders and enders method while I worked on Pies & Points. Once that baby was finished, I put the Diagonal Nine Patch blocks up on the design wall. The blocks aren’t sewn together, but I decided I needed more blocks. I need to make at least one more column and one more row, but maybe two. I like generous baby quilts.

Once the blocks were pointed out to me, I could see how easy the quilt could be. The A block is highlighted on the left and the B block is in the middle.
You can certainly use all squares, but I decided to save myself some time and figured out the size of strips I needed to use for the A blocks. It makes those blocks sew up a little bit more quickly.
The beauty of this design is that it can be made with 2.5 inch squares, 5 inch squares or any size really. One inch finished would take a lot of blocks unless you were making a doll quilt, but would be a great leaders and enders project. If you used blocks that were larger than 5 inches, it would be a great way to make a large quilt quickly. I am not sure if the design would show up very well, however.