Swap Gift

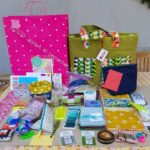
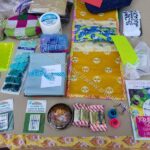
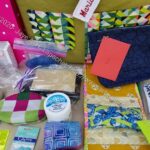
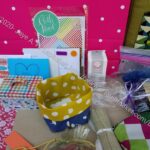
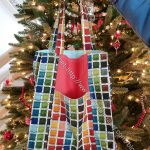
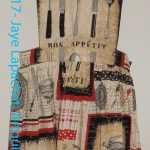
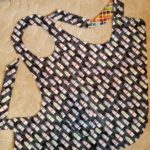
I participated in the swap that was part of the guild year end party. Sadly, I can’t show all the gifts because we were all on Zoom, but I can show my gift. Of course, you saw the gift I made, the Oslo Tote, earlier this week.

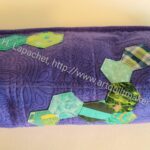
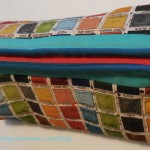
Swap Gift Tea Cosy
Swap Gift Tea Cosy

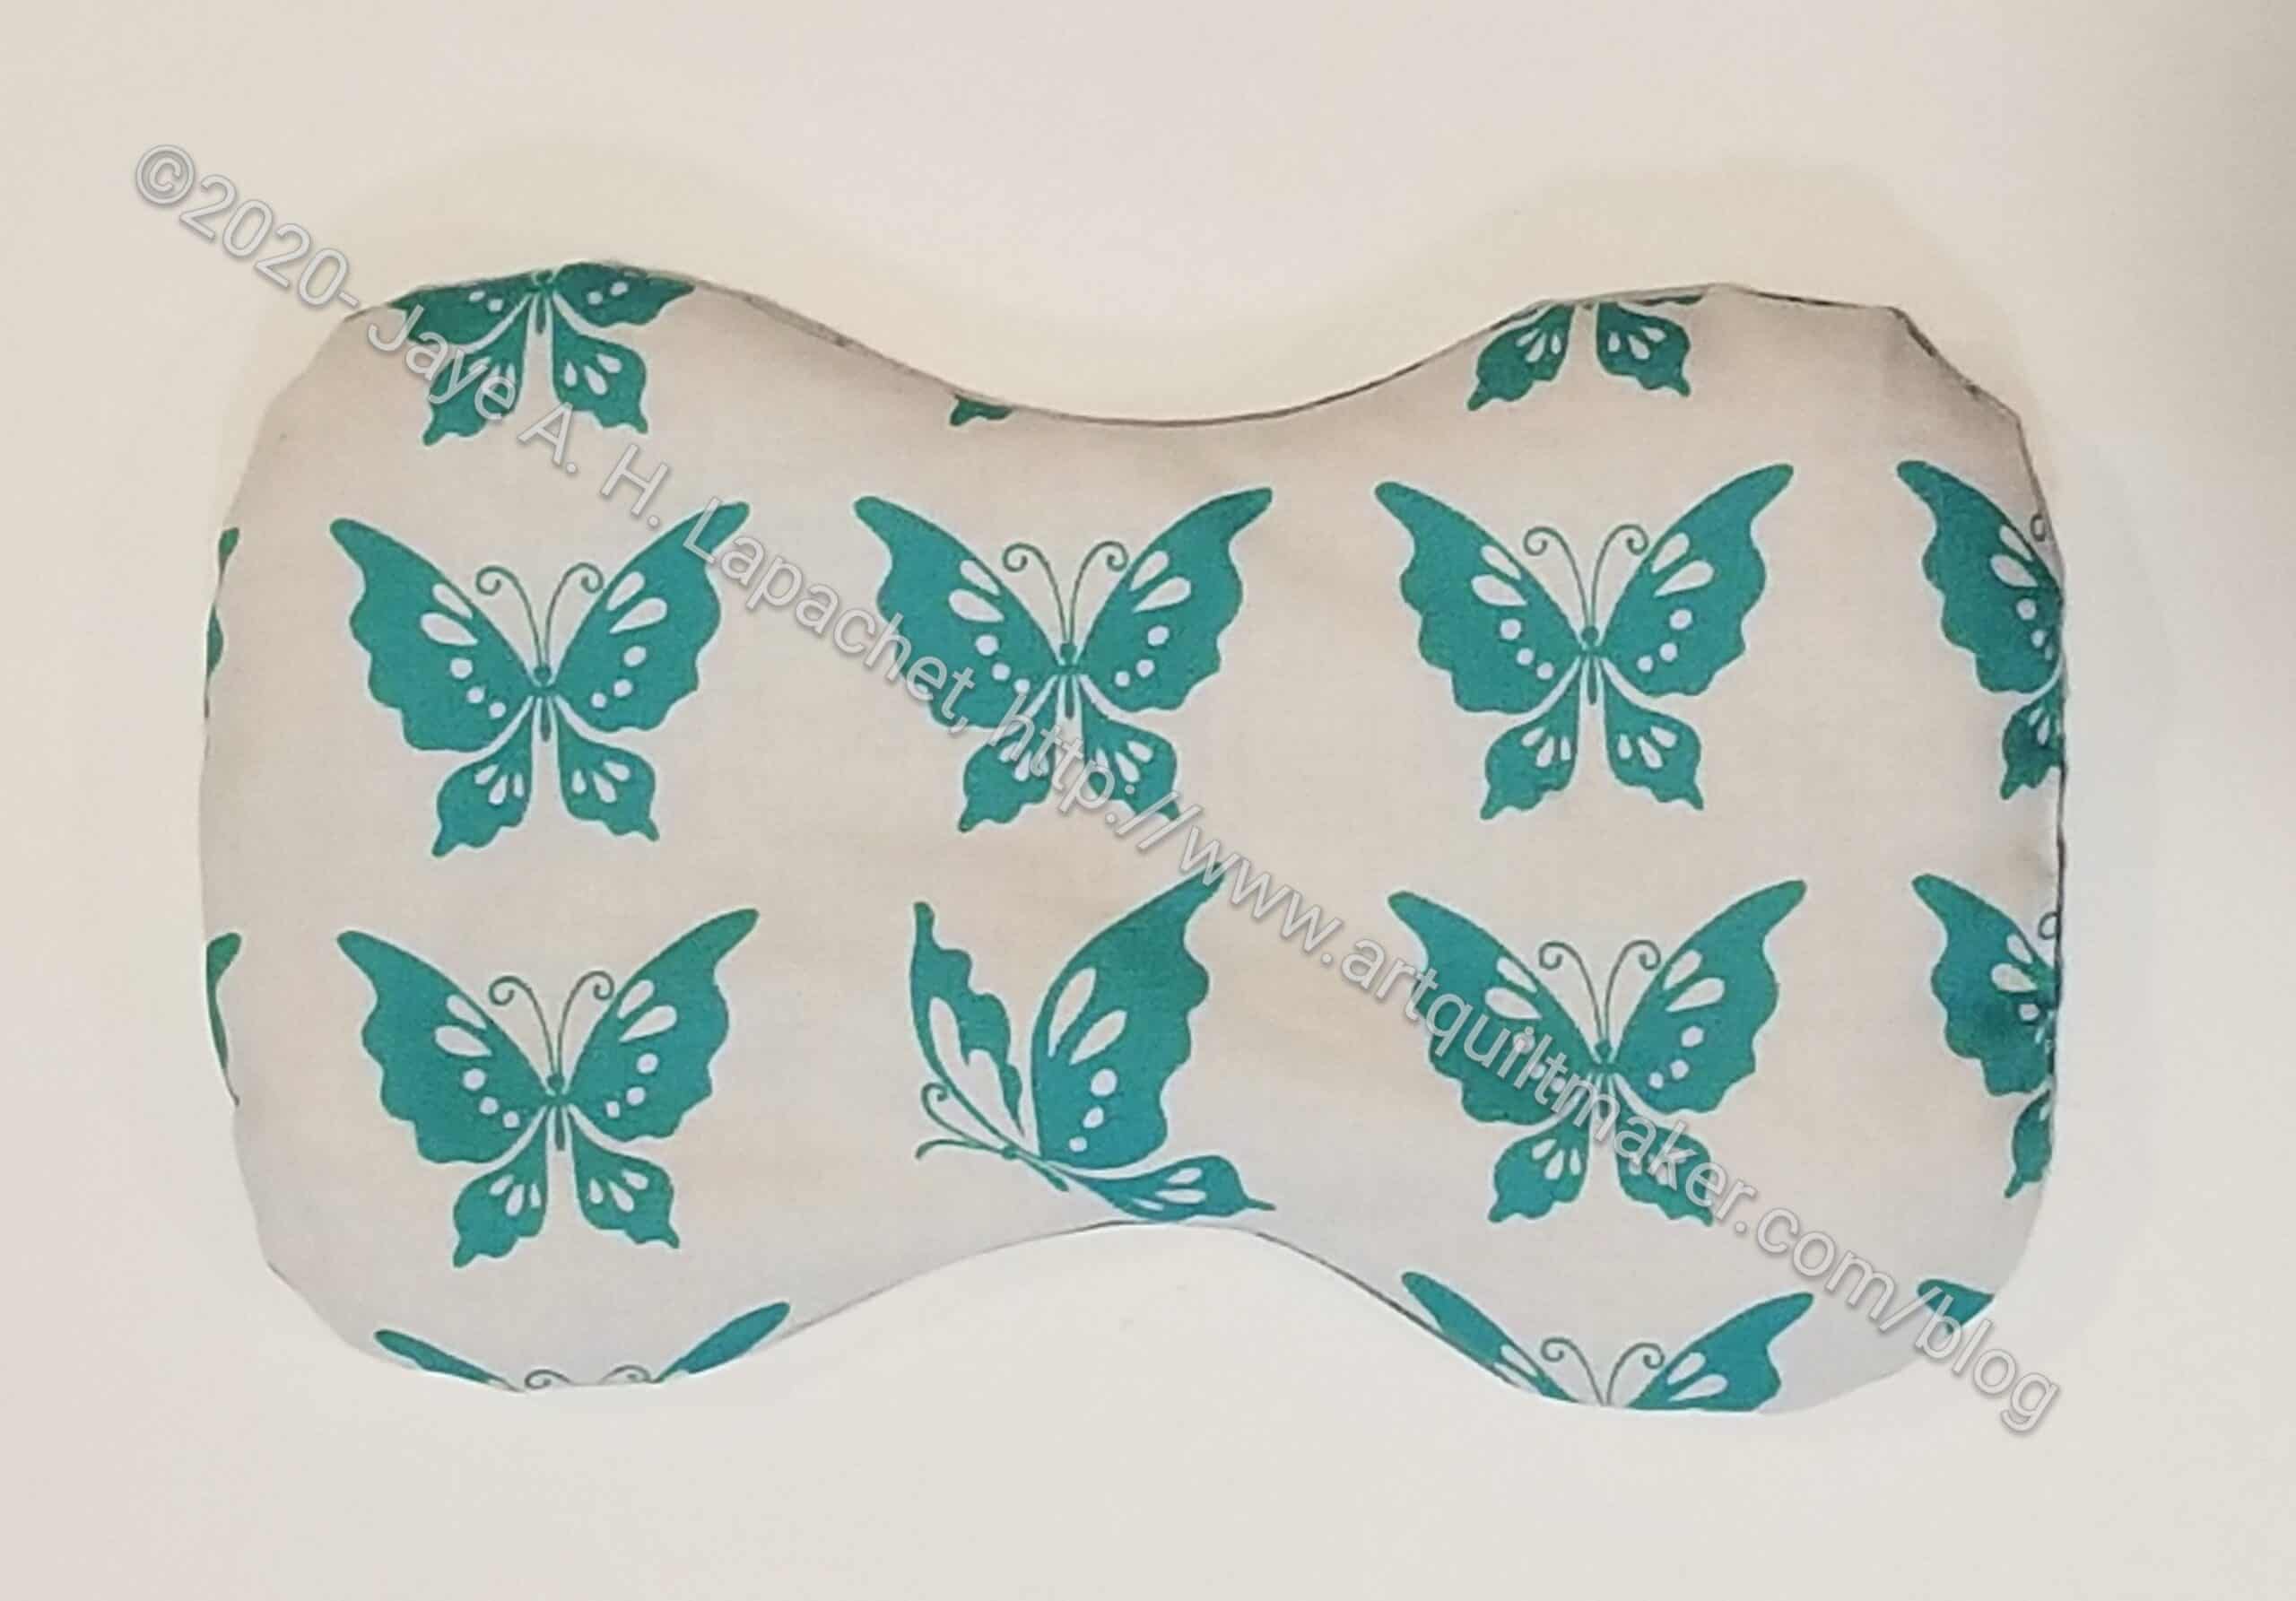
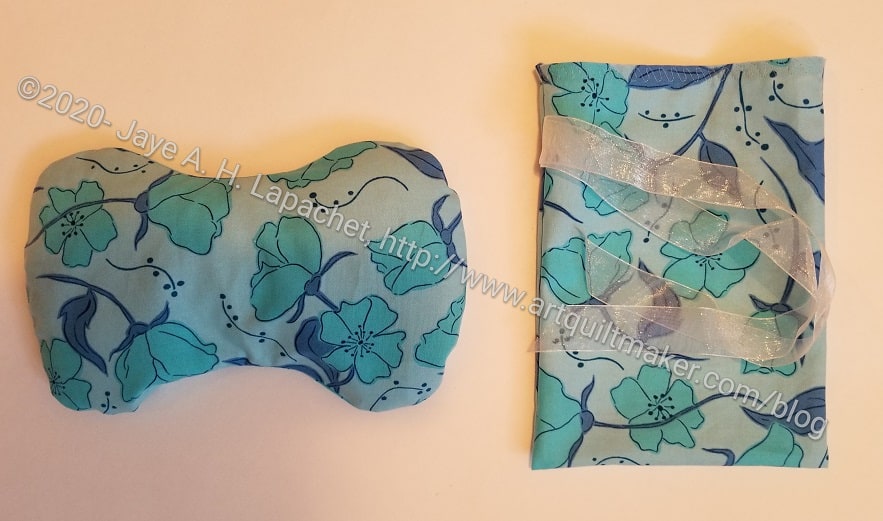
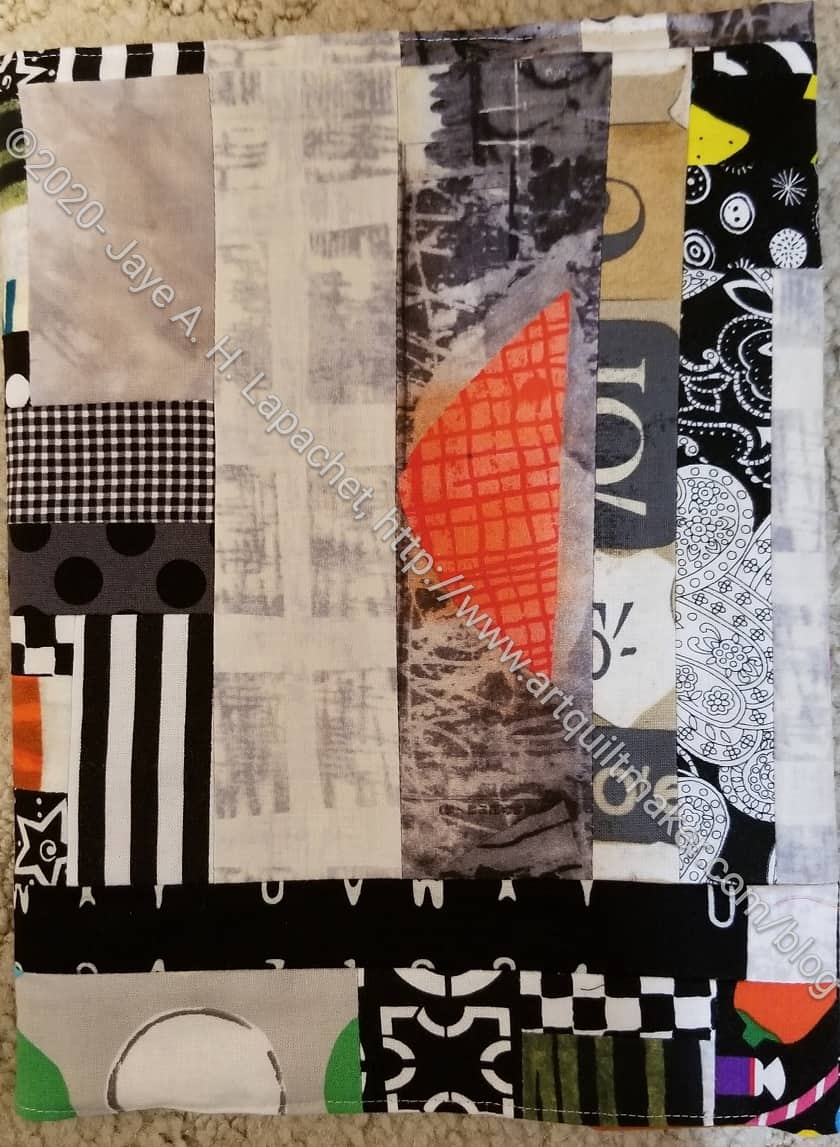
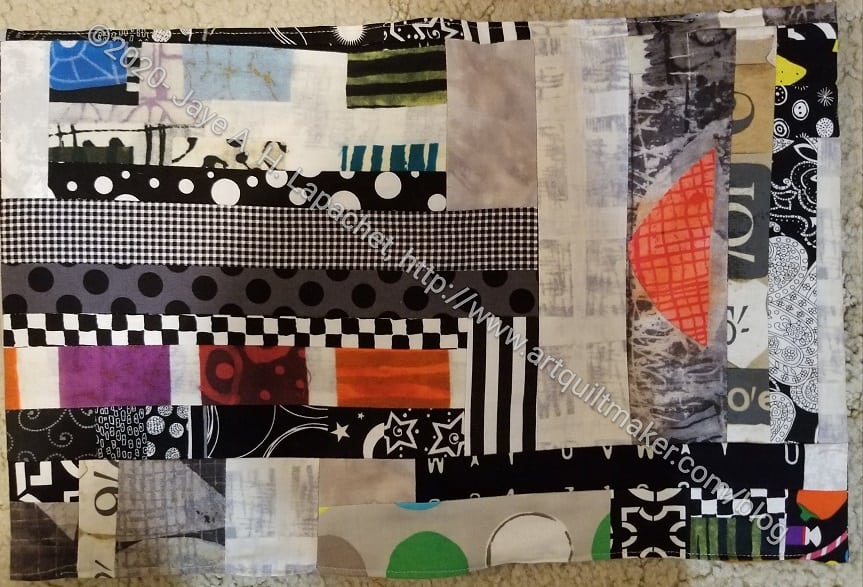
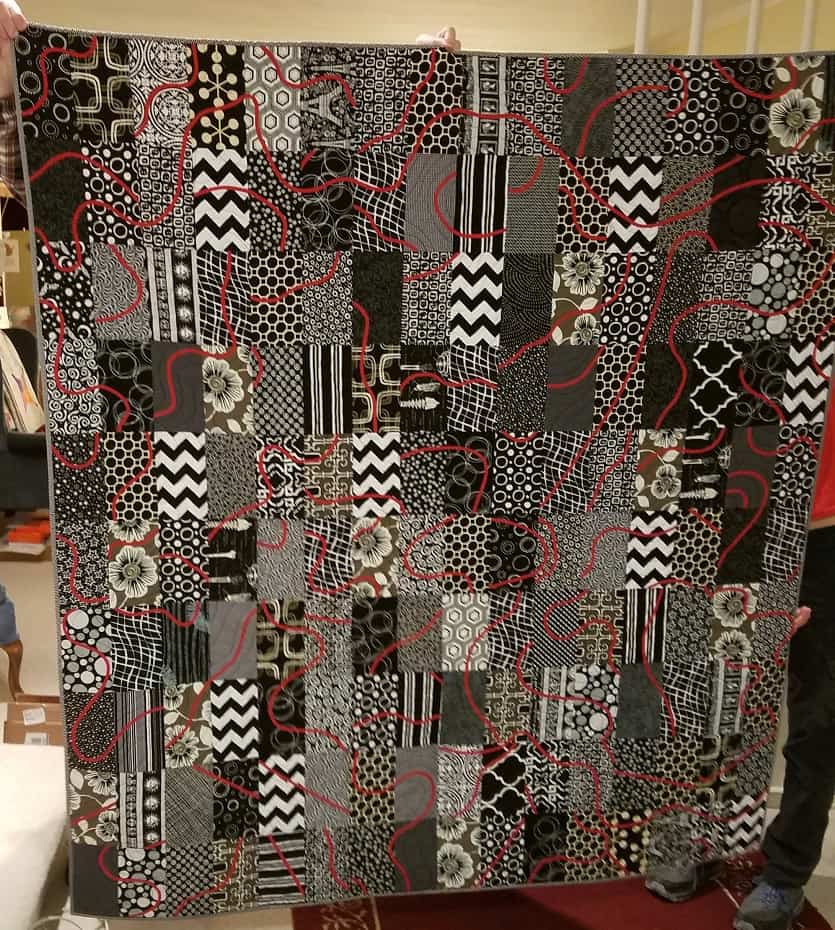
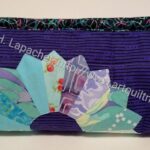
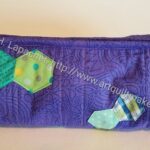
I received a tea cosy.

As you can see the colors are perfect for me. They mimic the colors of my Aqua-Red Sampler. Some of the fabrics are even the same.

The front has a little pocket. I don’t what I could put in there aside from tea, but I’ll think about it.

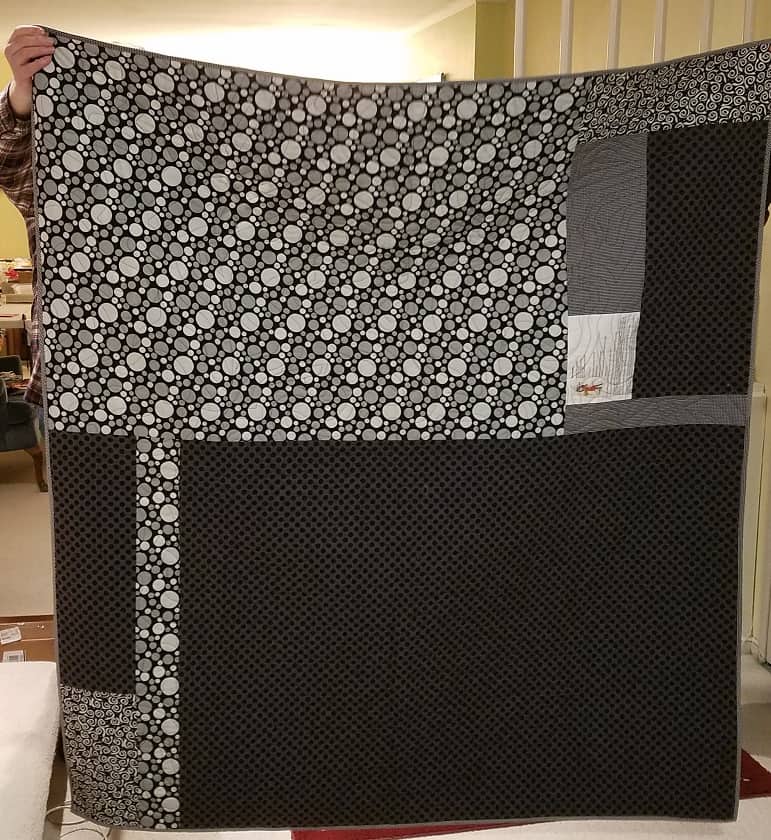
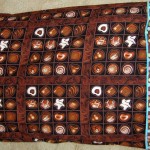
Swap Gift Tea Cosy back

Cyndi made it (it was a one-on-one swap, which I didn’t know until I received my gift) and she did a great job. Of course, I asked for turquoise and red, but she chose great fabrics in those colors.

Swaps are fun way to challenge myself. I am not often up for such a project, but I try and participate in swaps the guild sponsors.


Gift Post #1: Oslo Craft Bag

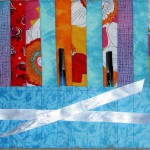
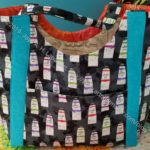
Oslo Craft Bag Swap Gift - side 2
Oslo Craft Bag Swap Gift – side 2

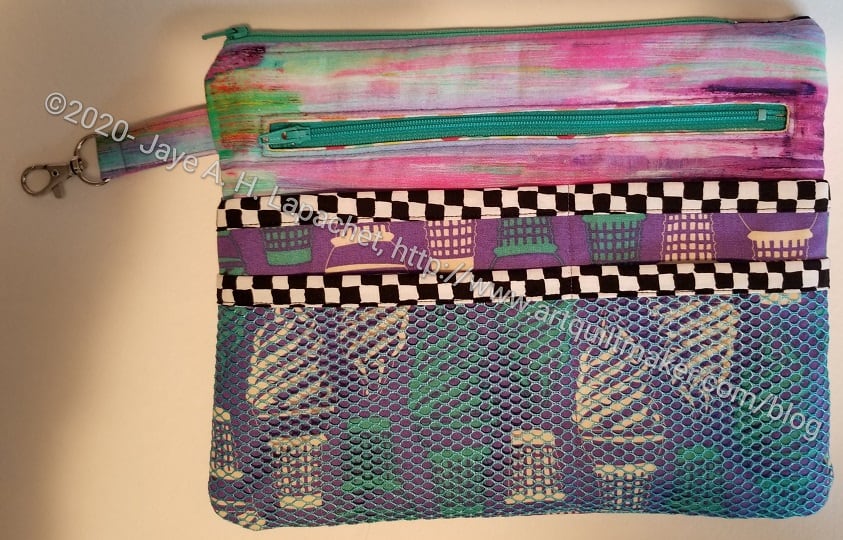
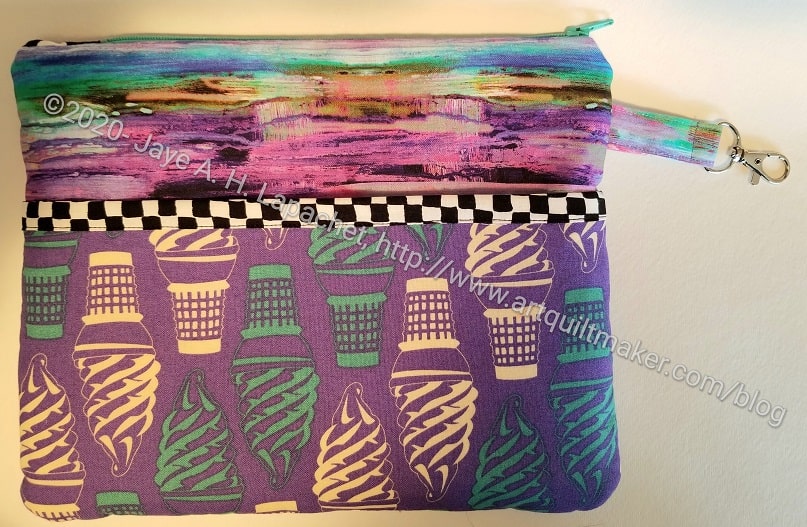
I joined the most recent guild swap and made an Oslo Craft Bag for Cyndi. She said she wanted any kind of tote bag. I was on the fence about this bag as it doesn’t strike me as a straight tote bag.
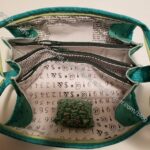
A few years ago I wrote about this bag and have been wanting to make one ever since. This was a great opportunity. I put a note in the bag that I would make her a real tote if this wasn’t what she was expecting. I thought about making her a Multi-tasker tote as well, but lost steam and didn’t get to it. I kind of want to make her a Superbloom tote as well.

Oslo Craft Bag Swap Gift

This bag went together with no problems. I thought the pockets with the yellow binding were a little too fussy. However, I like it that they have dimension. I don’t know if I would make them the same way again, but I like to make the pattern as is the first time, as you know.

I saw another version in the Facebook group (a good use of FB, IMO) where the maker put two pockets like the top photo shows, but put a second mesh pocket over the first. I am thinking about making another one and I might do that. I like mesh for some reason, though I am not sure what it is good for in terms of storing sewing items.

Oslo Craft Bag Swap Gift - interior
Oslo Craft Bag Swap Gift – interior

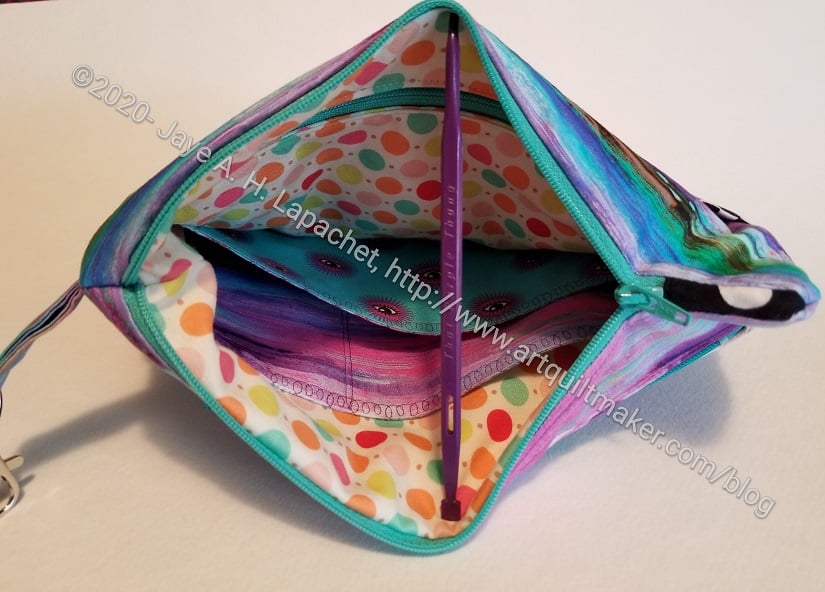
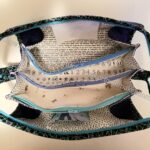
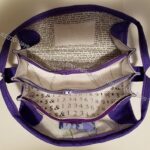
I was disappointed in the interior. Not the design, but the saggy-bagginess of it. The seam allowance was 1/2 inch, which I thought meant that Sara had included enough to take up some of the lining so it wouldn’t sag. No such luck. The exterior was sewn with a 1/2 inch seam allowance as well. I tried a few things to make the lining fit better. Short of taking the whole thing apart, none of my efforts worked.

It is a nice rectangular bag and I think it would be useful for various tasks including bringing things to Sew Day. We’ll see what Cyndi thinks.

Two Exteriors

Dresden Exterior for Sew Together Bag #2

I finished two of the exteriors for the Sew Together Bags I am making. I have quilted the third one, but still need to make the embellishments.

I was able to quilt all of them as leaders and enders while sewing together the chunks of FOTY 2019.

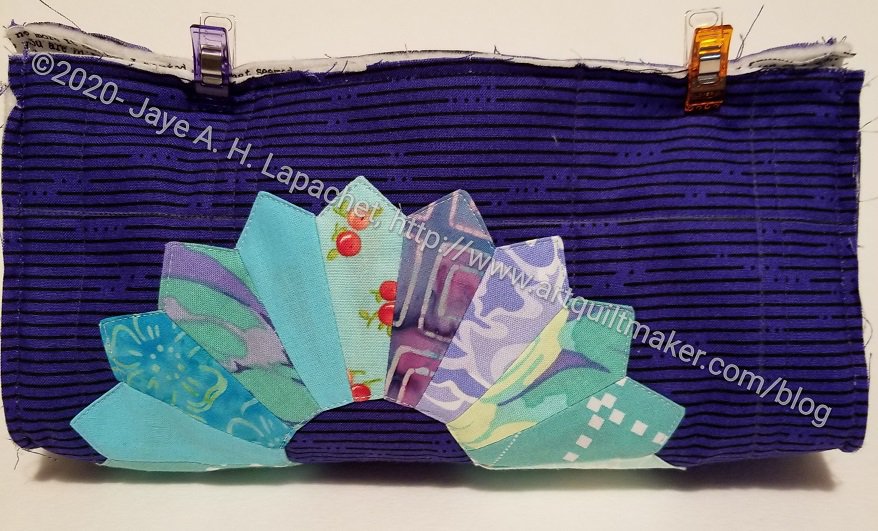
The first one shown includes the mini Dresden Plate I talked about the other day. I made the Dresden Plate for class and added it to the exterior. You might think the placement looks weird, but I didn’t want any of it to be cut off. I wanted it to look ‘modern’ as that is an aesthetic the recipient appreciates. I also wanted as much of it as possible to be seen, so I placed it within the seam allowances (fingers crossed) and above the center line. You may be able to see the pins I used to mark the center.

I appliqued it on using straight stitching this time. My center circle is slightly un-circular and I will have to see if I do something about that.

Embellished Exterior for Sew Together Bag #1

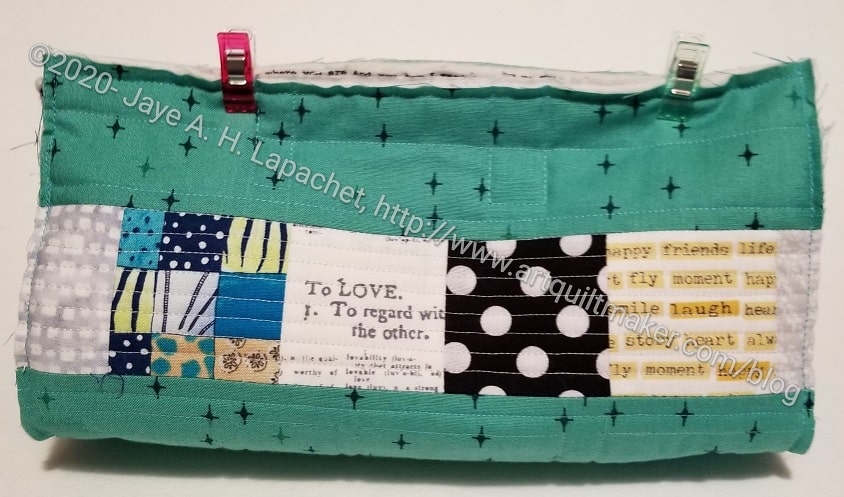
The second one shown is using a simple line of 2.5 inch squares, some of which have been truncated, because of the size required for the bag. I like the 2.5 inch squares I chose. I think t they go well with the green, but the text prints also have happy thoughts.

The quilting on all three is very simple, straight line quilting. I think I have done more quilting this year than in the previous few years. I don’t feel any better about it, but I am not embarrassed by my efforts either.

I want to be clear that mostly I felt like trying out some new things and thanking some friends for being friends, which is why I decided to make these. It’s not like I don’t have 3,000 other projects in process.

Jawbreaker in Situ

Jawbreaker in situ
Jawbreaker in situ

My niece received her pillow and sent me a photo of it on her couch. She is in the process of rearranging and refreshing her house. She said the pillow goes very well. I am pleased.

It looks like she could stand a few more cushions. I will keep that in mind as I make other items. 😉

I finished Jawbreaker in mid-October. I sent it off fairly quickly, but it took me awhile to send the pillow form (laziness, disorganization). She sent me a thank you note, but we think the thank you note took a beach vacation, because I received it almost 3 weeks later. My niece is very good about thank you notes.

Past Gifts for Julie

Friend Julie’s birthday is coming up. It is quickly followed by Christmas. I always enjoy making her a few things. She uses and appreciates (or seems to!) my efforts.

Last year, I made a list of what I had made for her. I am doing it again this year, because the list last year was so much smaller than my memory  said it was. I worked hard at making gifts last year and really beefed up the inventory. I also came across a post that showed a few more items than I could actually find on the blog last year. I knew I wasn’t crazy!


Retreat Mega Pinnie Finished

BAM 2020 Retreat Mega Pinnie - finished
BAM 2020 Retreat Mega Pinnie – finished

Despite a lot of ripping, I finished the Mega Pinnie on Sunday in the mid-evening. I thought it would be a quicker project than it turned out to be :(. Now I am going to have to scramble for some content this week.

I am pleased with the way it came out, however, and think someone at the retreat will enjoy it.

When I was printing my last label, I had some extra space, so I decided to print the BAM logo on some fabric and use it for part of the Mega Pinnie. It will also be a souvenir for the Retreat. I adjusted the size of the pocket on that side so the words wouldn’t be covered up.

BAM 2020 Retreat Mega Pinnie - finished
BAM 2020 Retreat Mega Pinnie – finished

I made the handle a little smaller than the pattern called for this time, so I had an extra piece. I decided to sew it in as a way to attach the Mega Pinnie to another bag or a place for clips. I didn’t think about putting a lobster clip on this time. I completely forgot!

I did make a super cute Mini Pinnie! I really like the fabrics and the way the Mini Pinnie came out. I think it is a cheerful addition. I also made the needle safe a little different this time. I sewed it to fabric RST, then turned the piece and top stitched. It worked ok.

BAM 2020 Retreat Mega Pinnie - finished
BAM 2020 Retreat Mega Pinnie – finished

I forgot to top stitch the pockets, but that isn’t critical; it just makes the piece look a little nicer.

This is kind of large, but I think I might try and make one using charm squares. It would be smaller and might not work for some tools, but might be more convenient to transport.

Mega Pinnie Start

I said that I would make a Mega Pinnie for the upcoming Retreat. Since the Retreat starts on Friday, I needed to get busy.

Retreat Mega Pinnie in progress

I started selecting fabric and cutting out the pieces late on Saturday, after the meeting, then sewed on Sunday. I am pleased with the look. It looks pretty cheerful, which I think we all need.

I used up all of my Beanie Baby pellets, so I need to get more before making anymore gifts than need weight. I don’t think I have any pincushions to make.

Jawbreaker Finished

Journey 2 Nebula icon

After quilting the Jawbreaker pillow top, it didn’t take much time to make it into a pillow. Once again, I used the Spoonflower directions for inserting a zipper. These directions create some flaps to cover the zipper. I haven’t used this tutorial in awhile so there was some ripping and a tiny bit of cursing, but all-in-all, the directions were straightforward and easy to follow.

Jawbreaker cushion cover

I actually like this technique. The seam lines don’t take away from the overall effect like they do in half hexagons. I can’t think of what kind of project I would make with these in the future, but it is a future technique I would like to explore a little more. Perhaps a table runner?

I didn’t like cutting off perfectly good pieced elements, but that was the design so I followed it.


First Catch All Caddy

This post should have really been the first one I wrote about the Catch All  Caddy class. I should have posted it before the Baseball Catch All Caddy post. I realized that my mom, to whom I planned to gift it, reads my blog and I wanted it to be a surprise.

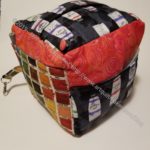
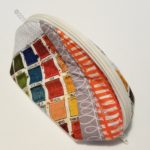
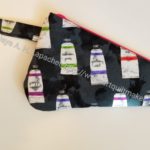
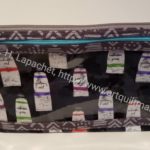
Paint Tube Catch All Caddy

As mentioned in the Baseball Catch All Caddy, this was the project from my first Zoom class and I really liked the pattern. Lynette taught the class and she did a great job. I was impressed with her overhead camera set up (she used her iPad on a tripod). I need to figure out that kind of setup for when I teach. Things take time.

I used the color scheme of the original, because I really like that slate grey. I used a Cotton Couture solid from Michael Miller. It was easy to work with, though I didn’t like the fact that the holes where the basting stitches had been showed even after I took them out.

Instead of making a scrappy border for the pocket, I used one piece of fabric. It is the paint tube fabric that goes with the set of bags and holders I am making for my mom. I was actually glad to add this one to the group, because I am running out of useful bags to make for her. She really liked t he bag and thought she might use it to carry a project between her recliner and her sewing room

Paint Tube Catch All Caddy

The bag went together pretty easily, which was why I could make two in one day, though I did cut the fabric for this one the day before the class.

I kind of like the simplicity of the bag and the opportunity to highlight favorite fabrics or scraps on the pocket border. I was thinking that I could use ribbon as well. I have some of that Renaissance Ribbon and this project would be a good way to highlight some of it.

I had some trouble with the lining, but was able to fix it when I closed the turning hole. I don’t think Mom will mind.

Baseball Catch All Caddy: Finished!

I took my first video/Zoom class on Saturday and I learned a lot. I had to come late as I had a presentation at 10, but worked ahead, so was almost at the point of the rest of the class when I joined in.

Baseball Catch All Caddy

After class, I decided to make another Catch All Caddy for my DH to put his stuff in. We both accumulate stuff on the dining room table. I made his first first, though I plan to make one for me, too, because I had baseball fabric out from my rummage through my backing fabrics a few weeks ago.

I did a couple of things different on this one. The pockets are made with tubes to so I left a little of the pocket fabric showing above the border fabric (dots). I thought that was an interesting idea and I wanted to try it.

I also used 40 weight thread for the top stitching. It goes through the machine with no problem and you can see it more than regular Aurifil. I don’t know if it is the right shape for DH to use, but we will see.

Seaside Table Runner Finished!

Journey 2 Nebula icon
Seaside Table Runner: Finished

I finished the binding of the first Seaside Table Runner on Friday. I am pleased with the way it came out and pleased that it is finished.

I have wrapped it with a piece of fabric and a note, so it is ready whenever I feel like going out again.

This is the first project in the Journey2Nebula and I am on pace. I haven’t finished the second table runner yet, but stay tuned for that. I don’t want any of these small project languishing.

Amy’s Seaside Table Runner – Quilted

As I mentioned, I cut out two sets of diamonds to make two Seaside table runners. Last week I sewed together my table runner and basted it. On Saturday, I worked on the second one, which will be for Amy as a thank you for loaning me the rulers.

One of the things I did was use the Rotary Even Foot for some of the quilting. Although, it didn’t work very well for the binding, I think it worked pretty well for the quilting I did, so I plan to try it on my version of this pattern.

Amy's Seaside Table Runner quilted
Amy’s Seaside Table Runner quilted

Once the rows were finished, I decided I would quilt the piece as I sewed the rows together. It took me a good portion of the day Monday to put the thing together, but once all the rows were together, it was quilted as well. Bonus!

After I took this picture, I trimmed it, made the binding and started binding it. I used a 2″ binding, which is pretty slim, but is working.

Plaid Block Party Finished

Plaid Block Party completed - front
Plaid Block Party completed – front

I finished the binding on the Plaid Block Party last week. As I said in my last completed quilt post, handwork is somewhat delayed in the world of COVID-19. I have FOTY 2018 and the sleeve for Flying Around to complete as well.

In the meantime, I am very pleased with this quilt. I really like that Block Party block. Aside from being super easy, I think it looks great as well. I’d like to make another quilt with this pattern and have an idea of who the recipient will be.

Plaid Block Party completed - back
Plaid Block Party completed – back

My DH acted as quilt holder and didn’t quite have the wingspan to get it straight. I may not be able to get a better photo before I have to send it off to my cousin-nephew.

My goal was to use up my plaids, which, with the Plaid donation top, I have done. Yay!

Tulip Cotton Candy Pouch

Tulip Dot Cotton Candy Pouch

I have talked about the two other pouches, Green and PJ Ivy, I made last weekend. This, however, is the main one. I decided to make this one, then added the others on to the project.

I tried to think of how a non-sewing person would use this pouch (or any pouch??) and could only come up with a makeup bag or a cord carrier.  I hope the recipient will find some good uses for it. It is a large pouch so it might be good for a project. I know she started an embroidery or cross stitch project recently.

Tulip Dot Cotton Candy Pouch- inside

I made the inside light, as I try to do, so she could find whatever she puts in the bag. It is a kind of fun newspaper print that I haven’t used before, though I have used fabric like it. I still like the text fabrics.

I used some of the Michael Miller French Journal Collection from London Portfolio for this pouch. It has good areas to fussy cut. I bought a lot of it several years ago and keep cutting bits off for this and that. It is fun fabric.

I don’t know what the recipient likes, so I made some thing that I liked. Also, this pattern lends itself to fussy cutting and I was able to cut this fabric in such a way as to highlight the featured flowers.

Tulip Dot Cotton Candy Pouch- back

This is kind of busy fabric, so I used the black and white dot fabric to keep the French Journal Collection under control.

PJ Ivy Cotton Candy Pouch

PJ Pink Cotton Candy Pouch

This is the second of the three pouches I made over the weekend. I used the Philip Jacobs Variegated Ivy fabric in pink for the ends and the lining. In order to tone down the large and exciting flowers, I used the black and white for the main panel.

This is the medium sized Cotton Candy Pouch from Sara Lawson’s Minikins Season 1 pattern set (no affiliation).

PJ Pink Cotton Candy Pouch lining

It is actually not for one of my co-workers. I made this for my co-worker’s daughter. They are having an especially tough time at their house. Another zipper, some time and fabric were not that big of a deal.

I sent this one off with my co-worker’s yesterday.