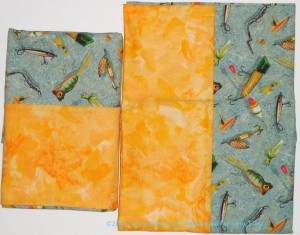
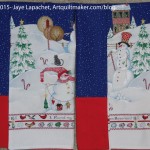
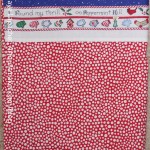
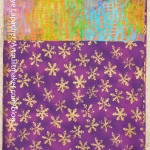
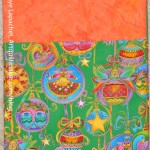
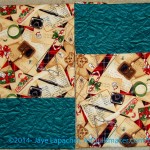
My dad is getting ready to retire soon. He plans on driving around the country pulling a trailer to visit his friends and fish. He loves to fish. He doesn’t want to acquire stuff, so pillowcases are something he can use on his travels and will be theme appropriate. I have been, since he told me of his plans, trying to get him gifts that are either use-up-able, useful for a trip or he can use to pack.
Fish Pillowcases
I had forgotten about my well laid plans. When I washed some fabric last weekend, I found the fish fabric I had bought a few months ago to make my dad pillowcases for Christmas. Deadlines were getting short and I knew I would have to be quick, so, after finishing the Sew Together Bag, I got down to pillowcase business.
By now I have made so many pillowcases that they went together quickly. the biggest problem is picking out cuff fabric and I was able to find and use the last bit of yellow Reflections fabric for the cuffs. I think it adds a bit of cheerfulness to otherwise drab fabric.
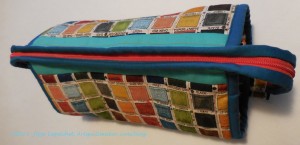
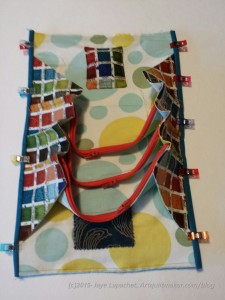
I made this Sew Together Bag for my mom. I like the way it turned out, but had some issues making it.
This is a challenging pattern. The combination of the zippers and the layers which need to be sewn together combine to make this project a challenge.
The first problem I had was with the directions. Because cutting is a good activity when I am away from my workroom, I decided to cut out the bag when I went to Reno to visit Kathleen. First, I read through the directions. The first page talks about “embellishments.” When I think of embellishments, I think of beads, buttons, charms, stitching. I think these things are included in what the directions are getting at, but I think the designer really meant special piecing and quilting.
I wanted to quilt this piece a little to give the outside some heft, but the directions were very unclear on whether I was supposed to quilt the exterior and the batting or add a backing/lining piece and quilt through the three layers as I would a quilt. I ended up making a two layer sandwich (no backing) and quilting that. The piece ended up too small and I am not sure whether I quilted too much or whether I cut the piece too small. I’ll have to check and see if I cut it wrong when I made the next one.
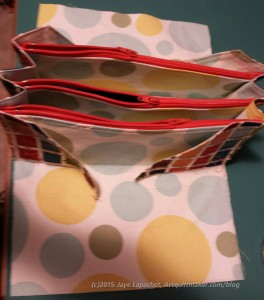
Pocket Panel with attached Side Panels
I thought I would be defeated by this pattern when I got to the pocket panel. I had no idea what the designer was trying to say when she said to put the four pocket pieces together. The section isn’t difficult to actually do, but explaining how to do it is difficult and I could not understand the pattern. I looked at the Sew-a-Long blog post describing this step and that helped a lot. This is the hardest step IMO.
After doing the pocket panel, the thickness began to kick in and wreak havoc with my attempts to make the piece look professional. I think someone with a Juki or other pseudo-industrial machine may have an easier time.
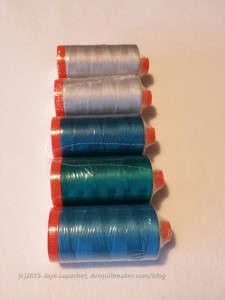
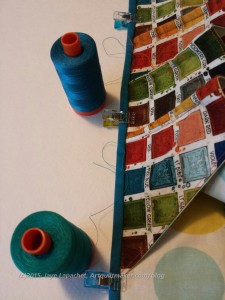
Matching Colors, Ordering Thread
I was stymied for a bit because I didn’t have the correct colored thread. I wanted the thread for the binding to match the binding. I ordered from Red Rock Threads and had the thread in a few days. Hooray for great customer service and fast shipping.
Once I had the thread, I was able to finish the bag. It was slow going, but I did it.
Wonderclips holding it all together
WonderClips are not mentioned on the supply list, but I found them to be invaluable when holding the piece together to sew on the binding.
Matching Thread
I really could not have gotten through this pattern without the archived sew-a-long directions and all of the photos showed in the Quilt Barn blog. Click on the link, print the blog posts and keep them with your pattern.
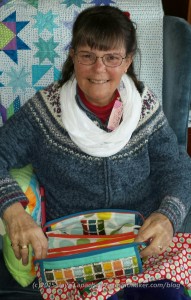
Mom and her STB
Mom really liked the bag, for which I was very grateful.
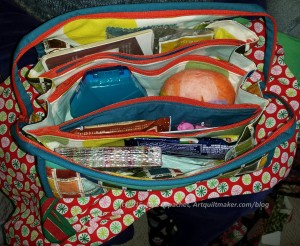
She opened it on Christmas and filled it up with her small gifts and stocking stuffers to transport home.
Filled STB
I did struggle with the construction, but felt confident enough to make a second bag, which I have started and am a step plus some thread weaving in from finishing. I just bought zippers to make two more.
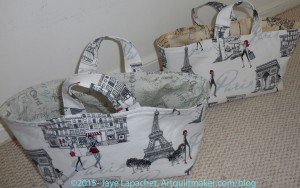
My sister left a comment on the post back in August after I made and wrote about the blue batik One Hour Basket. She wanted one. She offered to send fabric, but there is no fabric shortage here. Her comment gave me an idea for a Christmas gift.
During my travels back from taking the Y.M. to college I bought a couple of yards of Paris fabric with this project in mind. I sat down and made the baskets over Labor Day weekend while I recovered from food poisoning and DH was at the Native Sons. I really hadn’t been doing much sewing, so it killed me not to be able to post these right away, but I know my sister visits my blog, so I had to resist.
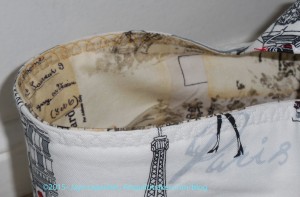
I used a slightly larger seam allowance for the interiors just to see if the interiors wouldn’t be so baggy. This worked and the interiors were slightly less baggy than my previous attempts, which was nice.
Paris One Hour Baskets detail
I also used different colored threads in the top and the bobbin to match the fabrics when I top stitched the top of the basket. I was pretty proud of myself for that!
These turned out well. I sent them off and with any luck, Lil Sissy had them in her hot little hands for Christmas.
I refuse to make promises about next year or commit to making 12 of anything right at the moment. If I were in that kind of mood, I would consider this project for those types of gifts.
I have some strips leftover from this project and was wondering what to do with them. It turns out Lil Sissy also wants a Sew Together Bag. I suppose that would be a good use of the strips.
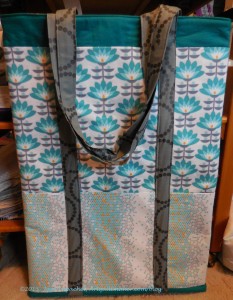
There are a couple of reasons why this is the best bag ever.
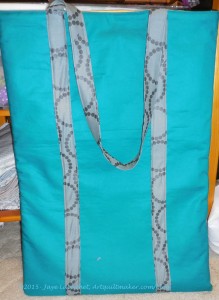
First, I needed a bag which I could use to transport my June Tailor board. If it wasn’t written on my to do list, it was on my mental to do list. Since I took the Dale Fleming class and needed to buy the June Tailor board for it, I have wanted a bag that could accommodate that board. I just never could get to making one.
Next, I didn’t have to make it. This was my BAMQG swap gift. I couldn’t believe someone would make me such a large and wonderful gift. I really was shocked. Amanda made this bag in colors that I really like. The pocket on the outside will accommodate my Omnigrid 24″ ruler. The outside side pockets will accommodate other rulers and supplies as well.
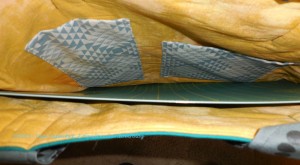
BBE Inside Pockets
Third, she also added useful pockets on the inside for 6″ and 4″ rulers. Amanda included a cutting mat and the small square rulers. Not only is this gift really useful, but Amanda was really generous in the additional bits she included.
Finally, I get to cross something off my to do list. Whether it was on the list or not.
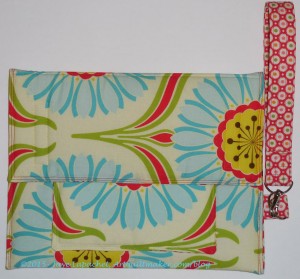
BAMQG had a gift exchange yesterday for the Winter Extravaganza meeting. I made a tablet cover for Cindy C.
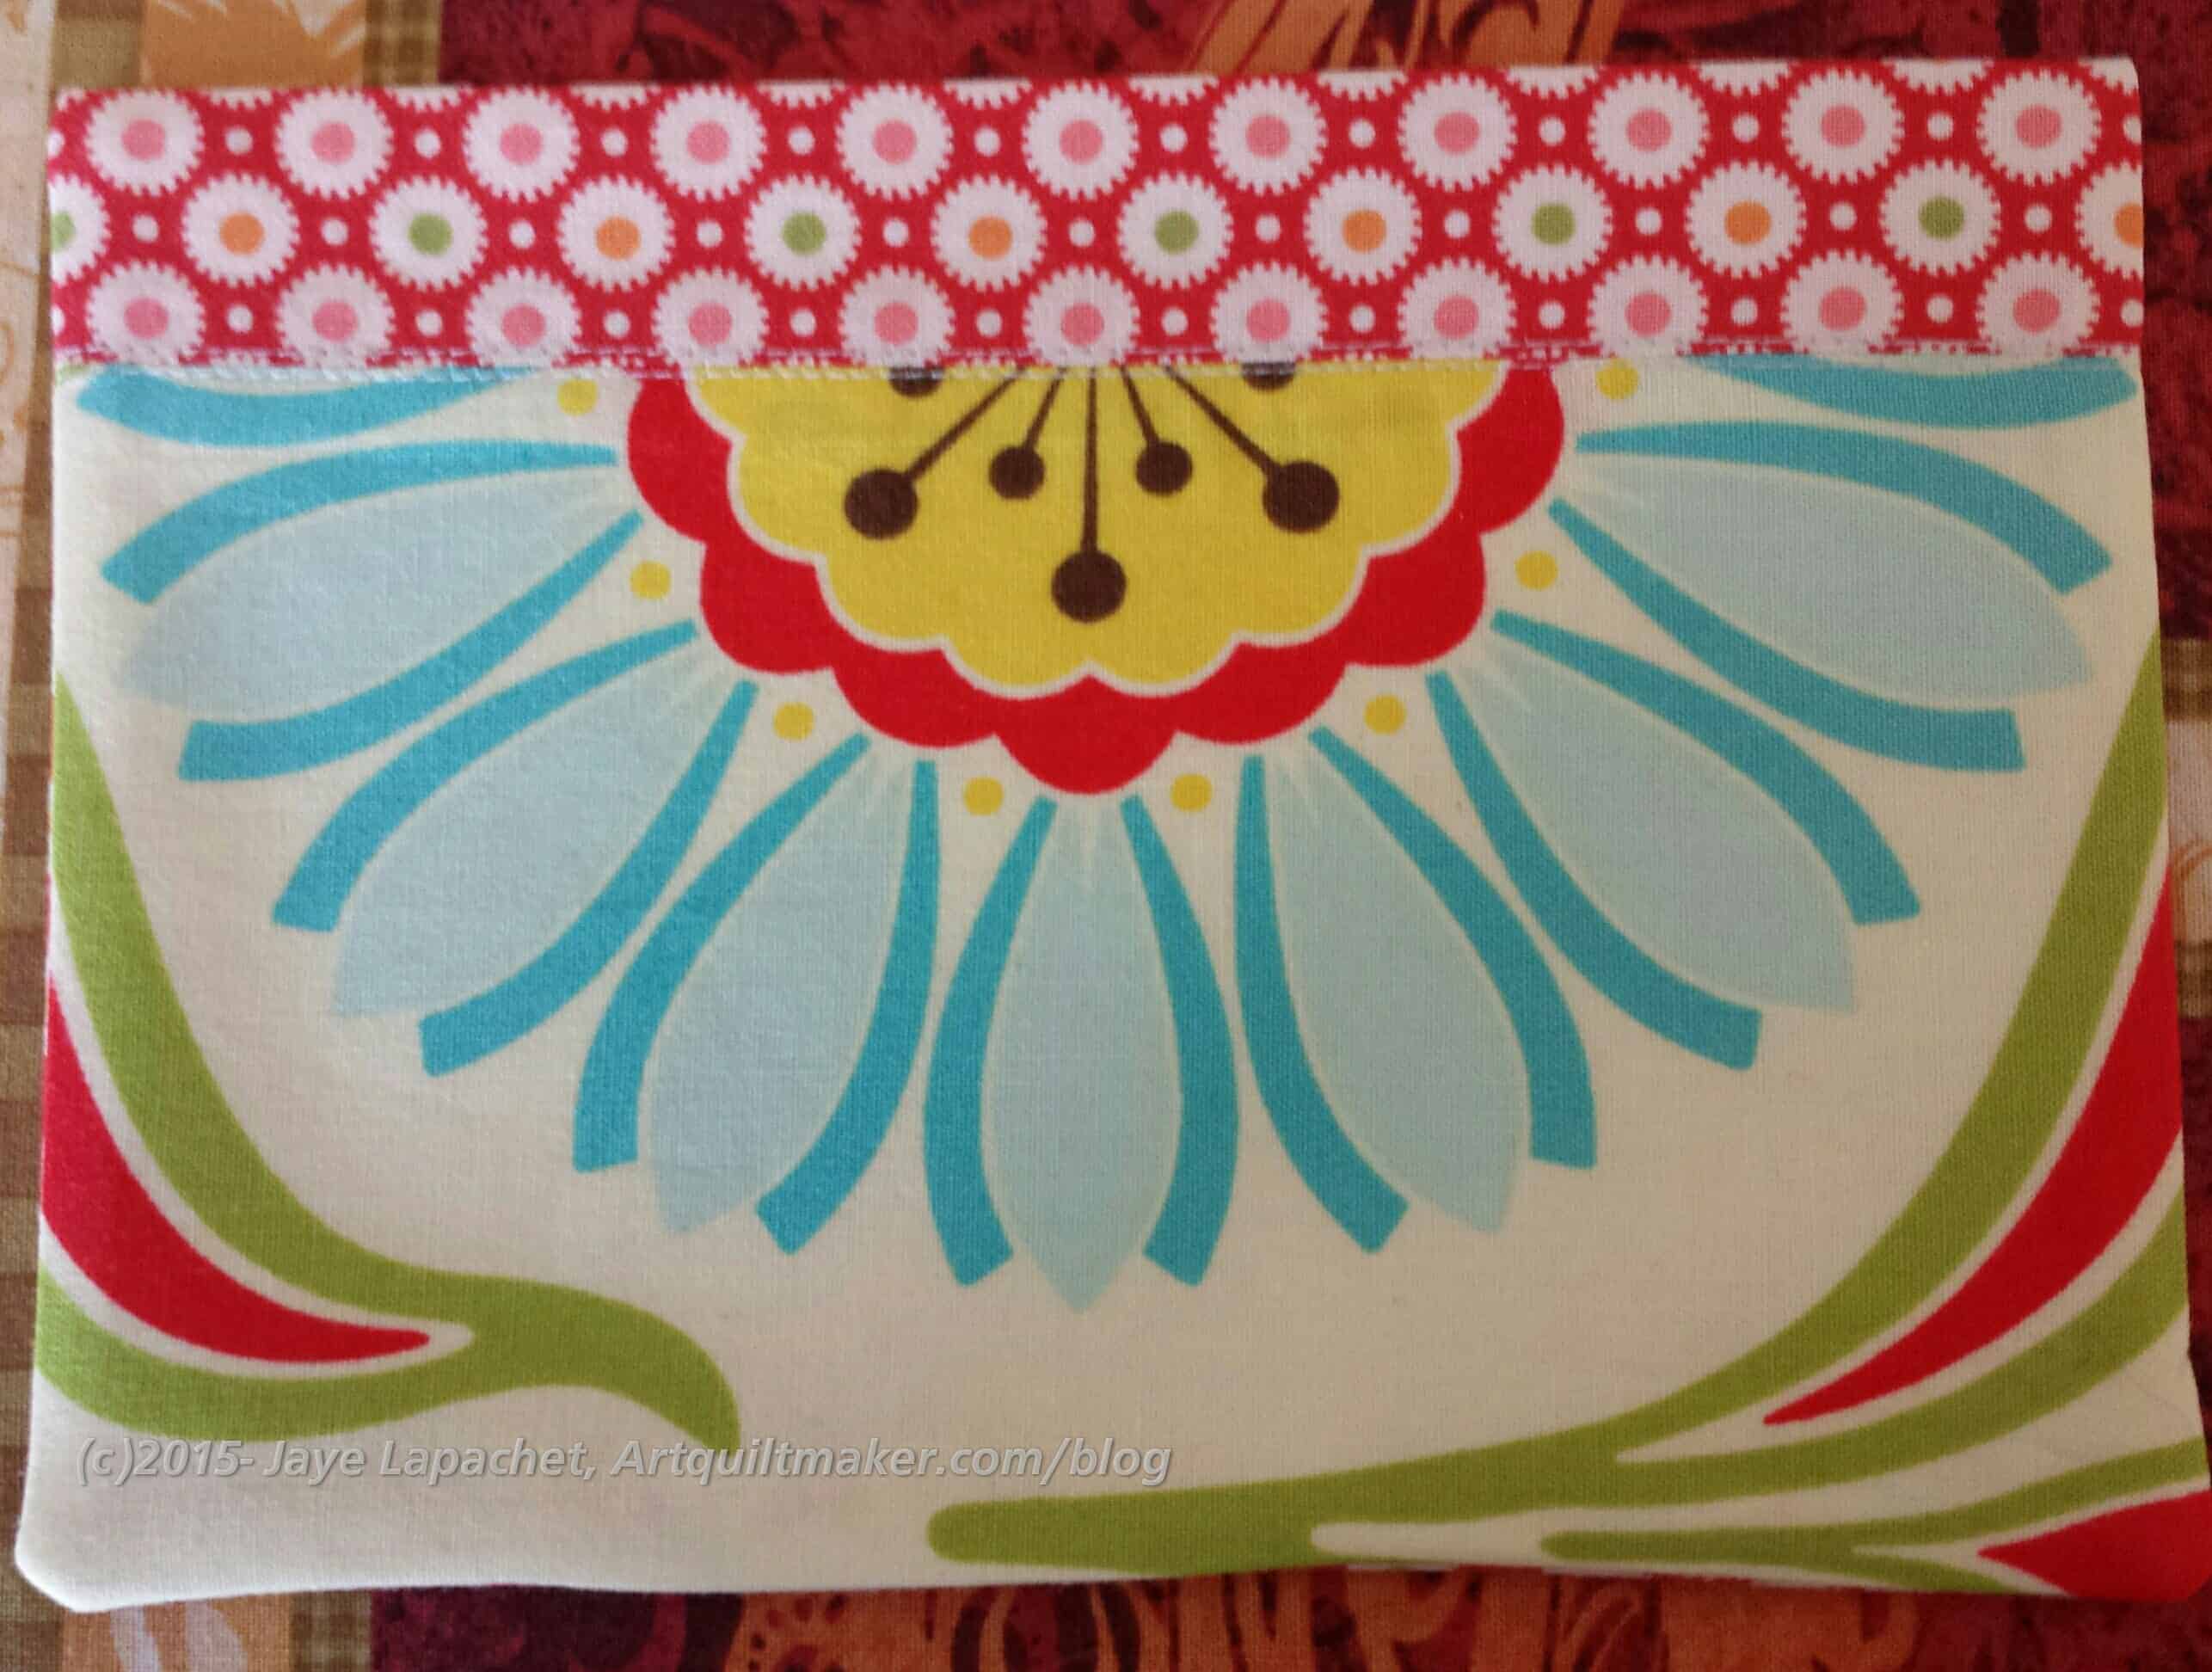
Table Cover – closed
I started it a few months ago, right after the announcement and my giftee assignment.
I found many tablet covers, but finally decided I liked the look of the Sew Mama Sew pattern by Jen Carlton Bailly. In the end I got a tablet cover with which I am pleased and it only took me a day, but, in the end, I didn’t like this pattern.
The tablet cover I needed to make was intended for a modern guild’s swap. I have a lot of the Heather Bailey Pop something fabric – Sugar Pop? Pop Rocks? I don’t remember the name of it. It is modern and so I used it with a Bonnie and Camille Bliss print on the inside.
I searched for a tablet cover pattern, cut the pieces and then let them sit for nearly a month. Bad idea, because I had a hard time finding the pattern on my computer. It was there; I just didn’t remember where I filed it. I also forgot where I was in the making process. Sigh. Not an auspicious start.
Tablet Cover Pocket
I started out making the pocket as the directions said. I was quite proud of my pocket. The corners are a little wonky, but I was proud of the way I lined up the fabric.
This pattern ended up being somewhat problematic and the problems started when I went to sew the pocket to the cover. The directions weren’t specific on where to sew the pocket and from the pictures, it looked like it was sewn to the inside. I sewed it on and went on with making the rest of the cover.
I used Soft & Stable instead of the recommended interfacing, because it is nice and cushy. I wanted the cover to keep the tablet from getting scratched and the Soft & Stable provides a good cushion. It is not fusible so I sewed the pieces into the seam allowances to keep them in place.
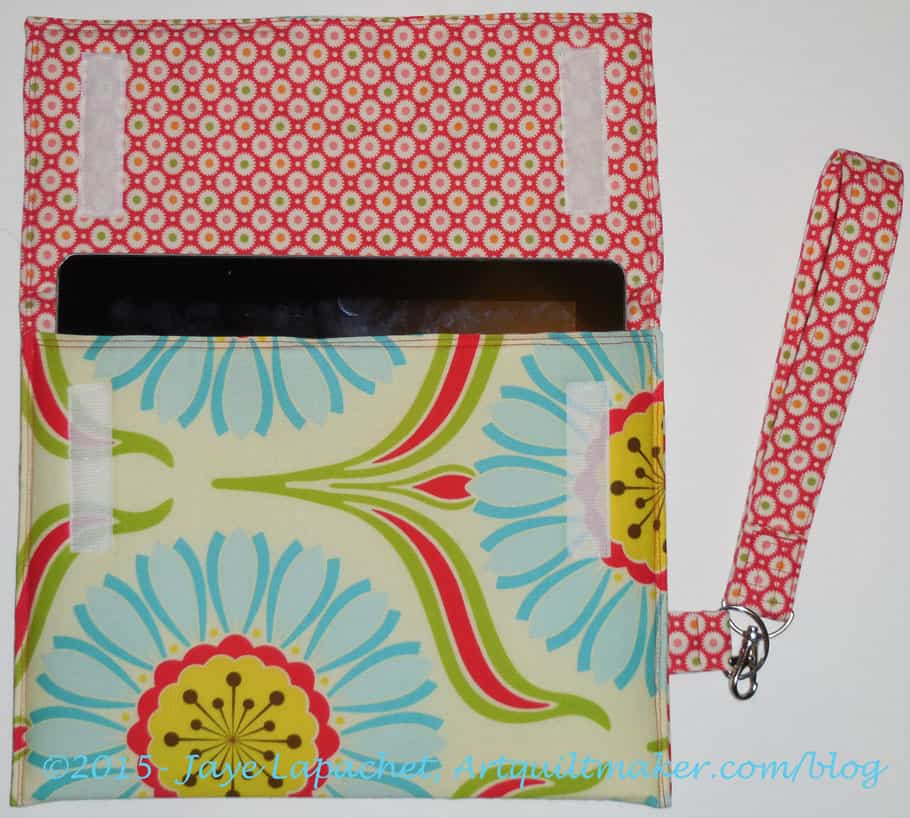
Tablet cover – open with tablet
Once you get the hang of bagmaking, most bags (and this is essentially a bag) are very similar. I sewed along at a good clip. I slowed down towards the end, because of the strap for the wristlet. I had to translate the webbing directions to using interfacing and fabric directions. I think my wristlet looks ok.
The velcro was also a challenge and I would have put it on before I sewed the lining and the exterior together if I had known how it would fall in the steps. I’d like my velcro to be hidden, which means sew to the lining and the Soft & Stable NOT to the outside. That type of construction is not much more complicated, however you do have to think ahead.
Yes, I read the directions, but without fabric in my hands, it might has well have been gibberish. I’ll do it a different way if I make another one.
As I mentioned above, I sewed the pocket to the inside of the cover. There was no mention of sewing the tablet cover together. Even reading over the steps above and below, I could find no spot that said to sew the cover together so it looked like an envelope, so I did my best when I got to that spot.there were three sections, so it wasn’t difficult and I used monofilament so the stitching wouldn’t show up.
As it turns out, the pocket ended up on the inside. With the opening down.
Since the opening was down so I couldn’t even claim it is a hidden pocket. I am not a good pattern reader, so I went back to be sure and step two does not mention what fabric (outside or lining) I should sew the pocket to. Different fabrics are shown in different pictures. I know it is hard to write tutorials and thankless, as well, but this was not a complete pattern. I am not sure it was tested.
Finished Tablet Cover – open
I looked at it and thought about it overnight. I decided to take the whole piece apart and resew it so the pocket would be useful. Unsewing monofilament is no picnic, but I am much happier with how my version of this pattern turned out.
The pocket is nice looking IMO, but it covers the matching of the fabric on the actual cover that worked at. Oh well.
I was concerned about the extra fabric I bought for Christmas pillowcases. I decided to make two pillowcases for two additional gifts. Can’t tell you for whom they are intended, but I’ll tell you later.
The cuff colors were hard, again, and not an exact match to the colors in the main fabric, but they mimic the hues in the fabric.
I worry about the solids being too much, but I made a decision and I am sticking to it. The colors for Christmas are definitely unconventional, but I think they work and don’t scream Christmas.
Since BIL died back in June, a number of us (SIL, Nephew #12, YM, DH) go over to MIL’s and have dinner on Wednesdays when we are available. We use it as a time to catch up. We are also trying to keep Wednesdays (when BIL would go over and have drinks with his mom) from being too sad.
The other Wednesday SIL told us that she was, once again, in charge of the Secret Santa Shop at her son’s school. This is an event to raise money for the school, but also to provide an opportunity for the kids to buy nice gifts that aren’t too expensive.
The first year she did it, they contracted with a company to provide the gifts and she, as well as other parents, proclaimed them to be junk. Some broke as the helpers were bringing them to the wrapping table. Also, the prices were already on the high side so the PTA couldn’t mark the prices up and still keep the gifts affordable for kids, thus they were not able to make much money.
Last year, they scoured shops and websites for nicer gifts that were of good quality. She said that it was a lot more work, but it paid off in that they also made over $3000!
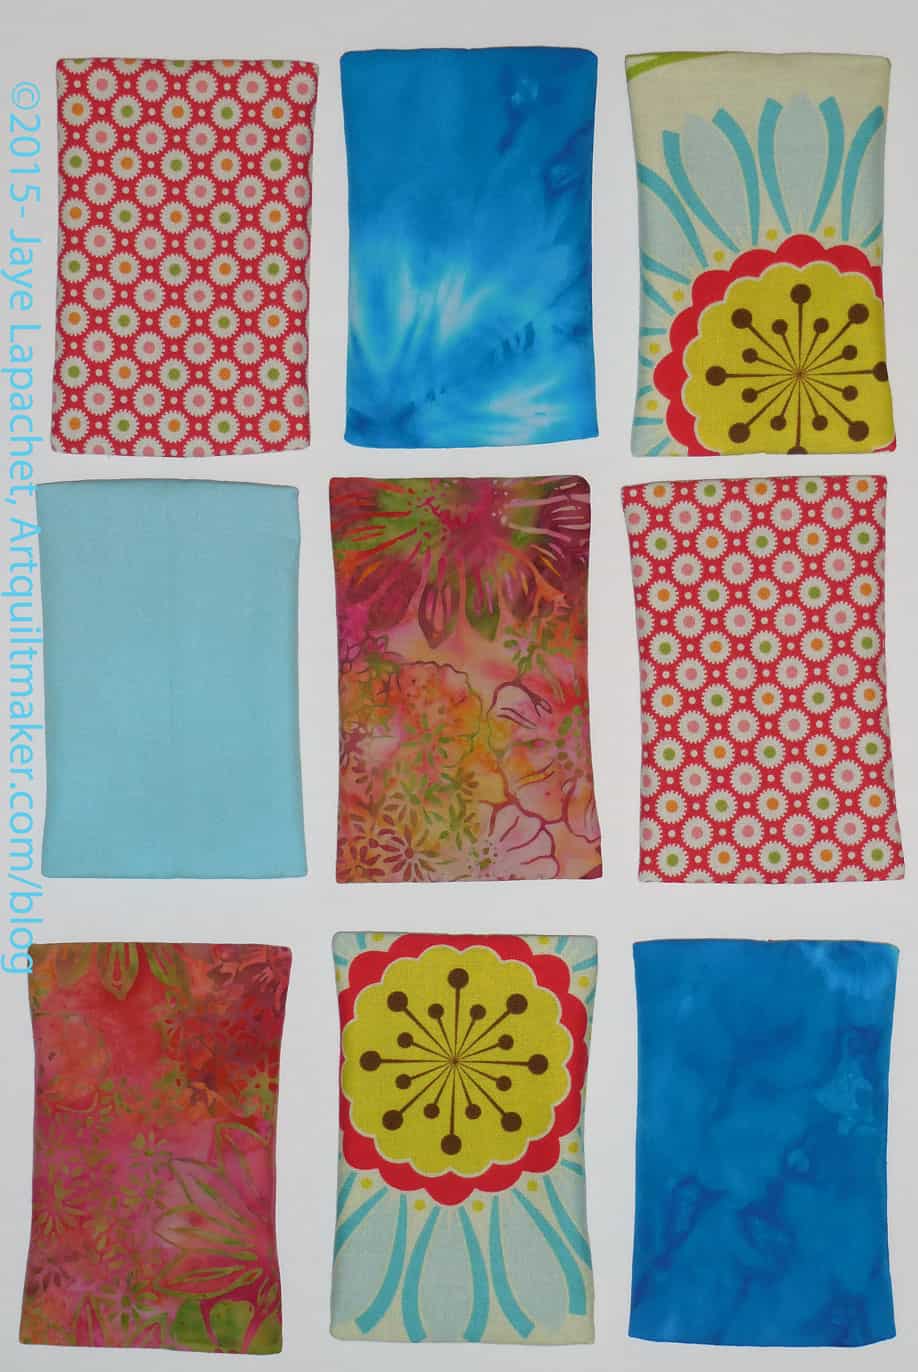
Tissue Cover Backs
Upon hearing this, I thought of the gift ideas list I made last year (?) and, more specifically, of the tissue covers that Valerie inspired me to make. I went home and started cutting fabric. I finished 9 the next day and sent them off.
I might make some more, but we will see. It might be good to see if they sell and then make more next year. On the other hand, it might be good to make a bunch so at least one person from each grade can buy one. We’ll see what SIL says.
I am going to try and think about other gifts that might work. The problem is that I am used to making bags, cushions or gifts that quiltmakers like. The people at the school are not quiltmakers and the gifts have to be small, so I need to think a little harder.
This third tally runs hard on the heels of my last Christmas Pillowcase update. I won’t keep you guessing, if you didn’t read that post. I finished the task I set out for myself. I am finished with the Christmas pillowcases.
Here is the grand total of what I have finished:
SIL#1: 4 kids, 2 spouses/SOs
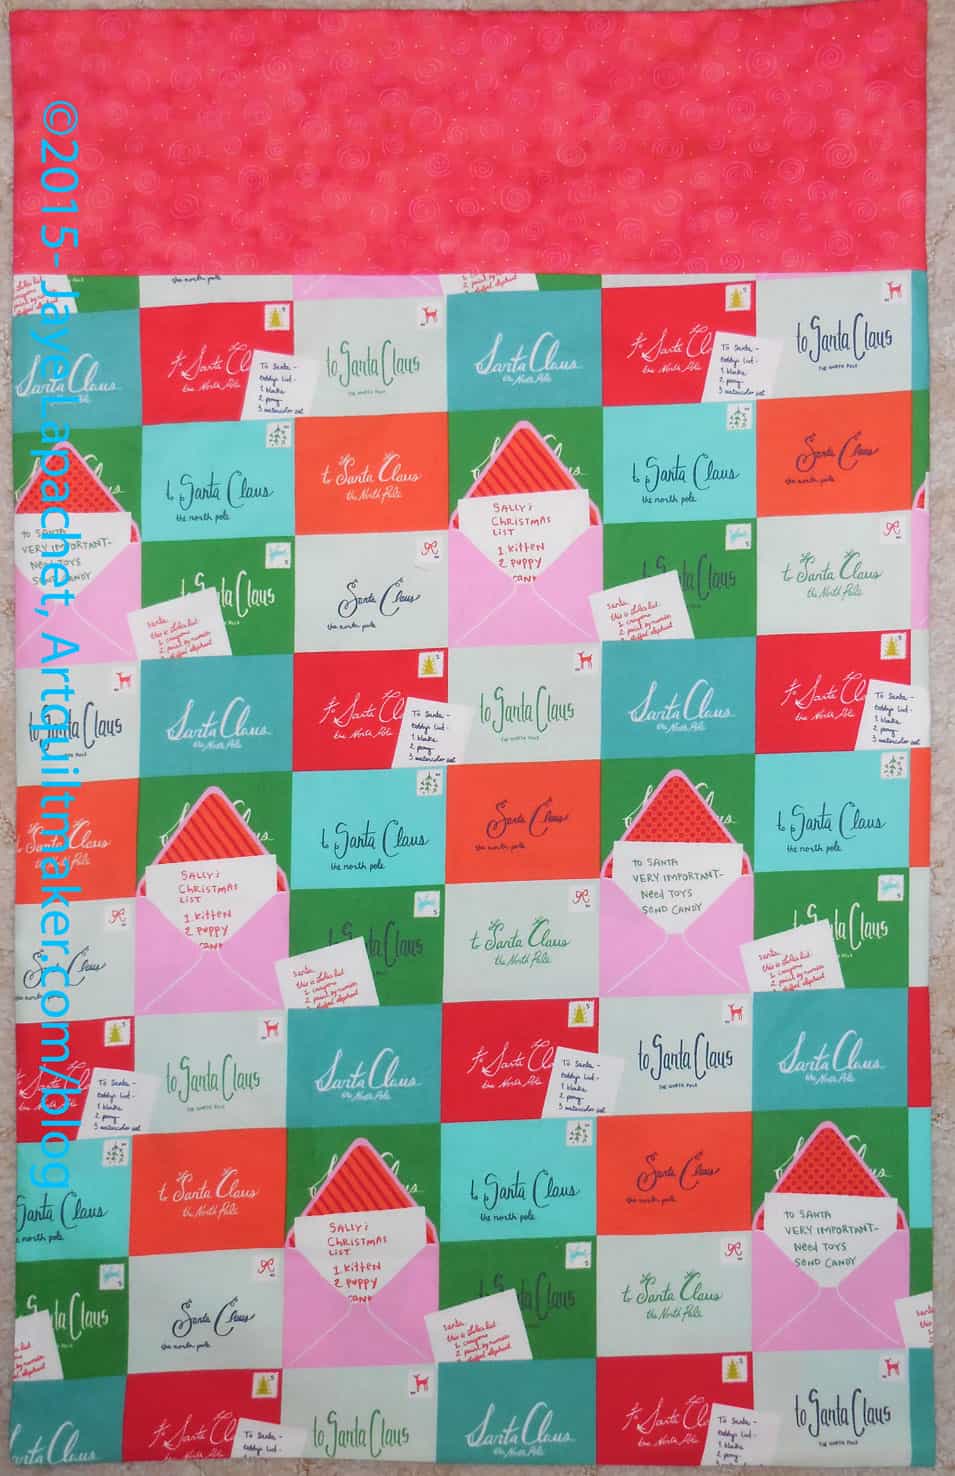
3rd oldest nephew + SO (Dear Santa theme – DONE for both)
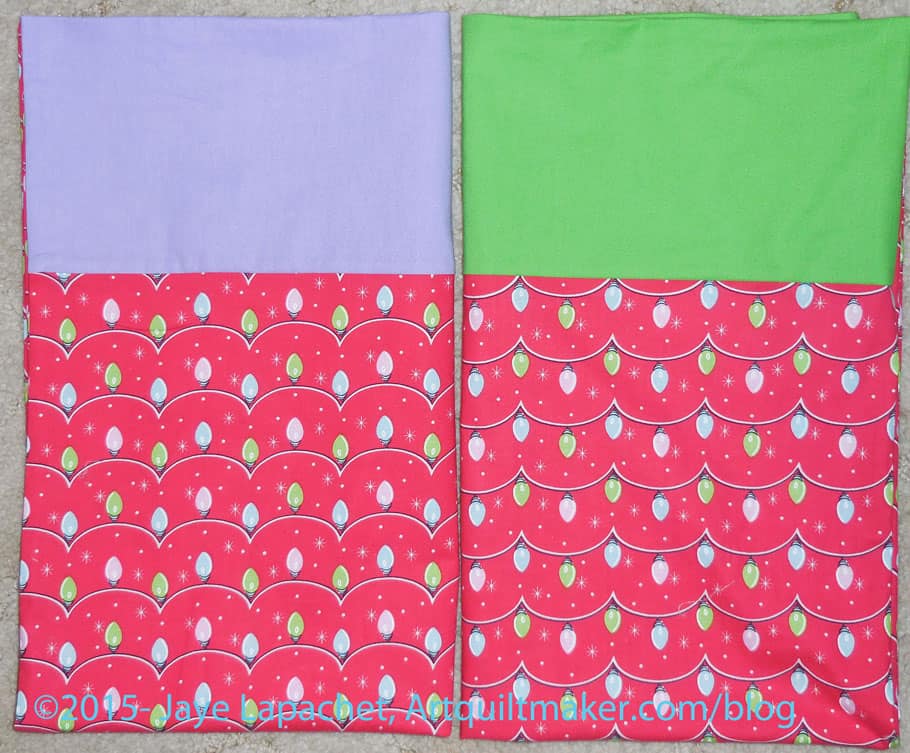
Oldest niece + Fiance (flannel – DONE for fiance, lights with white background theme – DONE)
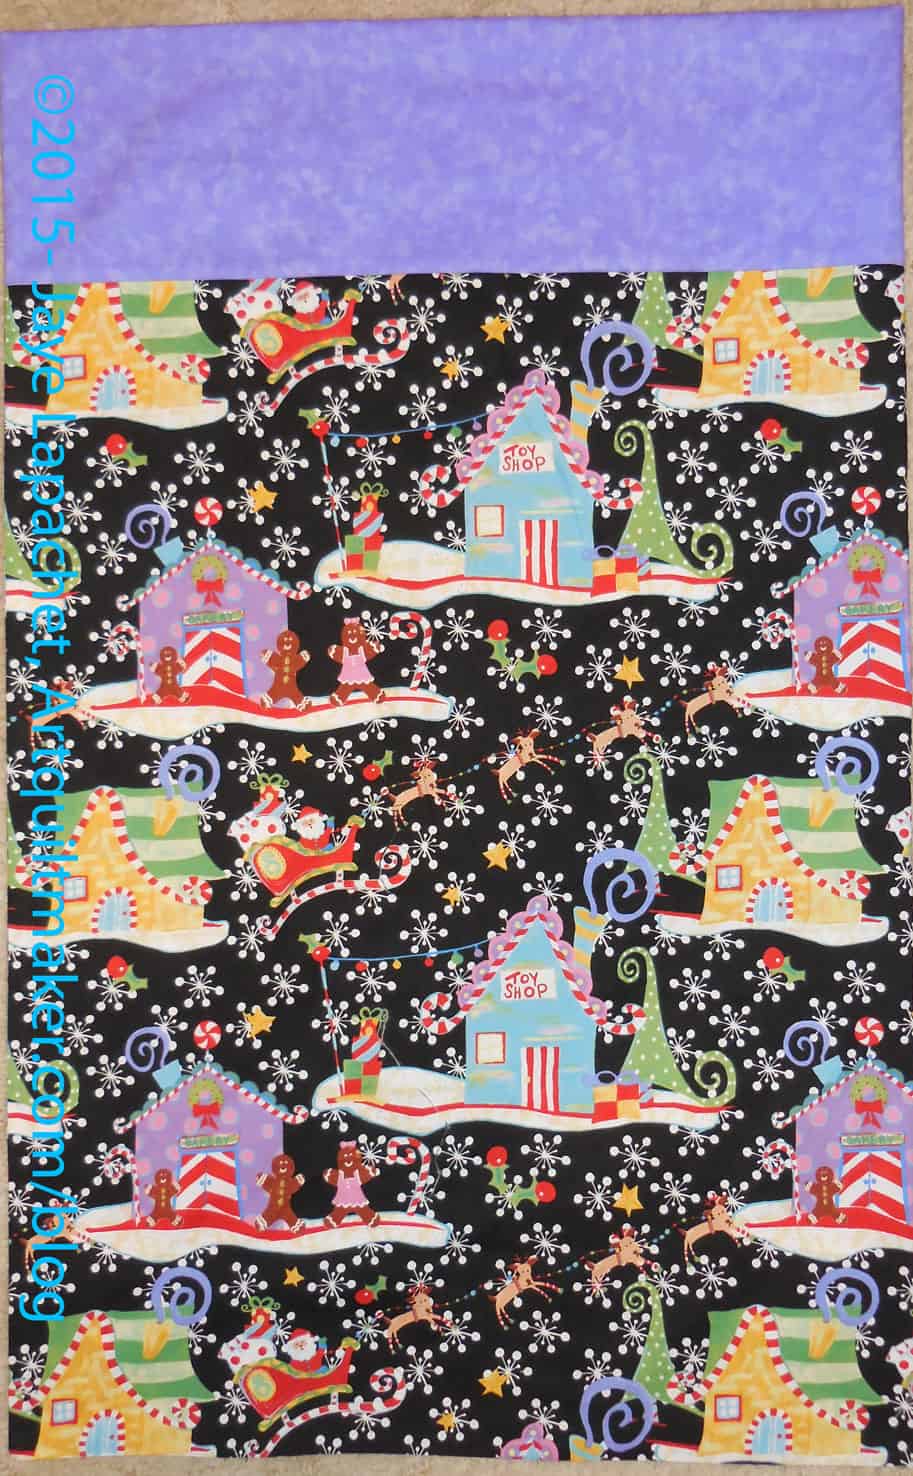
Youngest niece (black Gingerbread and Toy Shop theme – DONE)
SIL#2: 3 kids, 1 spouse, 2 great niece-phews
Oldest nephew + spouse + 2 kids (old fashioned Christmas with green cuffs for nephew and niece-in-law: DONE, 2 kids (Olaf for boy, Anna/Elsa for girl): DONE)
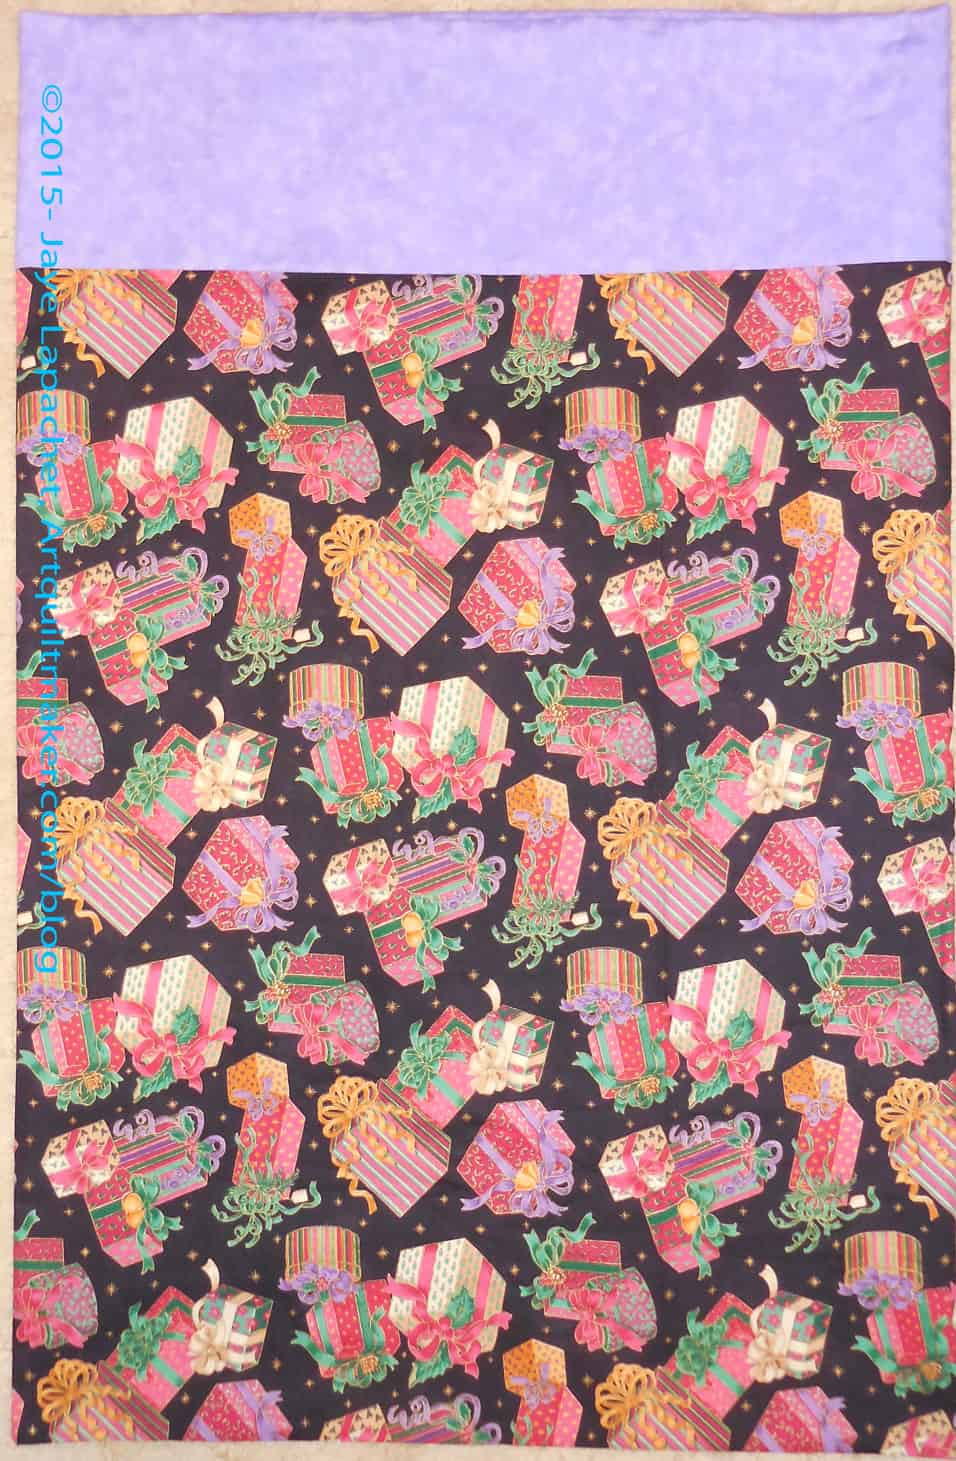
2d oldest nephew (present theme – DONE)
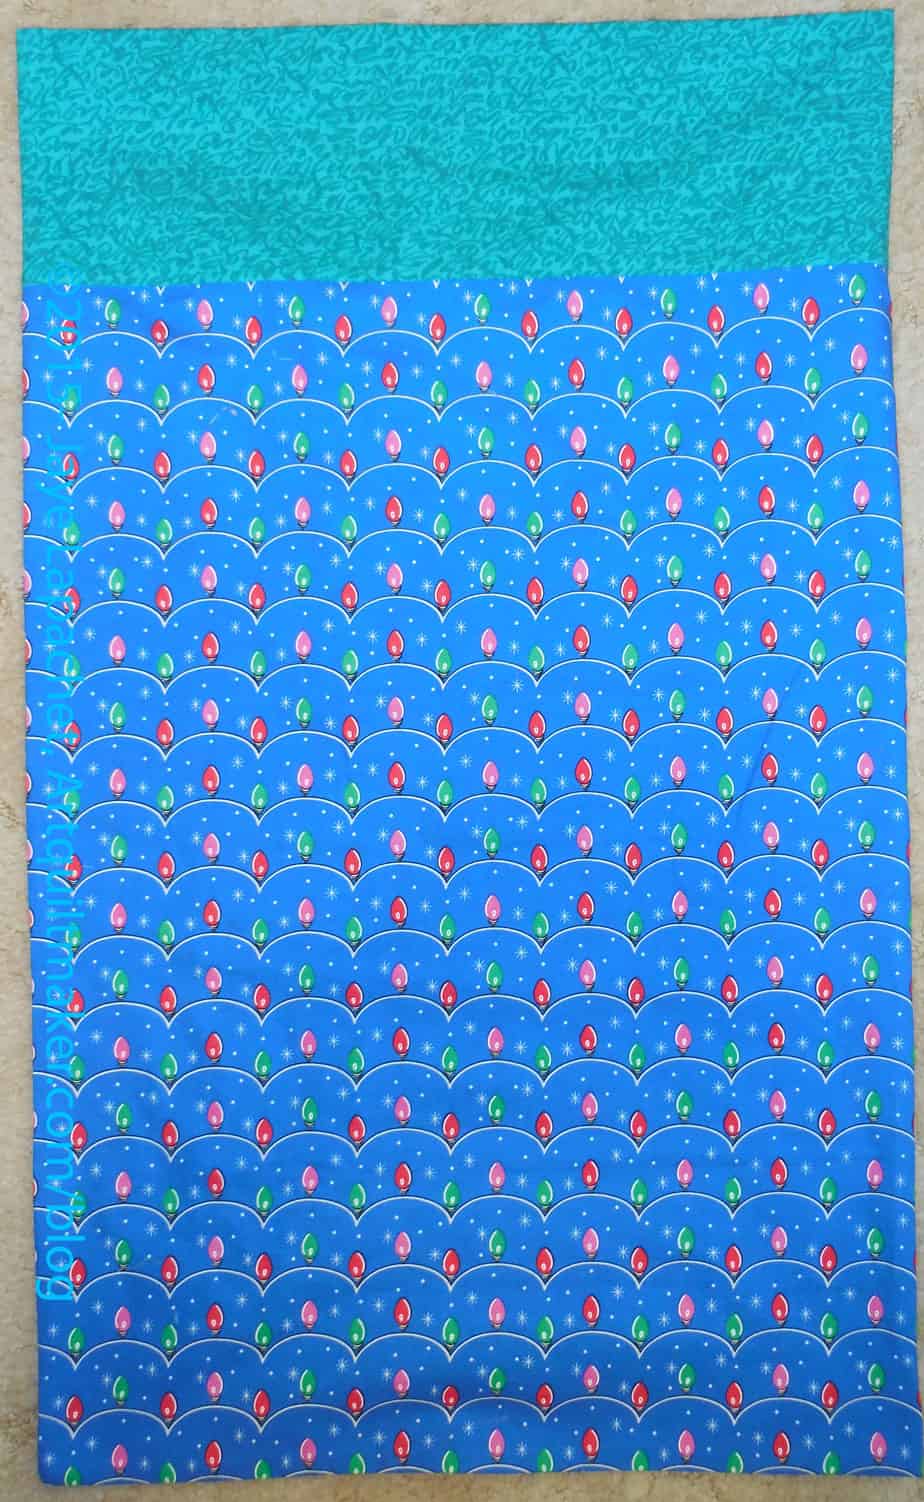
middle of the pack nephew (blue lights theme – DONE)
I finished the last Christmas pillowcases. Hooray!!! I just sat down and did a bit of sewing one day. I had about an hour so I only finished a couple, then I finished the stragglers a few days later. Voila! I am done.
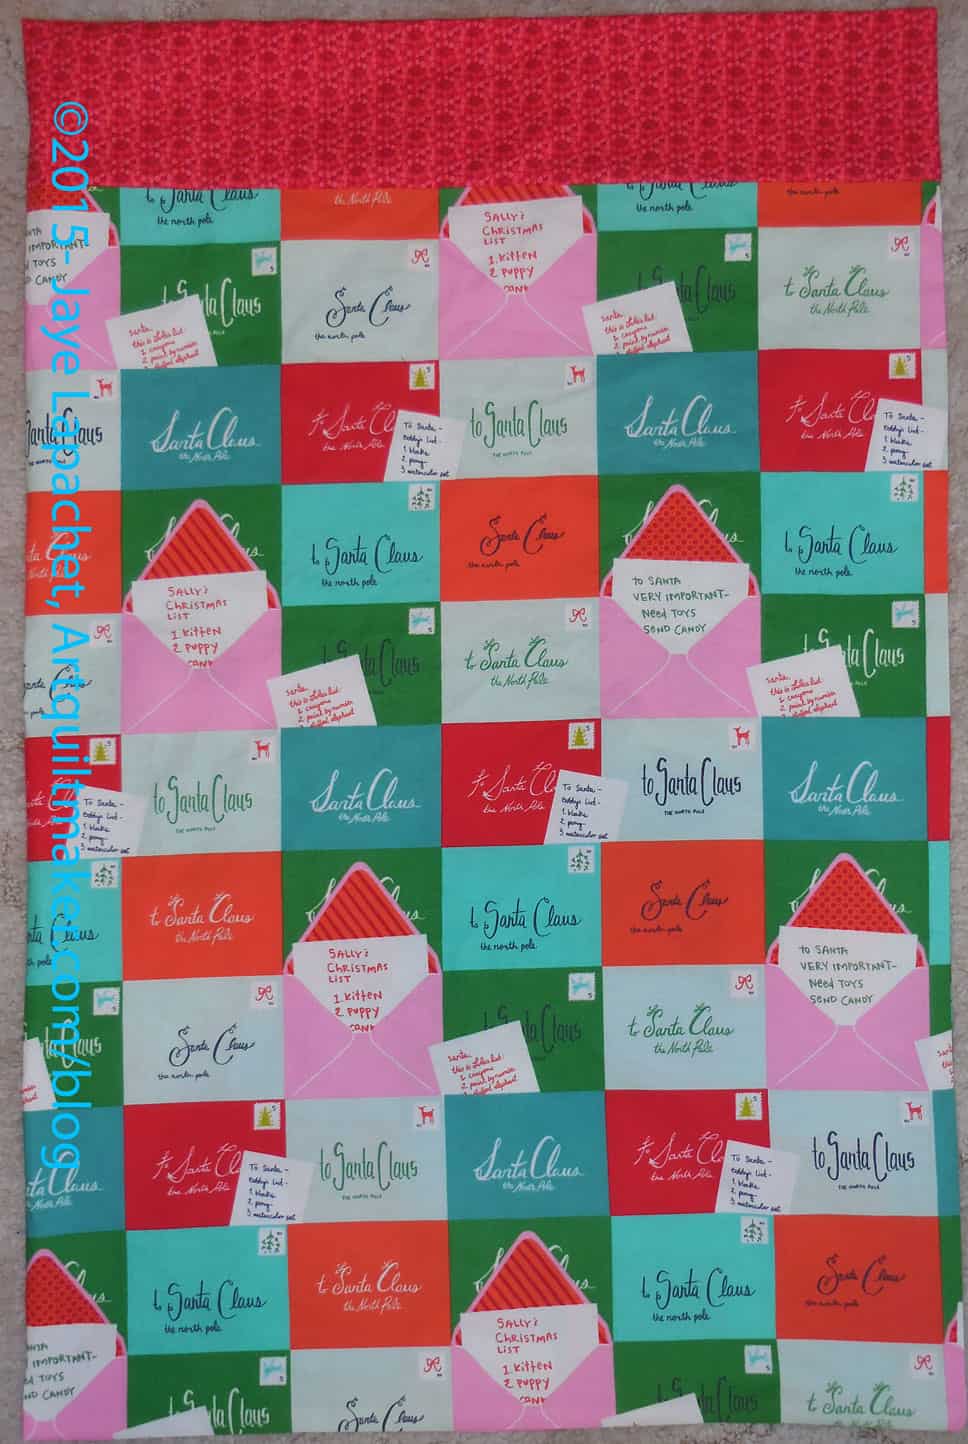
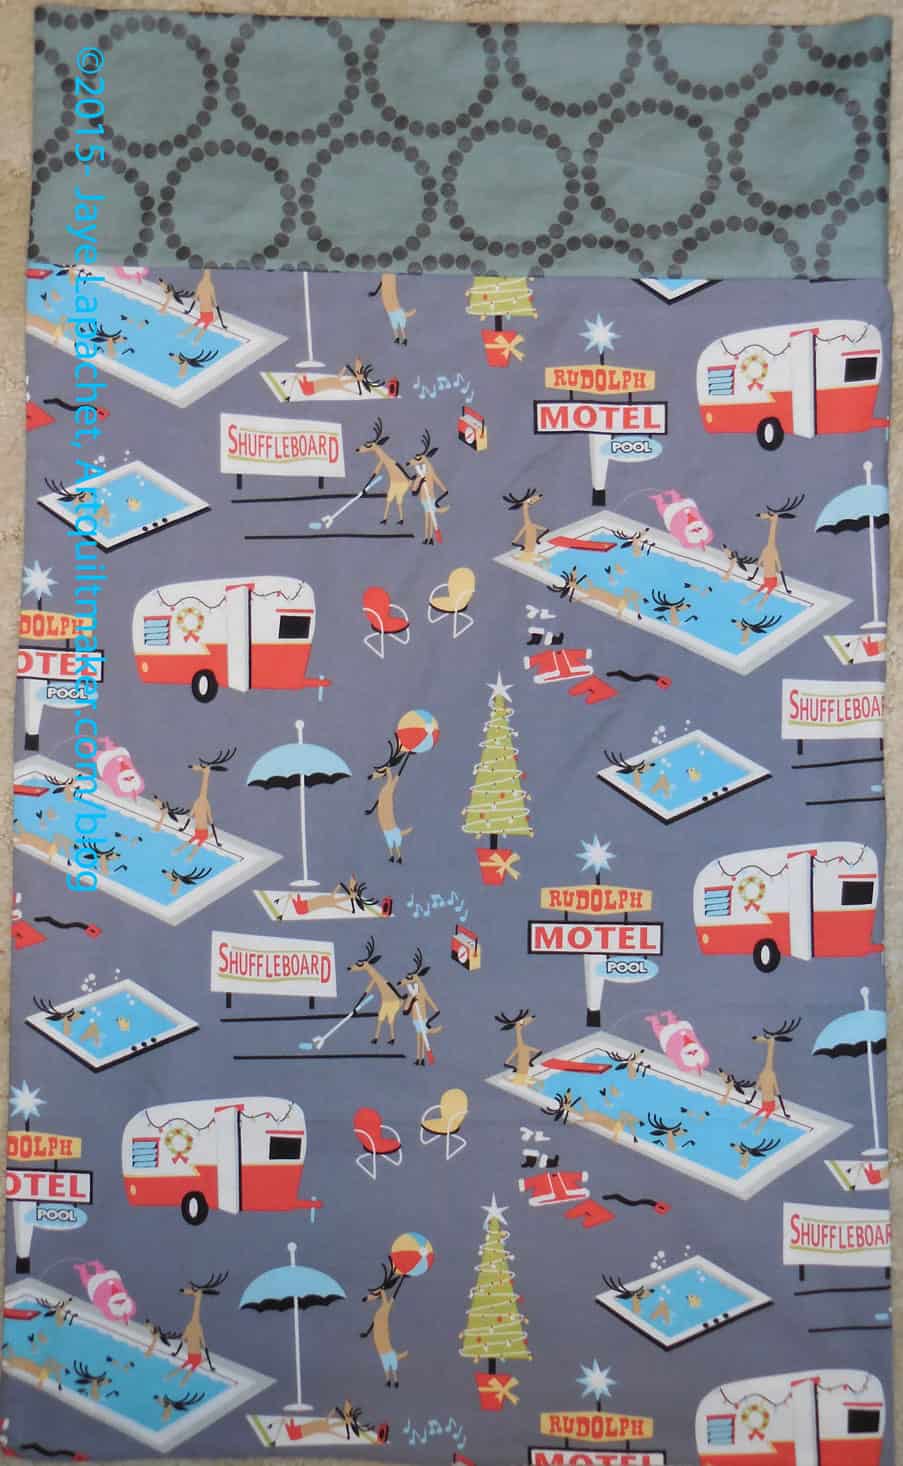
Dear Santa PillowcaseDear Santa Pillowcase
The two Dear Santa Pillowcases are some of my favorites. On the left will go to Raymond, the SO of my 3rd oldest nephew and the right will go to the actual nephew. I hope they don’t look too girly.
I really like the sense of humor that Cotton & Steel has with some of their designs. I also like the 50s look of the design. I am waiting for some Christmas designs that include the Shiny Brite ornaments I like so much.
Blue Lights Pillowcase
The blue lights pillowcase is similar to the white lights pillowcase I made the other day. This will go to one of the middle nephews (so many nephews!!!). I think the lights might be a little smaller, but I am pretty sure the fabric is from the same line as the white lights pillowcase.
I have more fabric and am tempted to make more pillowcases, but am going to hold off. I had some fun just doing some tests the other day and want to keep that feeling alive.
Now, guess what I am worrying about? Packing up and mailing all of these things out to the Niece-phews! Sheesh! I have over a month and can do it a little at a time.
I only really had Sunday to sew. I am still not focusing well and I decided to work on pillowcases for awhile in the morning. Well, the morning turned into an almost all day marathon of pillowcase making to get the Christmas project done once and for all.
As I have said the hardest part is picking the cuff fabrics. I think I need to do that when I buy future pillowcase fabric. We all know that is not going to happen since I don’t plan that far ahead. A girl can dream, though.
About midday I had all the bodies and cuffs cut and pinned. One thing I learned is that I need to cut my initial pieces (you know the ones I cut out of each piece of new yardage) up the side of the fabric, especially the half yards, because if I cut across the bottom, the half yards won’t be long enough to make a cuff. That cuts down my cuff options. Live and learn.
Phil’s presents
I methodically sewed and this time I used an applique foot so I wouldn’t have to guess on the initial seams. Still, sewing the final seams was less ideal, because of that foot. I used a wider seam allowance. I am sure it will be fine, but it makes me want to invent a pillowcase foot.
Some of the fabrics had purple in them so I chose purple/lavender cuffs. It is an odd choice, but I think it works.
I made two of the gift pillowcases (2d photo in this post) as I had a lot of the gift fabric and figured I might as well, since I didn’t want to keep the fabric for anything. I am not sure where I got it and why I got so much of it, but I have enough to make some gift bags, too.
White Lights Pillowcase
One of the pillowcases I made is really one of my favorites. I like that print. I actually have it with blue and red backgrounds as well.
This one is for my oldest niece. I didn’t have enough to make two with the same fabric, which I would have done if I had enough fabric. I already made one for my niece’s fiance’ and I can make more later.
I have two more pillowcases prepared, but I don’t know if I will get them done until next weekend. I’d like to, but we will see.
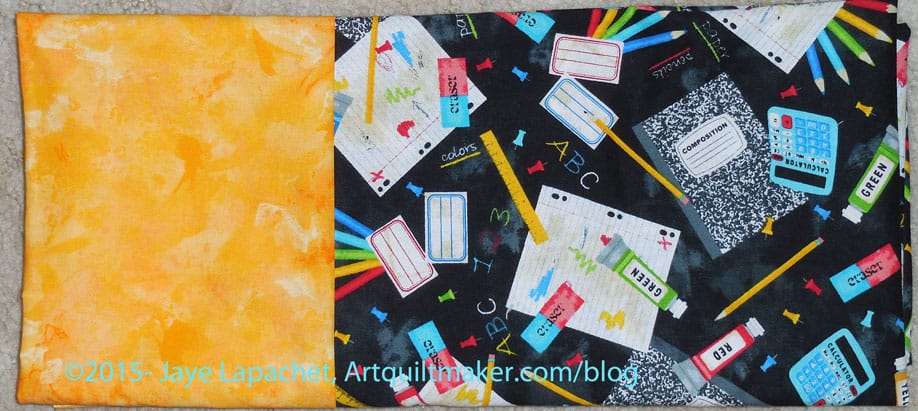
September College PillowcaseBack-to-School Pillowcase
As I said in my previous post, I was tempted by a “School Daze” theme, but I didn’t want to send him something that will embarrass him. I also want him to use the pillowcases. I decided to make him a really soft pillowcase, which I did. Then In Eureka, I saw the Timeless Treasures fabric. I texted him a picture and he approved so I bought some fabric and made the pillowcase when I got home from dropping him off. It went into his first care package.
October – Done
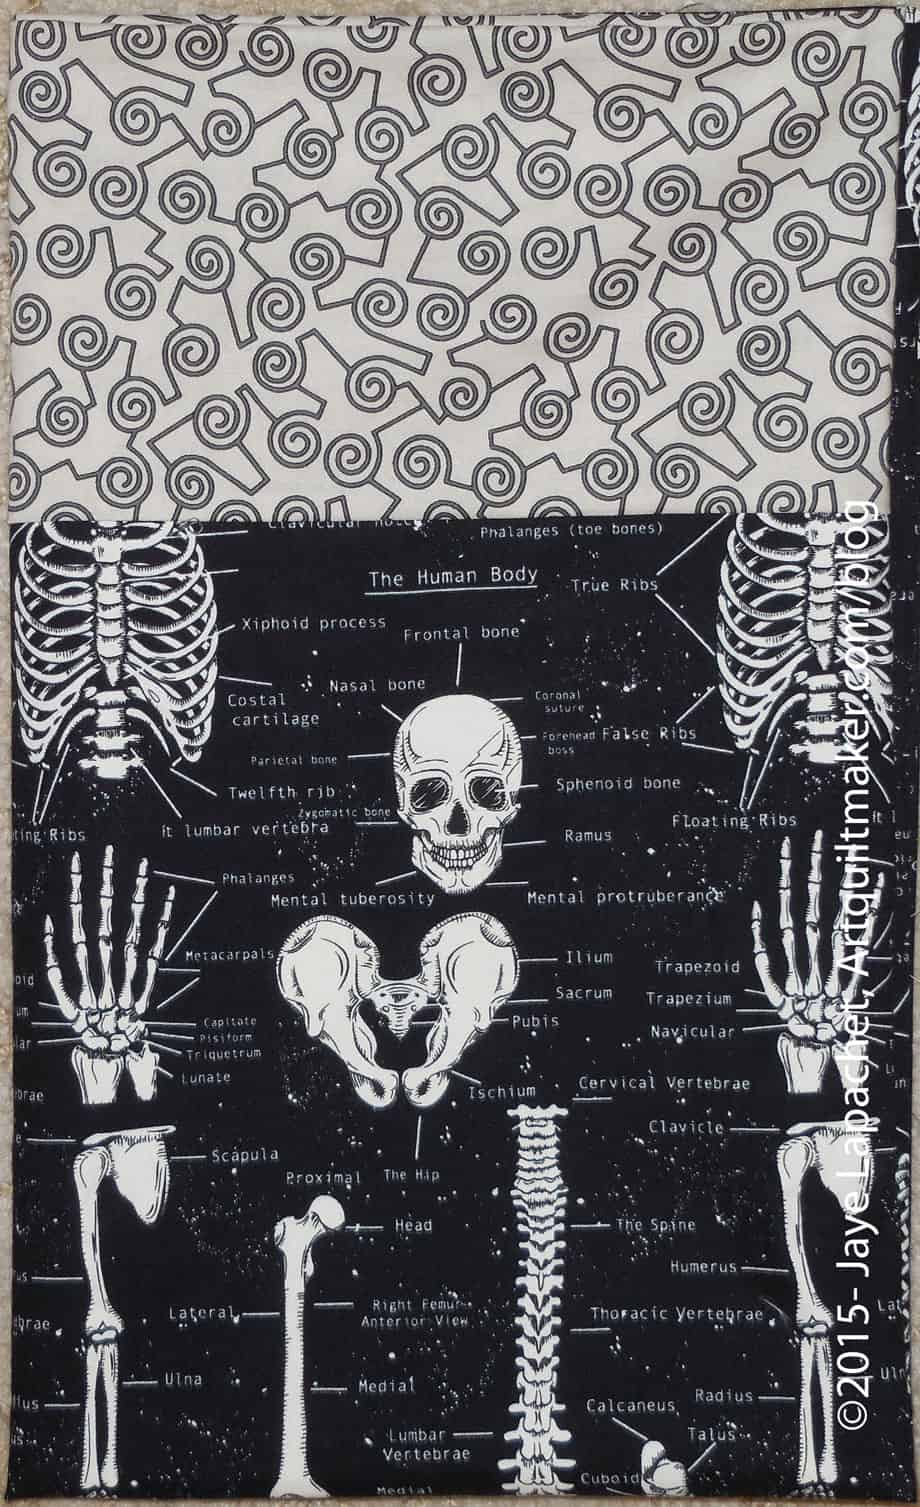
Theme: Halloween
Fabric: skeleton fabric by Timeless Treasures for the body. The cuff is an old P&B Fabric.
Halloween Pillowcase for YM
This is a gimme. Very easy fabric to choose and I am pretty sure the YM will like it.
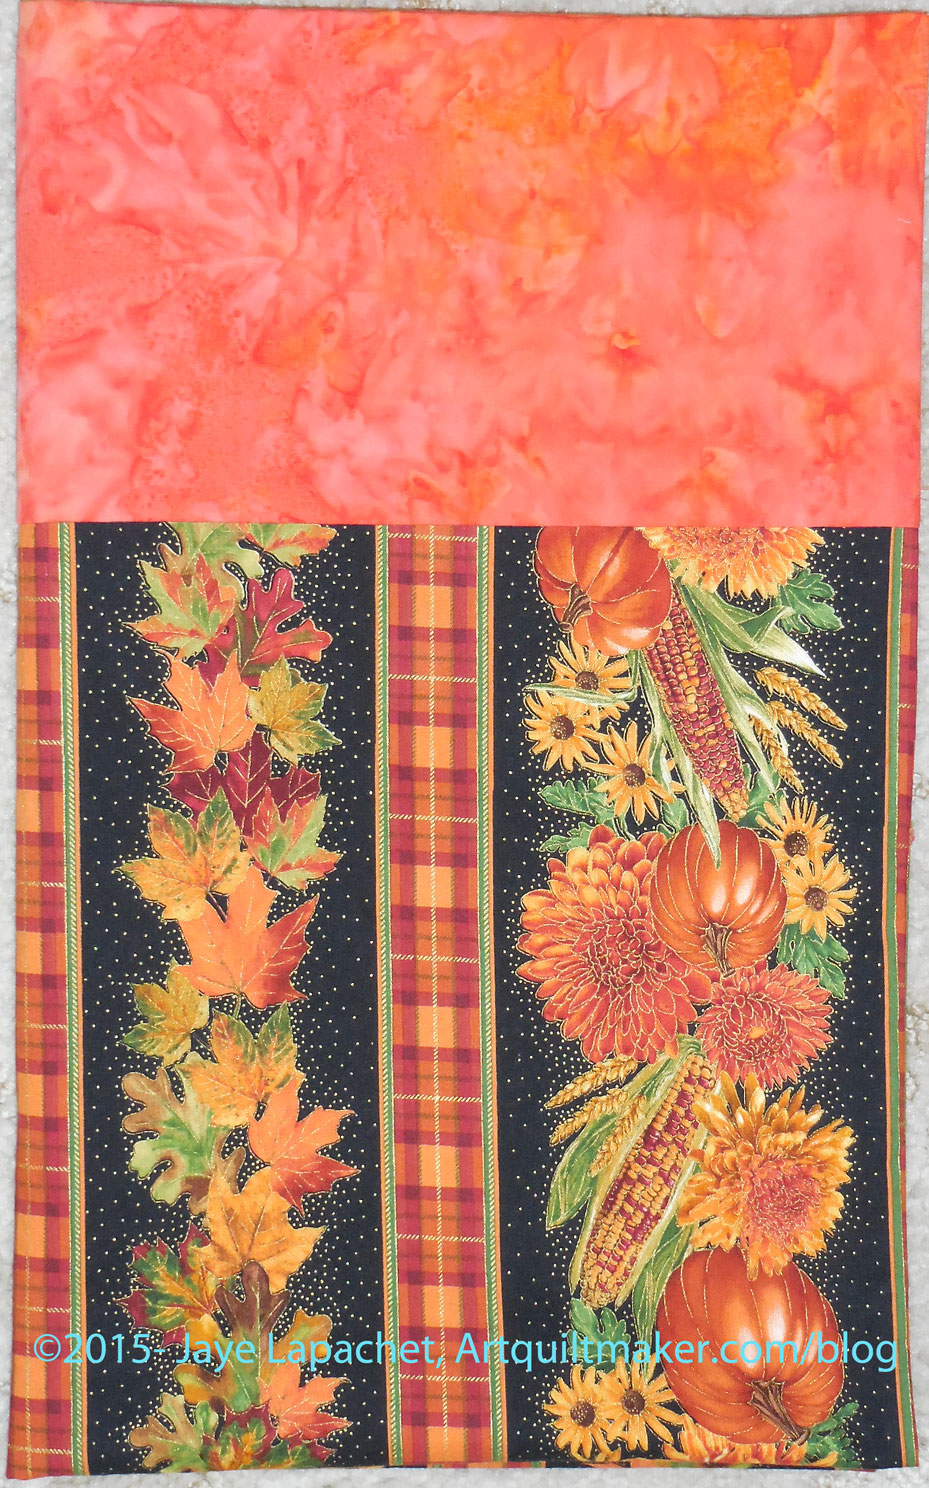
I was disappointed I couldn’t find a cornucopia fabric, but this fabric looks very Thanksgiving-y.
December
Theme: Christmas
Fabric: not purchased
YM’s Christmas Pillowcase
January – Done
Theme: Pokemon
Fabric: Robert Kaufman licensed from Nintendo
Pokemon Pillowcase #2
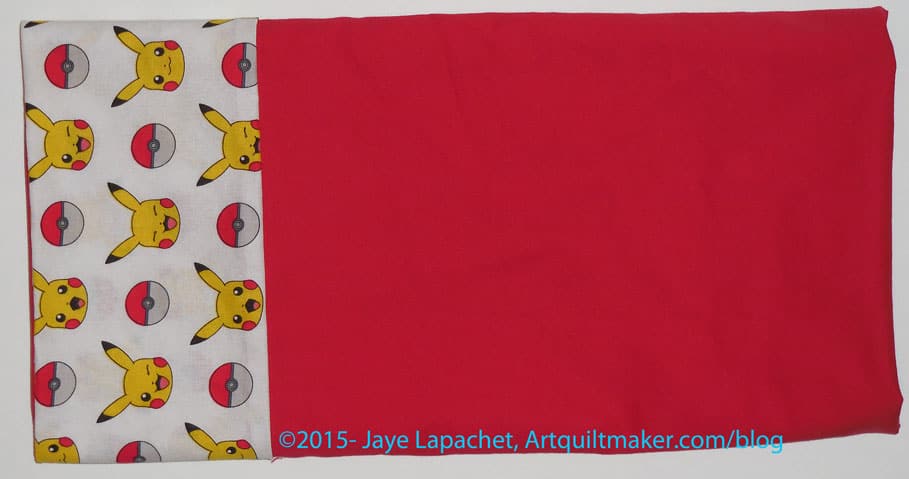
I had the fabric on my ‘to be ironed’ pile and the YM saw it. I didn’t say that it was for a pillowcase for him and asked him if he would want a pillowcase out of it. He, very tactfully, said I should make one for someone else, so I made one with red fabric for the body and a cuff from the Pokemon fabric. I have another pillowcase with a Pokemon body and think I will give it to his cousin, who is 11.
After returning from Philadelphia, I got back into the groove by cutting some pieces for pillowcases. I made three. The first is a college pillowcase. I used Minkee, which I told you I was going to try.
The Young Man is quite kinesthetic and I think having something soft will be good for stress.
I have never used Minkee before and this was a challenge. First of all, I only had a small piece of flannel so I had to cram the Minkee pillowcase body into it before sewing. I use the burrito method I have discussed a number of times. The quilt shop had a guide for using Minkee, which said I should use a 1/2″ seam allowance and a walking foot. I pinned the flannel really well to the Minkee and that worked to keep the Minkee stable while I sewed. It was difficult to cut straight initially so after sewing, I trimmed the body straight again. I hope I didn’t trim to much, but we will see.
Again, I pinned the body of the pillowcase really well and sewed. Then I used a knit stitch to do the French Seam to finish the case.
This isn’t an instant success guarantee. We’ll have to see if the case is too small and if the bumps on the Minkee bug his face when he sleeps. Still, I am pleased. I have a September pillowcase and something for the care package. I also got some experience with Minkee.
Since I did the Christmas Pillowcase Tally the other day, I thought I had better keep myself honest by putting some notes down about the pillowcases I want to make the Young Man for college. I may need help, but we will see.
I want them to be punny, if possible September
Theme: soft
Fabric: Minkee and flannel
I was tempted by a “School Daze” theme, but I don’t want to send him something that will embarrass him. I also want him to use the pillowcases. I decided to make him a really soft pillowcase so I bought some Minkee to try. I am about half done with it.
October – Done
Theme: Halloween
Fabric: skeleton fabric by Timeless Treasures
November
Theme: Thanksgiving
Fabric: timeless Treasures Golden Harvest
I was disappointed I couldn’t find a cornucopia fabric, but I did find another fabric that looks very Thanksgiving-y.
December
Theme: Christmas
Fabric: not purchased
January
Theme: snow, winter?
Fabric: ?
February
Theme: ?
Fabric: ?
March
Theme: ?
Fabric: ?
April
Theme: Easter?
Fabric: ?
May
Theme: Cinco de Mayo?
Fabric: ?
I’d be tempted to make a pillowcase from Philip Jacobs fabric, but I don’t think that would be popular.
Food is always a good fill in theme for months where there is no apparent theme. I think I have some Pokemon and Star Trek fabric that can become pillowcases as well.
After one of my recent posts on pillowcases, I thought I had better do a tally regarding the Christmas pillowcases I am planning on making. The last tally I did was May 4 and I have made some progress, so I thought I had better crow a little bit.
Here is the grand total of what I still need:
SIL#1: 4 kids, 2 spouses/SOs
3rd oldest nephew + SO
Oldest niece + Fiance (yes, this has changed since the last update) (DONE for fiance)
I am off the fence about my 3 youngest nephews. Even though I made them pillowcases last year for Christmas, they are each getting a pillowcase. My YM is also not on the list, but I will probably just send him one before the school year ends.