Another Great CQFA Meeting

I had a great time at the meeting yesterday and it really didn’t have anything to do with the actual meeting.

Gerre's Collage
Gerre’s Collage

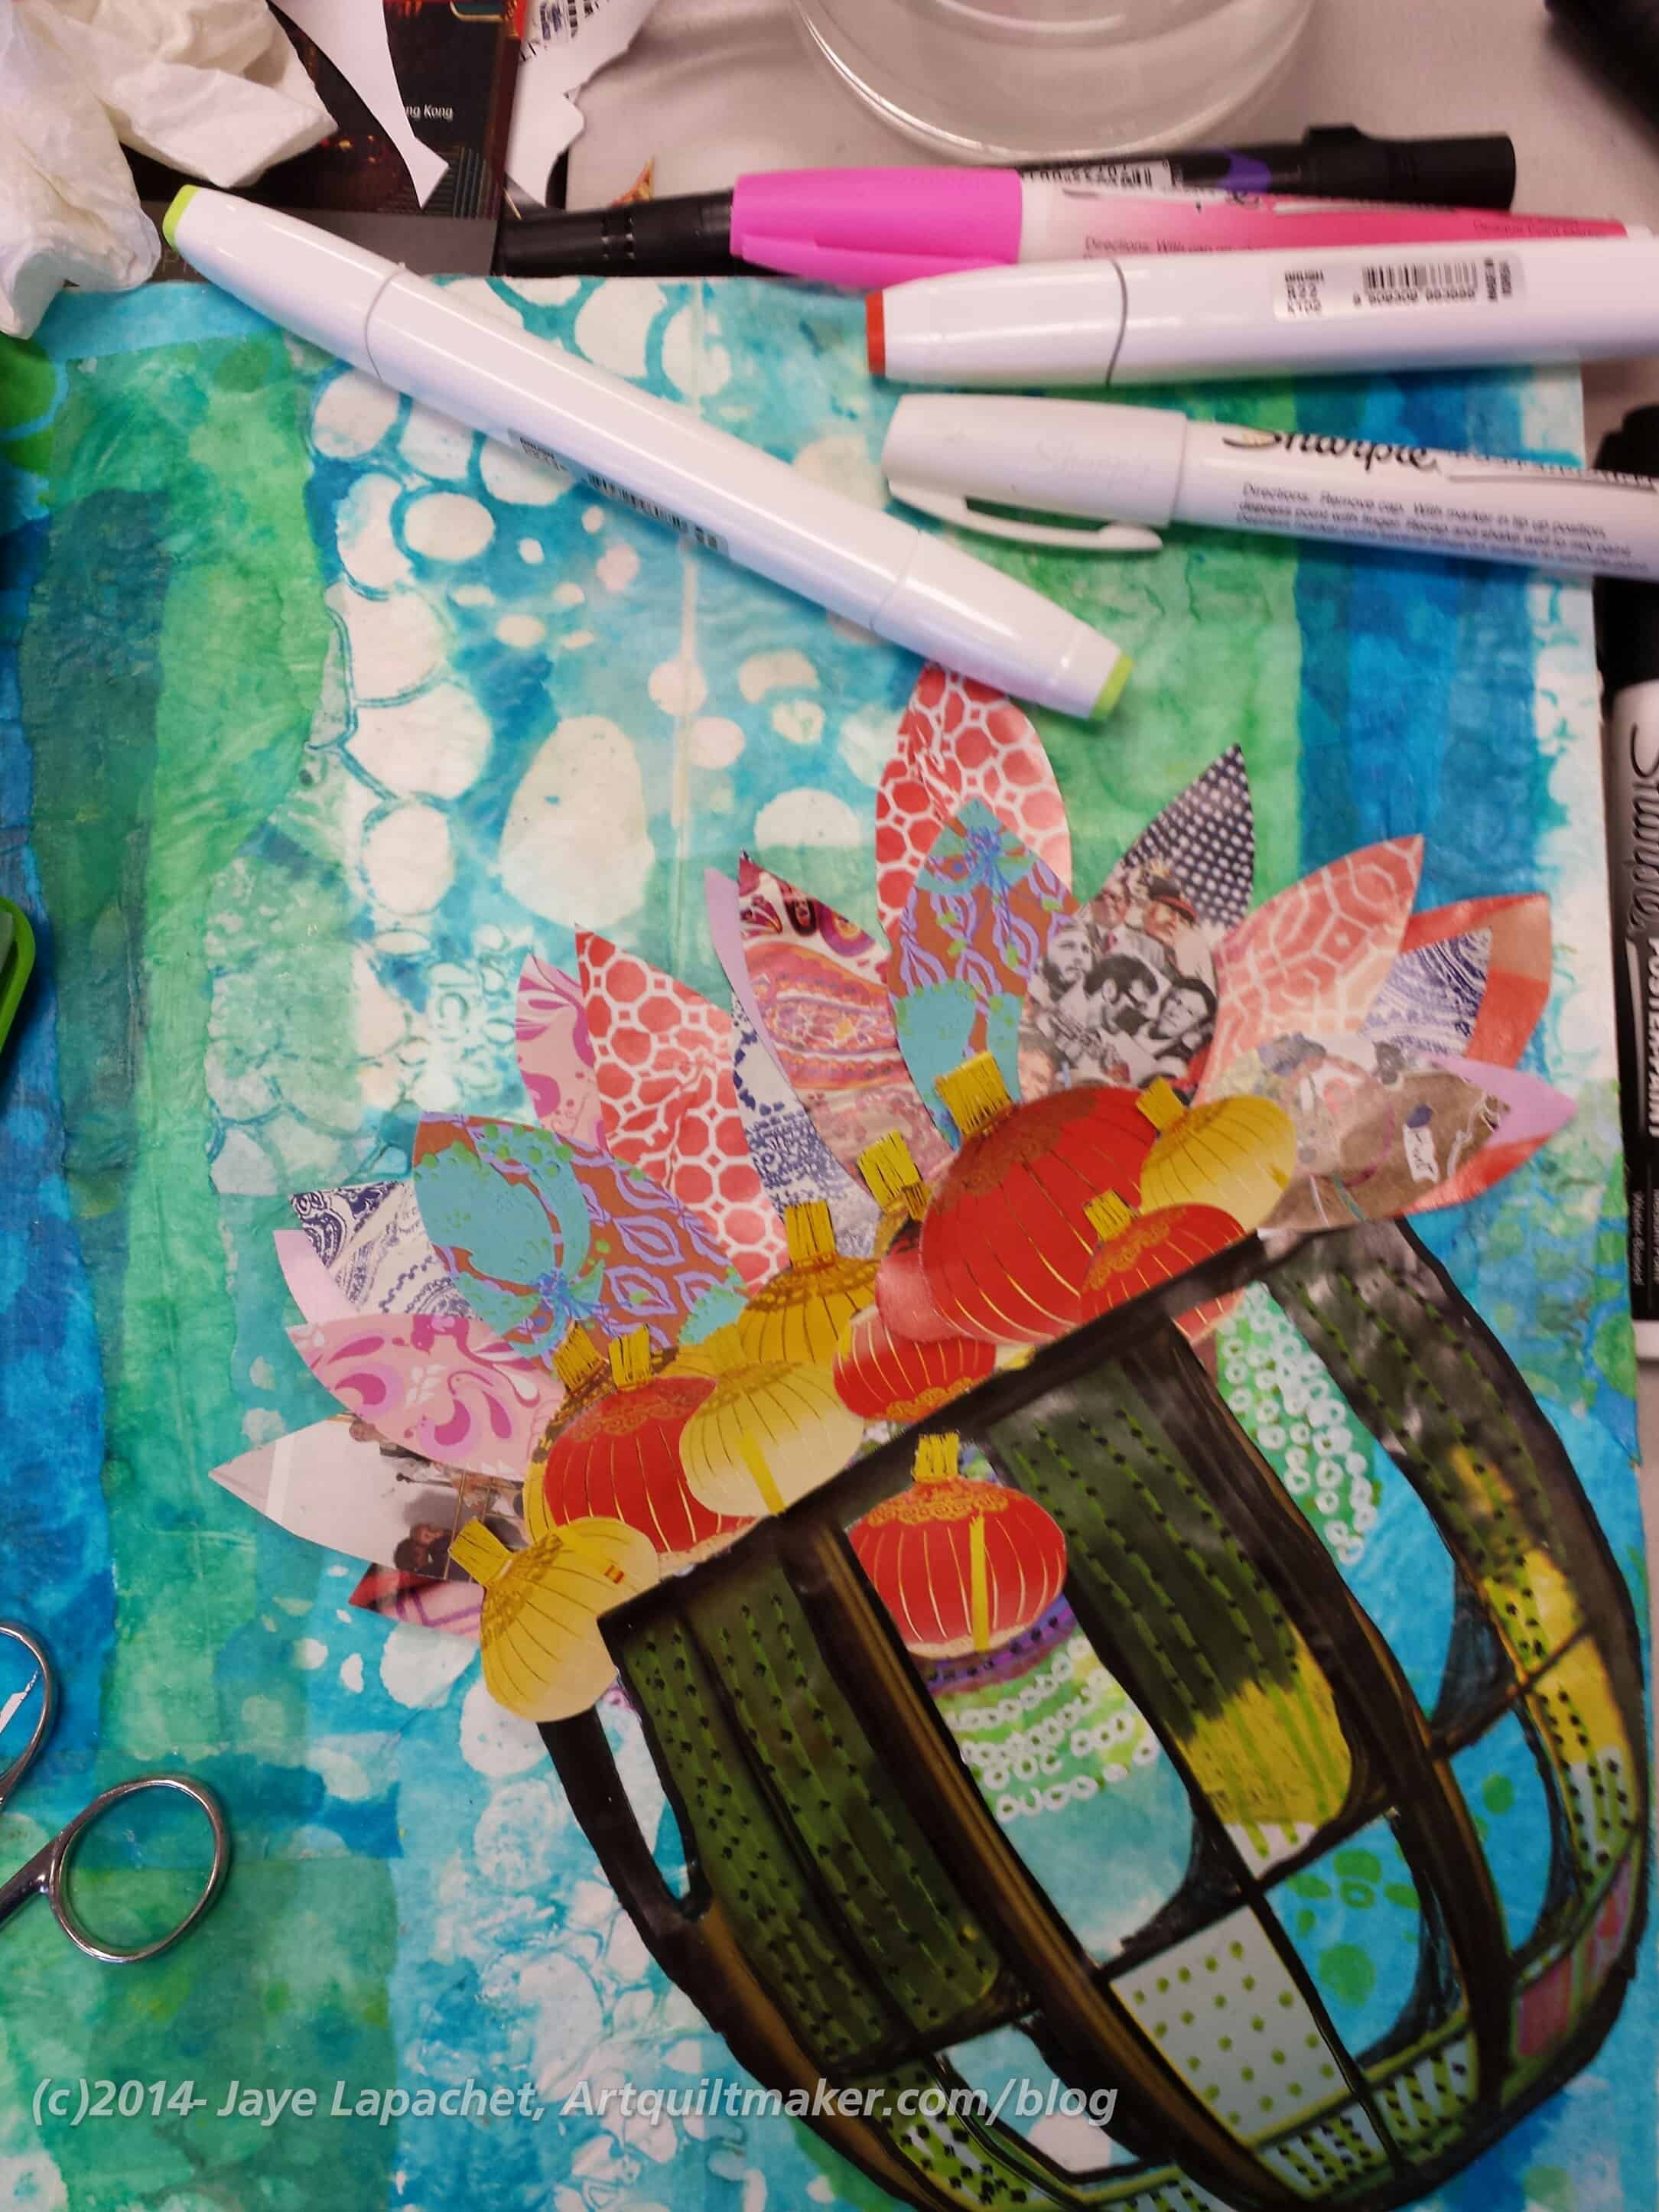
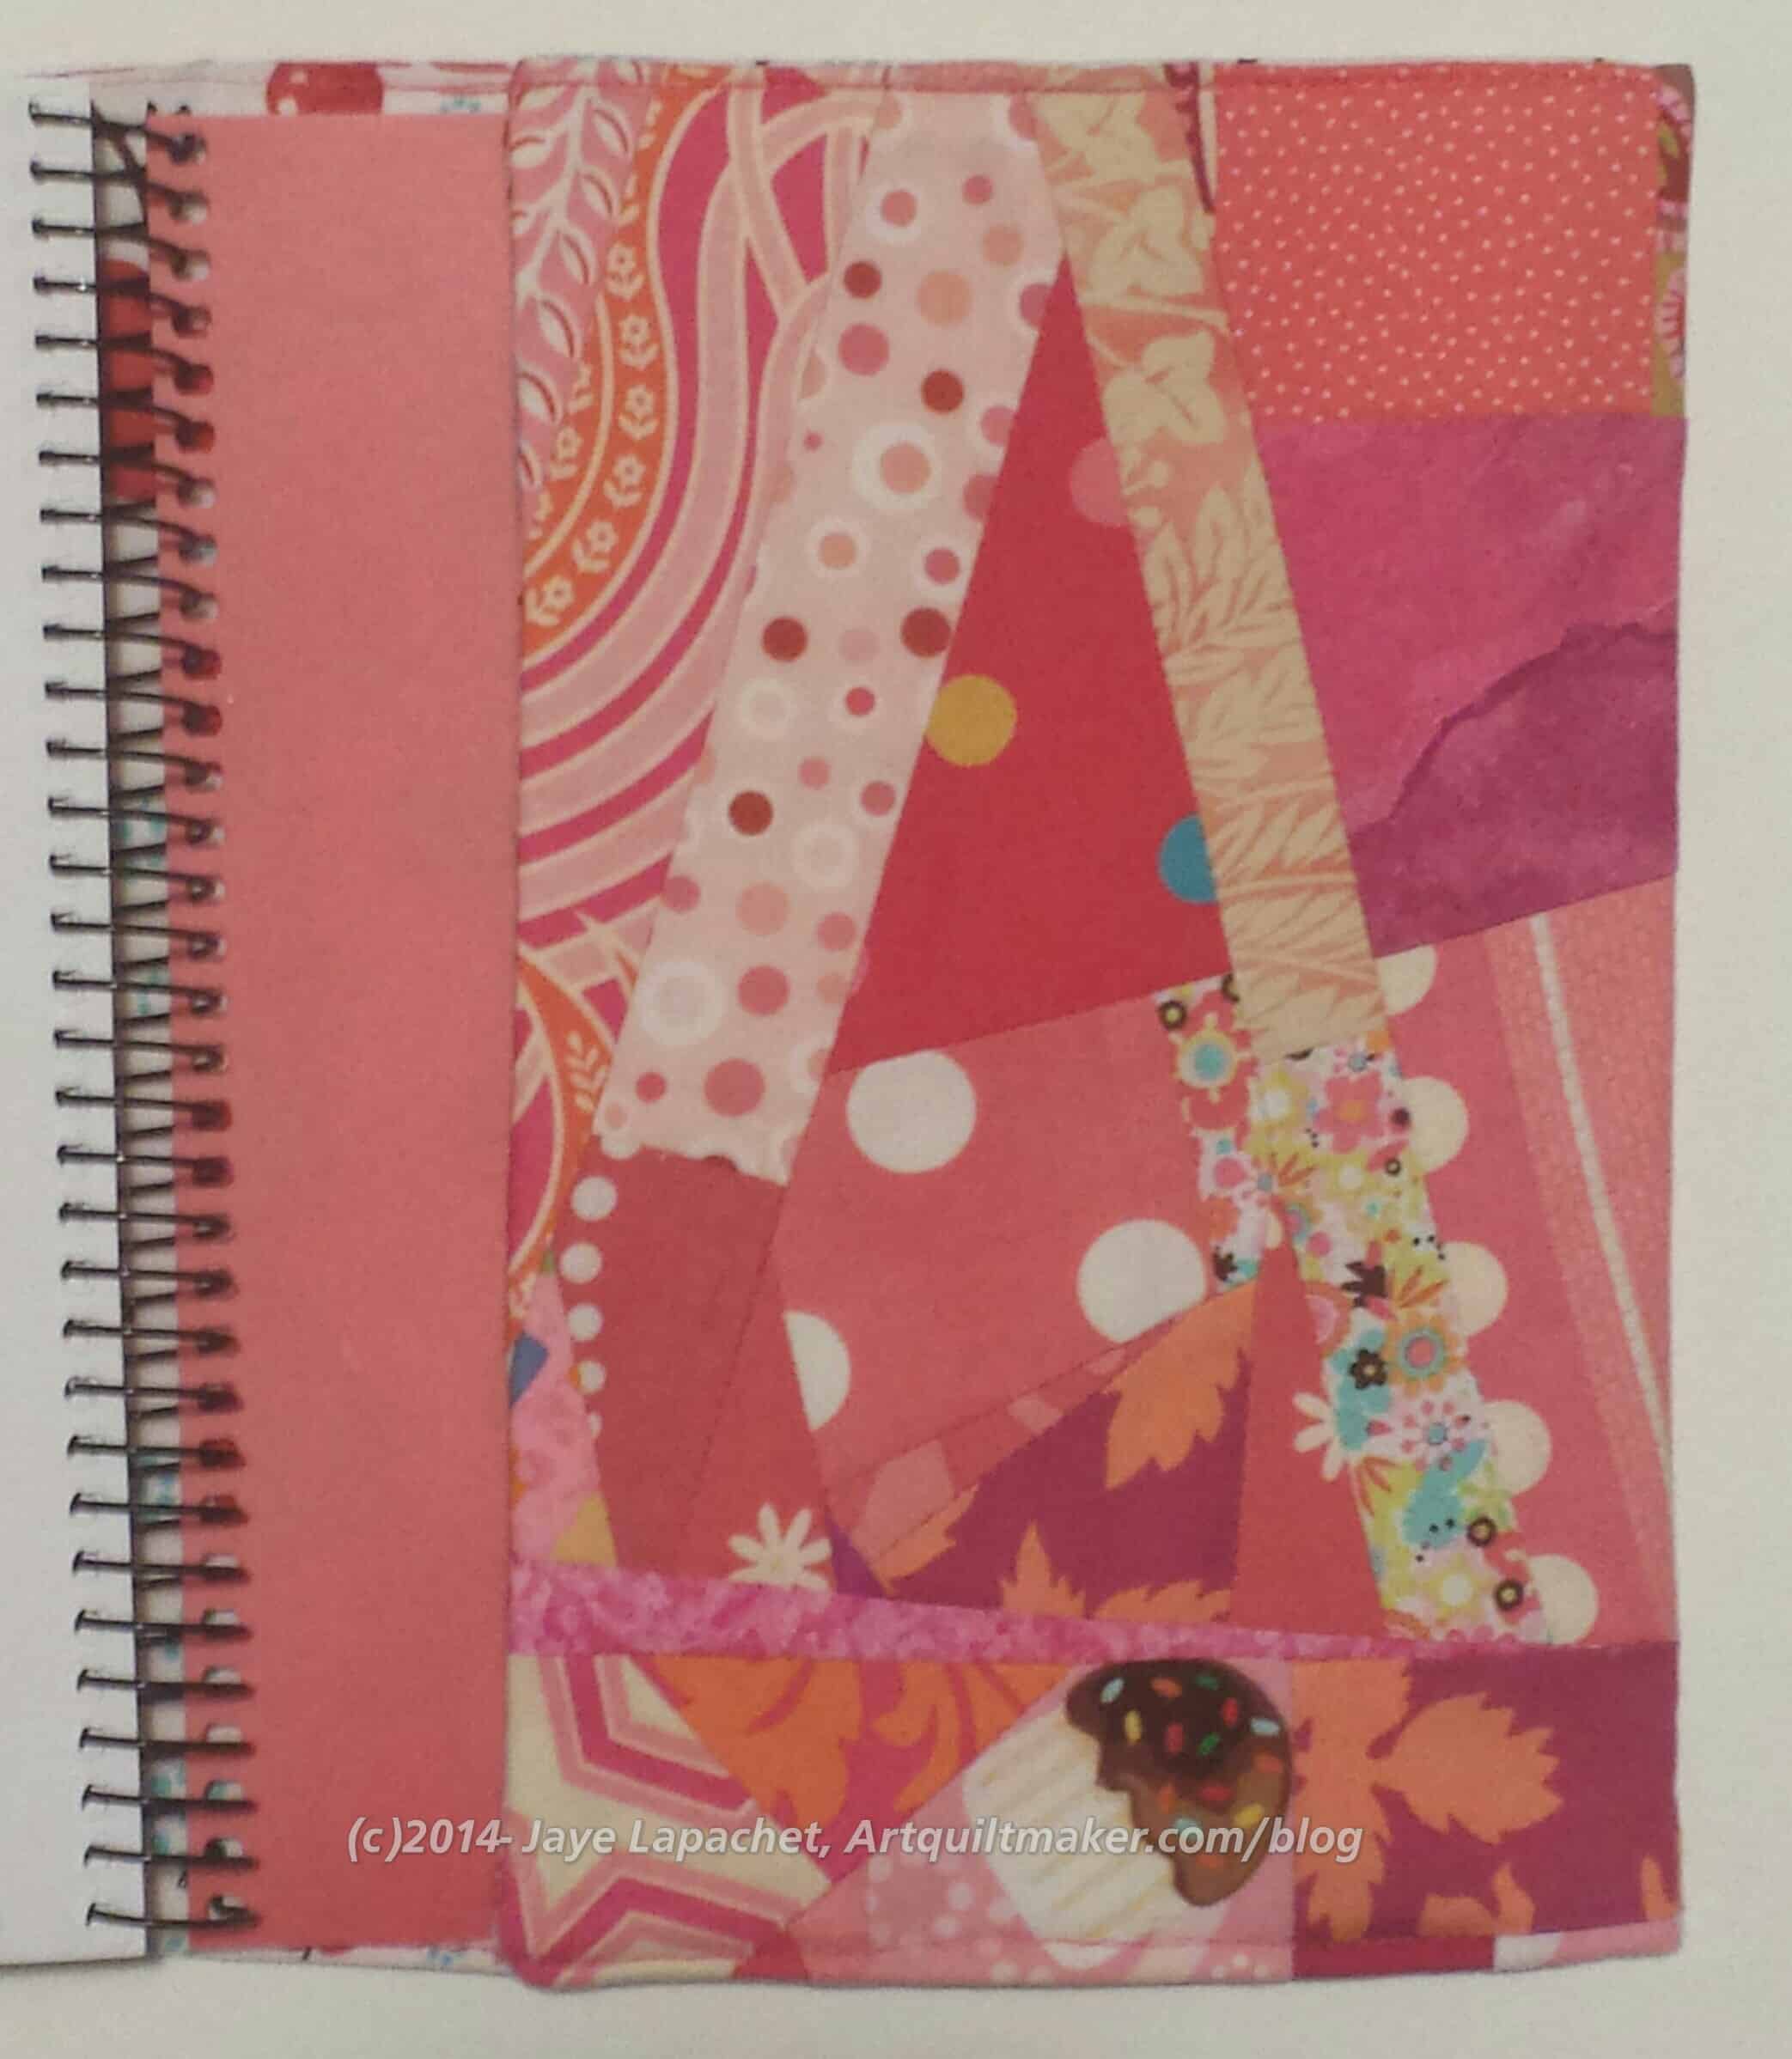
After the business and show and tell, we sat down to work on the picture I posted earlier this week as our workshop picture. We split up and added more tables so people had more space to work and I sat with Gerre and Rhonda. Gerre was doing work in her collage book (a giant board book she bought at a thrift store and then gessoed over. Great idea!!!) in colors vaguely related to the picture I posted. I would have taken the picture, but since it was in a book with beautiful collages, I thought it might be rude.;-)

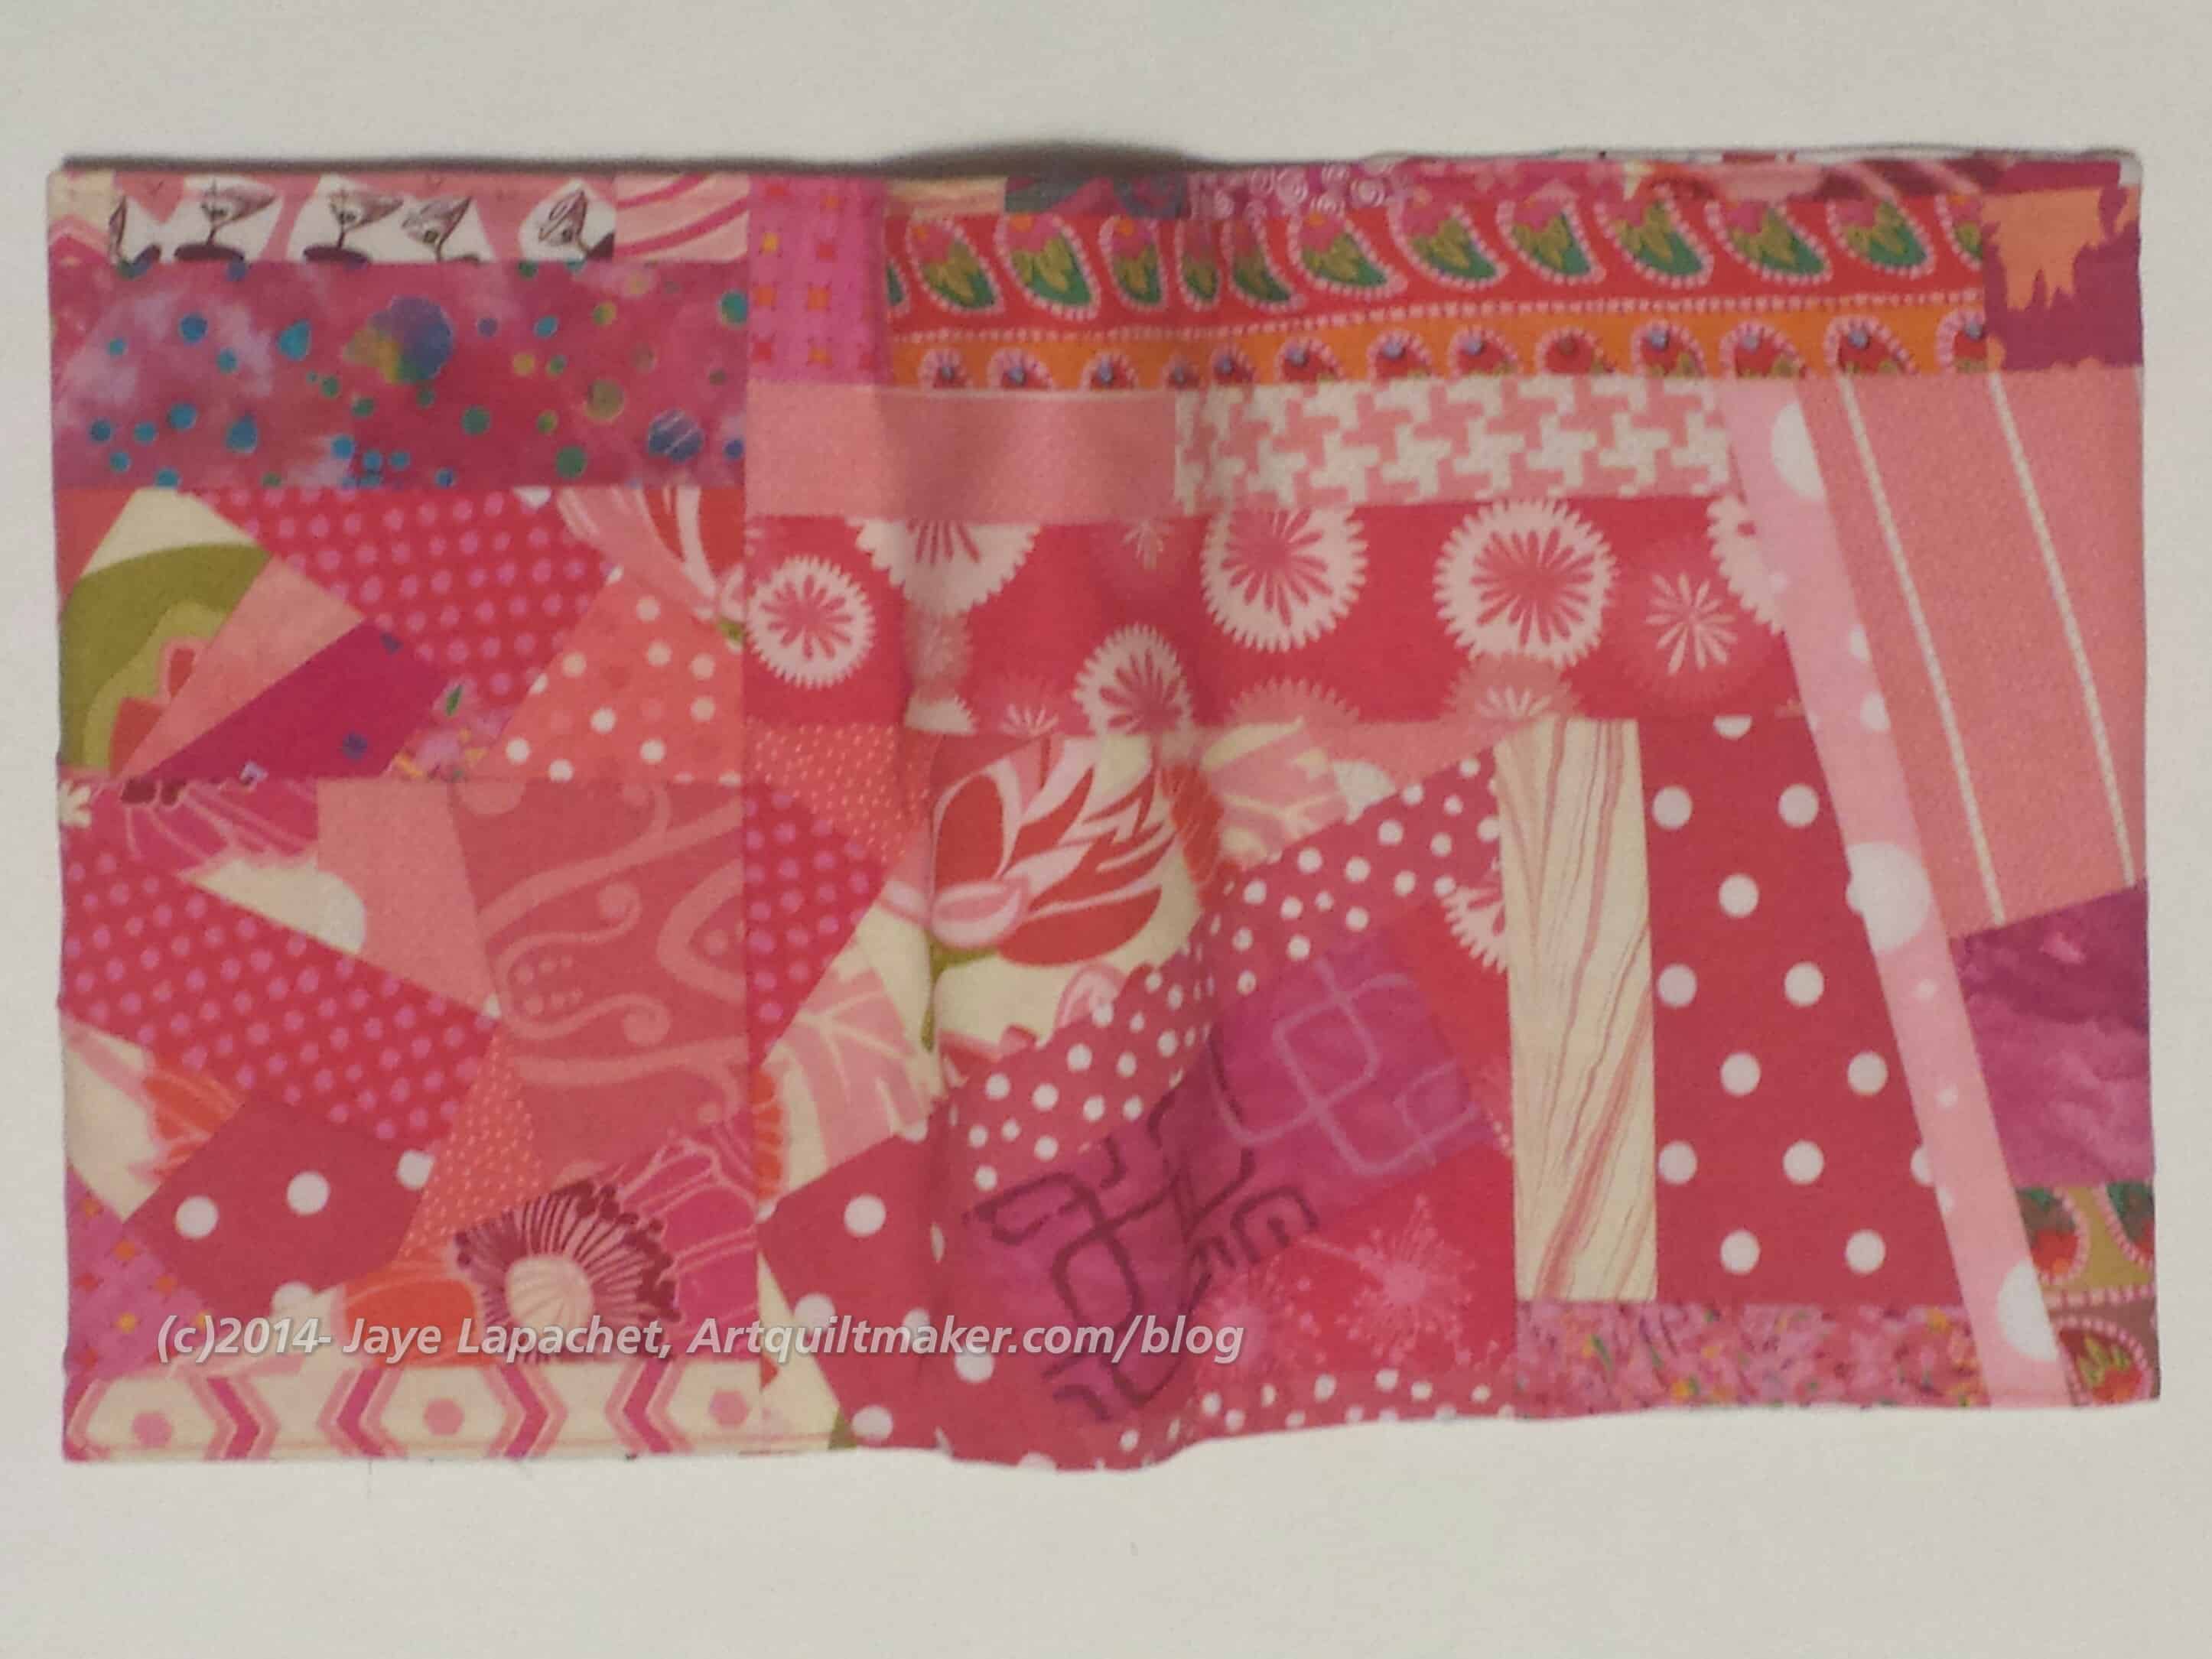
I really didn’t know that Gerre was so talented with collage. I adore this piece and think it would make a great card.

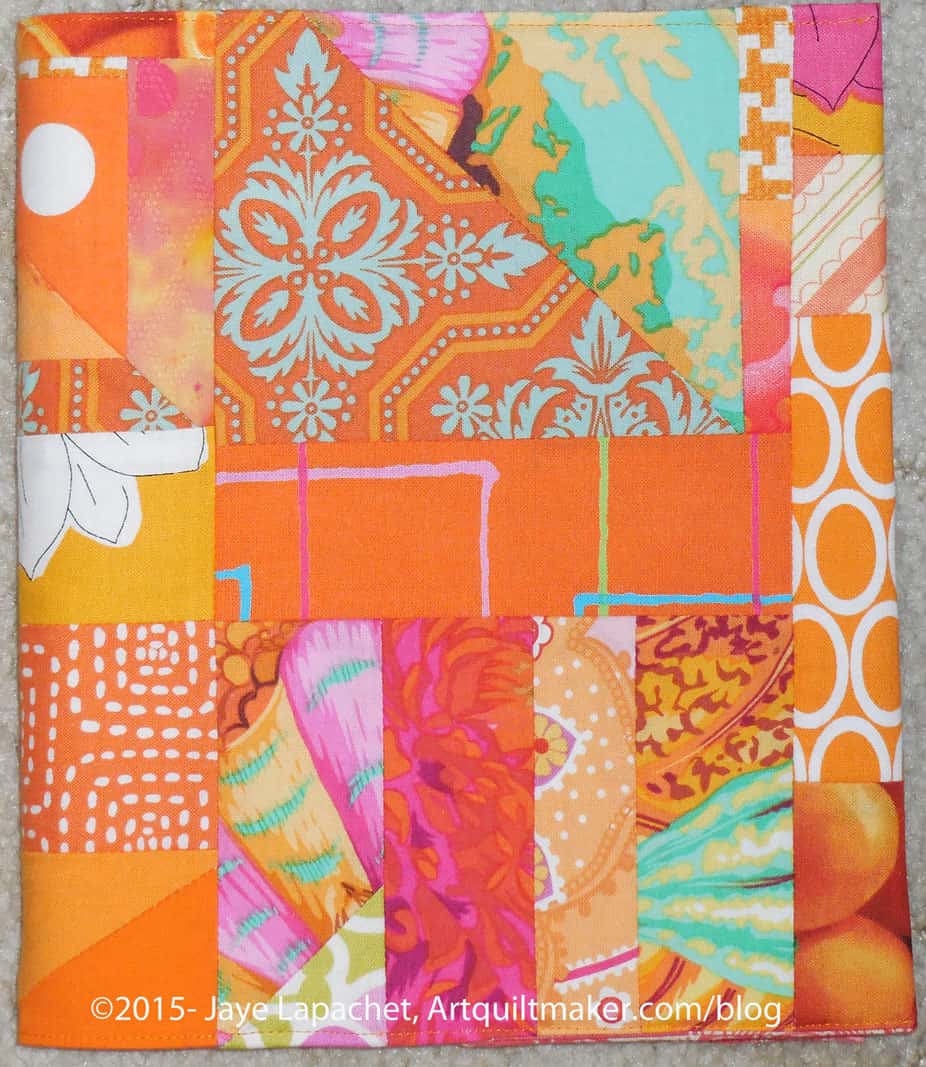
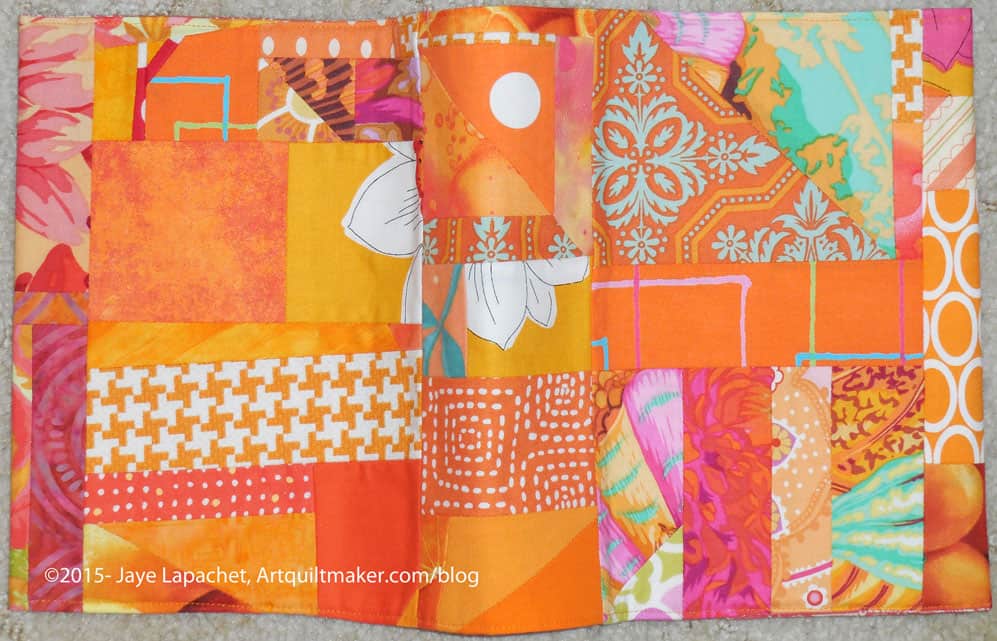
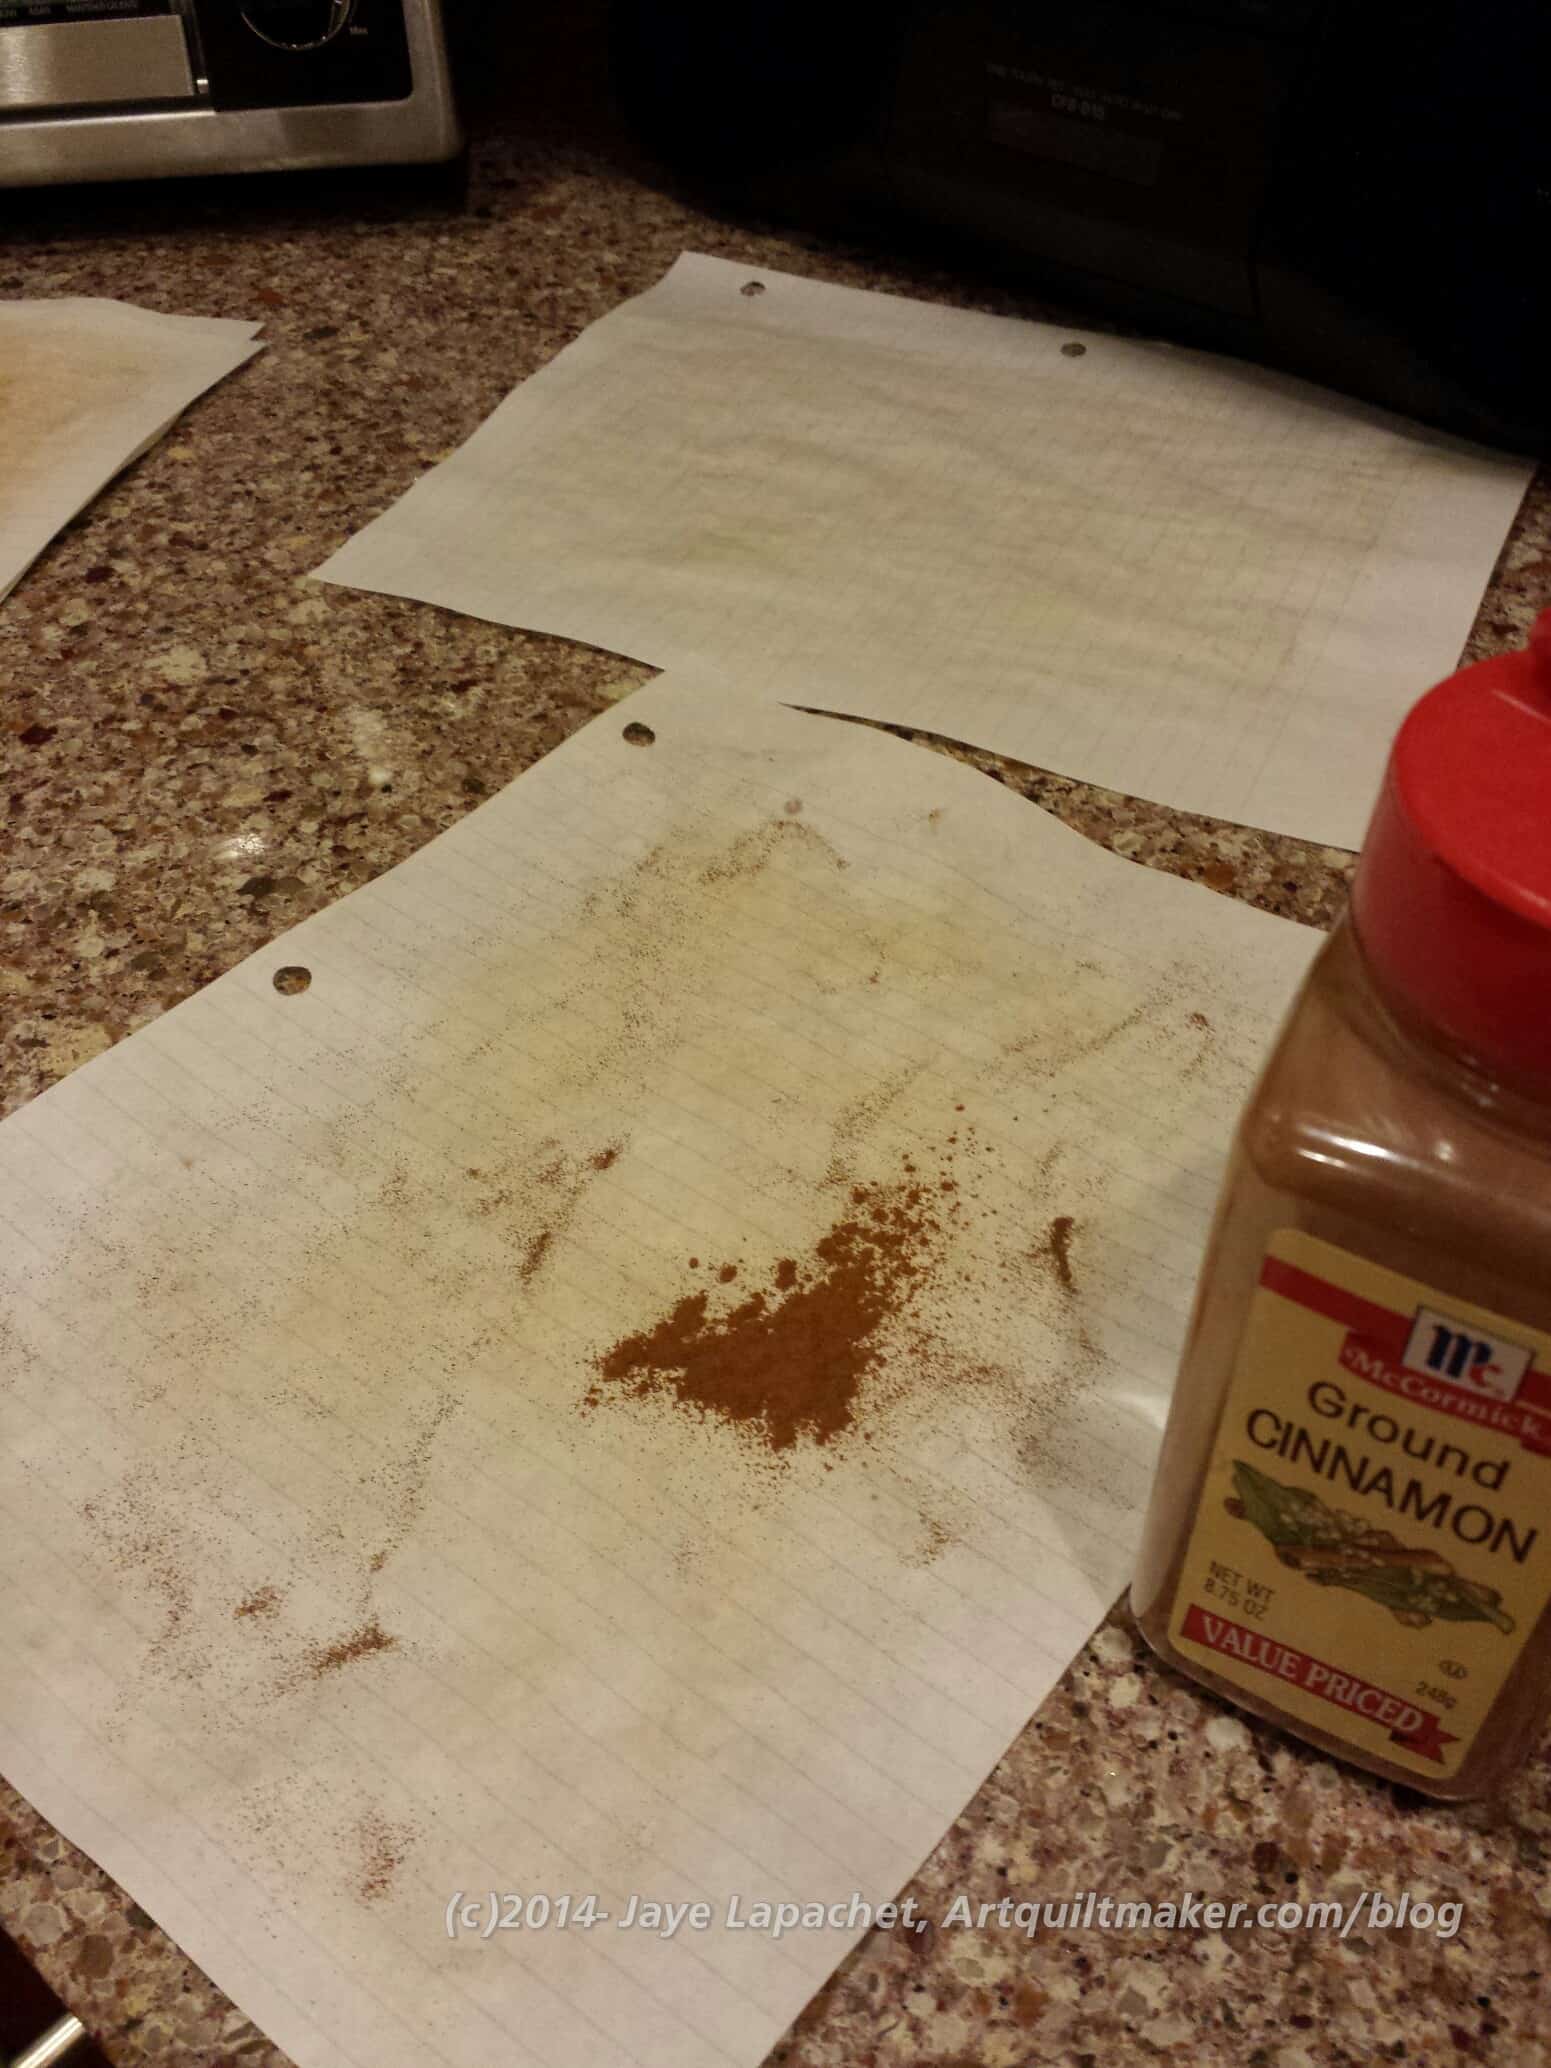
Rhonda was doing her very precise improv piecing in the colors of the posted photo, tending towards the abstract. I was preparing a piece of white fabric for later painting with Tsukineko inks.

I finished my work pretty quickly. It really didn’t go as I intended and I didn’t want to work on it anymore, so I offered to press Rhonda’s strips. She sat and sewed her improv strips and I walked back and forth pressing them and getting more.

Bird Box for Rhonda
Bird Box for Rhonda

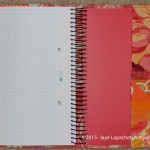
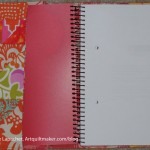
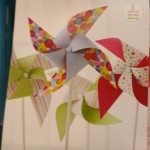
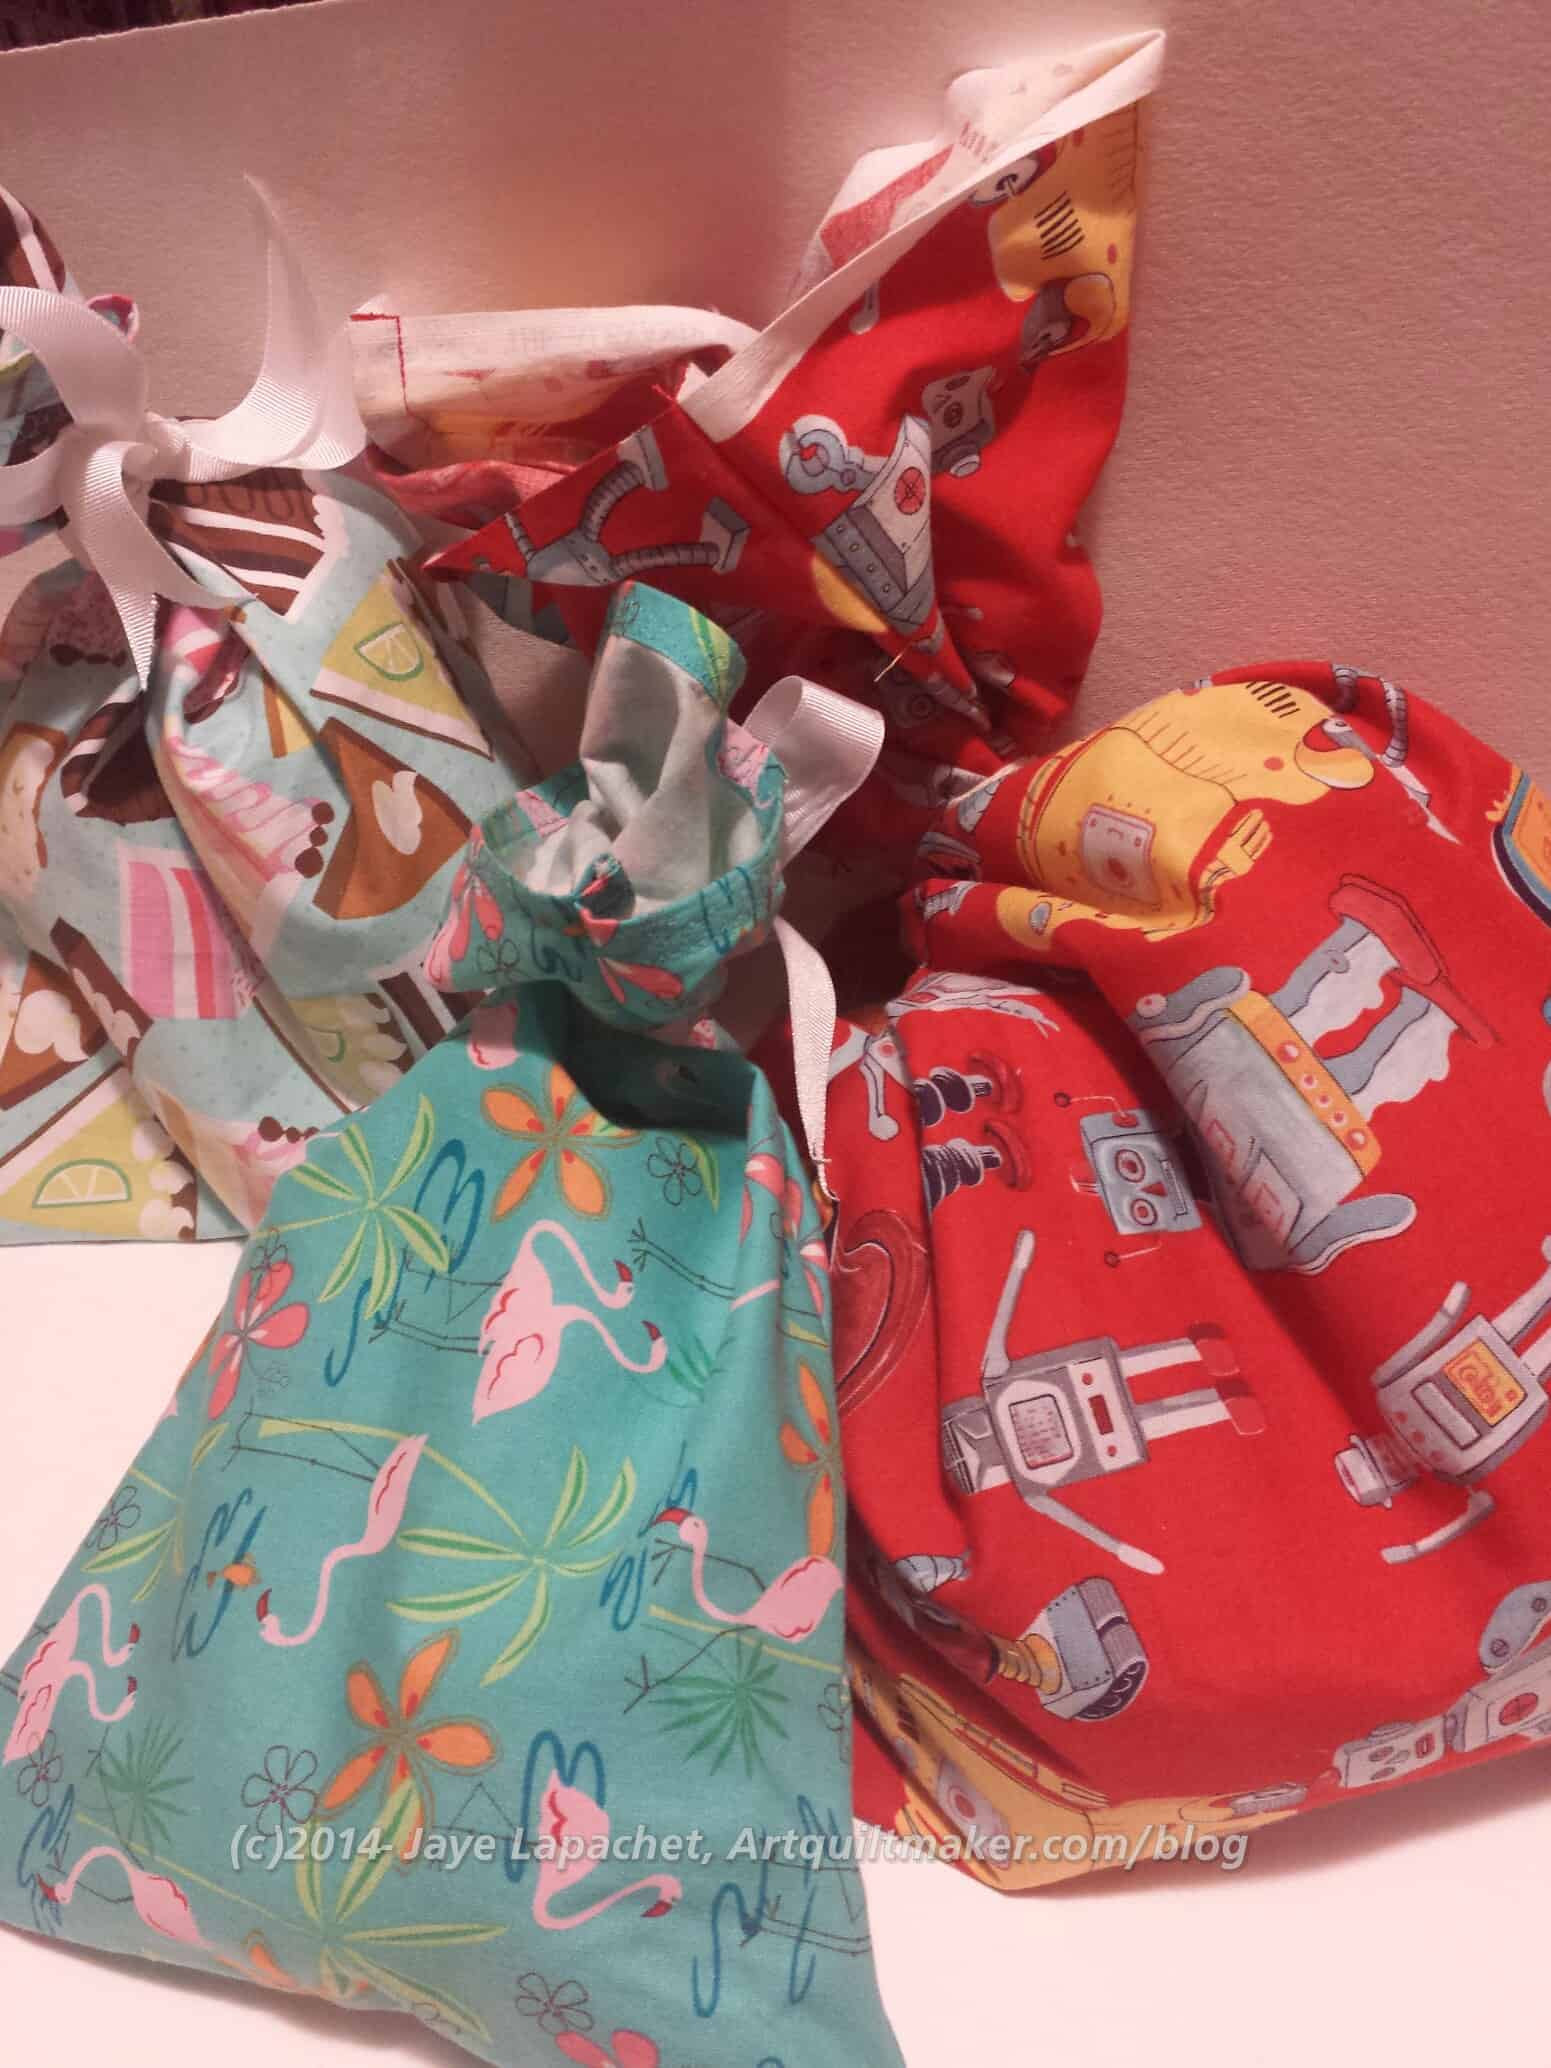
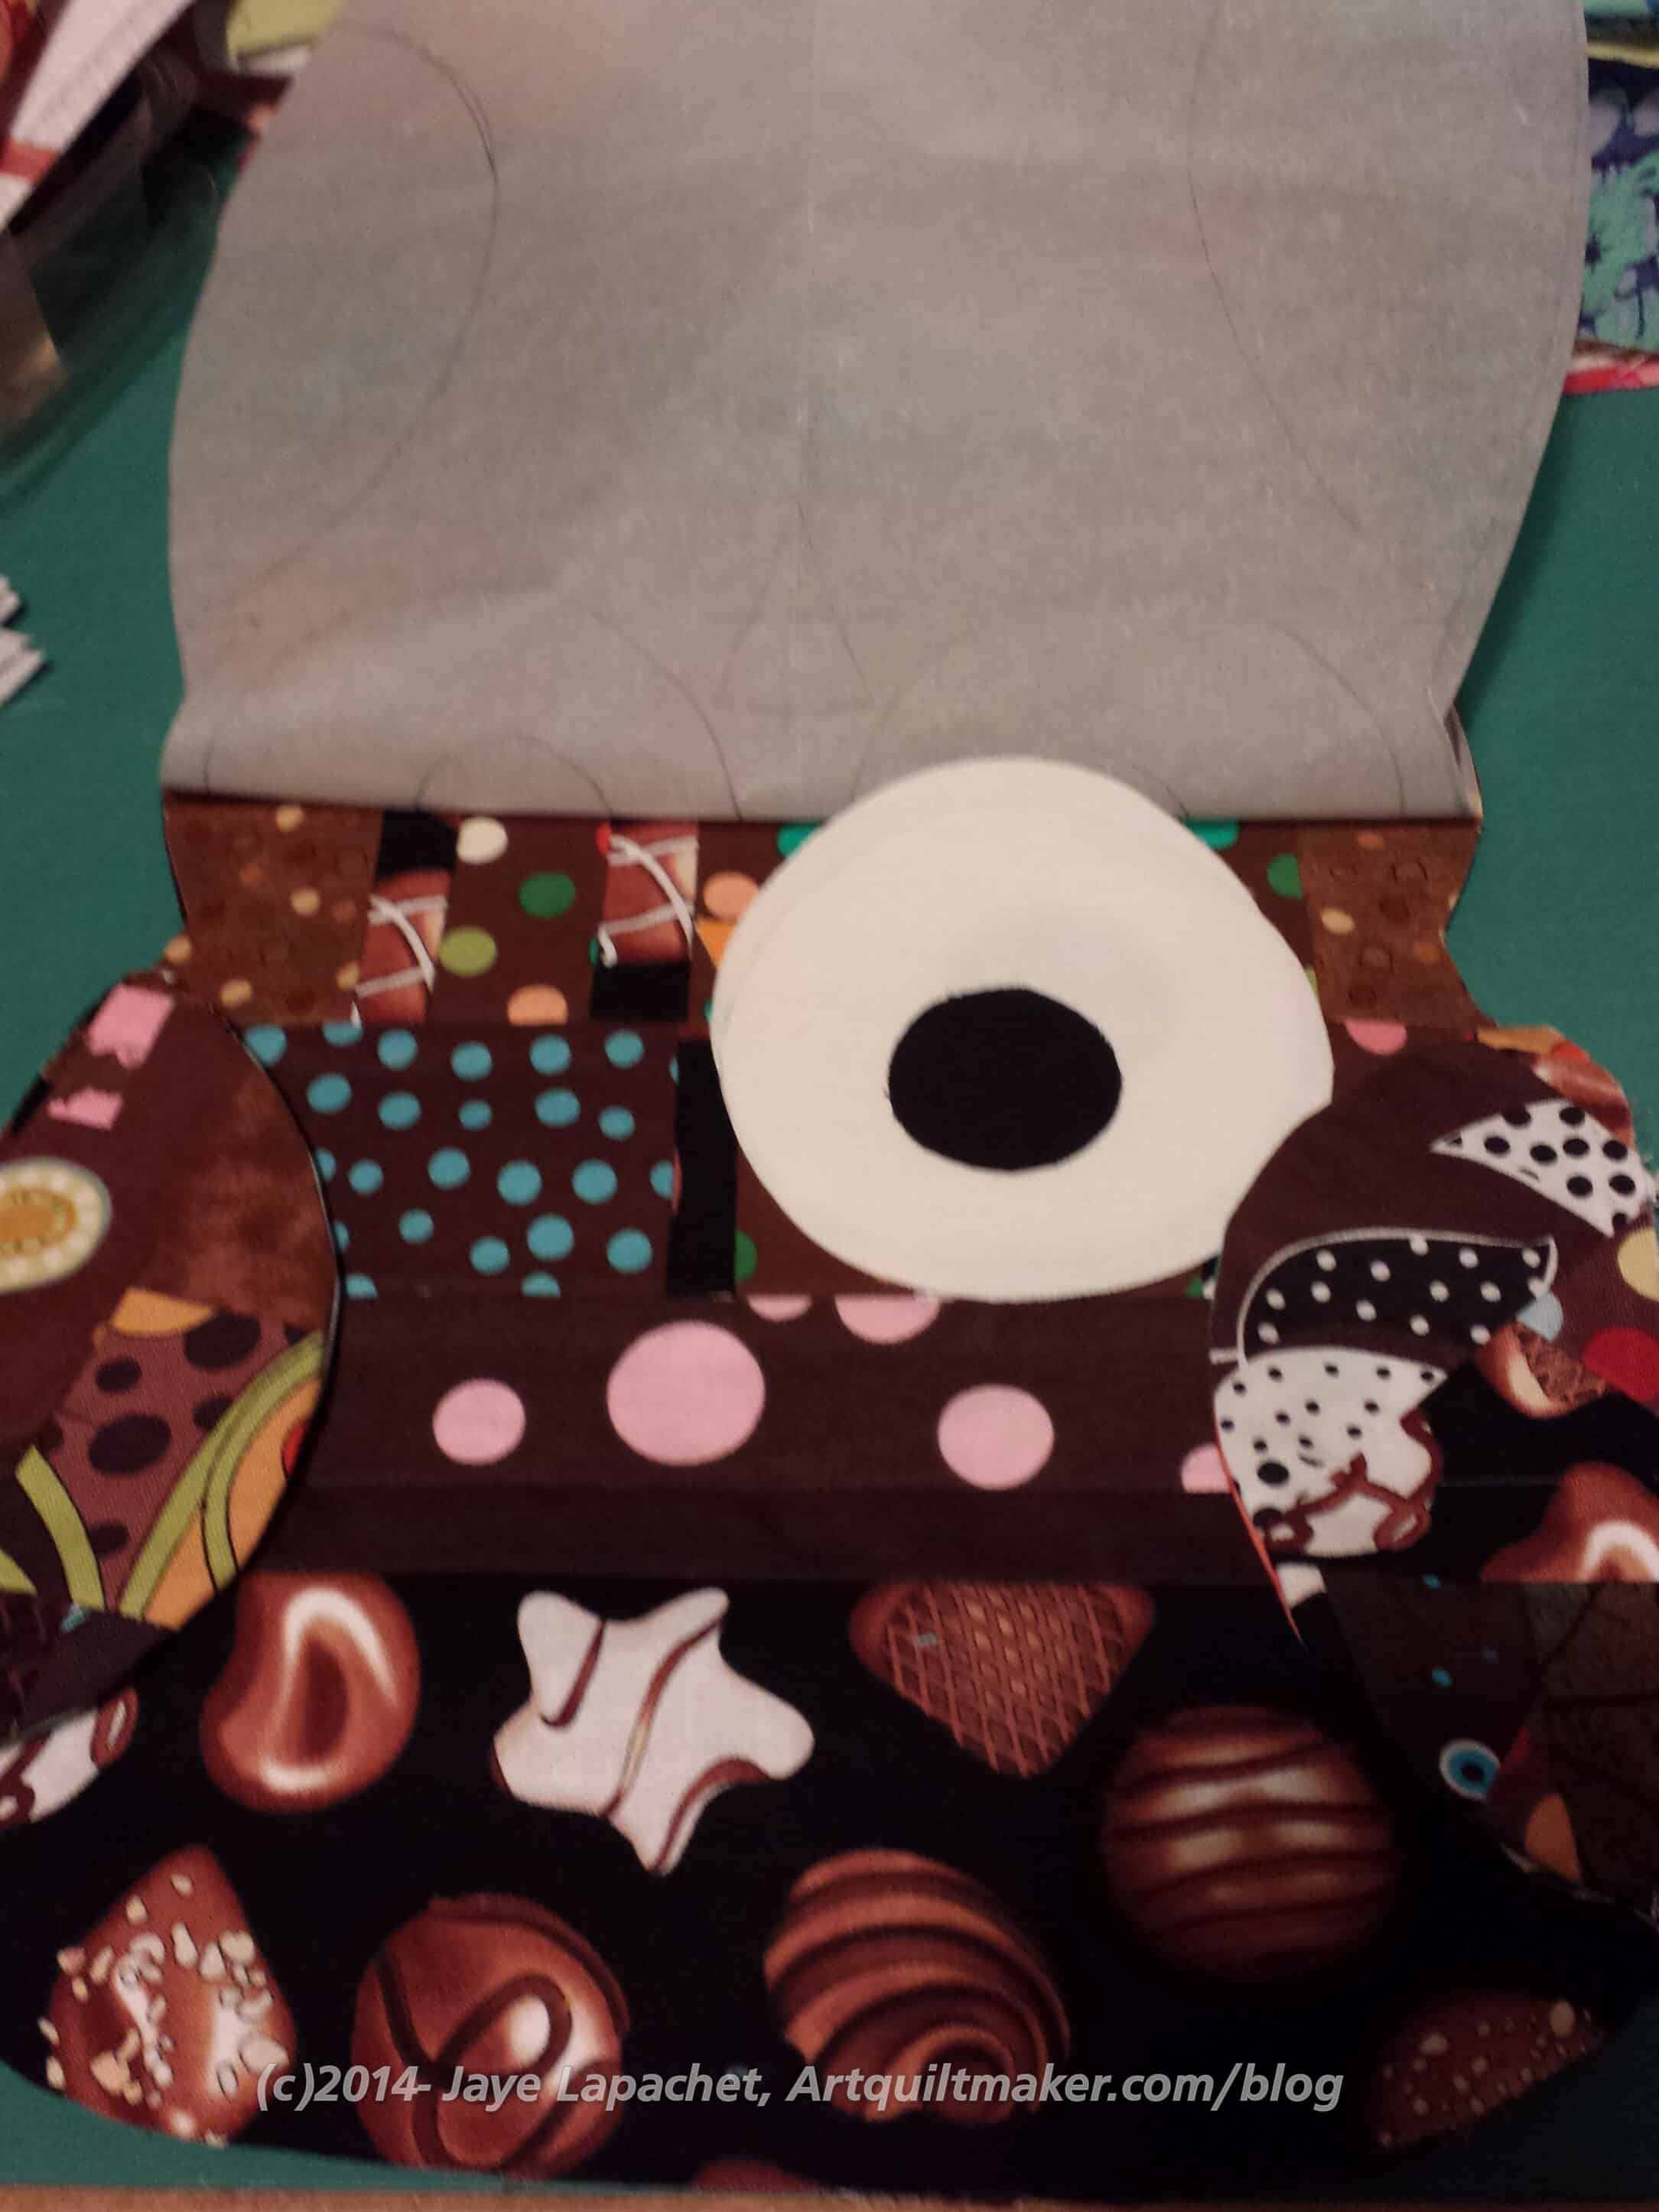
After some time I heard Bron talking about folded boxes. Rhonda said she needed some for her niece and nephew for Easter, so Bron and I sat down to make them, with Bron doing the teaching. It is amazing how they go together and I can see many of my wrapping problems evaporating.

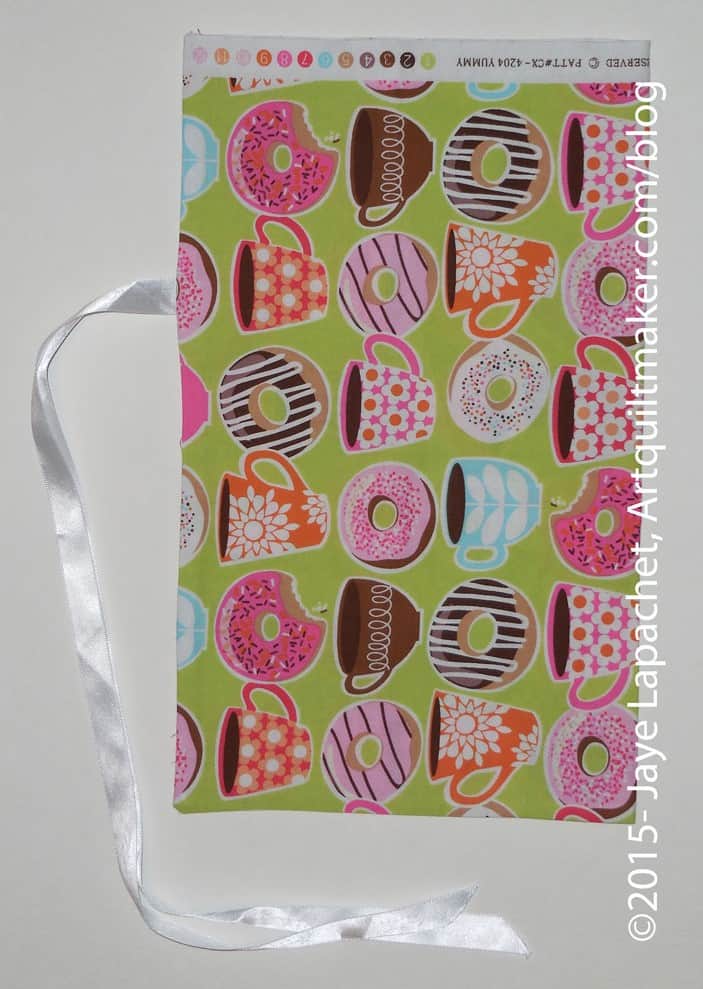
Rhonda picked out the bird paper. We made two of the same and this box is about 3″ square.

Folded Gift Boxes
Folded Gift Boxes

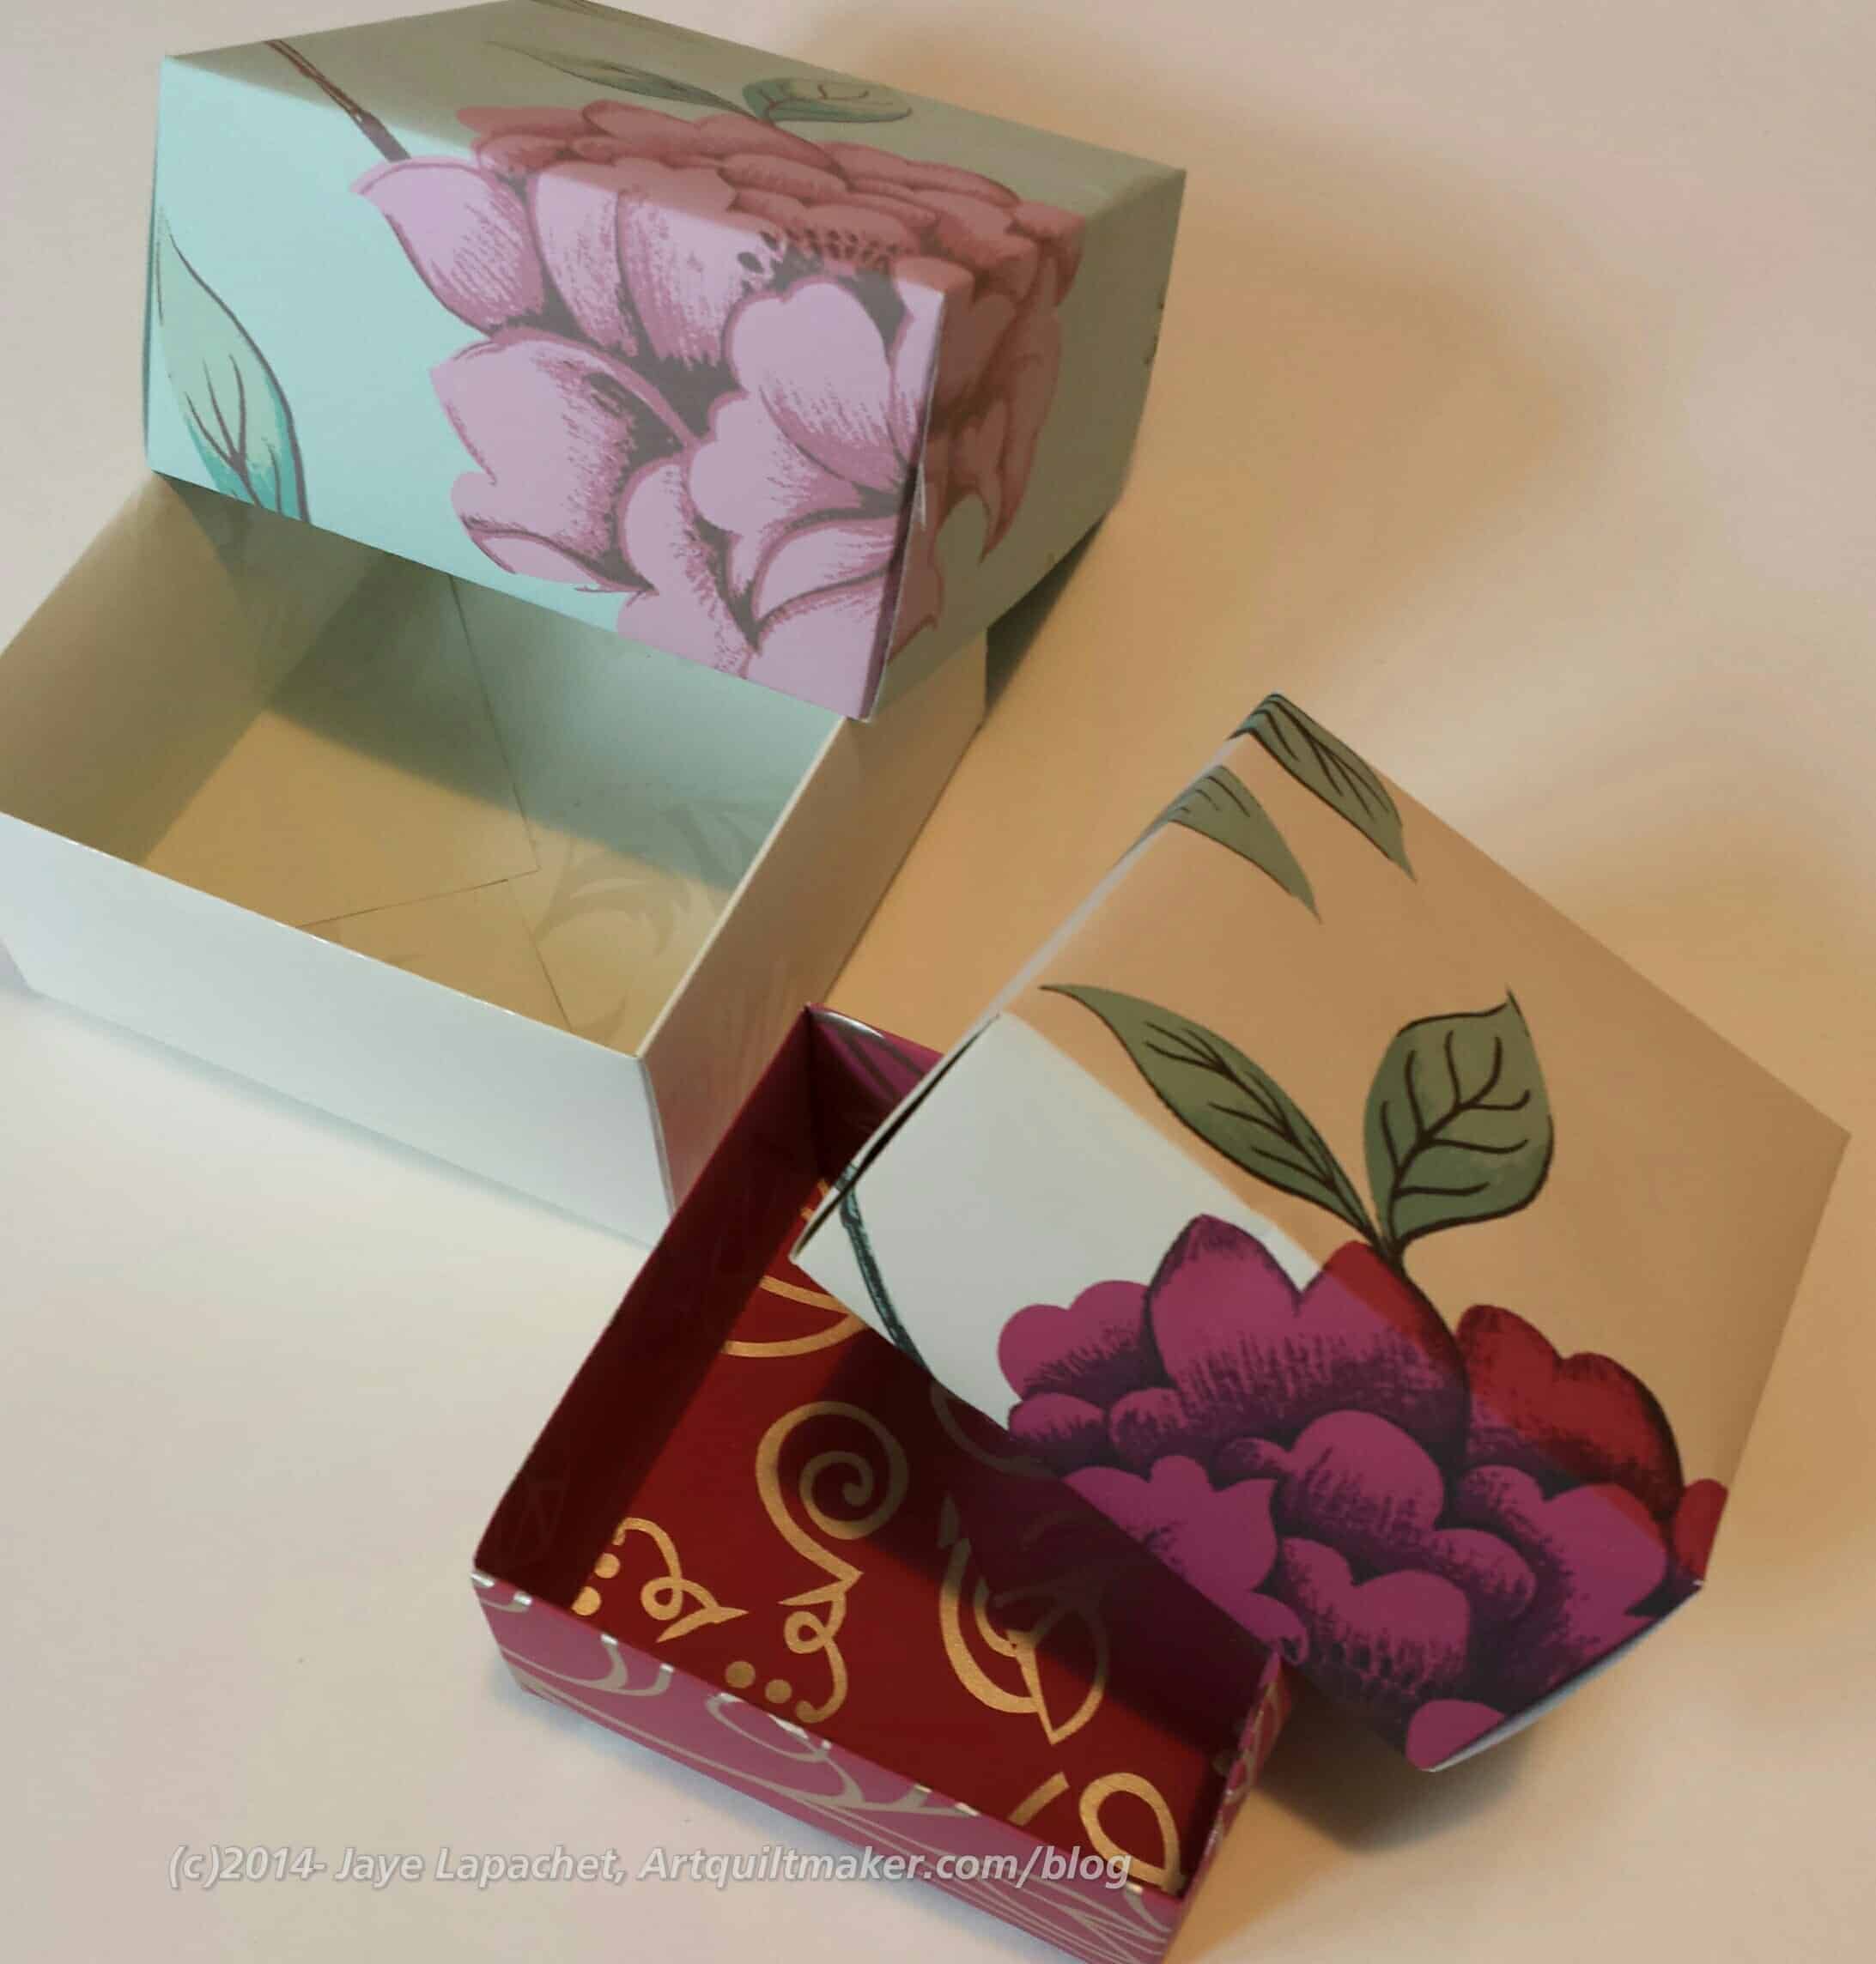
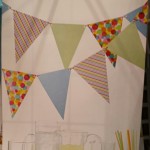
I decided it would be great to make my MIL a box and put a small gift in it for Easter, so we grabbed some sheets of wallpaper and I made a larger box from a 15″ sheet while Bron made a slightly smaller box, perhaps from an 11″ sheet. I ended up taking both home and will give one to someone else soon. I stopped and got some nice soaps to include in them.

Nota bene: We meet at FabMo and we have, pretty much, the run of the materials they have available. We still put donations in their box; we just don’t have to wait until selection day. In addition to fabric, they had books of wallpaper from which we took the larger sheets for the gift boxes. They are nice, because the sheets coordinate, though they are not always large. Some are half sheets or 3/4s sheets, which is why Bron made her box smaller. I thought some wallpaper with stripes would look great, but we didn’t see any in the quick look.

I enjoyed pressing for Rhonda and making the boxes. It interested me more than my Workshop piece.

The meeting went well. We talked about dues. We will be kicking people off the list soon, so people need to pay up. The Retreat is on and full, which si great. I can’t wait to check in and get sewing. I am going to work on the Field Day Zipper (I know! Blast from the past, right?) and the next Food Quilt. I suspect you can believe I won’t be working on FOTY 2014, but it works better for me to take more time and that requires working at home. I really want to get these two quilts done and 36 hours of sewing may be just what the doctored ordered.

The Field Day Zipper will be a gift. The fabrics and partially sewn pieces are clogging up my cutting table and I would like to get it done. I like the colors, but they are not demanding my time or attention. Too muddy. You knew that right?

The Food Quilt 2 will be a gift as well. It will be for a friend of Y.M.’s. We are friends with his parents and every kid should have a quilt. I keep looking at the Y.M.’s Food Quilt and trying to decide if I have cut enough fabric for the blocks I have slated to be made. The pattern is a Disappearing 9 Patch and I have decided that I will make 16 blocks. That means I need 64 food fabric patches (have already cut them), 64 black and white print fabric patches (almost none cut) and 16 purple patches, almost all of which are cut.

If I finish both of these projects, I also have the Box Full of Letters quilt on which to work. That will take come kind of miracle.

Anyway, the Retreat will be fun and I will have a lot to tell you about when I return.

The SFPL show is almost over. I’ll write more about that later. Be sure and go see it.

Rhonda will lead a workshop in June concerned with embellishment and hand embroidery. I can’t wait for that. I used some Aurifil embroidery thread for my ATCs and loved it! I will definitely buy more of that stuff.

Marie chimed in that there is a Stitchery show up at the San Jose Museum of Quilts & Textiles right at the moment. Fitting, don’t you think?

Show and tell was fabulous. Everyone does such interesting work and they all said kind things to me about the two pieces I brought: FOTY 2013 and the Hawaiian Donation Quilt. I know I haven’t written about them yet. Stay tuned for upcoming posts on those finishes.

Sonja's Flower
Sonja’s Flower

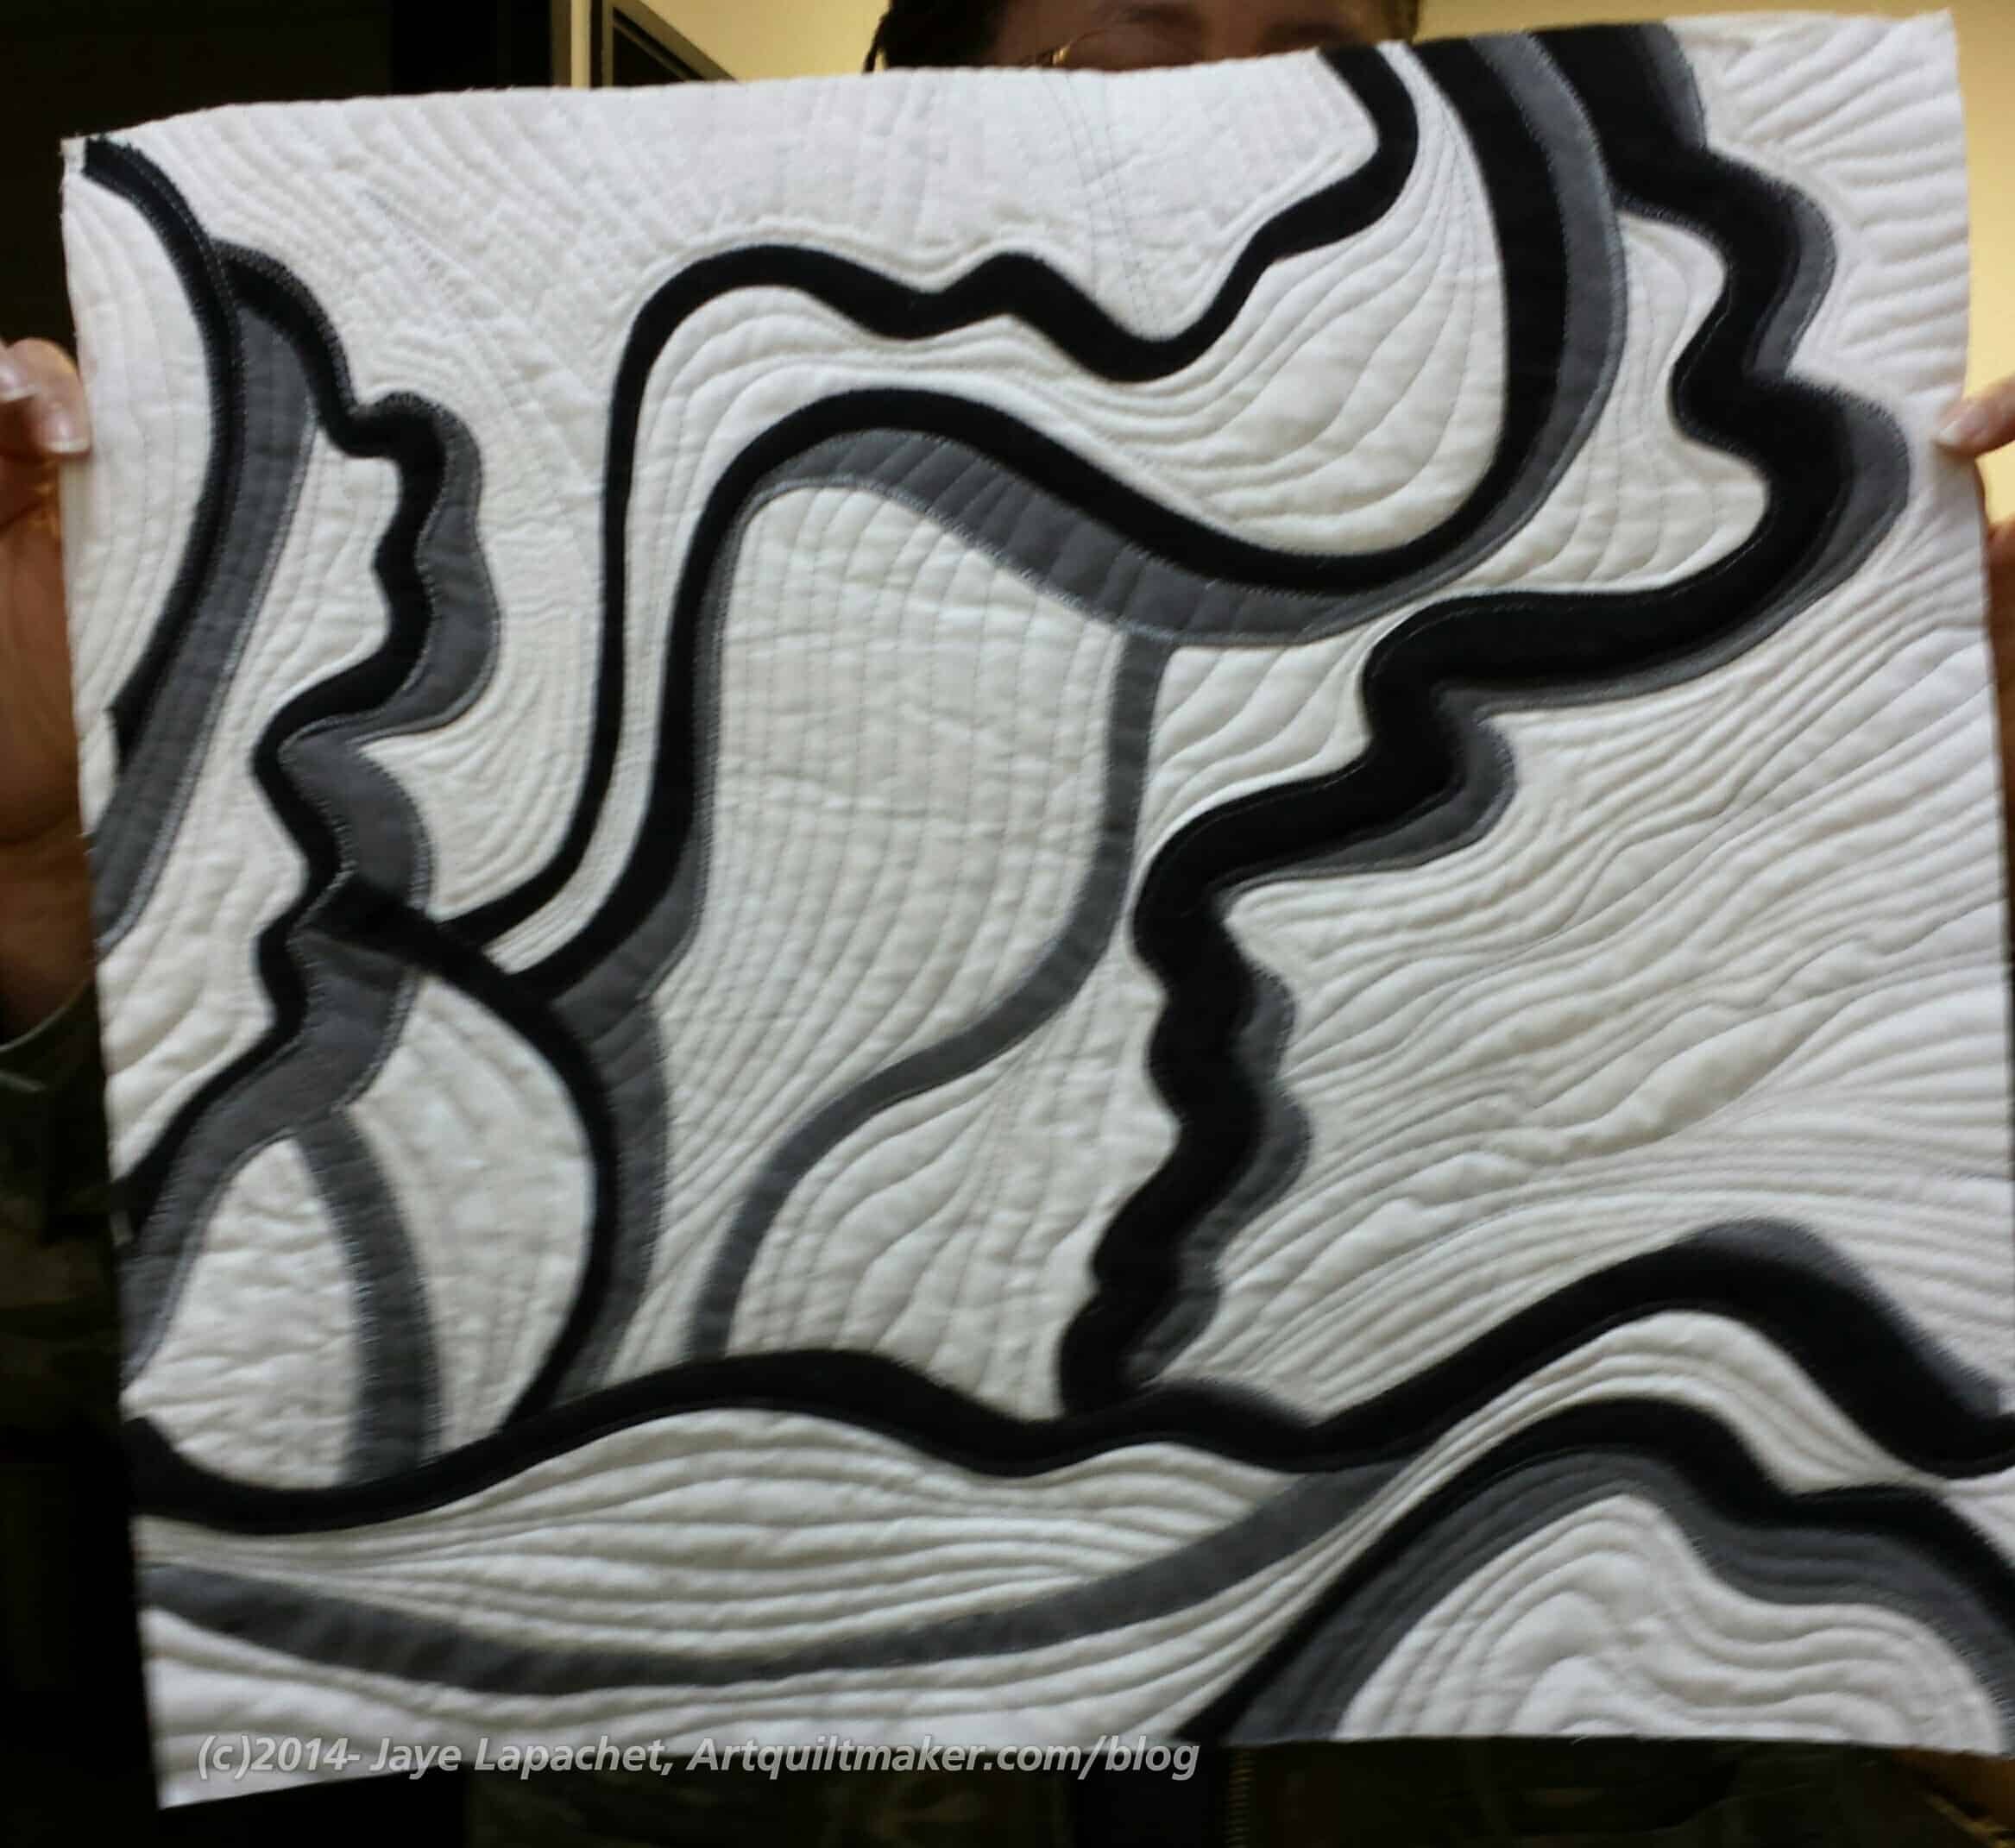
Dolores and Sonja are taking an online class with Elizabeth Barton. They are regularly bringing their pieces to show us and it is interesting to see the process through which they are working.

Sonja’s piece was a follow-up to a flower she finished a few years ago that took forever. This newest piece was finished within the month.

I love the curves and the lines. The color palette emphasizes the design and there is no distraction from color.

Caroline's Cypress
Caroline’s Cypress

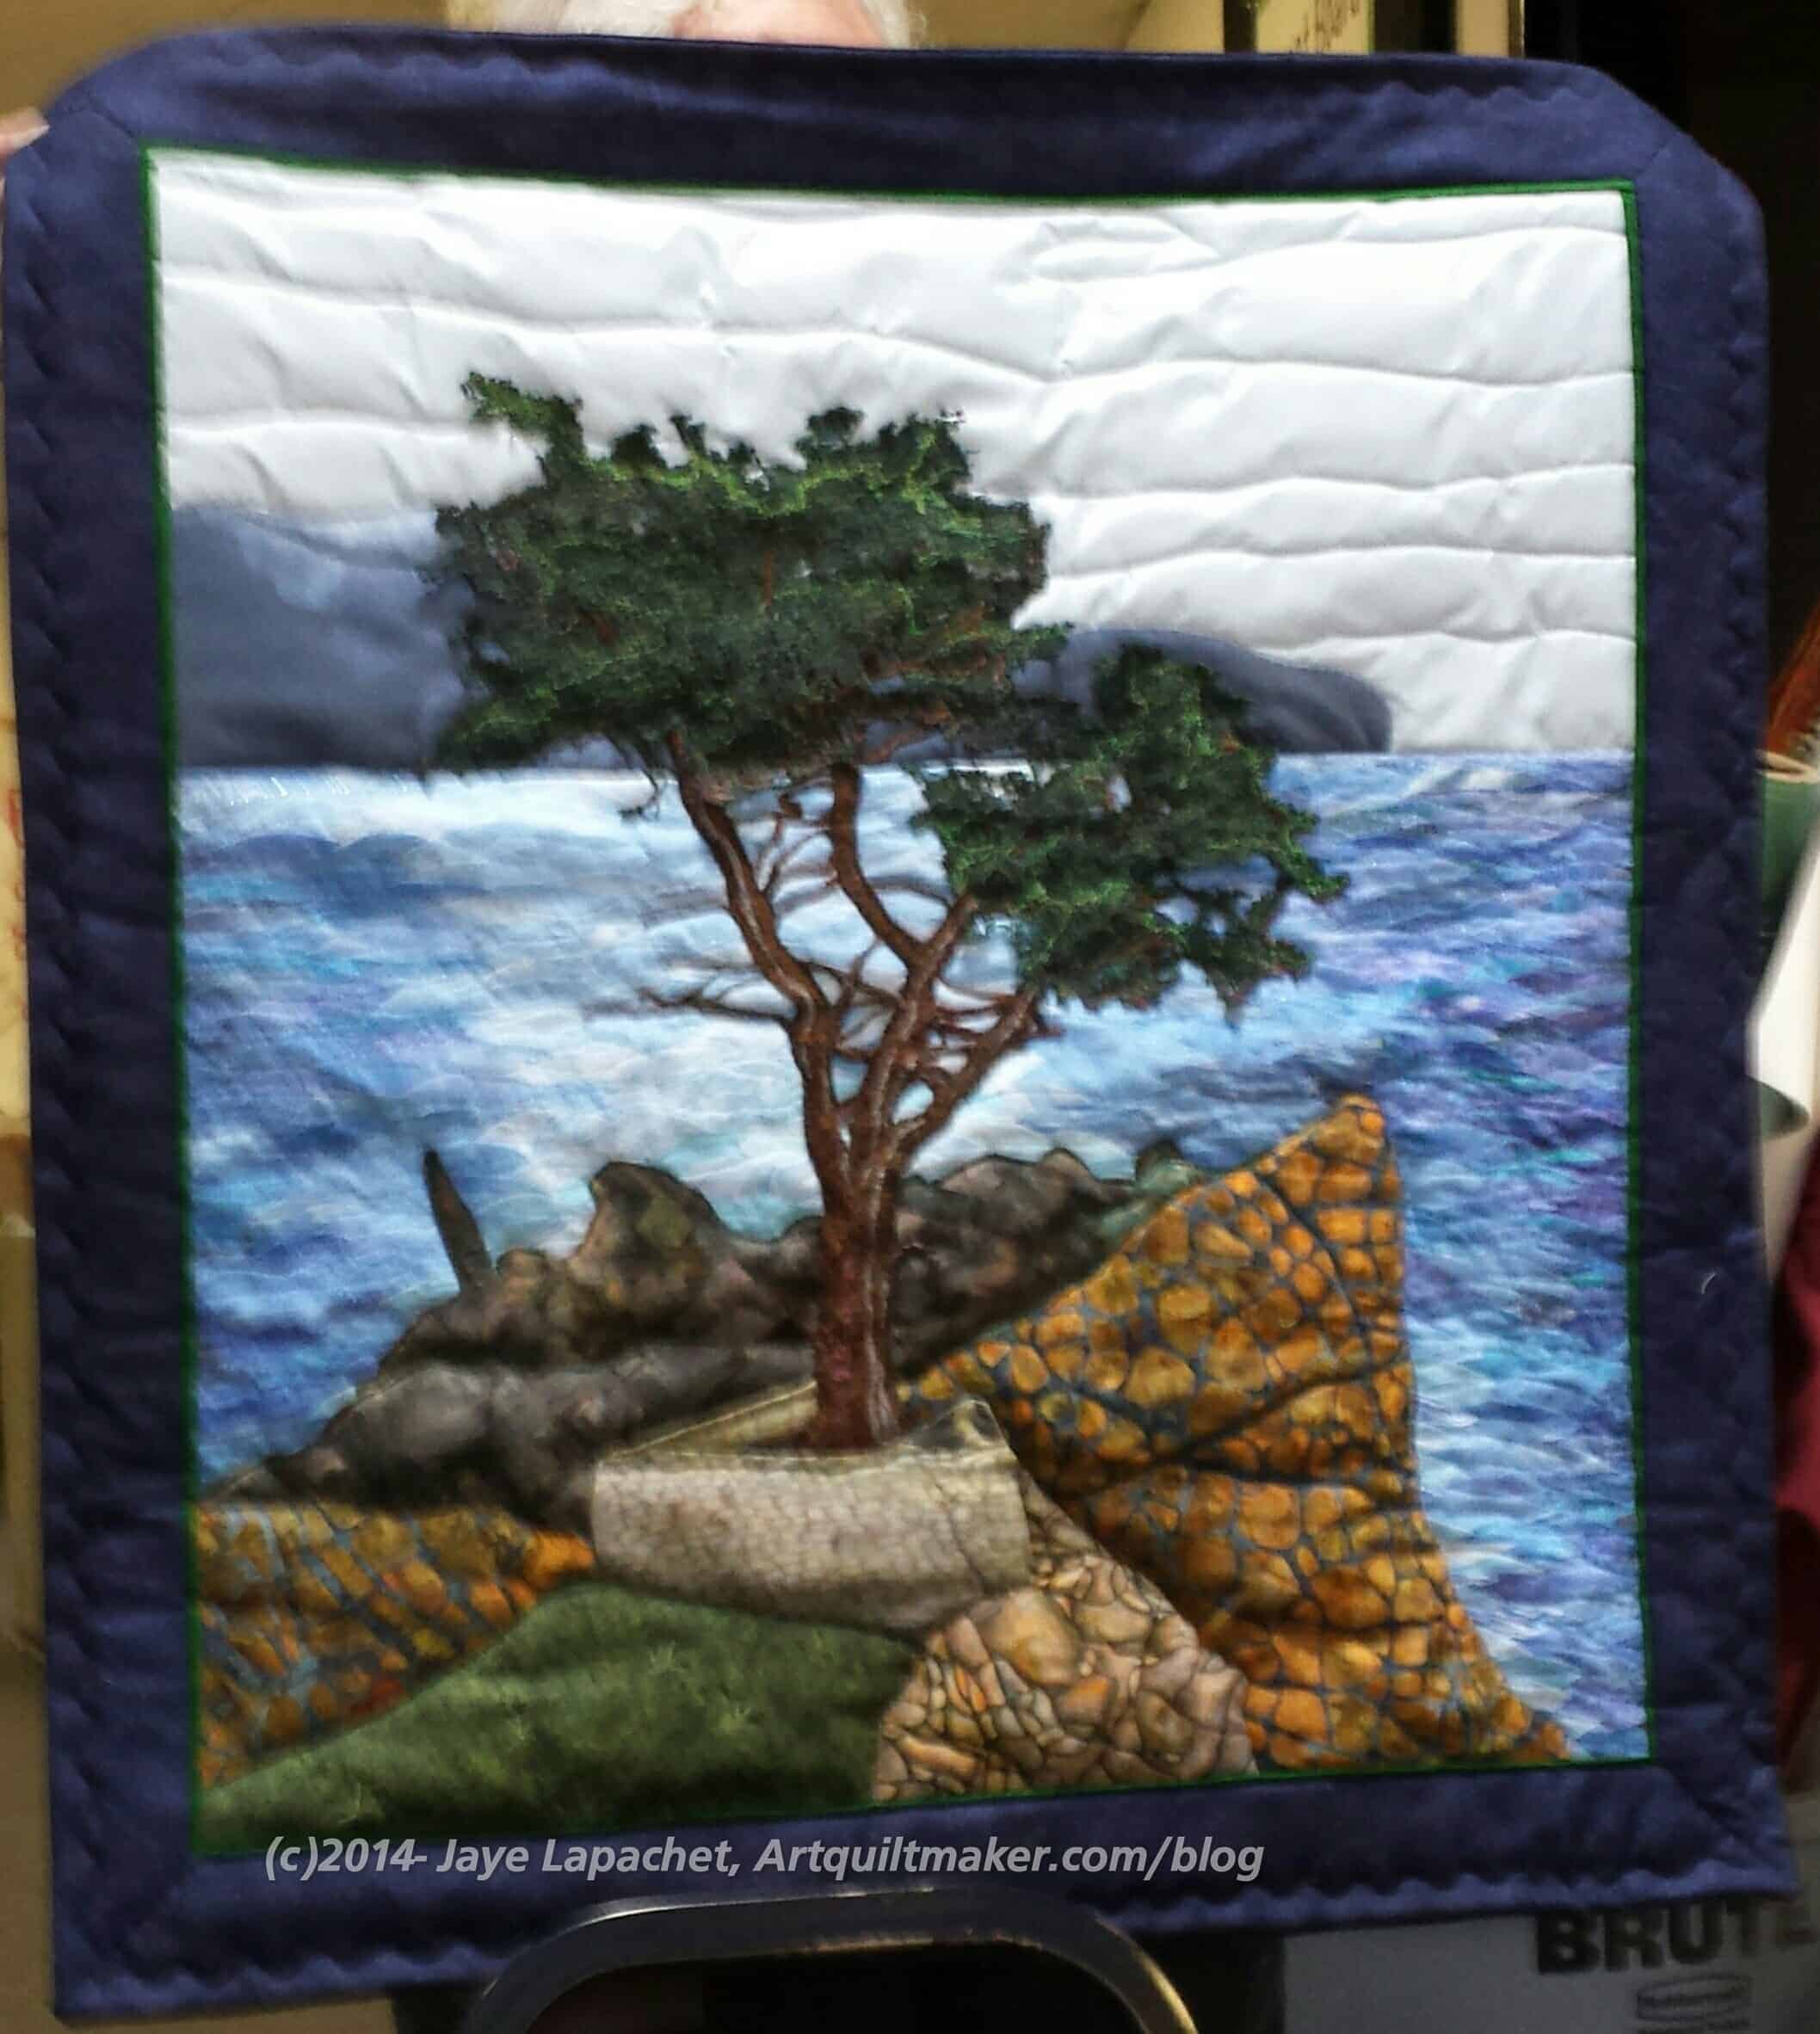
Caroline does amazing landscapes and she is nearly finished with another one in her series of Lone Cypresses (Monterey Coast).

She threadpainted the greenery, but a new member showed some cheesecloth she had dyed, which sparked a discussion on the merits of making the greenery with cheesecloth instead of all of that threadpainting. Definitely doable, though different looks would be emphasized, I think. It was an interesting discussion.

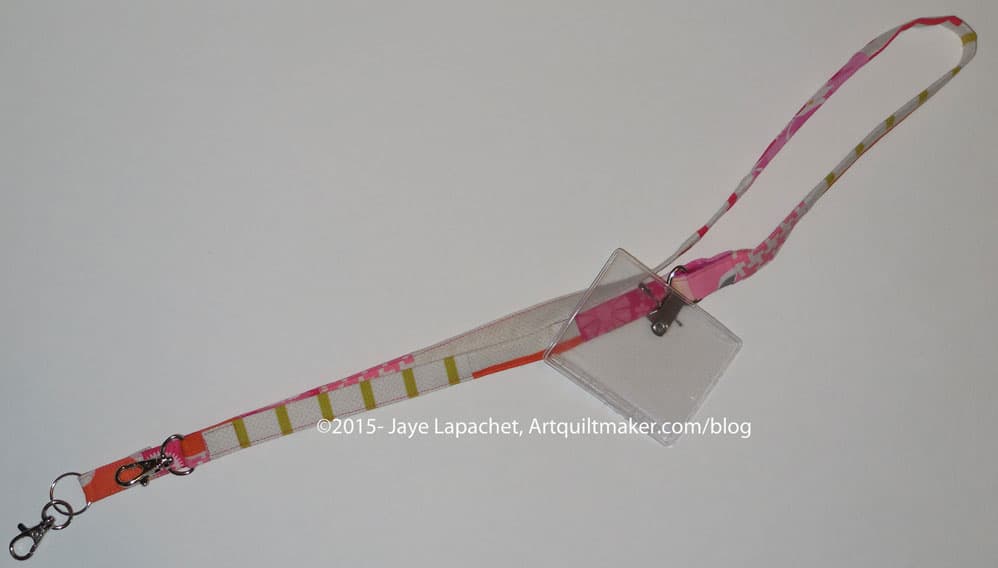
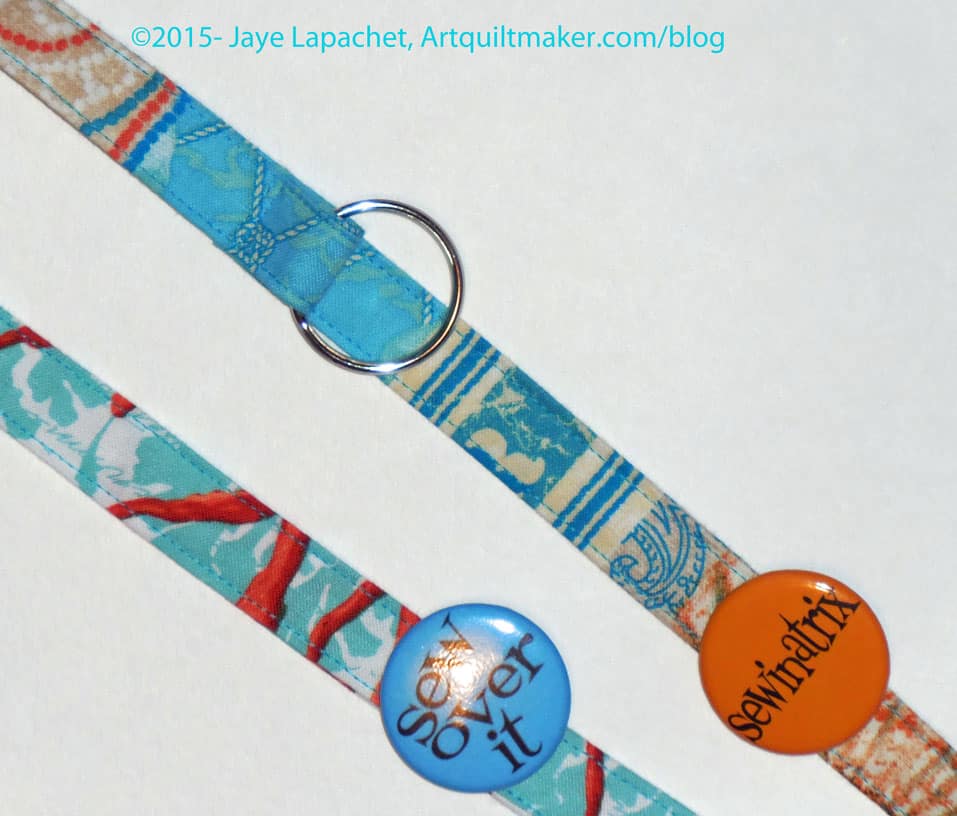
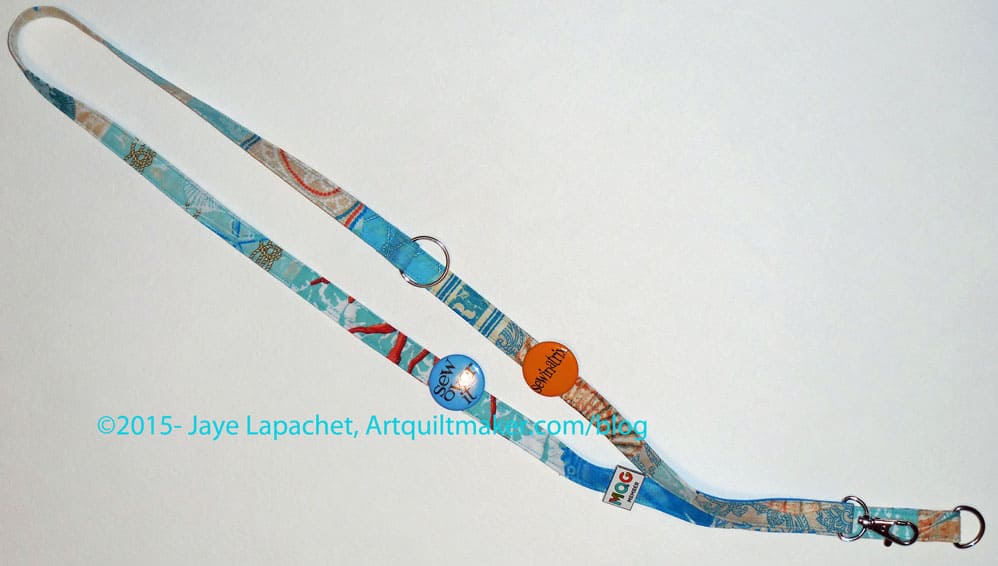
Valerie, one of the visitors does amazing work. I didn’t get to talk with her much, but she brought her dyed cheesecloth and embroidery floss as well as a bag she made from hand dyed fabric. I seriously thought about trying to slips some of her embroidery thread into my bag. I restrained myself and decided to make friends with her if she comes back. 😉 She also brought large covered buttons with beading work using seed beads, some fabric postcards and a fantastic name tag.

wpid-wp-1428193345594.jpeg

Valerie's Postcard
Valerie’s Postcard

As I said, it was a great meeting. I learned something, got to see my friends and got something to write about for you. The perfect day. 😉

Orange Crush Journal Cover

Outside of Cover before sewing

I started another journal cover using oranges pretty soon after I realized I wasn’t happy with the Pink Mermaid Tail Journal Cover. Last week I finished it and I didn’t even really realize that it was almost done. I really just had to put on one piece and had the top done. Gotta love those leaders and enders.

I went for larger pieces this time, so I wouldn’t have to deal with the seams that were so problematic last time. I still wanted to get small enough pieces so the piece wouldn’t be boring. In some way making these journal covers using mosaic quilting is a process of piece size, color, number of pieces, pattern, size of motifs. It may seem stupid, but somehow it feeds something inside of me. I can piece any way I want. I don’t have to worry about a block pattern; I can just piece and focus on color. Because I do these monochromatic – mostly – pieces I can also get rid of the worry about the combination of colors. All of these things boil the process down as far as I can right now.

Cover closed
Cover closed

Looking at the photo above, the cover looks like a bit of a mess, but once the journal cover is put together, it looks a lot better. The piecing is moved into visually manageable bites.

A lot of these fabric motifs are large prints or bold prints. I used a number of different Philip Jacobs prints. Lots of modern dots and other modern prints. I also added a few fruit and veg prints from the Food Quilt.

All Outside
All Outside

I never know how orange will act and I am always a little scared when I do a project with a  lot of orange, then I am pleasantly surprised at how it turns out. I like this journal cover. It is bright and cheerful. It uses some of my favorite fabrics and the seams don’t bug me.

You can see how different the piece looks when it is sewn (left). It is still a little visually crazy, but much more contained than the very top photo.

You’ll have to click on the photos above to see the actual insides of the journal cover. I don’t have control over the thumbnails.

I feel like this is one of my most successful journal covers.

Crafting for Politics

DH has to plan his Grand Parlor. This is the annual conference of his statewide organization, The Native Sons of the Golden West. As part of that, I am in charge of organizing some events for the Ladies. I have to create or decide on the following:

  • Ladies Luncheon table decorations
  • Ladies Luncheon party favors
  • Ladies Tea decorations
  • Cocktail party invitations
  • Cocktail party decorations
  • Ball table decorations
  • Who knows what else?

I am not sure this is everything and I don’t have to have everything finished until May 2017. This, endeavor, however has been on my mind since I found out what I have to do. It is reiterated periodically when I am handed a file of random papers or a large envelope appears in my mailbox.

I was thinking of asking you all to make fabric flowers. YOU, of course, would do a fantastic job, but, as you know, the quality of the items received can vary quite a bit and the judgment factor on all of these things will be high. I also wasn’t that excited about fabric flowers looking good enough after transport. I need to do a stellar job. I just couldn’t think of anything else.

Kelly and I went to lunch and I was telling her about my half baked idea. She suggested we go to Michael’s. What a brilliant idea! Why didn’t I think of that? So off we went and we got about a million ideas.

Ladies Luncheon

This is probably the largest and most visible of the events. The Ladies Luncheon is usually a sit down lunch with assigned seating. There are table decorations, which are won at the end of the lunch, raffle baskets and party favors. The raffle baskets are well in hand as one lady already agreed to help. She has done it before and knows what the ladies like. I will have to see about that closer to the date. I should also start soliciting some nice things tht are more to my taste and style for the baskets just to mix it up a bit. Unlike with us, a basket of fabric or quilting supplies or sewing notions wouldn’t go over well. 🙁 Wine, food, kitchen supplies and chocolate are big winners. I am a big fan of nice soap, so I am thinking soap and bath things might be good as well. Cleaning supplies, which were big winners at the YM’s grammar school silent auction, might not project the right tone. I’ll have to get some more ideas.

Fruit crate
Fruit crate

DH wants his logo to be a fruit crate label (BTW, we need a Photoshop Pro to help us with this. Are you able?). I want to continue the theme, if possible, so first we headed to the Micheal’s wood area and looked at crates and things. This Paris crate was too big, but the painting looked like an idea that had possibilities. We could stencil all different California names onto the crates. UGH paint. Kelly, however, is not afraid of spray paint, so I put her in charge of the painting team.

Also, the Paris crate is too big. I would have to fill it with stuff and that is a lot of space to fill.

Michael's: smaller crates
Michael’s: smaller crates

We talked about using flower arranging foam to stick things into, but that doesn’t change the fact that I don’t have good ideas about what I would put in these crates. Smaller crates were available and there are other stores, so the crate idea is not completely dead.

The other thing is that stock will change. I need to either be flexible about the actual items and make the style the most important. For example, I could think ‘crates’ and just worry about getting all crates of about the same size.

Houston Dress Forms
Houston Dress Forms

I saw the most awesome dress forms in Houston. They were full size and covered in vintage looking paper. I loved the shape, the decoupage and the artistic expression of the female form.

I really wanted to carry one off with me. I don’t have the space in my house, so I left them. I couldn’t find any information about them, which was a shame, but I enjoyed them all the same. I think Friend Julie and my mom got sick of me wanting to walk by them all the time.


Michael's mini dress form
Michael’s mini dress form

When I saw this mini dress form, I remembered the Houston dress forms and thought that dress forms as table decorations would be perfect.

The black one I saw at Micheal’s was a good size, but covered in that weird, fake, short, toy fur, thus not perfect for decorating. Kelly, again, assured me that spray painting can cover a multitude of sins, but I don’t think the fur could be painted. Also, they only had one and I need 10-12. Of course, everything is available on the Internet, so I did a search and came up with a lot of hits. None of the sites presented themselves as those from which I could buy 12 paper mache’ dress forms between 12″-18″ suitable for decorating. I have some time and all hope is not lost. I am thrilled to have an idea that seems promising.

Possible Ladies Luncheon table decorations

It is probably unlikely that I will turn the cages into anything, but I did like them. The fleur de lis on the top adds to the charm. I would have to figure out what to put inside and how much space they would take up on the table. People still have to be able to pass the dressing and talk over the table decorations.

Favor cans
Favor cans

Party favors are another aspect. Everyone gets a little something so they don’t feel bad when they don’t win the table decorations or the raffle baskets.

We walked down the wedding aisle and saw these cans, which could be filled with something. At a wedding they would be filled with Jordan Almonds. Xanax might be good, but hard to get and an ethical challenge. Bath salts are a possibility. I am almost certain I will get these for the favors.

Ladies Tea

The Ladies tea concept is much more fluid, more like an open house. People come in, have cakes and cookies, drink tea, walk around. They might sit on a couch or chair, but there are no tables or assigned seating.

Wooden trays
Wooden trays

I want it to be a fun atmosphere. These wooden trays could be painted and, perhaps, decorated with a California theme and then used for the cookies and treats. I think they are very elegant. I think if painted the right way, they could be fun and the elegance would add to everything not detract.

I saw pennant kits, pinwheel kits and paper lanterns. I think these will be colorful and great. I don’t need to buy a kit to make pennants. There is plenty of fabric in this house and lots of tutorials online. I can start with them and just keep making one long strand until 2017!

Using Flower Arranging Foam

The flower arranging foam could definitely be used to hold the pinwheels up. the example (right) also used the fruit crate.

I could also use chipboard dress forms to bring the theme from the Ladies Lunch forward to the Tea… somehow.

Cocktail Party

I don’t think anything pink or cheerful can be used at the cocktail party. Fortunately, the decorations are not that elaborate. I do want some kind of special table decorations. Perhaps more of the scattered around the room type and fewer? Perhaps the cages would work here?

As crazy as it sounds, I am currently enamoured with The Night Circus, a novel by Erin Morgenstern. I am thinking of a black & white theme for the decorations. Black and white stripes?

The trays from above could be used again for the canapes, but these would not be black and white, so perhaps sticking with a California theme would be best. Hollywood opening night type of feeling, if not theme?

I have to deal with the invitations, which need to be engraved (or similar). I don’t think they need to be personalized, but I need to know the time and location so I can get them printed in advance.

As you can tell, I am less sure about this. I have thought the most about the Ladies Luncheon.

Ball Table Decorations

Yes, there is a Ball. It is mostly black tie and my outfit is prescribed. I have to wear an all white dress. UGH! I don’t mind getting dressed up, but white? UGH!I had a brainwave the other day, though. I have a seamstress who has been altering clothes for me as I have lost weight. She could make a pattern and make a dress from it! This makes me feel much better, more hopeful that I won’t look like a big white puffball.

Perhaps the cages will work for the ball? There are many more tables, though, which means 30-40 (or more???) table decorations and those cages are large. I don’t know how we would transport the cages. We might need a U-Haul for all of the decorations.

Budget

One big thing is who is going to pay for all of this. There are notes in the papers I have been given and I just have to get the idea into my head and confirm who is paying for what. Having until 2017 means I can use the 40%-type coupons over time to buy various supplies. Of course, I have to pay attention to the stores still having the same item — or, again, be flexible.

If you ever wondered what in the world you would with a smartphone, now you know: take photos of ideas and possibilities so you remember.

I am constantly concerned that my style will raise some eyebrows. I am going with it, though. I am at least 20 years younger than most of the women who attend. I have to do what feels right as well. Regardless, I feel so much better that the decorations won’t be a complete failure and about this whole endeavor in general; I can’t even tell you.


More Lanyards

Awhile ago, I talked about the lanyard I made for a swap and put up a sort of tutorial about making it. That Orphan Block lanyard came out pretty well and I was pleased.

As BAMQG is part of the Modern Quilt Guild, I got a pin. It has been lying on my desk and I finally decided to make a lanyard. I didn’t want to do a complete orphan block lanyard this time, because of the seam allowances. To much piecing makes lumps. I wanted it to be interesting so I used some of the larger scraps from my cutting table.

Lumps and floops
Lumps and floops

It went together pretty well and relatively quickly. Still: UGH! I don’t like the way it looks.

Fresh Fruit Lanyard
Fresh Fruit Lanyard

It is cute and cheerful and not terrible, but the seam allowances made it lumpier than I wanted. I forgot to make the upper loop insert a smaller width than the main part of the lanyard, so the lump is even more prominent.

True to form, I let the process options rumble around in my head as I went about my business and decided to make another, starting much more simply: with just one strip of fabric. I used the By The Sea by Gillian Fullard/ London Portfolio Series by Michael Miller fabric. This is the same fabric I used in the recent Ocean Going Journal.

Ocean Going Lanyard Upper Loop detail

The upper loop, which I like so the name tag is near my face and not even with my belly button, confounded me for awhile until I realized that I could make it much smoother by making it from part of the hemmed fabric. I folded up the length of hemmed fabric rather that inserting a different piece. The loop also turned out to be much smaller.

The tricky part was to make sure the metal circle was in the right place. That took a bit of fiddling and trying, but wasn’t difficult.

Of course, using the length of original piece to make the loop led to length issues for the overall lanyard. I still haven’t quite worked out the best length. Still, that little trick made a much smoother upper loop AND, and as an added bonus, prevented the loop from being too long and floopy.

Ocean Going Lanyard
Ocean Going Lanyard

Now my BAMQG pins and things are ensconced on my new lanyard and I can’t wait to give it a trial run.

Of course, I have to make another just to perfect my technique and, possibly, write another tutorial.

Ocean Going Journal Cover

By The Sea by Michael Miller

I bought this fabric at the BAMQG Retreat last year. I really bought it off Amazon, but Cheryl and I were comparing notes on the Michael Miller Portfolio series. When I saw this fabric, I needed it. It is By The Sea by Gillian Fullard/ London Portfolio Series by Michael Miller. I have a number of these fabrics and something about them is very appealing.

The colors are mine that motifs are such that I won’t get bored carrying the journal around for a long time. They key was to fussy cut some of the cool motifs without taking a big hole out of the middle of the fabric.

Front cover
Front cover

I decided to make a fast journal cover this time. I started some mosaic piecing, but remembered how unhappy I was with the Mermaid Tail Journal Cover and decided to use one piece of this fabric, which was washed, but had been sitting around for awhile.

One end had a good piece with some interesting motifs. I thought I would make it so the school of fish was on the front cover.

Inside front cover
Inside front cover

Sadly, that did not work out that well. The fish ended up on the inside of the journal. 🙁

I forgot about the cover pocket. I forgot that the something had to hold on to the journal’s covers to keep the cover on. It is not a disaster, but it doesn’t make the cover very interesting.

Now I have to decide what to do. I could just live with it like it is, but the front cover is boring.

I could remake the cover so that motifs were where I wanted them. Not gonna happen.

Lobster (??) back
Lobster (??) back

I am seriously thinking about turning the cover around putting the lobster (??- is that a lobster??) on the front cover. That means he would have his head at the bottom. Can I stand his beady little eyes watching me all the time?

The shell would be upside down, the school of fish would be upside down and the blue crab would be on the inside front cover.

Regardless, I like the fabric and am glad to already have a journal cover ready to go. There is potential for a couple more journal covers out of the same fabric, but with different motifs highlighted.

Blue Crab - inside back cover
Blue Crab – inside back cover

Donut Gift Bag

Donut Gift Bag
Donut Gift Bag

The other week when I made some gift bags I lost one. It turns out that I must have clipped a thread and been distracted while the bag and some other pieces slipped down behind my sewing table.

I, subsequently, dropped something else and felt like it was my birthday! I found all the things I had been wondering about.

It turned up again and is ready for use.

Pink Mermaid Tail Journal Cover

Whole Journal Cover - Outside
Whole Journal Cover – Outside

I finished filling another journal – the one which wore (??) the Blue Tree Journal Cover – and then finished a new journal cover. It is pink, as you can see, and it is the perfect color to make me happy on cold, wet days. <I am not complaining about the rain, because we desperately need it, but it still is cold and wet outside>

Inside Front Cover
Inside Front Cover

I used the mosaic piecing technique again (great for scraps) and really have some nice looking abstract motifs on the cover. It took me a long time to make the fabric for this journal cover, which was odd. Perhaps I used many, many more small pieces than I have in the recent past. the whole process is a good use of scraps, though.

I am not as happy with this cover as I was with the Blue Tree Journal Cover, but not because of the piecing. It has more to do with the filling. I put flannel on the inside, as I have with recent journal covers. I am beginning to think is my preferred filling for these journal covers. In this cover I put the flannel a little too close to the edges. It made the edges, coupled with all the piecing, really thick. I forgot to keep the flannel out of the seam allowances. The edges feel odd.

Inside Back Cover
Inside Back Cover

Last time I am pretty sure I quilted the Blue Tree Journal Cover to keep the flannel in place and kept the flannel out of the seam allowances. I need to remember to do that, which may mean I need to rewrite the tutorial.

One thing I may do is make a new cover and put this one on an older journal. I haven’t had a chance, but stay tuned.

Non-Christmas Gift Bags

December Gift Bags
December Gift Bags

What the heck? I know you are wondering. Christmas is exploding all over and I am making birthday and Mother’s Day bags? Huh?

A week or so ago, I did some cleaning and clearing. Nothing crazy, just a bit. I found these fabrics and was about to get rid of them when we had to wrap gifts for the Young Man’s birthday. I used the same gift bags I always use. I don’t know what happens to them all, but they disappear except for the few that I snatch out of people’s hands as soon as they remove the gift, so they don’t walk off. I also love them and am not giving them up.

I thought that these fabrics would make nice additional gift bags, so I sewed for about 20 minutes and have 3 new gift bags. I had four, but one piece of fabric disappeared. I am sure it will turn up, but I didn’t take the time to look for it.

Need to make gift bags to save trees and save wrapping time. I have a tutorial. Now go make some gift bags!


More Receiving Blankets

3 Receiving Blankets

I went to Stone Mountain and Daughter, a fabric store in Berkeley, a few weeks ago looking for some fabric for pants. I didn’t find the pants fabric I wanted, but they had a nice selection of flannel at a good price, so I bought some pieces to make receiving blankets for a friend’s daughter who had a baby a few months ago.

I know the colors are not totally matchy matchy, but I liked something about the combination.

Decorative Stitching

I like making receiving blankets for gifts, but they are still a pain to make so I used some large and loose decorative stitches. I am pleased with how they look and will send them off soon.

Another Cafe Apron

I can probably classify this as a hack. Really, I don’t know about the hack thing, because I made the apron without the Amanda 7 Pocket Cafe Apron pattern.

ARHS Grooming Apron
ARHS Grooming Apron

I couldn’t find the pattern and, after cleaning my workroom, I called my mom and had her measure the apron I made for her. I looked at the previous blog posts and went for it. I had to kind of make up the pockets, but I think it will work well.

A few months ago, I volunteered at the Young Man’s Band Review. I was assigned to the grooming team, which means that I followed the head of the grooming team around and carried stuff she needed to fix buttons, cut hair, adjust hems and jackets. At that time I thought it would be really useful to have an apron.

I finally had a chance to make one and it took me about three to four hours. The hardest part was pressing the seams. I really dislike that part, because I can never get the seams as flat as I want them.

I have to say that I enjoyed making this apron a lot more without the pattern than I did before. I think the problem with the pattern’s printing/font size was too small.

Regardless, I think the apron came out really well and I hope it will be useful.

ARHS Apron Flat
ARHS Apron Flat

Meet Henry 2

Henry 2 (needs bottom stitched closed)

I made another Henry for another friend, which I mentioned last time. He is almost completely together. The last part is sewing up his bottom. He is also covered in lint, so I really need to use my lint roller on him.

I had enough almost enough schnibbles (sorry, Amanda, I’ll have to refill my schnibble bag before I can fill the next cat bed) and supplemented it with some leftover batting. I also found another bag of trimmings from an old, old quilt. Fabric is still sewn to the batting, so I think I will rip the fabric off the batting before I try and use either for a project.

I added on the beak and eyes using a loose satin stitch.

I also made the wings 3D again. I thought that was a fun touch.

He didn’t go together as easily as Henry 1. Some of the thick seams that result from the mosaic piecing process ended up in awkward places. This caused seams I was trying to match to get out of alignment, forcing me to rip more than I normally would.

I tried not to curse and only to put good energy out there into Henry as I don’t want to send a gift filled with bad juju. Goofy, I know, but there you have it.

Church Ladies Apron

Church Ladies Apron
Church Ladies Apron

I finally finished one of the aprons I started 1,000 years ago. I needed a translator to help me and TFQ signed up for the job. Of course, I felt stupid when TFQ read the directions and explained what I needed to do, because it seemed so simple. I found it easier to hear from someone else what to do. It really makes me wish I had learned more garment sewing when I was younger. I am sure she didn’t roll her eyes at my lack of understanding.

Anyway.

The first apron is finished. I am happy. I wasn’t really very far away from putting it together and it didn’t take very long to sew it together. TFQ really helped, not only with the reading, but also with the pressing.

Finished is relative, however. I was sinking threads the other night and found a raw edge on the neck piece, where it slides into the body of the apron. I haven’t decided if I will take that part off and resew it or just use a bit of Fray Check.

I haven’t decided it I like this apron. I think I am still a little angry at the pattern for being written the way it was. I still have one more to finish (so I have a choice, you know). Soon I should be wearing the apron to keep grease and other food yuck off my clothes.

High School History Art Project

The Young Man came home the other day and told me about a project/assignment he had for history. he had to write 5-10 entries in a journal of a character to be assigned on the Oregon Trail. He was assigned an 18 year old young man with $45 dollars. We brainstormed a little bit on the content and then he said he wanted to make the paper look old for extra credit.

I thought about this and suggested tea dyeing. I am not a tea dyeing kind of girl, nor do I do much with paper arts, but I thought I could make this happen. After work, on my way to the gym I asked him to let his tea bags dry out a little bit and determined to do the tea dyeing when I got home.

When I got home, he found me the ‘old looking paper’ he wanted to use. This was interesting, because it turned out to be college ruled binder paper. Huh? I wasn’t in the mood to argue and it was his project.

I spread the paper out on the kitchen counter and squeezed and rubbed the tea bags on the paper. To dry them, I microwaved the paper on high for 10-20 seconds. The effect was ok, but not as dark as the Y.M. had hoped. He did a second round with the tea bags, which made it better, but still not great.

Cinnamon 'Dyeing'
Cinnamon ‘Dyeing’

After dinner, as I was tidying up, I spied my giant bottle of cinnamon. It is the right color, so I poured some on the paper and rubbed with my fingers. The paper was really gritty, but also way more brown than the tea and not wet. The Y.M. was really happy with the effect.

Once the paper was finished, he took it and began writing the entries.

In the morning, I cut a piece of my book binding thread and, on the way to the train, I told him how to ‘bind‘ the papers together and tie them off. He didn’t take the time to make a cover, but, for the short time we had to do the extra parts of the project, I thought it looked good. I hope his teacher agrees, especially since the project smells like cinnamon.
image

Henry 2

As you saw on a recent Design Wall Monday post, I have been working on another piece of mosaic piecing.

Finally, over last weekend, there was enough yardage to really make progress on another softie. I have had another owl on my mind and decided it was time to cut out the parts. I finished almost all of the cutting except the eyes and the beak.

Henry 2 in process
Henry 2 in process

This past weekend, I cut out the eyes and the beak. They required some fusible and interfacing, so I worked on that in between my other projects. I thought I might get him done, but I worked more on the Russian Rubix and made some serious progress there. There is plenty to do on Henry.

I also need to get more of the plastic beads I use to weigh down pincushions. This will all shake out this weekend or soon

The project is coming together pretty well. I am worried about not having enough schnibbles with which to fill him, but I am also trying to be Zen about the whole thing and let it happen as I need the pieces and parts. I am such a control freak that it is hard.

As with Henry 1, Henry 2 is for a friend who is going through a tough time.

I really liked making this owl and have plans for more. It is a good gift that makes people smile. Sadly, I am now officially out of scraps of brown fabric. I may have to dive into my brown yardage if I want to make more of these.

More soon.


Receiving Blankets

Receiving Blankets
Receiving Blankets

I have a new baby niece named Lauren Elizabeth. I hope she likes pink because I have a lot of pink ideas. 😉

My mom is also thrilled to have another grandbaby. My Young Man is leaving for college too soon so Lauren will be a good distraction for her.

Last weekend I made receiving blankets, my gift of choice for newborns.

I bought the pink and turquoise tone-on-tone at Always Quilting a month or so ago. I thought I would find some other flannels to go with them. As I perused the wares at Hawthorne Threads, I saw the Pretty Potent prints in flannel and that large dot. Perfect!

While I was hemming the edges I listened to an interview with Anna Maria Horner on Modern Sewciety (Episode 37, I think) where she talks about her inspiration for Pretty Potent. I was thrilled to know her inspiration for the fabric with which I was working.

Receiving Blankets in Blue

I really like the Coneflower (Echinacea) print. I think it is a little hard to use in quilts, but it is perfect for this receiving blanket.

I have the card written and just need to wrap the gift and send it off.