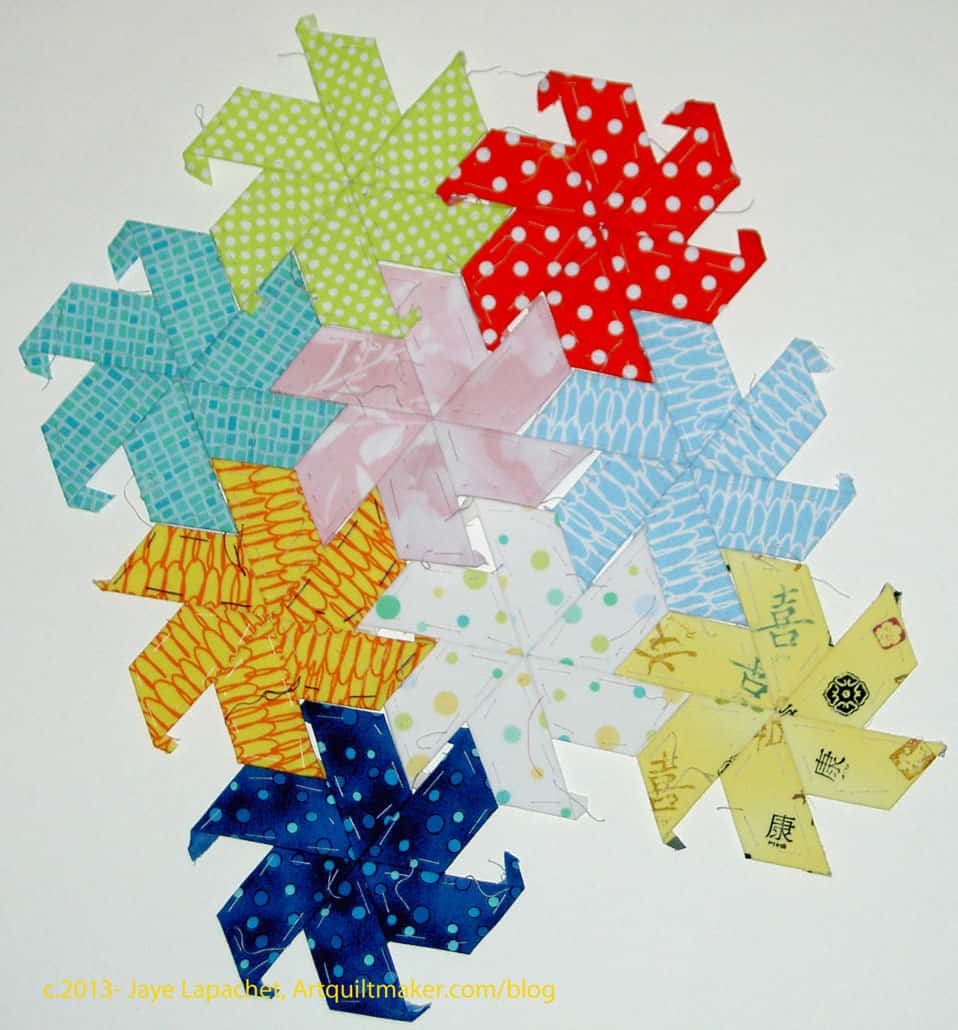
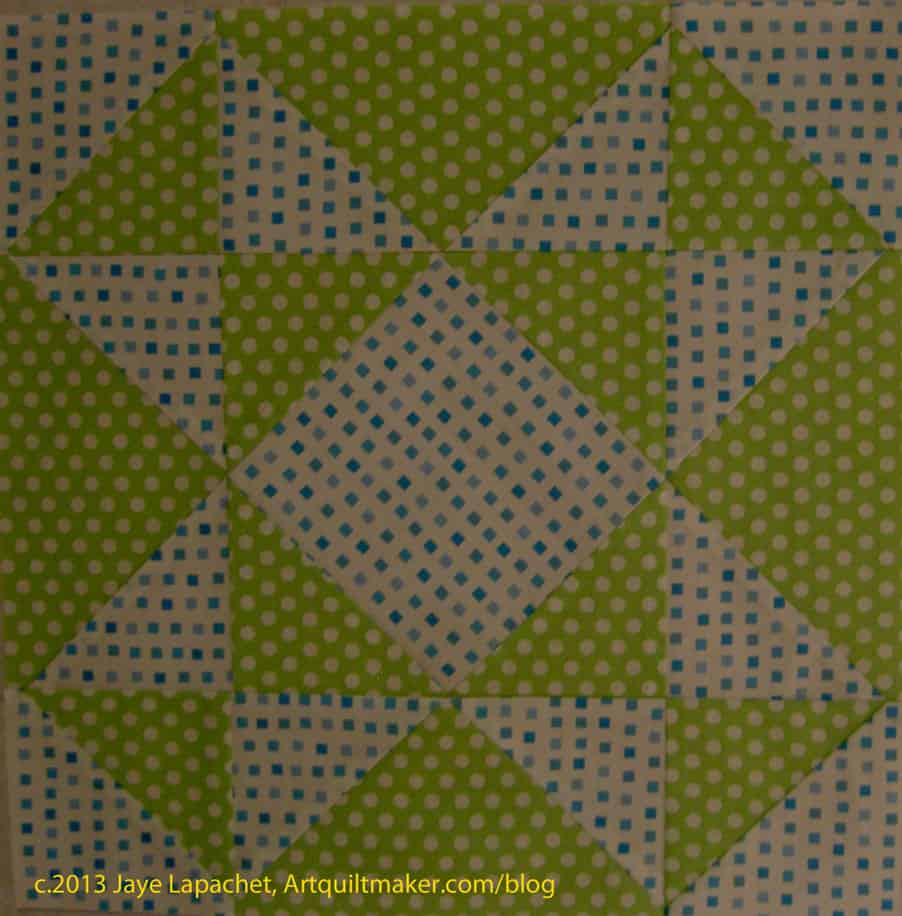
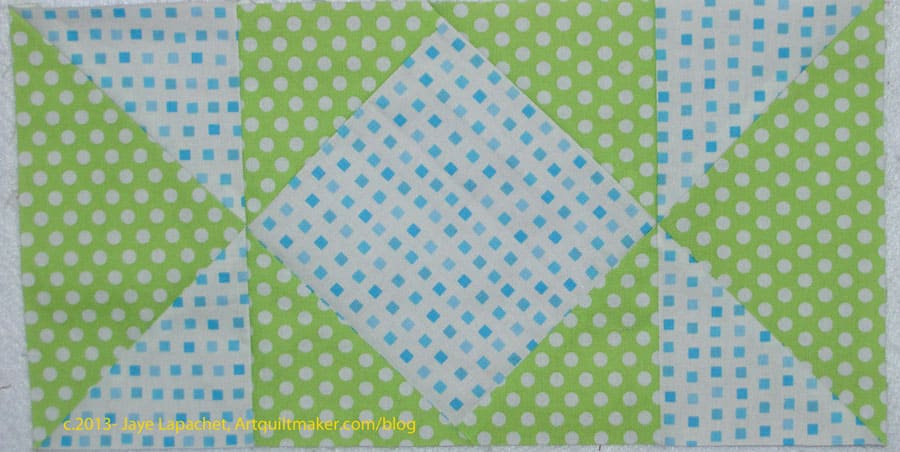
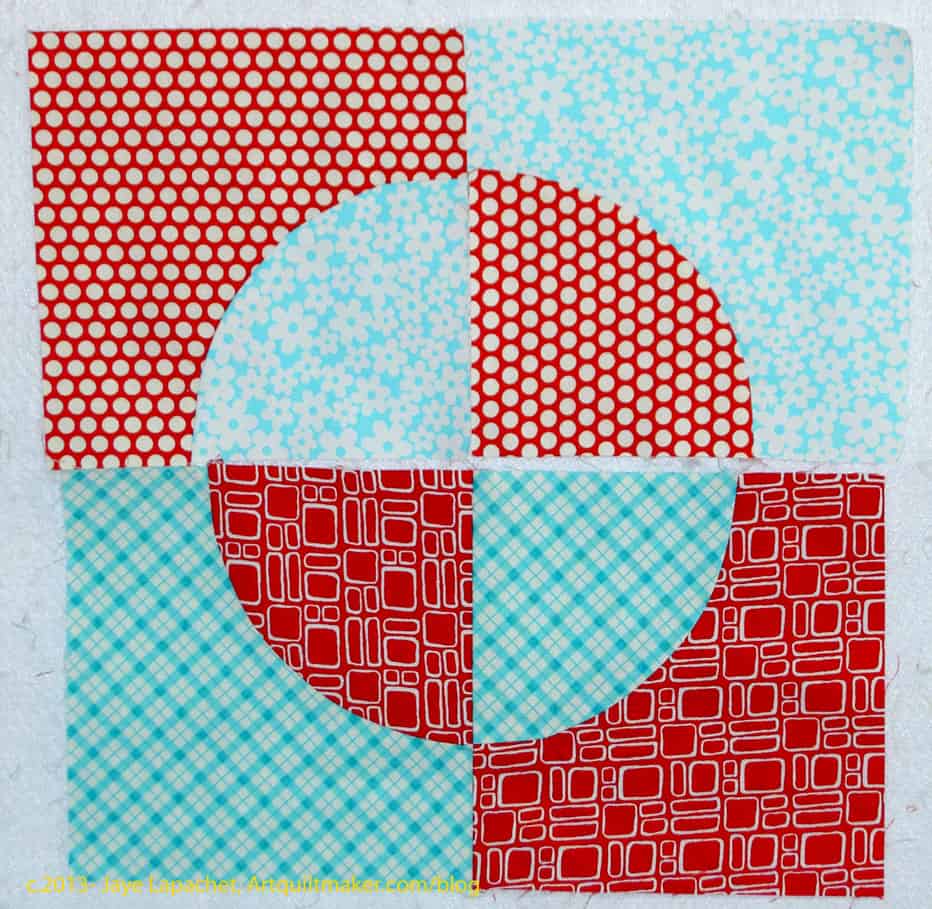
The newest clue for the Scrapitude mystery quilt has to do with triangles. The idea is to cut 5.25″ squares into quarter square triangles before sewing.
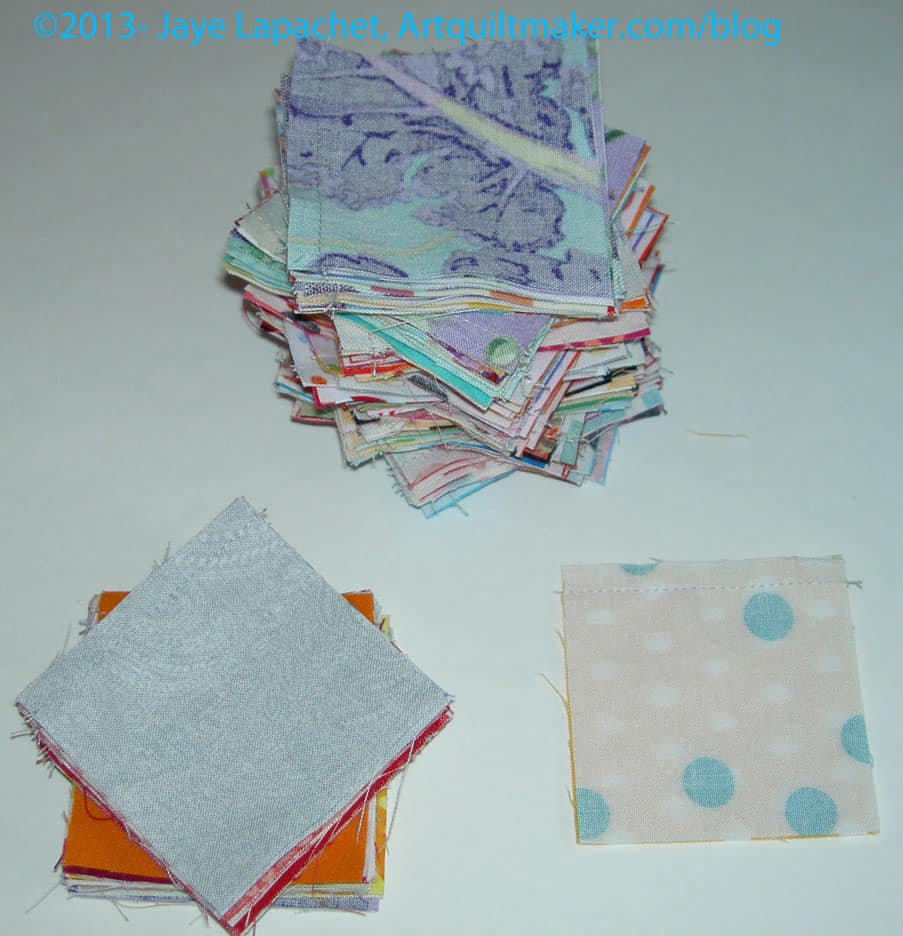
I didn’t, yet, do all the cutting as instructed in the first clue, partially because I wanted to see if I could find a better way, more preferred way to cut. I also didn’t want to delve into my stash completely yet. I still wanted to try and use as many scraps from my scrap bin as possible. Some of the drawers are getting pretty full.
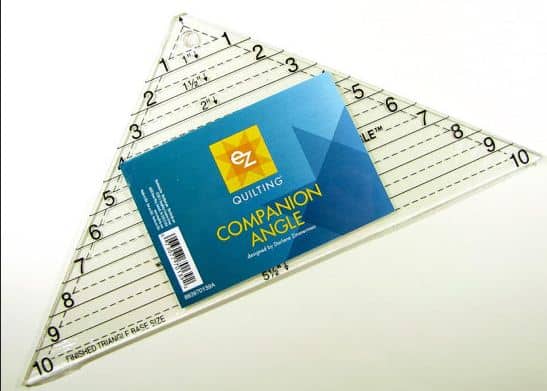
In order to cut from my scrap bin, I had to be able to cut from smaller scraps. I don’t have a lot of 5.25″ scraps laying around. It occurred to me, as I was thinking through this process, that I had a ruler that would make cutting the quarter square triangles a bit easier. I found the EZ Triangle Companion Ruler (I think I bought this for the Easy Street Mystery quilt) and the Fons & Porter Half & Quarter Triangle Rulers. Neither had been opened (ooops!), so I examined them and, for no particular reason, chose the Fons & Porter to try first.
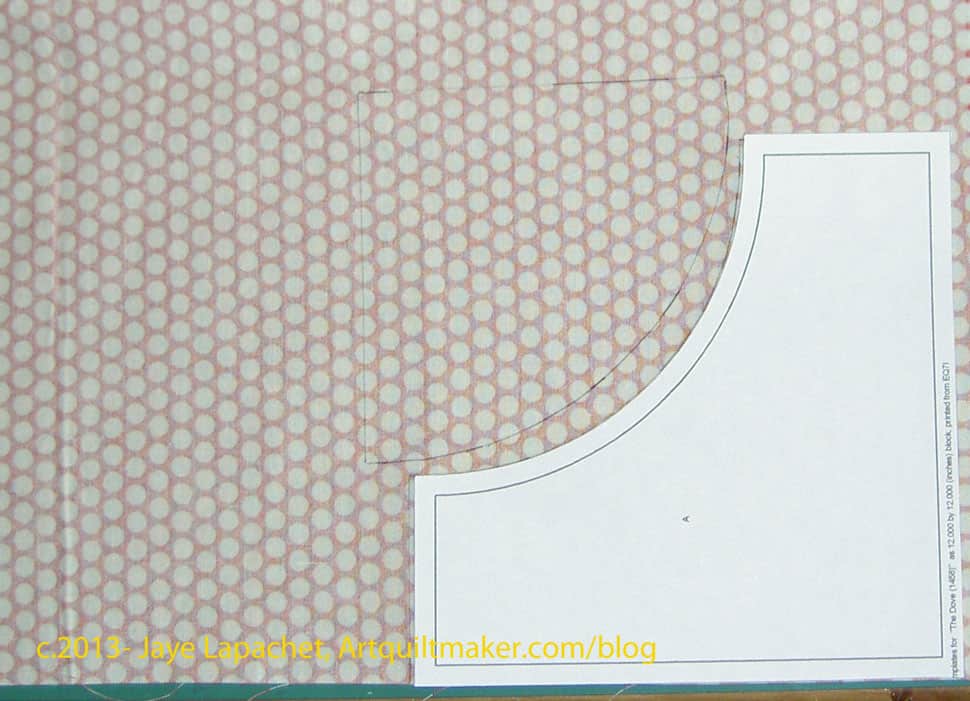
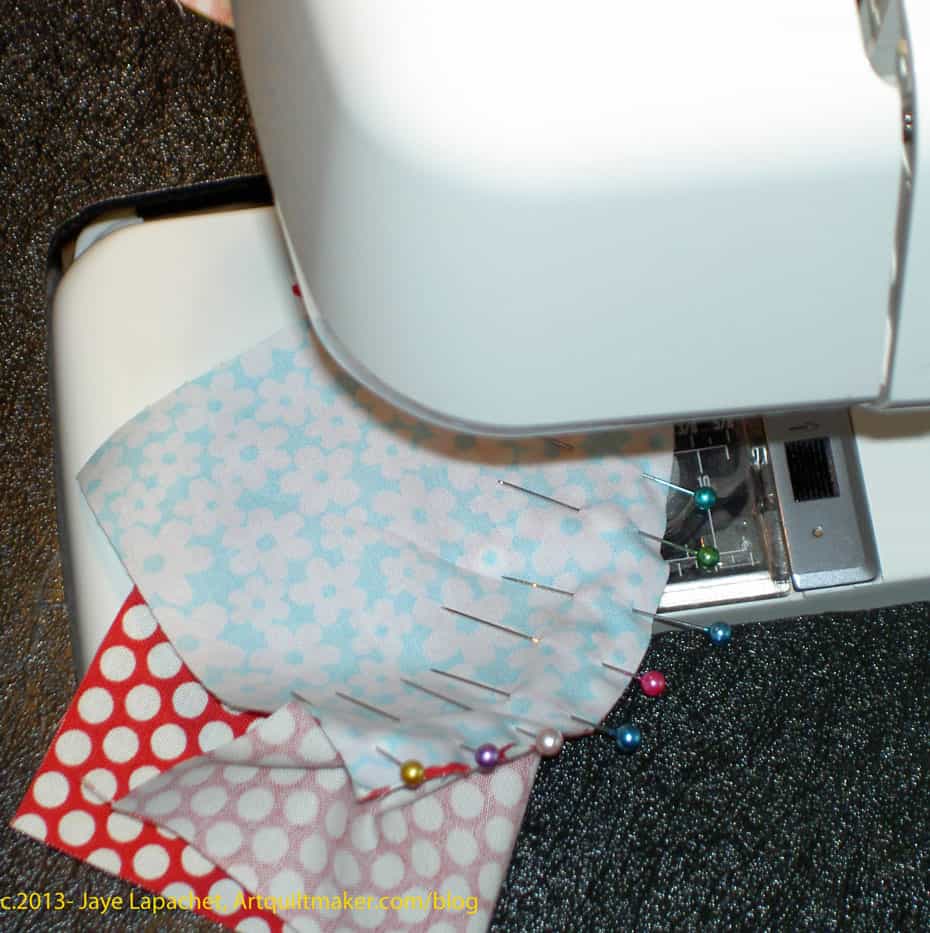
I cut one 5.25″ square the way Charlotte suggested so I had a sample. I used that to determine the size I needed to to cut using the HST/QST ruler. The directions on the Fons & Porter ruler tell you to cut a strip size of 2.5″ to get the size QSTs I needed. This cut off the tip of the triangle at the top (see that tiny black triangle at the tip of the ruler in the photo below?). I wasn’t sure why I would want to cut off the tip since it didn’t create the bunny ears. This made me wonder if that ruler would work. I didn’t want a hole at the point where those triangles intersected with other piecing. Nobody was around to answer on Twitter, so I cut the strips 2.75″ and used that dimension as a guide for cutting additional triangles.
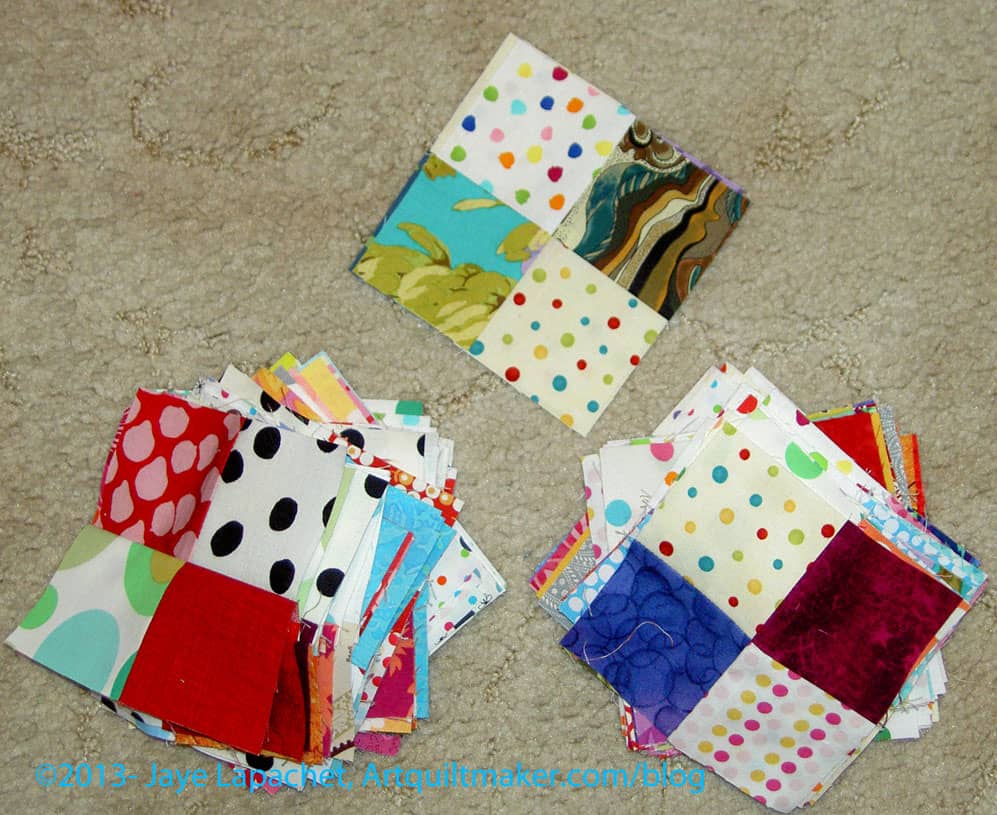
“Strips” is a bit of an exaggeration as I was using scraps. I tried to find scraps that were at least 2.75″ wide.

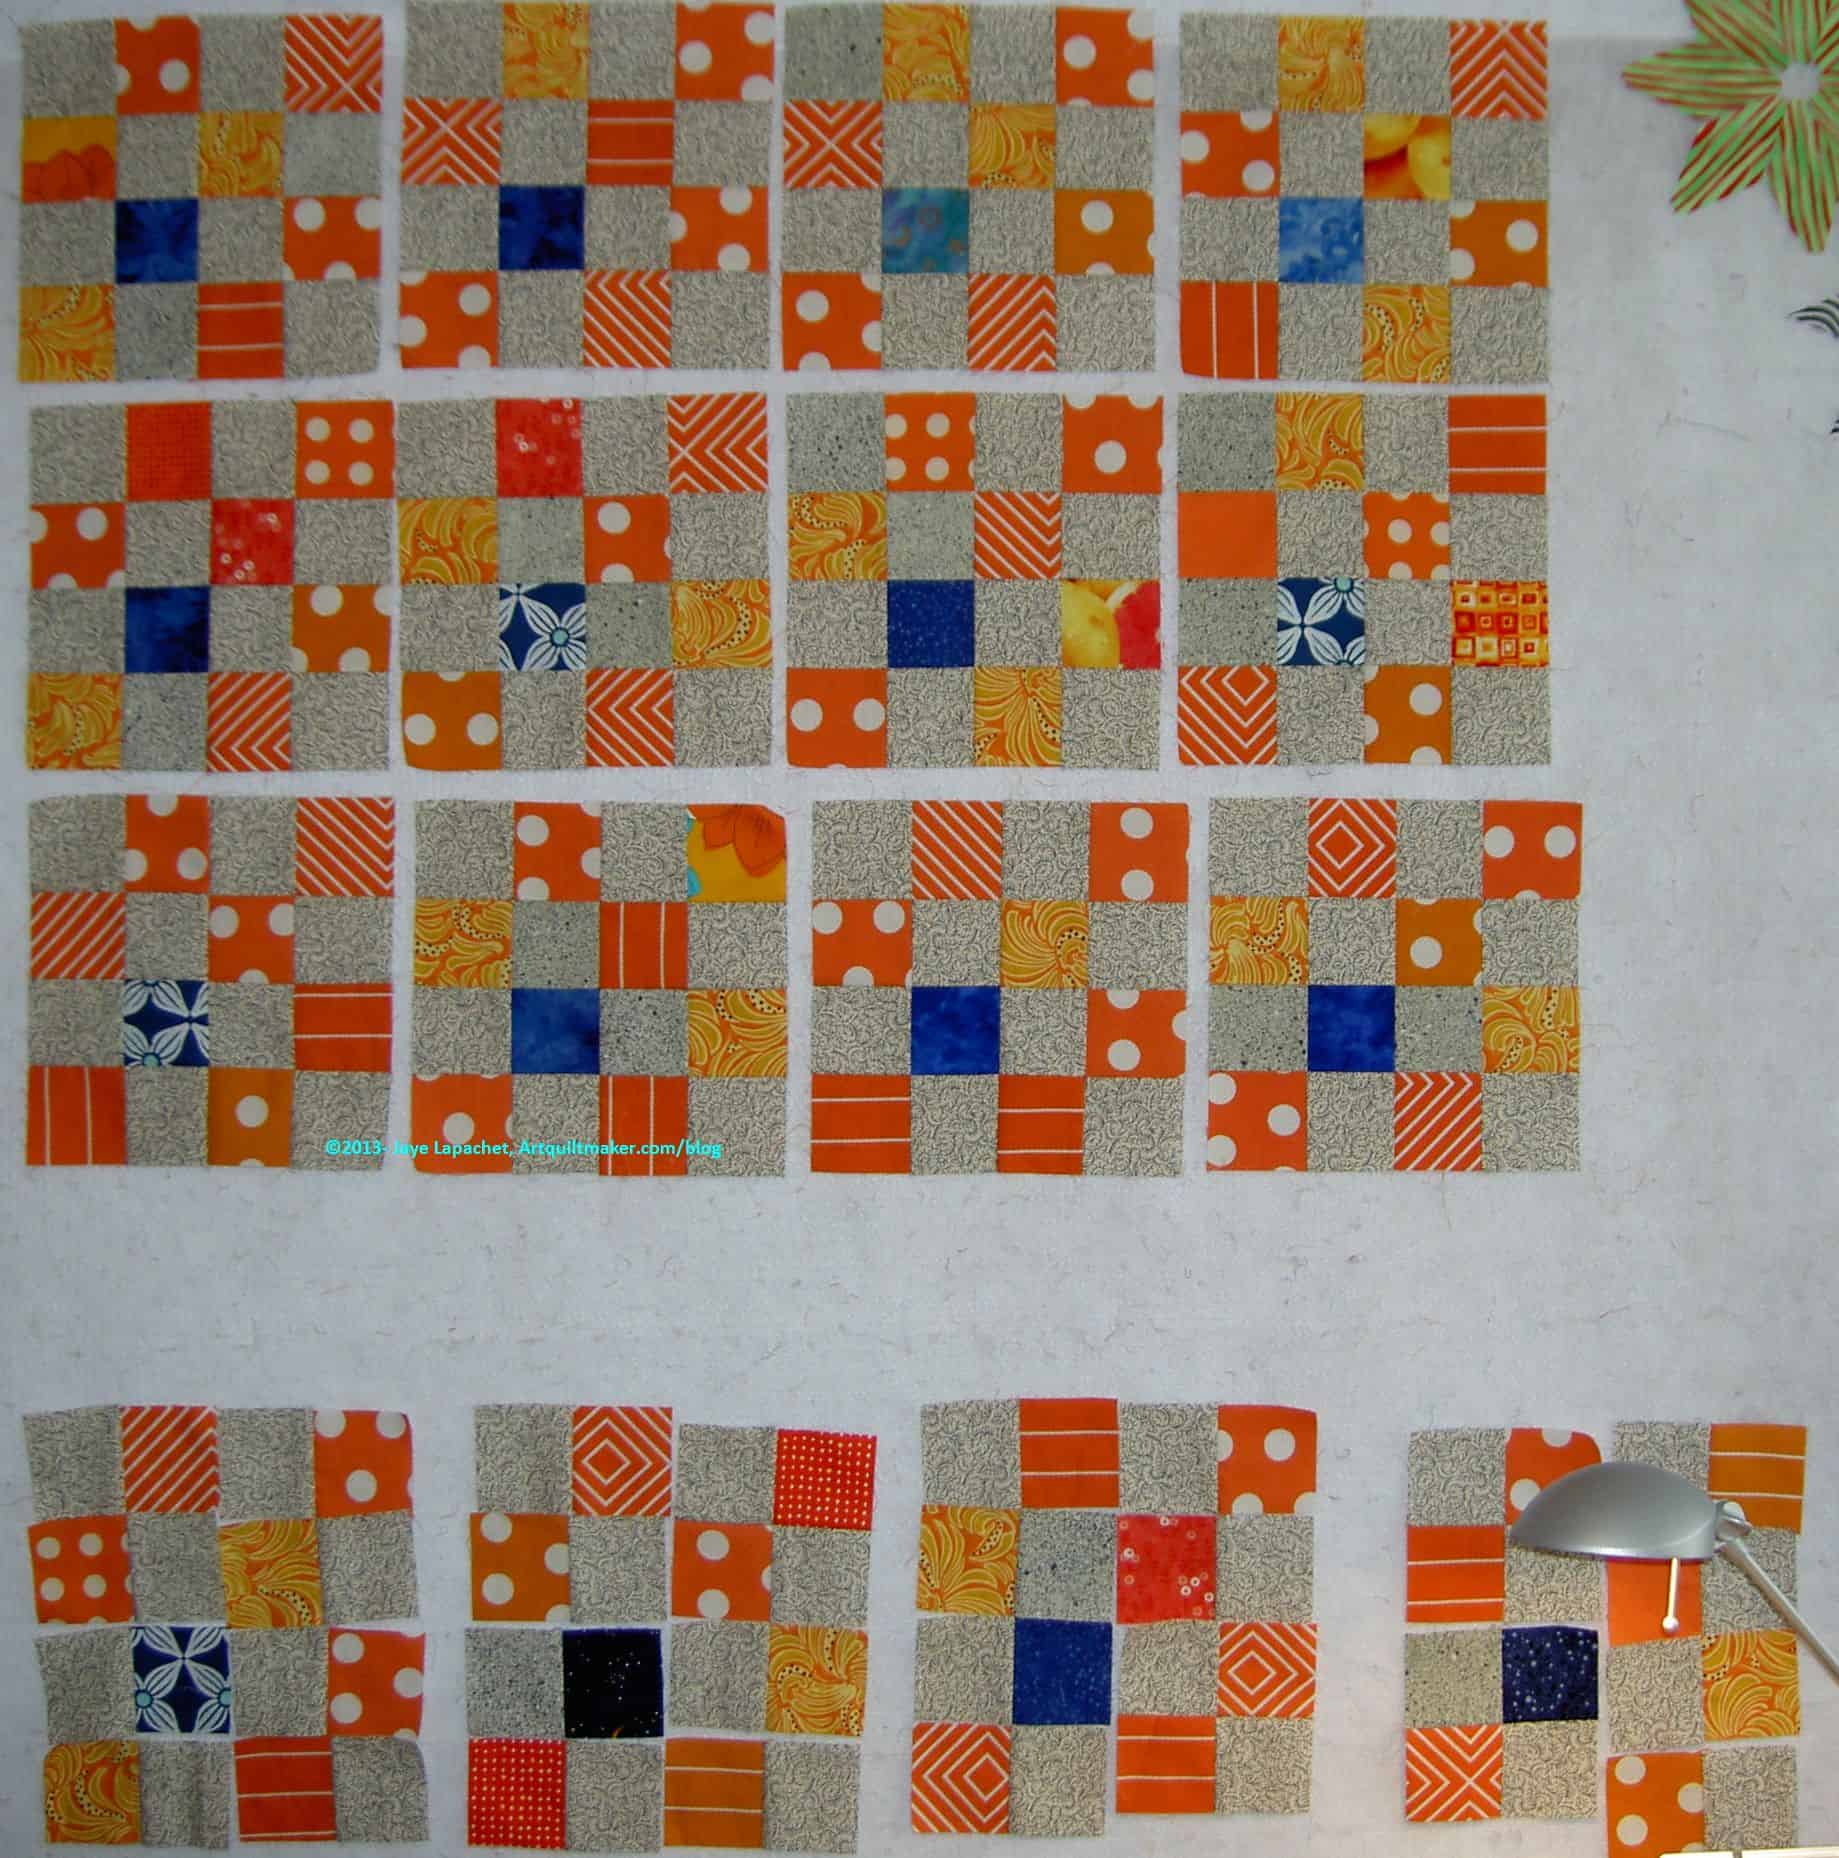
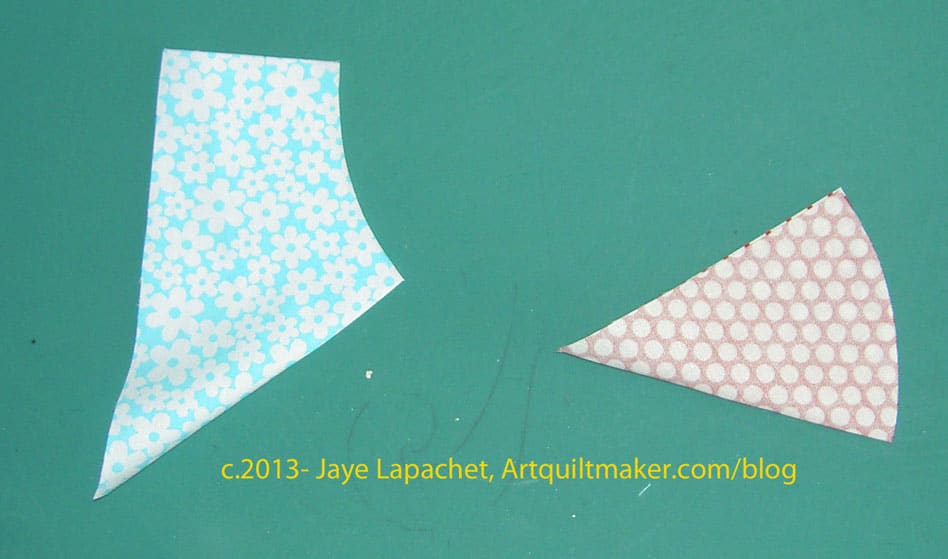
Using this ruler took a lot longer than cutting already cut 5.25″ squares into quarters would, but I was able to use a nice variety of fabrics and I was able to clear out my scrap bin a little more.
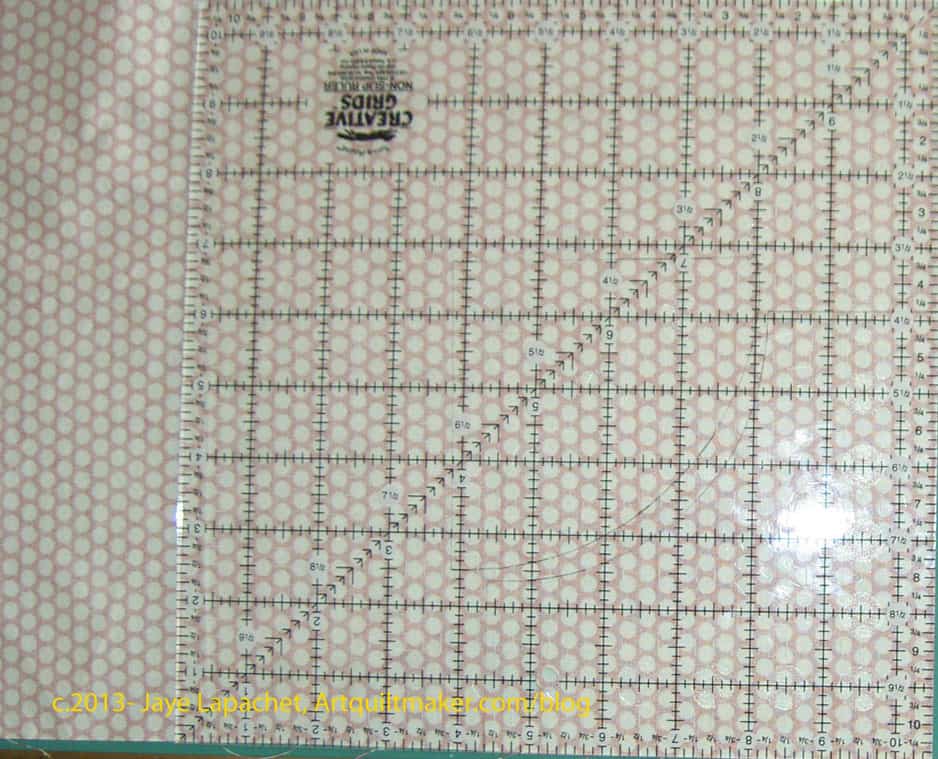
I found that I had to have a nice straight cut line on which to line the correct cutting line.
One confusing thing, which I have found with other rulers, is where to put the fabric under the ruler. Some of the lines, including the one I needed to use, were quite thick. Do I line the ruler on top of the fabric with the bottom of the thick line even with the cut line? Or something else?
I just decided to be consistent. I can always trim.
If you haven’t done the triangle step of Scrapitude, I hope you’ll try using one of these rulers to vary your fabric selection.
Scrapitude Posts
- Sandy’s Blog:Supplies & Cutting
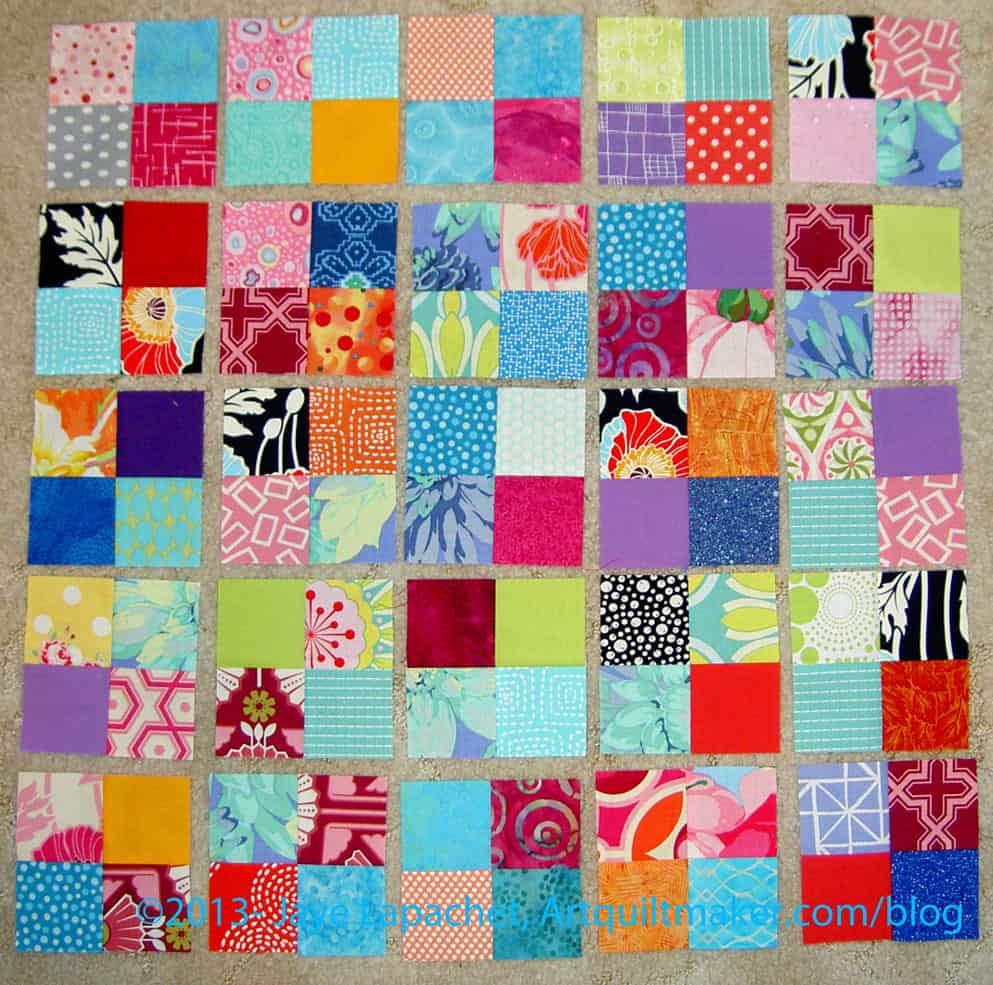
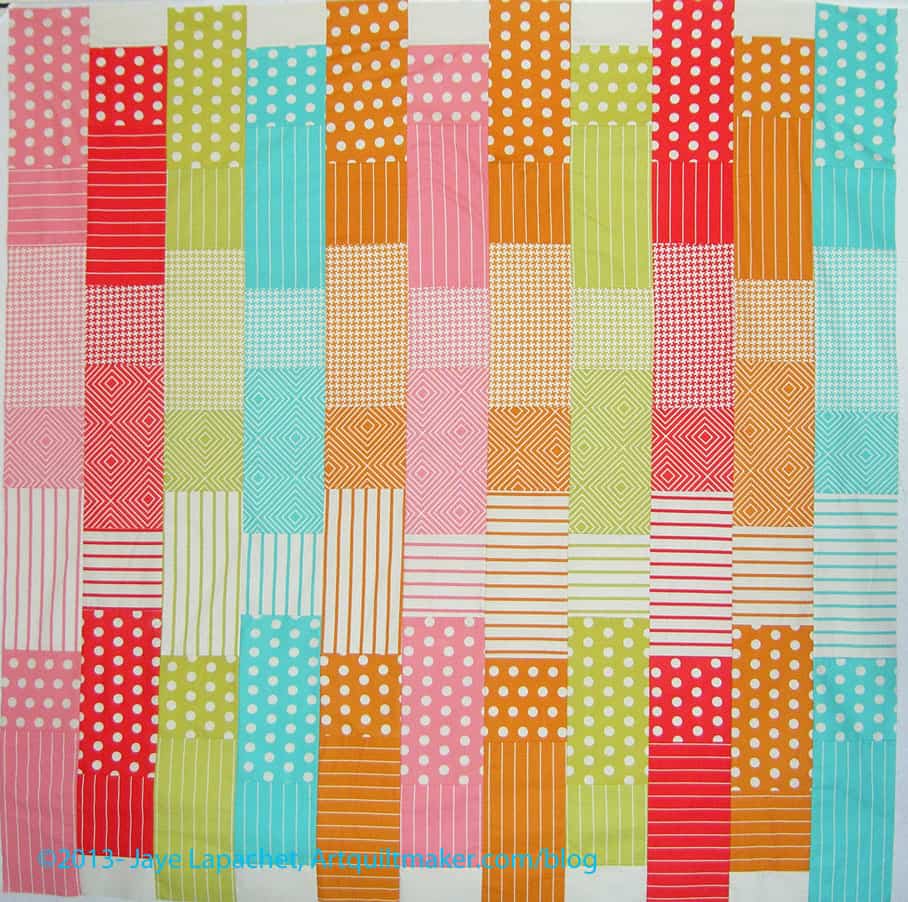
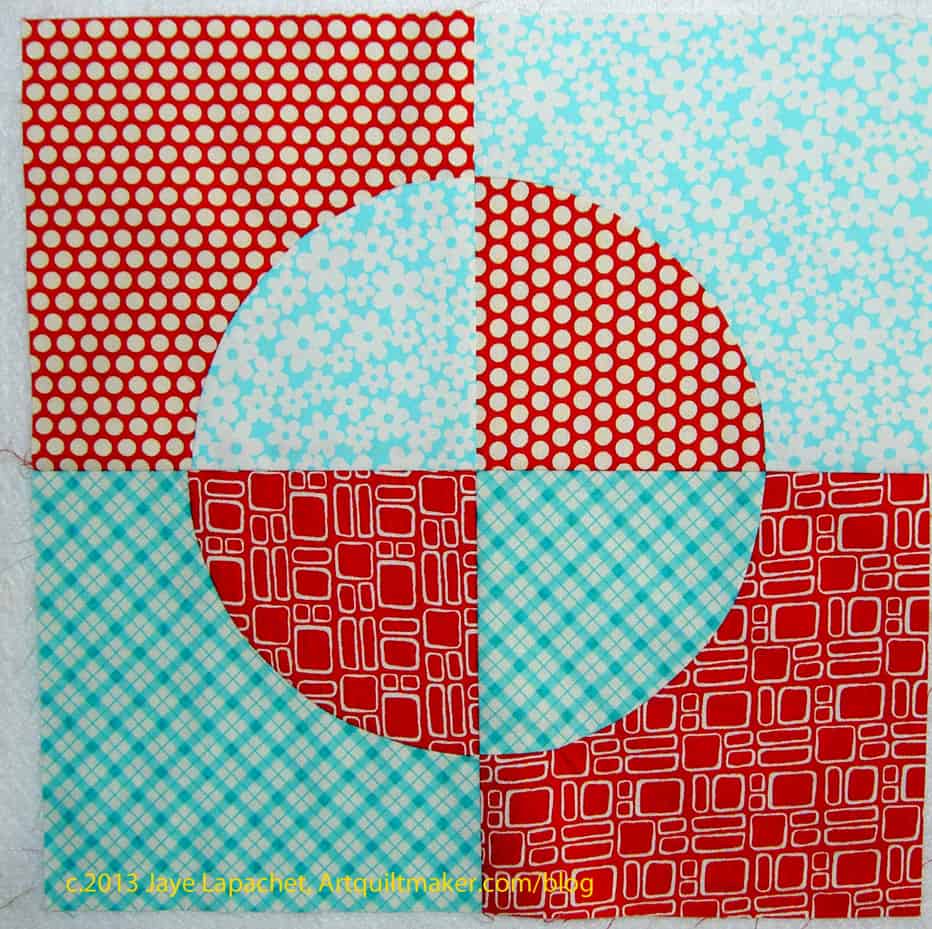
- Scrapitude Four Patches
- Sandy’s Blog:First Sewing Clue
- Scrapitude: 112 Four Patches
- Sandy’s Blog:Second Sewing clue