Continuing the Disco Double Zip Pouch

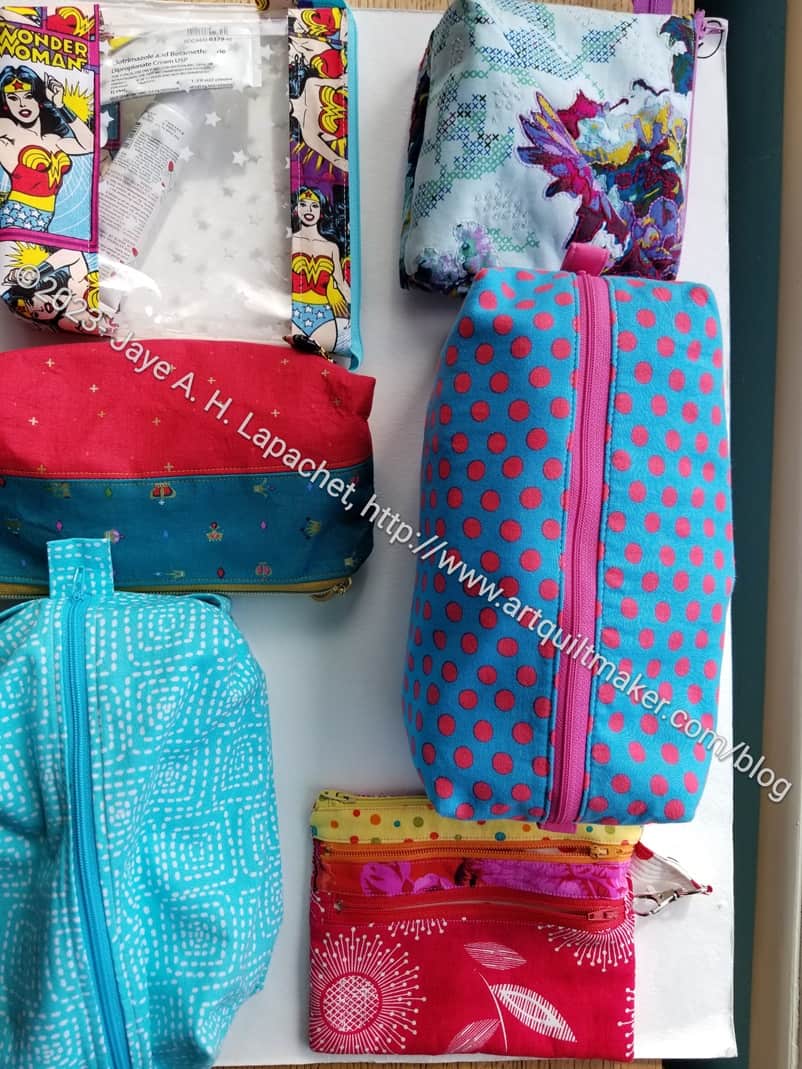
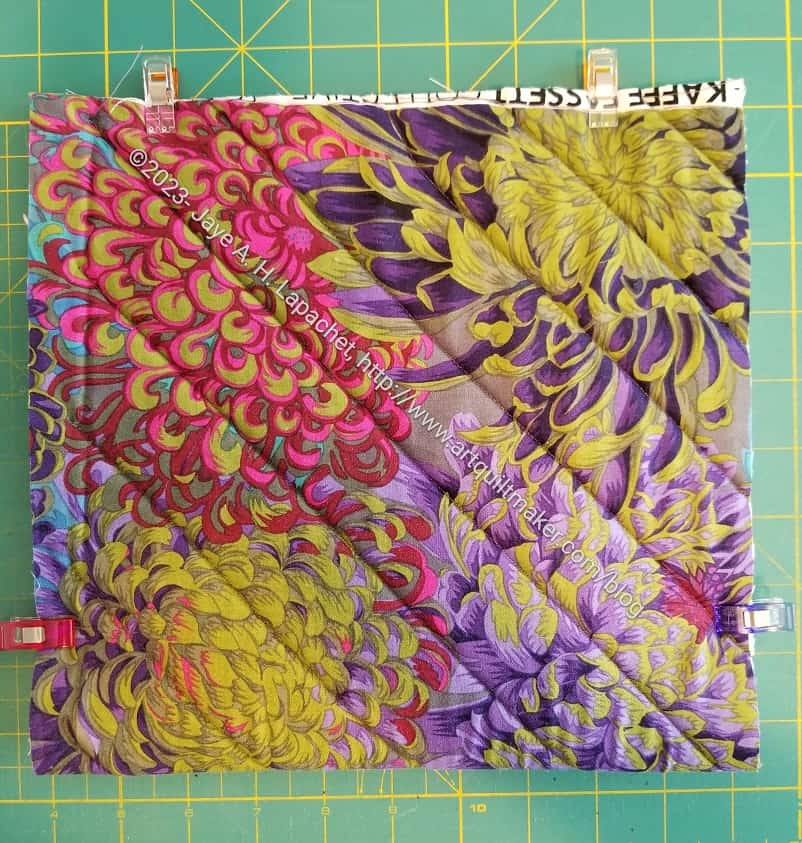
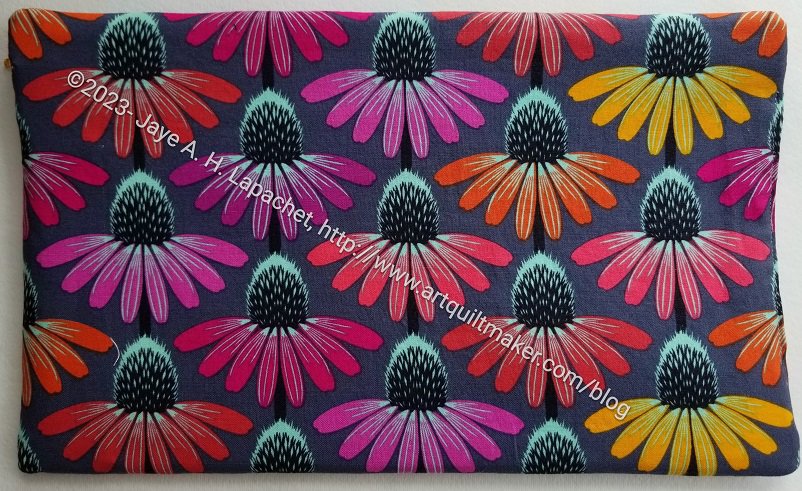
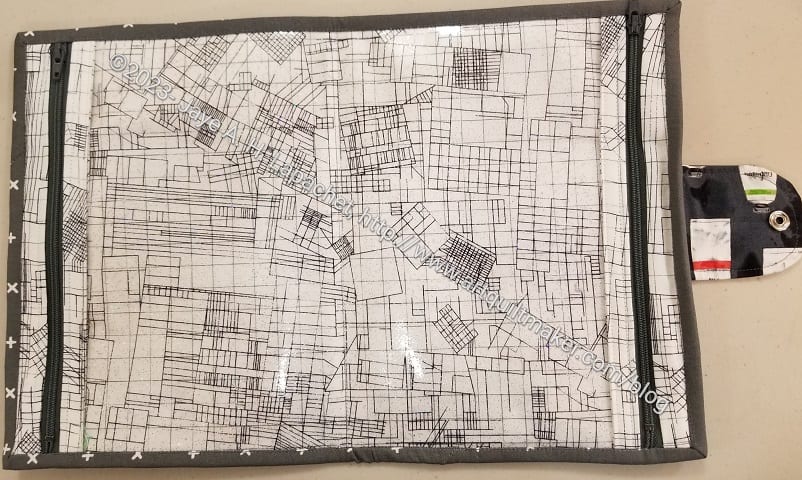
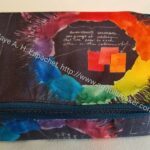
The Disco Double Zip Pouch is from Minikins Season 2. Yes, hooray, I am working on it. Last time we talked, I had everything cut out. Then I went on vacation for a week and didn’t work on it. When I returned, I started sewing this project.

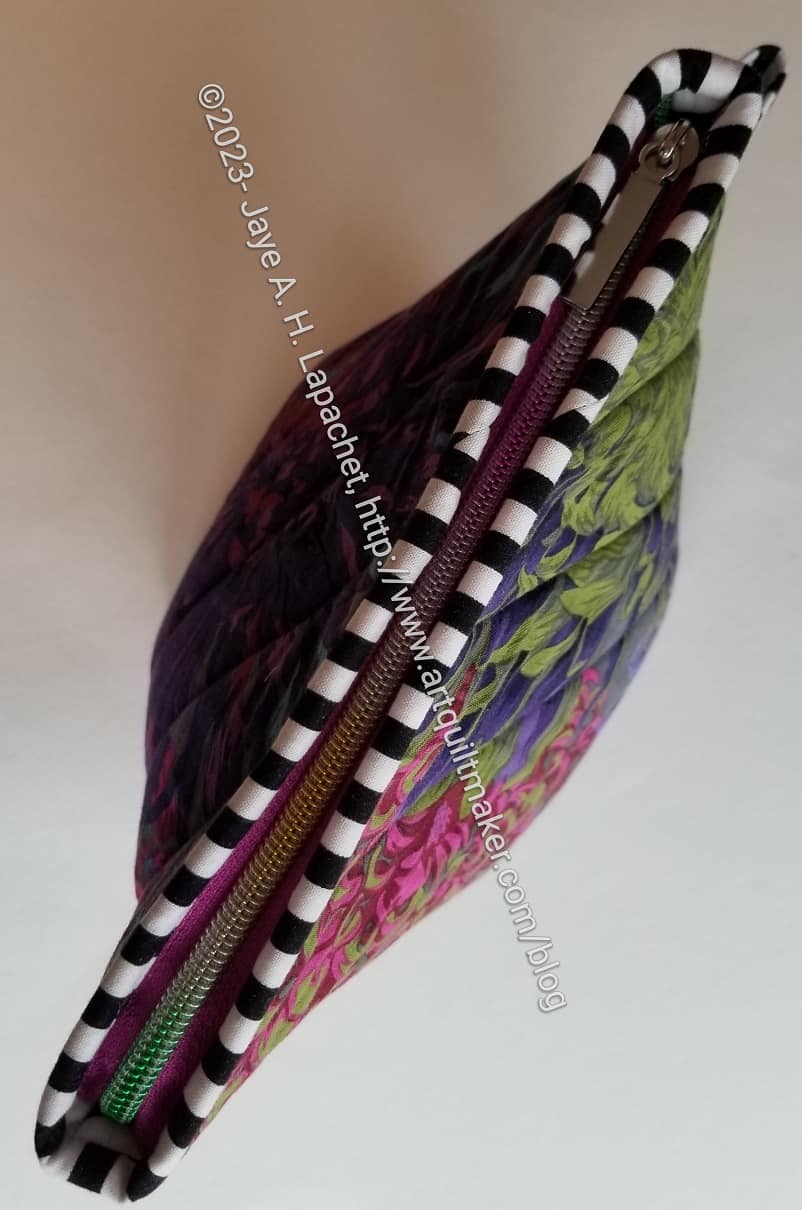
I think I decided to make the large size, because what I have is rather large. I have no idea what I chose. It is, at least larger than I expected. This pattern seems very similar to the Bello Pouch, though with double zips

Disco Double Zip inside out

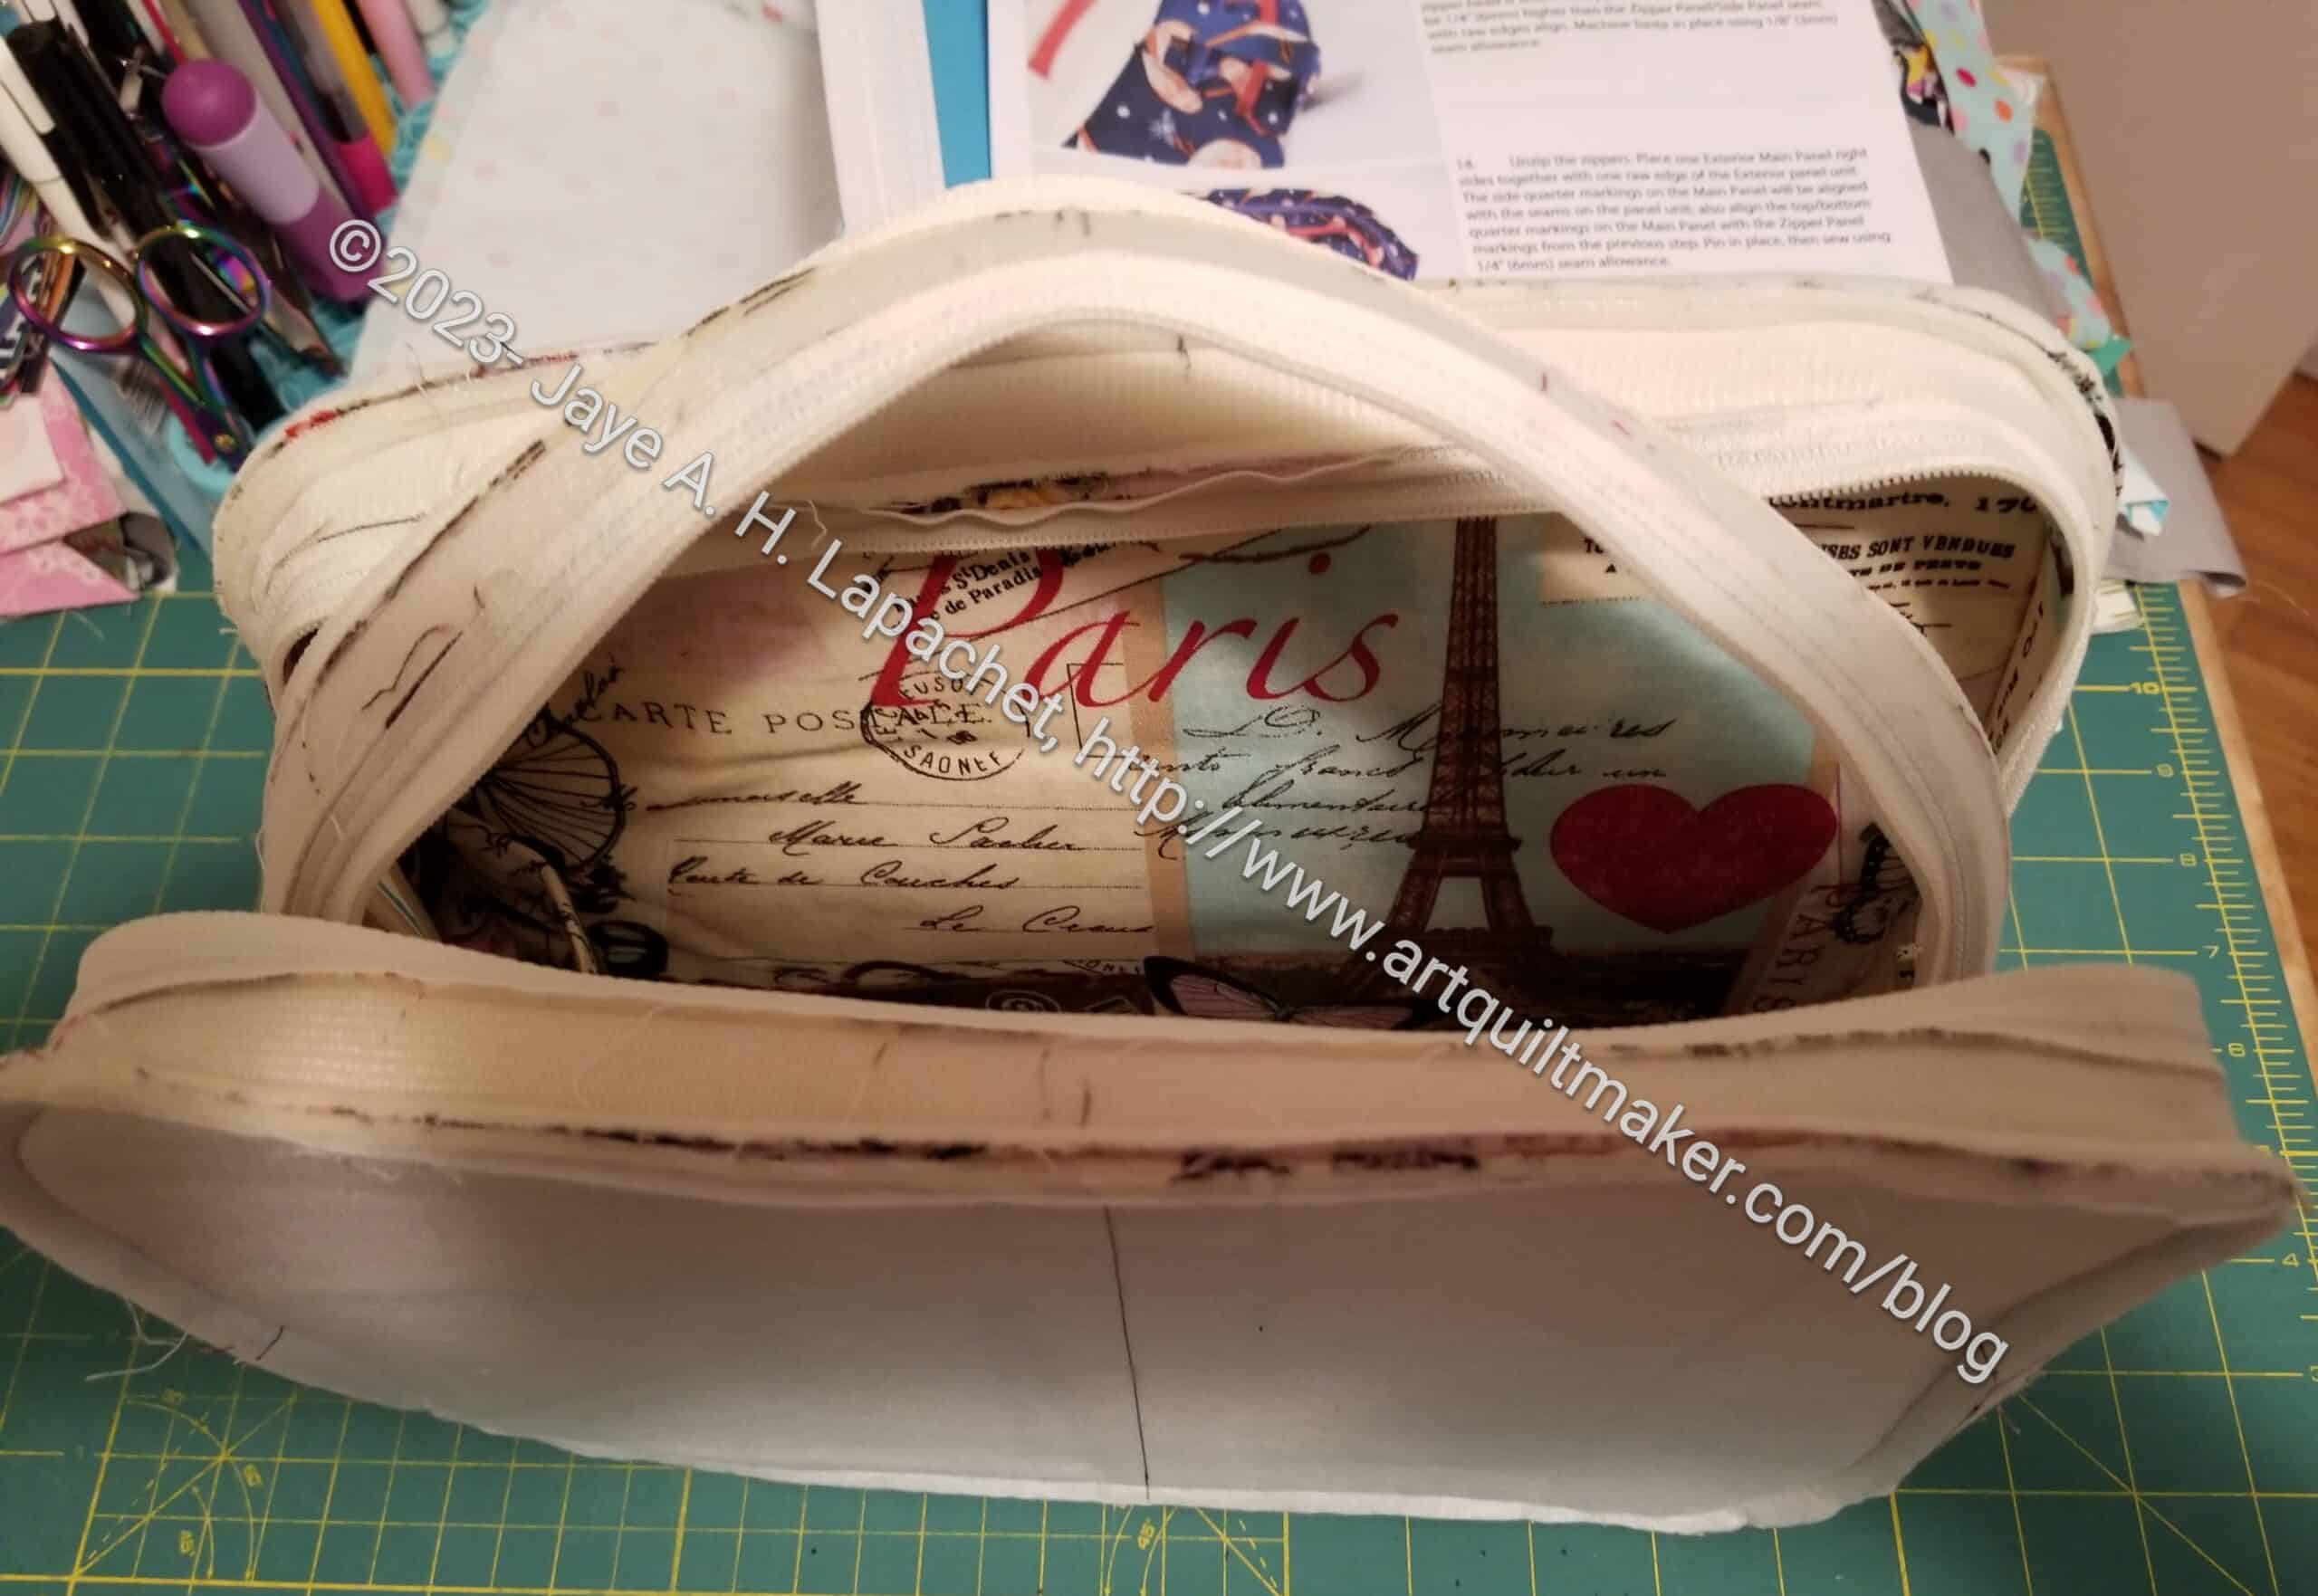
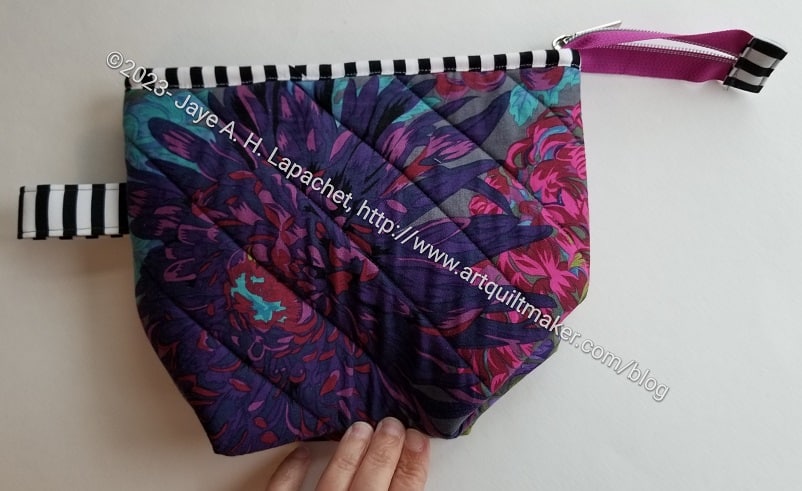
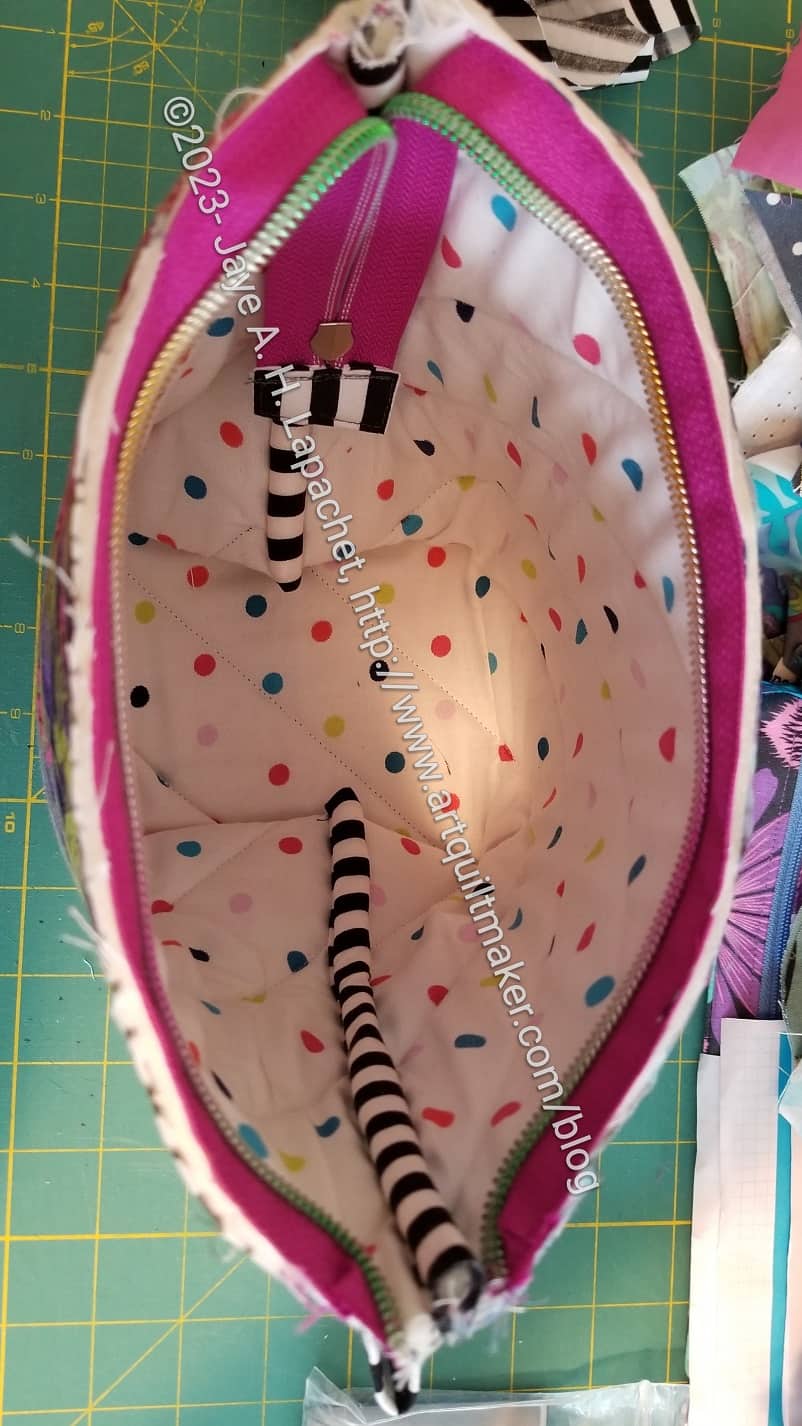
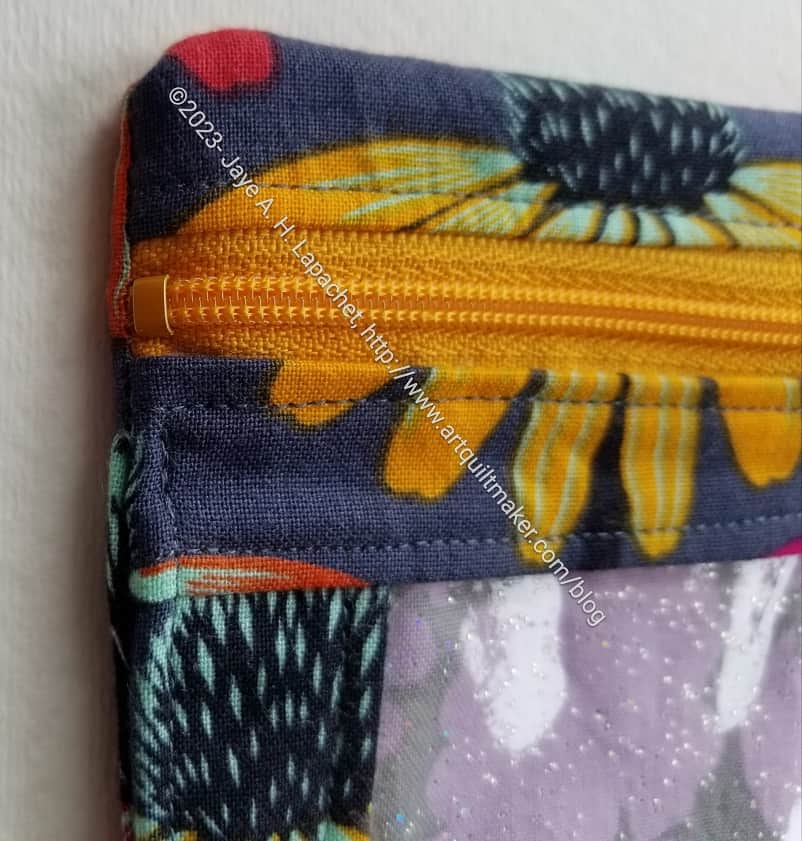
It is kind of amazing. It went together very quickly. I thought it would be complicated, but the parts of the zipper that create the double zippers went together really easily. The center piece looks strange, kind of like a handle.

Disco Double Zip in process

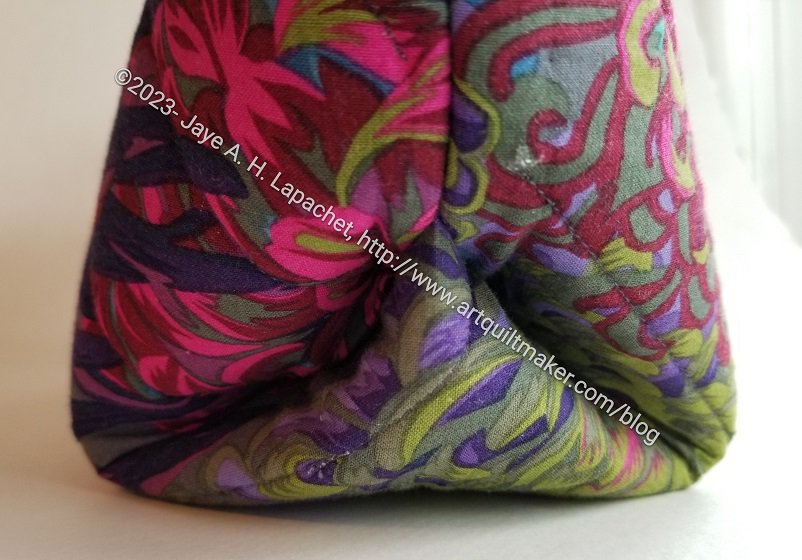
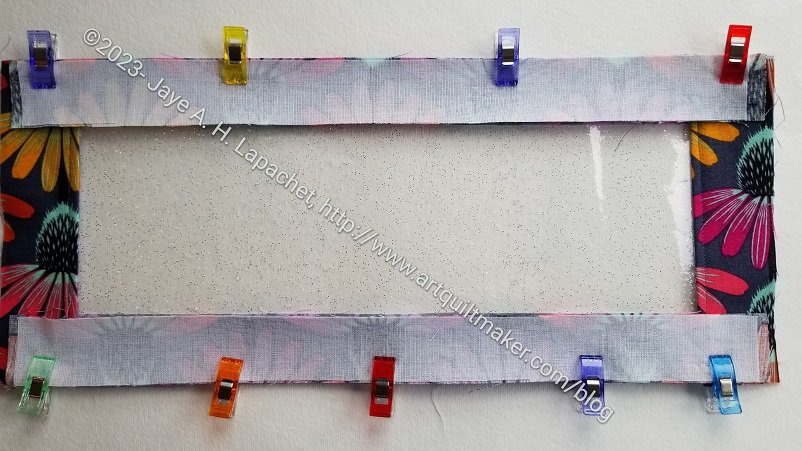
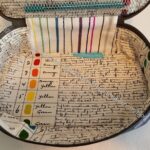
There were some similarities to the Hackney. Specifically, making the gusset was similar to the Hackney. I am learning that making a dozen (??) Hackneys really upped my skills. I am not sure why that one pattern helped me so much.
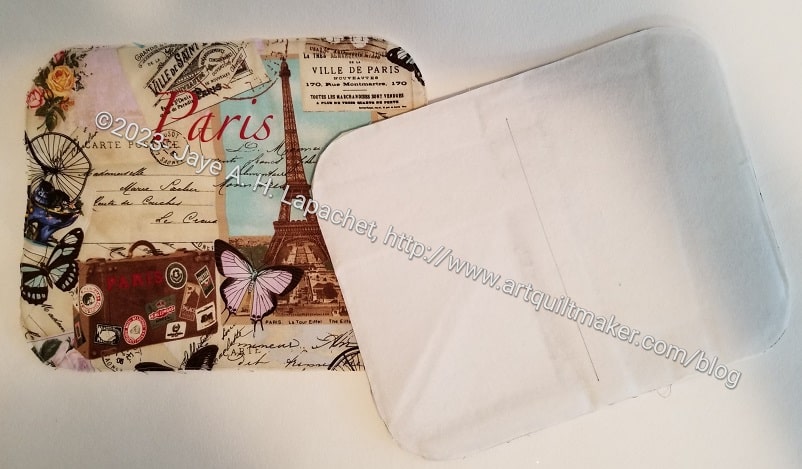
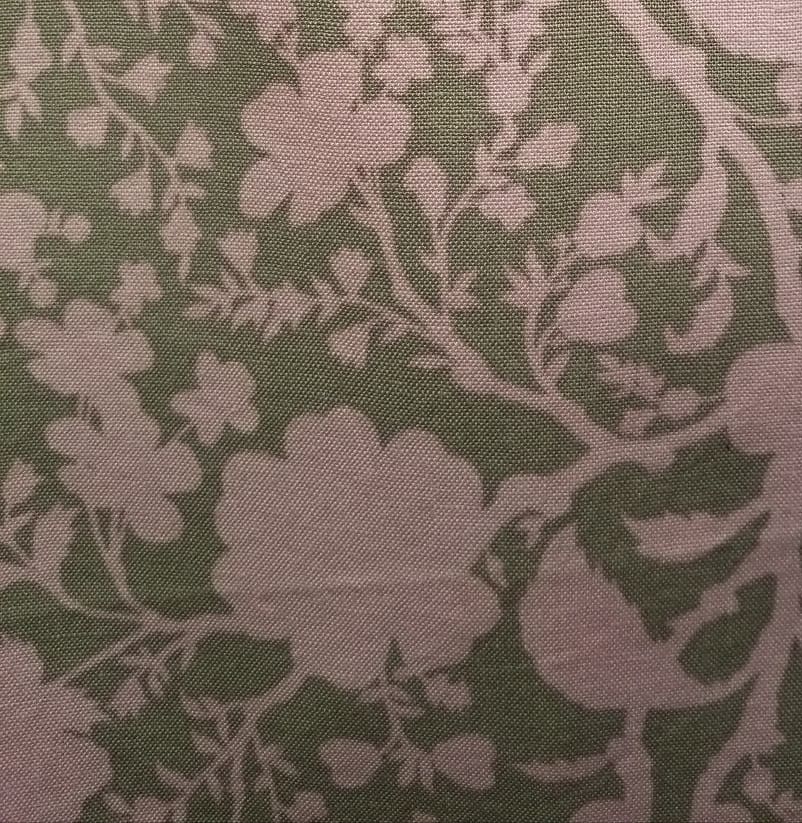
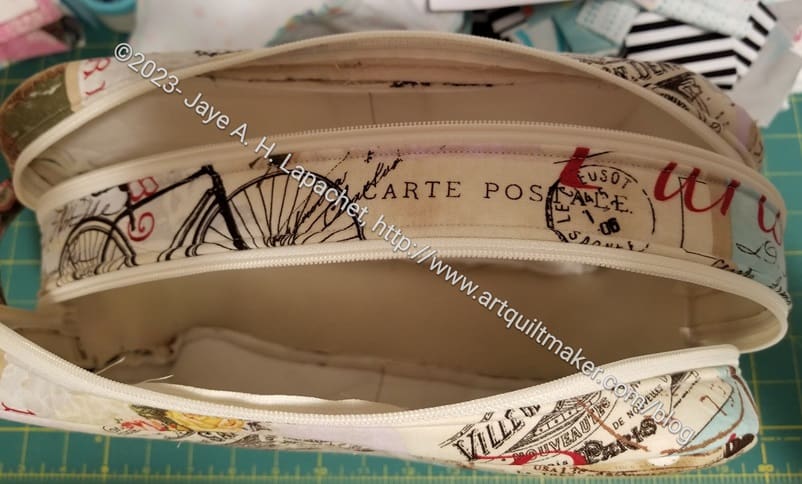
On to the lining!


Traveling with Bags

As I was packing for my second trip in October, it occurred to me that I should show you the pouches I use when I travel. all the pouches that I made ARE useful. However, of the bags I use for travel, I only made one of them. ;0

Pouches for travel
Pouches for travel

I use various pouches instead of one big bag as I can designate them for various purposes. This also means I don’t have to have a large bag in a, possibly, small bathroom.

The Wonder Woman pouch (top left) is one I use for tubes and bottles that don’t fit in my toilet kit. It was a birthday gift this year and made by Angela.

The pouch on the upper right is used for vitamins and various OTC medications. It was made by Gerre and has hand embroidery as well as a clever use of zippers. I keep for getting to ask her about the pattern.

The red and teal pouch is from Amanda and was another birthday gift. It is perfect for various cords and my headphones. Yes, I made an charger case a long time ago. I did a great job on that case, but it was too big. When I went to Switzerland and Austria in April, I needed the space in my suitcase.

The turquoise stitch boxy bag is from TFQ and is probably the first pouch I ever used.

The pink and turquoise dotted bad has the most useful stuff in it: moleskin, scissors, post-its, tape, a power strip and all sorts of random things that I needed when I was attending conferences.

The Triple Zip pouch is what I use for jewelry. It isn’t great for jewelry, but it is okay. Until I find something different, it will have to do.

The whole point of this post is to show you how you can use different pouches and bags in daily life – or travel life.

Starting Disco Double Zip

I spent some time over last weekend cutting out a Disco Double Zip Pouch. This is another pattern from Sara Lawson’s Minikins. In this case, it is from Season 2. Yes, you have to buy the whole set. The individual patterns are not sold separately.

I haven’t made this pattern before and I am not sure what inspired me. I made the recipient a Hackney pouch already, so that pattern was out. This one came to my attention and here I am! It is always good to try out a new pattern, though I do tend to get comfortable making several of the same pattern over and over.

So far, I am still at the prep stage. All the pieces are cut and most of the lining has ShapeFlex applied. I am sewing the exterior pieces to the foam at the moment, then I can start preparing the zippers.

Augmenting the Frankenfoam

One problem I had was with the Frankenfoam (see the glossary). Once I cut the pieces required, I felt the larger, exterior pieces weren’t stiff enough. I added some DecorBond** to the exterior pieces to make it a bit stiffer. Stay tuned to see how that works out.

Another thing about the Minikins is that I have only made one project from Season 2. Season 2 includes the DayTrip Cell Phone Wallet and was the whol reason I bought that group of patterns. I do REALLY want to make that project; I just haven’t yet. I have to admit that I am kind of scared to do so. People talk about the horrors of turning the project. That doesn’t mean I shouldn’t make it. I spent some time screenshotting various versions off IG to get inspired and might be ready to work on it. Perhaps I can cut it out and go from there.

The other idea I had from Season 2 is to enlarge the Sewing Stand. Sara has a tutorial for this. I keep looking at the image and thinking that it looks larger than the one I made. Then I realized I could enlarge the pattern. It wouldn’t impact cutting it out as most of the pattern pieces are squares and rectangles. I didn’t buy templates for it and I don’t even think they are available.

Obviously, Season 2 isn’t dead in the water. I just need to get inspired and I have a little bit.


**N. B. : Obviously, you should shop at local quilt shops and small businesses. However, if you are too busy or can’t find what you need there, I use Amazon affiliate links and may be paid for your purchase of an item when you click on an item’s link in my post. There is no additional cost to you for clicking or purchasing items I recommend. I appreciate your clicks and purchases as it helps support this blog.

Finished: Bristol Pouch

Finished: Bristol Pouch

I finished the Bristol Pouch. I am pleased with how it came out.

I am also pleased with the “fussy cutting”. I have to laugh, because I didn’t really fussy cut the big flower. It just happened: Happy accident!

Bottom and side
Bottom and side

I think I would construct it a little differently if I made it again. I think the foldy instructions for the bottom are cool, but I don’t like the way it looks on the outside. I also think this technique would be better without the foam. I might try this technique with fusible fleece. The finished piece just feels too thick in the corners. I am pretty sure this is personal preference.

Bristol pouch: top closed

From the top, the pouch looks good. It looks very sleek.

As you can see, I chose a striped binding. I love striped binding and I think the fabric combination looks good.

I am also pleased that my leftover zipper end worked in terms of color with this pouch. I struggled a little to get the zipper to work properly, but once I zipped it a few times, the teeth got themselves organized and there was no problem.

Bristol pouch: top open

I really wanted to make this quickly, so I didn’t spend a lot of time choosing fabrics. I used the quilted combination I had from Colleen, but I probably should have matched the binding on the inside to the lining fabric. Maybe next time.

I am not sure how I will use this pouch, but some need will turn up.

Bristol Pouch Impulse

I saw this video (Reel?) by Center Street Quilts on IG and was really intrigued by the construction. I was especially interested in the way the bottom is folded before it gets stitched. I decided to try and make one.

Bristol - first fold
Bristol – first fold

I thought I could make it without buying the pattern, but I ended up buying it. She has a second video, which gives more information. If I had seen it before I started, I might have tried harder.

I didn’t really follow the measurements and I used my pre-quilted fabric, so I didn’t use the accent piece either. I also added a holder, though not a leash.

The first thing is to cut a piece large enough. I made that mistake before I had the pattern. If I make this again, I will make the pouch wider. I don’t like how tall it is turning out in relation to the width.

Bristol Pouch in progress

I followed the pattern and eventually got a pouch looking thing.

I used a piece of a zipper that I had leftover from something else. Yes, the end hangs down. That is how it is in the pattern. I don’t know if I would do that again, but it does avoid dealing with a zipper along the top edge where there is also a bound [formerly] raw side seam.

I put the zipper head on wrong and eventually had to cut off the zipper tab and redo it. Will I learn to pay attention to details like that? I don’t know. I was inspired to use this piece of a zipper by the box of Sew Hungry Hippie zippers in cool colors that I ordered.

It took me awhile to get this far. I could probably do it faster next time.

Finished: Enlarged I Spy

Blazing Star I Spy
Blazing Star I Spy

I finally finished the Enlarged I Spy (AKA Blazing Star I Spy). It is too big for the Blazing Star templates, but I can always use it for a different set of templates or for something else. It won’t go to waste.

Blazing Star I Spy - back
Blazing Star I Spy – back

I am pleased with how I matched the coneflowers on the top around the zipper. The process, in general, however, wasn’t as smooth as I would have guessed. I suppose I was distracted a bit. From what, I don’t know.

Blazing Star I Spy -zipper end detail

One thing I am determined to remember to do is to cut off the ends of the zippers and use zipper tabs. I really don’t know how I missed that bit of metal with my sewing machine needle. Sheer good luck.

You can also see, in this picture, that I used glitter vinyl. I love it!

Enlarged I Spy

I am finally attempting to enlarge an I Spy pouch. I decided that last week, one evening after work, was the day to do it.

Blazing Star I Spy in process

Sara’s directions work well regardless of the size. Sizes are always the challenge. I used the widths, but extended the lengths to accommodate the Blazing Star bag acrylic templates.

True Colors Wildflower

I learned a lot. One thing is to cut the back and lining back after you have put the front together. Normally, having everything cut and fused is a good thing, but in this case, I made so many cutting mistakes that I ran out of lining fabric.

On my next enlarged I Spy, I will put the sides and the vinyl together, then cut the top and bottom, install the zipper, then cut the back and lining back. I don’t know enough about enlarging bags to do anything different.

Accordion Pouches

Accordion Pouch
Accordion Pouch

Carrie, one of my students, has been sewing up a storm of bags. She is on the Door Prize team and has just blossomed into an amazing and very creative bag maker. She has also been finding random patterns that interest her for free on the web.

Accordion pouch closed

She made a few of these Accordion pouches and they came out really well. She said they were easy to make, but hard to make perfectly.

I think it looks like a very cute pouch. I can see using something like this in my handbag. I seem to have a lot of random items rolling around in it, which could be corralled in this little pouch.


Accordion pouch open

It could certainly be used for sewing as well. I can see putting smaller items in it for travel to retreats or Sew Day, then putting it into the Kit Supply Tote. I might have to make one of these just to try it out, not that I don’t have 500 other projects on which to work.

New Enigma

New Enigma - cut out
New Enigma – cut out

Well, I couldn’t just make one. I cut out a second Enigma on Saturday. It’s a second one with fabrics I like even though I don’t know what I will do with either.

Part of the reason is that I kept looking at that pink snowflake/spiderweb fabric all week and knew it would be a perfect lining.

I also chose the Tula Pink Kabloom fabric, because I love those flowers. I forgot that Sara also used that fabric for one of her Enigma bags. I feel a bit like a copycat, but I didn’t choose it consciously because she did.

This time I am going to remember to put in a label. I hope to find the perfect spot.

One More I Spy

I told you: potato chips.

Tea Cup I Spy pouch
Tea Cup I Spy pouch

I cut out and made another one of these pouches on Saturday. The acrylic templates for the Enigma bag were laying around and it seemed like the right thing to do. Also, I got a finish after almost no finishes during May.

The Enigma templates almost don’t fit in this large sized I Spy. Soon, I’ll have to pluck up the courage to try making one of these slightly larger. Saturday was not the day as this was a quick win.

The teacups look a little weird, because I used vinyl with stars on it (also from Sew Hungry Hippie). I think I prefer the glitter vinyl, but the stars are fun, too. I have a small roll of it, which is what I grabbed and cut before I realized what I was doing.

I am sticking with the Coneflowers theme. I can’t seem to get away from it.

Cork I Spy #3

Cork I Spy - medium #1
Cork I Spy – medium #1

Here is the last Cork I Spy pouch I made at Retreat. The lining fabric is one of my favorites and I just had a bit of it left. I had just enough for the large lining piece.

In general for the three pouches, I found the cork to be easy to sew, but not easy to turn. If (when?) I use cork again on an I Spy pouch, I will definitely round the corners. I think it will make the project much easier to turn.

All that being said, I thought the corners looked fine when I finally did get the pouch turned. I gave these to some work colleagues and they loved them.

Happy Mother’s Day 2-in-1 Case

Mom's 2-in-1-Case
Mom’s 2-in-1-Case

This 2-in-1 Case is for my Mom for Mother’s Day. I cut this out at Sew Day, I think, and made it at the Retreat.

I forgot to put the foam inside. I did adhere fusible batting, so it has some structure, but it floopier than the others I have made.

I really had trouble with the snaps. I used the Snapsetter and found out that it has to be on a hard surface. The folding table that made my Retreat workstation was not stable enough so I had to redo the top cap twice. I think the bottom part may come off if she isn’t careful, so I’ll have to warn her.

Mom's 2-in-1-Case - inside
Mom’s 2-in-1-Case – inside

I think she could probably use this for non-sewing stuff in a tote bag or in her purse. I am sure she will think of some way to use it.

I got her a bigger and better gift also, which makes me not so worried about the snap.

Cork I Spy #1

I bought some cork from Sew Hungry Hippie to make the YM a pouch. A lot of cork arrived, though I didn’t think I bought that much.

Cork I Spy - large #1
Cork I Spy – large #1

I had to make some gifts so I decided to use the cork. I cut the lining before I left on Retreat, but did everything else at the Retreat. I could have made more complicated pouches, but I needed to get these done. This one has a super cheerful lining.

The YM still has no pouch.

All of the Hackneys

This is another roundup post, because I wanted to see all the Hackneys I have made together.

I really like this pouch, as I have said. Those for whom I have made one seem to like it as well.