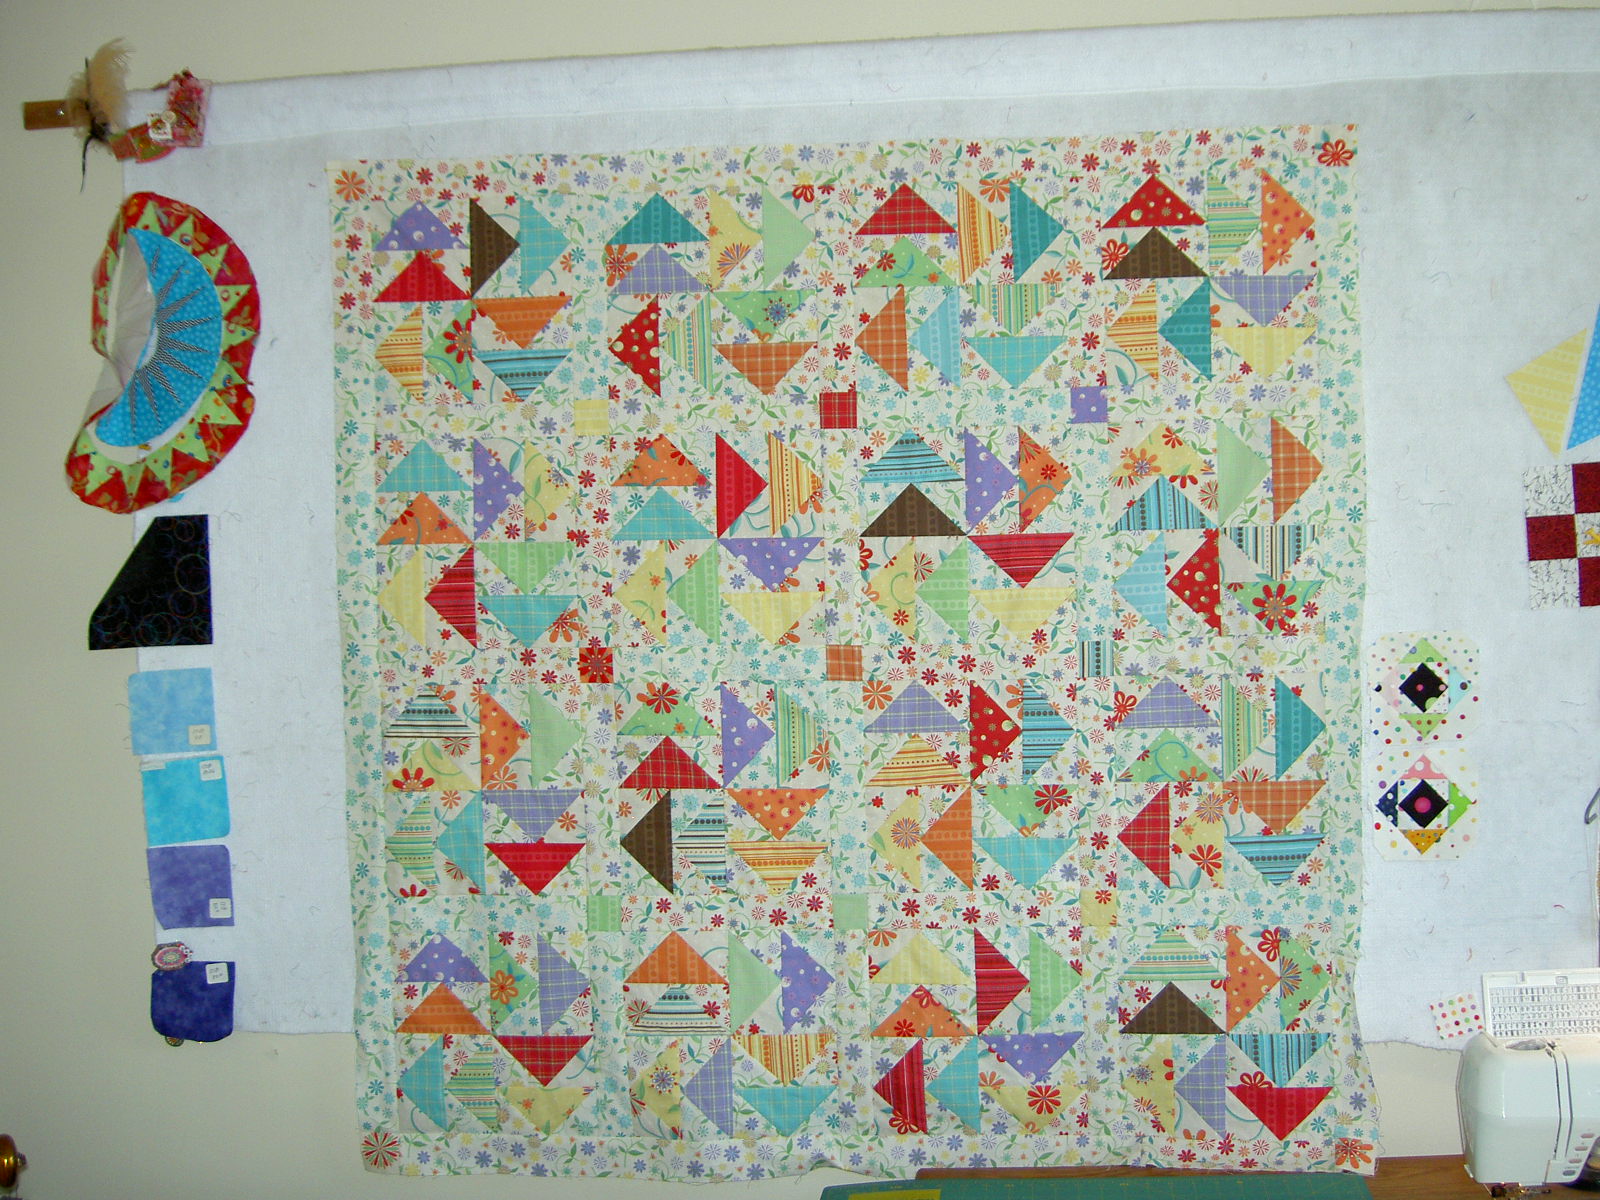
I spent Sunday, and a few minutes on Saturday night, finishing up the FOTY blocks so I can take them to the CQFA Retreat. When I return from sewing bliss, I hope to have the quilt top ready to show you.

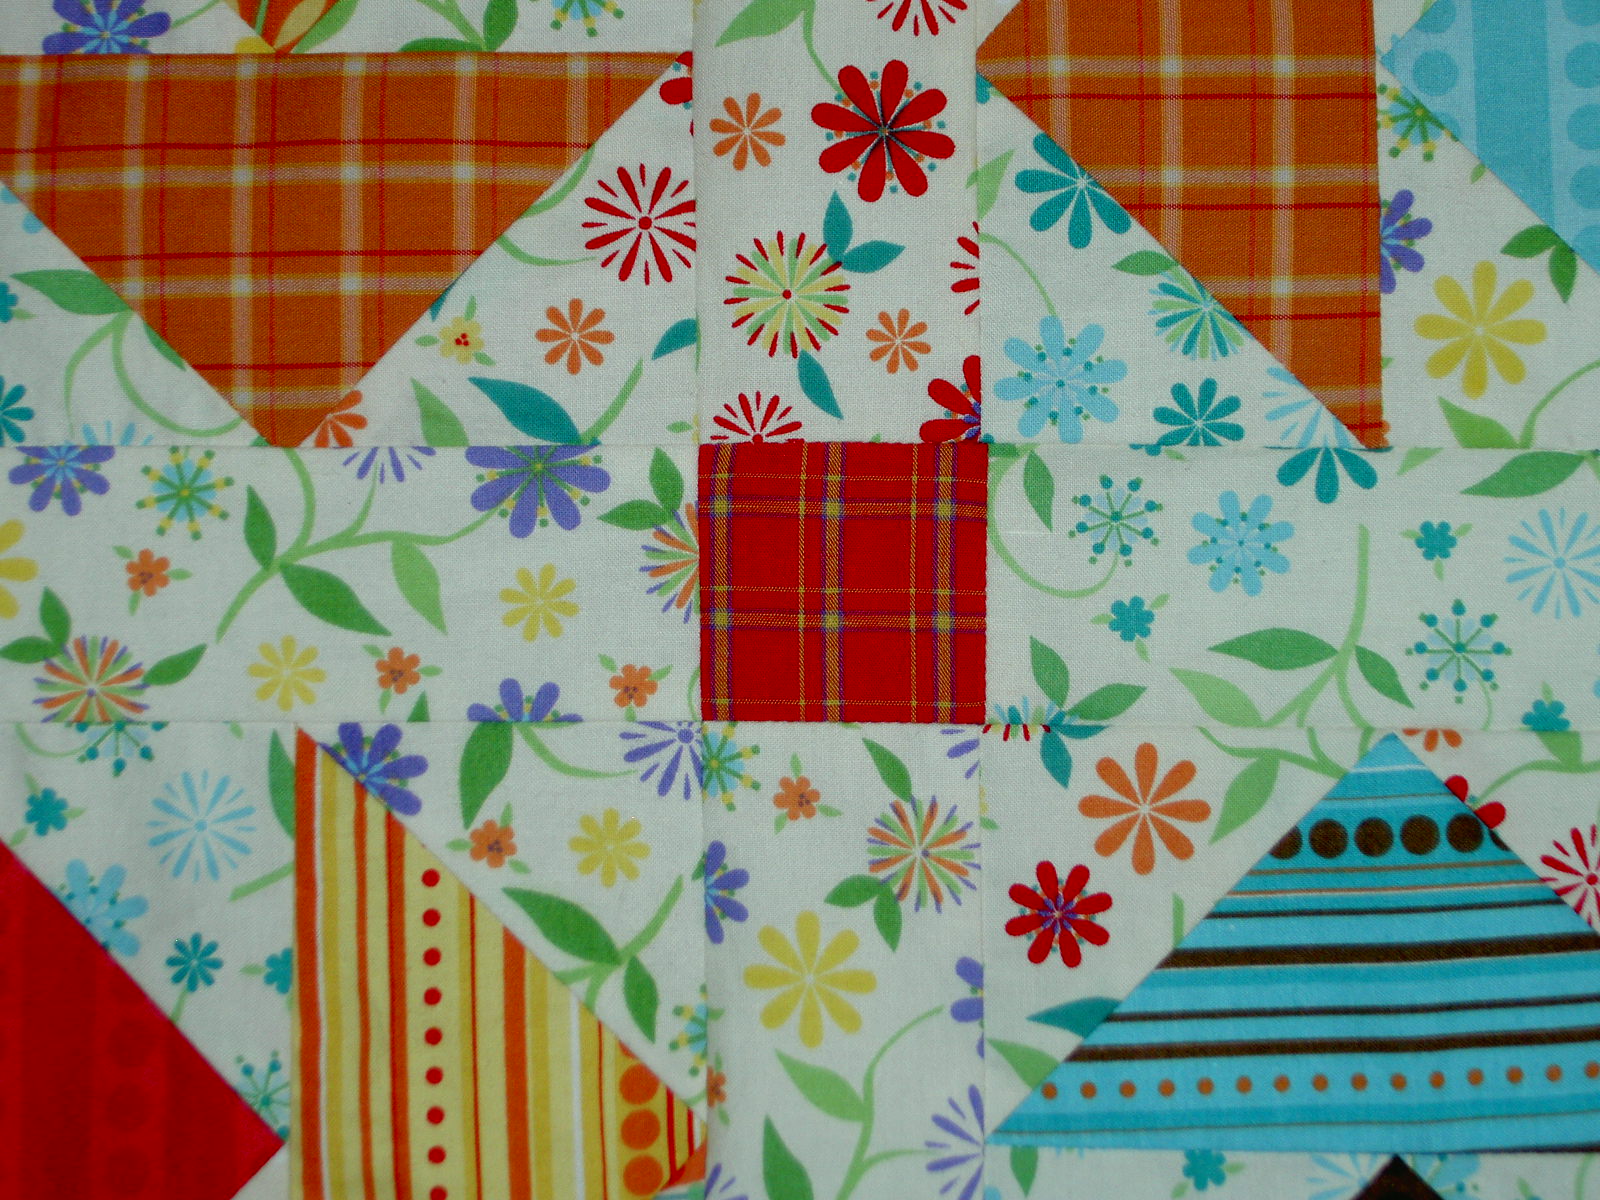
I really like the warm colors in this group. Some of the darker colors, especially the greens were given to me by my sis for my 2009 birthday.

Getting down to the bottom of the pile made matching up fabrics difficult. I tend to pull out the ones I really like and press and use those first. Some (not all!) of these were my lesser favorites.
In a way the FOTY exercise helps me train my eye and mind to choose fabrics I really love and want to use right away. At the same time, it trains my eye to avoid fabrics that are not my colors. Yes, I did find fabrics that I bought that made me wonder why I bought them. Before I buy, I think I will have to not just look at the fabric next to lovely coordinating bolts. I think I need to take the potential bolt off the shelf and unroll it a little to see more of the fabric. That will make me shop slower, which can’t be a bad thing.
I pressed, cut and sewed the last fabrics on Saturday. Sunday I counted all of the blocks and consulted with DH about the layout. Not the layout in terms of color, but the layout in terms of numbers of blocks across and down. He told me I had to have an even square root number (or something). I ended up needing 14.83 blocks across the top and down the side. I don’t know what a .83 block looks like, but I knew it wasn’t going to fit evenly into my quilt.
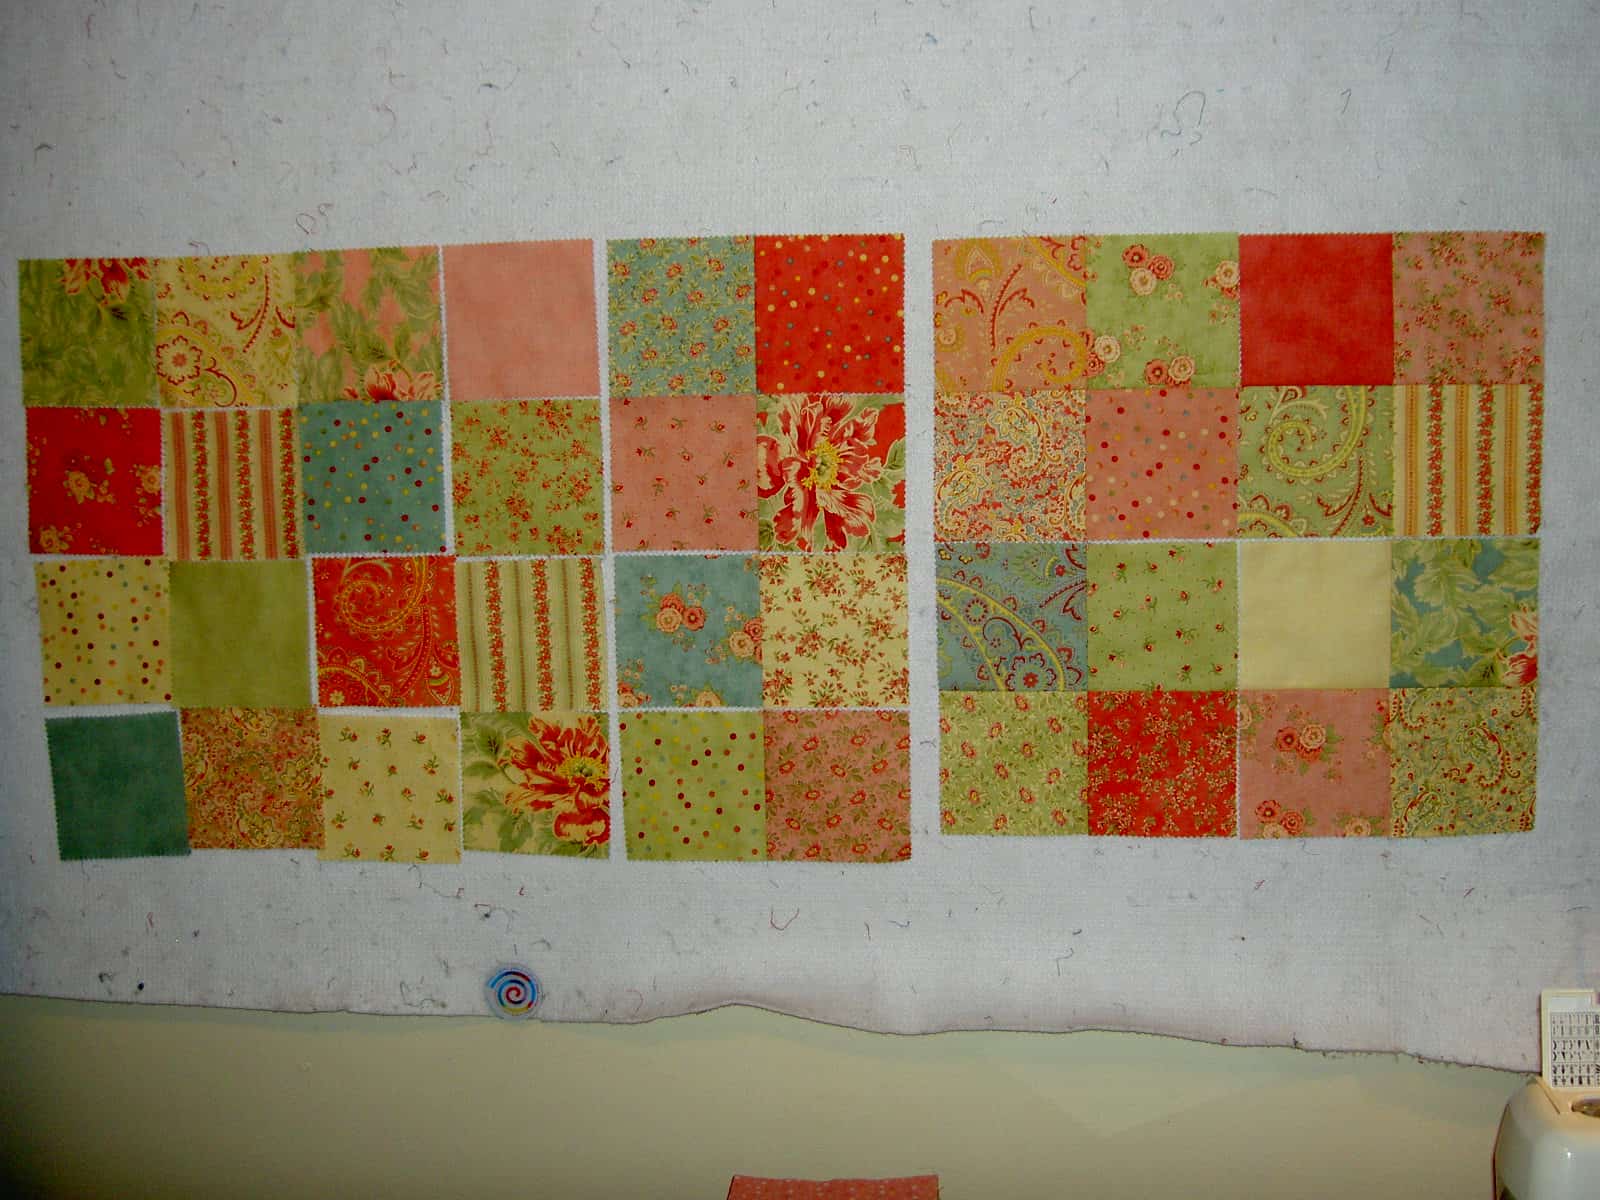
I immediately grabbed the fabrics I received for Christmas and shoved them in the washer. Then I went to work on a pencil roll, which you can read about later in the week. When the fabrics were done, I had figured out that I needed to make 7 more blocks to come out with an even 225 (15 across by 15 down). I pick out some pairs of fabrics and sewed them together. Now I am ready to arrange the quilt and sew it together.

I do have one extra, which I will stick on the back.
Some of the fabrics I bought at the very end of 2009 will end up in the 2010 quilt. As the Quilt Mavs say “my quilt, my rules.”
Unrelated notes:
* I have no Internet at home at this time, so if I am a little slow responding to comments, I apologize! It makes it a challenge to get blog posts up as well!
* Remember to leave a comment in the One World One Heart post for a chance to win!


 I have to have a way to hang many sizes of quilts, and I change them out often. This system is hardly noticeable since the eye usually sees the quilt first.