I made some good and positive progress on the Pearce Sling. Cyndi and I got together for a Sew Day at her house. It was really nice to hang out with her and I was able to focus and get quite a bit done on this piece.
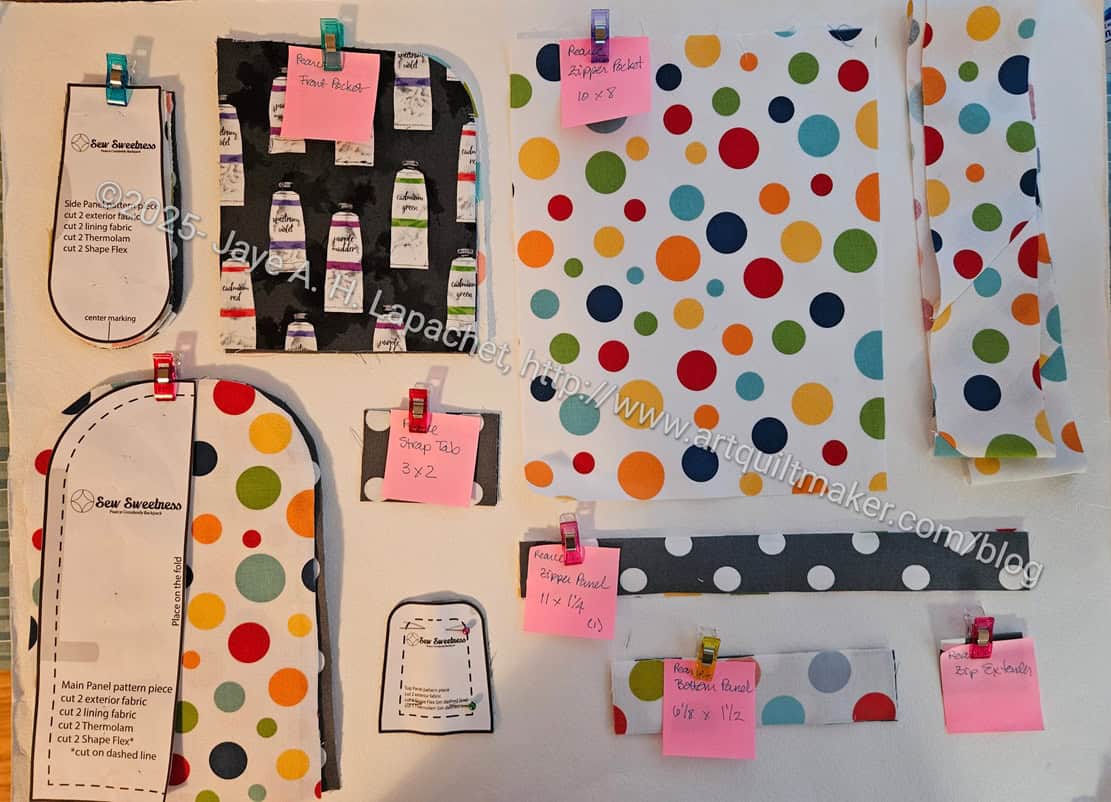
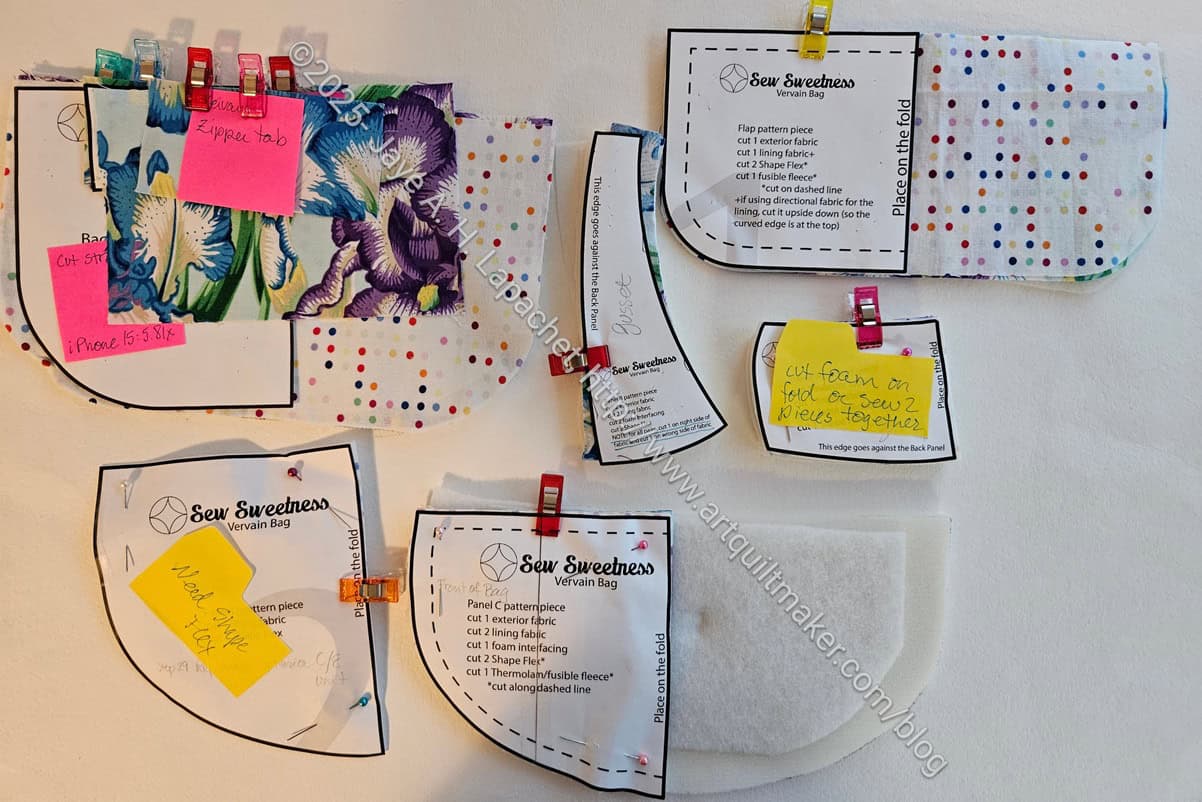
Cutting it out the other day didn’t exhaust me. The pattern doesn’t have a ton of pieces, which is nice.
It takes quite a few steps to get to this point, but I didn’t feel annoyed about it. I felt like I was making good progress. Part of it was probably that I had someone with whom to consult and chat to.
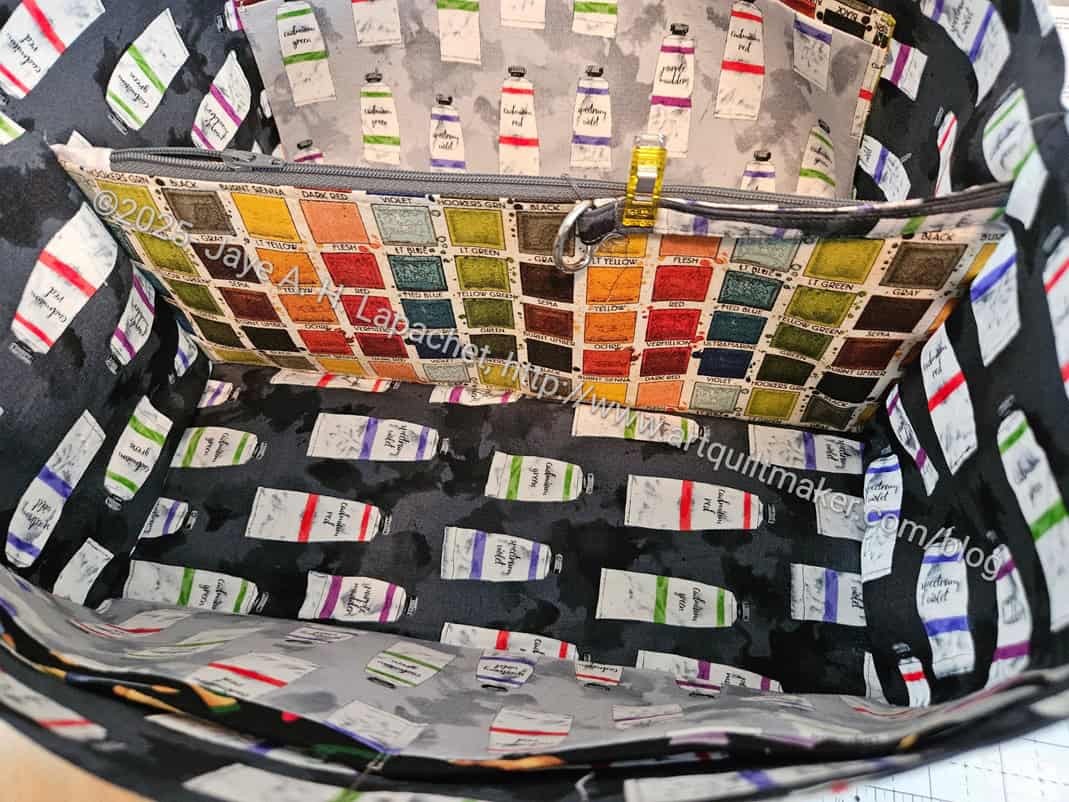
I could have made more progress, but I decided to put a credit card pocket in the lining and I didn’t have a pattern piece with me. I switched to working on the Sleeping Bag Pouch, which was fun, too.
When I got home I pulled the credit card pattern piece out of the Sweetbay Crossbody project file and used it. It is a more vertical credit card pocket, so I might need to add another one, so Mom has enough for all of her cards. I was expecting the pocket to be horizontal. I am not as familiar with making these types of pockets, so I got what I got.
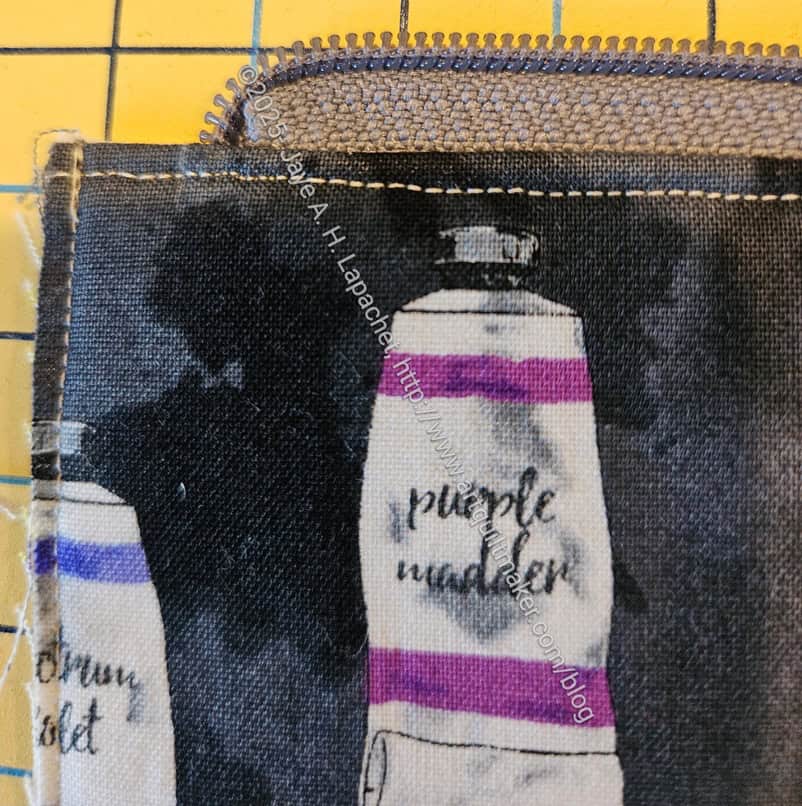
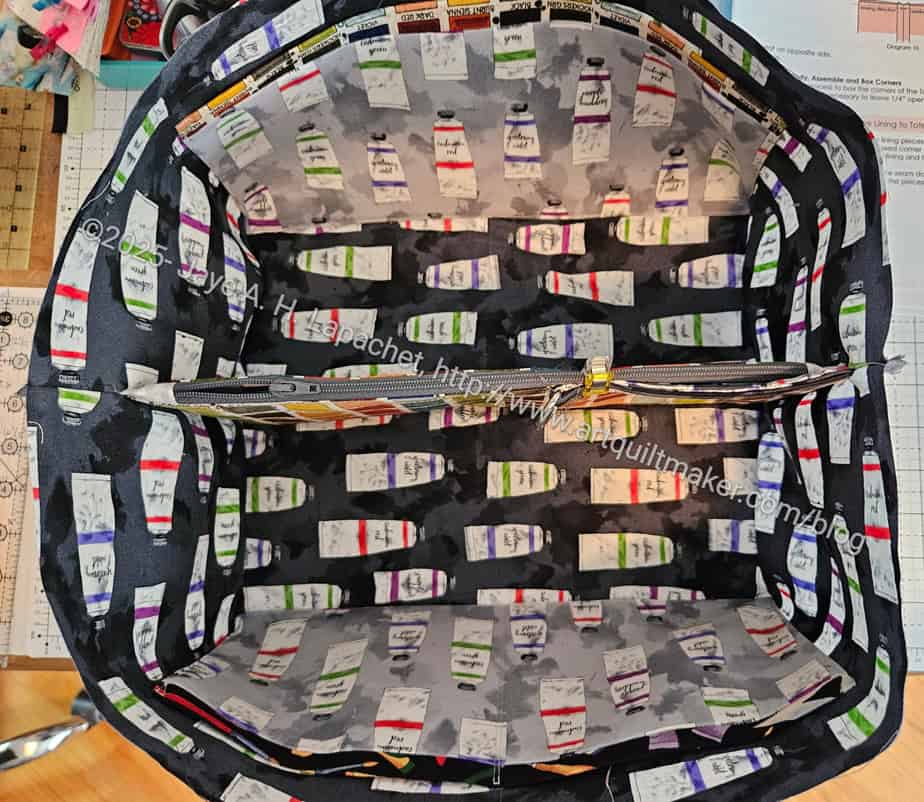
I will say that I LOVE the zipper end technique that Sara showed in Bag Lab at the beginning of the month. I know it is ridiculous, but I am so excited about how my zipper end looks.
I am also excited about nailing down that skill. I had a little trouble with it on the Dogwood pouches I made, but after watching the Bag Lab tutorial, I understood the concept much better and was able to do it relatively easily. One key was to use thin pins to hold everything in place until you sew. I am not a big fan of thin pins, but they are key in this technique.
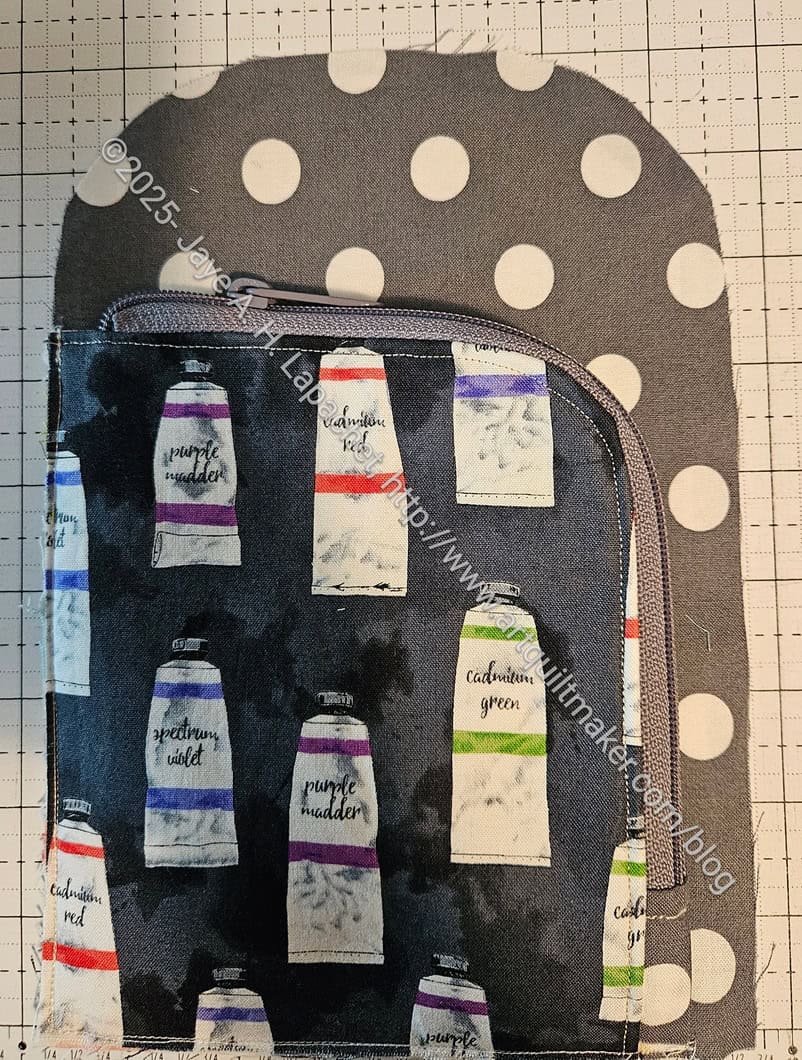
After doing all these steps, my Sling is well on its way.