Stepping Stones n.2 is Back

Stepping Stones n.2 - May 2018
Stepping Stones n.2 – May 2018

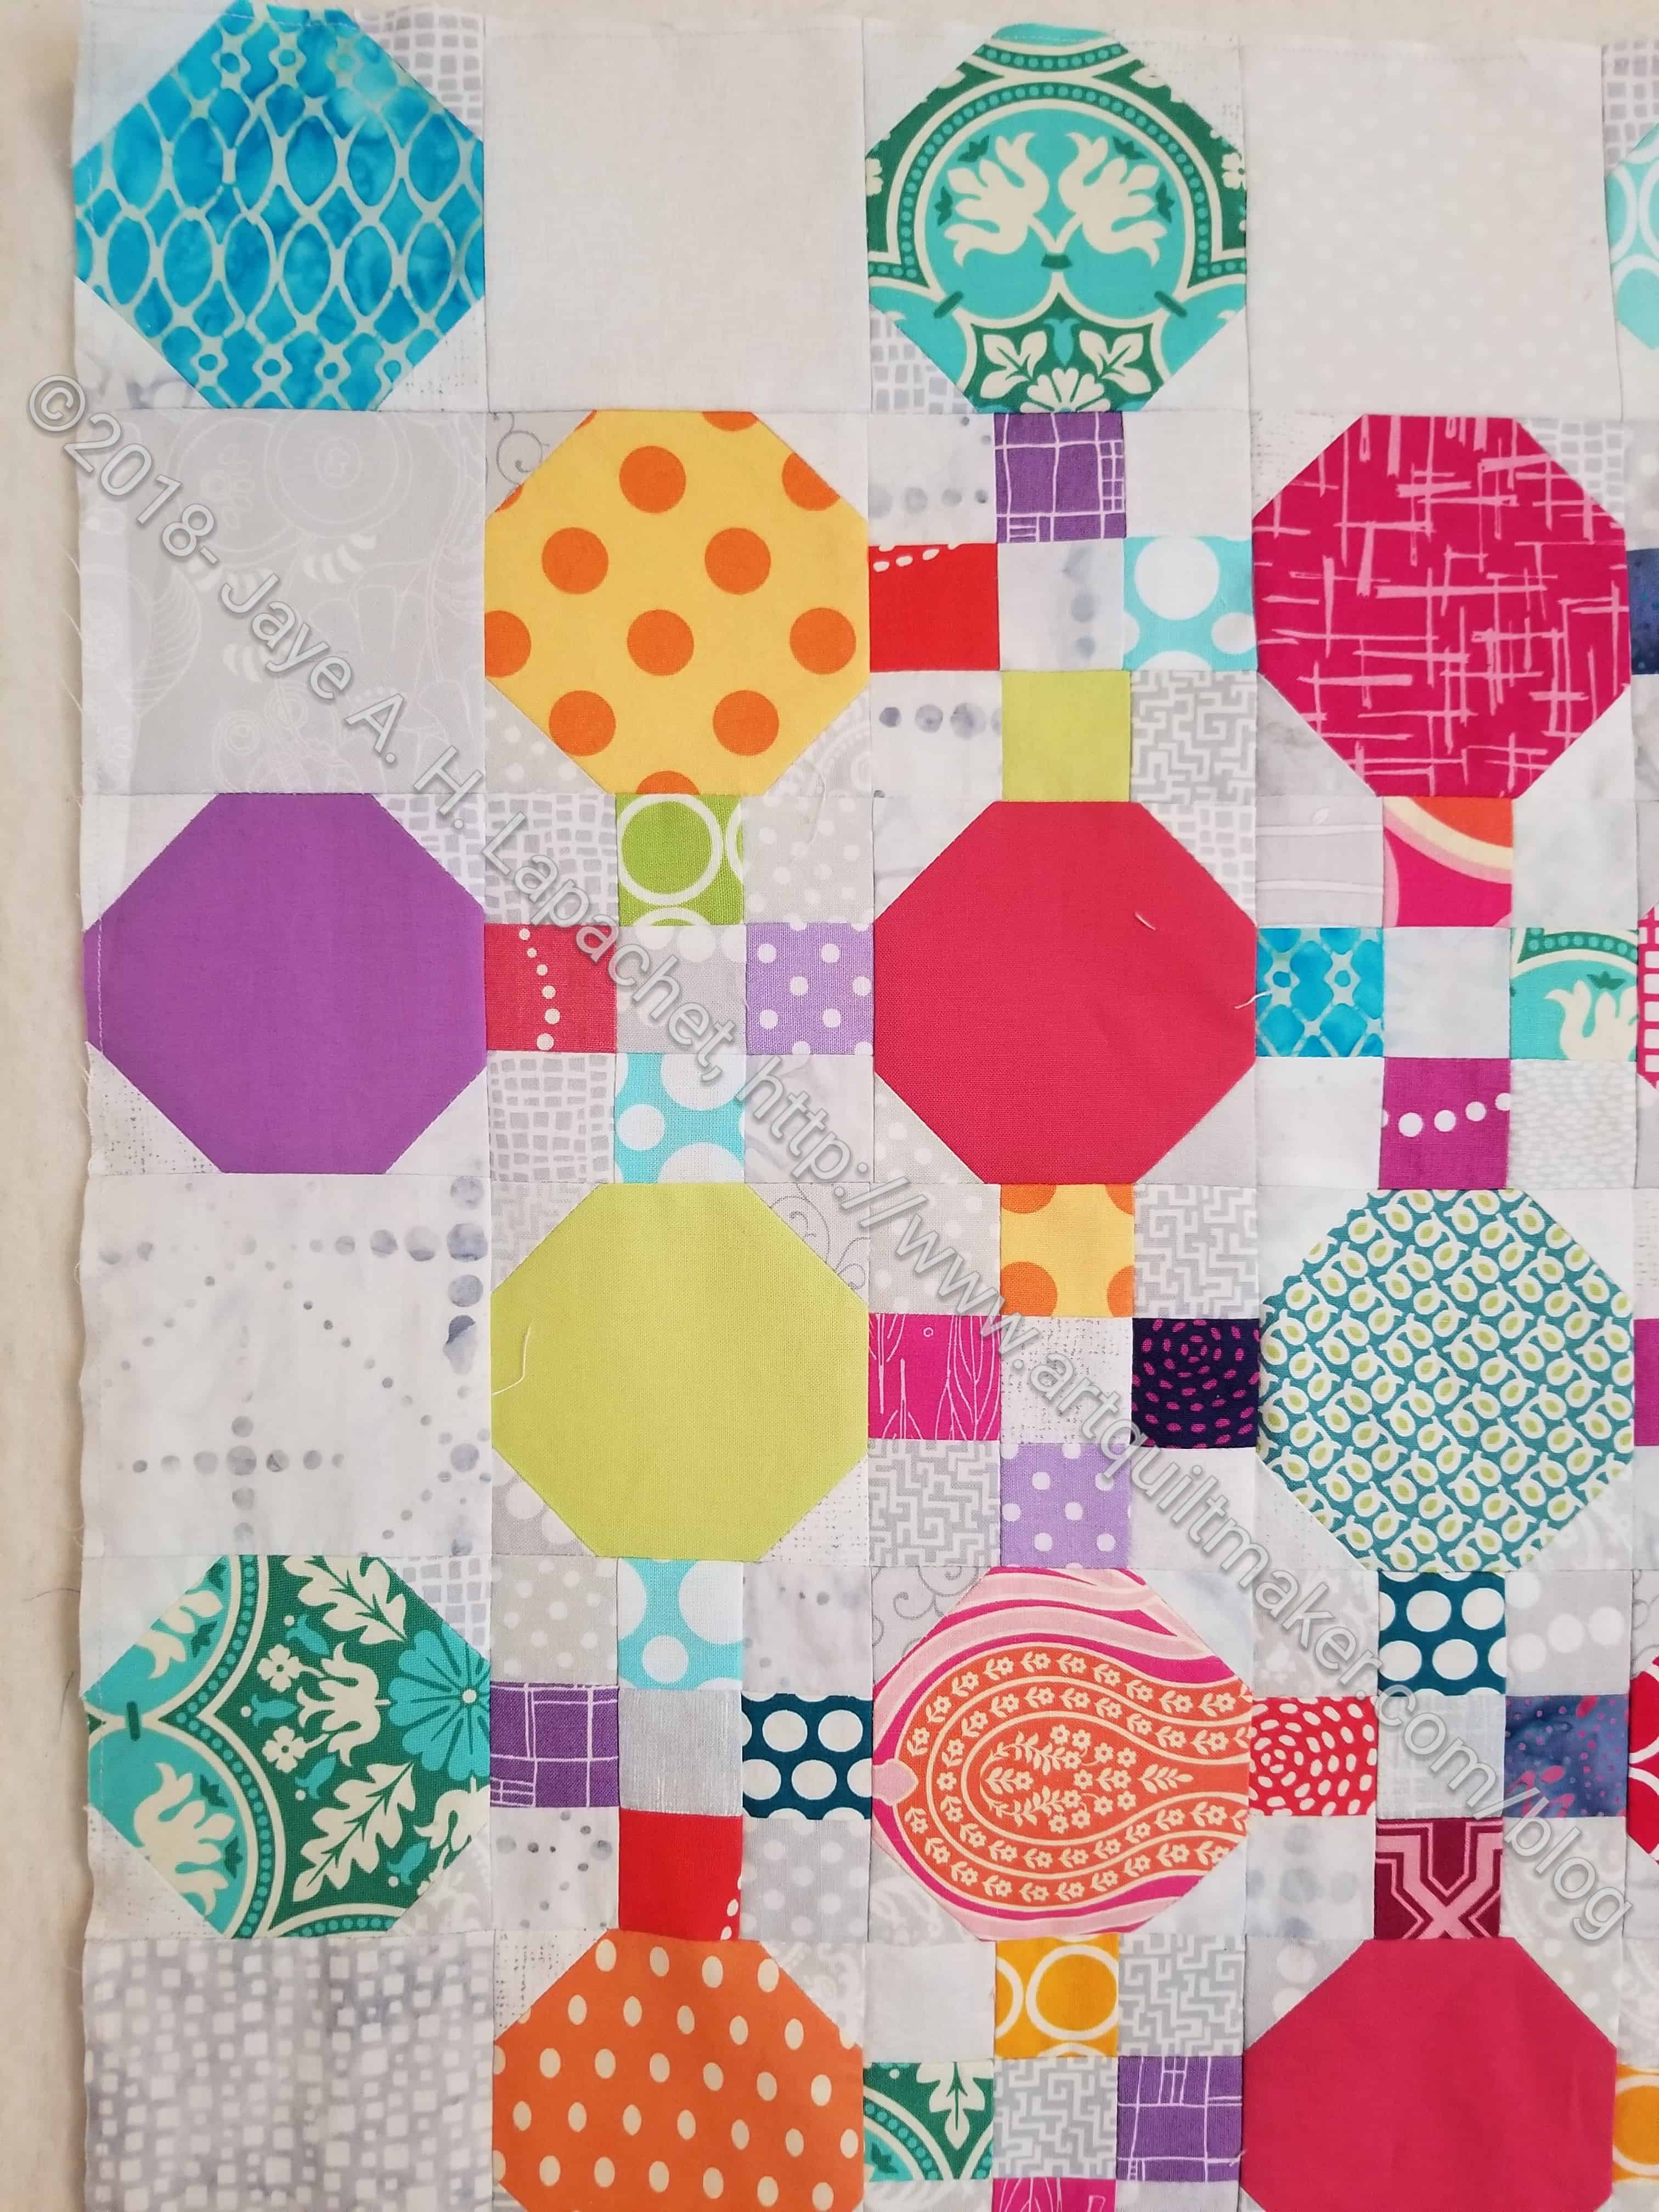
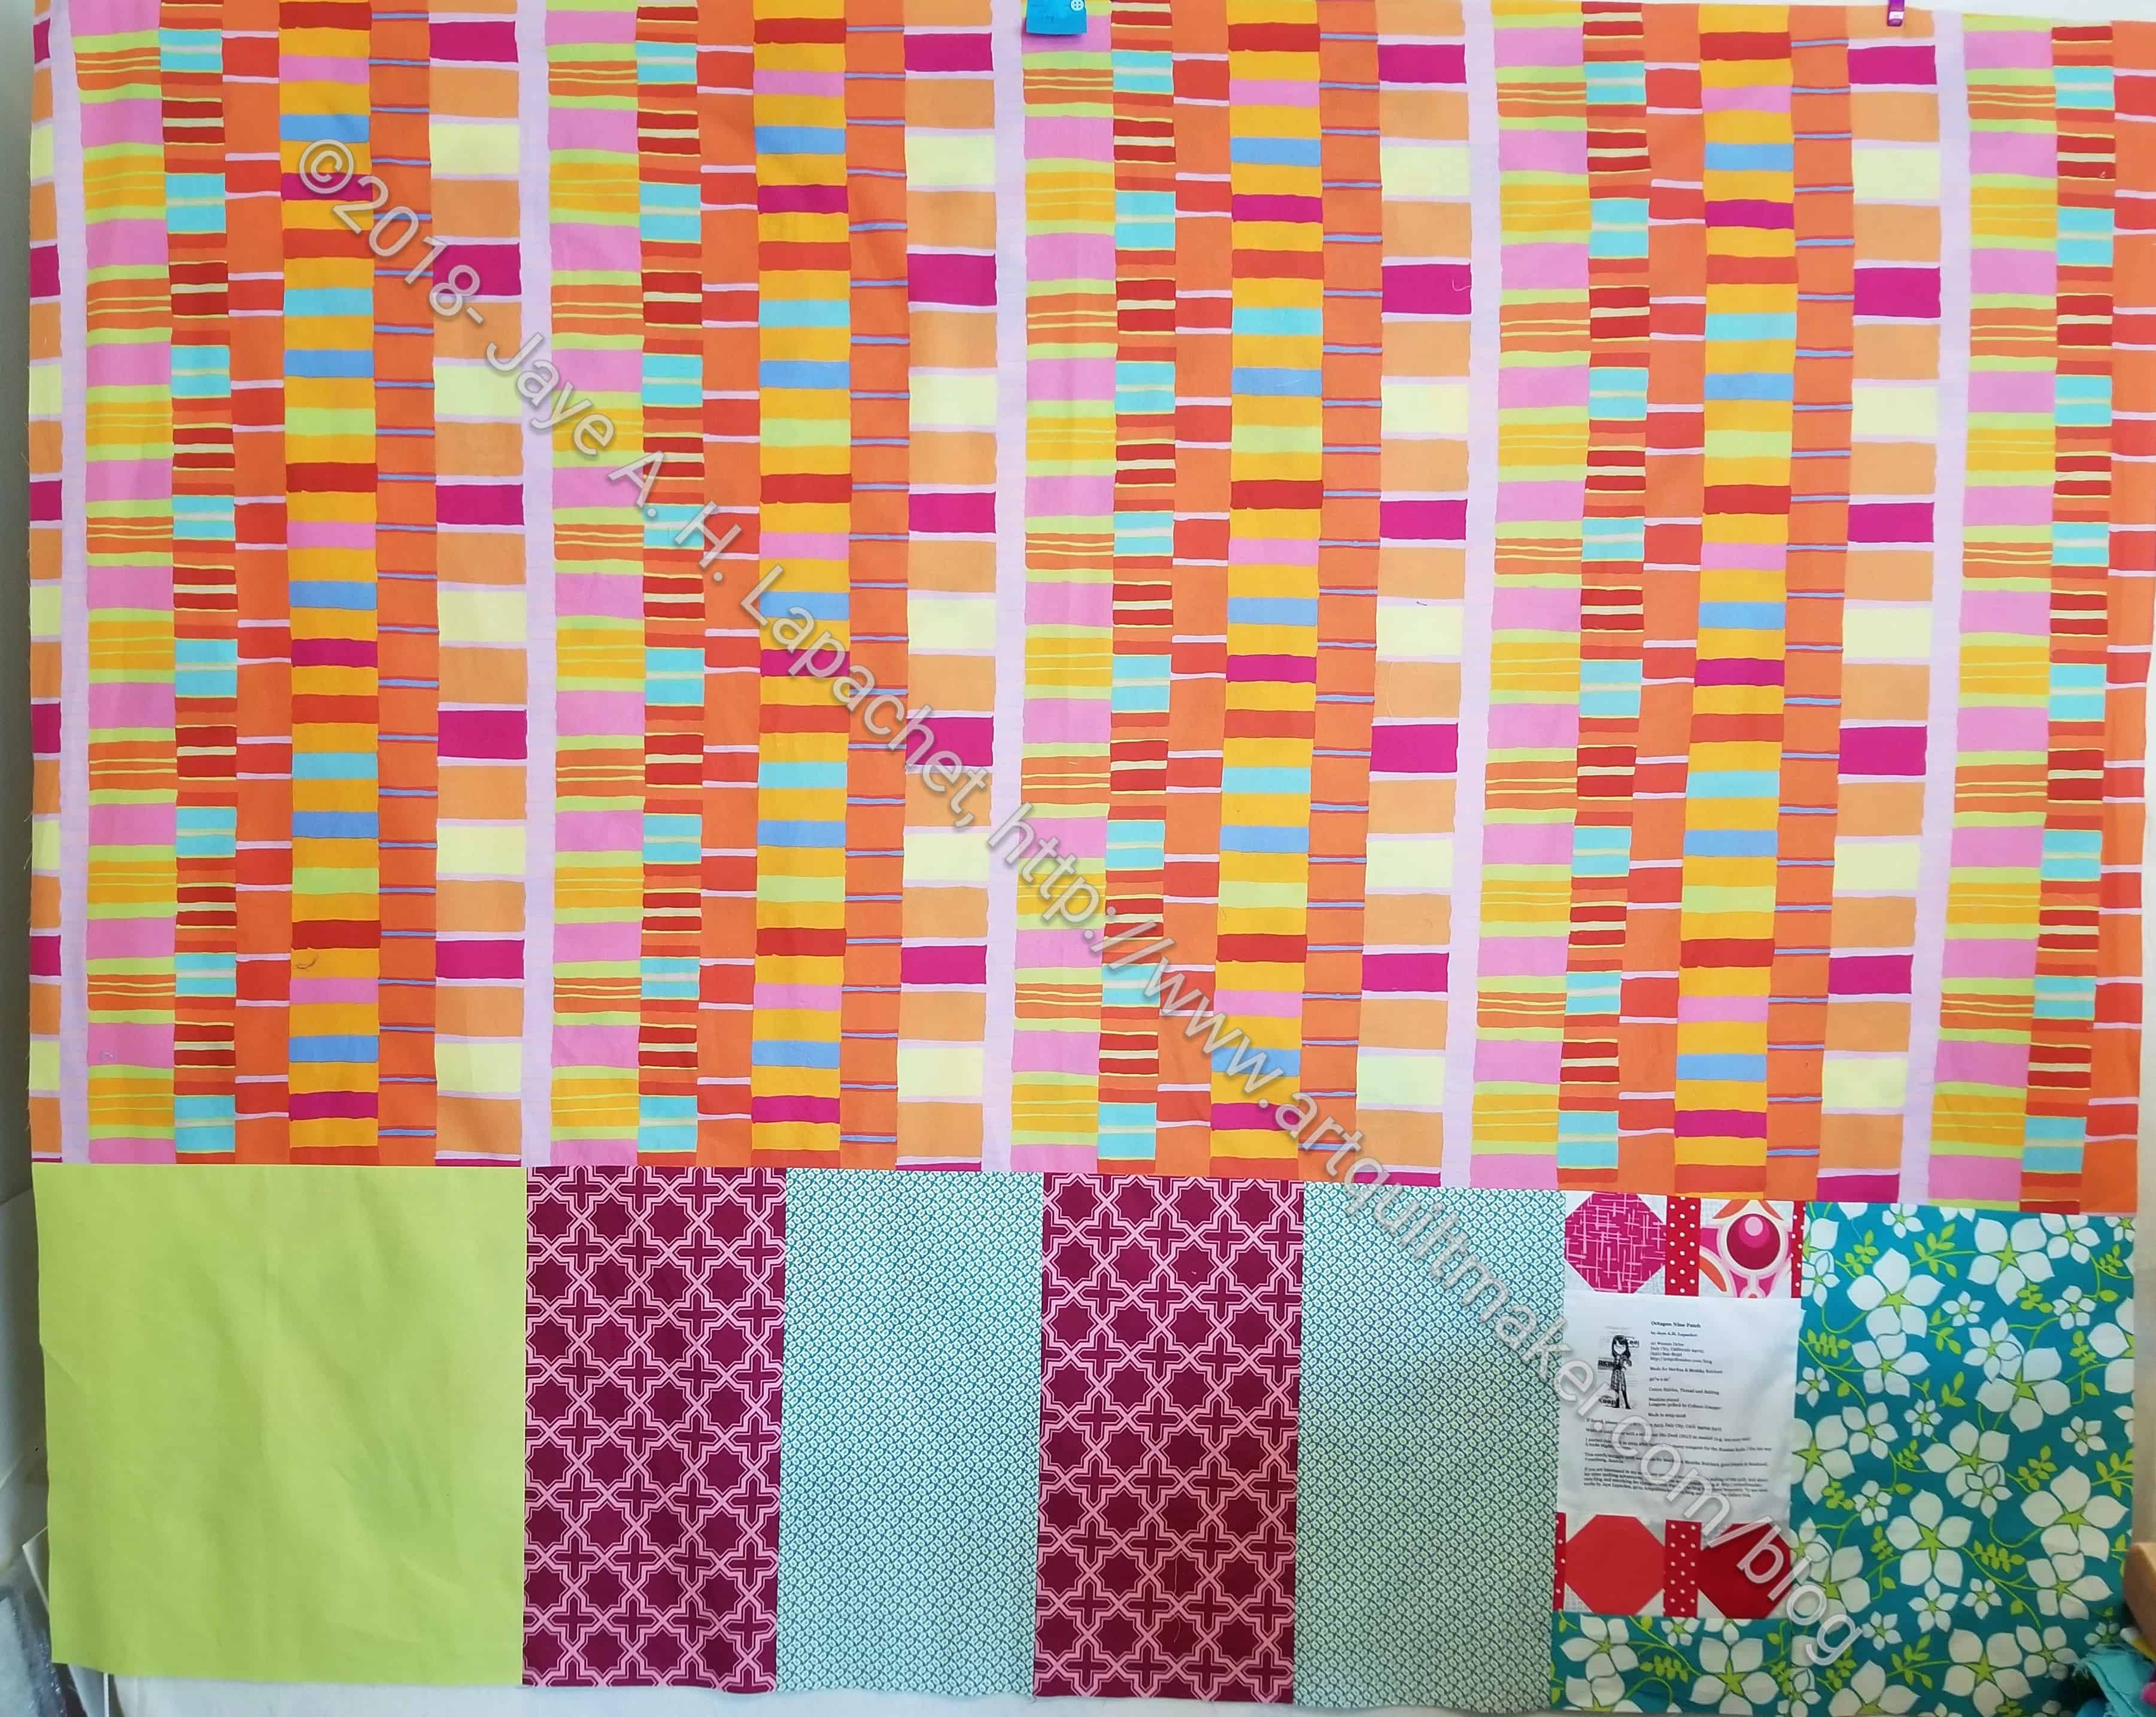
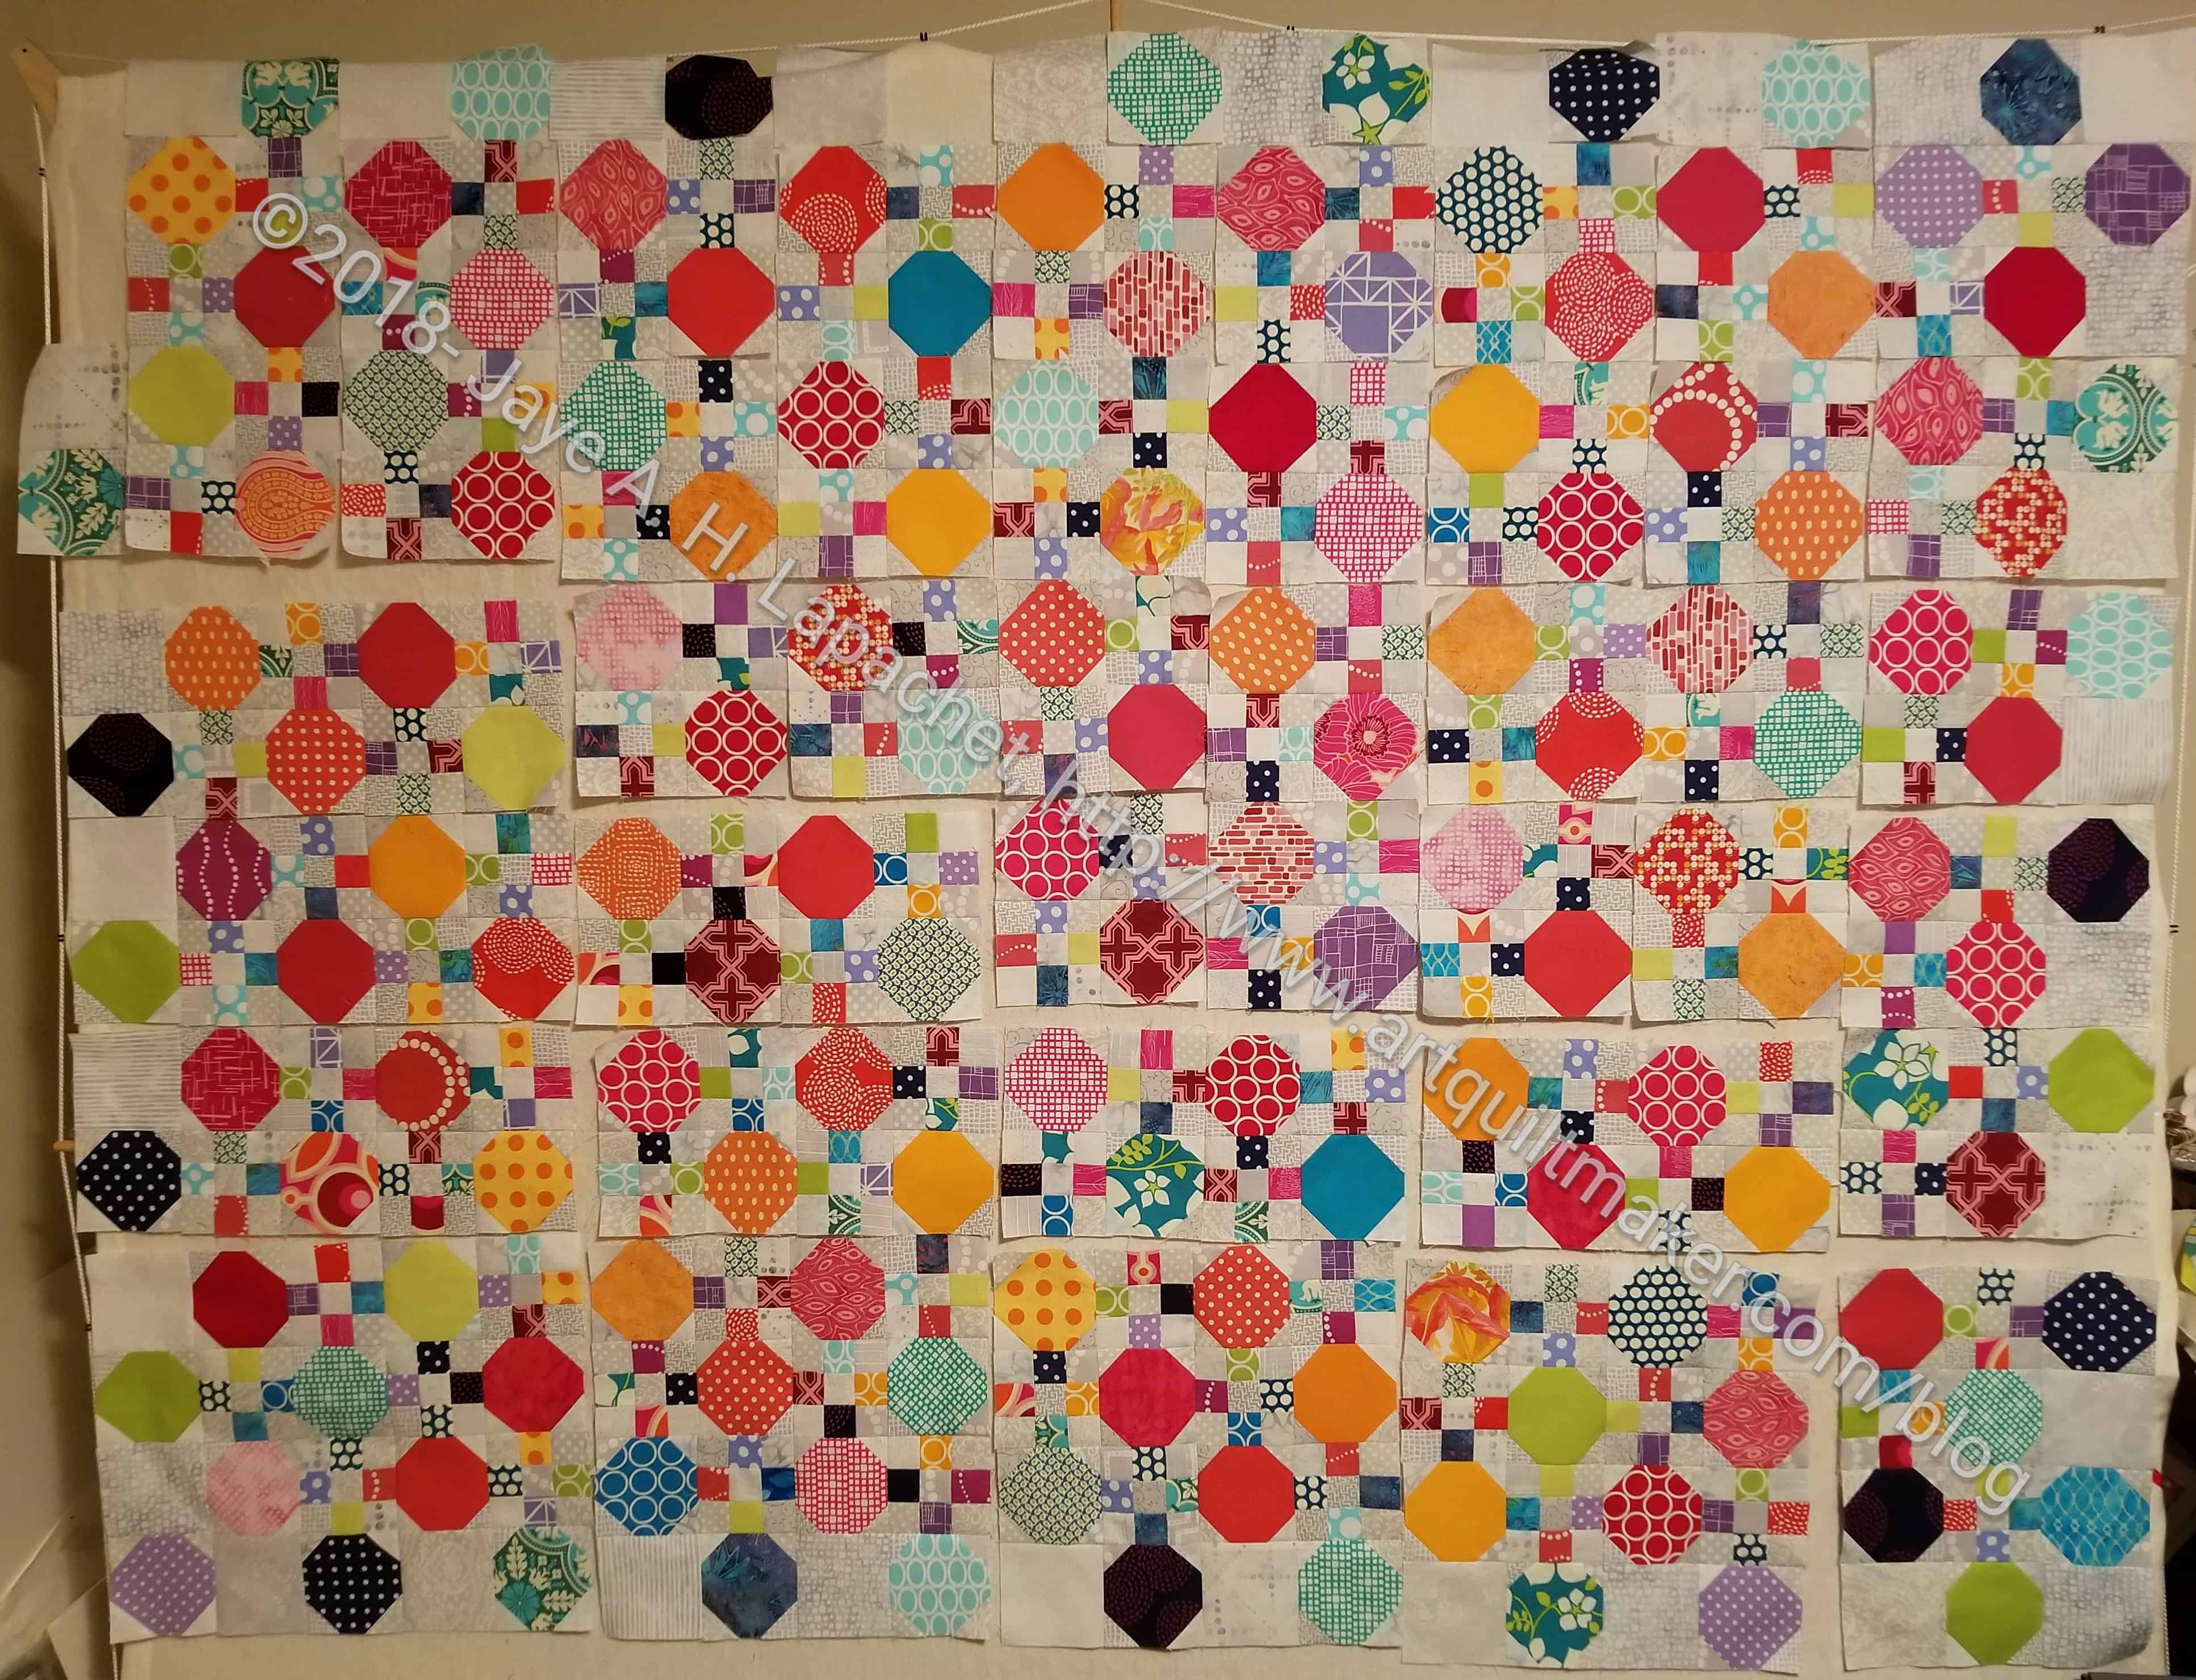
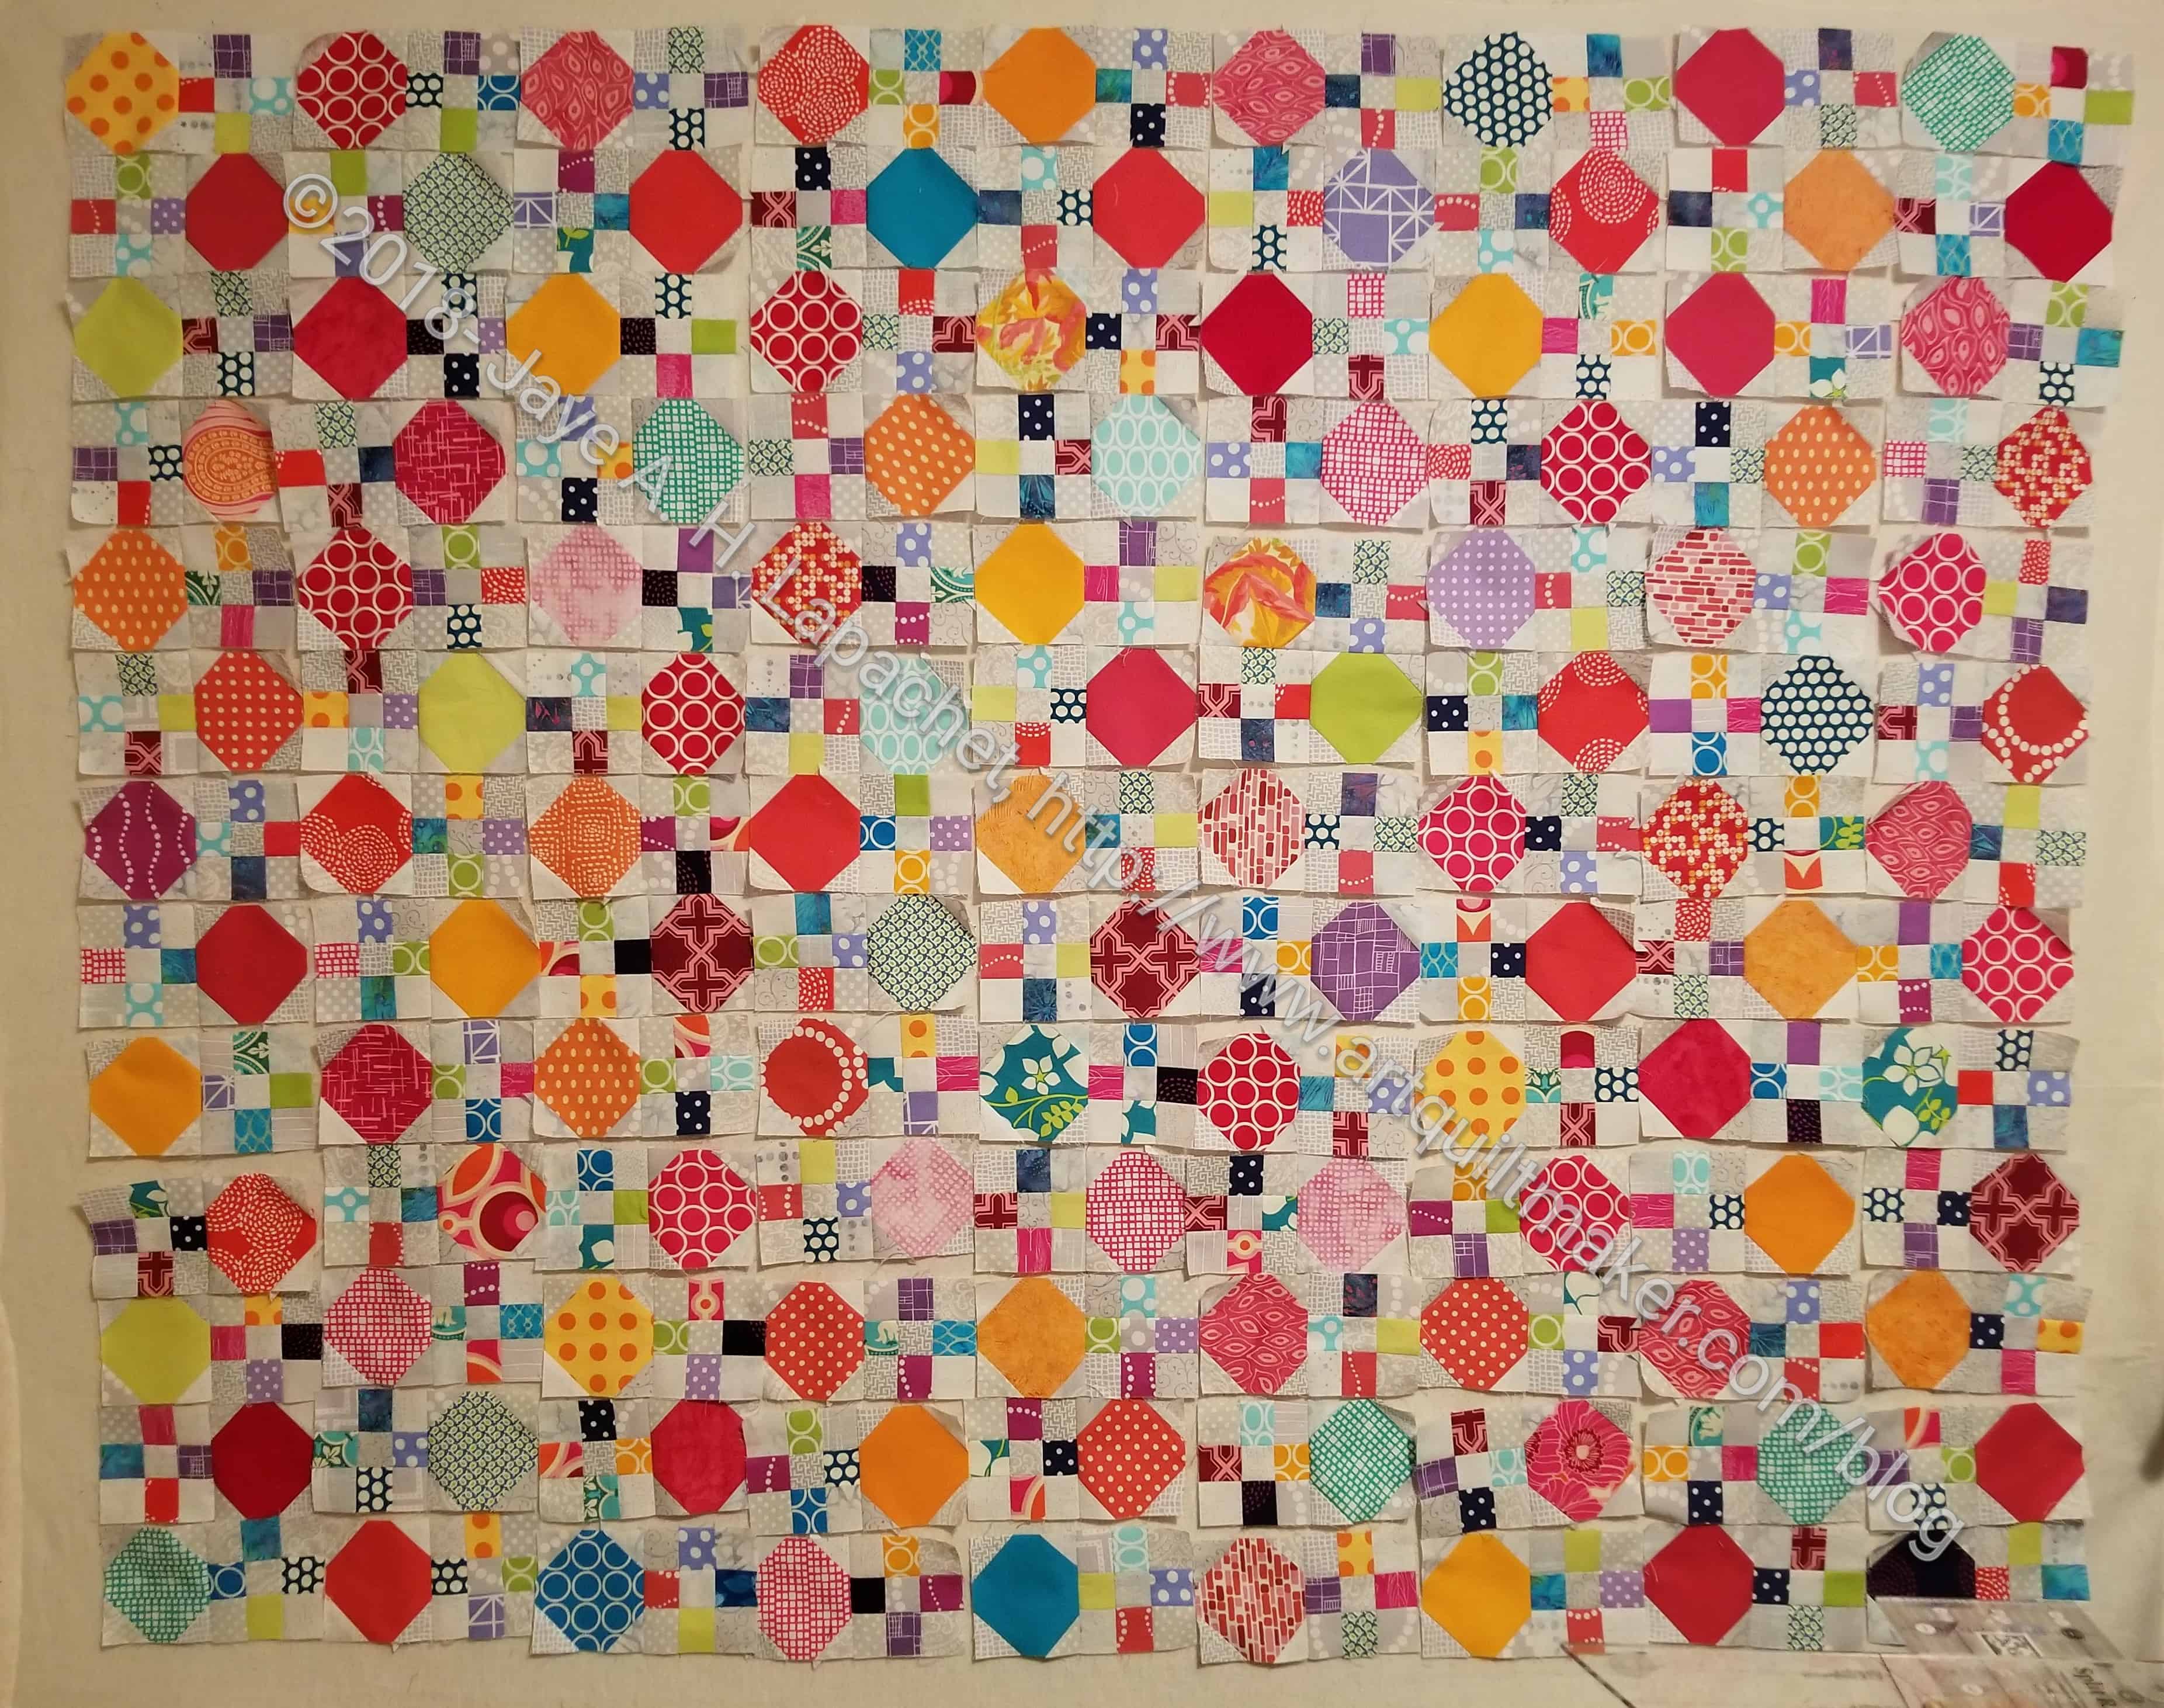
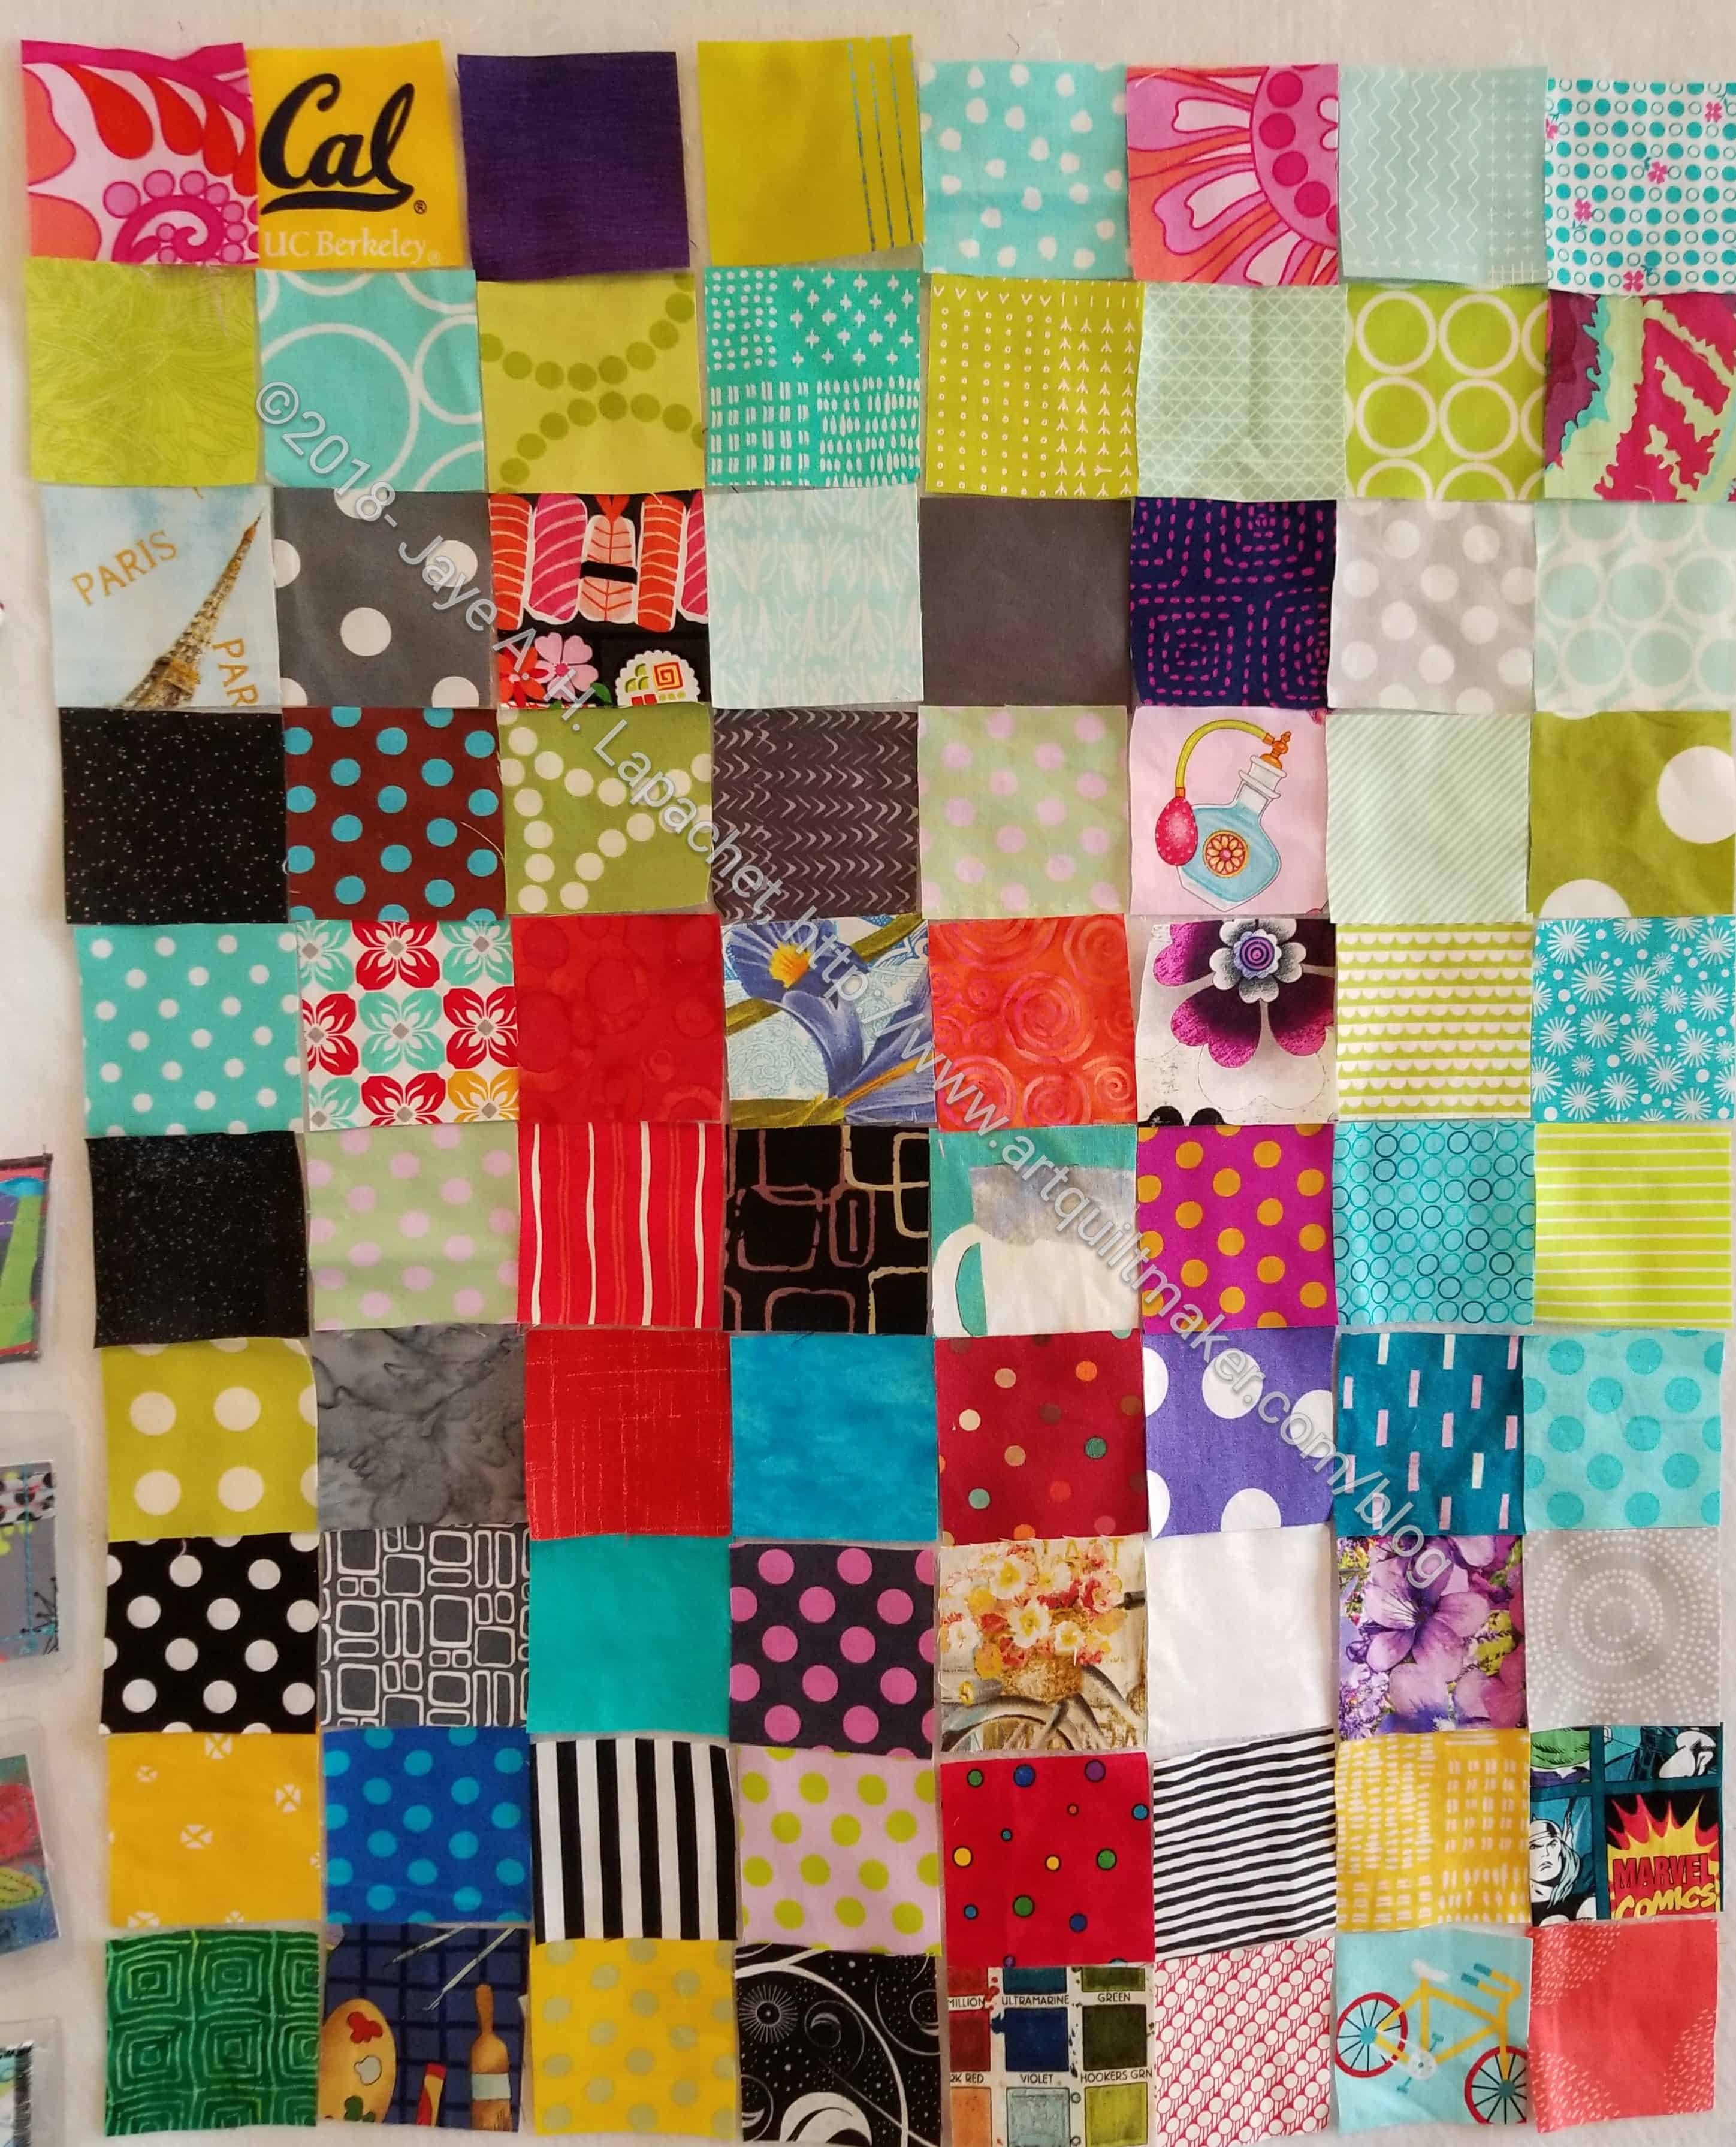
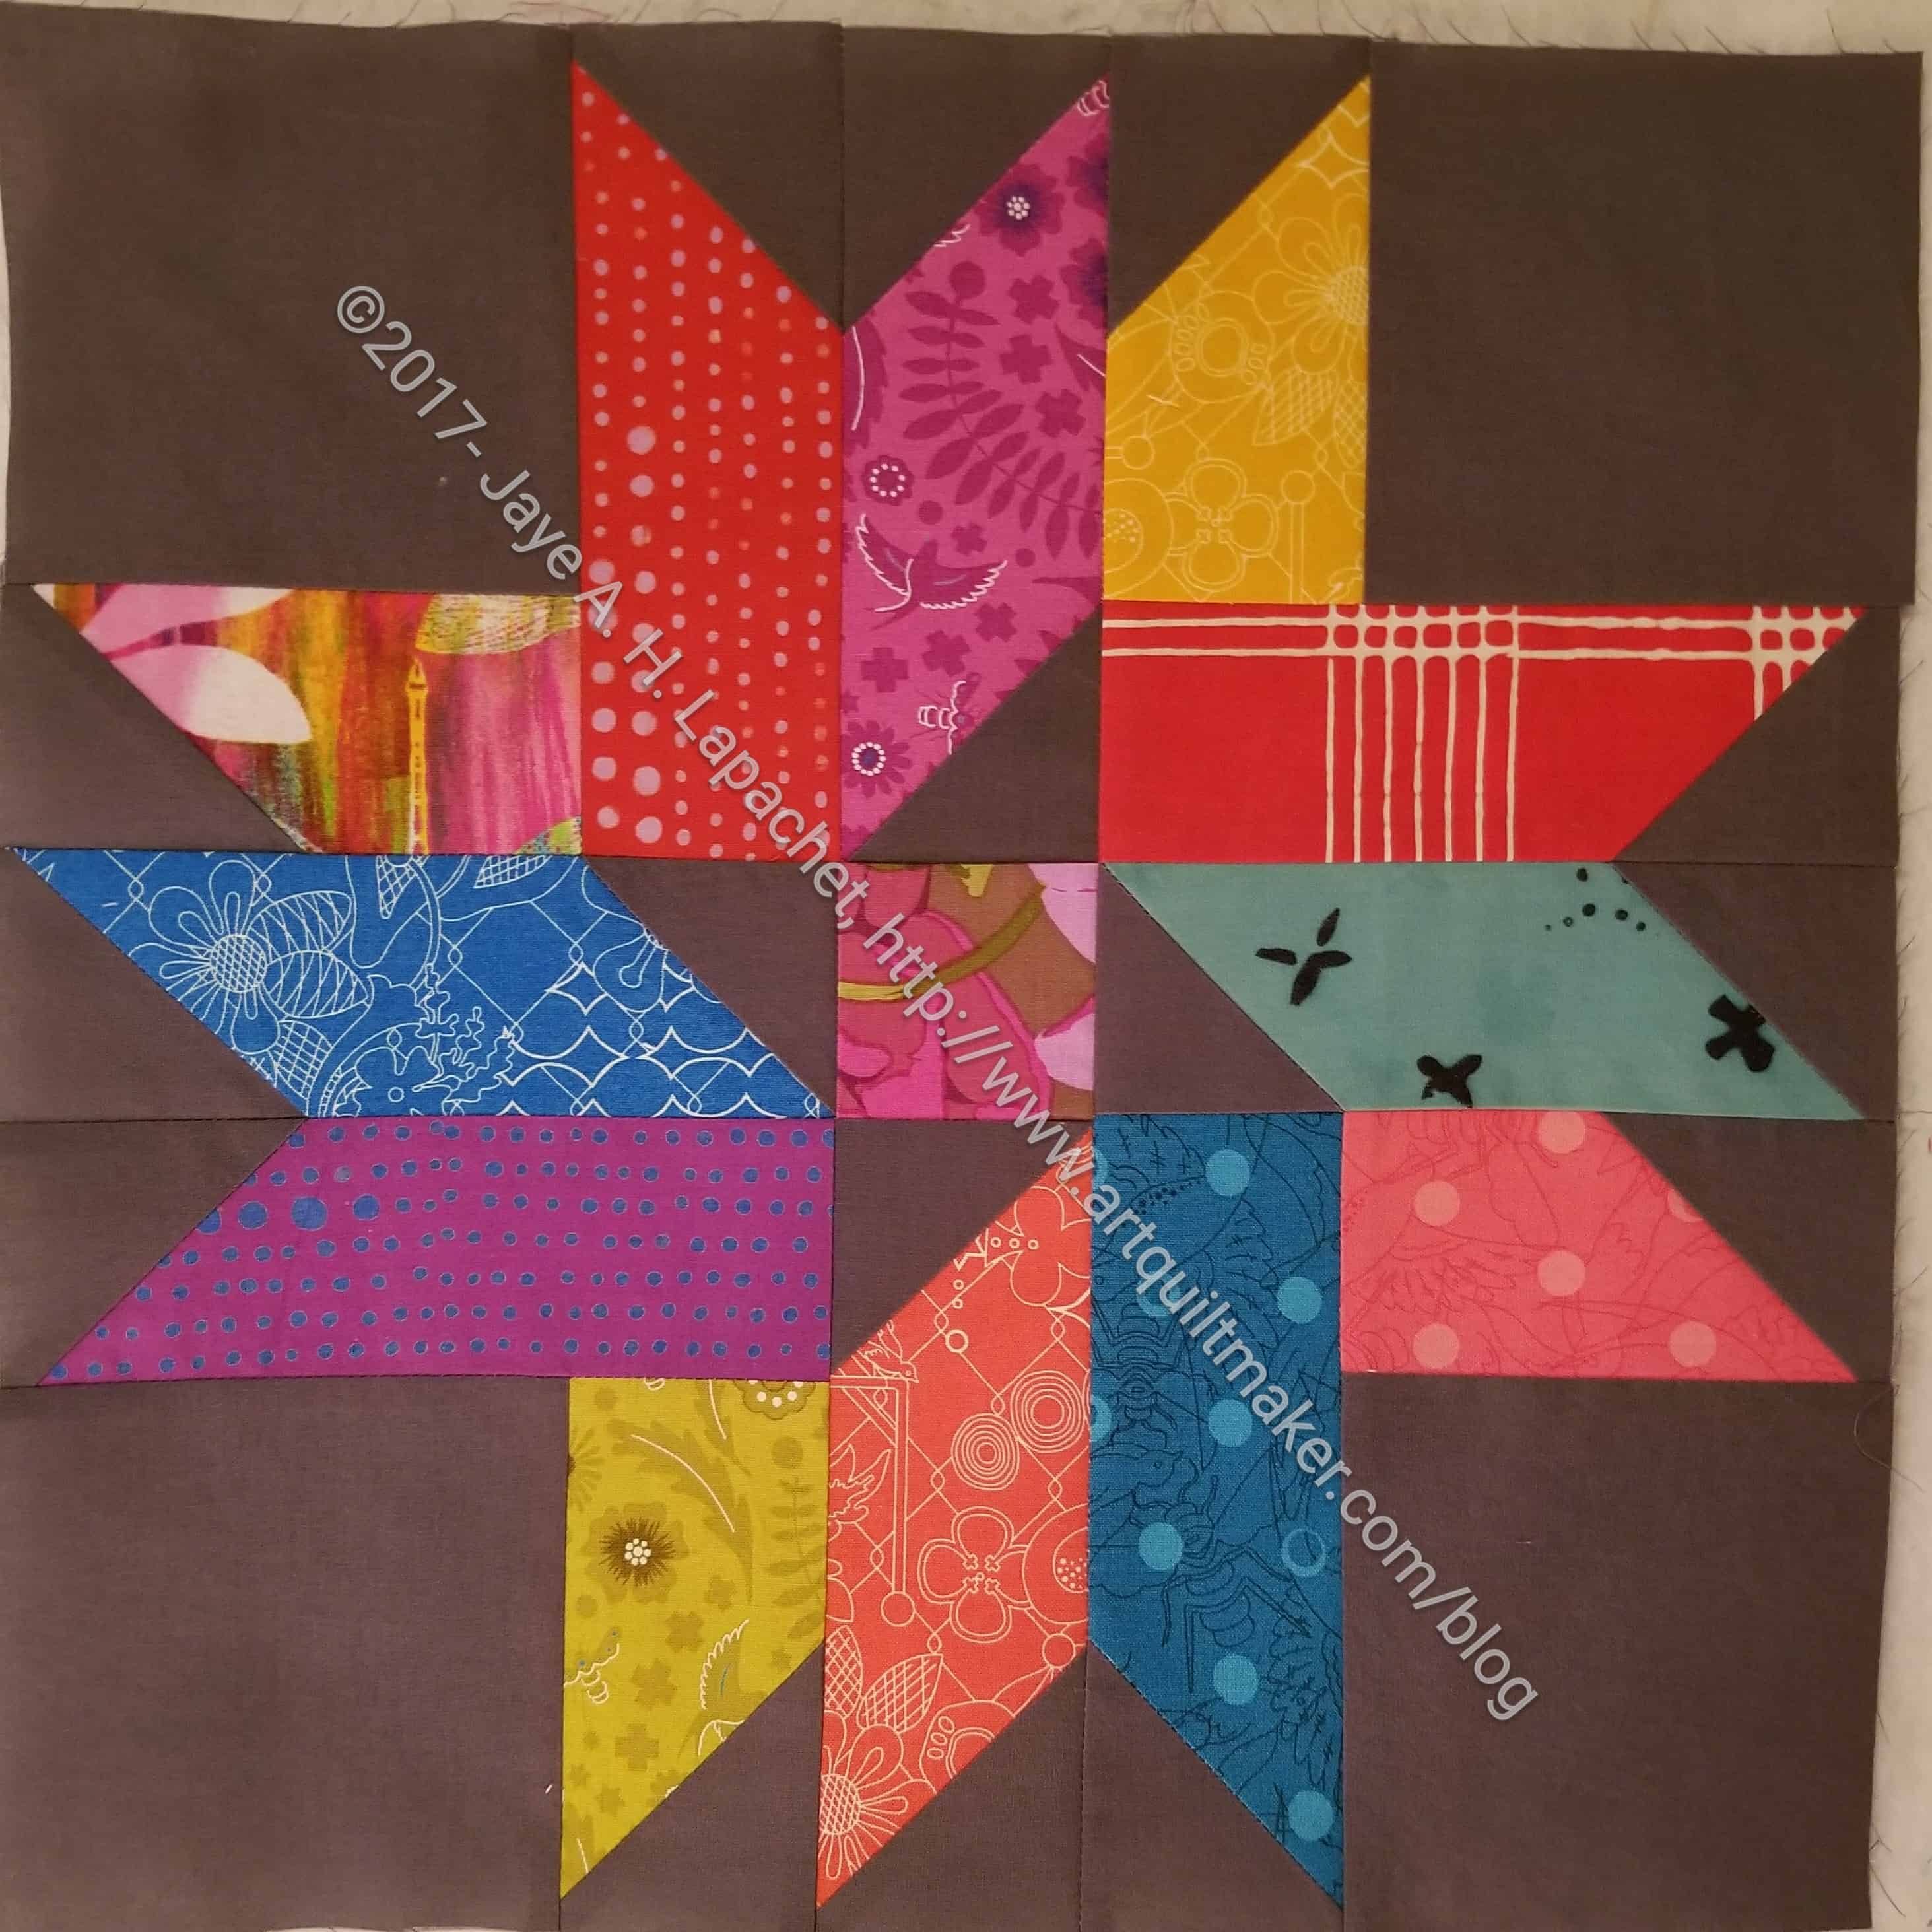
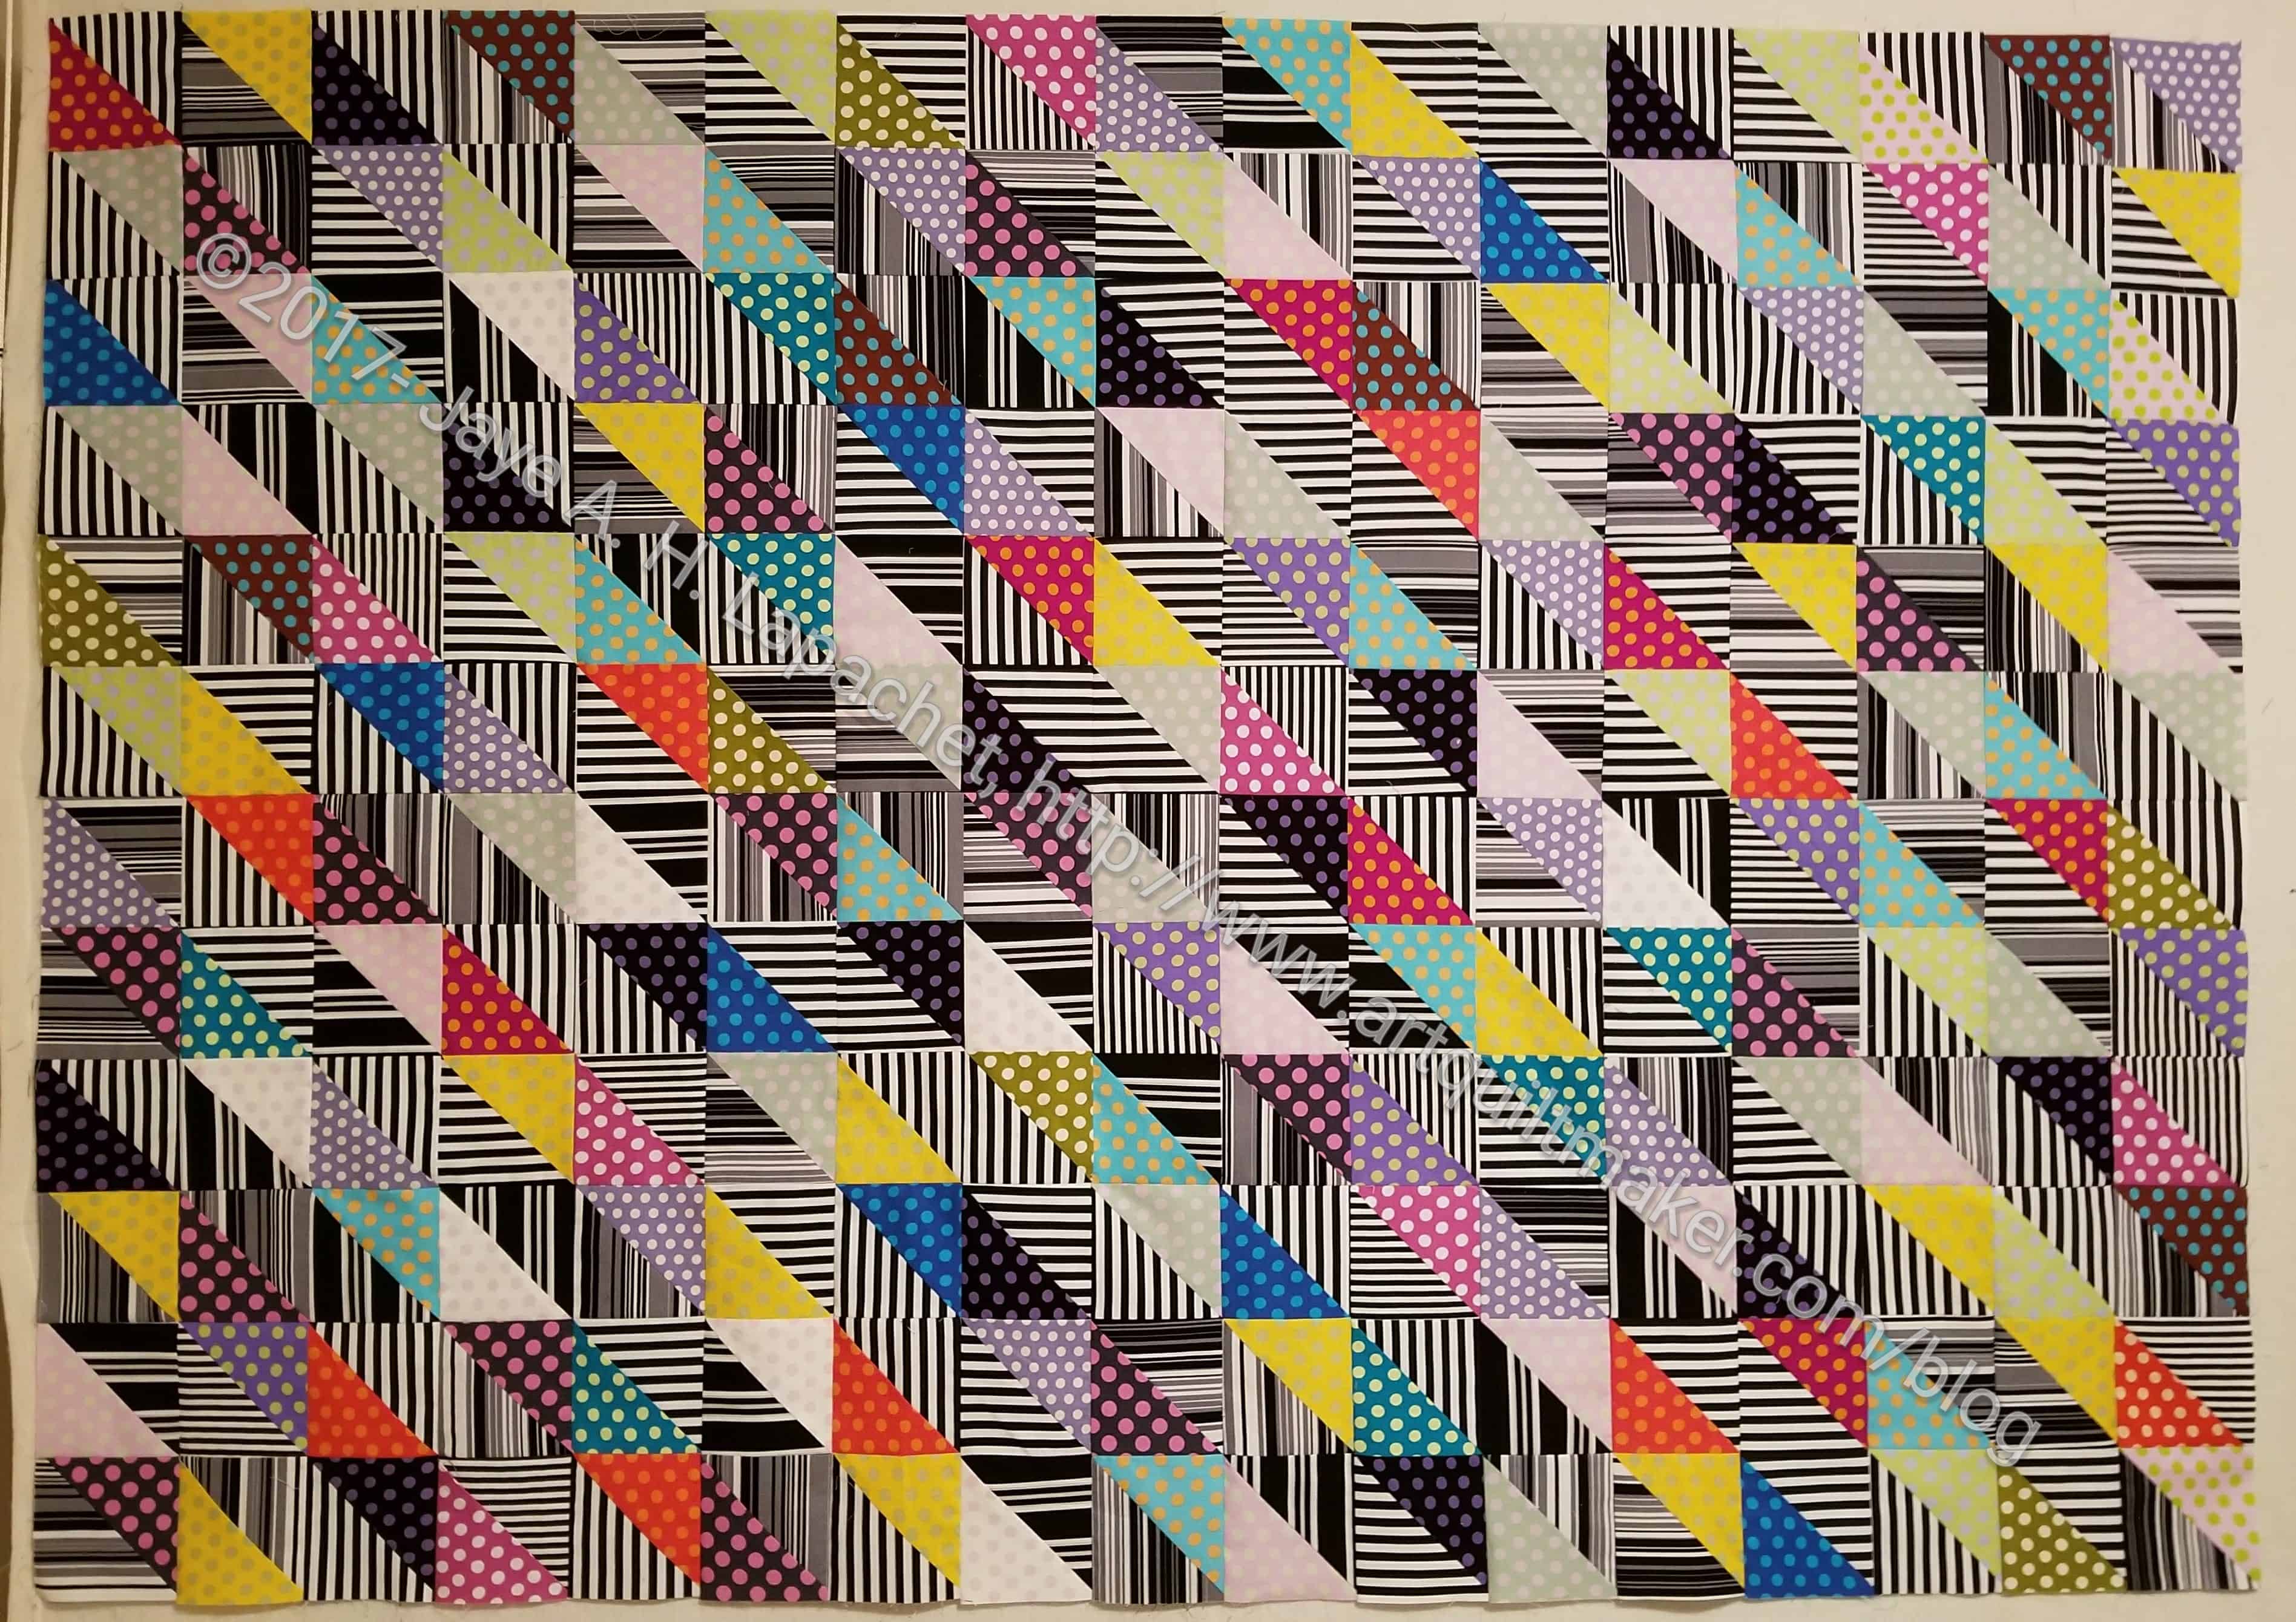
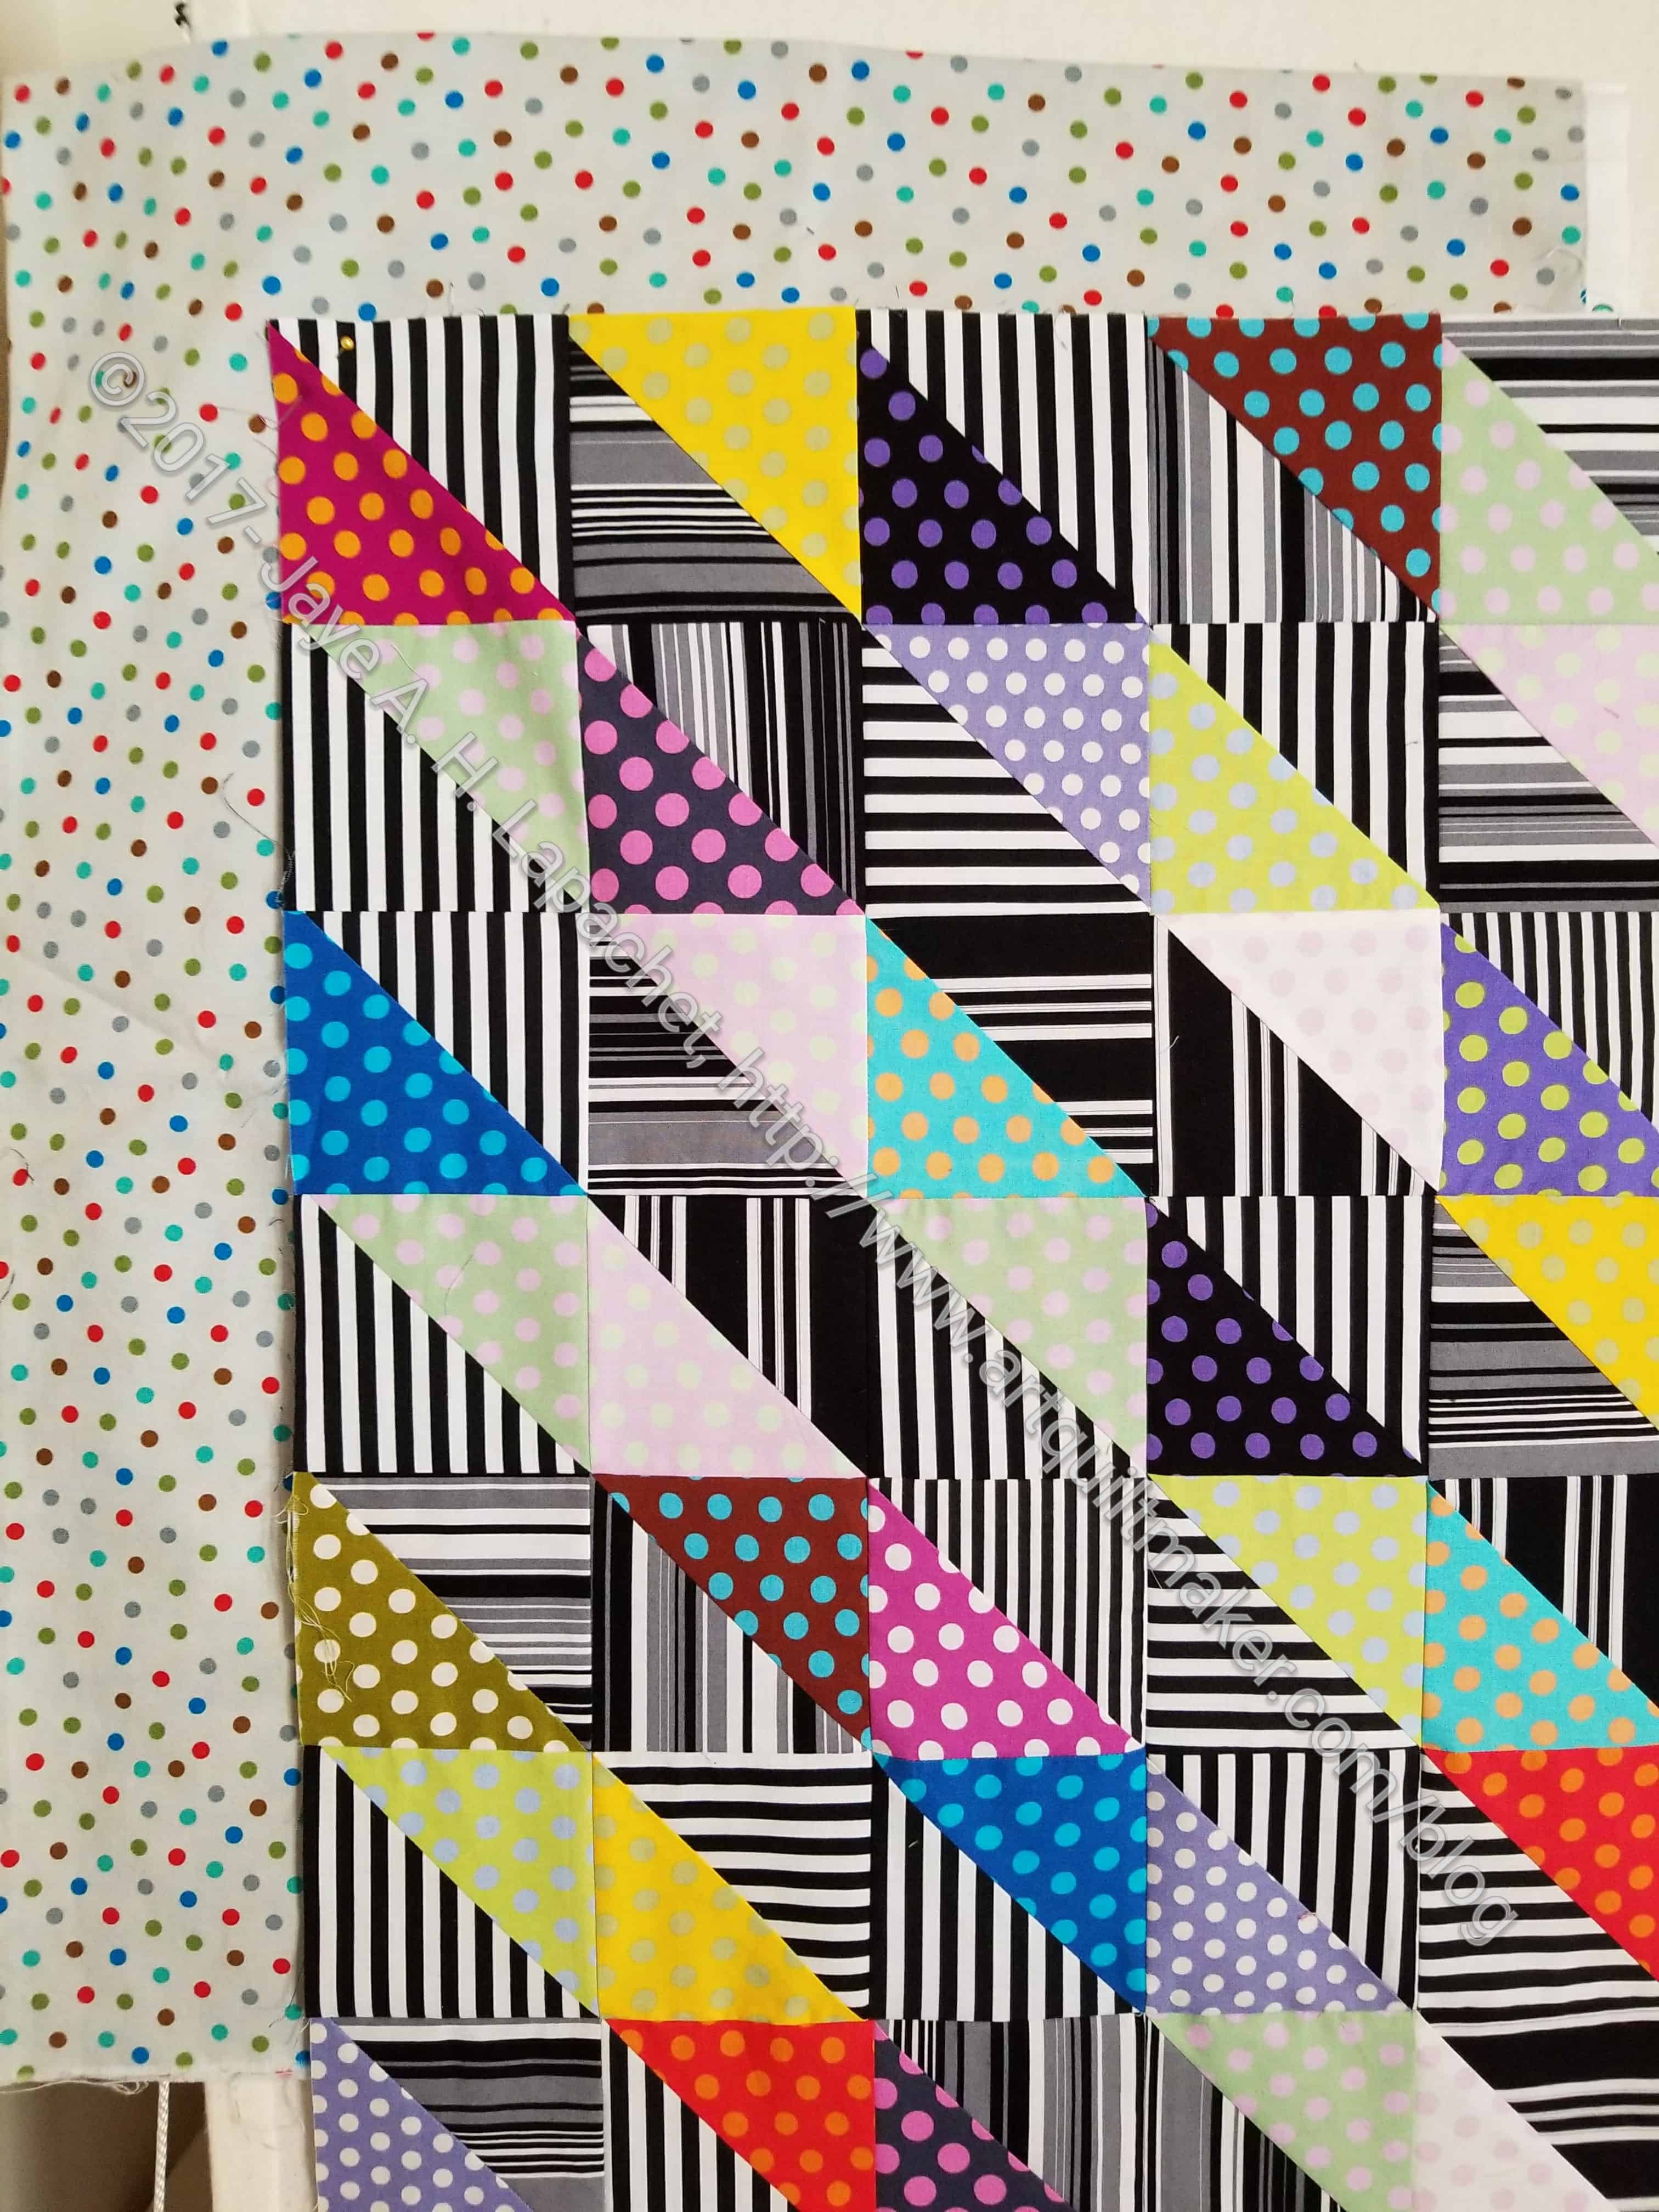
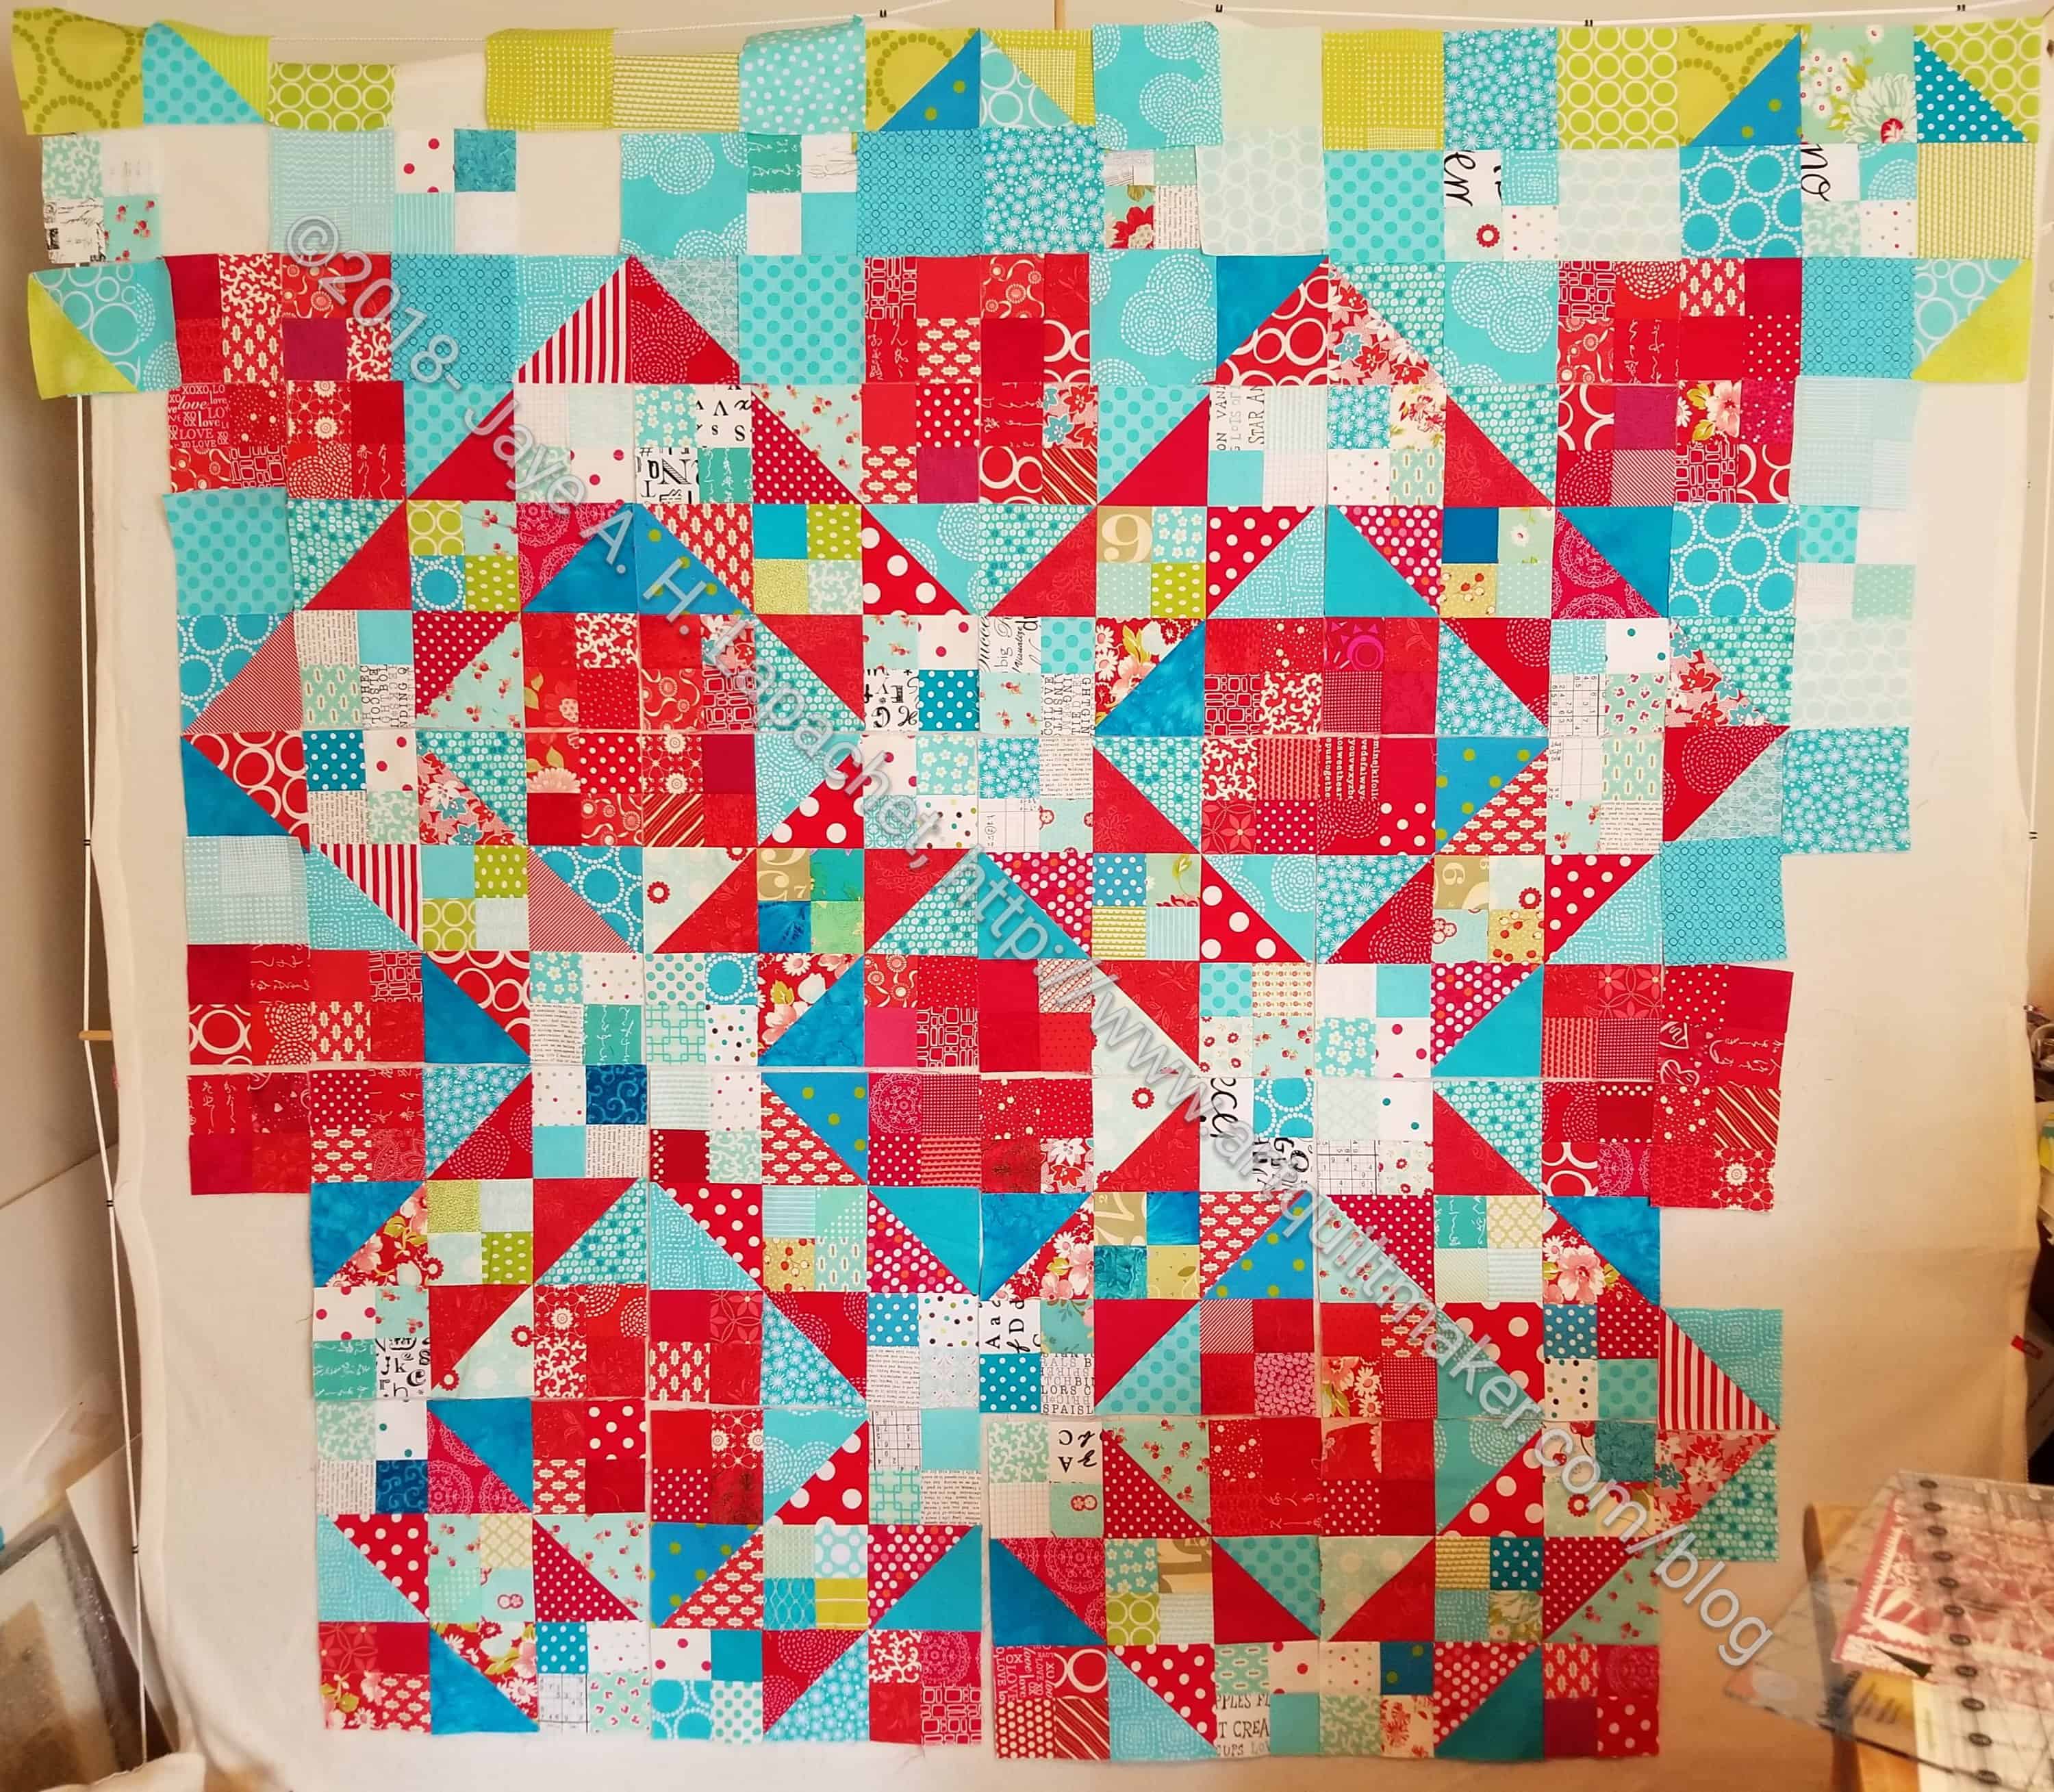
The Octagon Nine Patch is ready to go to Colleen and I put the Stepping Stones blocks back on the design wall. The last time I talked about this was only in March, so not an eternity ago. There is a lot of work to do on this piece: more cutting for the border. I am tempted to sew the upper patches into blocks and then sew the upper blocks together. I can’t really fit the whole piece on my design wall and that seems like a good solution. I am afraid I will end up with some blocks with all the same fabrics next to each other, however. I know it will look a lot better sewn together. It looks a lot more defined in the photo than it does in person.

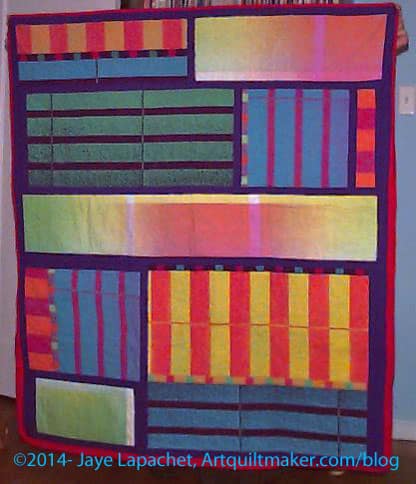
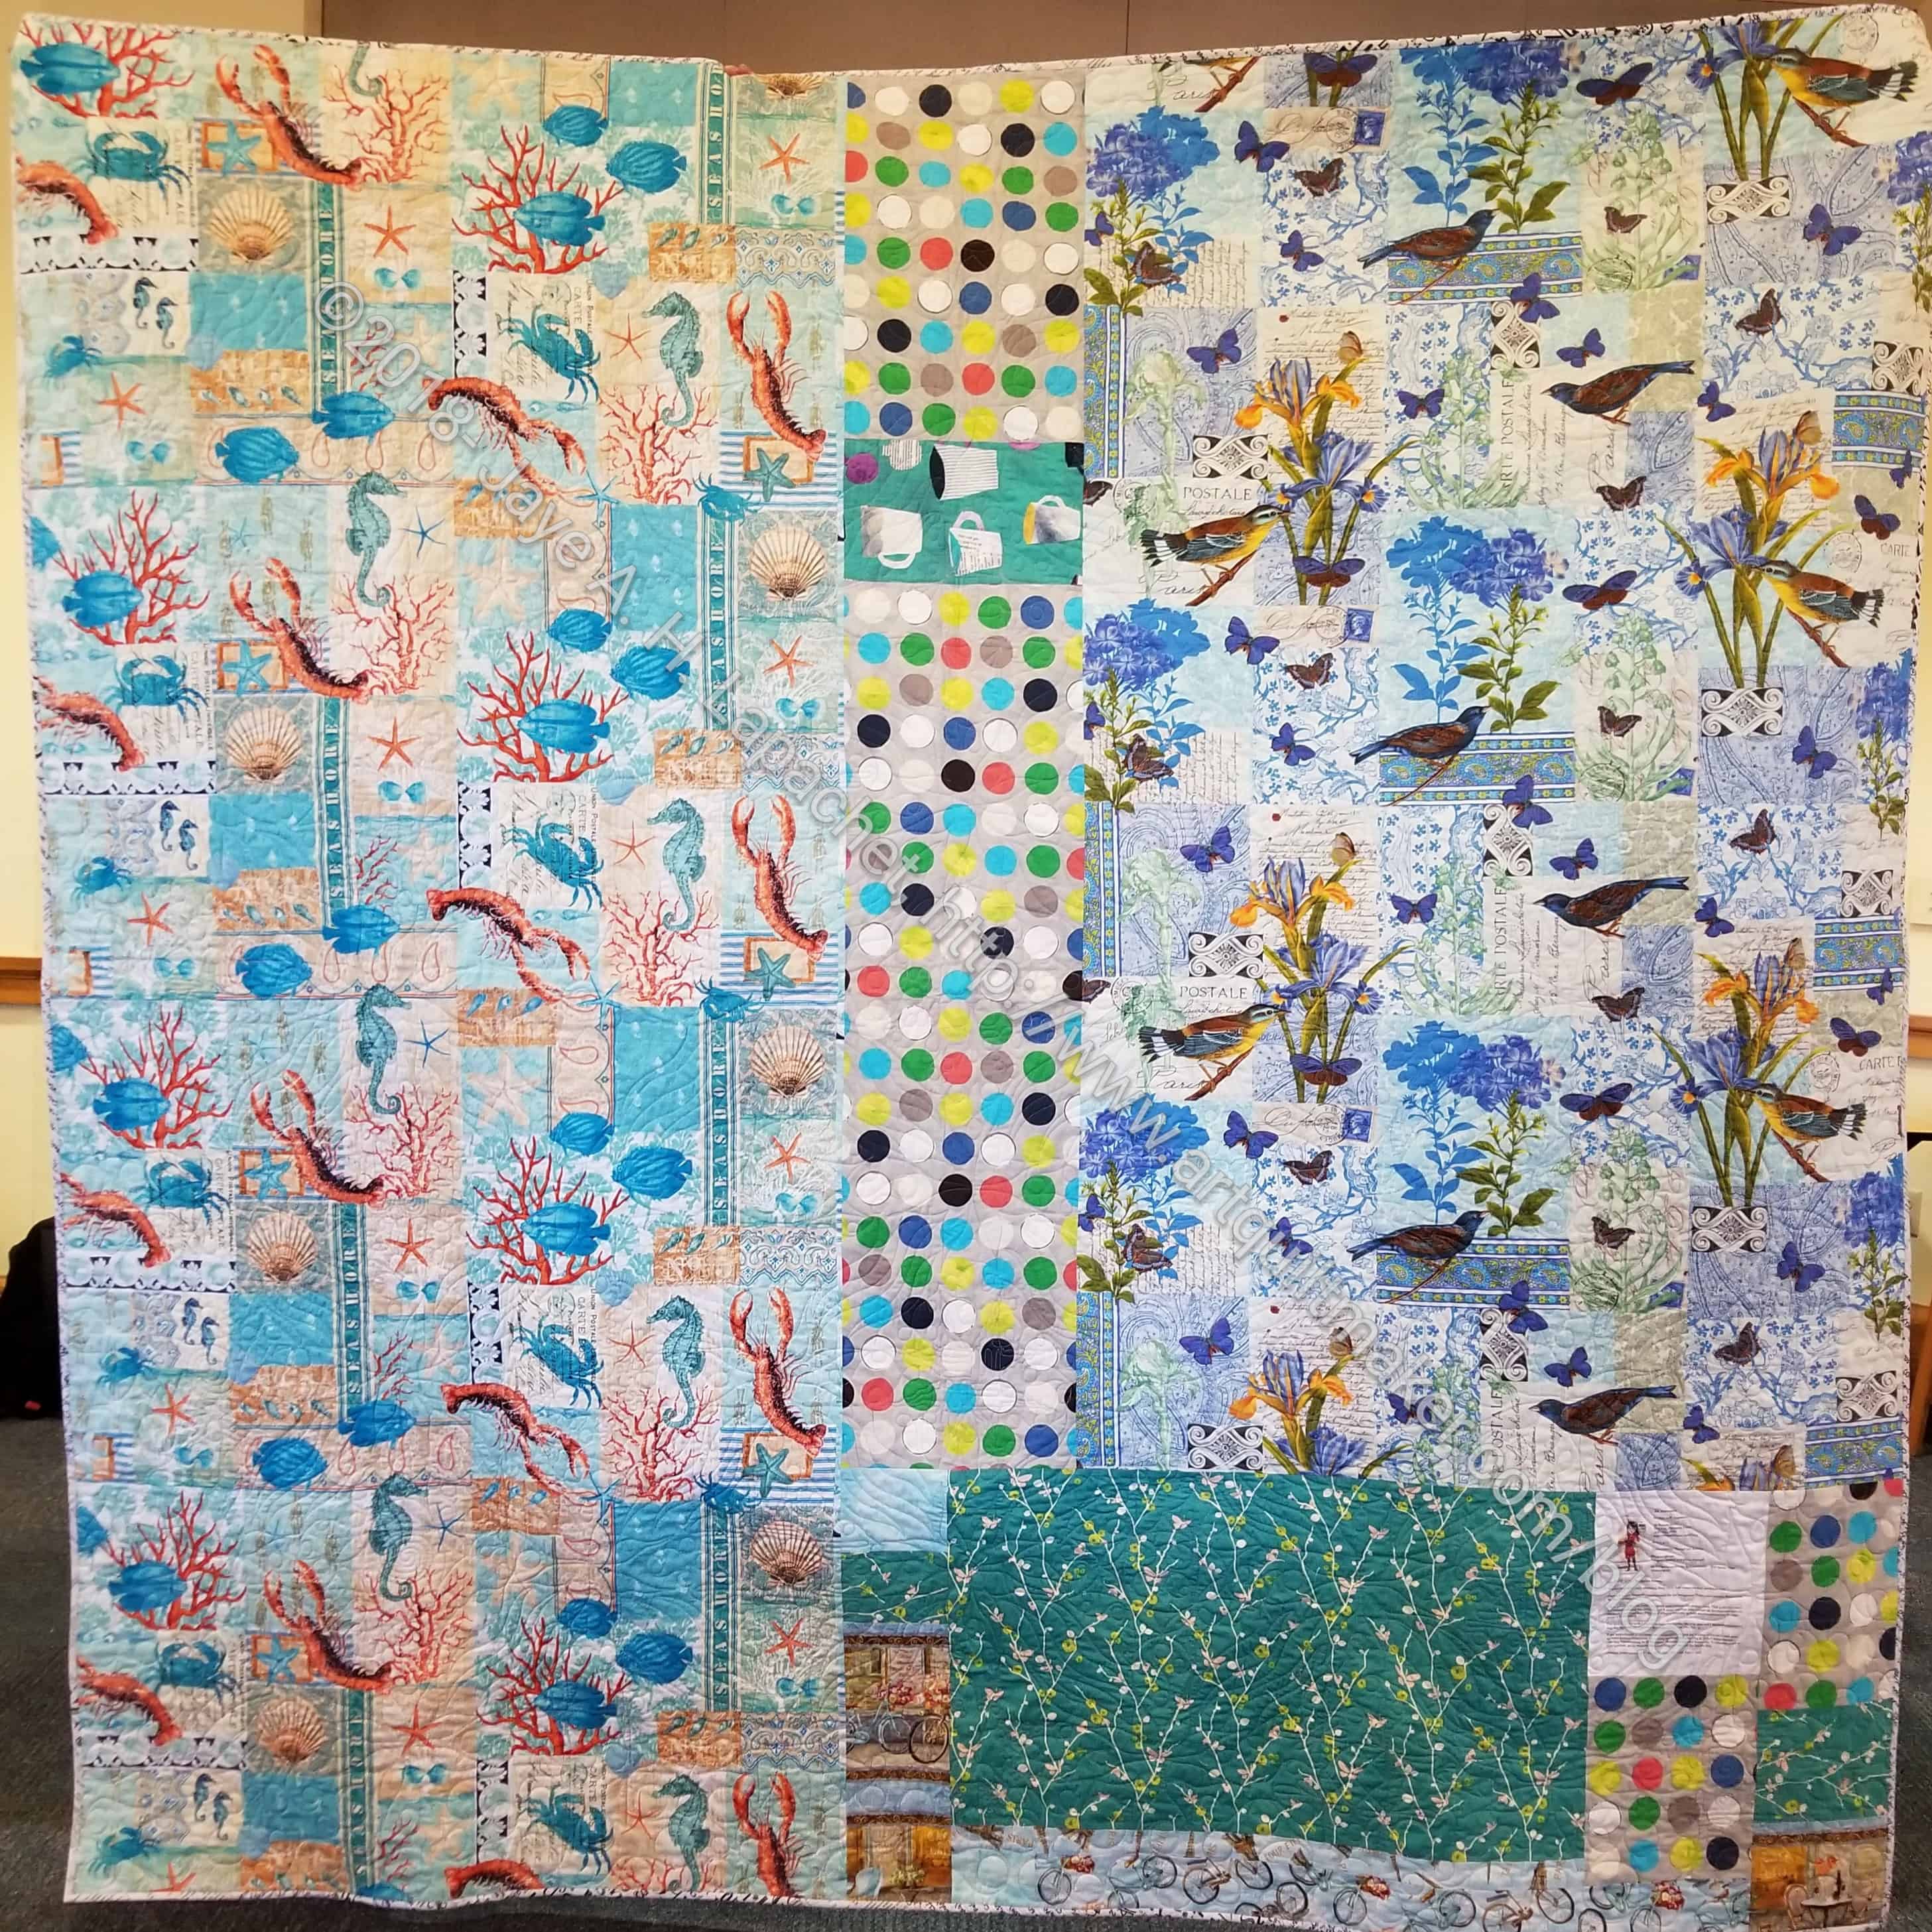
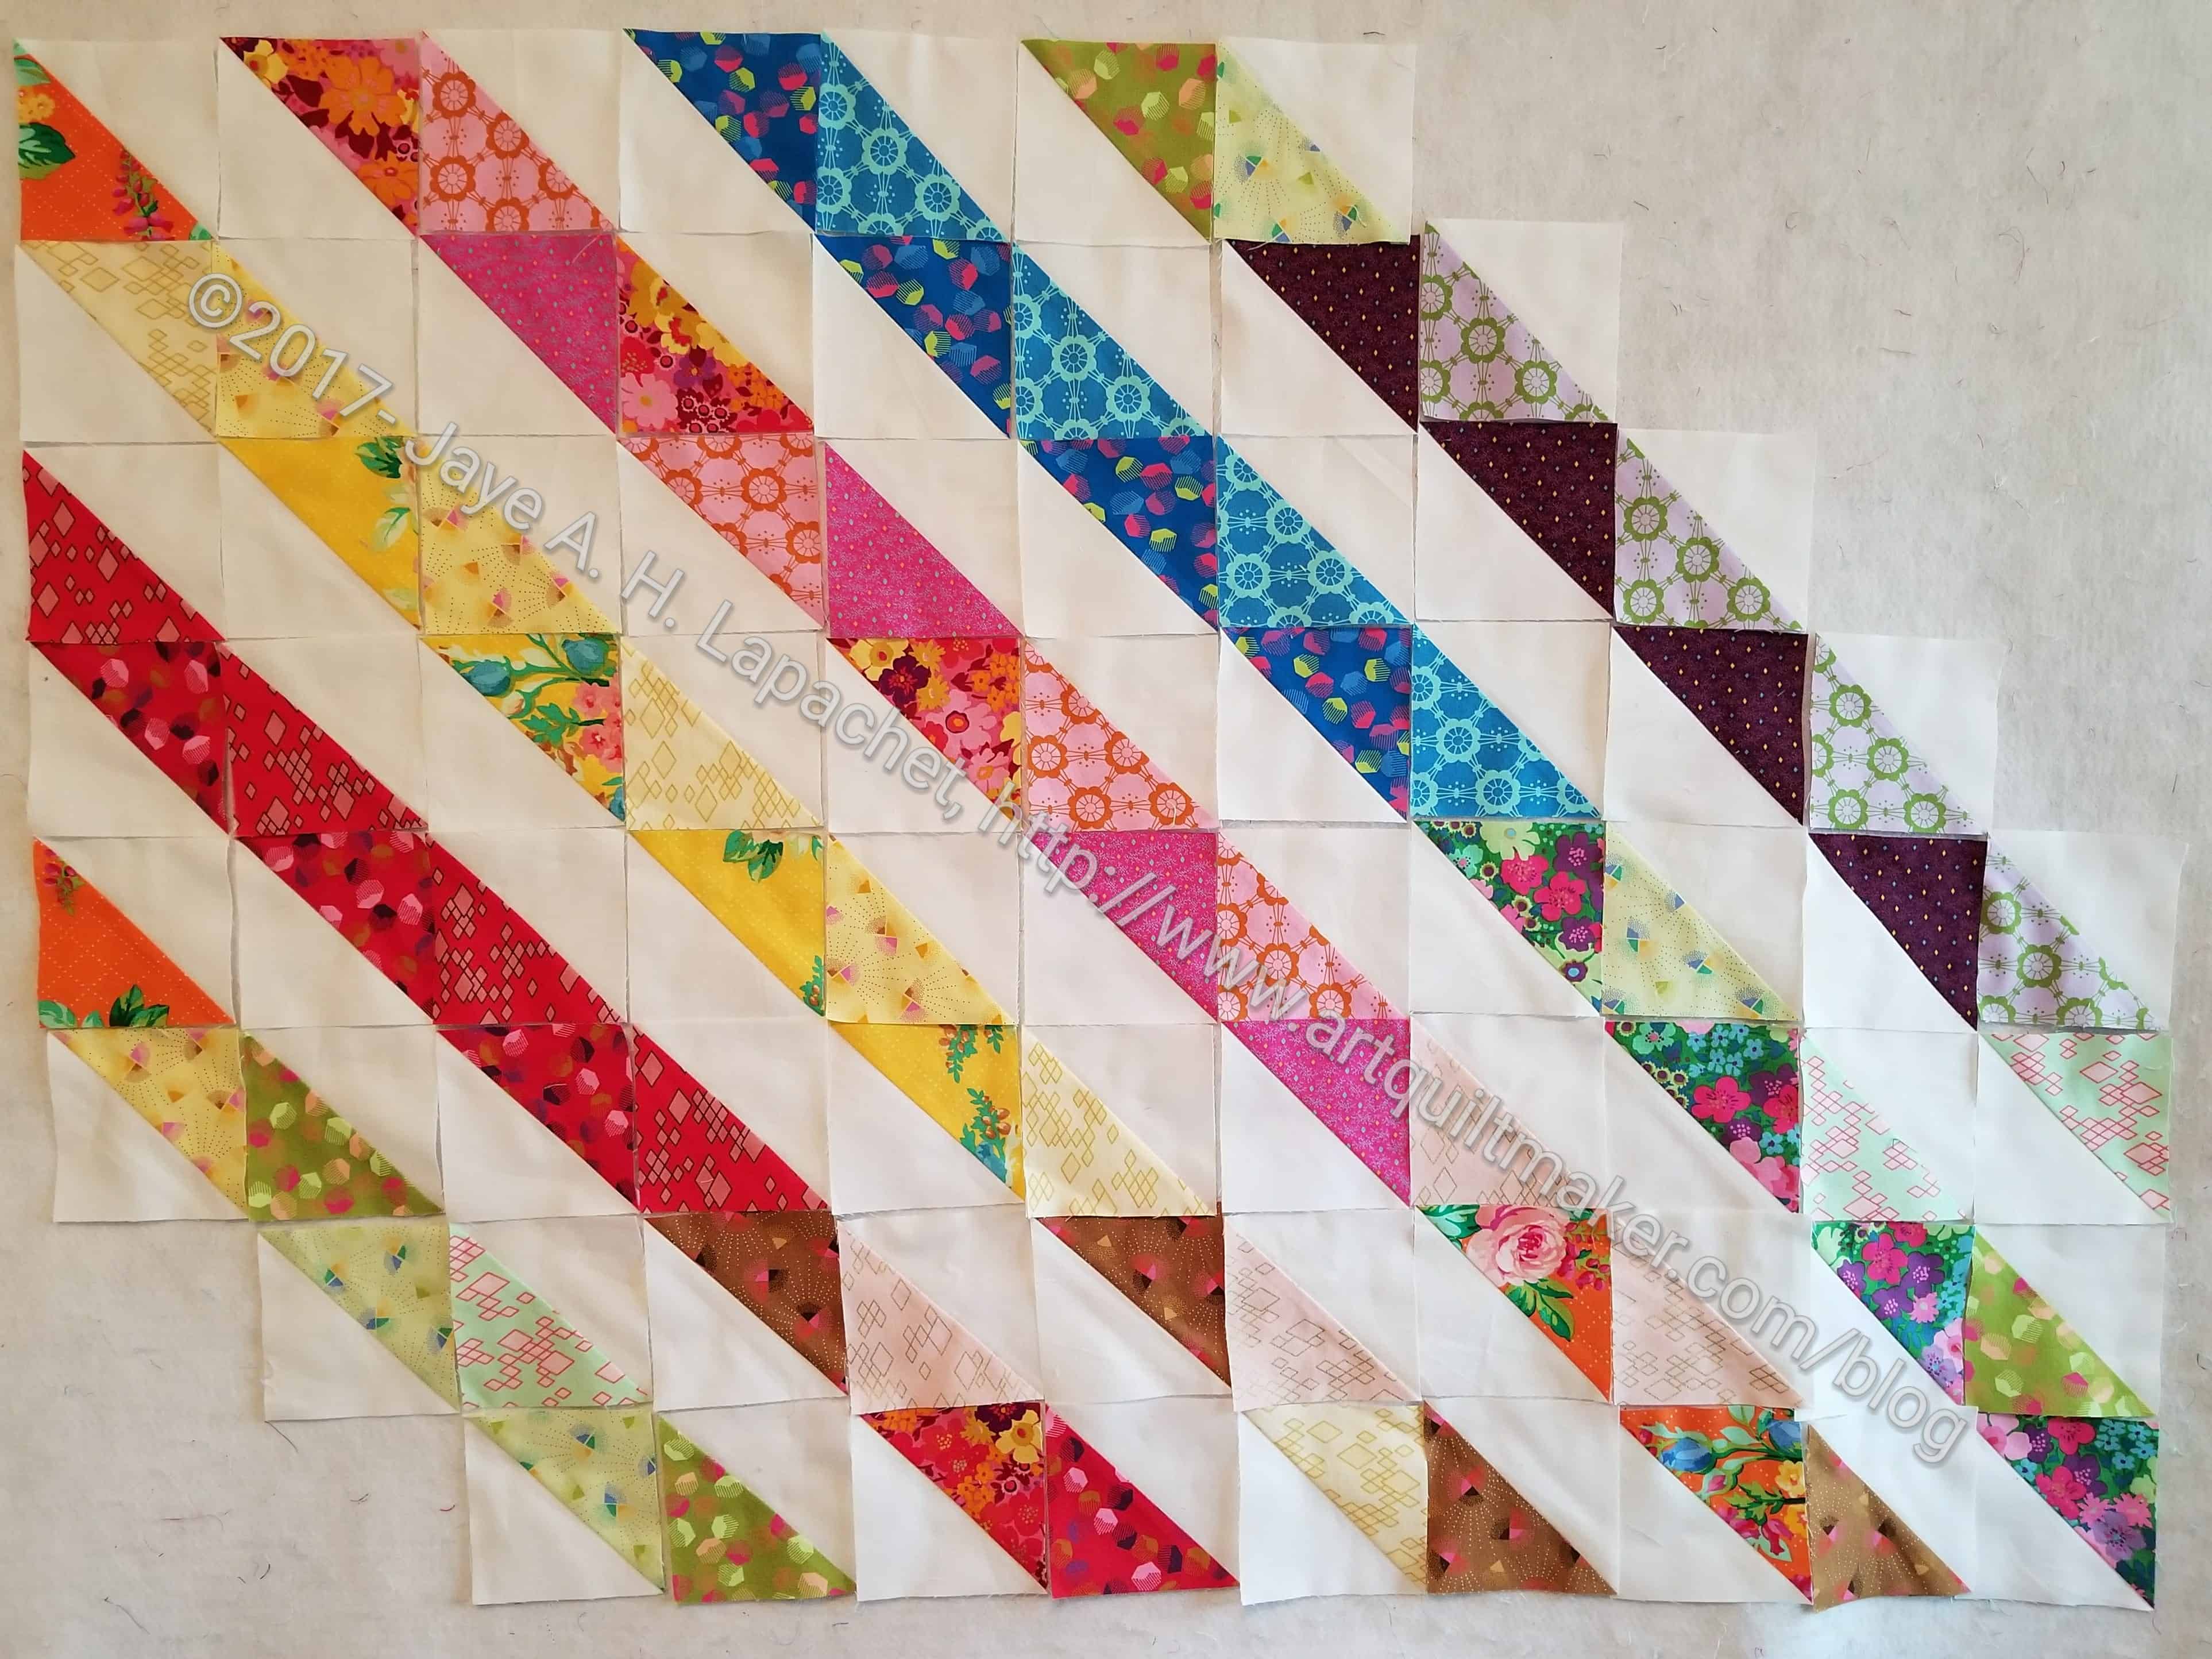
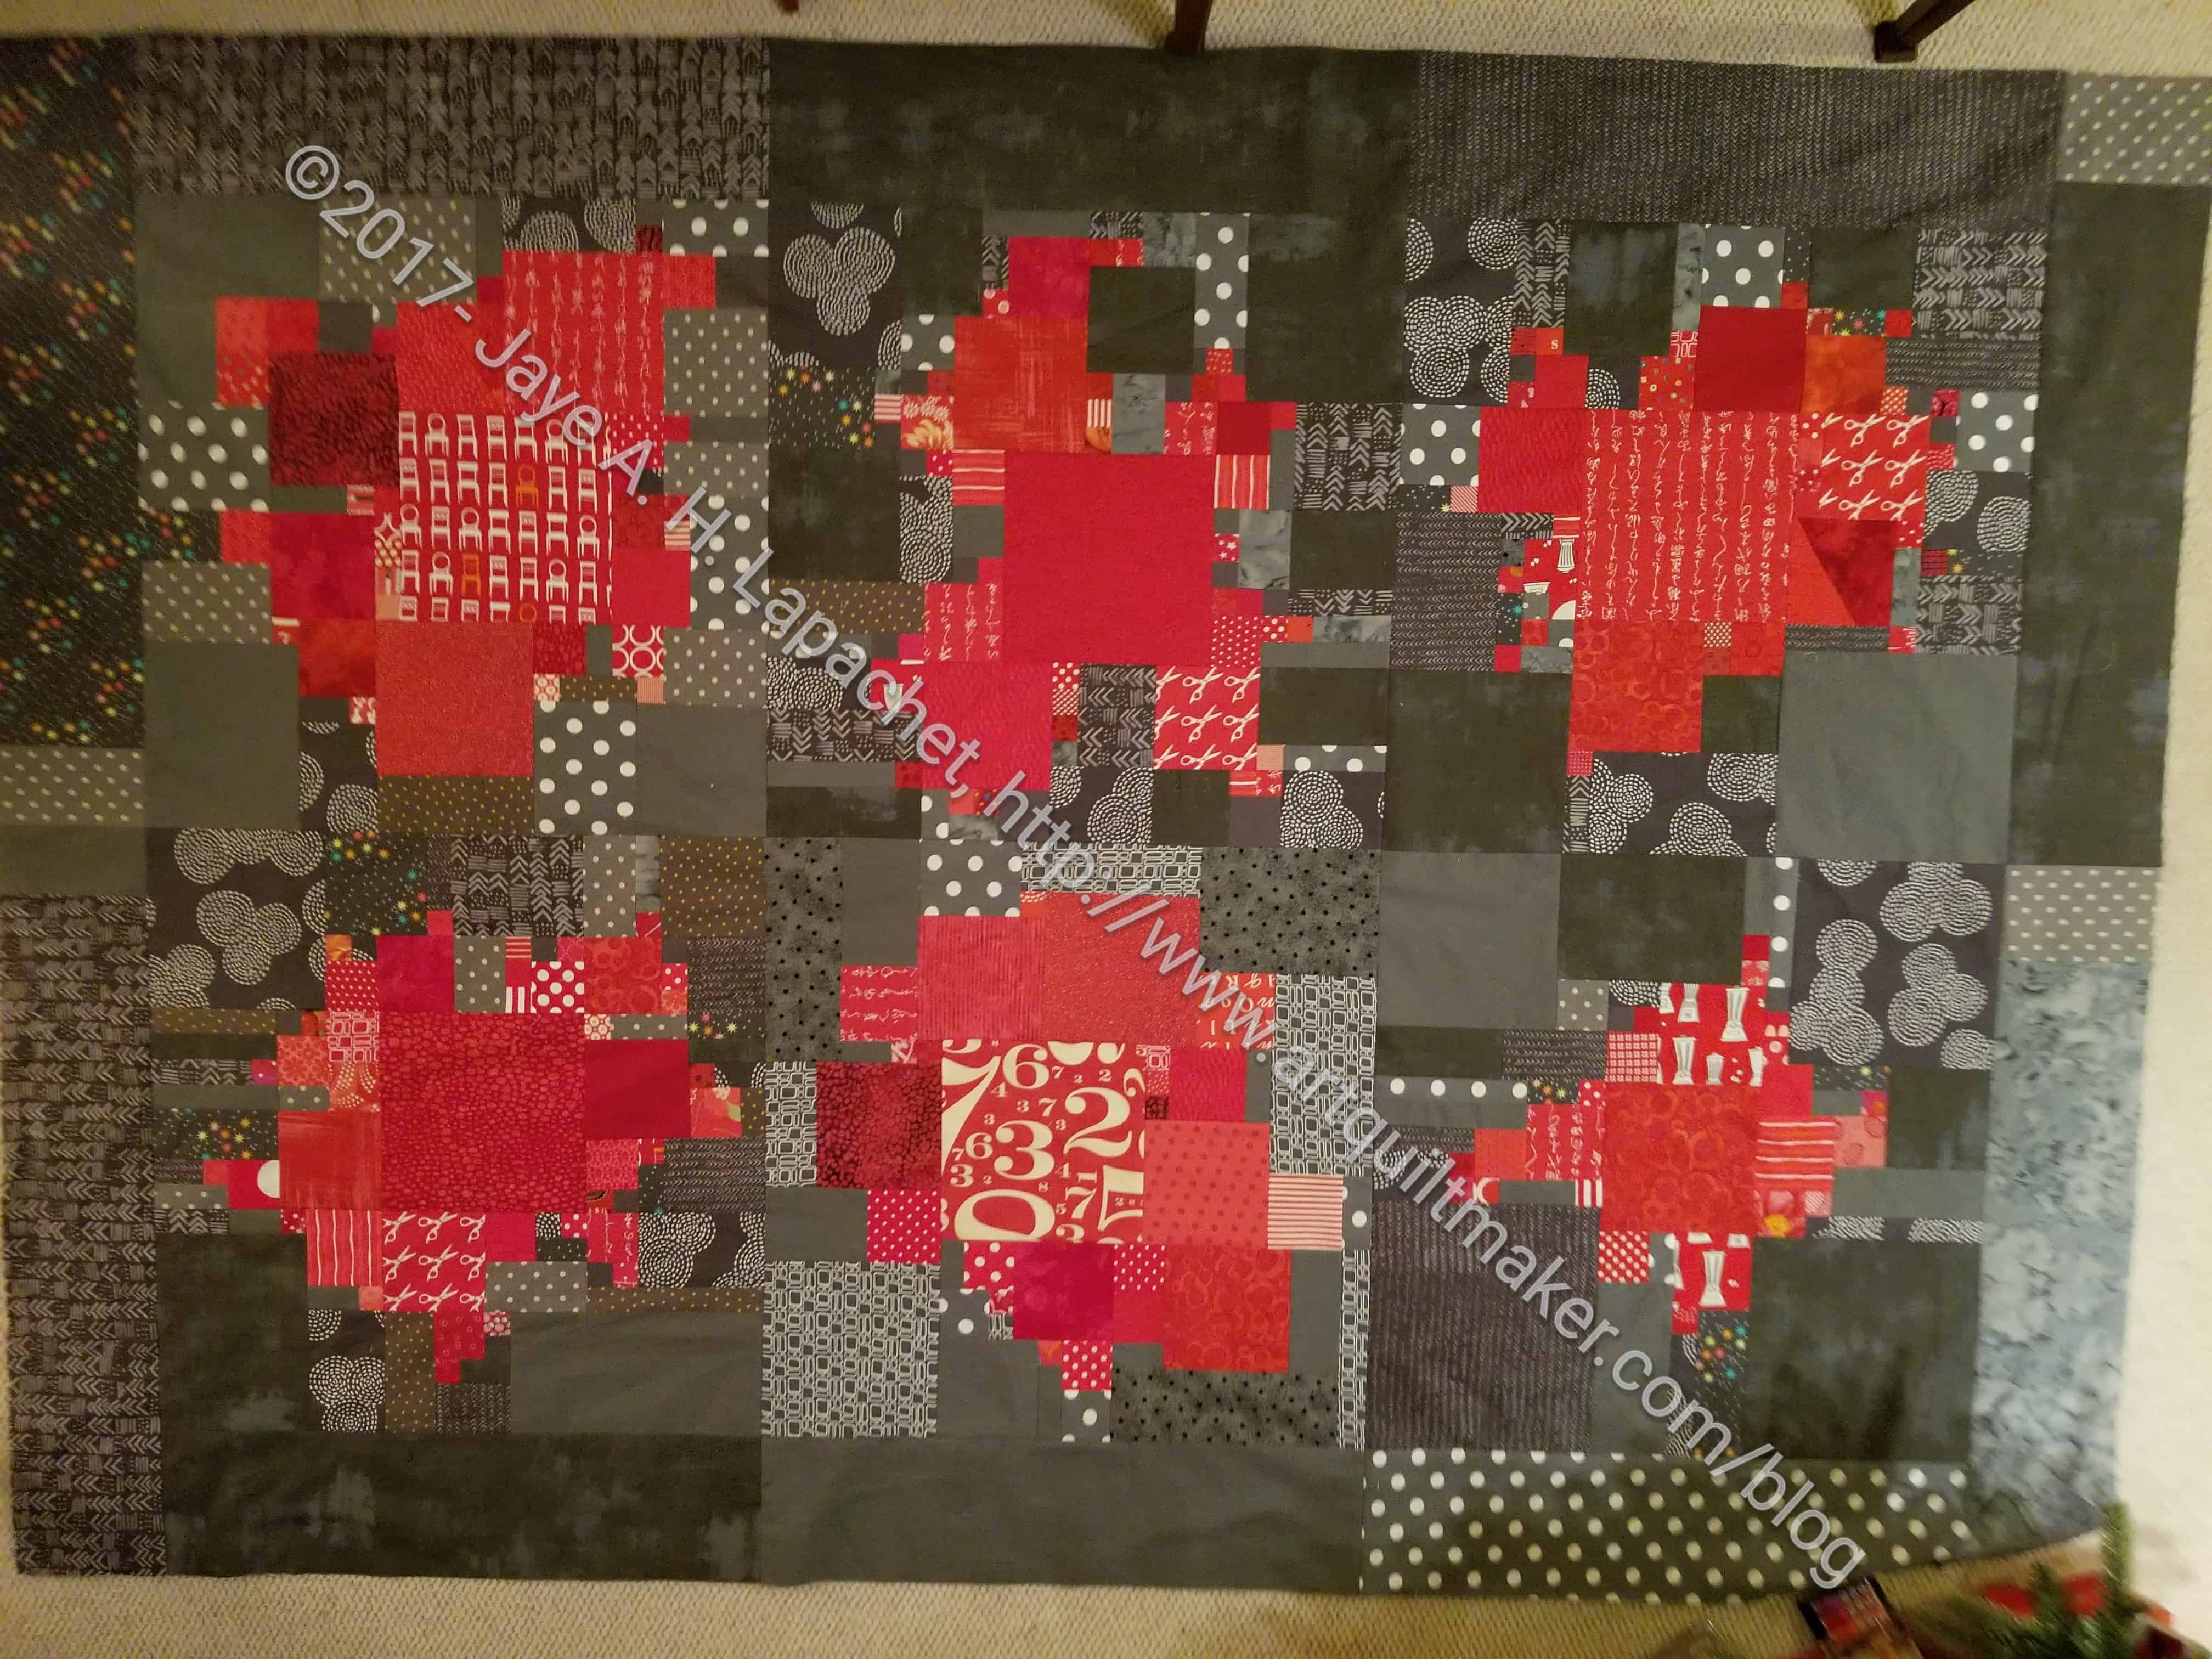
I can’t decide if I am determined to get this done this time or not. I started this in about December of 2014, so it has been hanging around awhile. I should get it pieced and off to the quilter. I am not quite feeling the love. What a shame.

Octagon Nine Patch: Ready for Quilting

Octagon Nine Patch Top

I finished the top and back over the weekend. I started this project in 2015 and am really glad to be done with it.

It is a nice quilt and I will send it off to friends after showing it around.

Octagon Nine Patch top detail

I made an effort to use cool colors on the border to pick up some of the cool colors in the Nine Patches. I think some of the darks in the border are too dark, but live and learn. This is not a pattern I will be repeating.

I tried to make the piece look like it was woven and I think, if you get close, you will see that impression. At least I hope you will. I couldn’t completely keep like colors away from each other, but I did my best. I am pleased with the way the whole thing came out.

Octagon Nine Patch back

I was fortunate to find a piece of Kaffe in my backing pile that fit the quilt widthwise. I only had to make a strip to cover the rest of the vertical. I was thrilled. Not only was the Kaffe the perfect size, but the colors make it look like it was made for this quilt. Yay!

Vintage Tuesday: Artbabies

Artbabies
Artbabies

I was thinking about Marrimeko fabric the other day and this quilt came to mind.

This quilt is pieced, but the smaller sections are not pieced. They are panels. They were already cut when I bought them at the Crate & Barrel outlet, so I sewed them together to make a quilt for the baby I was expecting. Machine quilt was something I was building as a skill with the new machine I had bought the year before so I decided to machine quilt it. Basting has always been a trial, so I thought I was being clever when I used Wonder Under to baste the quilt. It stayed together while I quilted it, but the quilt is stiff as a board, practically. We never really used it for a baby quilt. We did use it as a playmat. I still like it and could put a sleeve on it and hang it up.

This quilt was probably one of the last quilts I made until the YM was about 6 months, maybe a year old.

FOTY 2018 – April Progress

FOTY 2018 -April
FOTY 2018 -April

The last time I wrote about this project was March. I have actually made a lot of progress on this quilt, though it might not seem like it. The shape and size are small for this year, so I will really need to step up my cutting game.

Time has been short recently due to a lot of family events, but I have had time to press and cut shapes from my new fabrics. This means lots of new squares for FOTY 2018. In this group you will also see lots of familiar fabrics. Fabrics show up from the projects on which I have been working recently.

There is also something a little different this time: the butterfly. After I washed the fabric, I wrote myself a note to fussy cut one of the butterflies. I did, but I am not sure it will end up as is in the final project. I don’t want one fabric to dominate. If I buy (or use some already in the fabric closet) some other fabrics with fussy cuttable designs, then I might keep it. For now, the opportunity is there.

Weekend Progress- Octagon 9 Patch

Octagon 9 Patch - April Progress
Octagon 9 Patch – April Progress

I worked on the Octagon Nine Patch quite a bit over the weekend, despite the several hours I spent helping clear out my MIL’s house. I am pleased with my progress.

I didn’t want to do a complicated border, but the quilt demanded something more than a plain border and self-bordering is way better than sewing on a plain border any day! This means I am creating more Snowball units with the intention of “finishing off” the Nine Patches. In between the border snowball units I will put squares of grey. I am hoping it will look more woven this way, but I don’t know. You can see some of it coming together in the lower right hand corner.

Octagon 9 Patch Progress

Finally! I know.

Octagon 9 Patch in process

It has taken me forever to sew the 9 patch blocks to the octagon/snowball blocks for this project. On Saturday, as I was nearing the end of a shrinking pile, I decided that I would sew as many more as I could to make as many rows as possible and then be done with it. It is done and it is 13 blocks by 18 blocks – a lap quilt for sure, but a nice sized lap quilt.

It has a slightly woven look to it, which I always liked. As one reader said, it looks like a summer afternoon with popsicles.

2018 Cutting Chart

It has been awhile since I showed my cutting chart. It is something I meant to do in January, but it never seemed to get done. The previous post describes my process very well.

2018 Cutting Chart
2018 Cutting Chart

I am still working on some of the same projects as I was the last time I showed my cutting chart, but others are off the chart and finished. I think the number of patches I am cutting seems very paltry, but at least I have some organization. I think I should add grey windmill pieces to the list, because I still don’t have enough for that project and I would like to get going on it. I didn’t think of it until now.


En Provence Quilt Finished

En Provence Finished

Yes, amazingly enough, I finally finished En Provence a week or so ago. I am so pleased with the finished product. I am sad that I will give it away, but it will go to a good home who will love it very well.

One thing I like about this pattern is that the edges are finished. By that I mean my hard sewn units are not cut off as you see in many quilts with weird edges. I like it that my stars have all of their points.

Also, I want to make another one. 😉 I am not sure when, but I do plan to make another one. If I select a color scheme I can start any time and use leaders and enders to get all of the units made. I haven’t done any sewing yet, as I haven’t selected a color scheme. I really like this color scheme, but want to do something different. How would it be if I reversed the darks and lights?

En Provence back
En Provence back

The back turned out to be very funny. Birds and lobsters? What was I thinking? It is definitely a good conversation starter, that is for sure.

I started this on January 10, 2017. You can see all the posts by clicking on the tag. 14ish months isn’t bad, especially when I know I took a long hiatus somewhere in the middle. Also, made most of this quilt using the leaders and enders technique.

FOTY 2018 Starts

Fabric of the Year 2018 Jan-mid March patches

I finally had enough cut pieces to write a post on the Fabric of the Year 2018 piece. This year I chose a 2.5″ square so I could have a realistic chance of doing the Ellsworth Kelly style layout. The size of the pieces from Fabric of the Year 2017 makes this layout realistically impossible. First of all, I don’t have a design wall large enough to accommodate such a large piece. Second, I would have to cut all the pieces down to a square and I want to work with the subway tile shape. Third, I don’t want to wrestle such a large quilt. FOTY 2017 will probably be a monster anyway and I don’t want to add to it. It seemed better to start afresh with an idea in mind.

The 2.5″ shape also means I can get pieces out of small leftovers where needed. I am excited, though FOTY 2017 being undone still drags a bit. I am making progress on my list, so I can’t complain too much.

Triple Star Top Finished

Triple Star Top
Triple Star Top

I finished the Triple Star top and back. The package is ready to go to the quilter, which will, once I get it there, make 4 quilts she will have of mine. I am waiting to finish another top before I take this one to her.

I used Sarah Goer’s Planned Improv technique to lay the quilt out, as I mentioned. It worked well, though I would have made some adjustments if I had a larger design wall. Some of the stars needed a bit more space. I just didn’t have the room I really needed to work.

Still, I am pretty pleased with the way it came out and am on to the next project(s). 🙂

Triple Star Layout

Triple Star Layout
Triple Star Layout

This is a very preliminary layout for the Triple Star. I had planned to use Kim Brackett’s straight layout from the book, Scrap Basket Beauties, but the thought of that type of layout just became too boring for me*.

I decided to use Sarah Goer’s Planned Improv method to layout these blocks. I thought it would work with a quilt in addition to just blocks. I got out some graph paper, taped it together and began drawing in the blocks.

Unlike the blocks for my Planned Improv Quilt, there will be spaces in between the blocks. I am also not starting in the middle and working out, which complicates the design. I had no trouble drawing out the design, but I think this quilt will be primarily made up of partial seams. Partial seams are not hard and some people equate them to Y seams (also not hard, check my tutorial), but they are really different. I have a tutorial on partial seams if you don’t know how to do them.

Stay tuned.


*I am not implying that the layout Kim Brackett shows is bad in anyway. I just didn’t want to lay my blocks out that way.

One More Triple Star

Last Triple Star
Last Triple Star

I decided on a layout for the Triple Star quilt and needed one more block to make it look mostly balanced.

I made it mostly from the leftovers that I didn’t use in the other blocks. This makes it heavily made from warm colors. I decided not to worry about it as it wouldn’t stand out with all of the other blocks.

Ta Dots and Stripes Top Finished!

Ta Dots & Stripes Top finished

The Ta Dots and Stripes quilt top and back are finished and with Colleen ready for quilting.

As I said, this was going to be a donation quilt. It turned out to be much more appealing, though still an eye bender, than I thought so it will go to one of the nephews.

It is on the small size – about 45×60. I wanted a border to contain the chaos and make it a little bigger. I tried some fabric, but my IG peanut gallery nixed the idea and I had to agree. I couldn’t find a fabric print that worked and a solid was be too flat.

Ta Dots & Stripes Top - trying out borders
Ta Dots & Stripes Top – trying out borders

I tried a grey dot, which was ok, but not great. I like the fabric, but it just didn’t work with the activity of the quilt. So, no border.


Mostly Manor HST Quilt

Mostly Manor HST piece

This quilt might have been a freebie from the Mostly Manor Lozenge quilt, but it might also be something that I pass along to someone else to work on.

What I have now is not large enough to make much of a quilt with. I need to find fabrics to go with the Mostly Manor fabrics I have already used and make more HSTs to make it larger. I could just add some white squares, make a back and call it a donation quilt. I am not sure at this point. I like the what I have so far, but don’t want to spend time making something that won’t be satisfying. I am not saying that this is an ugly quilt; I am saying that I don’t think I want to spend time on it. Even if I finish it as is, someone will like it.

Planned Improv Top

Planned Improv Top
Planned Improv Top

The top is finished. It came out to be about 60″ x 84″, which I think is a great size. No, it isn’t bed sized, but it will be a good couch, snuggle quilt.

I cut the border pieces to fit each block and sewed them on to the blocks, then sewed the blocks to each other. It was pretty easy to match up the seams using this modified ‘chunking‘ method. It is somewhat scrappy within both colors – interesting, but not psychedelic.

On to the back