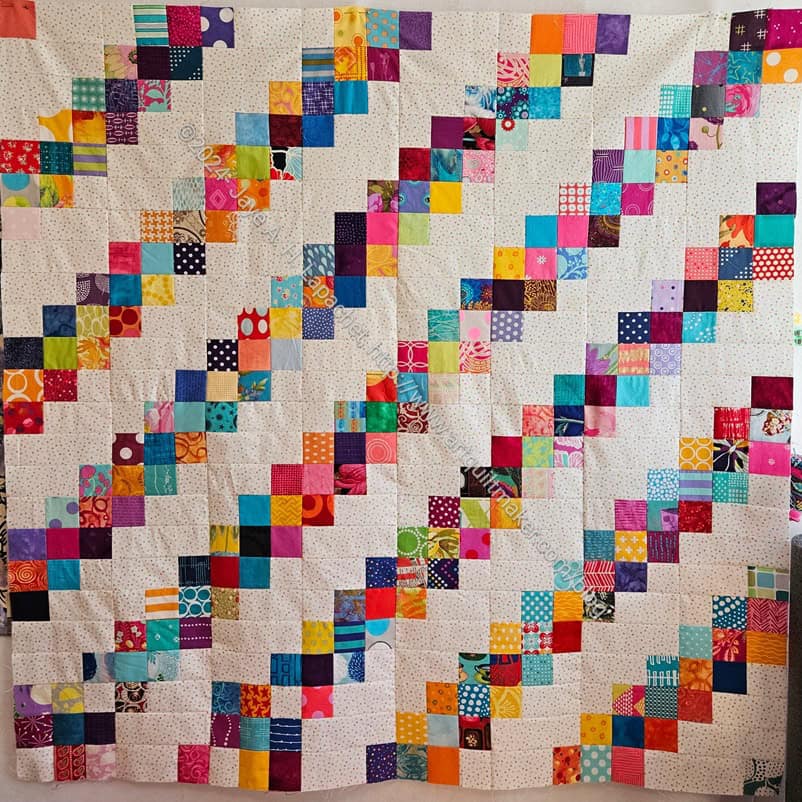
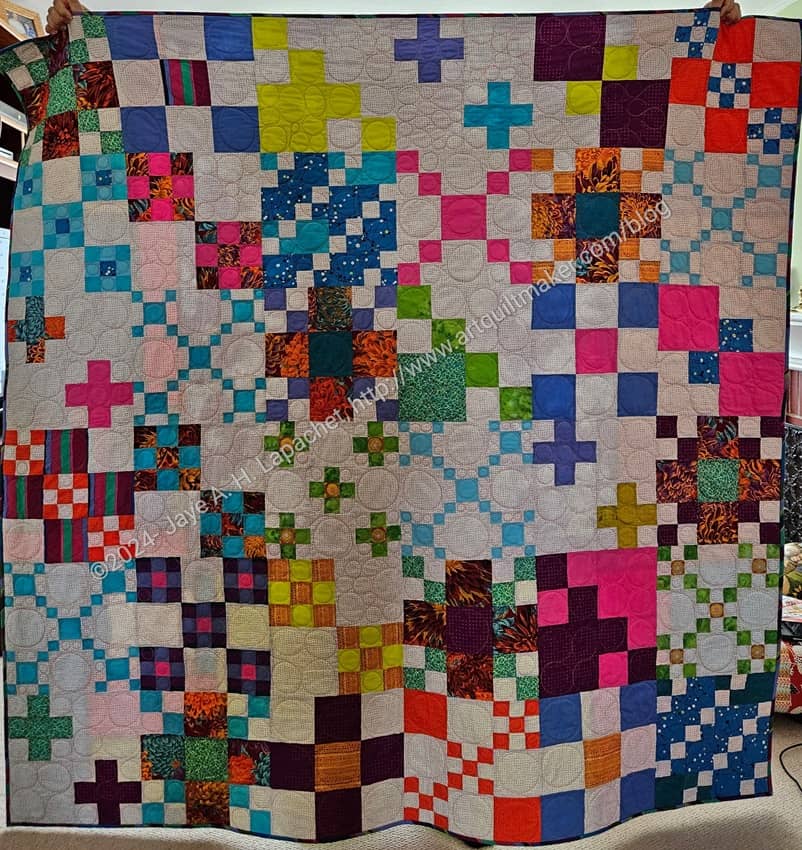
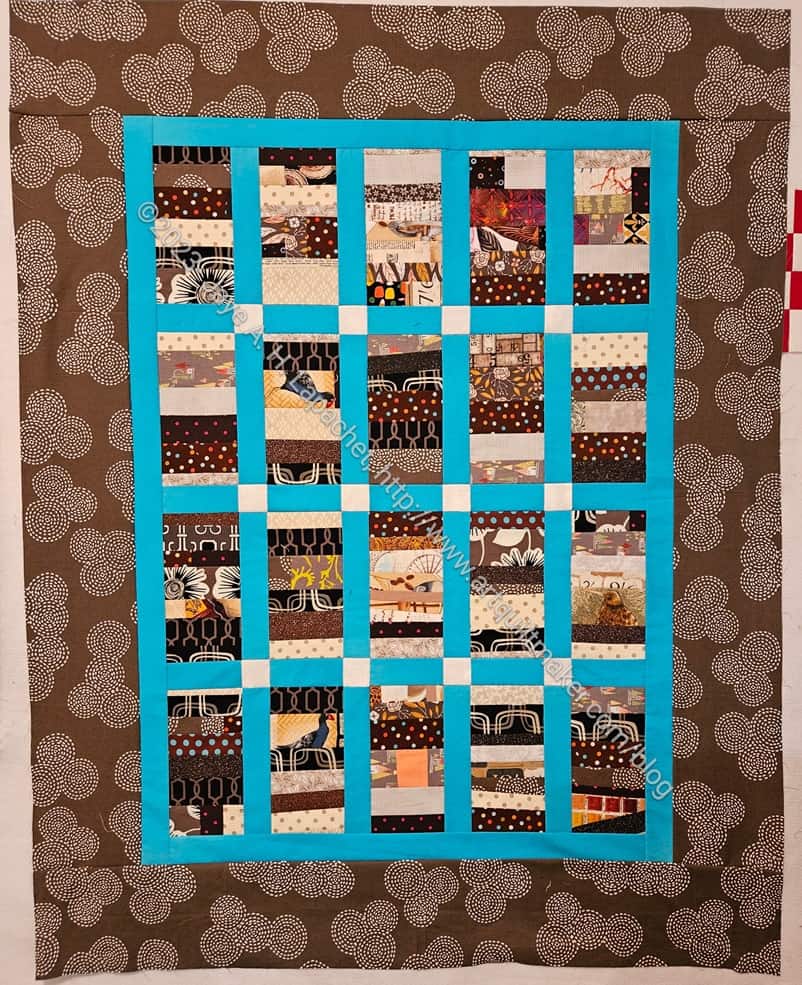
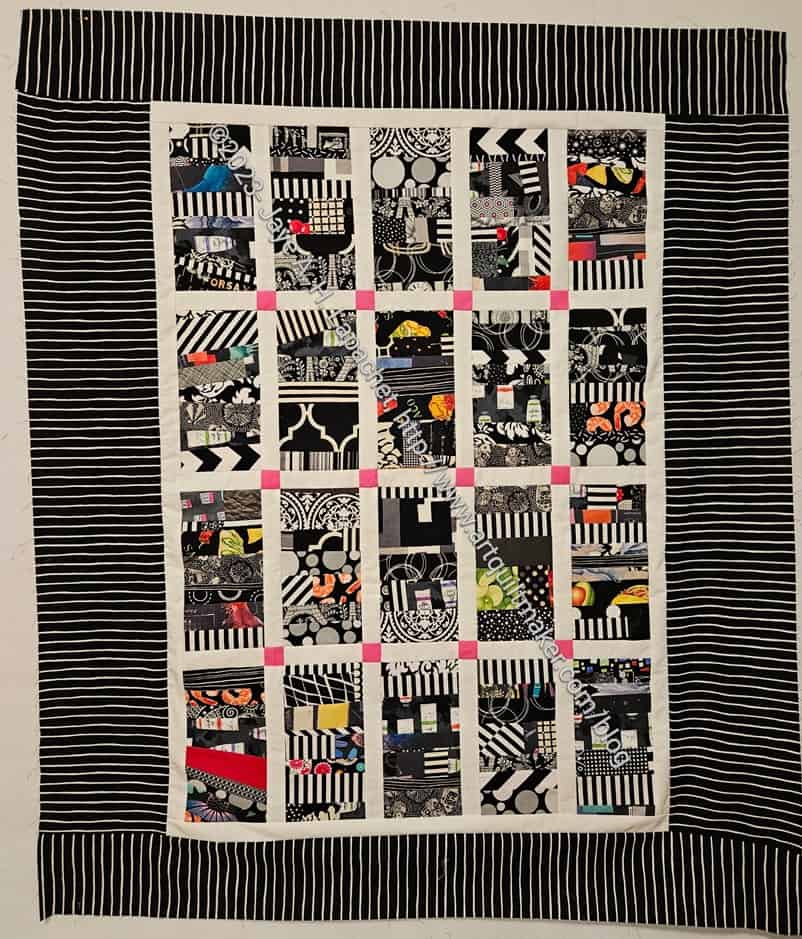
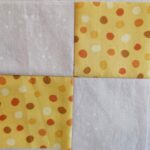
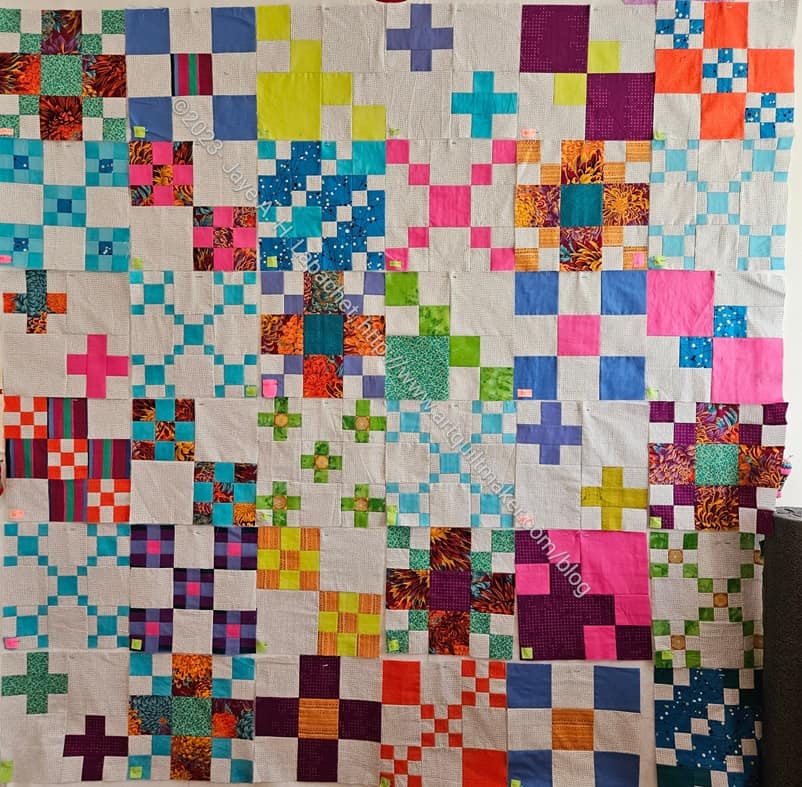
The top is done! Remember? I started it at the Retreat. I had to reorient two squares as I sewed them in the wrong way somehow. Fortunately it was no big deal, mostly because they were both on the edge.
I think the top came out really well. The background has some light dots on it. The contrast is good. Onto to back binding and getting it quilted.
I don’t know whether my niece is having a boy or a girl. I hope the amount of pink in this quilt is ok for a boy as well.
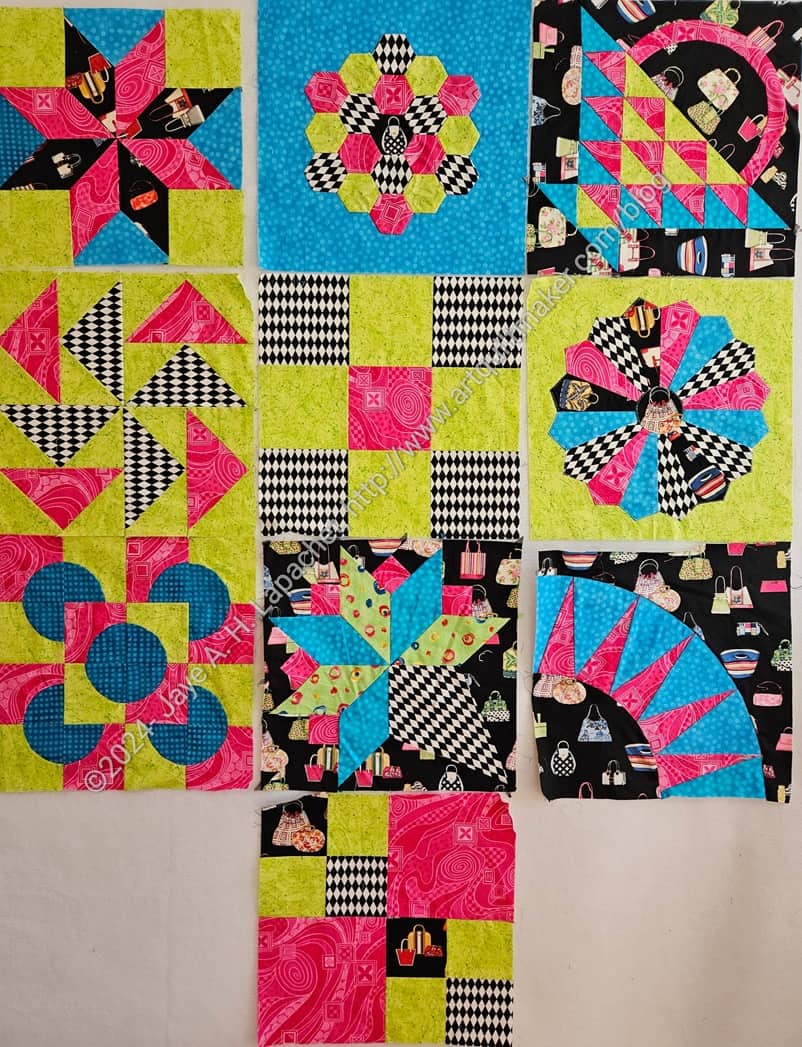
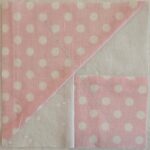
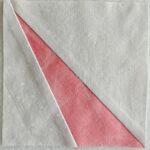
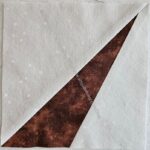
I finally found the Handbag Sampler blocks!!! They were in a bin at the top of my fabric closet
I need at least a few more blocks, which means I have to find the fabrics I used. I have the focus fabric, the handbag fabric, but the others weren’t with it. I haven’t looked for them, but I am confident that they are together and I didn’t use them for something else.
This sampler start has a really different look than the Aqua-Red Sampler and the Original Sampler, though many of the blocks are the same or similar.
I finally finished Scrappy Celebration! I am well in time for my niece’s wedding and shower. Now I just need to decide if I want to enter it in the Fair.If I do enter it, I’ll have to add a sleeve.
I don’t have much else to enter. If I do, it would mean not giving it to her at her shower, but I think that would be ok.
I am pleased with how it came out, but I think I want to make another quilt, or something complicated, with my man Phil’s Chrysanthemum print. I don’t know why I like the colors so much, but I do.
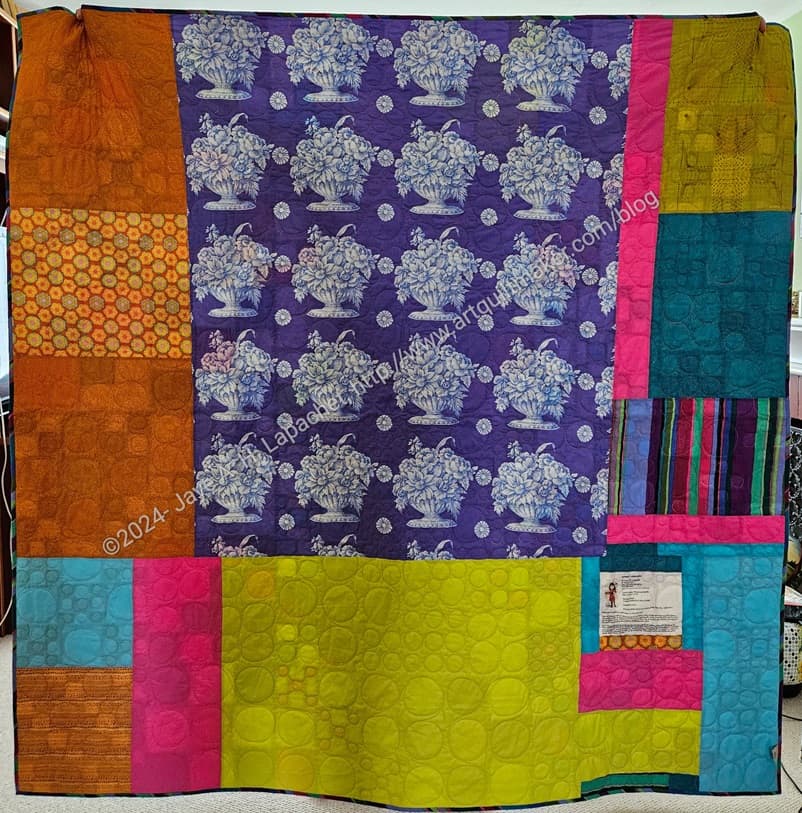
Scrappy Celebration – back
The back isn’t super interesting. I was reading the New Jersey issue of QuiltFolk. They said that this type of back makes the quilt a 2-sided quilt! Who knew?
In addition to Women’s Work 1, Orange You Glad was also in an art exhibit.
Yes, an art exhibit not a quilt exhibit.
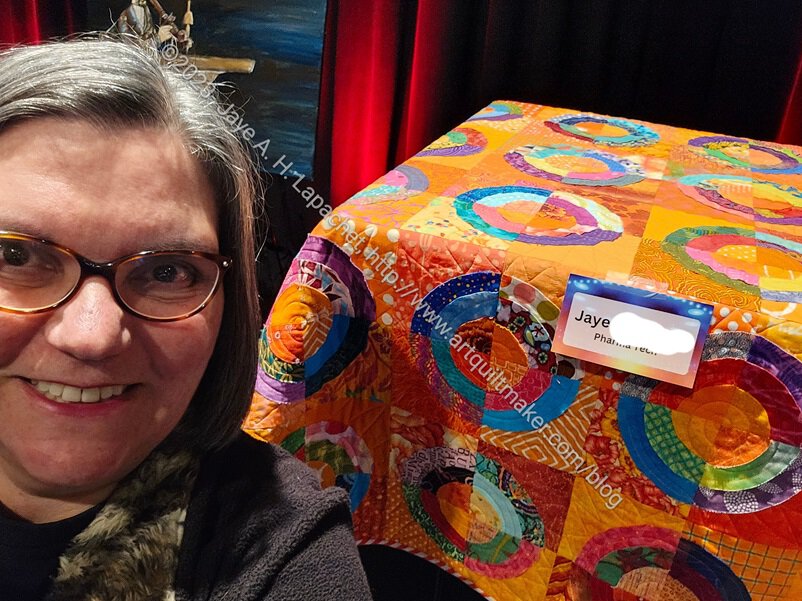
My work had a “[name of company]’s Got Talent”. It was mostly performances, but there was also an art show on the side and I entered Orange You Glad.
Orange You Glad & me
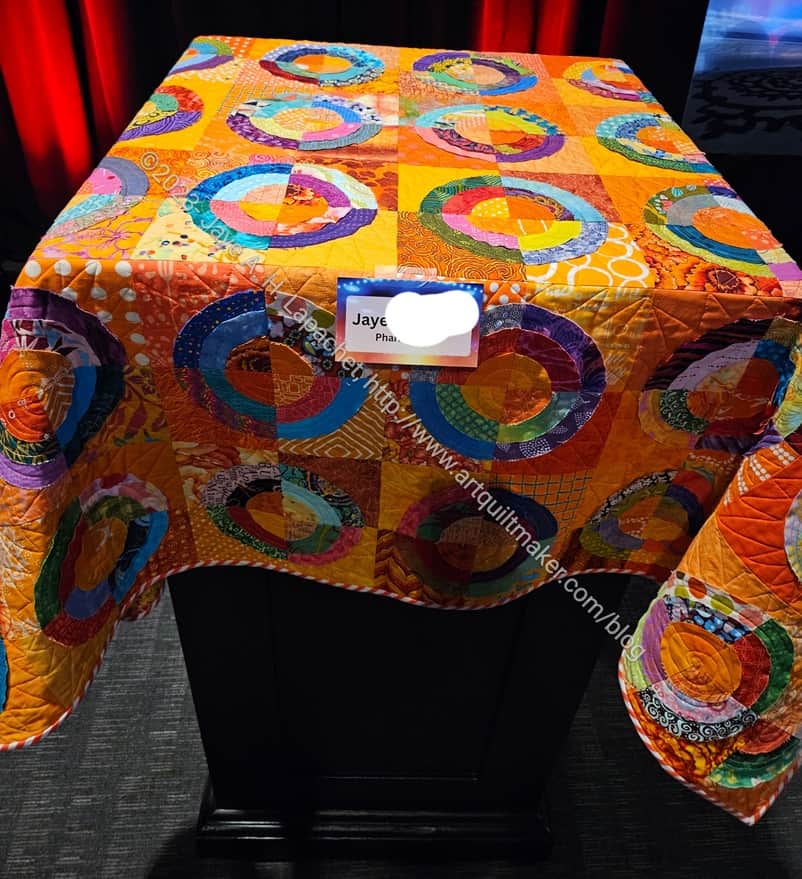
They didn’t know how to display quilts, so I had to give them a lesson and bring a curtain rod, but the art handlers flung the quilts over plinths and that’s how they were displayed. It worked out ok.
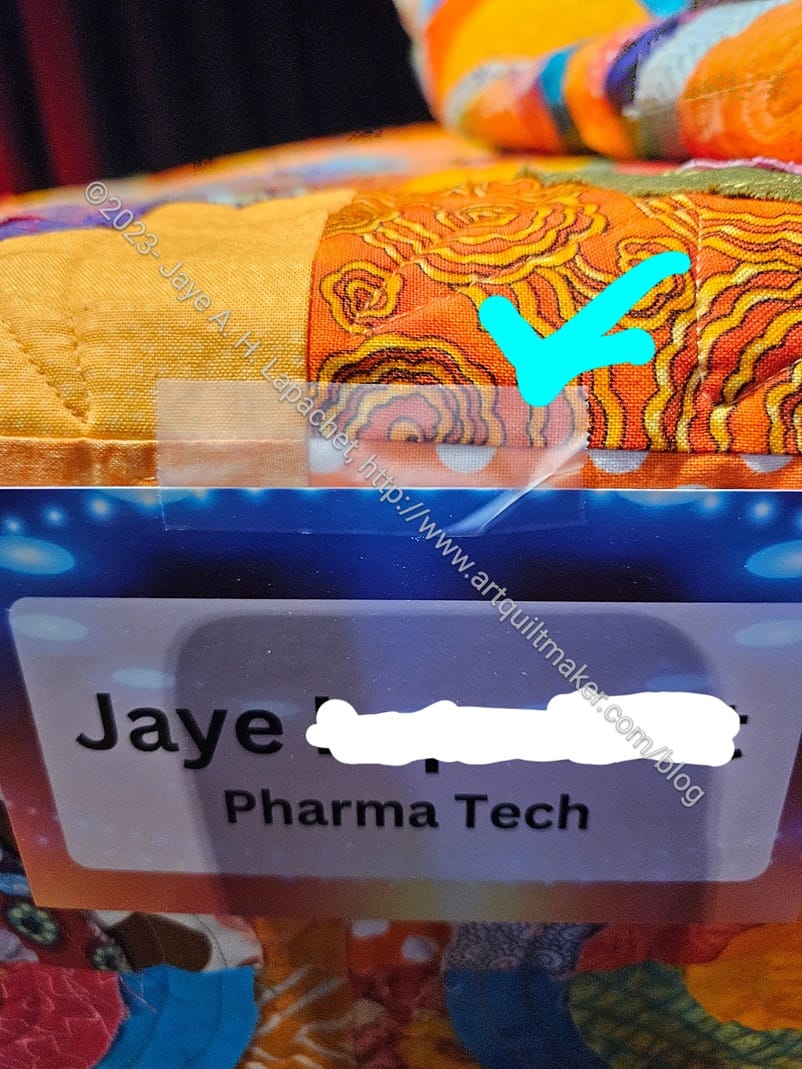
Orange You Glad with tape 🙁
I was kind of shocked when I saw that they had taped – yes Scotch taped! – the label to my quilt!!!
Clearly they were professional curators and it was only a few hours, so I didn’t worry about it too much, but it was still kind of shocking.
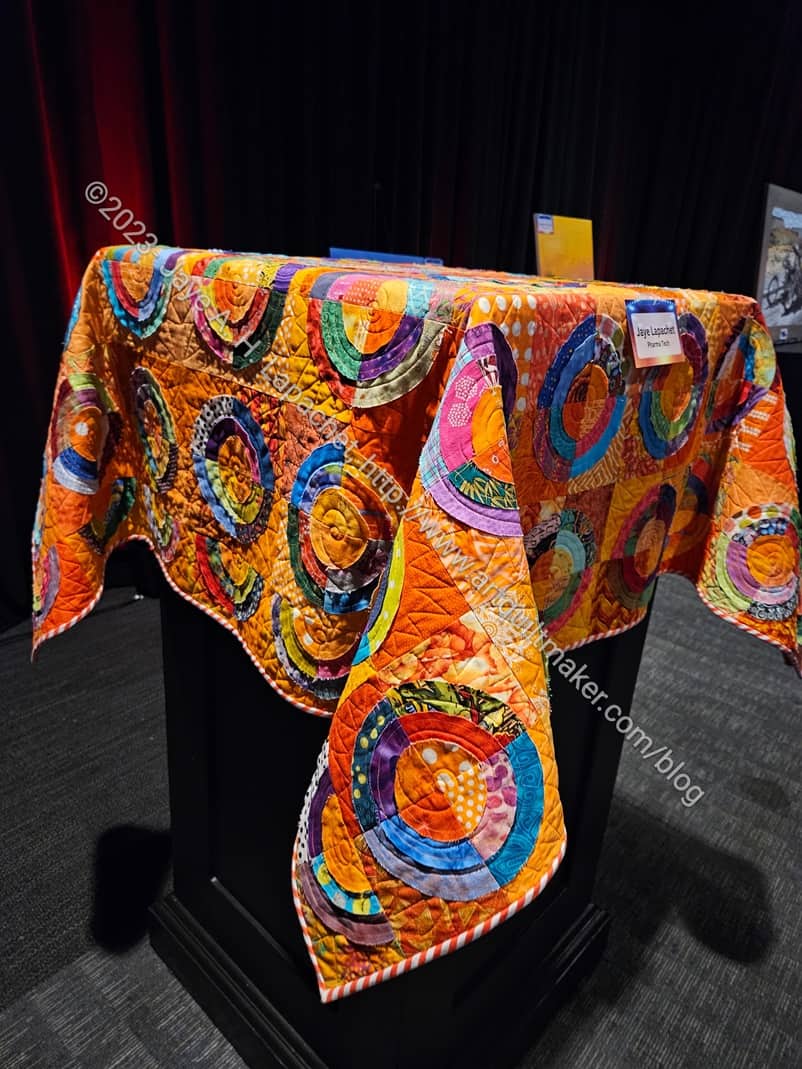
I had never seen a quilt on a plinth (pillar?) before, so that was an interesting experience. I thought it looked ok, though the border I sewed was completely lost.
Orange You Glad at work
I was glad to have the opportunity to have another quilt on display with paintings, wood carvings and other works.
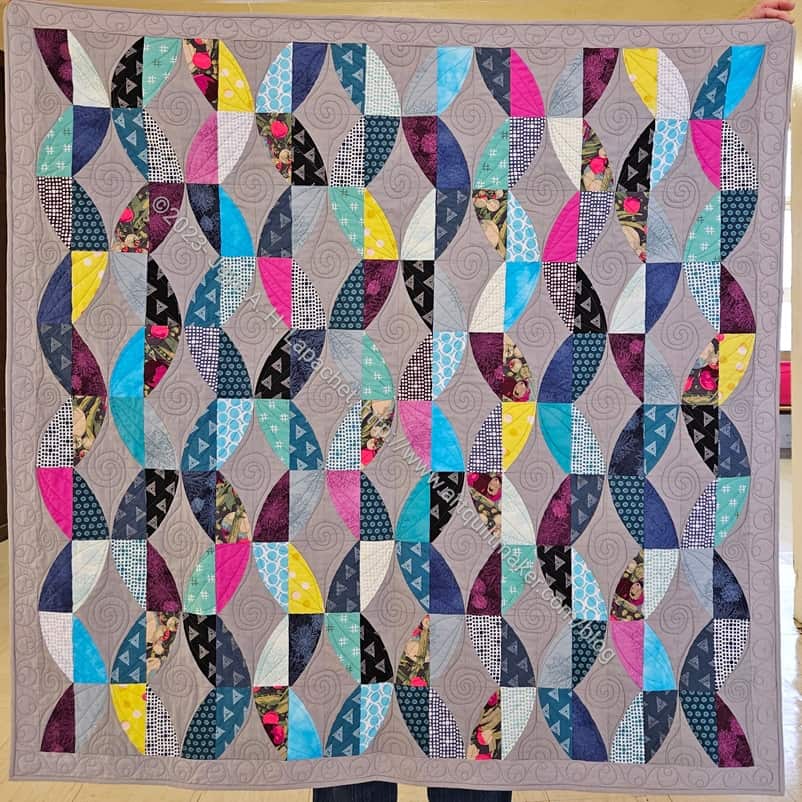
Yes, Metro Twist is finished! Hooray. It will go off to its new home after I show it at the guild meeting.
I am so thrilled with the fabrics. It was a good group to use. Someone asked me when I showed it at Sew Day if I had bought the pack of fabrics or if it came from the fabric closet. I was thrilled to tell them I made the choices myself.
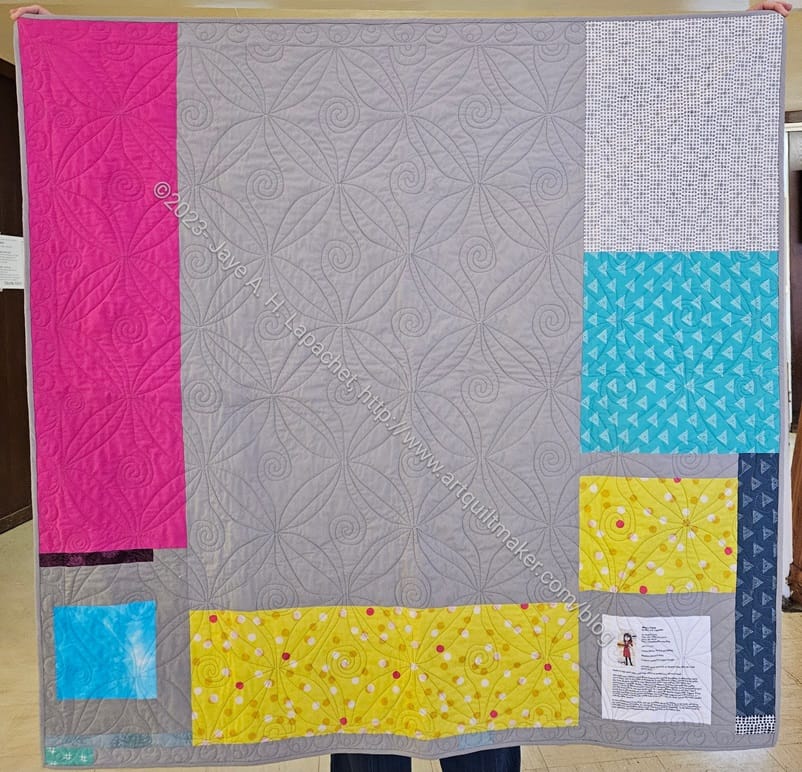
Finished: Metro Twist back
Colleen did a great job on the quilting. You can see it really well on the back
It came out smaller than I remembered, but it will be a large wall hanging or a small lap quilt.
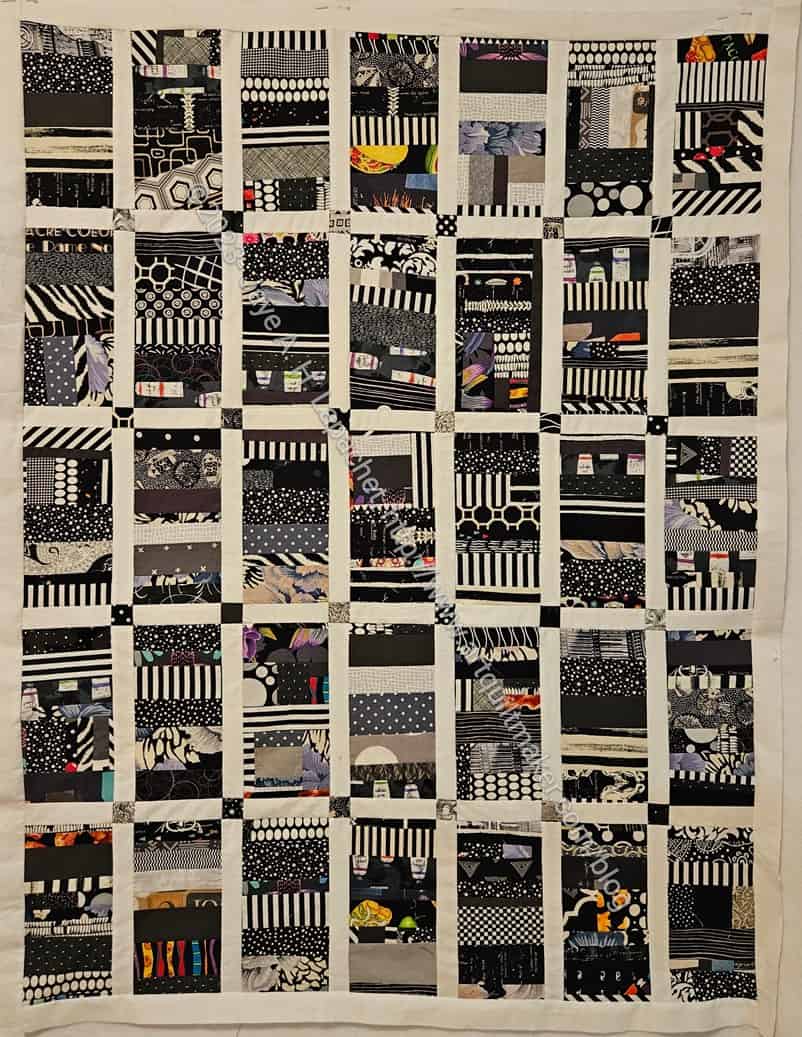
I wouldn’t exactly say I finished this in record time, but I did work hard to get it done and off my design wall.These quilts aren’t difficult to make. The blocks can take some time, but go together quickly if the strips are available and I use the leaders and enders technique.
This is the third quilt finished from my black-grey-brown scrap drawer. It never ceases to amaze me how little fabric it takes to make a quilt. This one, including borders and sashing took about 3 yards.
I showed it to Marty, who loves the nuanced subtlety of brown, at Sew Day the other day and she loved it. She wanted to know if I was a brown convert. No, no I am not, but I am glad I made this quilt and got rid of the brown scraps I had.
While we were looking at the quilt, I pointed out some of the fabrics I used in really old quilts, like She Had to Have her Latte. That is the fun of scrap quilts – seeing old fabrics and remembering a previous project.
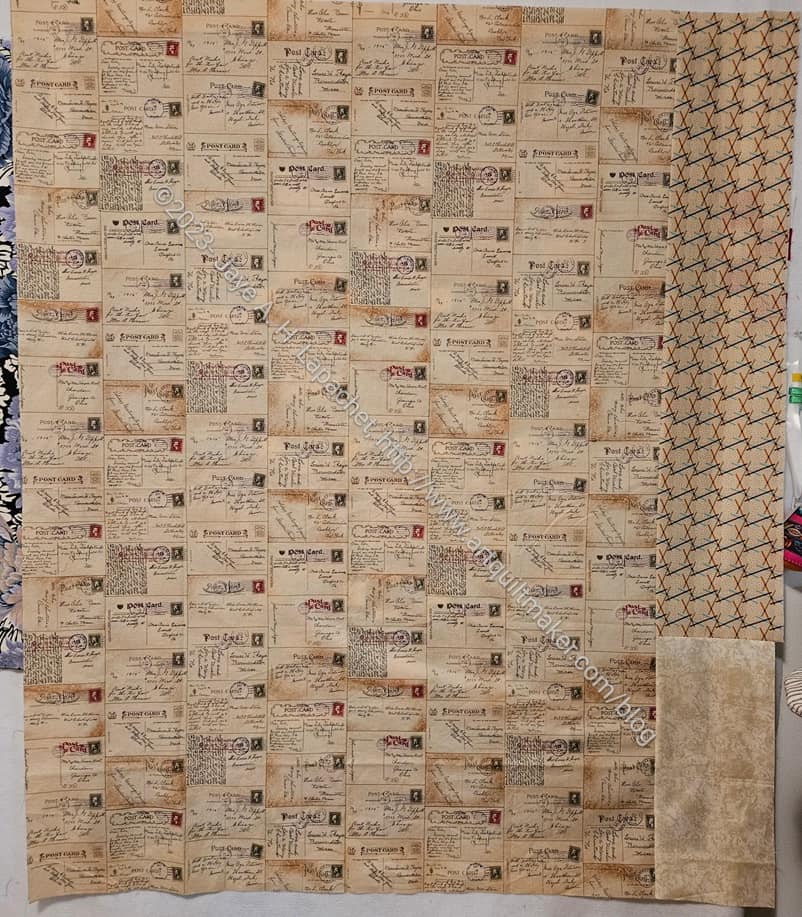
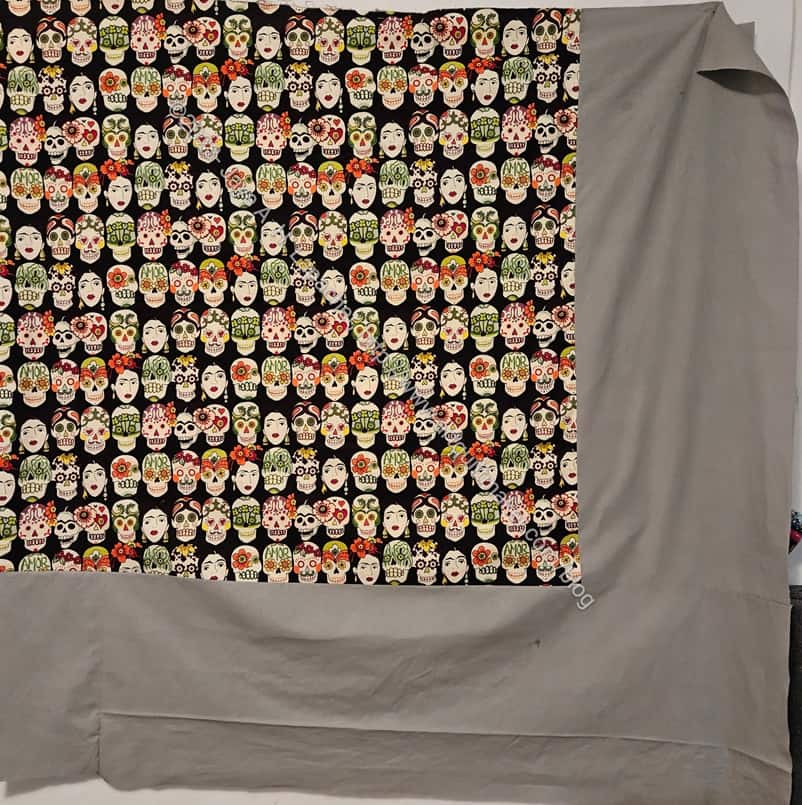
Brown strip donation quilt back
I had a large piece of ‘tea dye’ colored fabric that was almost perfect for the back. I had to add on a bit more, but it was nice to get that large piece out of the fabric closet.
The fabric has postcards on it. I tried to read the messages, but I finally decided they must be fakes as some were impossible to read. That, or they were intentionally blurred.
Another project and more fabric out of the house.
I remembered that I used up quite a bit of brown for the Henry Softies.
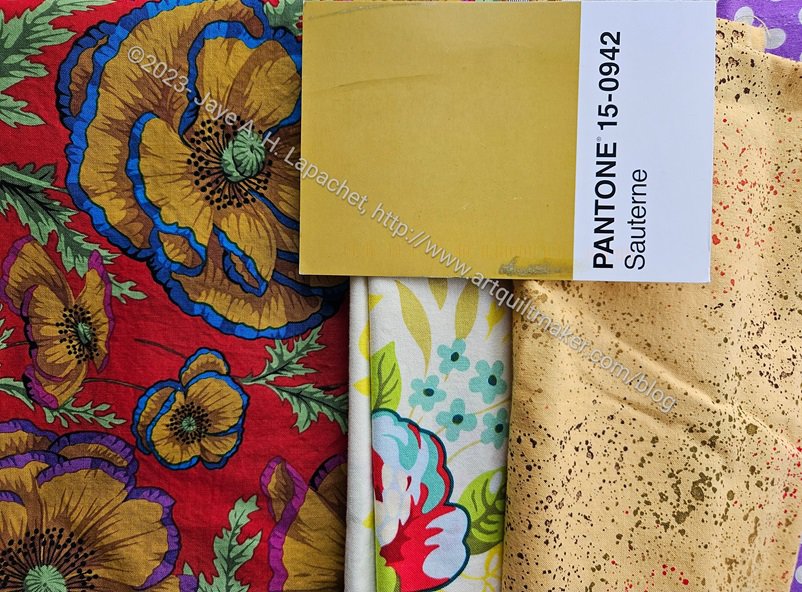
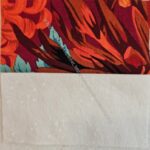
I received Sauterne with a heavy heart. Not for the message, which I always anticipate, but for the color. Another color I almost never use and never buy. Amazingly, I found a Philip Jacobs print with that color used for some flowers. It was almost perfect.
This print was the third one I found. The speckle gold is a good type to use for this project, but definitely the wrong color.
In the middle is a Heather Bailey print. Again, those tiny leaves right under the postcard are the perfect color, but so small. I didn’t think it was right.
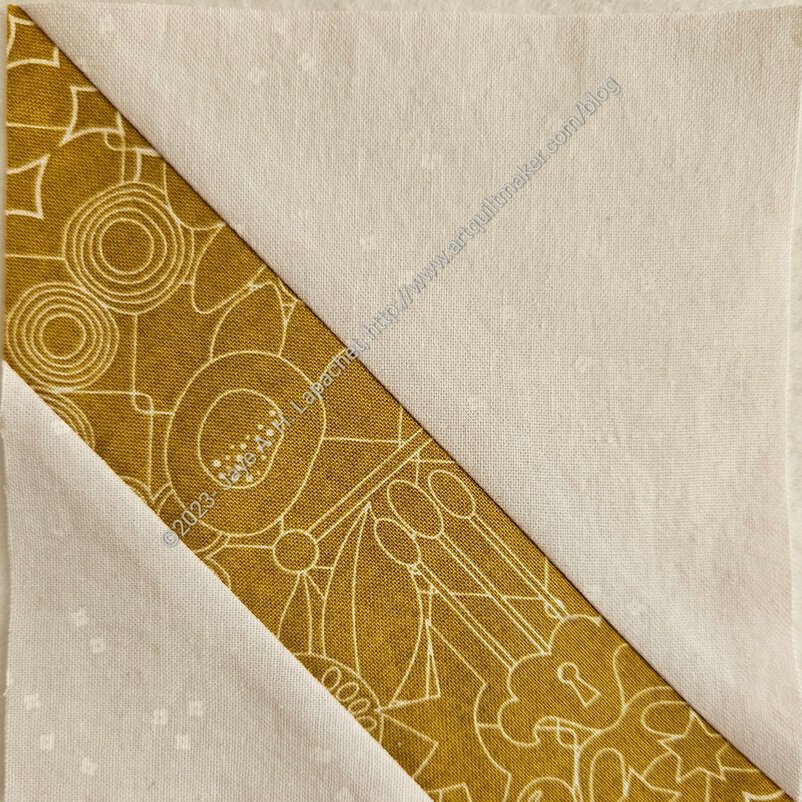
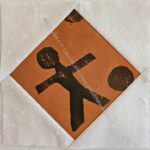
Pantone: Sauterne in Half Night & Noon
Finally, I found a 10×10 square (I wonder where that came from?) of an Alison Glass print that actually was the perfect color and also the perfect type of print – a tone-on-tone.
I received another postcard today, so back to the fabric closet for more hunting and gathering.
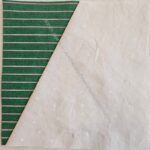
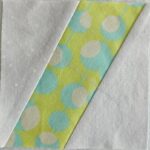
I spent most of the Sunday of MLK weekend working on the latest batch of Pantone blocks. I dug into some old fabric to find good matches.
Pantone: Storm Corner
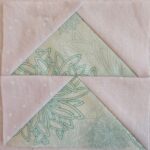
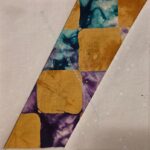
Pantone: Flying Geese
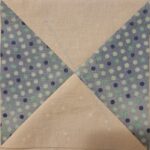
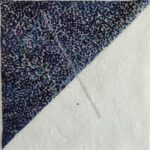
Pantone: Trickies or QST
Pantone: 4 Patch
Pantone: Rectangles
Pantone: One Peaky Right
Pantone: Center Diamond
Pantone: Corner Gone
Pantone has a lot of browns and I am digging deep to find anything that looks close to the colors on the postcards. I found some brown fabrics I had forgotten I had. The exercise is making me think about shades and tones that are missing from my fabric palette.
I am using this project for leaders and enders, so it isn’t progressing as quickly as it might otherwise. Still, progress is good.
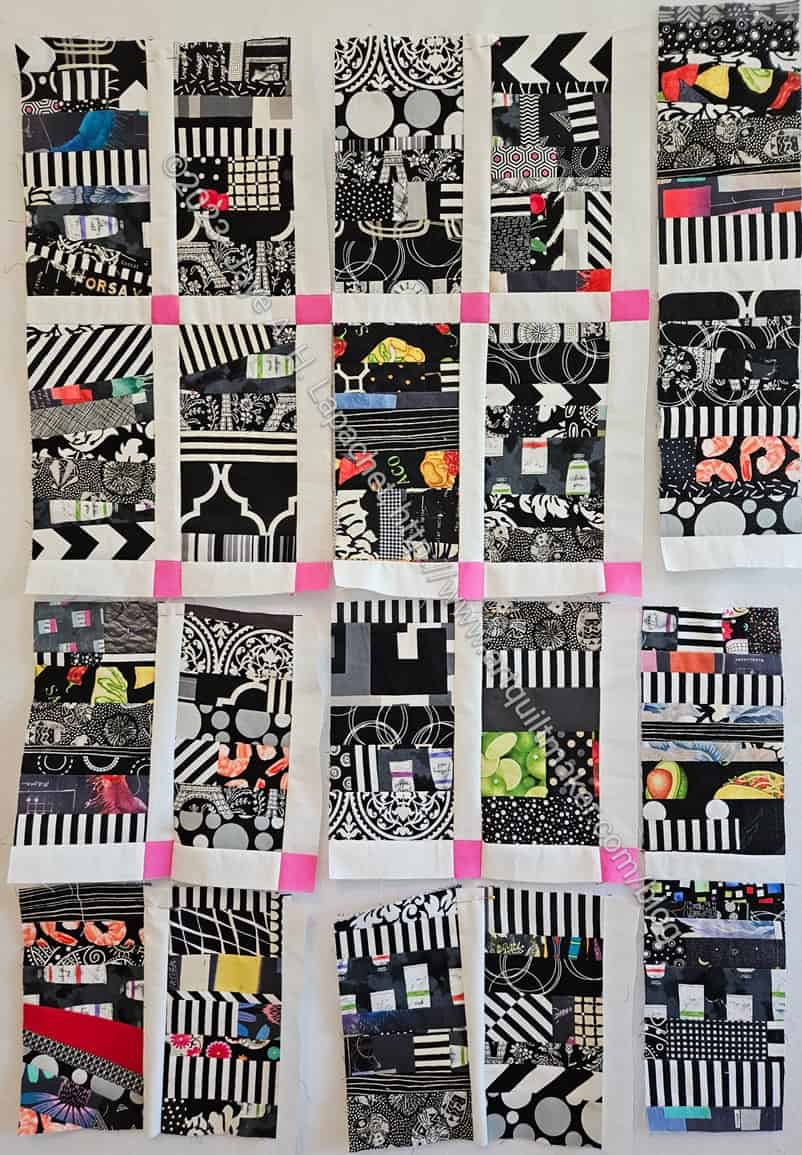
These are the additional blocks I made, some of which were rejected from Black Strip [#1].
It has that weird shape again and I don’t have enough additional blocks to make it wider. Not having additional blocks is a good thing in terms of scraps as it means I am working through my scraps (making room for more!). On the other hand, it is a not ideal situation for actually using the quilt. I might have to go with wider sides and narrower top/bottom when I do the borders.
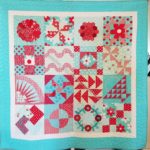
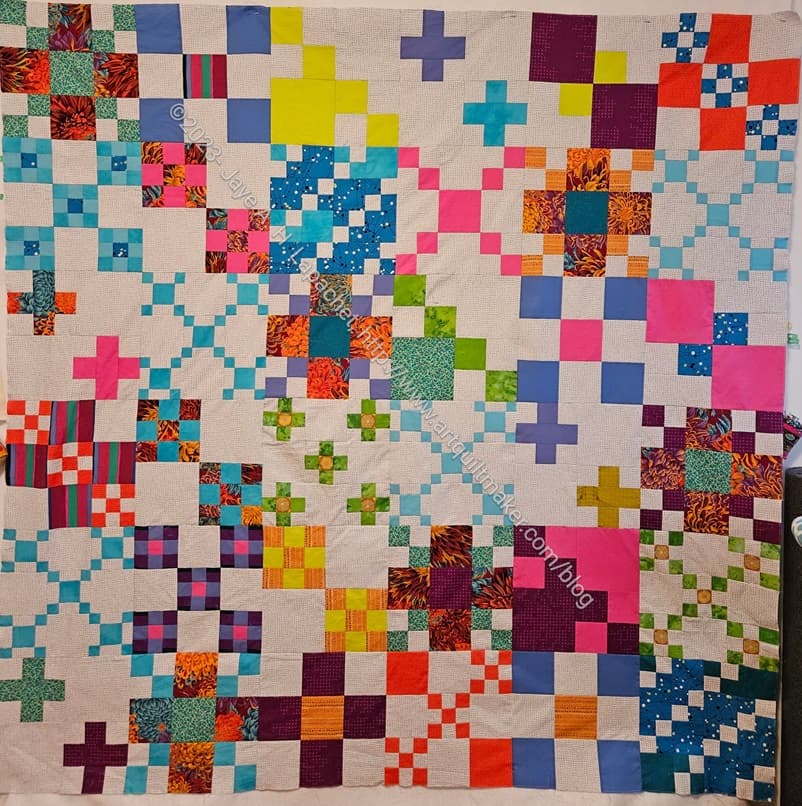
Scrappy Celebration is finished. Well, my part is finished. Today I will bring it to Colleen for quilting.
This quilt was nowhere near ready to give to Colleen, but except for one mishap, it went together quickly and fairly easily (knock wood). I am pretty pleased with the way it came out. It is a lot more interesting to look at than it was to piece.
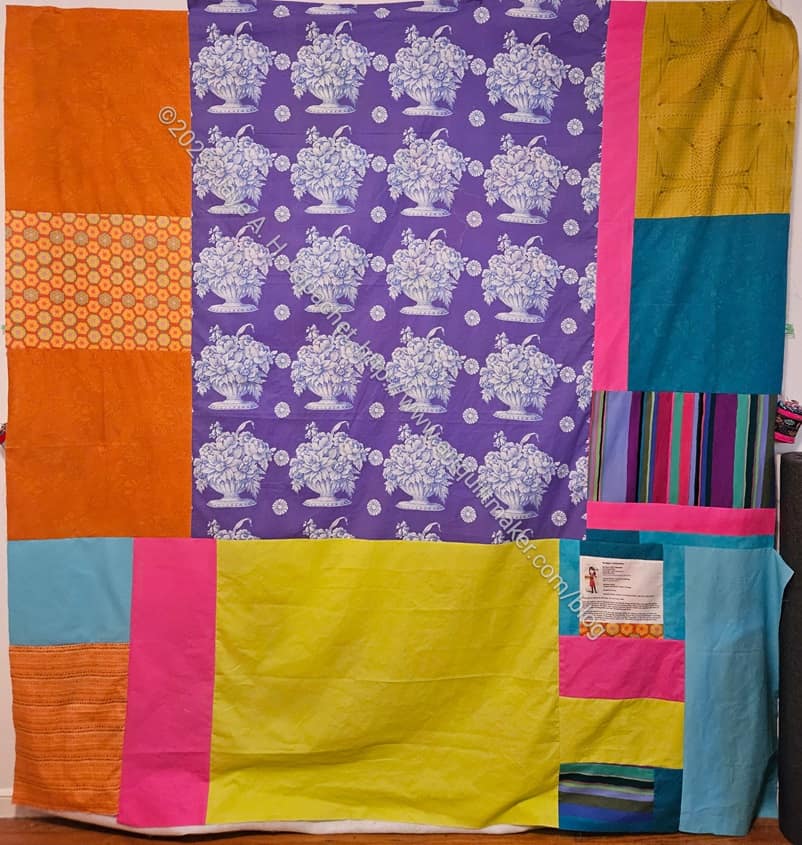
Scrappy Celebration back
As usual, I used a lot of the leftover fabrics for the back. Friend Julie said the look of the back is energetic. I hope that is good and not just a nice way of saying “what were you thinking?”
Notice that I didn’t use the Philip Jacobs chrysanthemum print on the back. I wasn’t ready to use it up yet.
I was able to finish the grey strip top at Sew Day, then work on the back at home. I am pleased that this top is finished and am already working on the next black version.
With the back, it is another 3 yards used for a good cause.
Grey strip donation back
I have now made 14 of these quilts, with the help of my guild colleagues.
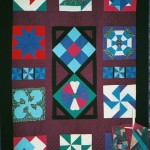
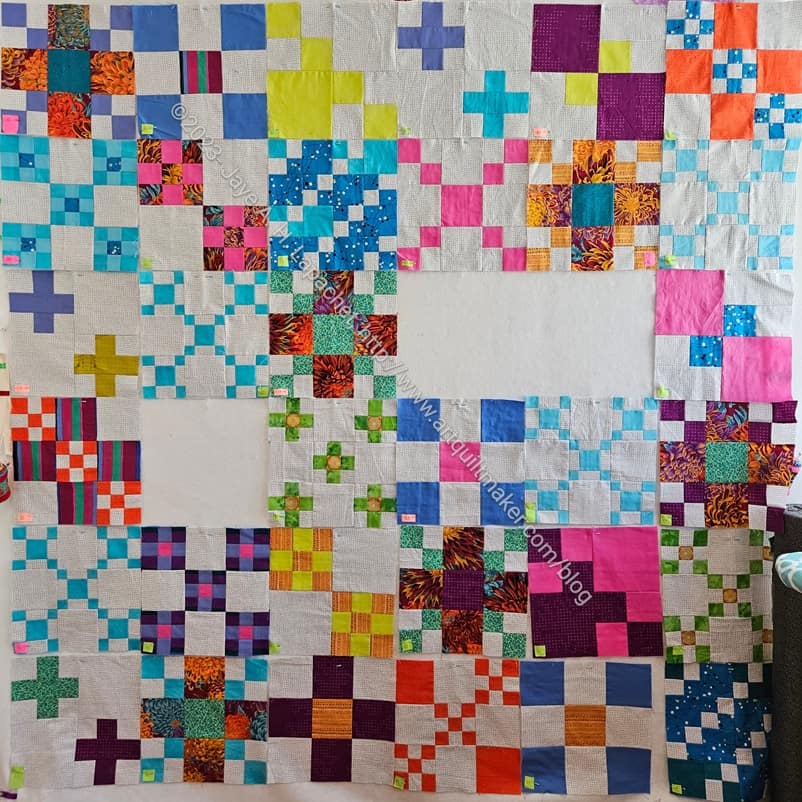
The last time I talked about this quilt was in September! Since then I have been moving the blocks around my workroom in a desultory manner. I last had them all on the design wall in August and they don’t look great. I decided I needed to finish it and my deadline is on Friday. I have a date with Colleen and knowing my work schedule, will be unable to make another any time soon. So, I needed to get it finished.
Scrappy Celebration -what I had
I actually didn’t start from a bad place. I just needed to figure out where I was and where I needed to go.
The photo on the left is what I had when I put all the blocks up on the design wall. I ignored the block labels I had put on based on where the blocks were in the pattern. I rearranged blocks so they looked more appealing and, then, decided what I additional blocks I needed to make.
I worked on it last weekend and made good progress. I am now ready to sew the piece together.