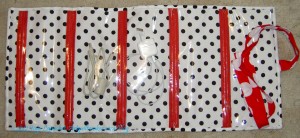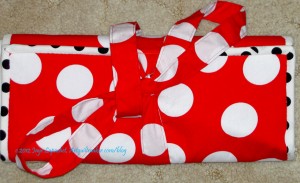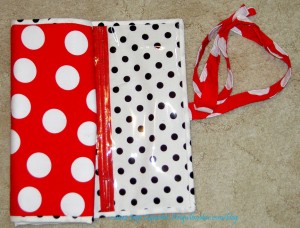
After the skirt misadventure, TFQ and I decided to make a charger case. I was using a very elegant vegetable bag crammed full of tangled cords and that was the inspiration.
We used a SewCraftyJess tutorial for a jewelry case and modified it slightly.

Some of the modifications we made had to do with size.I also noticed that Jess, who did the tutorial, must have had a different type of vinyl (I used the leftovers from my clear bag project), because she did not need a roller foot or tissue paper. I need both of those at various times to force the vinyl through the machine. I don’t think this is problem/issue if you are using some of the flannel back oilcloth and keep the flannel side against the machine bed. For the purposes of this charger case, I couldn’t guarantee that I could have something between the vinyl and the machine bed at all times. This is when I put the tissue under the vinyl. Yes, the bits of tissue paper had to be picked out with tweezers, but that was the lesser of two evils (the first evil being me screaming and berating the vinyl, my machine, etc). I have some tweezers with very sharp points and long handles and they worked very well.

Also, as the layers built up (vinyl twice for top stitching, zipper, etc), the thread started to break, so I lengthened the stitch length and that worked better. I might use a larger thread than 50wt if I made another charger case.
I thought not stitching the back to the front would be a problem, but it seems not to be, though you could stitch all the way through the layers if you wanted.
The tie was a bit of a puzzle. I ended up machine sewing it to the center of the binding on one of the short ends. It seems to work fine. I might try velcro or a magnetic snap if I made this again. I used the technique for making the ties that I use for making bag handles (4x desired width, fold in half and press, fold outside edges to press line and press again, fold on original press line, stitch around entire outside edge). The ties would have had more style if I had made a point at the end.
I am pretty happy with how it came out, though I am thinking that aqua dots might have been a better choice for the inside. I wanted something light so I could see what chargers were where. All of these little tweaks are why I made things more than once – to see if my imagined tweaks would work better.