Yes, yesterday I finished the last details I needed to do to prepare the top for quilting. The tasks required were:
- Finish back
- Make binding
- Trim top
- Stay stitch
Saturday was a busy day, because I attended the CQFA meeting. I stayed after the meeting to sew with Sonja, Angela and Rhonda. It is good for me to hang with others and talk sewing. I am tending to work alone lately and am trying to get out of that rut.
During the sewing time, I worked on finishing some buttonhole stitching on one of the stockings and making progress on applying the sleeve to the Original Bullseye top. When I returned my mind was buzzing with an idea using the technique that Caroline taught based on Susan Carlson’s book, Serendipity Quilts. I worked on getting the design to the size that I wanted. That was about all I had energy for before I needed to go to bed. In the process, I ruined the cropping tool on Photoshop Elements. I know there is something I clicked, but I don’t know what it was and will have to take some time to find it and undo it. Ergh! All this is to say: 1) I didn’t work on the Attack of the Hexies on Saturday and 2) I have an idea for a new, small art piece, so stay tuned.
Yesterday morning, I had big plans to get up early, go to the gym, take a shower and get going on Attack of the Hexies by 10am. Famous last words! I didn’t get up until nearly 9 and I felt creaky. I have been dealing with a cold. While I am on the downslope of it, I am stilling fighting it off. I didn’t sleep well a few nights in a row and am trying to make up for that lack of sleep. I cut myself some slack.
After writing in my journal for awhile, I went upstairs and started sewing. I had to add a bit of fabric to one half of the back before I could sew the whole piece together. I did that and had to trim the whole back so that the piece was essentially square.
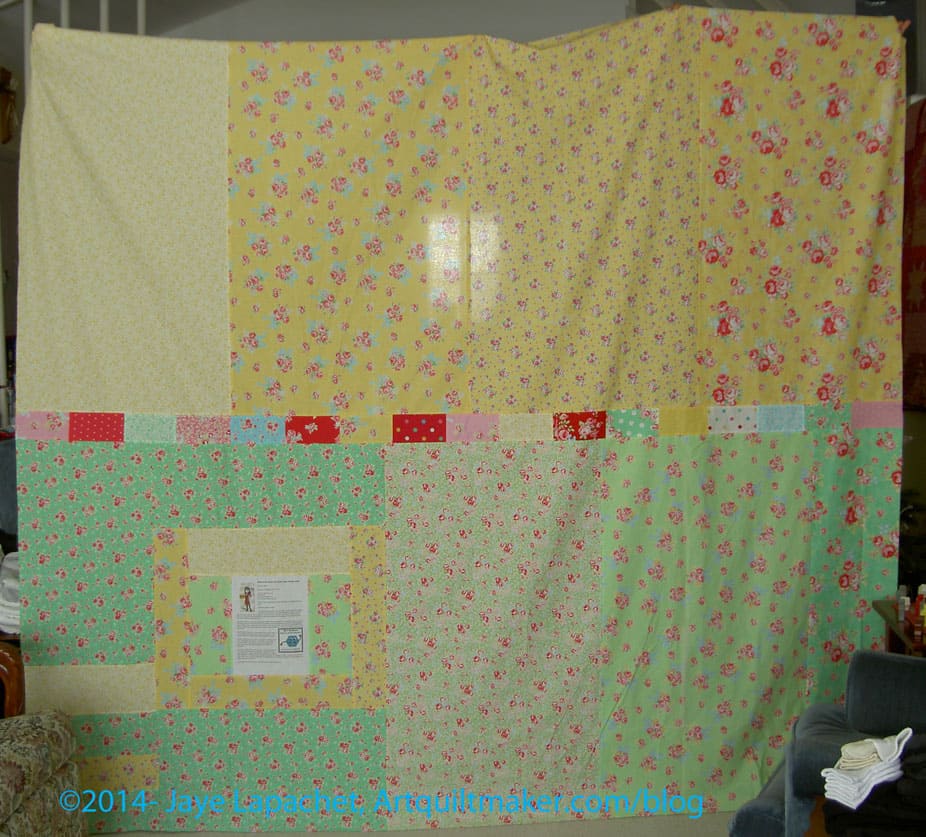
The line of bricks on the horizontal in the center of the back used to be hexagons, but I cut the leftover hexies up into rectangles and used them to add a little interest. The rest of the back is leftover yardage from the Flower Sugar line of fabric. I still have at least 5 yards of yardage left from that line. Not sure what I will do with it, but it will go into the stash and will show up again. There are two pieces that I really like.
Next, I made the binding. I used one of the pinky-reds from the line to provide a frame for the entire piece. I also made it a straight of grain binding. A lot of the border is on the bias because of the way I placed the hexagons as I added them to the piece. Basically, I didn’t pay attention to the grain line. I should have, but didn’t. I don’t do straight of grain bindings very often, because they tend to get kinks and near-folds in them as I hand stitch them on to the quilt. I like the ‘give’ that bias bindings have. It makes them very easy to apply by hand.
In this case, I want the edge to be stable. I don’t want it to get out of whack when it is quilted, thus, a straight of grain binding. We’ll see how it goes.

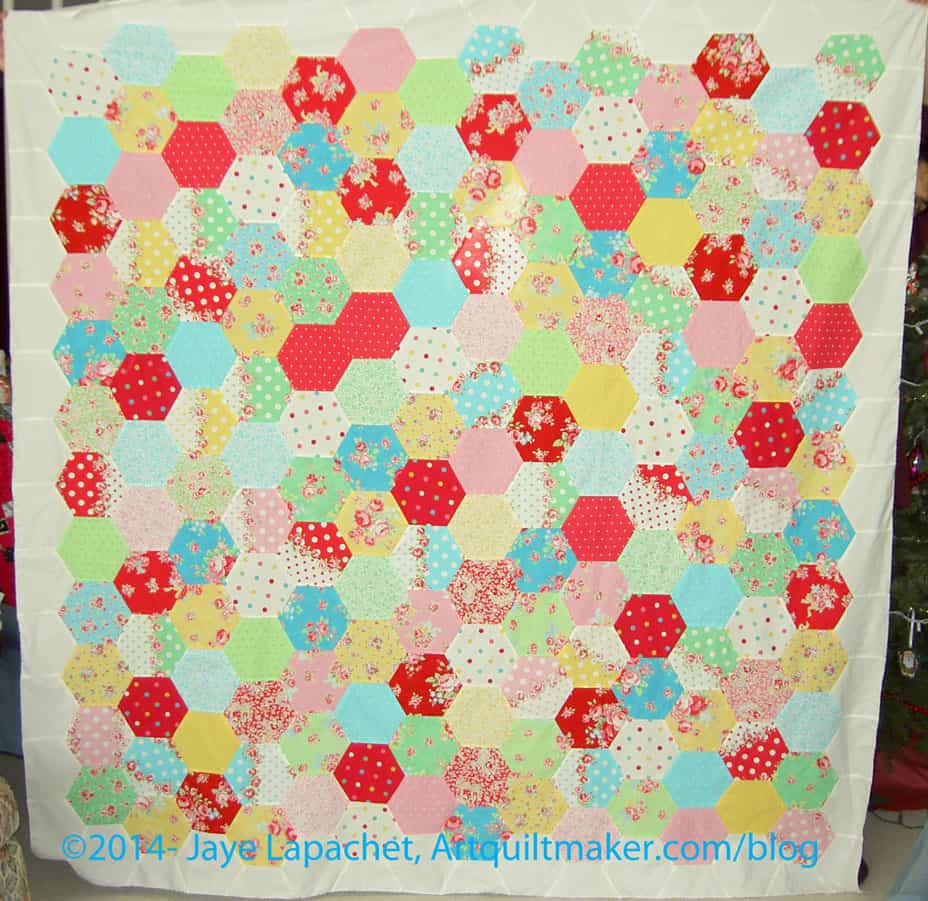
Finally, and I don’t know why I did this last, I trimmed the border. It wasn’t straightforward, but I had to trim half of each hexagon one by one. I used the lines on the Clearview Ruler I discussed in the Hexagons Follow-up post to keep the who piece as straight as possible.
It wasn’t straightforward, because of the bias, so I just did it slowly and as carefully as I could. The piece will not be as straight as the Quilt Police would want, but they never made this quilt and I am happy with it. As you can see from the photo above, the border looks a little odd, but I like how it looks different.
The piece is now ready for quilting. I’ll take it to Colleen for quilting as soon as I can. I look forward to getting this completely done.
Hexagon Related Posts:
Little Bluebell’s Cutting Instructions
May 21, 2011 – Hooked on Hexagons
June 1, 2011 – Hexagons Follow-up
June 7, 2011 – Attack of the Hexies
June 9, 2011 – Hexagons tutorial
October 20, 2011- Hexagons Return
November 13, 2012- Blue Chair Blog Hexagon Sewing tutorial
June 28, 2013- Hexagon Clarification
September 5, 2013 – Hexies Return
January 5, 2014 – Attack of Hexies Returns
January 8, 2014 – Attack of the Hexies Border
It’s looks great! Congrats on finishing the top and back.
Thanks! Finally, I know. I feel so much lighter!