I have a weird image of myself wearing a lanyard to a guild meeting with a lot of tools, at my fingertips and never lost under fabric or pattern pieces, hanging off of it. Like a chatelaine that the mistress of an English or French great house or castle would wear, only more quilty.
This is probably a stupid vision, because I would get a neck ache carrying around all this stuff and it would look a bit geeky as well. I did warn you that it was strange, and I just never know what images will pop into my head and inspire me.
A good reason to go to a guild meeting, probably the best reason, is to see what others are making. At a recent BAMQG meeting, Susan brought scissor sheaths she was making for the ladies at a retreat in which she participates. These scissor sheaths stuck in my head and I looked up a couple of YouTube videos with directions. They are very easy to make.
I took the best of both videos to try and make my own.
Supplies
- Template (cardboard or rotary version)
- Interfacing to give the piece a little body. Batting would do as well.
- Gluestick or Sewline glue pen
- Sewing Machine
- Thread
- Rotary cutter
- Iron and ironing supplies
- Chalk or chalk pencil (Sewline works well)
- Needle
- Thread

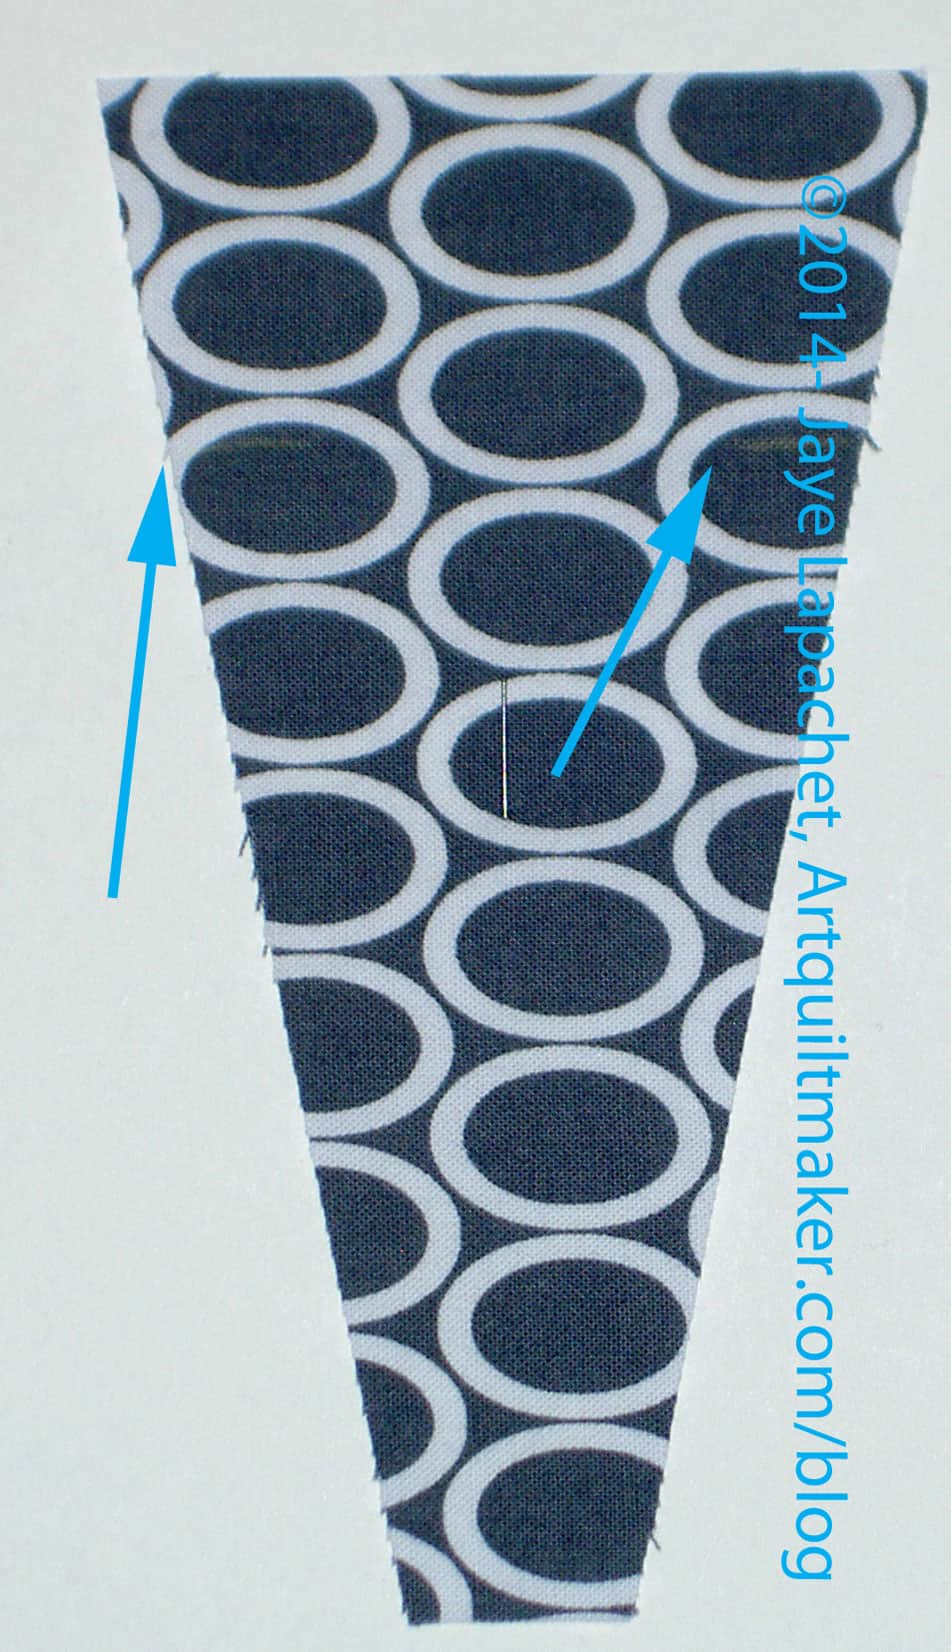
First, I went looking for templates. I didn’t have a heart shaped die for the Accuquilt, so I looked for fan or Dresden Plate rotary templates. I knew I had some and thought those would work.
I had a few different ones and tried the rounded Dresden petal template first. the first one I made turned out ok. I needed to reinforce the stitching in several places and I didn’t like cutting around the rounded bottom (thinner end) of the template.
Despite my annoyance, any of the above templates, as well as the Accuquilt heart shaped die (not really covered in this tutorial) will do.
Directions:
Cut

- 4 pieces of fabric from your template (this tutorial does not cover the modifications needs if you are using the Accuquilt Heart shaped die)
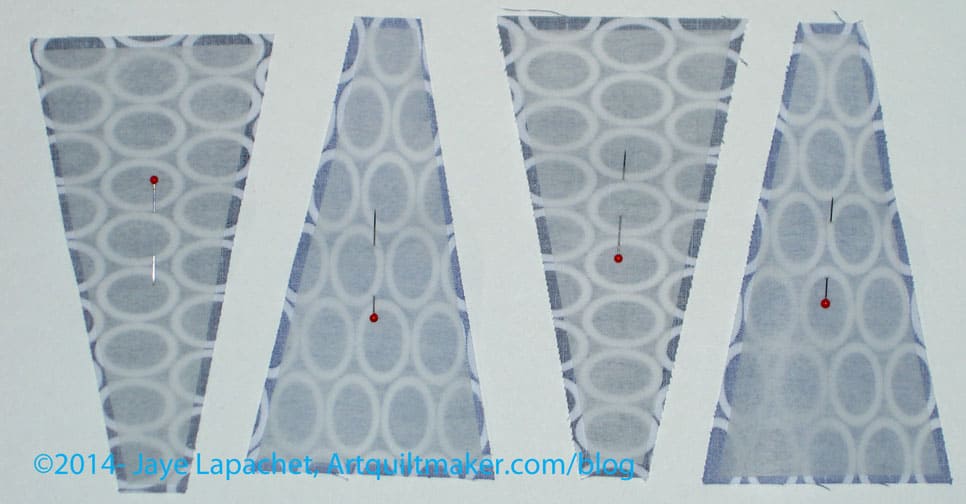
- 2 pieces of interfacing or batting slightly smaller than your template
Note
- Make notches or markings where you want the top fold to be – about 1-5/8″down from the top. 1″ works well for some fabric looks.
- Pin the interfacing, if it is not fusible, to keep in in place while you sew until after you turn it. ShapeFlex will work if you have some.

Sew
- Two right sides together, leaving a small space to turn,using a scant 1/4″
- Try to catch the interfacing (if it isn’t fusible)
Clip and Turn
- Optional: Clip curves, if you are using a Dresden Plate template that has a curved edge.
- Turn pieces right sides out
Trim, Poke and Press
- Trim the corners if you are not using a rounded Dresden template.
- Poke out corners and curves carefully so the outer edge is smooth
- Press so the pieces look nice
Sew
- Put two main parts together (4 Dresden fan pieces that you have sewn and turned)
- Sew from notches/markings
- Sew around bottom 2-3 times staying on the line to reinforce the bottom
Finish
- Trim the bottom corners
- Turn whole piece right sides out
- Fold down front petal
- Press
- Optional: stitch folded petal down using hand-stitching needle and thread or you could add a button or bead as an embellishment.

Final Thoughts
Now I am thinking of sets of Pincushions, needlecases and scissor sheaths. Watch out world! 😉 However, these are kind of a pain to make, so I don’t know how many I will make.
You could add a tab with some hardware so you can attach it to your quilt club lanyard.
Resources
- Stamping with Gail video on scissor sheaths.
- Anne Clemmer (StamperDog) video on making a scissor pouch
Nice!
Let me see when you make yours.
Great tutorial. I have my scissors on a retractable cord hooked into my sewing apron. I only keep blunt tipped ones on it though for very good reason.
Now you can hack your retractable cord and add a scissor sheath! 😉