Some time ago, I bought a big bag of Soft & Stable from MassDrop. Recently I checked the bag where I keep it and found only small bits and pieces left. I needed some for the Chubby Charmers I talked about Saturday and Sunday. I thought about zigzagging the pieces together, but wasn’t committed.
Saturday, however, I decided to do a little. It was an oddly satisfying project. I zigzagged smaller pieces together. Not shreds (I’m not as crazy as I seem sometimes), but pieces that would fit together and make a good sized piece. Now I have two pieces I can use for the Chubby Charmers.
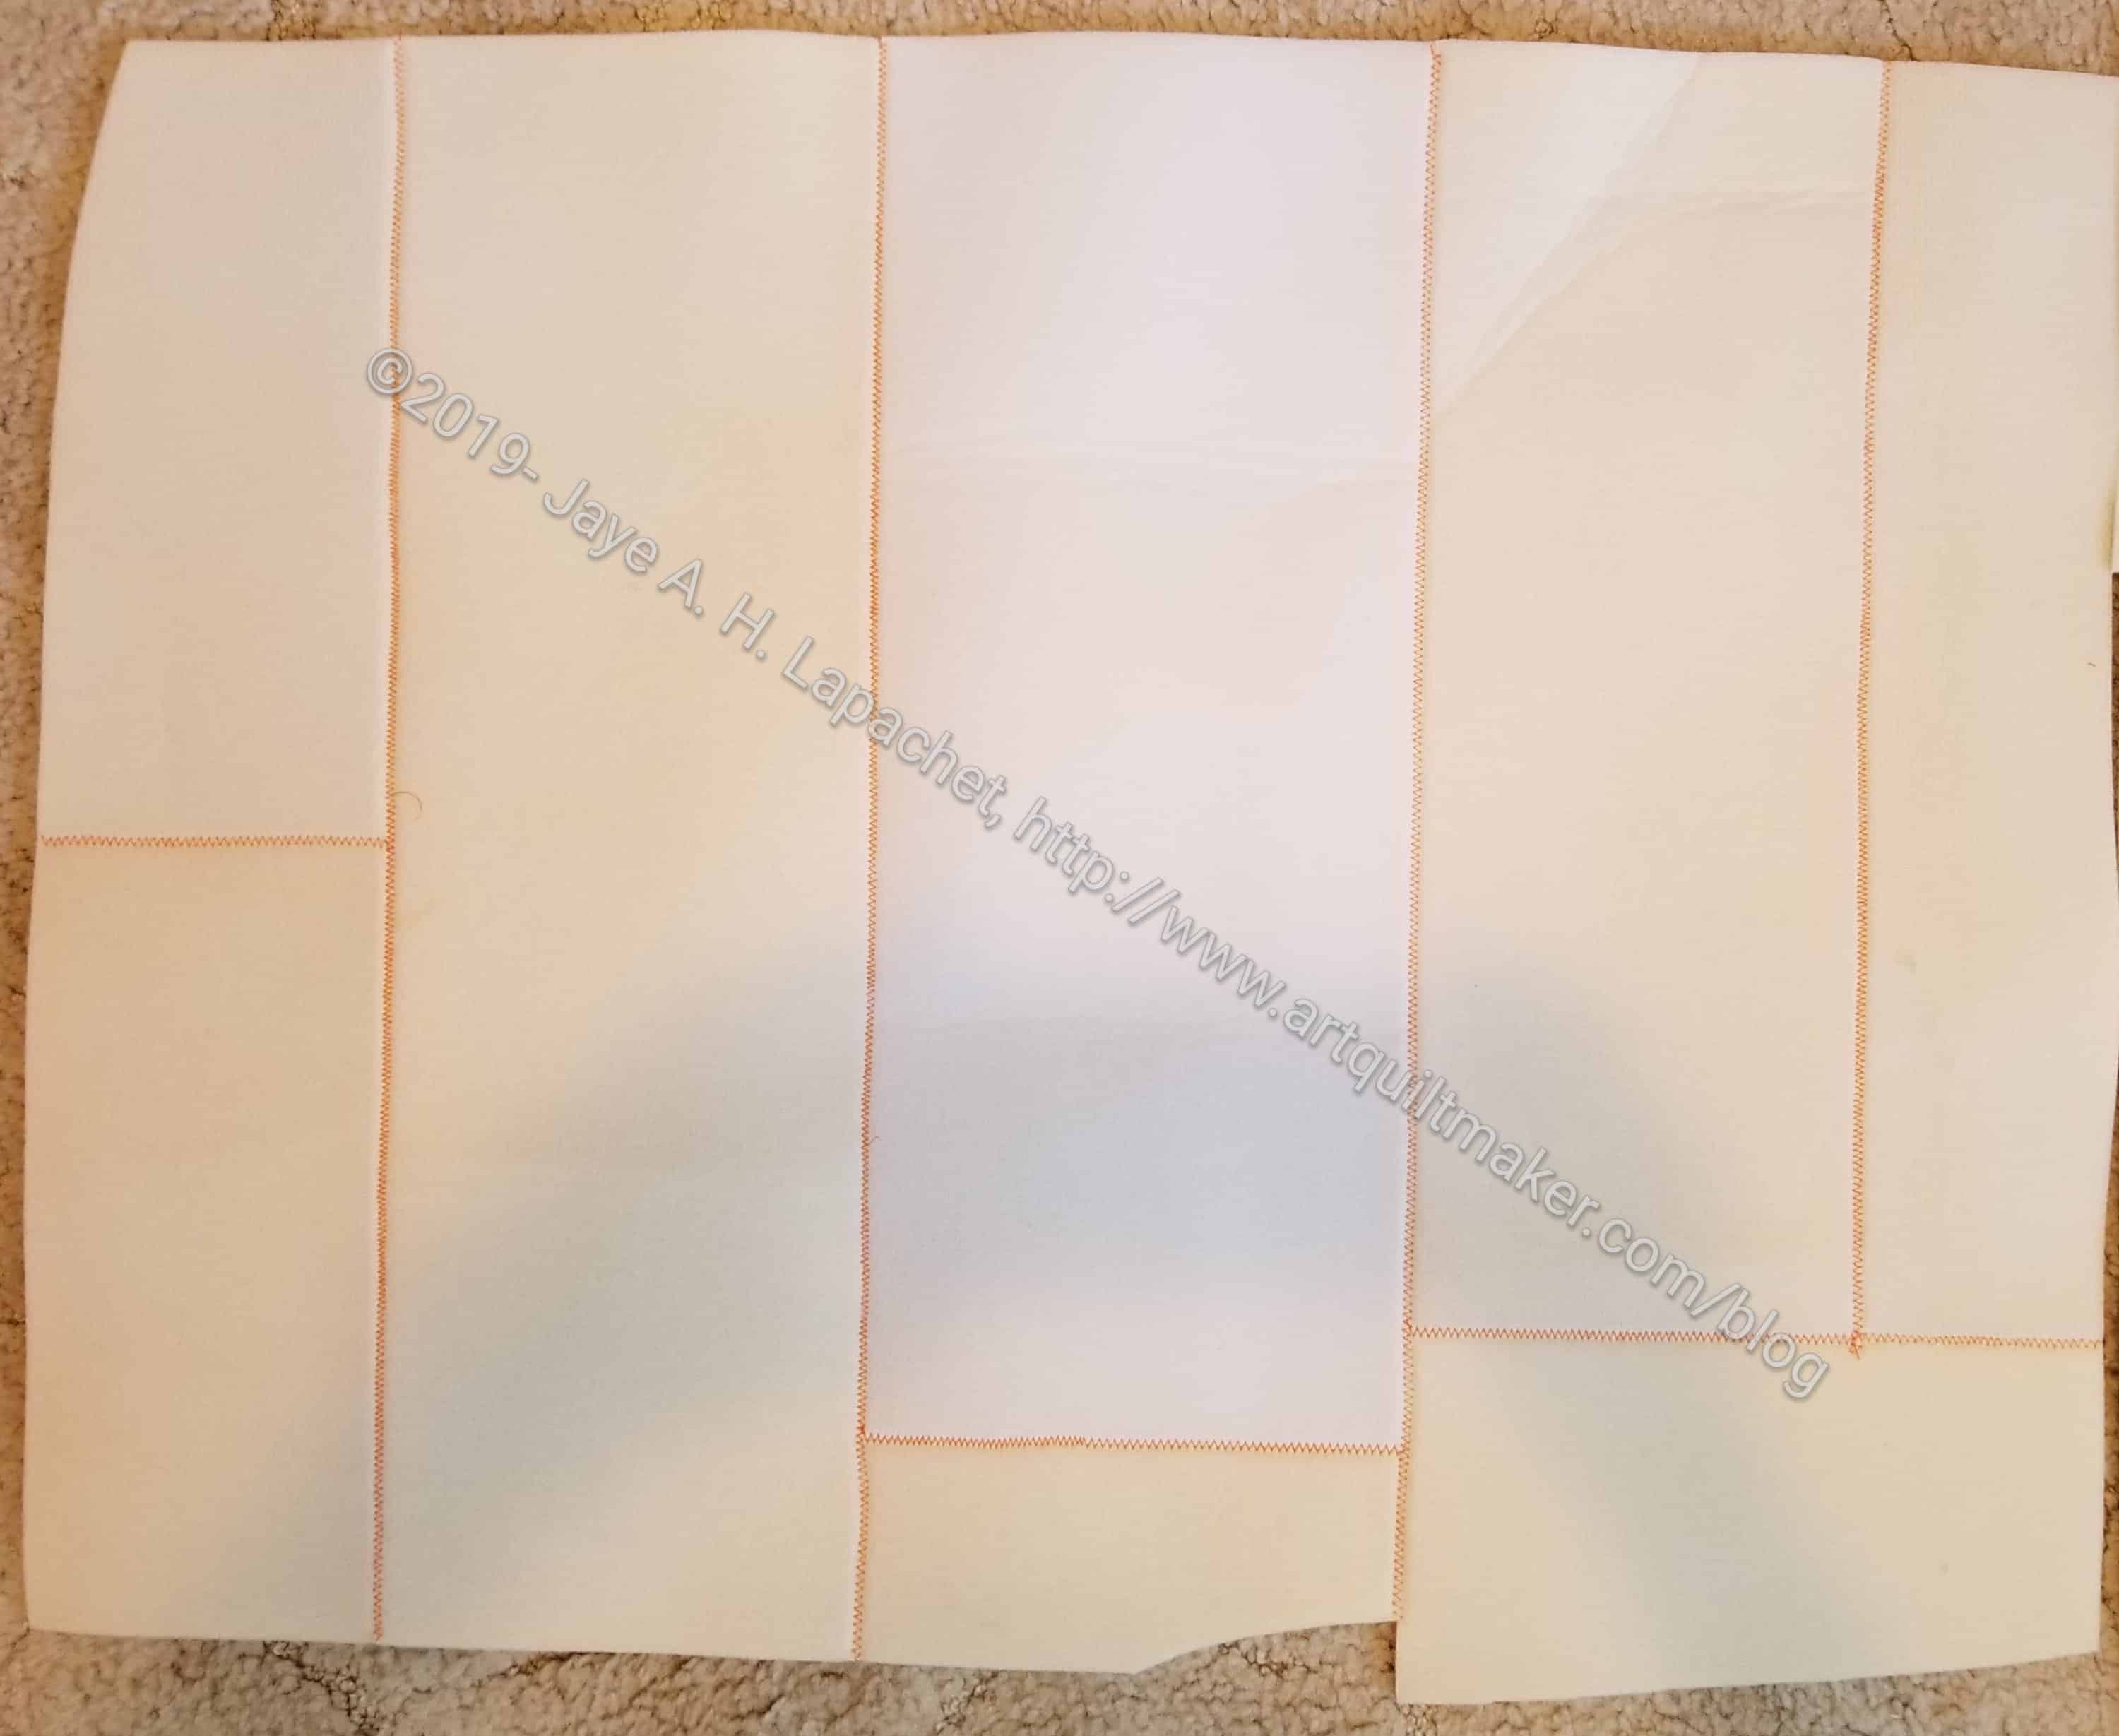
Leftover Soft & Stable 2
This is the last of a 3 yard x58″ wide piece and I want more. I bought a smaller package a week or so ago and it was just enough for one of the Chubby Charmers. I like having plenty on hand, though and that package was just too small. The 3 yard x58″ wide Soft & Stable ‘drop’ is not available on MassDrop right now. You can request it using the special link.
Now I have to get back to real work and quilt those Chubby Charmers.
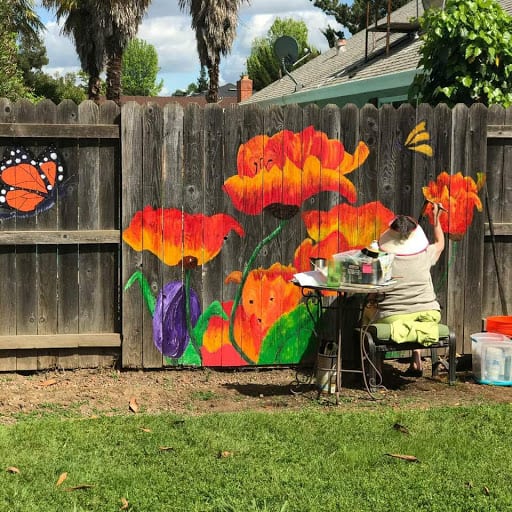
Recently, in a FB group, we were asked how we display our quilts. I thought you might be interested to see how I ‘display’ quilts at my house. Display is a pretty fancy word for storage, I think.
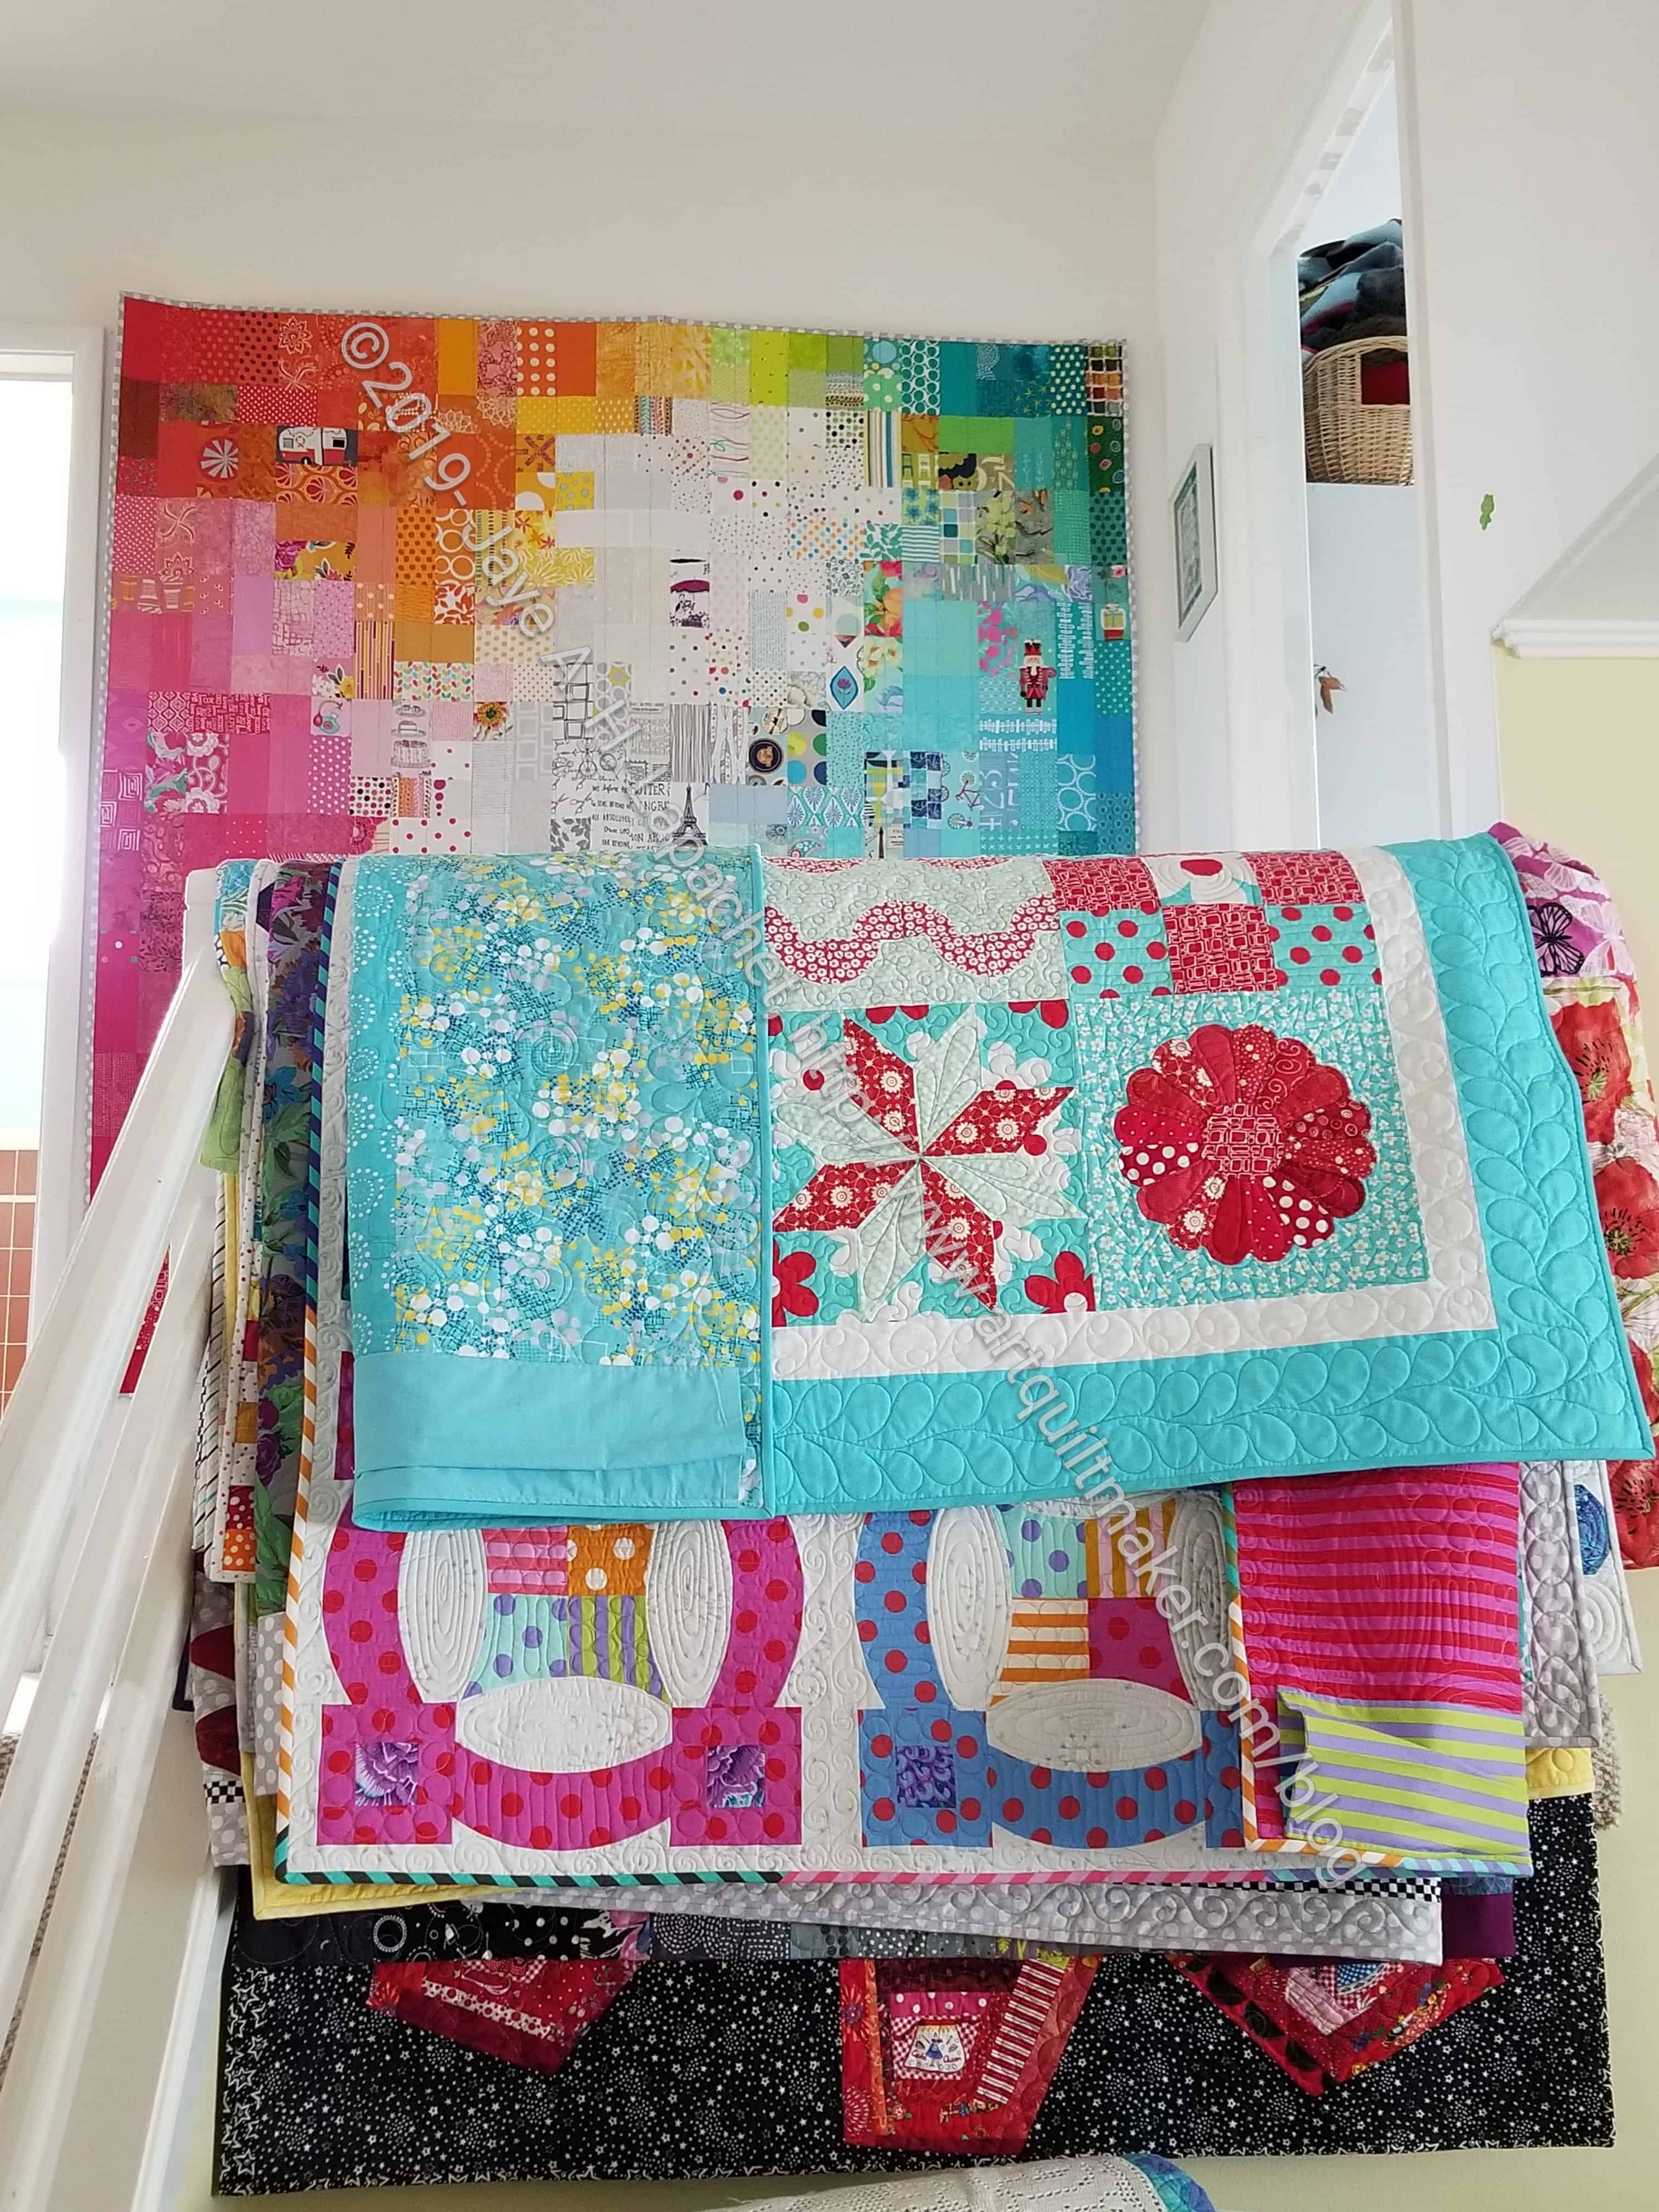
Quilt Display – April 2019
We have an open plan house. The living room and dining room can be clearly seen from the upstairs hallway. There is a stair rail preventing us from toppling into the living room and that provides an excellent place to store my quilts. We are getting quite a pile.
You can also see that one of the FOTY quilts is hanging on the wall behind the stair rail. I like to think I change out that quilt frequently, but the reality is that that one has been there for awhile.
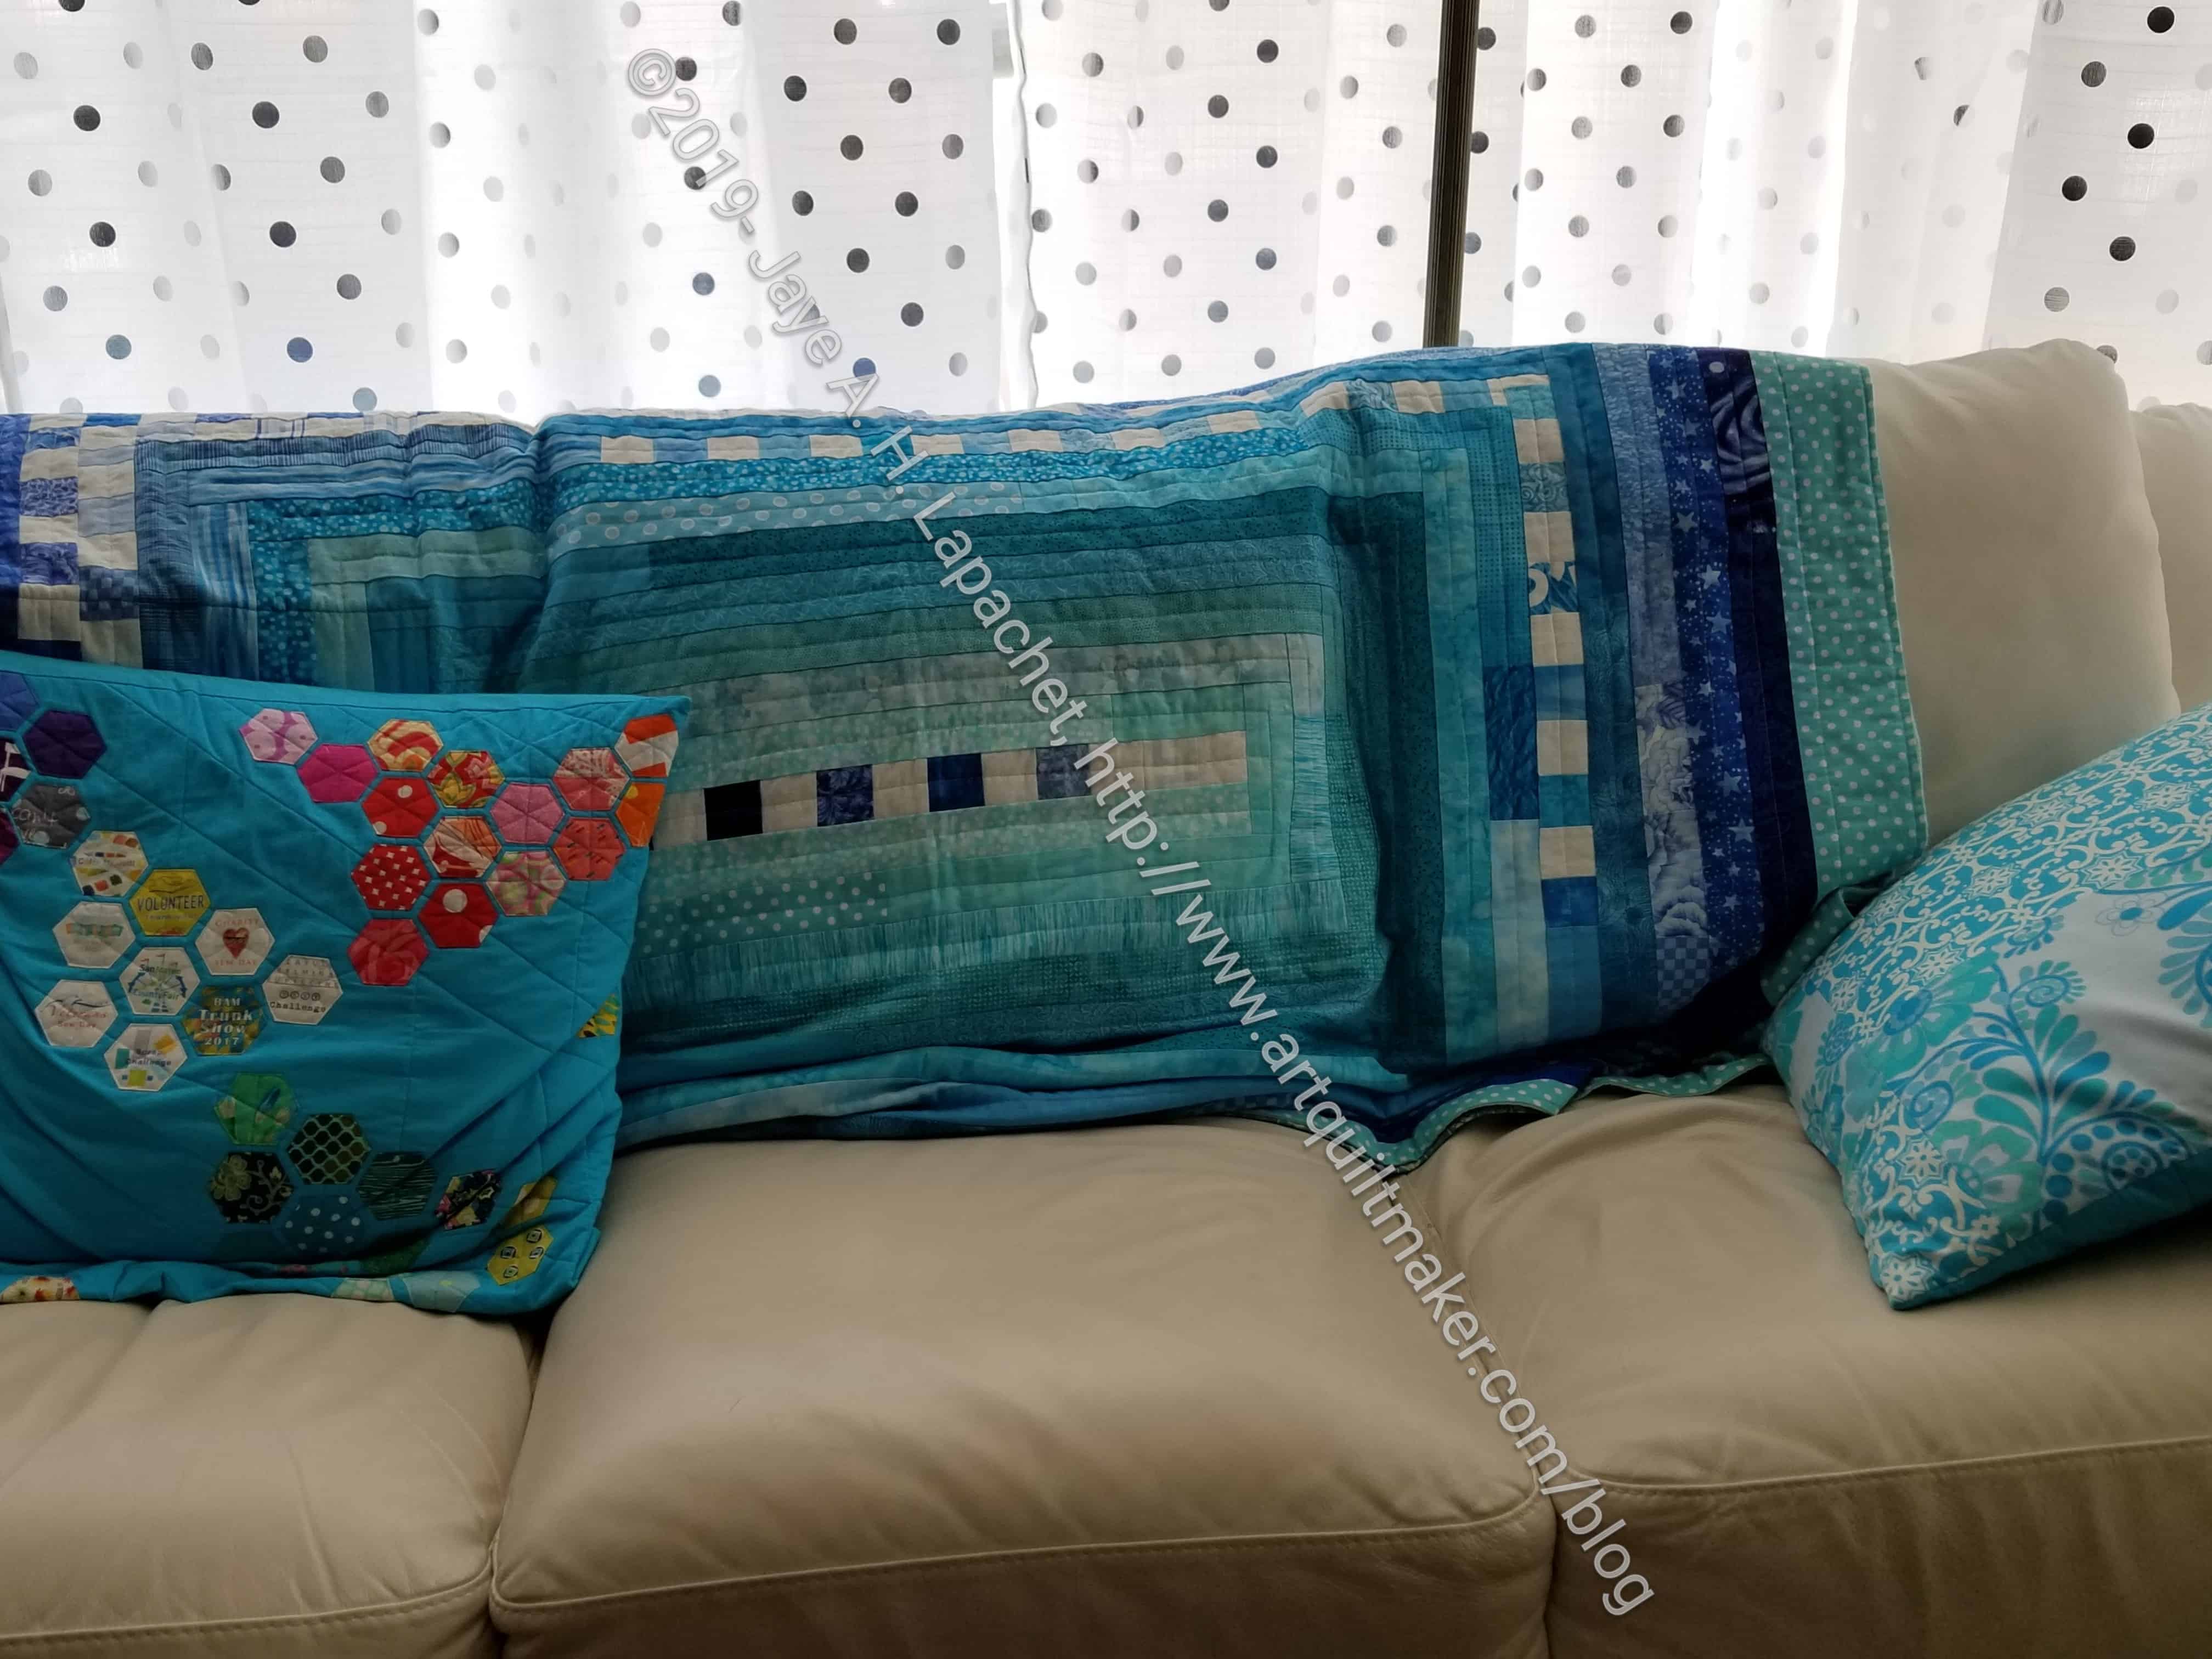
Quilt Display 2 – April 2019
We also have quilts on all the living room chairs and the couch. They get used, especially by DH for naps. The photo, right, is just an example.
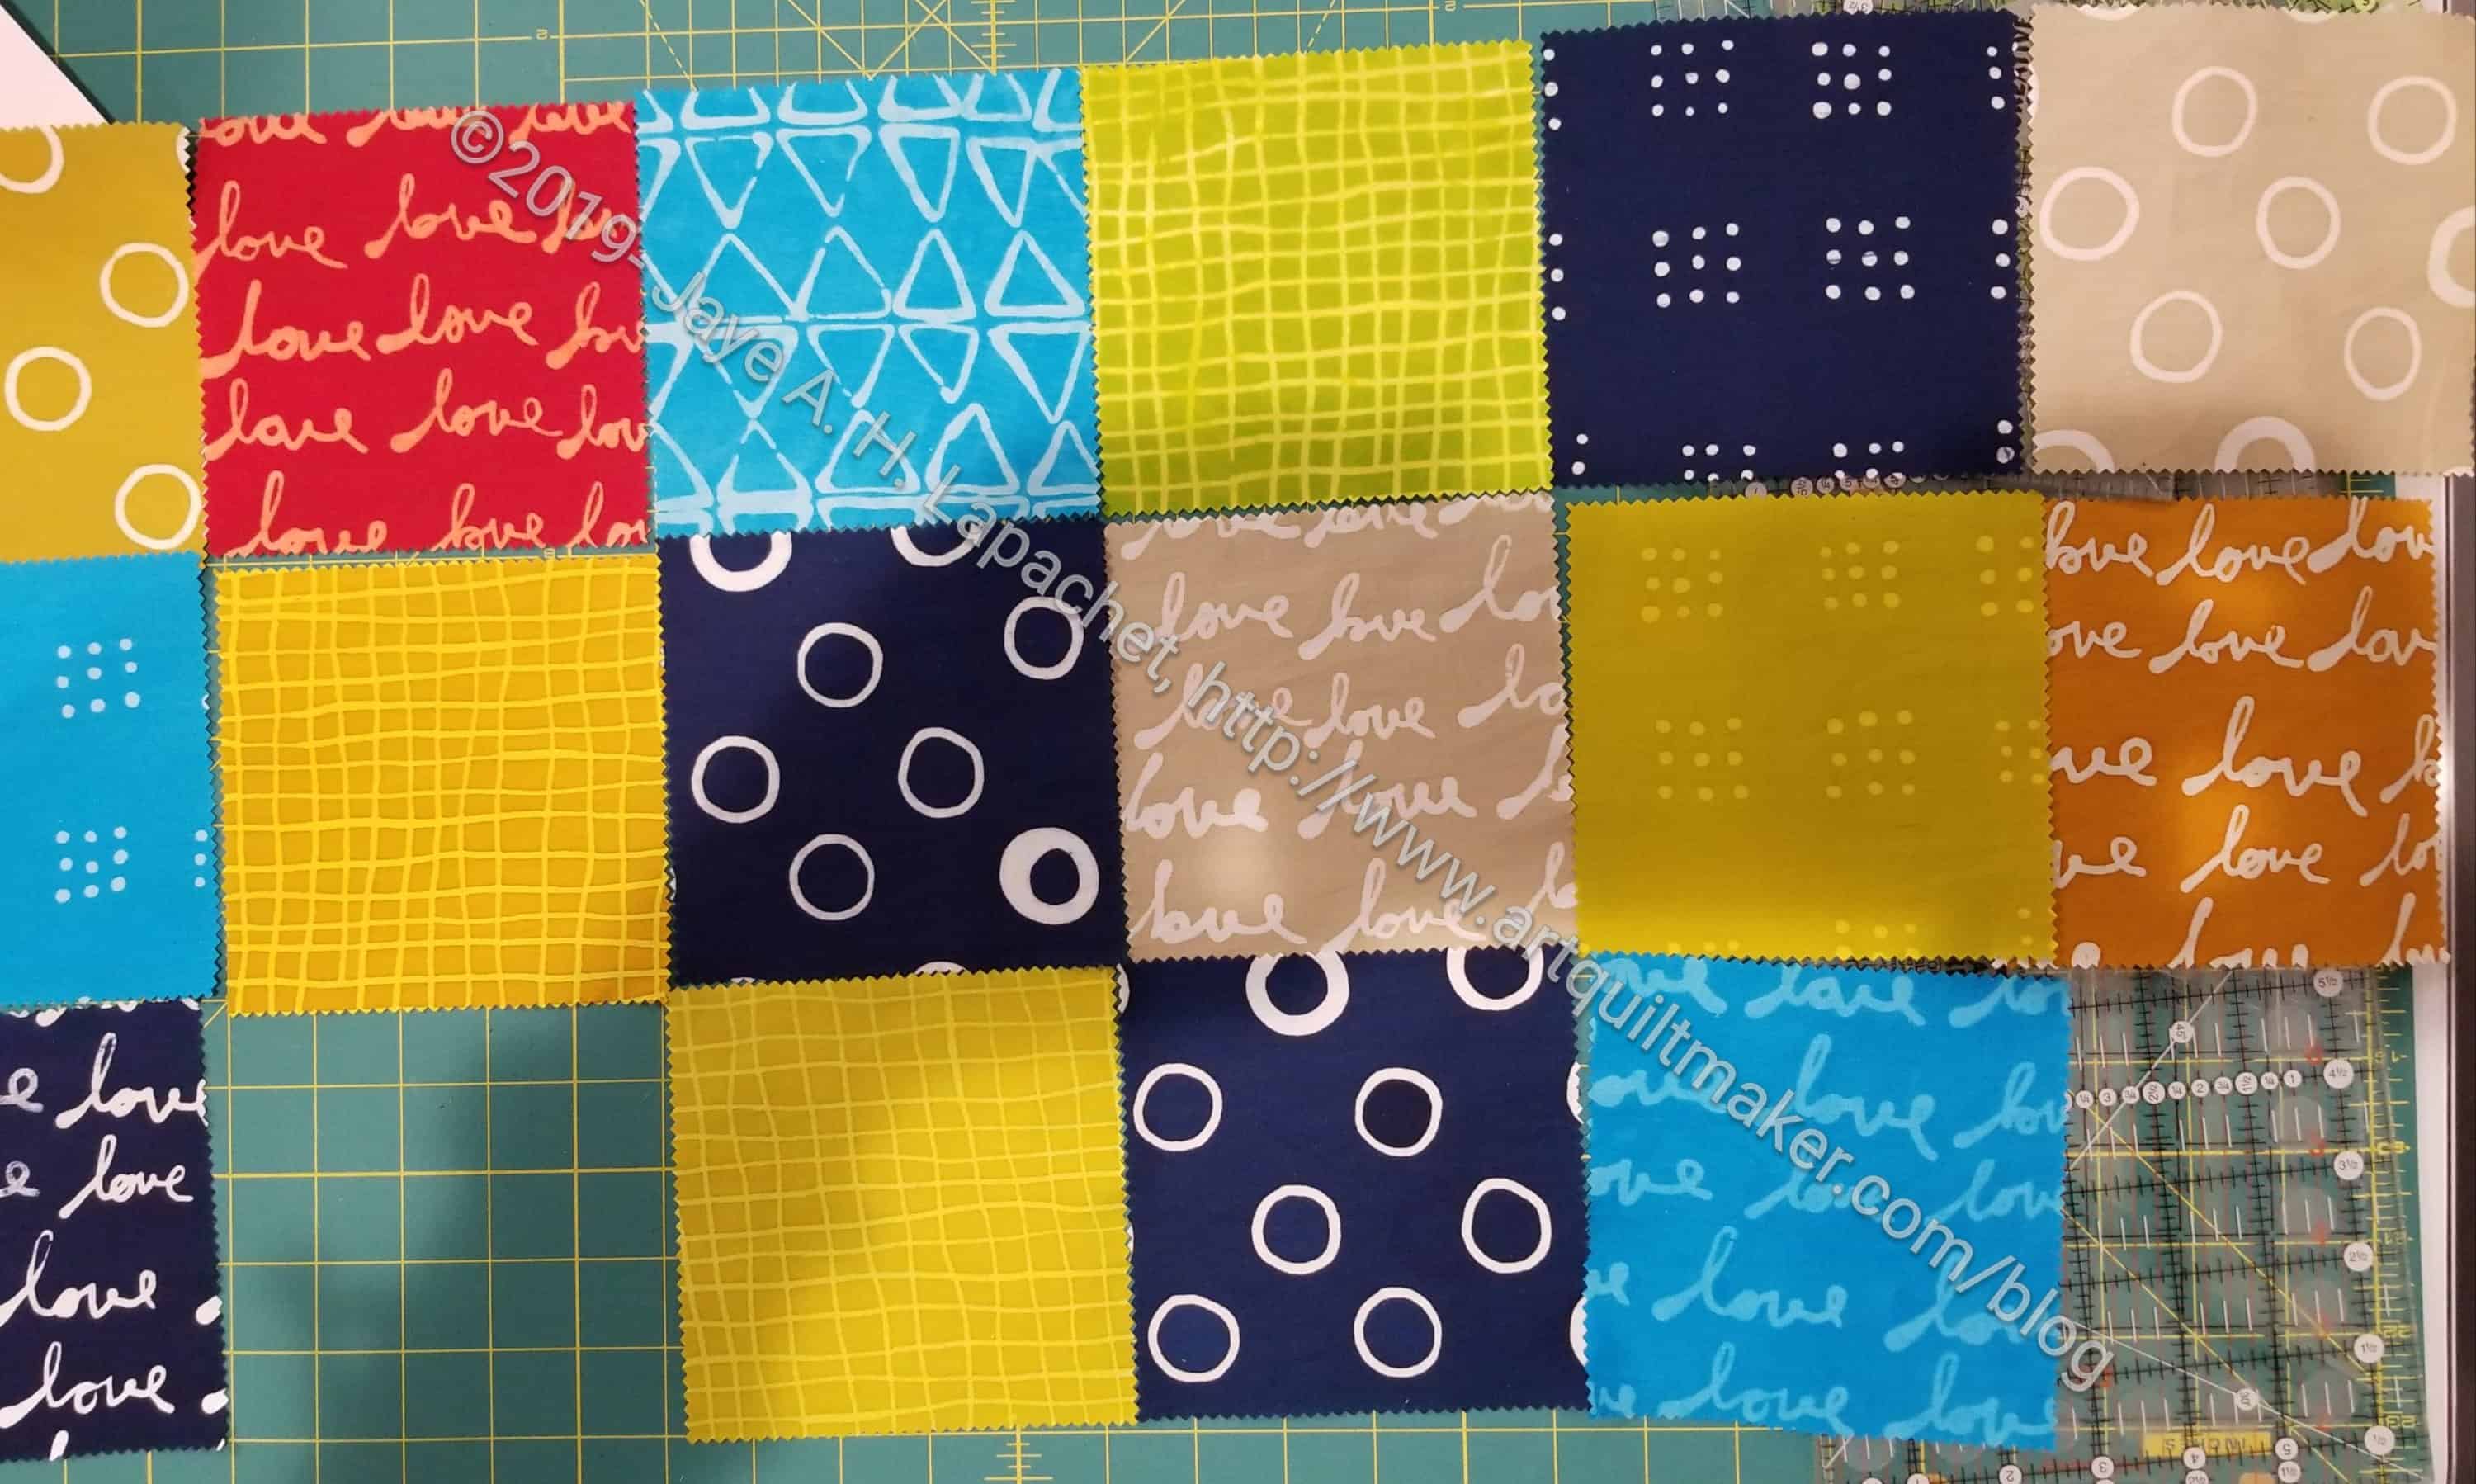
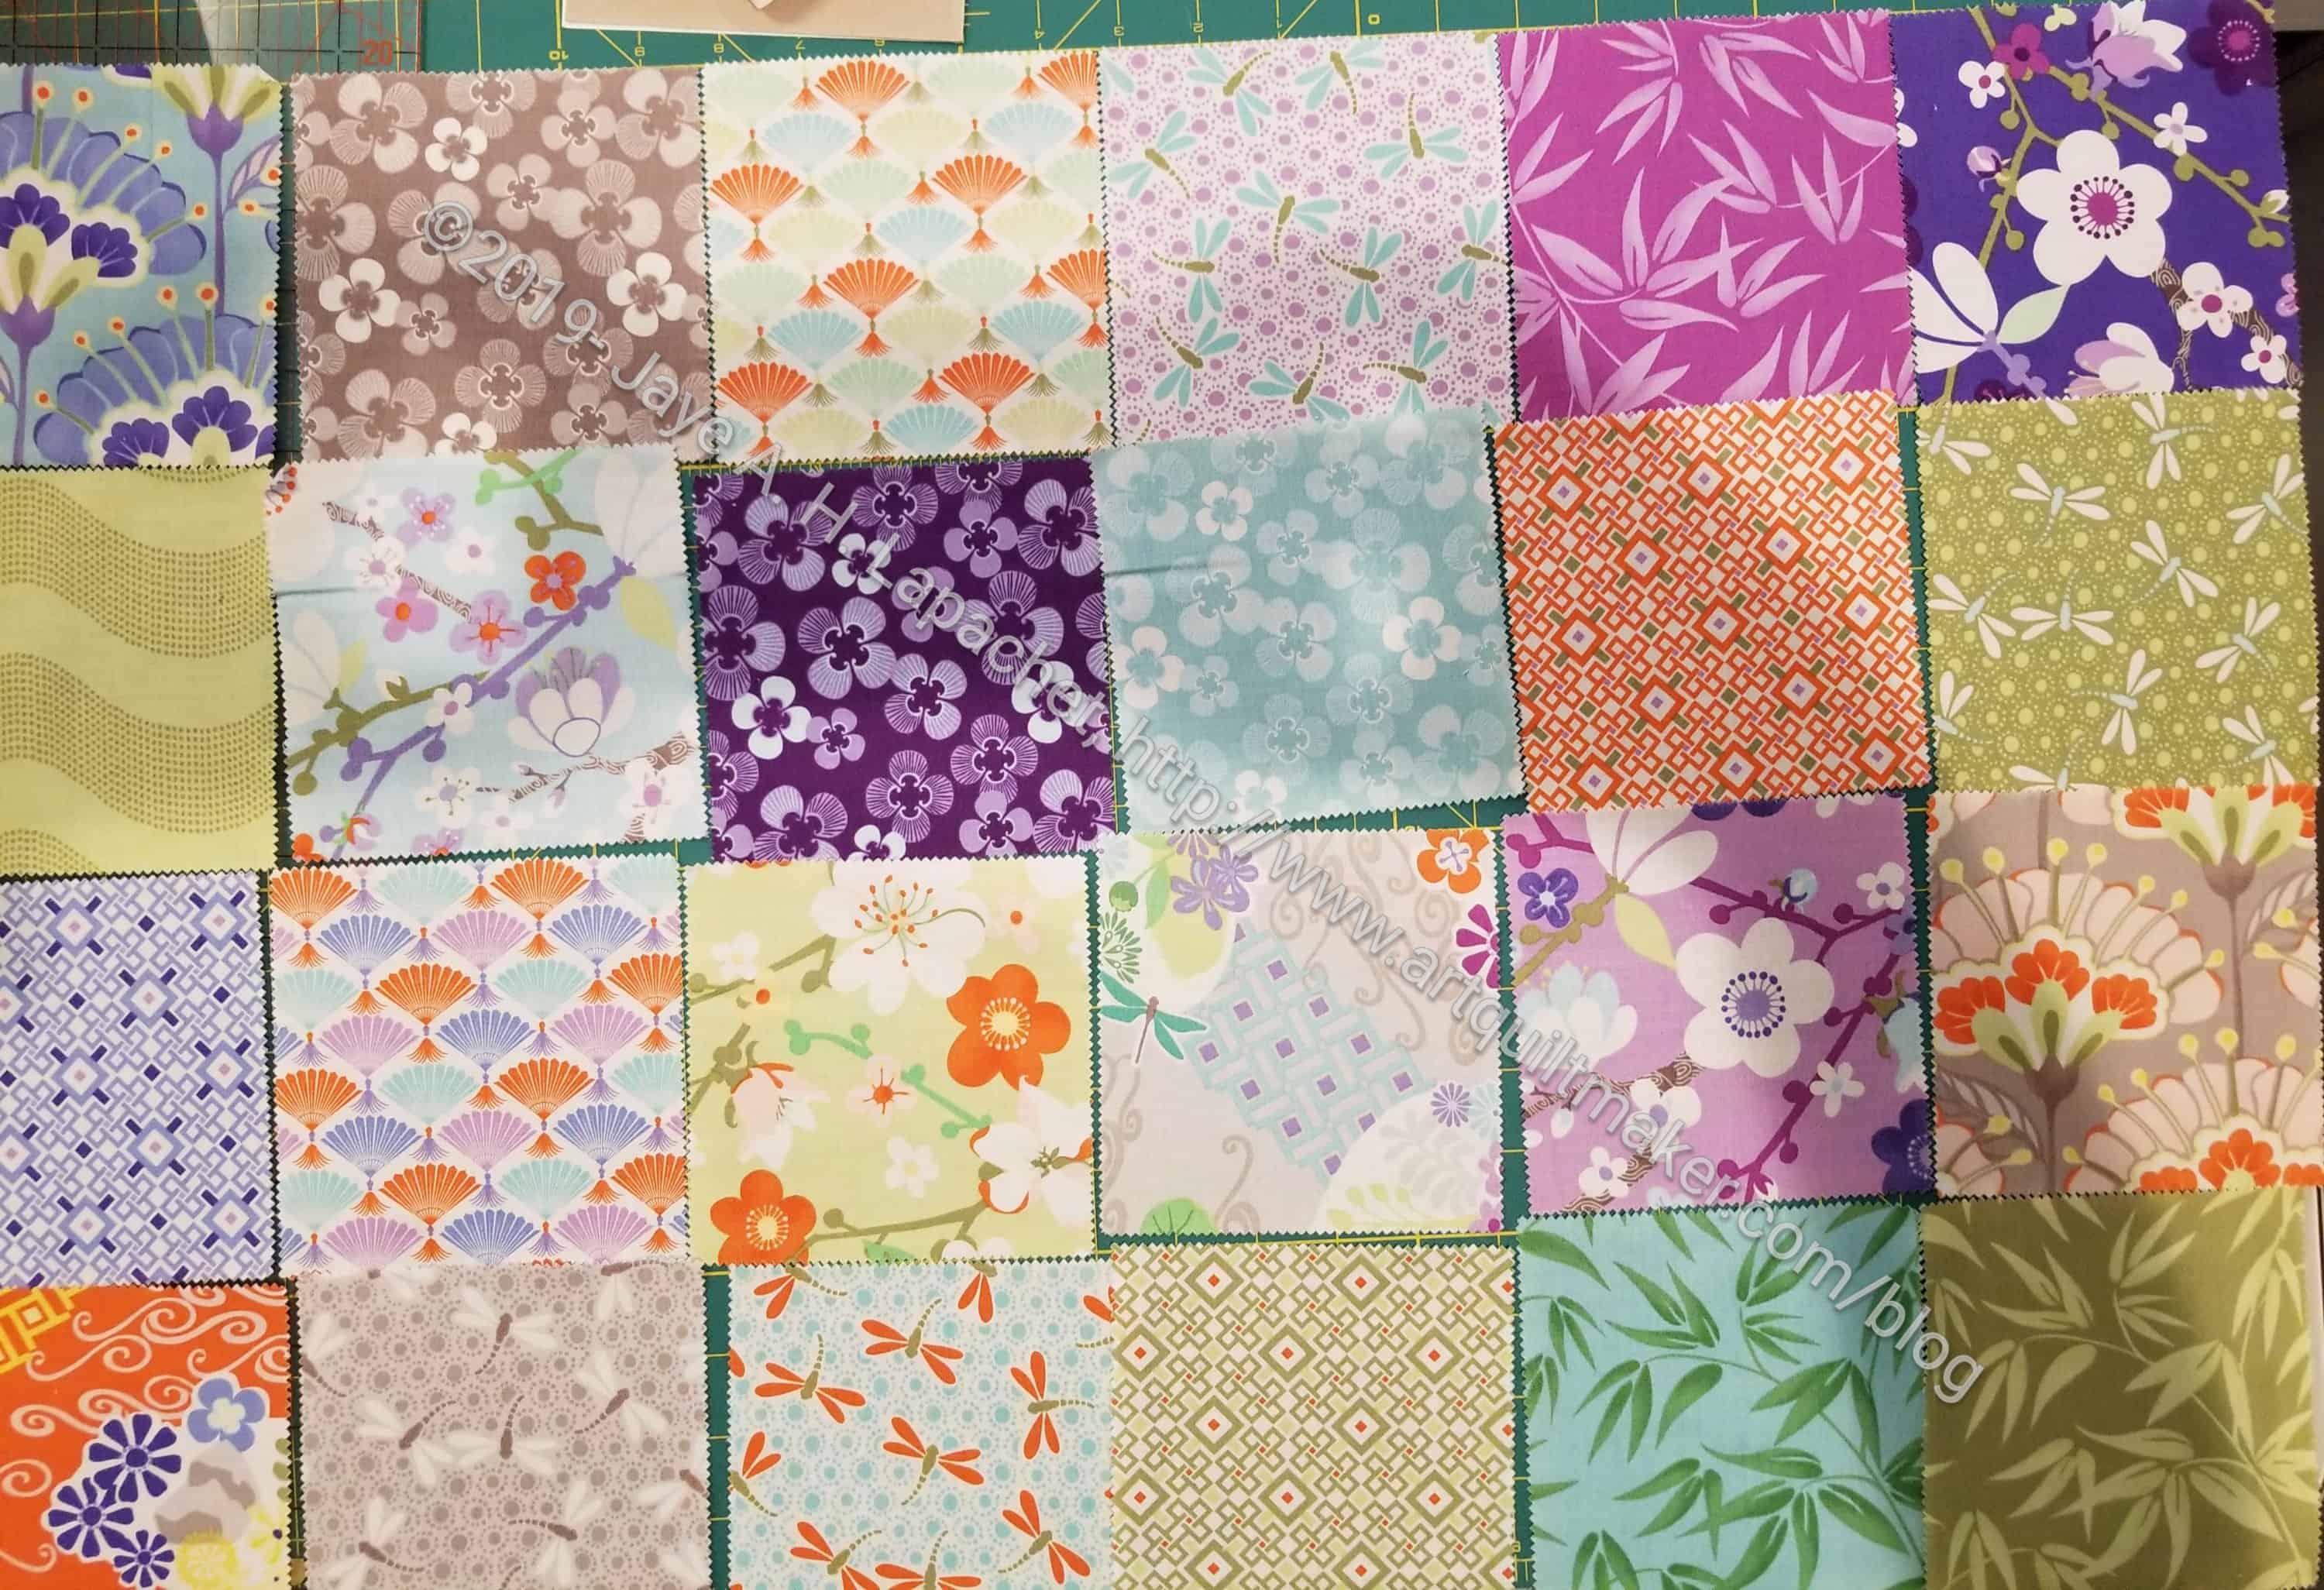
Yesterday, I talked about the Chubby Charmer I started for my SIL. I had some time leftover when I finished as much as I could with the Good Fortune Chubby Charmer. I had another charm pack and have been wanting to make myself another Chubby Charmer. I still love my Half Moon Modern Chubby Charmer. The original ME Chubby Charmer is filled with stuff in my fabric closet, so it doesn’t go anywhere at the moment. The Sugar Pop Chubby Charmer, however, is not a favorite. I tested out the pattern using leftover batting and the bag is really just too floopy. I don’t use it much and will replace it with this new bag. Also, there was really only a couple of fabrics I liked in that bag. I’ll donate it somewhere. Someone will like it. I did a good job when I made it.
Malka Chubby Charmer
The new in process bag is made from the newest Malka Dubrowsky charm pack. Again, I didn’t bring extra fabric to finish the last row. I did spent some time finding fabric when I got home, so I am well on my way to having the two sides done.
My other issue is Soft & Stable. I bought a new pack a few weeks ago, but I used it for the Good Fortune Chubby Charmer. I have some bits and pieces left from the giant pack I got from MassDrop. I am not sure how much I want to piece together little bits. I’ll lay out the bits and see what I have before I decide. I may have to go out and get more before I can finish this one.
I have wanted to make a Chubby Charmer for my sister-in-law for a long time. I have a Kate Spain Good Fortune charm pack that I have been saving for the purpose. Yesterday was the day to start it.
I went over to Tim’s to drop off a donation quilt he will quilt and enter into the Fair. Before I left he suggested we sew. I had some bag project materials ready to go from last time we sewed, so I threw those in my bag, stopped to get some lunch and off I went.
Chubby Charmers require 48 squares. I neglected to bring the extra fabric needed for the last 6 squares. Still, I was able to cut pockets and handles and ‘baste’ one side to Soft & Stable, so it is ready to quilt. Yes, I have to quilt again. I hope it won’t screw up my shoulder again.
I know this is another project that I am starting, but I am pretty sure I can get through it quickly. SIL’s birthday is in a couple of weeks and I am pretty busy between now and then. I need to get it done before that.
This tutorial started out after I watched an episode of Love of Quilting where Jo Morton was a guest. Based on what I saw Marianne and Jo do on the show, I tried the technique and was pleased with the results.
For the Flying Geese quilt, I needed 2.5″ finished HSTs, so according to the chart I made after DH did a bunch of math for me, I started with 6.25″ squares. All of the sizes on the chart make 8 HSTs.
Cut 2 pieces of fabric[/caption]
Cut 2 pieces of fabric
First, I cut two pieces of fabric,foreground and background, the correct size. Again, you need to download the chart and look at it. I cut my squares a bit larger, because I like to trim my HSTs just to make sure they are exactly the right size. The chart does not take trimming into account. You need to make the starting squares larger if you want to be able to trim.
Draw an X corner to corner
Draw an X corner to corner
Next, I drew an X, corner to corner, on the lighter square. Then I put the 2 squares right sides together and pressed them. I securely pinned the two squares together.
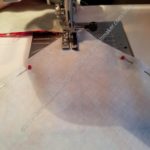
Sew on each side of the line 1/4 inch away from the line
Sew on each side of the line 1/4 inch away from the line
Sew on each side of the line 1/4 inch away from the line
Next, I sewed on both sides of each of the lines of the X, 1/4 inch away from each line.
After sewing, I measured to the center of the X from the side of the square. This measurement is the PLUS cut.
Cut horizontal PLUS line
Cut vertical PLUS line
Cut the square in a PLUS configuration.
Cut diagonal lines
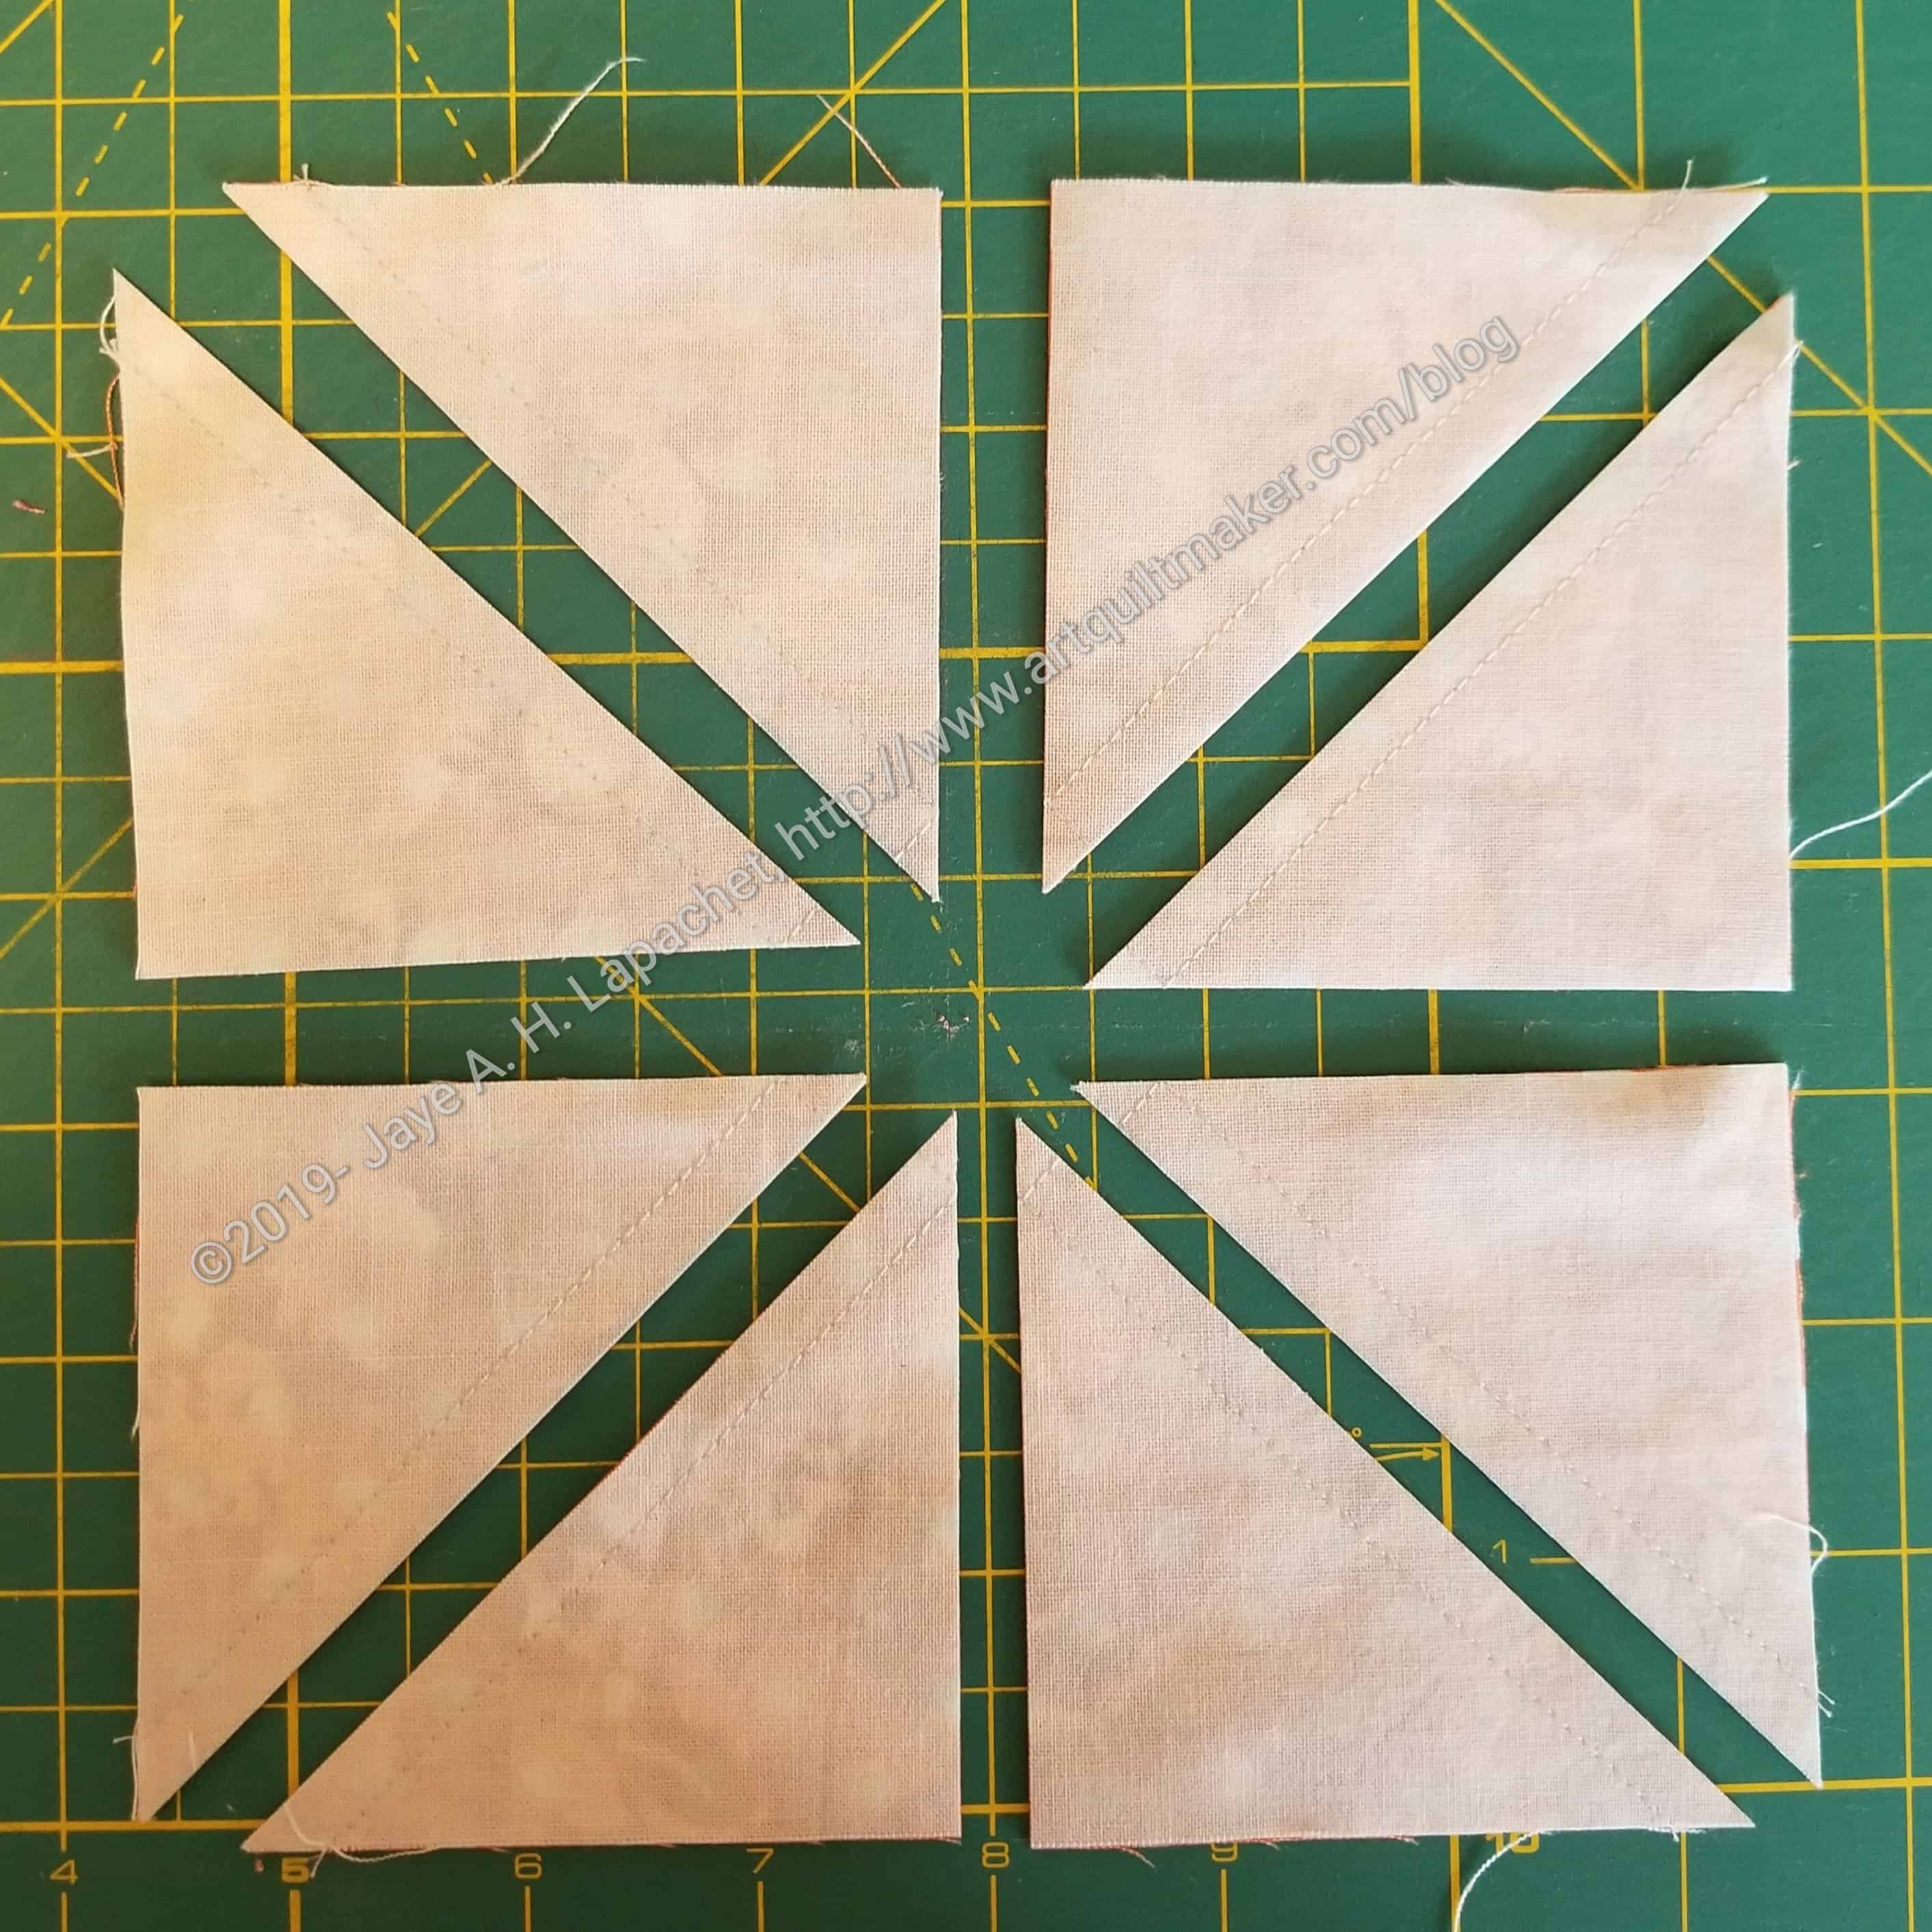
After you cut the PLUS, you will have four squares, each with a line drawn diagonally across the middle. Cut the squares in half diagonally. You can use the line as a guide. It is more important to line your ruler up corner to corner.
The result is 8 2″ half square triangles. You still need to press them carefully open.
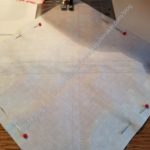
Lay out unpressed HSTs
Press HSTs carefully open
Move the unpressed HSTs to the ironing board and press carefully. Use a stiletto to keep your fingers from getting burned.
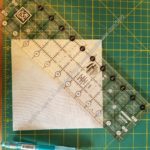
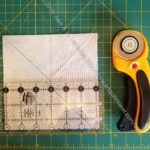
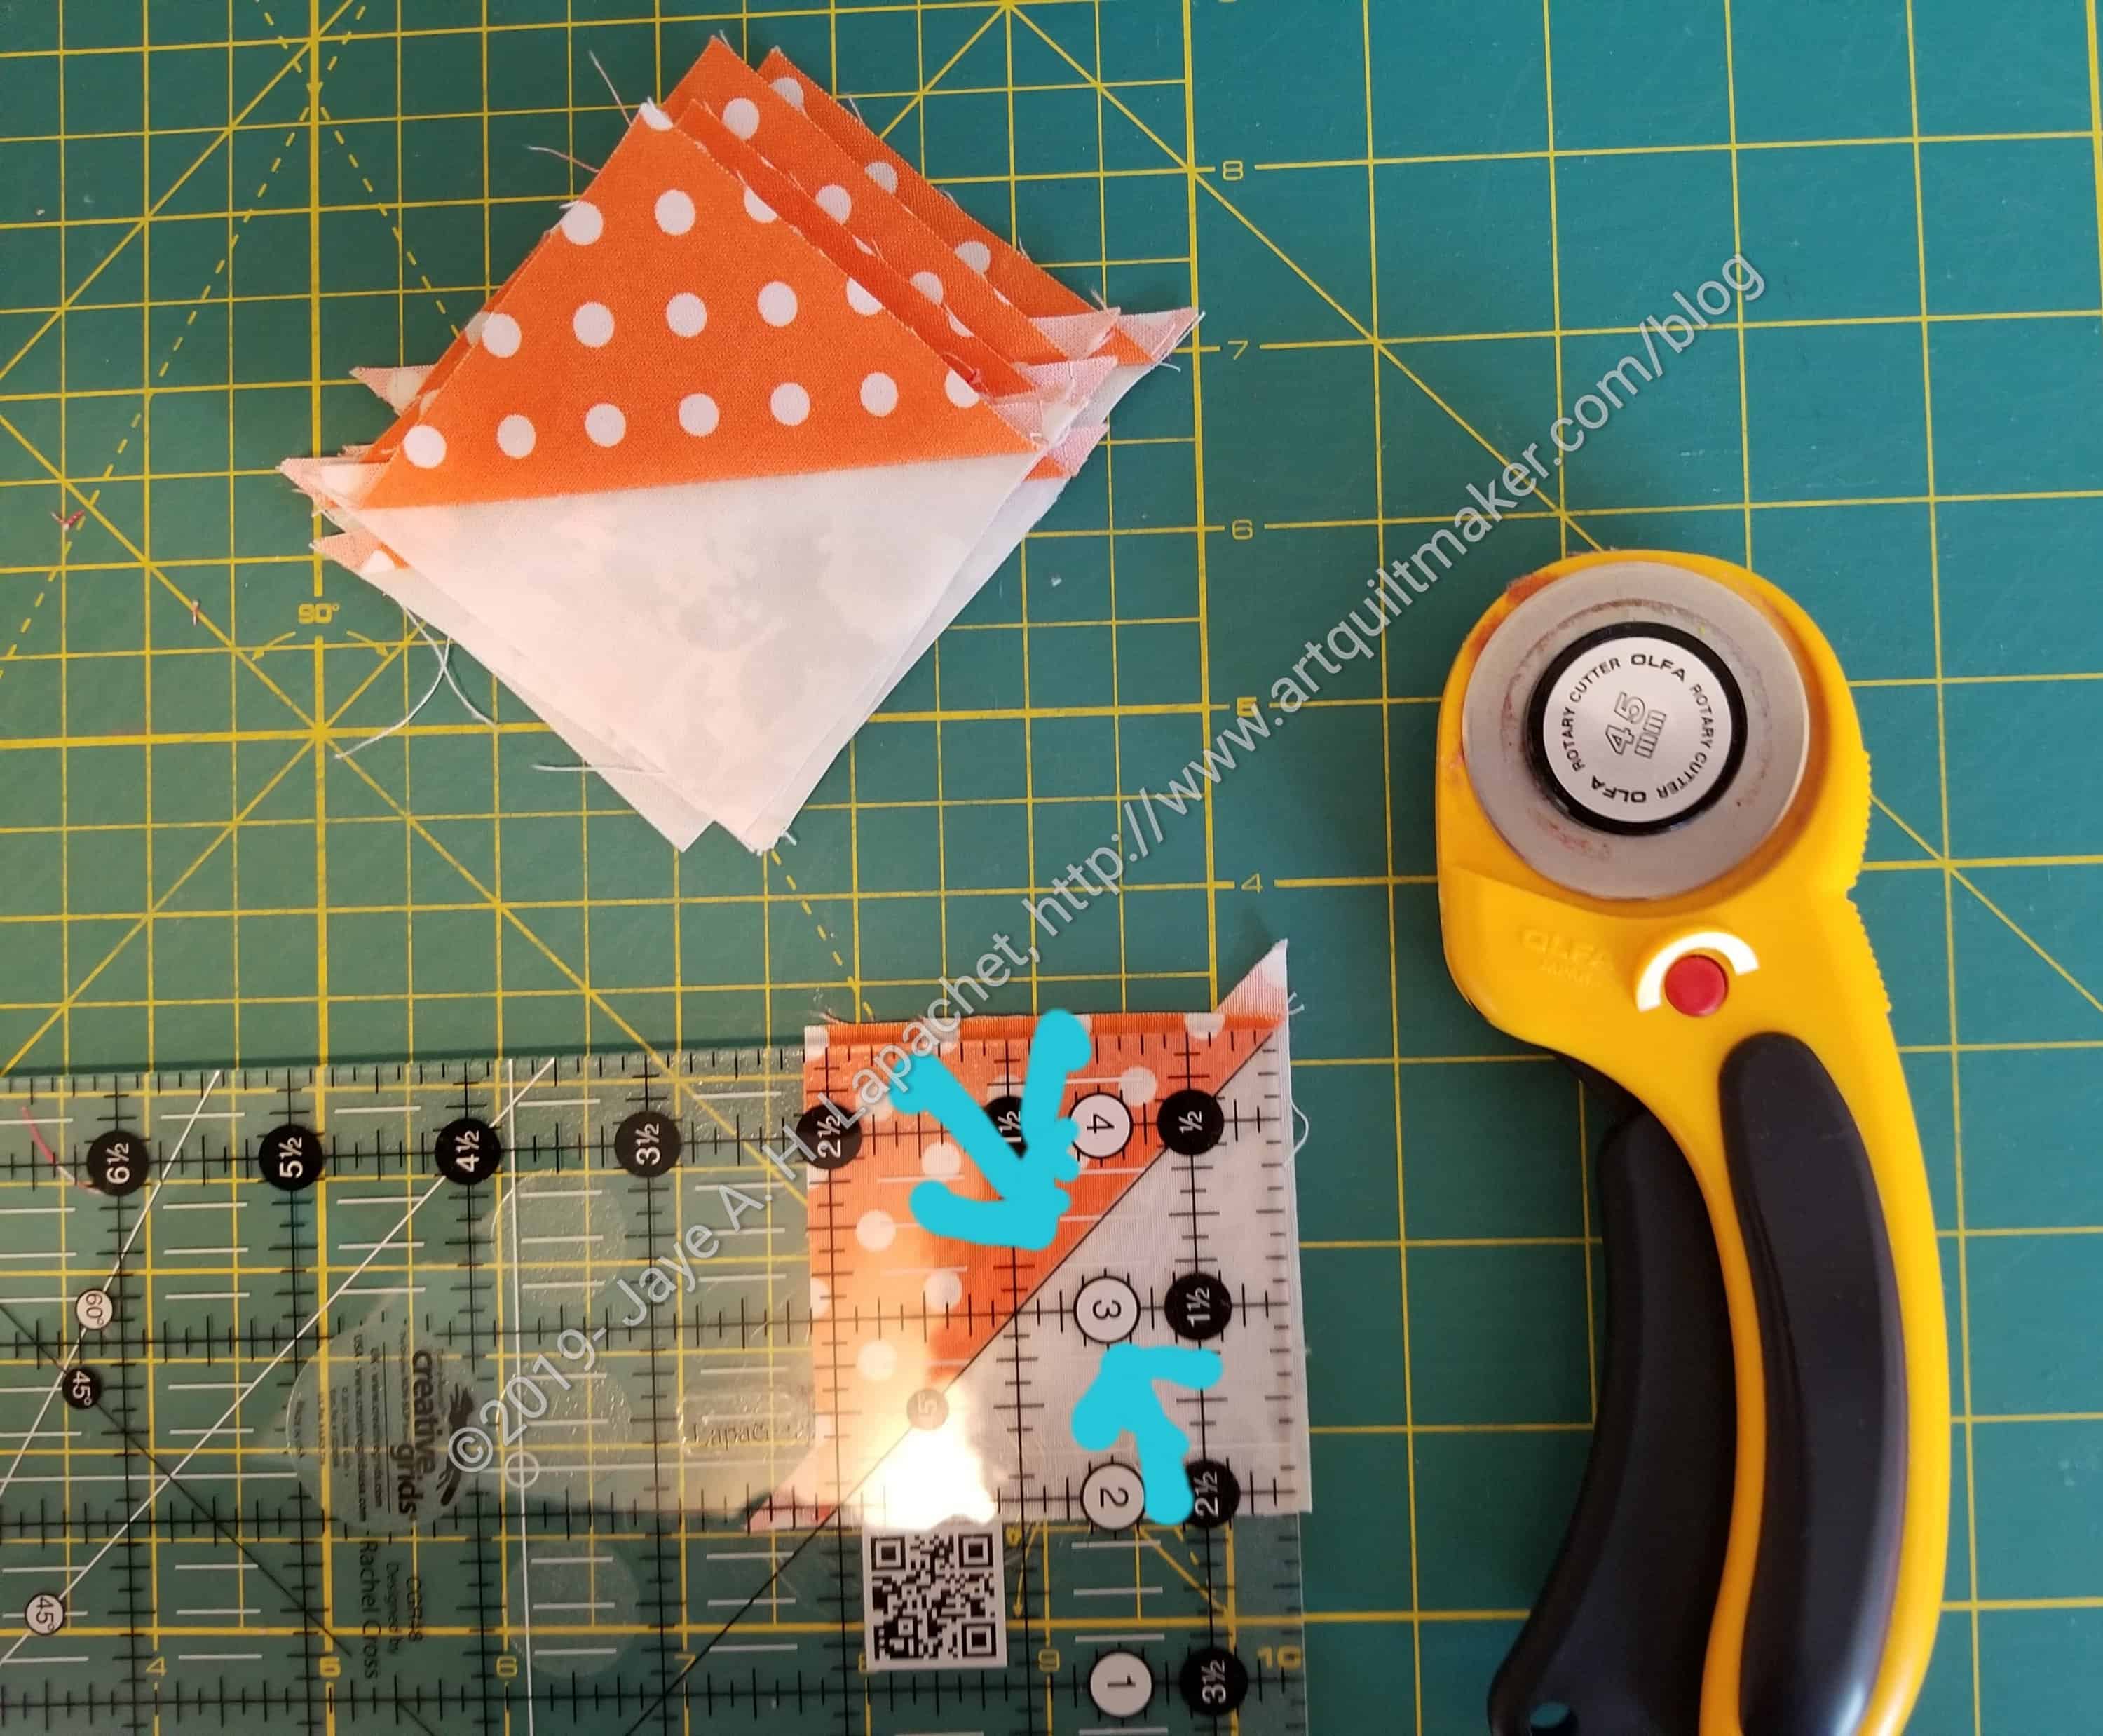
Lay out HSTs to trim
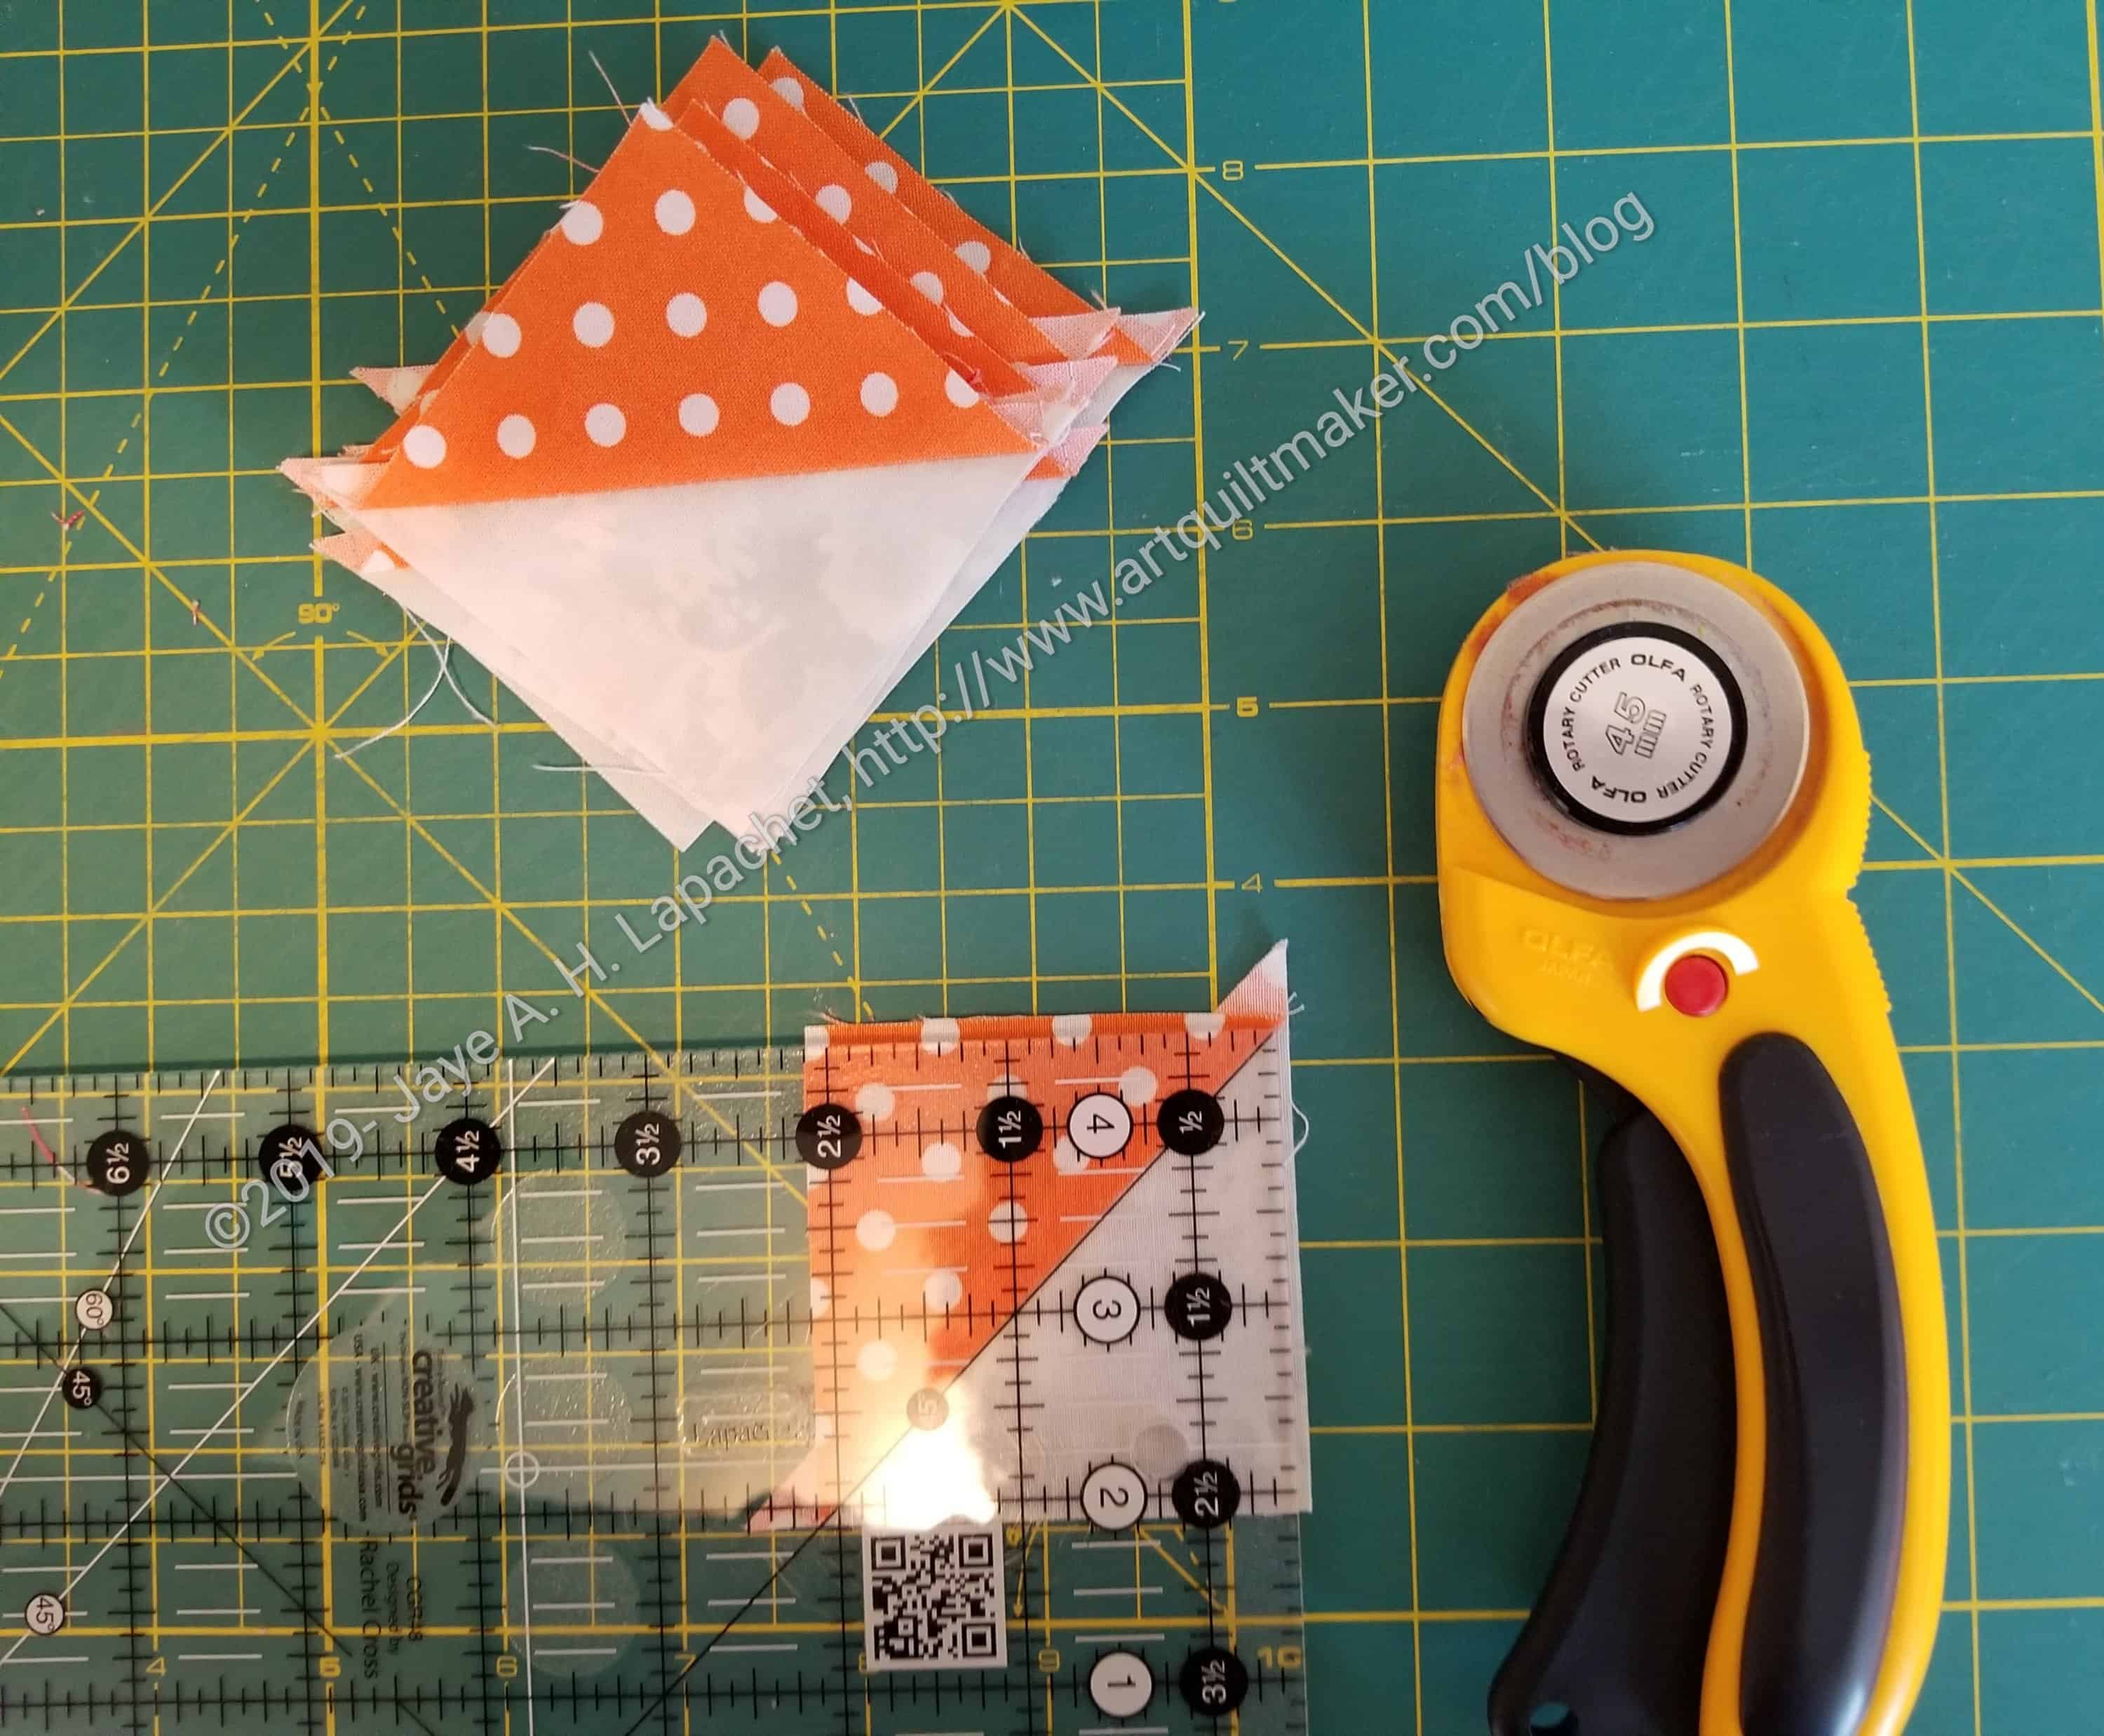
Next, I trim. Layout your pressed and untrimmed HSTs.
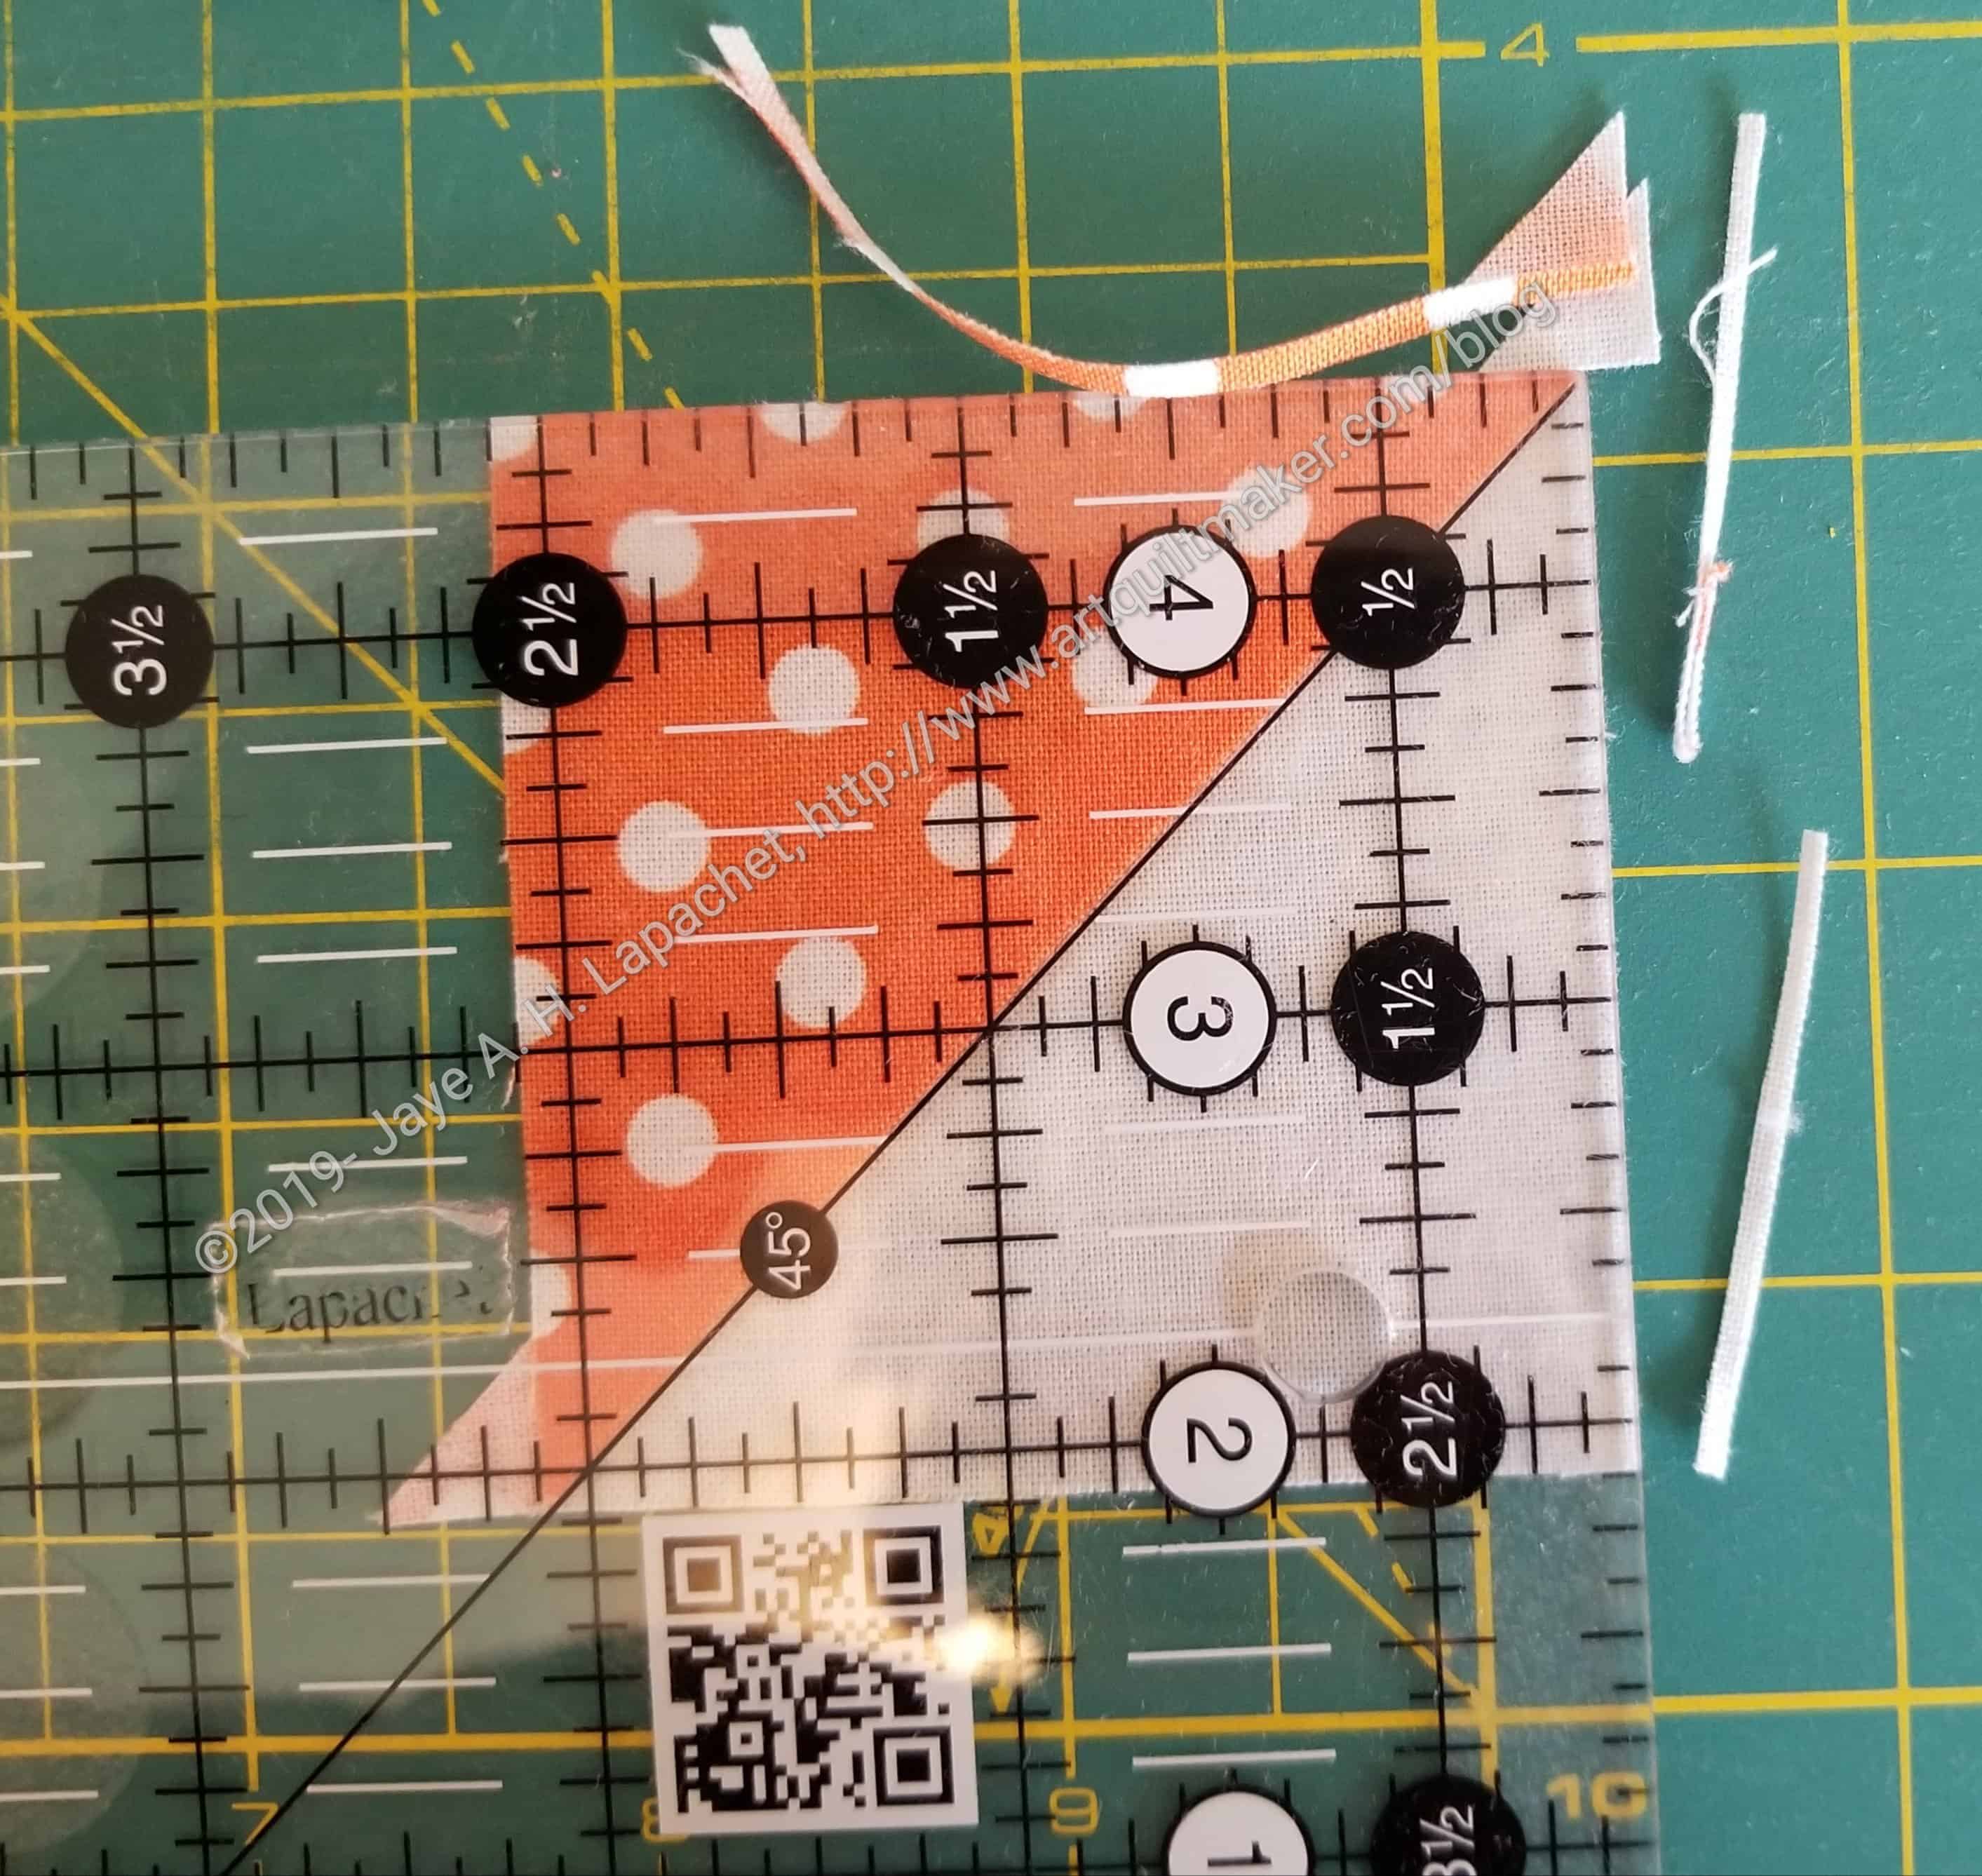
Line up diagonal lines
Line up the center diagonal line with the 45 degree line on your ruler.
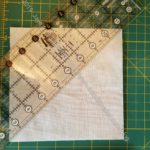
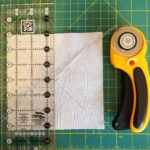
Edges trimmed
Trim the edges.
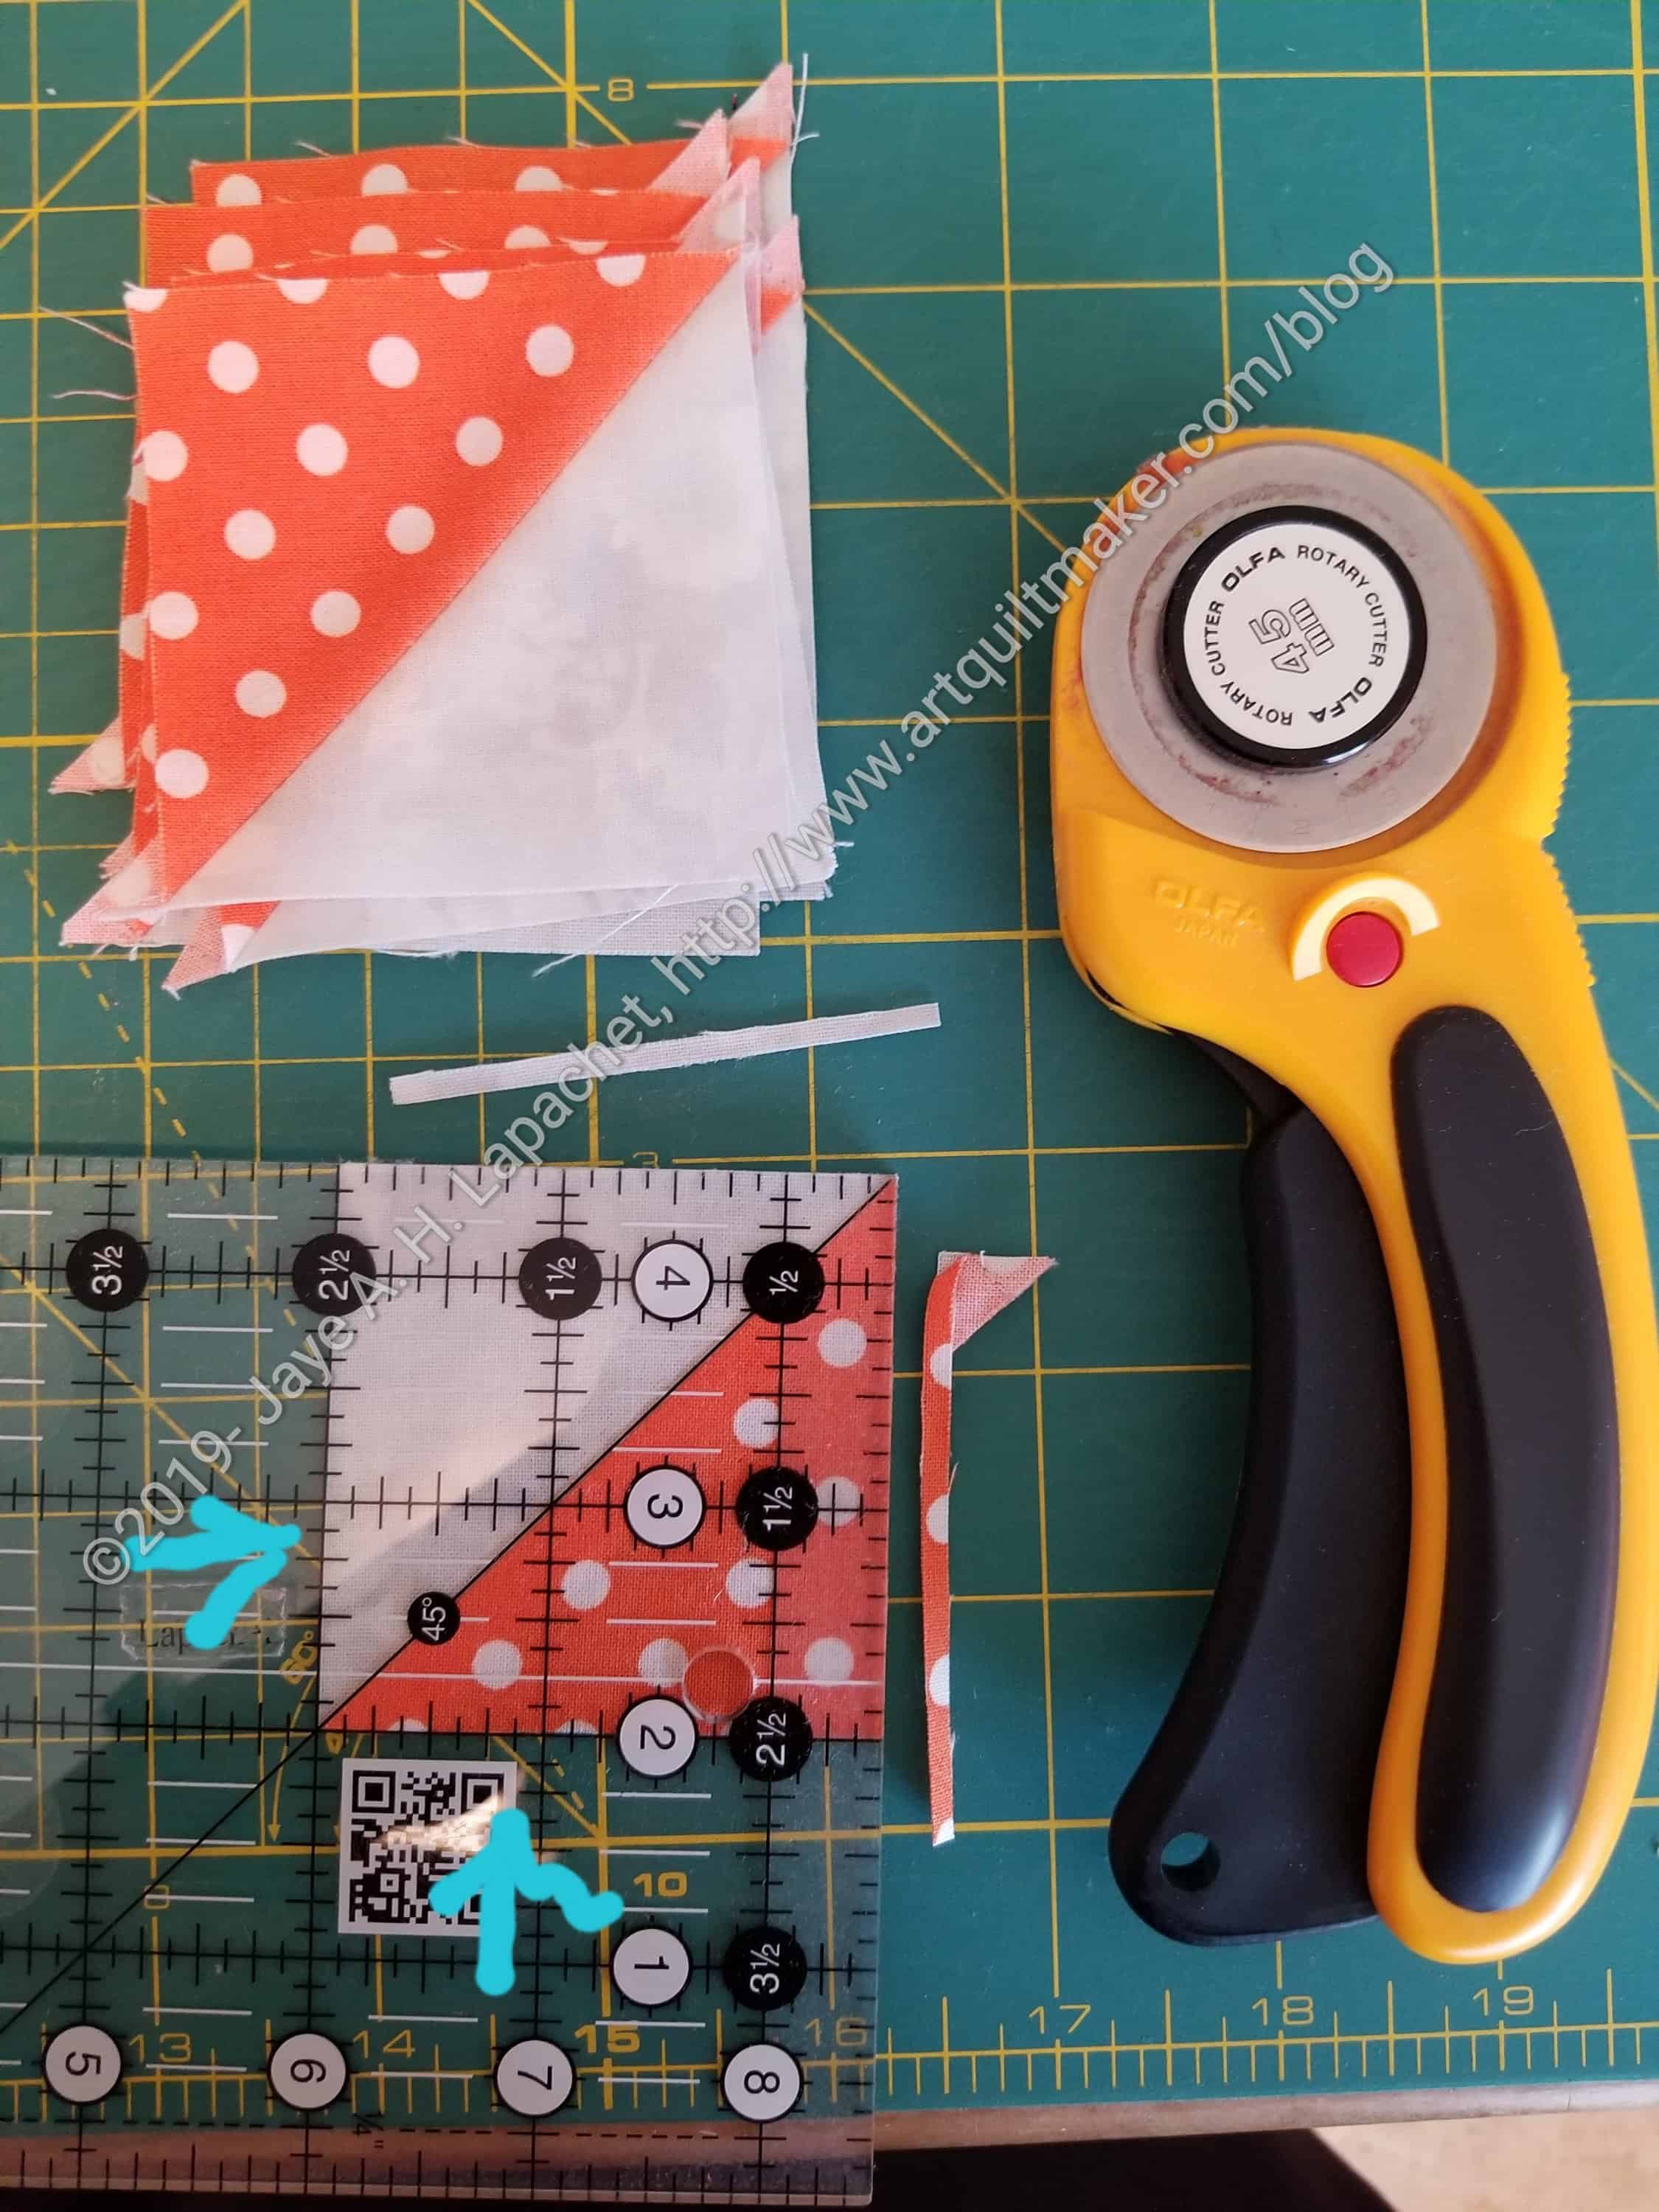
Line up just cut edges
Once you trim the first two sides, line up the 2.5 inch line on your ruler with the just cut edges. Trim the second two sides.
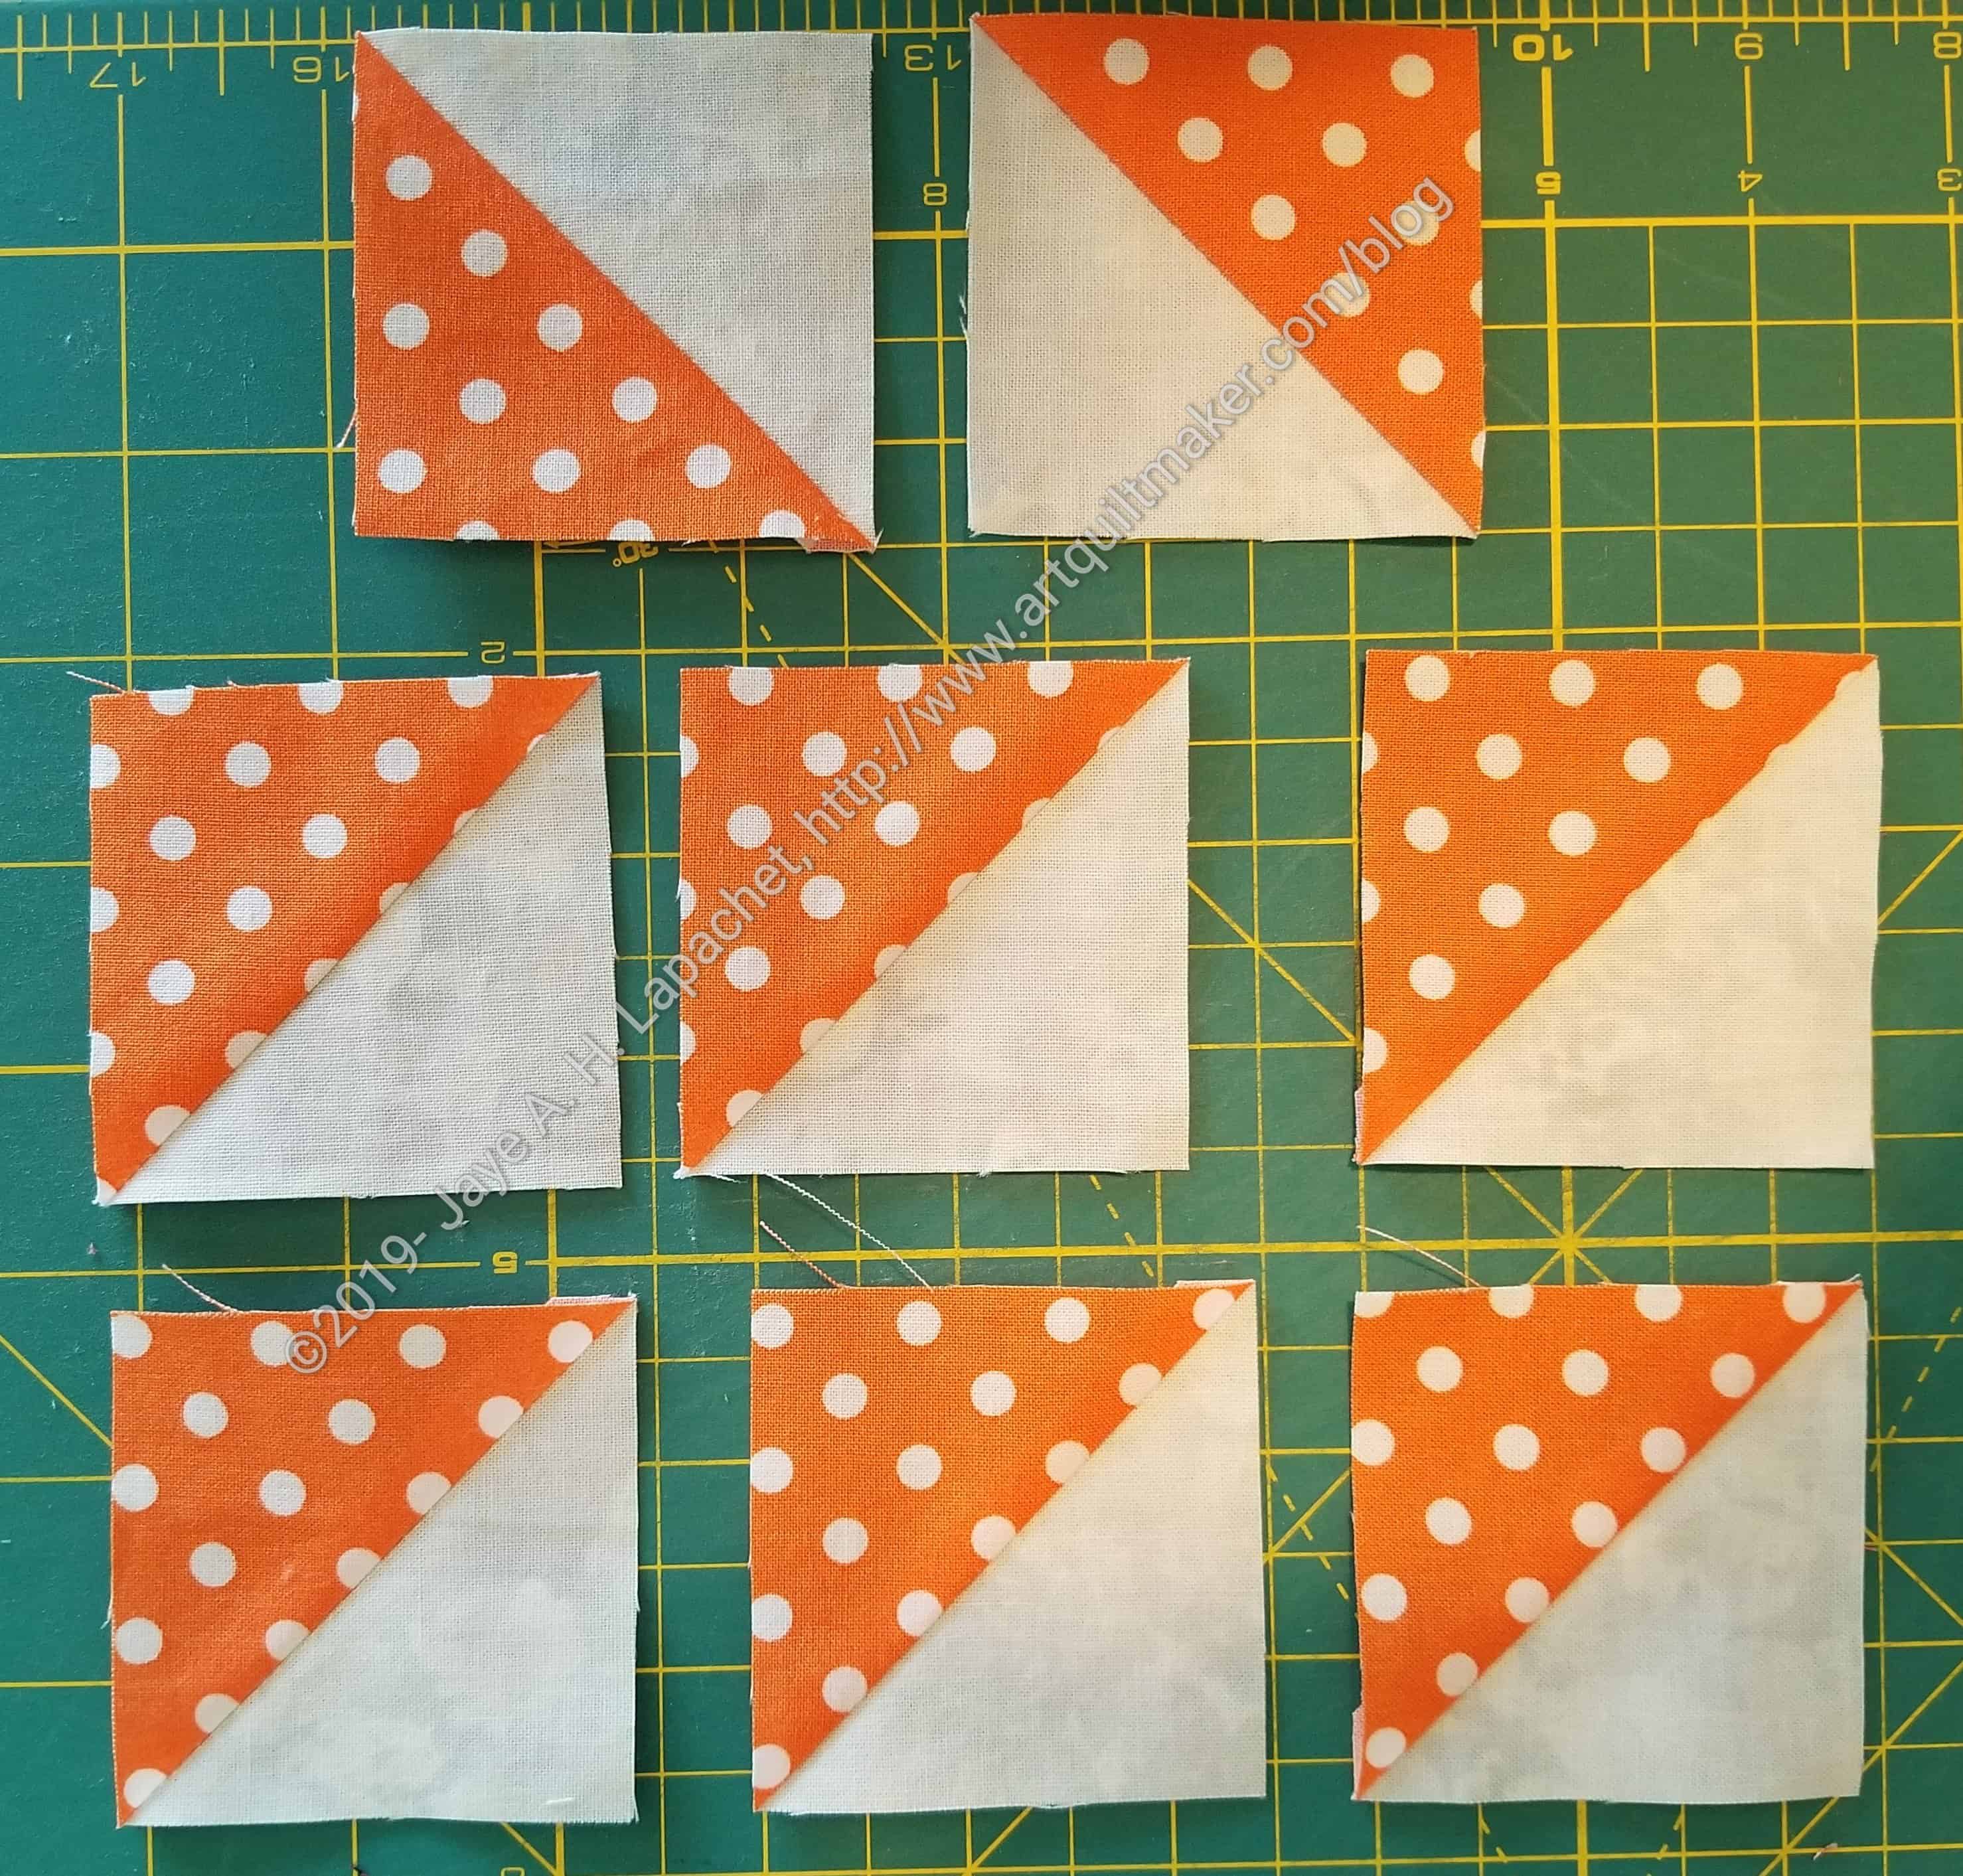
8 beautiful HSTs
Now you have 8 beautiful HSTs.
N.B. : The bias edges shouldn’t be scary for you on the regular method, but this method makes HSTs much easier. I think this would be a fabulous method to make a lot of HSTs in a short amount of time. It is similar to a tutorial that p.s. i quilt posted, but times 4. I am planning to try out different sized beginning squares to see what sized HSTs I come up with.
I talked over the math with my DH and came up with a chart showing the different sizes you can make with this technique. This is the updated version and you need this chart to use this method.
This is a great technique to use as leaders & enders.
I have been working hard on the second group of red donation blocks. I have about 7 more to go. I need to decide what background fabric to use. One thing at a time.
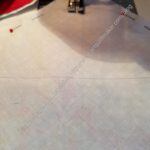
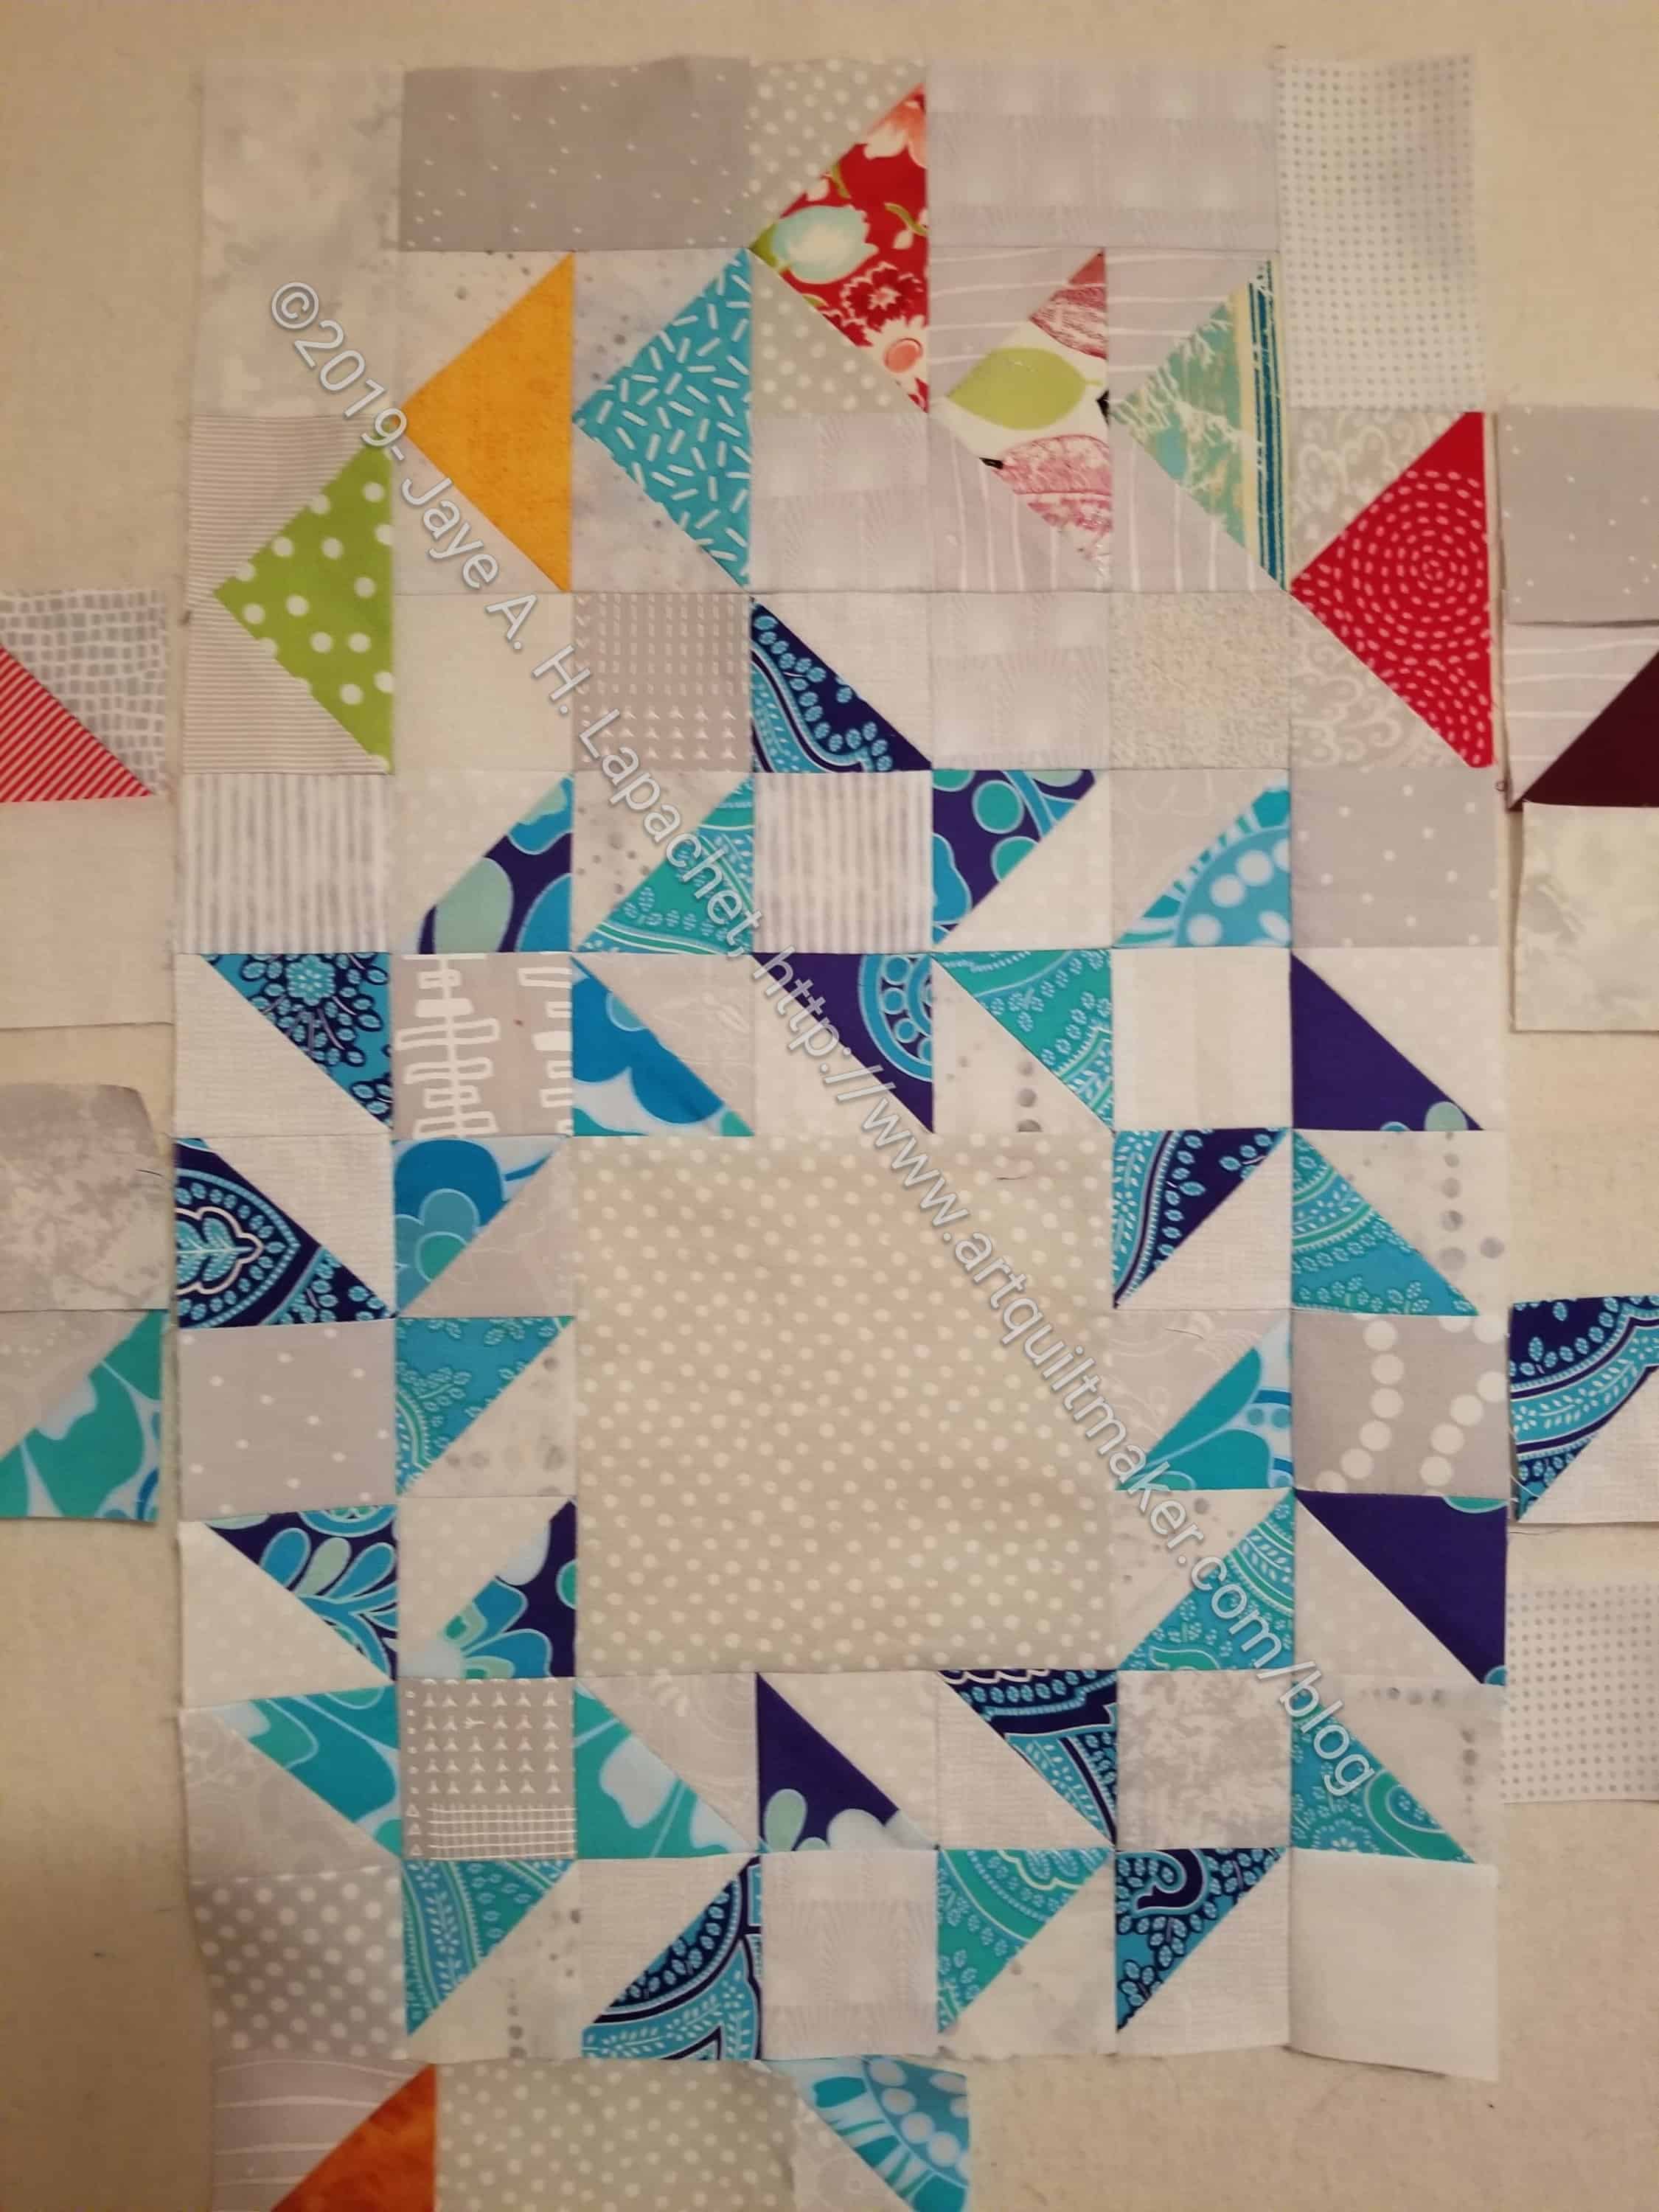
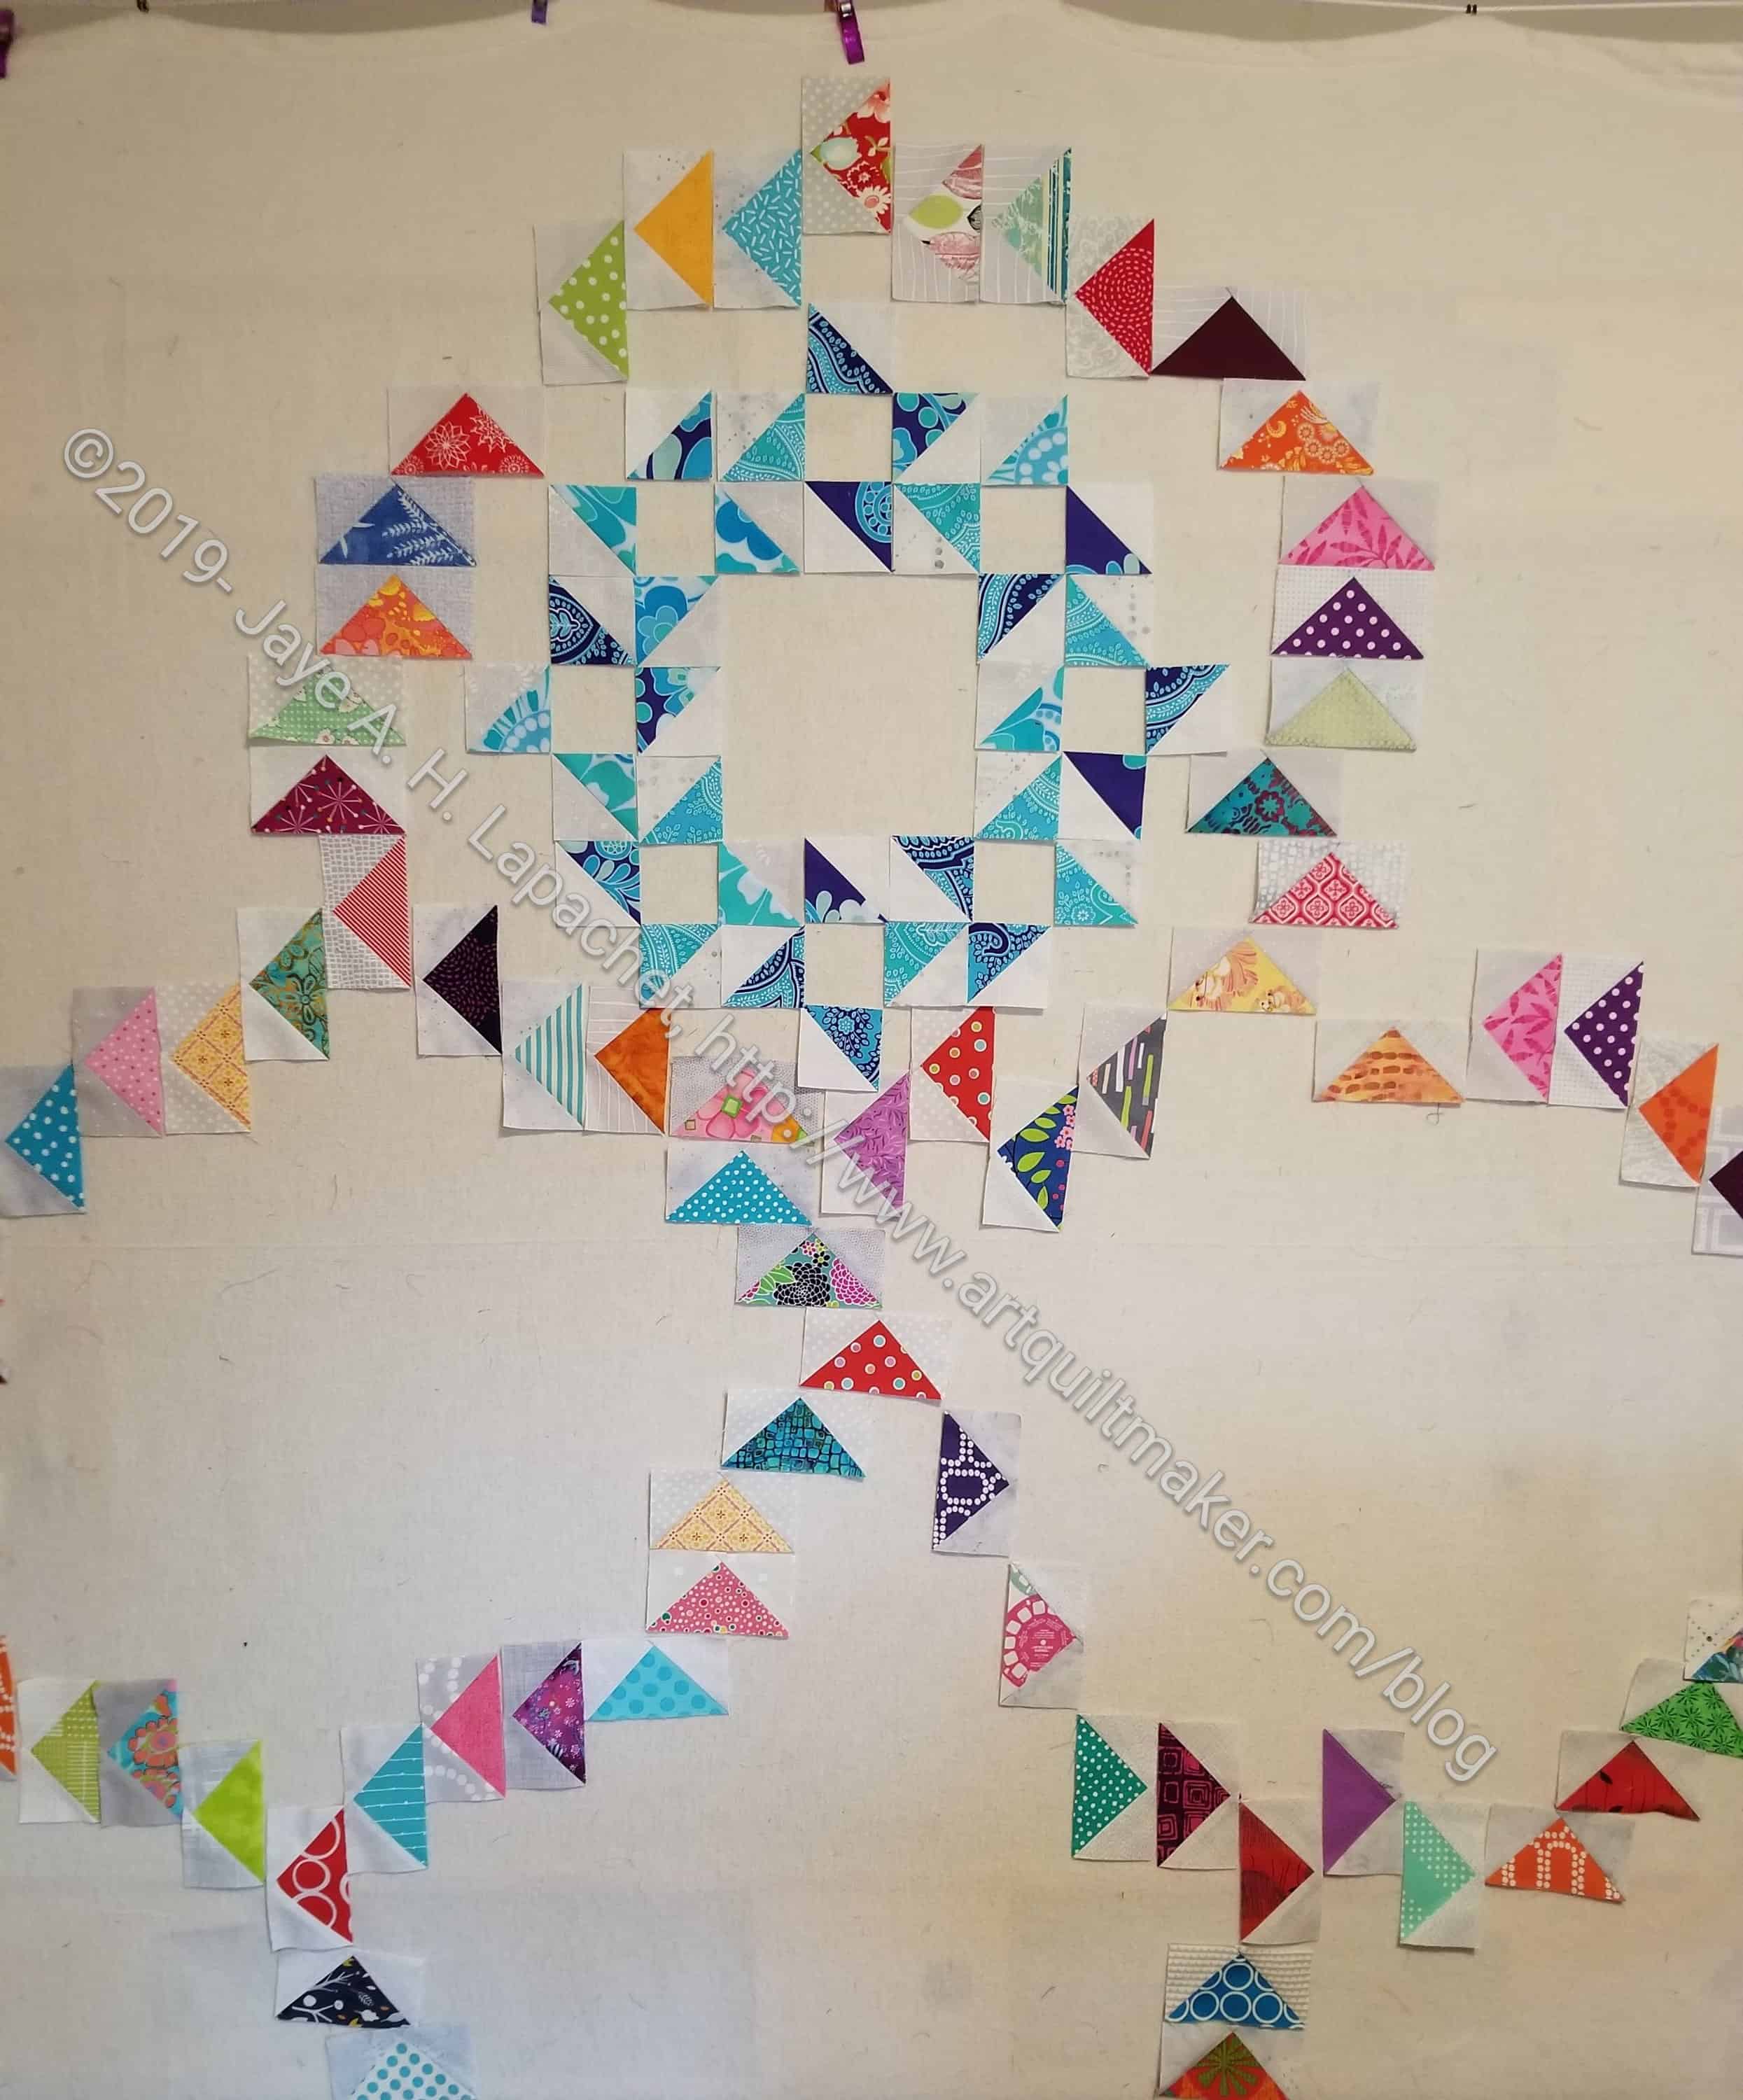
Flying Geese Around & Around- in process, April 2019
I spent a very happy day on Sunday working on my Flying Geese quilt. I really have to think of a better name for it, but for now, that is what I am calling it.
This is a difficult quilt on which to work, because when it is unsewn it looks messy and the pieces look out of place. When it is partially sewn, pieces still seem out of place. Still, seeing the Friendship Star block starting to come together is a good thing. It still a bit confusing, because the other pieces around it are not sewn together. I can start to see what is happening with that one section.
Flying Geese Around & Around- in process, detail, April 2019
I am pleased with how the blue section is coming together. I am not sure if I like the Flying Geese so close to the top of the Friendship Stars, but in that case, I guess it looks ok.
You can see, also, that I have cut a lot more of the grey background squares, which is helping to make it possible to put the pieces together.
This piece is making me think about Kelly’s Round Robin. I don’t know if she every put it together or what she thought of my work. Anyway the piece has been on my mind.
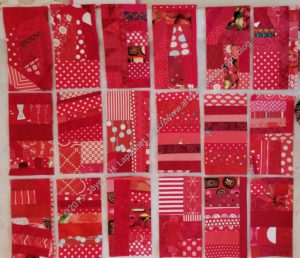
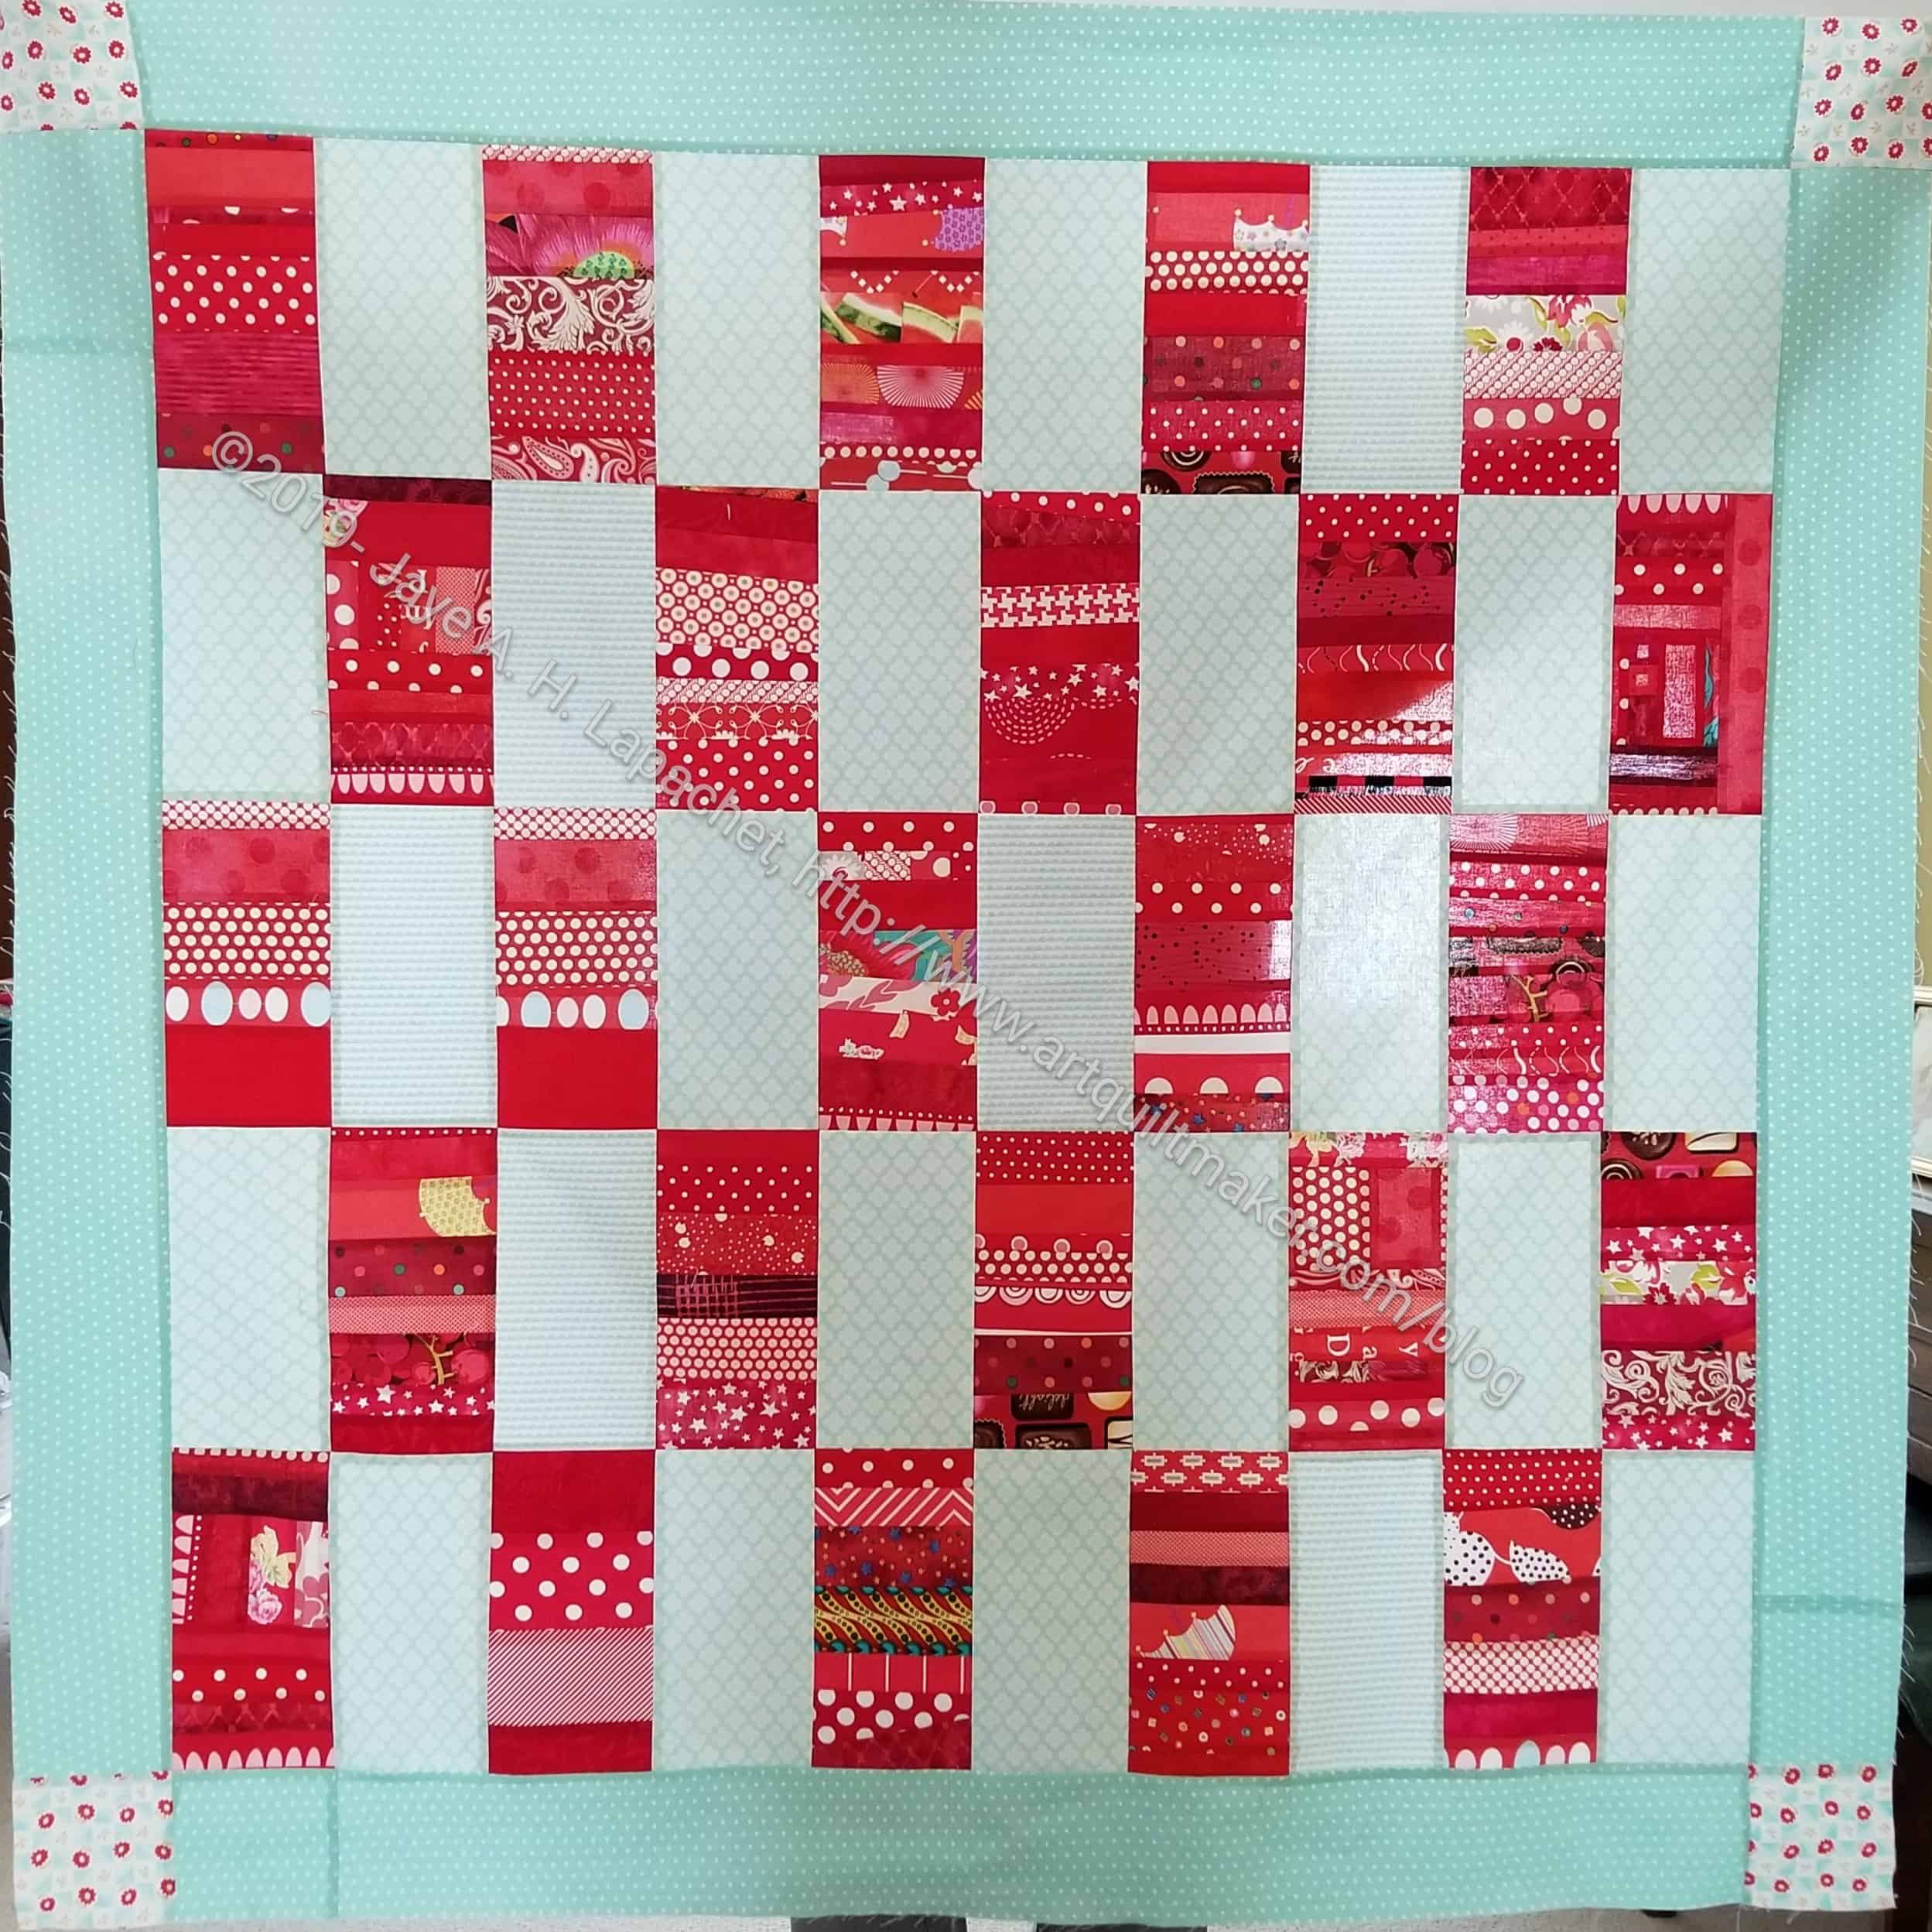
I finally finished the first red strip donation top. I say first because I am well into making the blocks for a second. I have a lot of red scraps. I haven’t even started the improv red scrap quilt yet. So many donation quilts to make!
I used a variety of Bonnie & Camille aquas for the background. My choice of border looks fine, but I was going for a fabric that would blend in more with the background. I didn’t have enough of the others left. Still, someone will like it.
It is fun to be making this series. I enjoy reducing my scraps, but I also enjoy seeing how the same pattern looks in different versions.
I am nearly finished with the first Red Strip Donation Quilt, but started blocks for a new one anyway. I am still trying to use up red scraps.
I have pretty much decimated my stash of red strips, which is why the new blocks won’t all be made from strips as the others have been. I also find that there is also no point in doing something I have already done. I know I make the same patterns over and over, but somehow I feel like this change is needed.
I was contacted earlier this week about the SCVQA Quilt Show. Sadly, I won’t be able to attend, but I hope you will be able to attend and will share photos on social media.
Message re: the show:
SCVQA Quilt Show
I am writing from the Santa Clara Valley Quilt Association, we are one of the largest quilt organizations in the bay area. We are about to host our biennial quilt show featuring hundreds of quilts made by local quilters and artists, Quilts Celebrating Creativity is May 4-5 at the Santa Clara Convention Center. We wanted to invite you especially to attend, since we know you support the quilting arts with an active blog and online presence.
We will be showing over 300 quilts, our guild is very diverse and there will be many different forms of quilts, from traditional to modern, large to small and everything in between. On display will be two special exhibits showcasing nationally renowned local artists Therese May and Randa Mulford. We have a large vendor mall feature a unique shopping opportunity with local vendors selling fabric, tools, patterns and other one of a kind crafts. There will be raffle baskets, demonstrations, art on display from the San Jose Museum of Quilts and Textiles, and a scavenger hunt for children.
Show hours are Saturday May 4th 10 a.m. to 5 p.m. and Sunday May 5th 10 a.m. to 4 p.m. Admission is $12, children 12 and under are free. More information can be found at www.scvqaquiltshow.org.
Santa Clara Valley Quilt Association is dedicated to the preservation and promotion of the art of quilting.
If you would like to know more or have any questions, feel free to reach out to the Quilt Show Committee at quiltshow@scvqa.org.
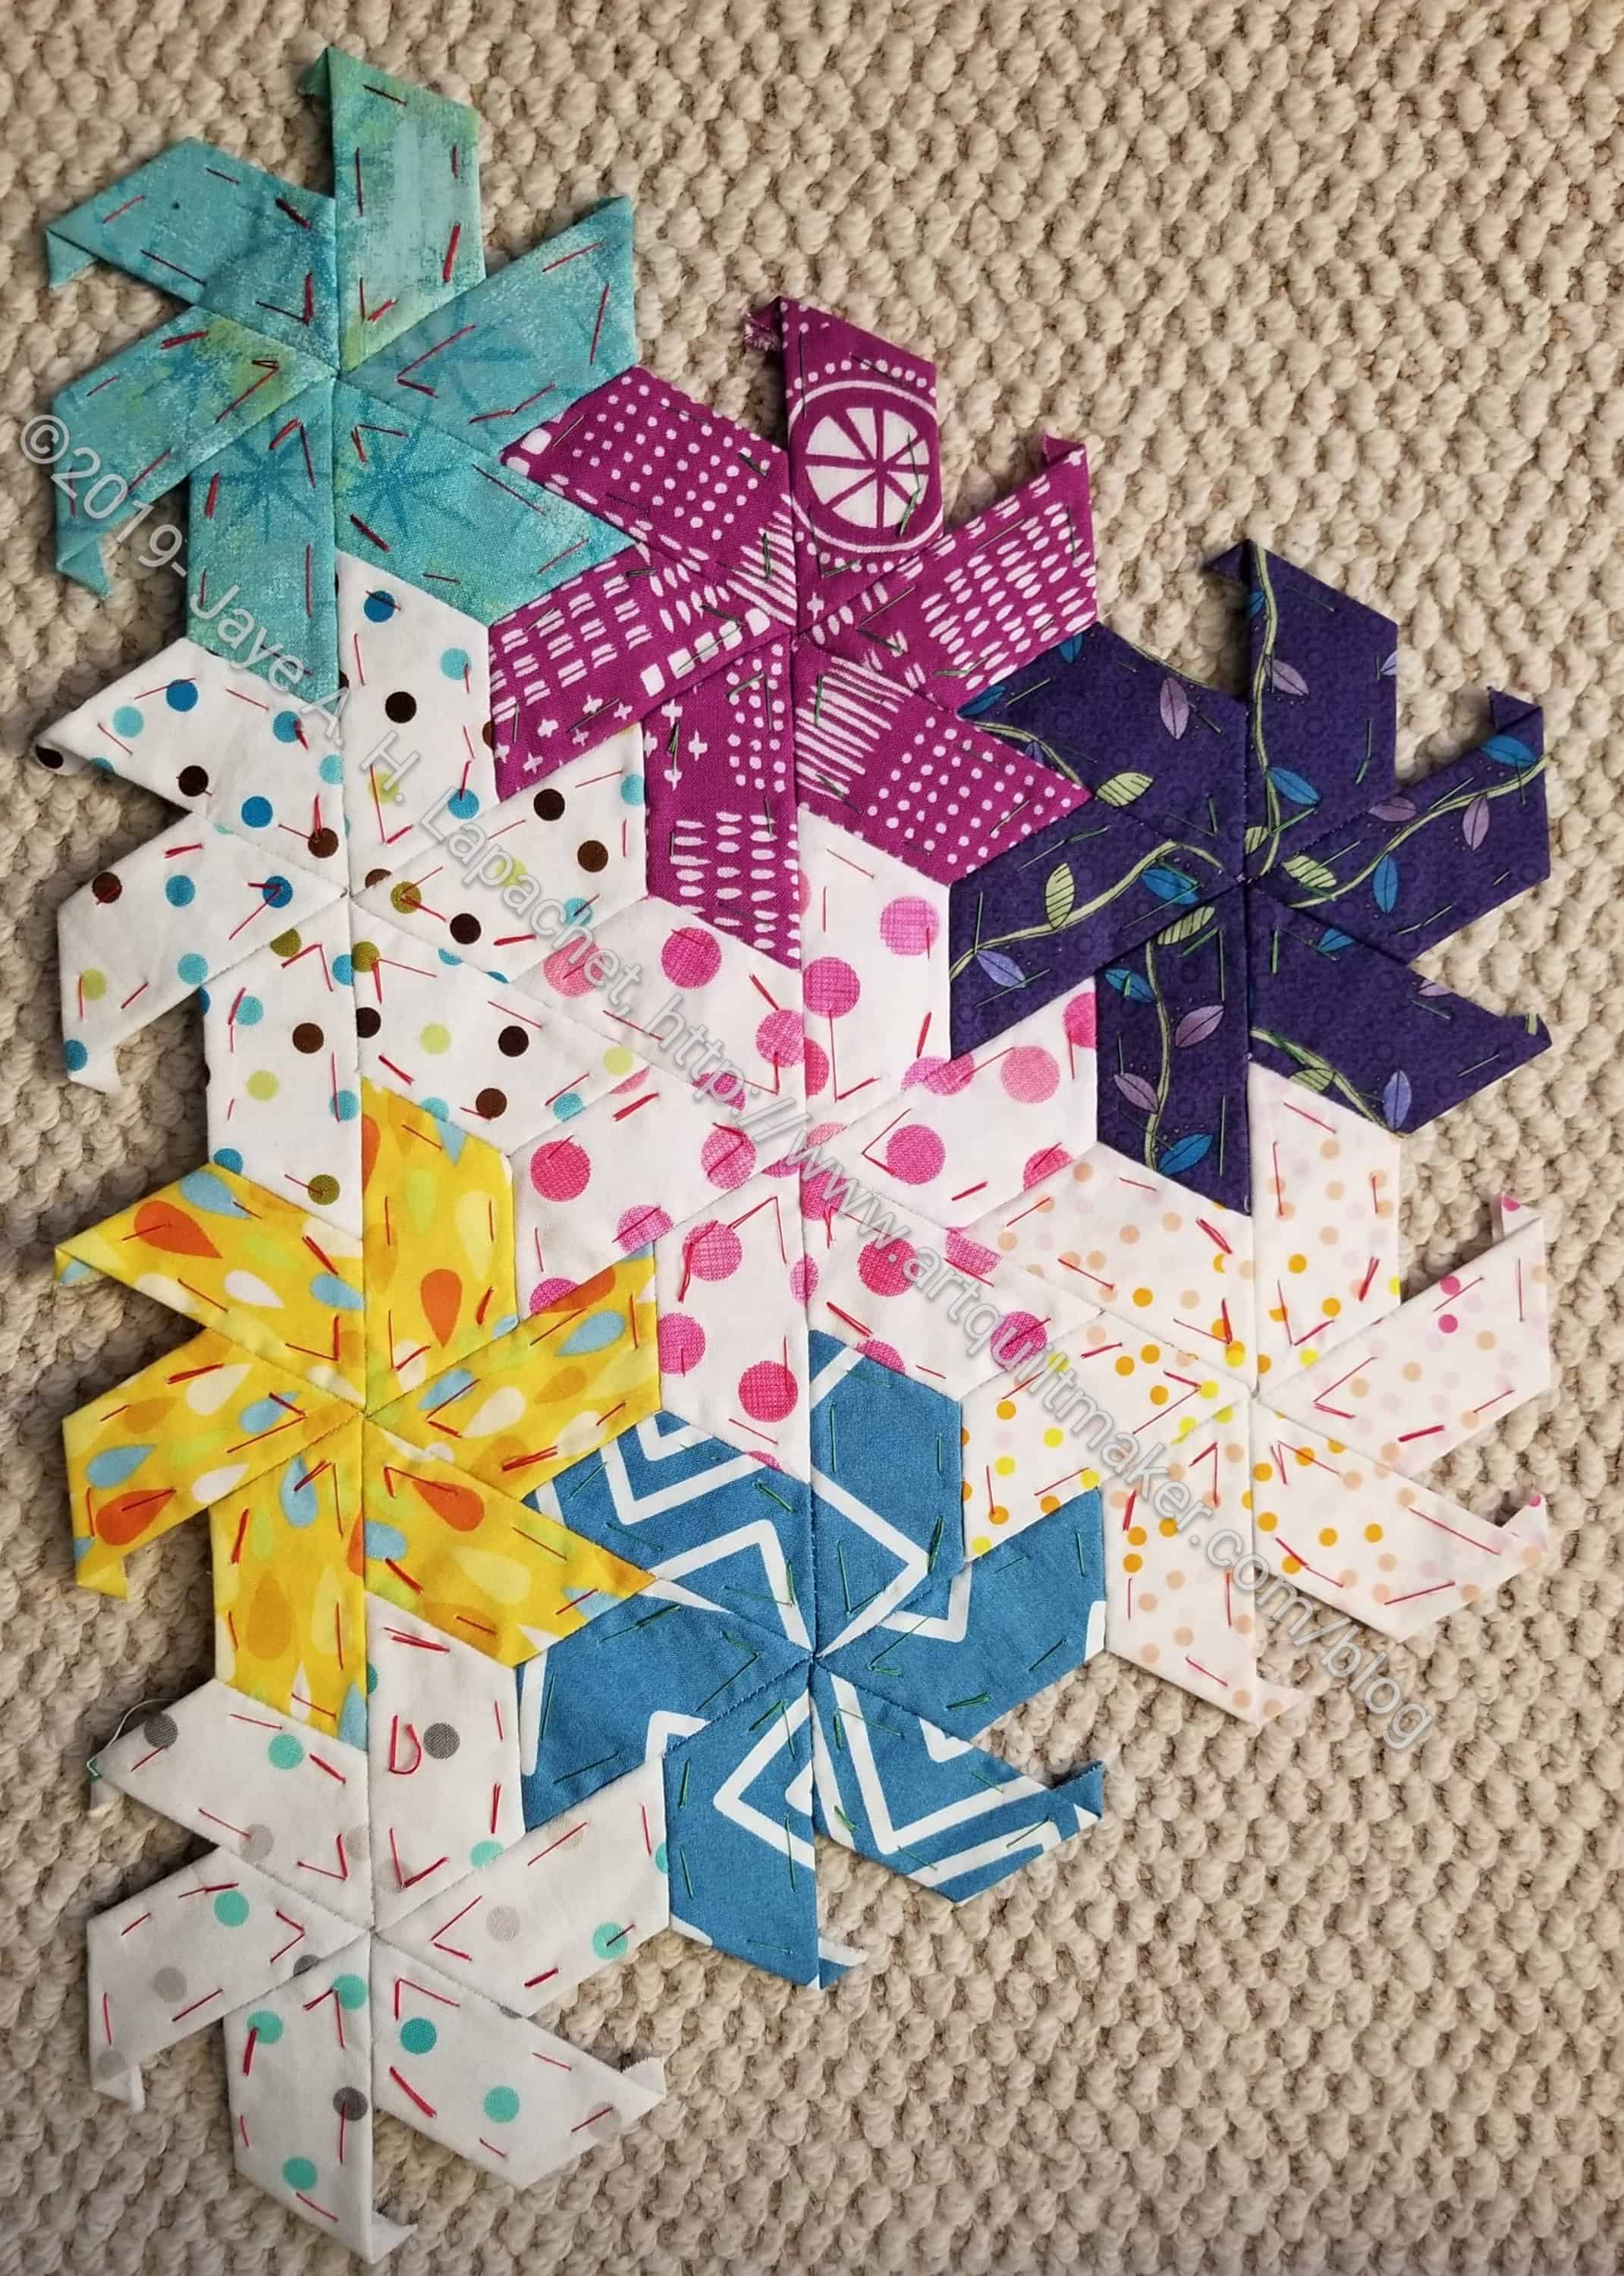
I am never going to get this project finished if I don’t work on it, so I work on it whenever I can. Lately, I have just been making stars. I have a whole Scone container full of the little stars and some pieces in my Sew Together Bag cut to make more. I decided I had better put some stars together to make a section that will increase the size of the main piece before I made more stars. As a result, I have been beavering away at that task.
Half Hexie EPP Section – April 2019
It doesn’t look very impressive, I know. That takes a bit of the wind out of my sails, because all of that piecing is handwork and it took quite a while, though not years, to get that much done.
I am still trying to think of this as my slow quilt project, but it is hard. I am kind of ready to be done with this project and move on to something else. At least I finished one hand project this year.
I was a very good girl on Sunday and spent most of my sewing time making sleeves. I am entering a couple of quilts in the Fair and they need sleeves. Also FOTY 2017, now finished will need a sleeve. Since I was doing finishing tasks anyway, I made a sleeve for it as well.
Flying Geese – Mid May 2015
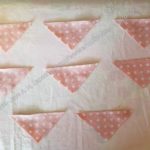
Partway through the drudgery, I decided to branch away from my UFOs and project lists. I decided to start on a new, fresh quilt project that I designed. I decided I would set the Flying Geese from the exchange I did. the photo, left, is a selection of the FGs I made and received in the exchange.
I thought a lot about designs and looked at many inspirational photos of Flying Geese blocks. I was particularly enamored of a block shown by Moda that has its roots in the Dutchman’s Puzzle block, a block I like very much and is usually in my sampler quilts. I created the design on my way home from the North Coast while DH drove. I was inspired by the Round and Round quilt by Camille Roskelly and have incorporated her reimagining of the Friendship Star block into my design. I am really excited about it, especially now that some FGs are on the design wall.
Flying Geese Exchange Quilt – starting design work
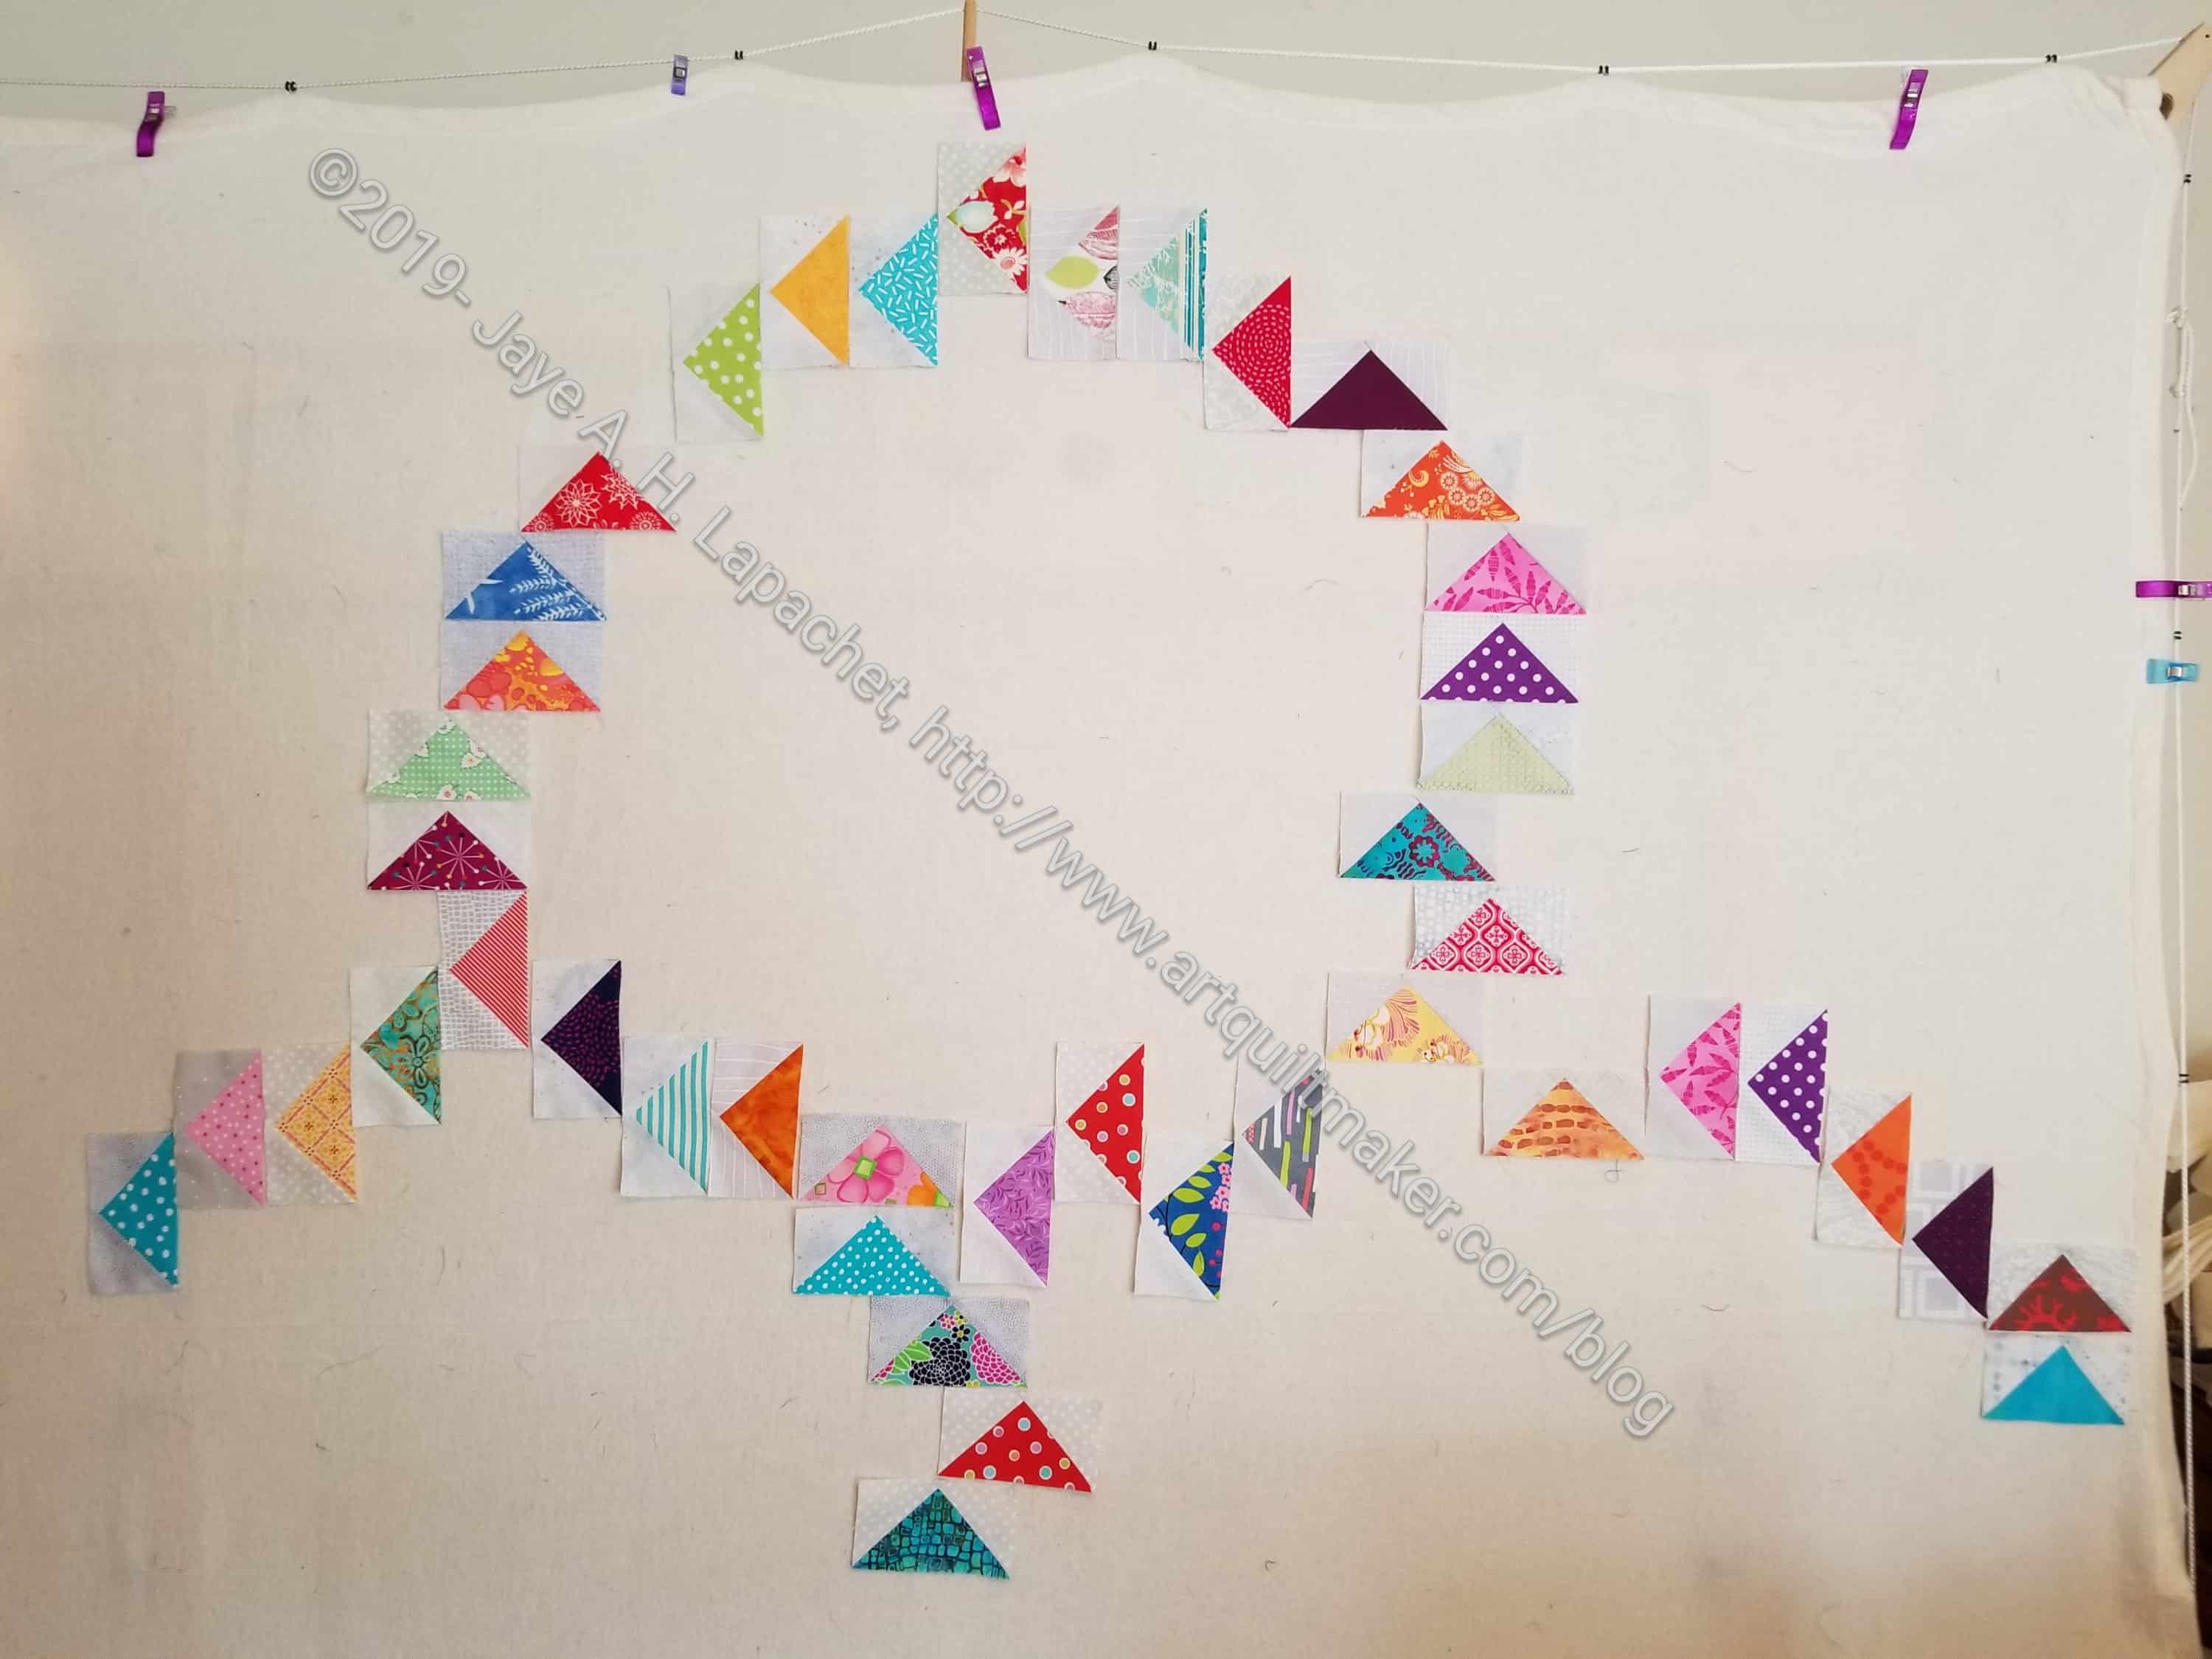
So, as I was working on the sleeves, which, have I mentioned, can be quite tedious, I did little tasks on the FGEQ (not sure what I will name this quilt yet). First, I got out the boxes of FGs. Then I printed the design, then with FOTY 2017 off the design wall, I started following my design to put FGs in place on the design wall. The photo doesn’t make it look like much, but getting all the FGs on the design wall helped me realize that I needed also to put the HSTs on the design wall. I thought I could hold off, but I needed to do it.
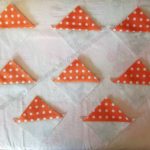
Flying Geese with Friendship Star blocks
Using my Triangle Technique, I starting making HSTs. I just thought I would make a few to get the idea, but the more I made, the more I wanted. This quilt is evolving in such an exciting way. The layout of the Flying Geese does work! That is really great. The Friendship Star blocks really fit in. They look great.
I used some Queen Street fabrics I had leftover from my Queen Street mania from a few years ago and the BAMQG IRR. I have started in on a selection of those for the blue area. I am thinking of a color wheel kind of effect, though I don’t know if I will put them in color order.
There will be a lot of fiddly sewing and, perhaps some partial seams to get this baby together. I posted the last picture on IG and got some great responses. I can’t wait to see how it looks with more finished.
Right now I know I have to face the following challenges:
Sizing everything. Math isn’t my forte and I think I have selected a size HST that will fit with the FGs, but one can never be sure.
Right now it looks like I have more than plenty Flying Geese. What do to with the extras will be something to consider. I’d like to use them all, but that may not be possible. There could be possibilities for a half border or something.
Perhaps I should double up the FGs so they stand out more? That is a ‘make visual decisions visually’ problem and I will have to look and see.
How big? I want to put more Friendship Star blocks in the corners. Will that make the quilt too big?
I worked very hard on the red strip blocks and have as many as I need for a quilt. They are on the wall and ready to set.
I am pleased with how they look and am thinking of setting them with aqua or turquoise. I have also started in on making some new blocks for the Red Strip n.2. As I said before, there is no appreciable diminishment of red scraps.
The meeting in on Saturday and I may be able to finish the top by then. We’ll see.
Well, I did it. After what seemed like a lot of trauma, I finished the top last Wednesday in a couple of hours of free time after I finished my chores and work.
I thought I would just sew more chunks together, but it turned out that the quiltmaking goddess smiled on me and all my seams were straight and there was no (or minimal) ripping required.
Now we can really see the gradation and I make no bones about how hard I worked at it this time. It is interesting to see some areas that appear lighter IRL appear darker in the photo (check on the blues next to the bird in the middle of the quilt). I do like the way it looks like the columns are fading in and out. It also has that skyline effect, which is great.
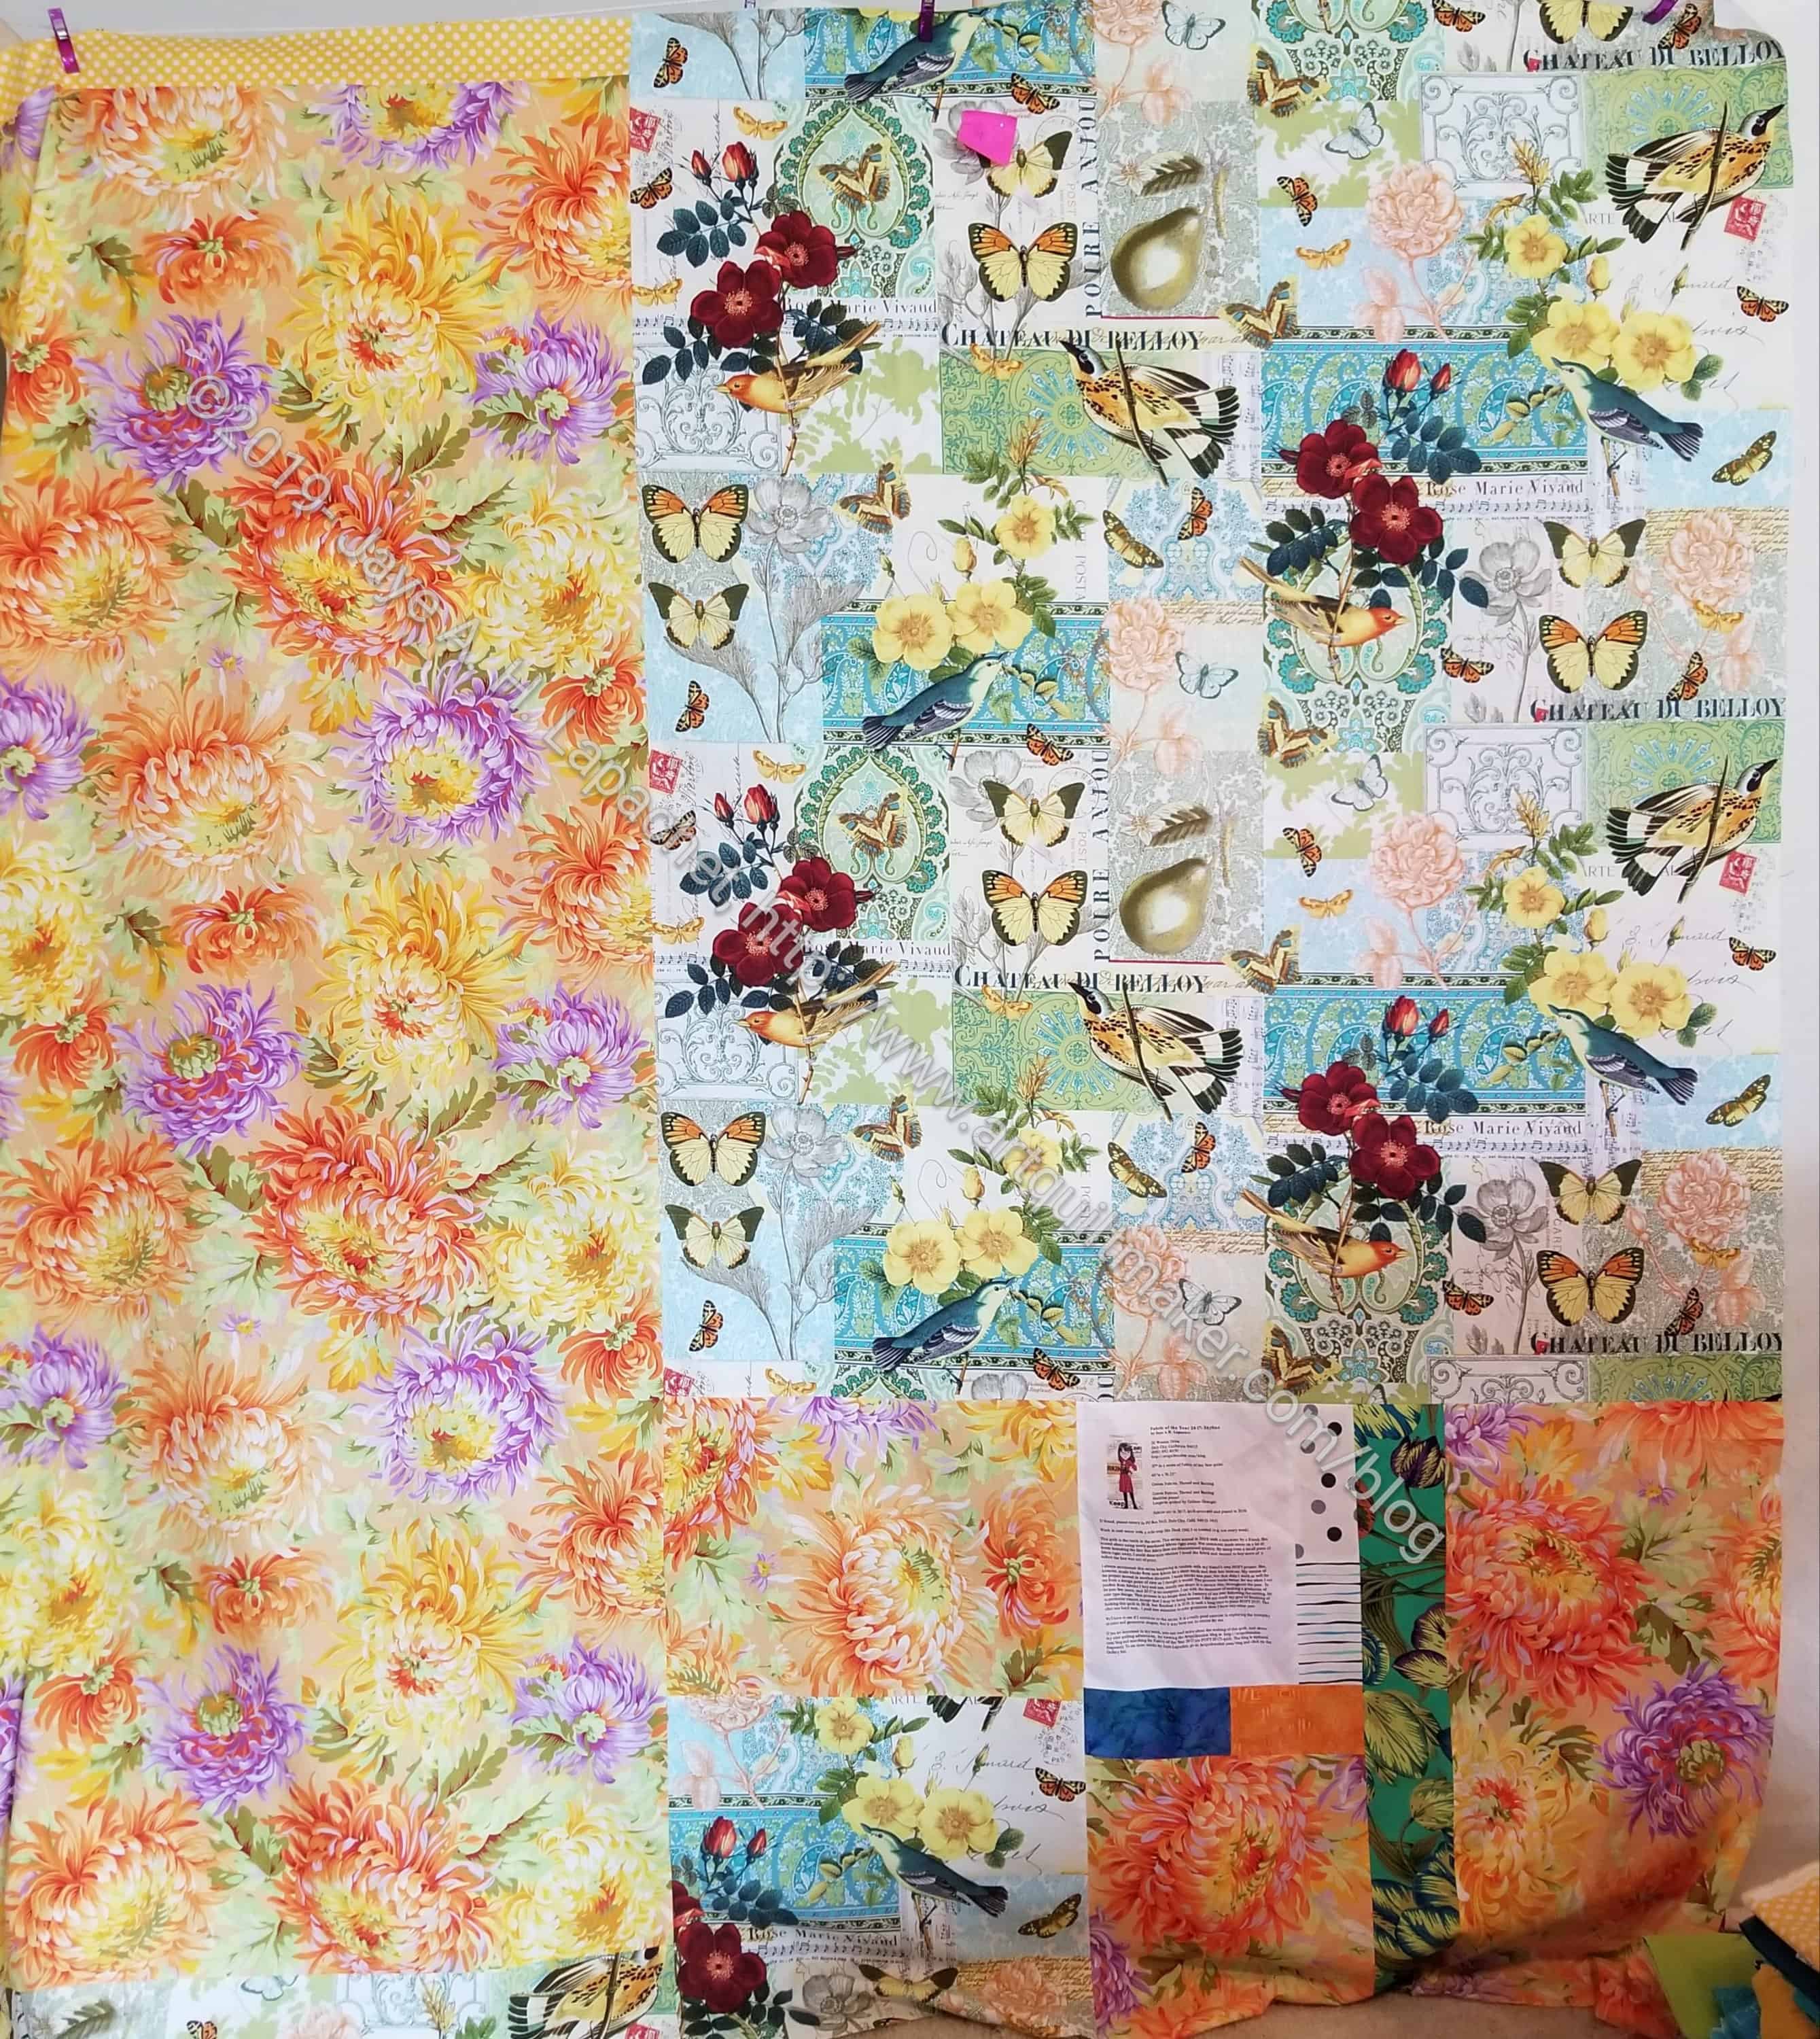
FOTY 2017 Back – ready to quilt
I buckled down and made the back, binding and sleeve on Sunday. Yep! Even the sleeve. I feel quite virtuous.
This is a really hard exercise and I challenge you to do something similar.