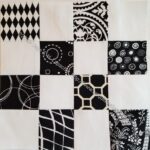
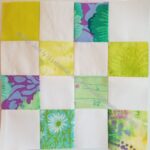
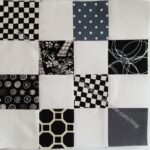
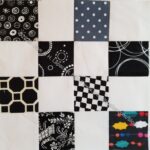
I thought I would combine the July and August blocks, because by mid-month I hadn’t made any donation blocks. However, finishing the Diagonal Nine Patch gave me the opportunity to sew some. Not tons, but every little bit helps.
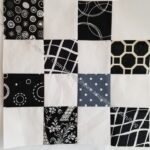
Black & White donation block
Light green donation block
Black & White donation block
Black & White donation block
Black & White donation block
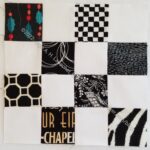
Black & White with Holly donation block
Black & White with Tula
I definitely need to cut more 2.5″ squares to keep up the project.
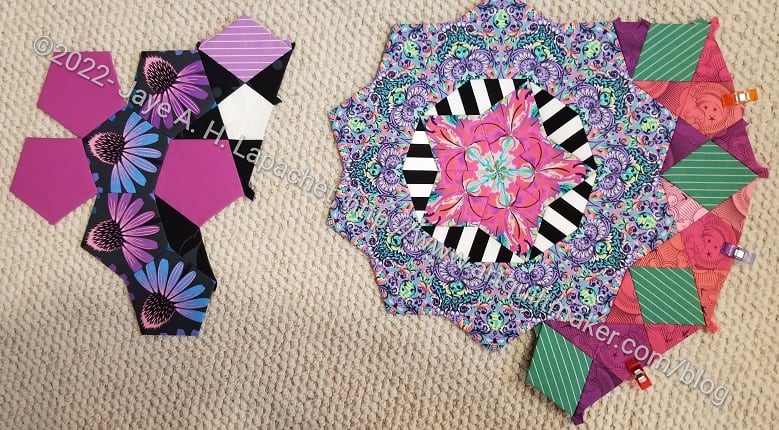
I can’t believe it has been so long since I talked about La Pass. It has been at least three weeks since I basted and started.
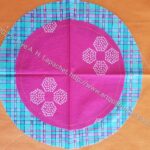
La Pass M12-Rosette #2
This month should have been a favorite month, but I have struggled the whole time. There is finally quite a bit of pink, but also a lot of the weird animal prints. I switched out lot of the fabrics despite my resolve. Frankly, I switched out some of the fabrics a couple of times. I have also put some pieces in the wrong places necessitating ripping out and redoing or going with the flow.
Also, this month seems to be taking me forever. I don’t know why except for all the ripping and switching.
For now, I am going with what I have. I am not 100% commiting to what I have for M12, but I’ll wait to see how I feel when I have more together. La Pass M12-Rosette #1 & 3 are done and I am working hard on La Pass M12-Rosette #2. M13 will be delayed so I have a tiny bit a breathing room, but I need to be ready for it.
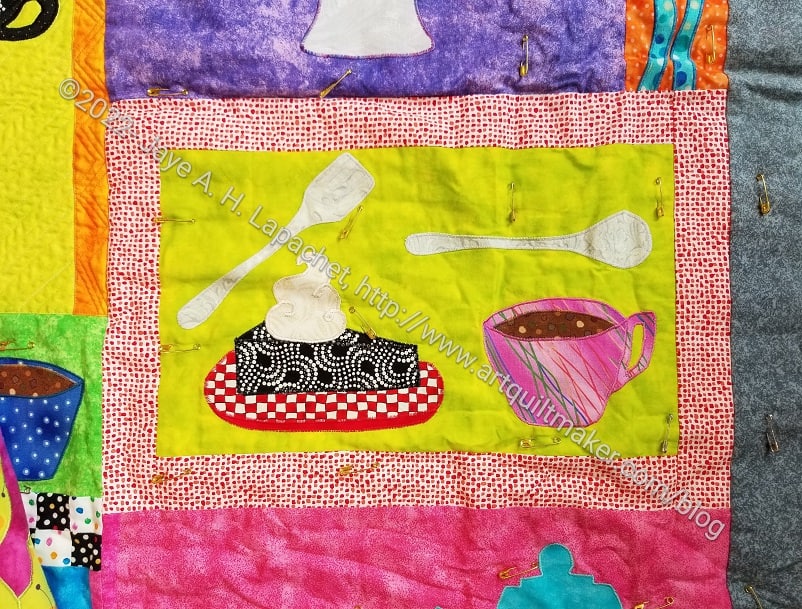
Yes, after YEARS of having this project on my to do list, I have pulled it out of the project box and started to finish the quilting. First, I am obsessed at the moment with crossing things off my to do list. Frankly, I am sick of looking at the same items month after month. Second, I need the project box for something else.
Now that you are back in your chair a second time after being gobsmacked on to the floor, you read that right. I am machine quilting a real quilt. It isn’t a king sized quilt or anything, but it is also not fabric for a bag or a tablerunner. It is real quilting on a quilt.
Tarts: quilting center right
I started working on it last Friday. I started with the frame of one of the blocks. I thought some straight line quilting would get be back in the groove.
The good thing about that red frame is that the quilting would not show if I used red thread.
You are probably remembering the Cha Cha Cha table runner. Yes, I quilted that myself, as well as some fabric for bags this year, so it’s not like it has been 20 years since I actually quilted anything. It has been about 10 years since I worked on this project. Recently, I have decided that UFOs are a bad thing for me and I want to eradicate them, as much as possible from my workroom.
I had the box of thread I used for the other, already quilted Tarts blocks, so I picked out the red (Maderia rayon I used to use for embroidery) and got busy.
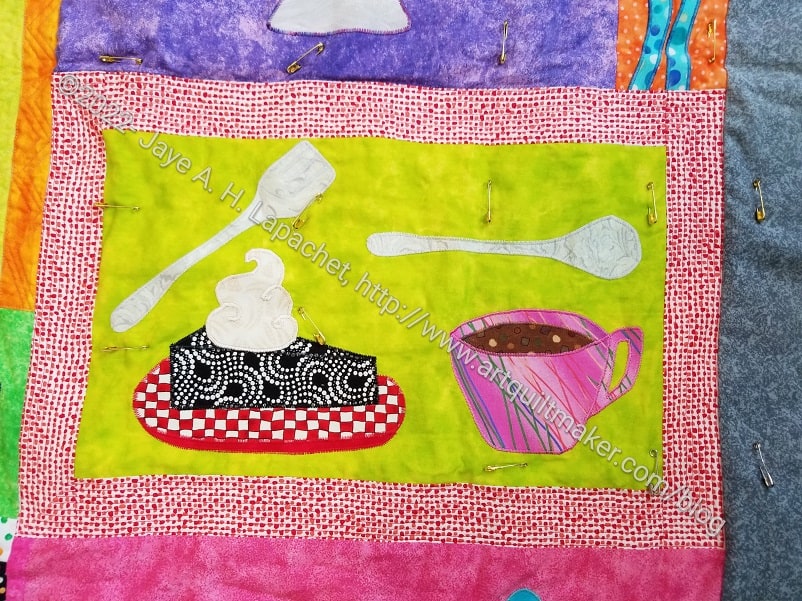
Tarts: quilting finished center right
I was pretty pleased with how the process worked. I was a little nervous about doing the frame before the center, but it ended up all working out.
I was particularly pleased that the quilting made the frame flat. It seemed really puffy when I started (first photo, above). I know that I need to work from the center out and I am doing that, mostly. I started with the frame, because I didn’t want the quilting to show while I worked out stitch length, etc.
Tarts: quilted frame detail (center right)
I think the stitching looks ok. It is not Colleen’s stitching, but it is not terrible either.
Onward. Maybe I’ll finally finish this quilt, but one thing at a time.
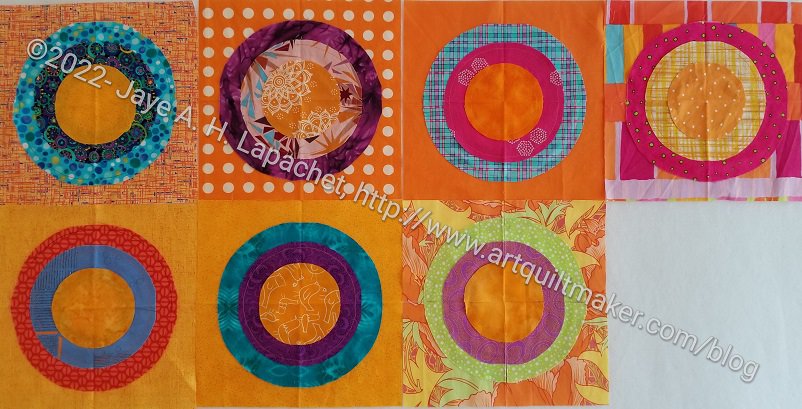
The blocks above were my favorites and I was anxious that they would be ‘ruined’ when I added the other circles.
Orange You Glad faves with 3 circles
The blocks definitely look different after the last orange circles were added. I am excited that they look even better. I still lament the covering up of some of the motifs (like the flowers in the pink and blue plaid circle), but overall, I think the blocks are enhanced by the additional, small circle.
I love it when people use and love the items I make for them.
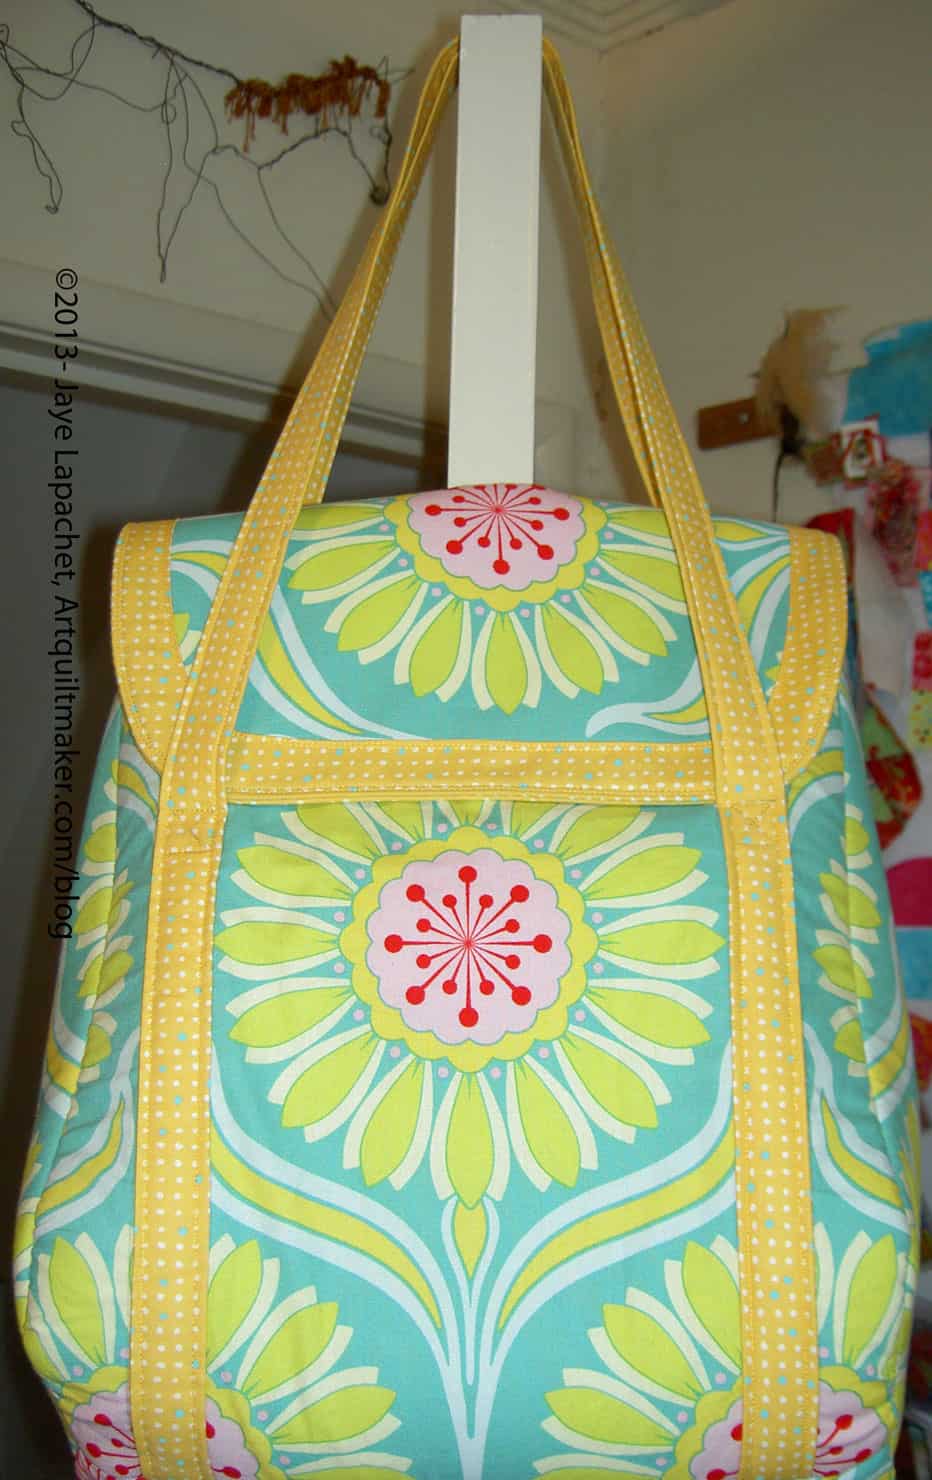
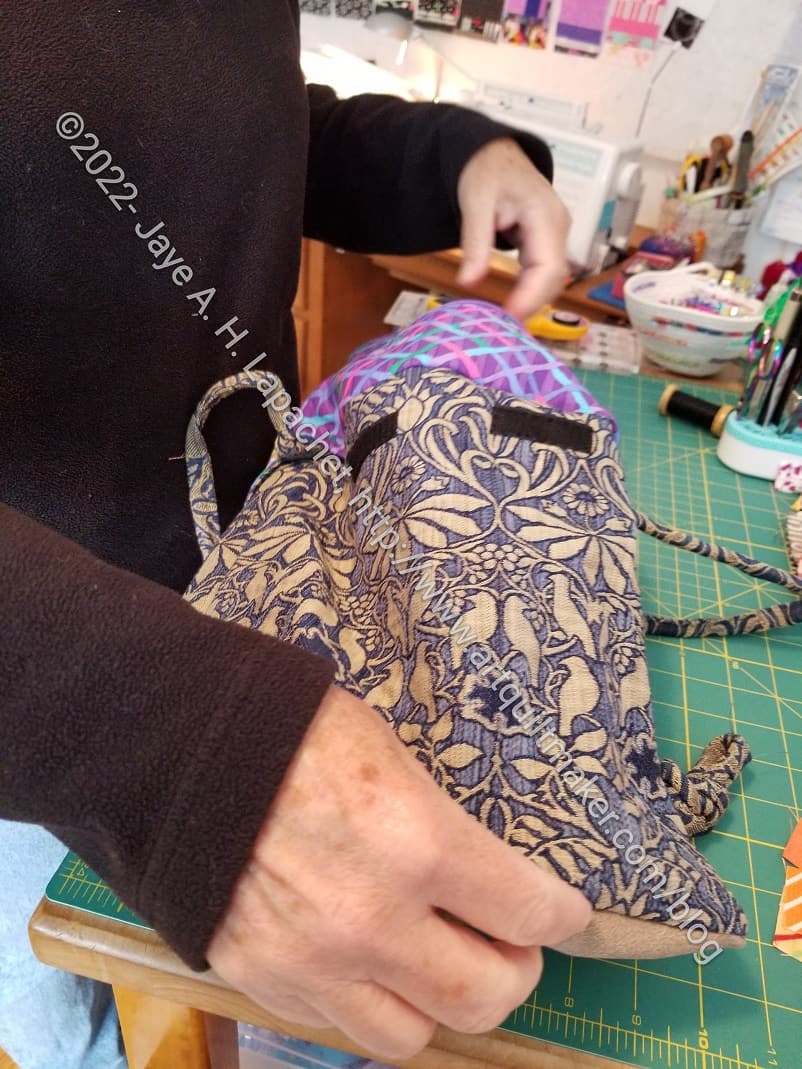
I went to a conference recently, as mentioned, where SIL#4 and I shared an apartment at the resort. She brought the Petrillo Bag I made for her back in 2013.
The bag was beautiful and pristine in 2013. It was probably the first Petrillo Bag I made and may have been the first Sew Sweetness pattern I made.
I was reminded that I am a good bagmaker and the bag looked great when I gave it to her.
Petrillo Bag in 2022
The bag is now well loved and well used. It has been to Australia at least once and maybe even to to Europe. Not sure. It has been through the wash and SIL even Oxycleaned it when the dirt from carrying it on trips got to much.
I am tempted to make SIL#4 another one. I don’t know if I still have some of the same fabric, but I think I might.
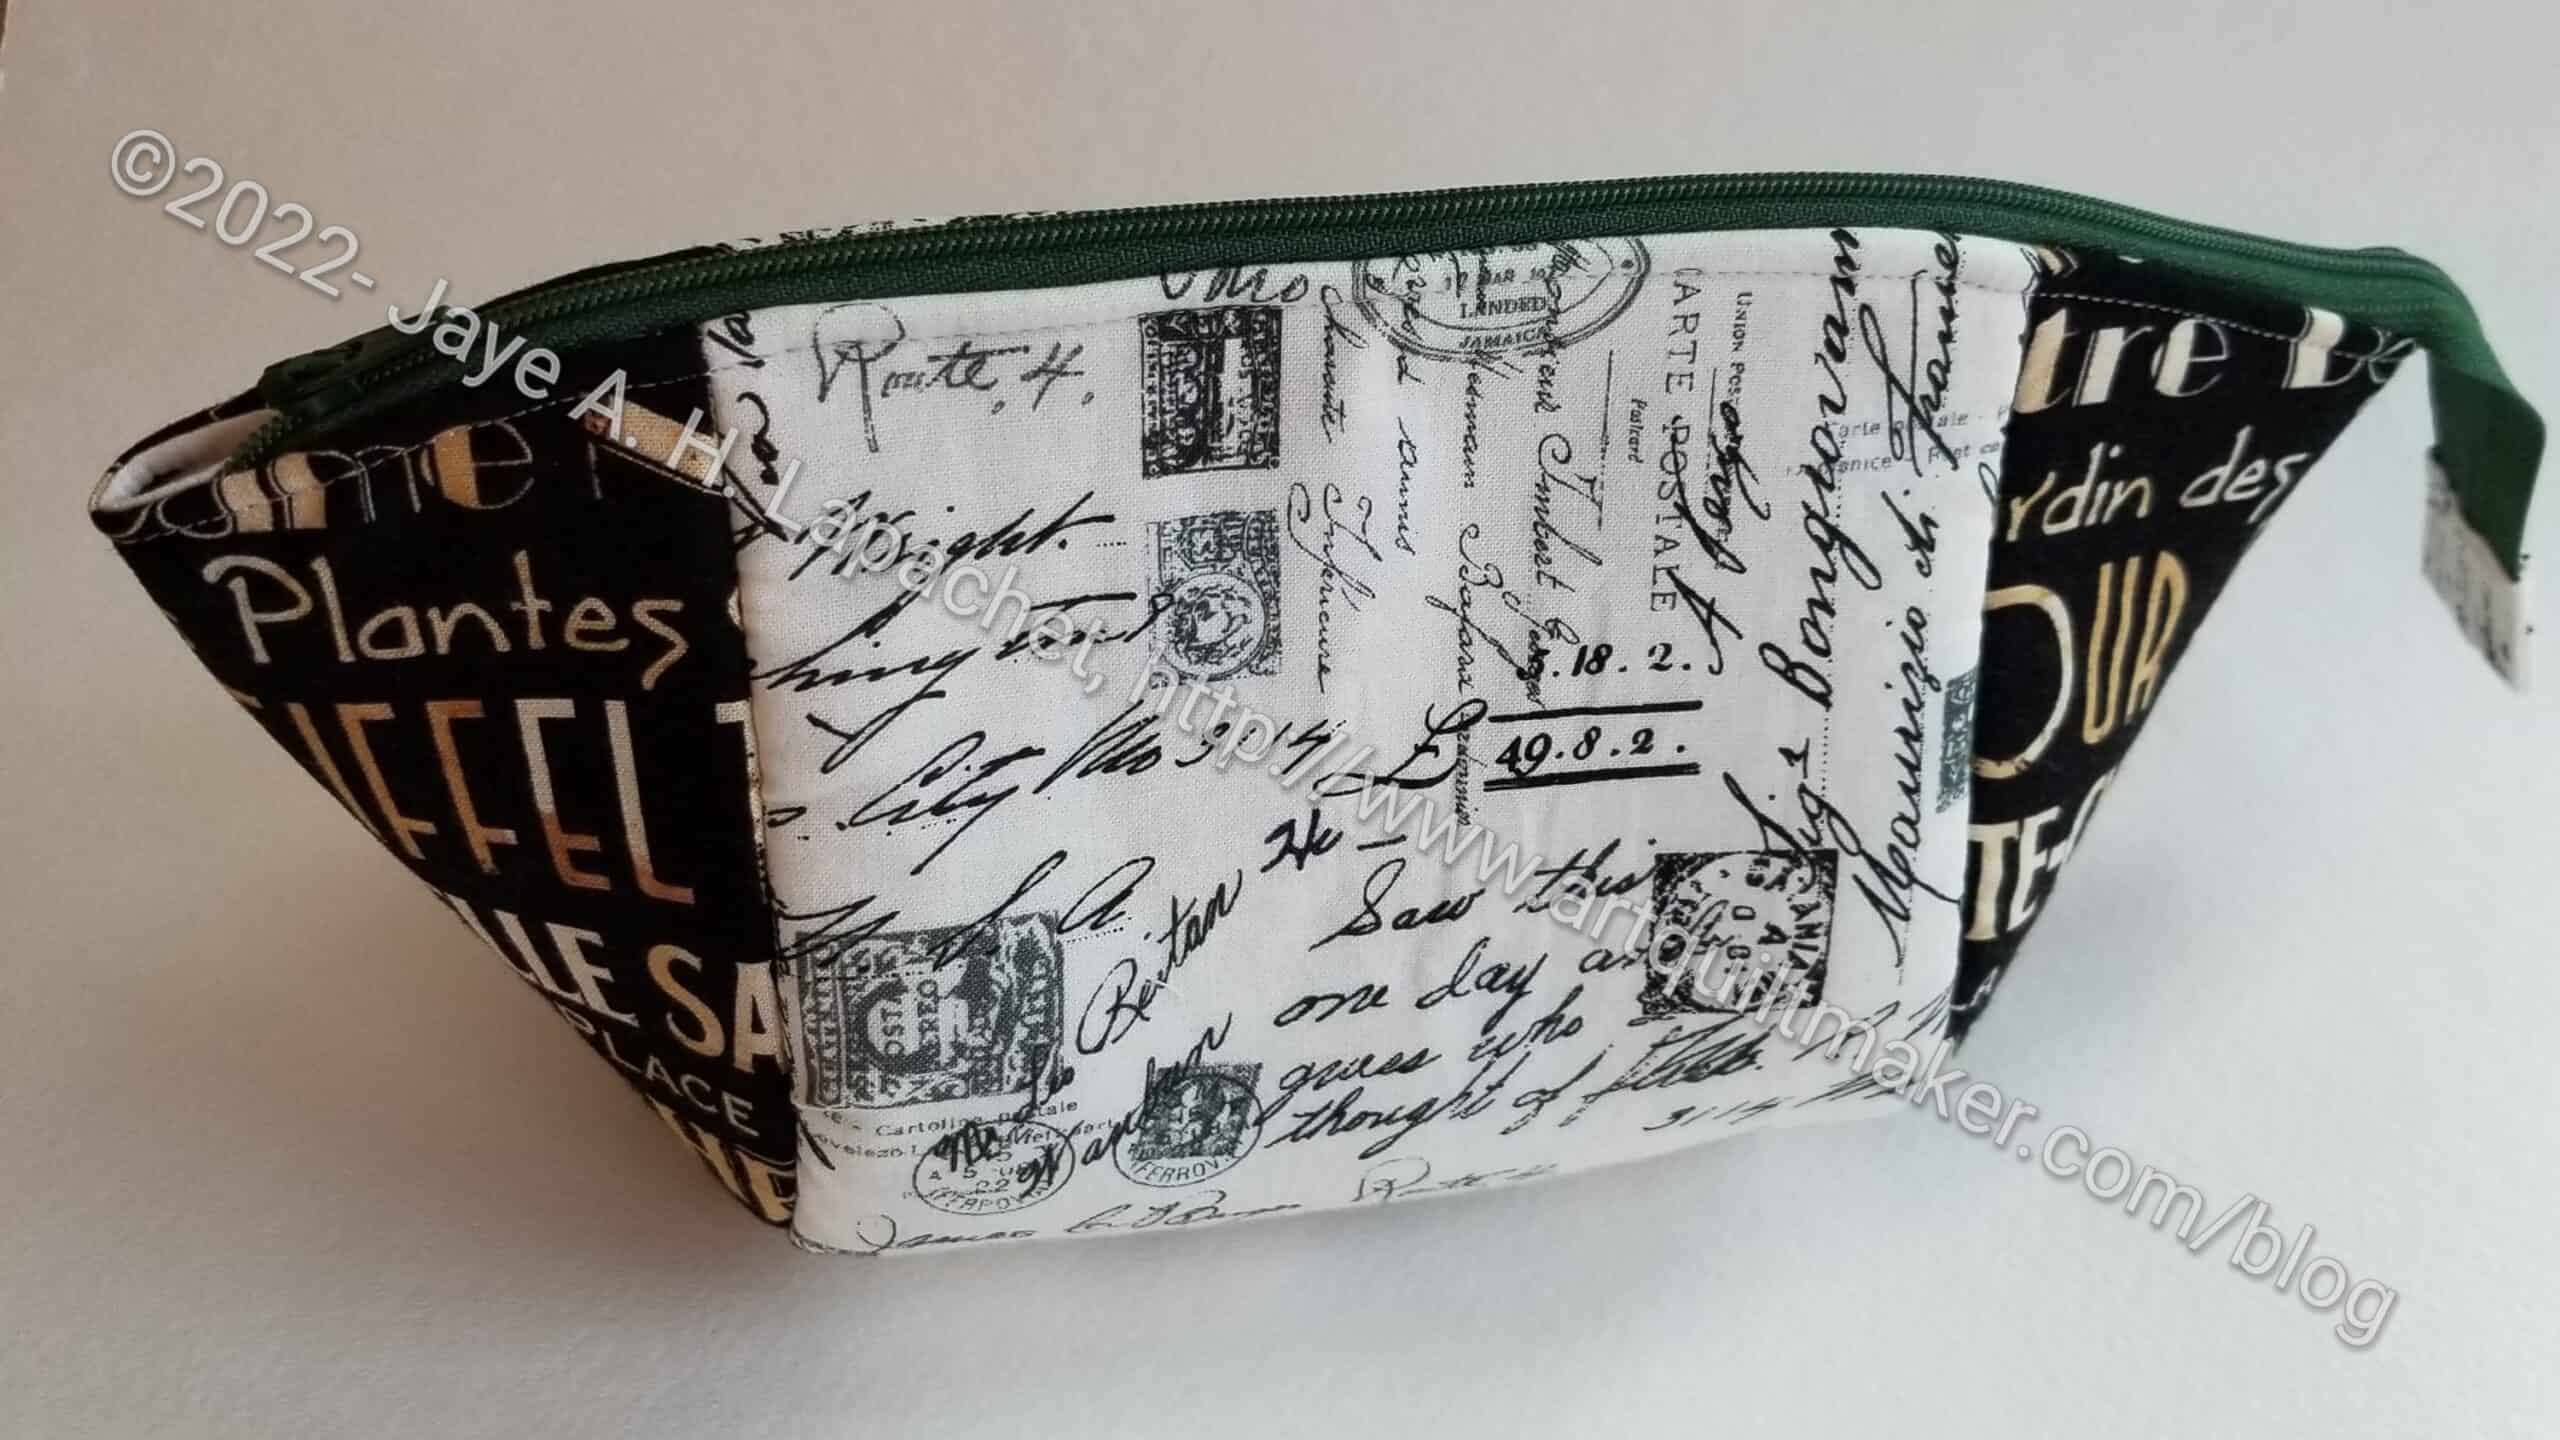
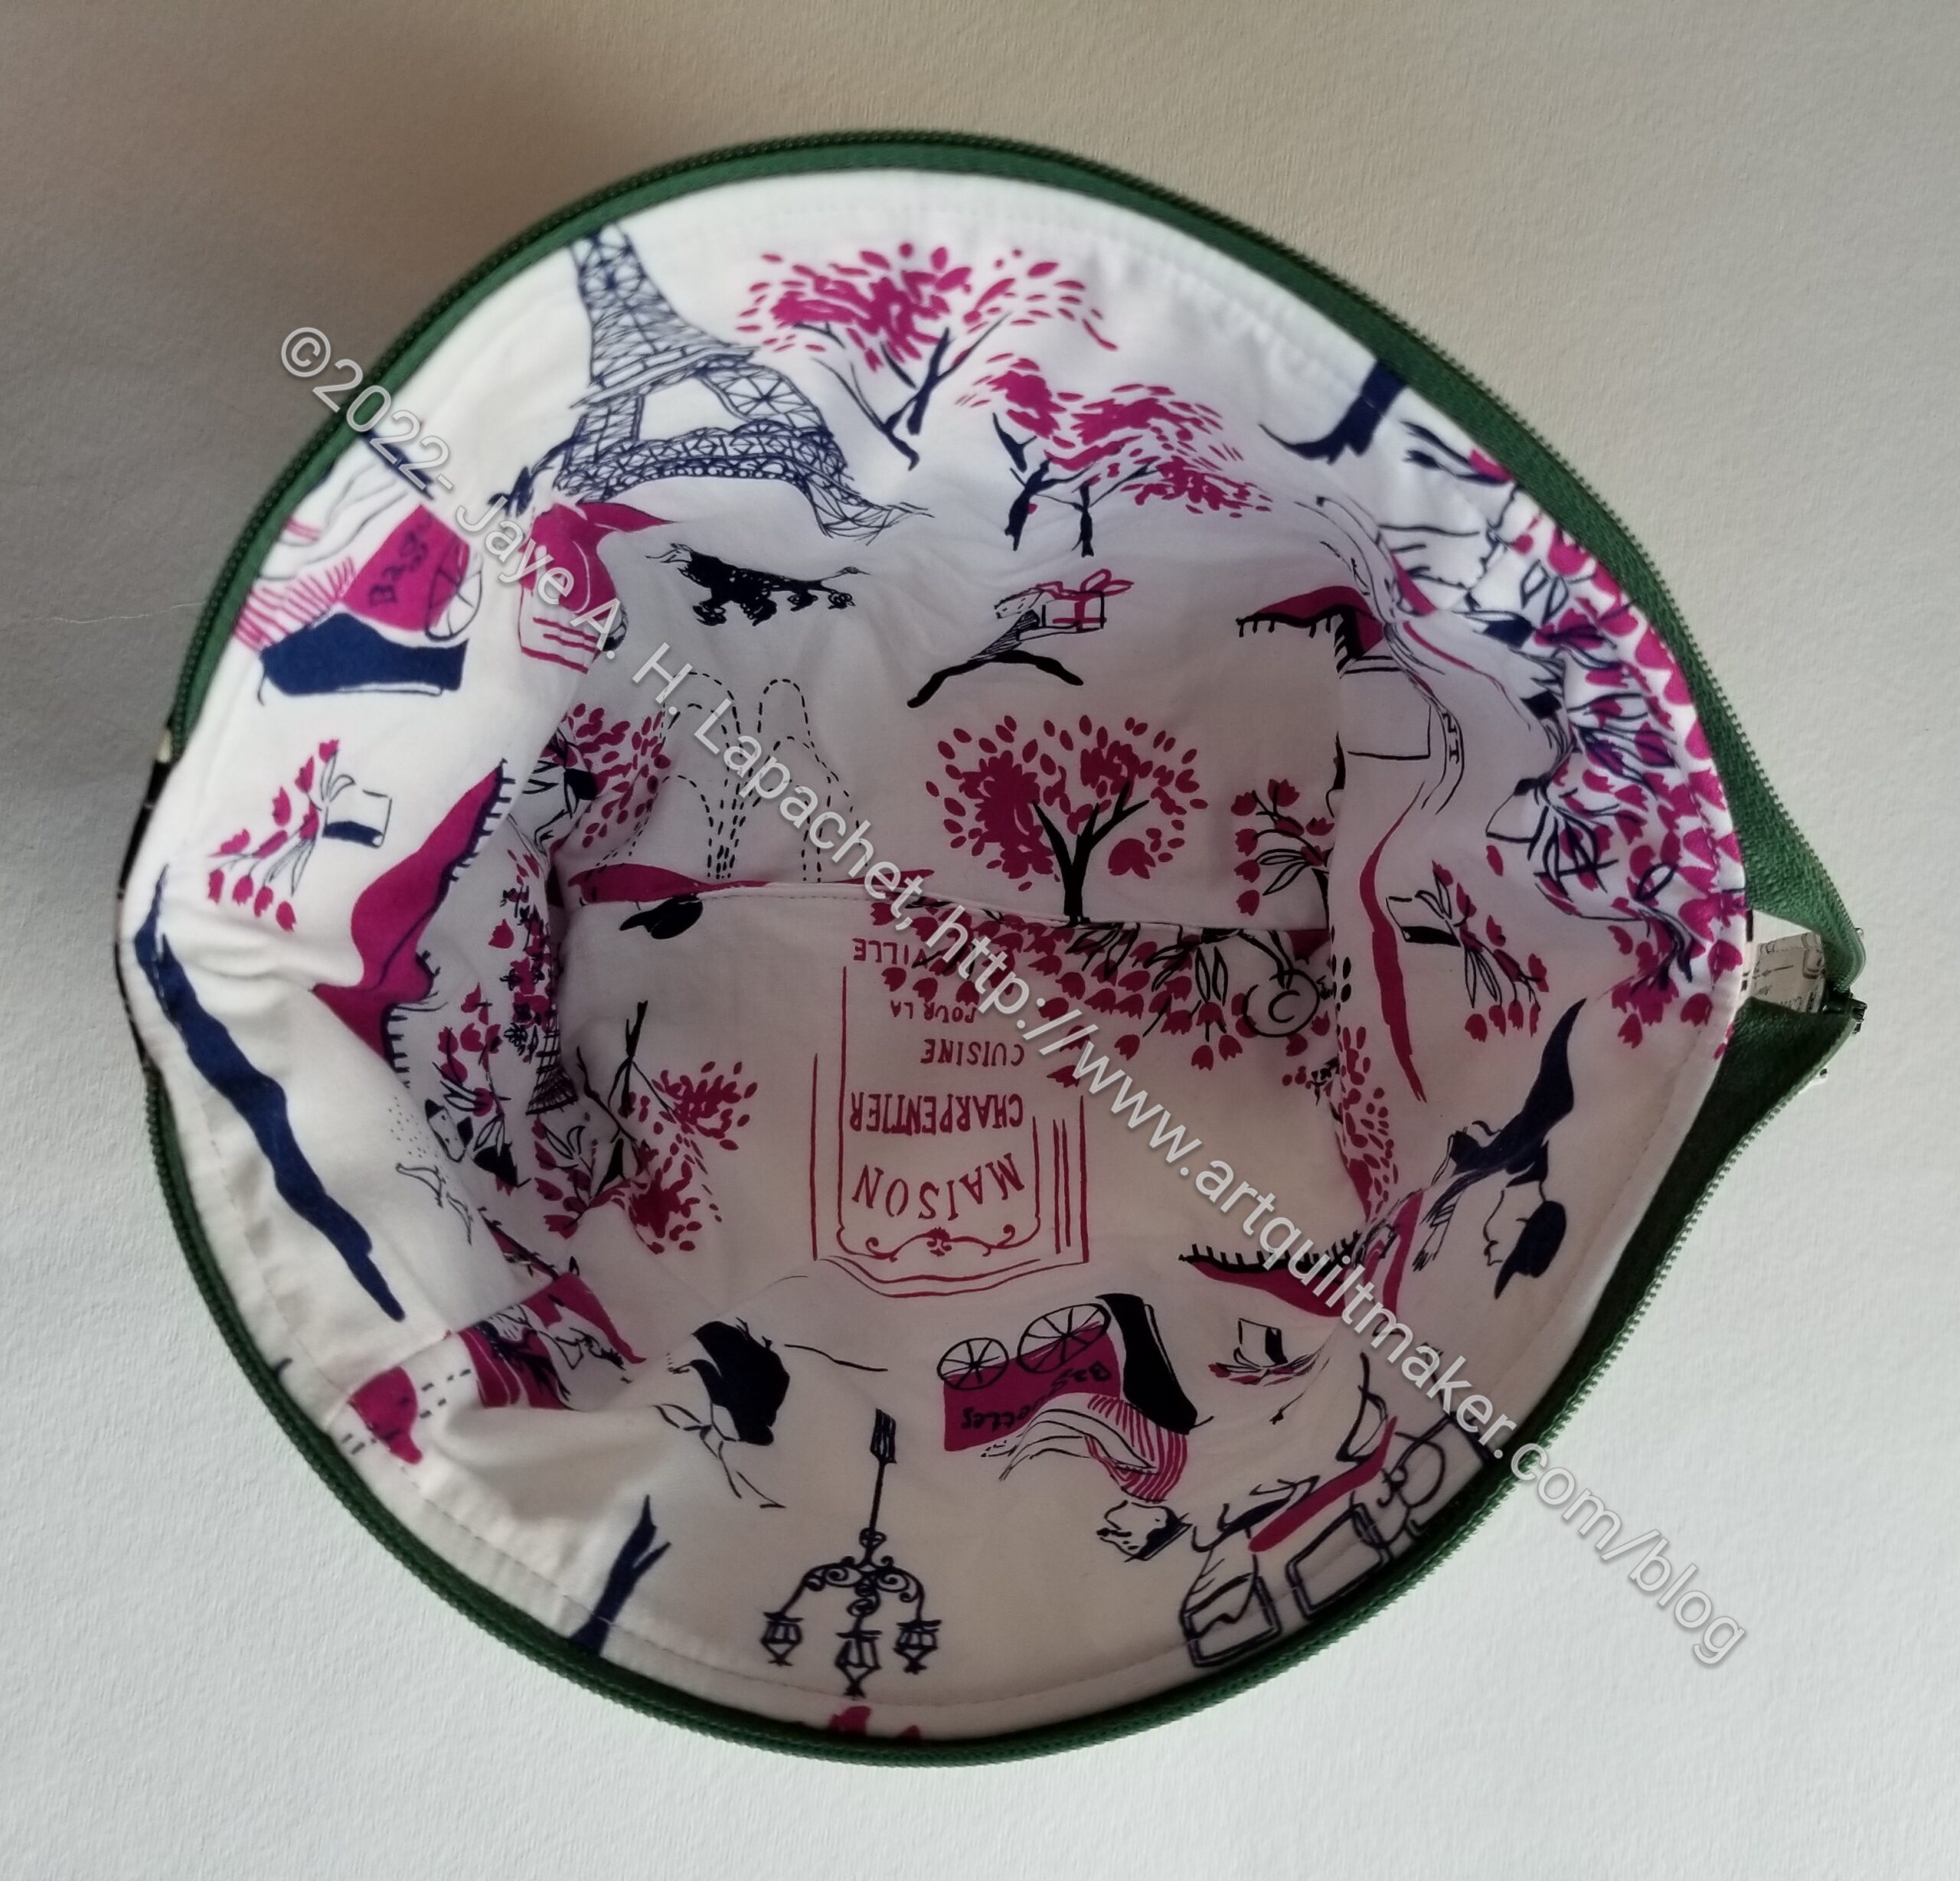
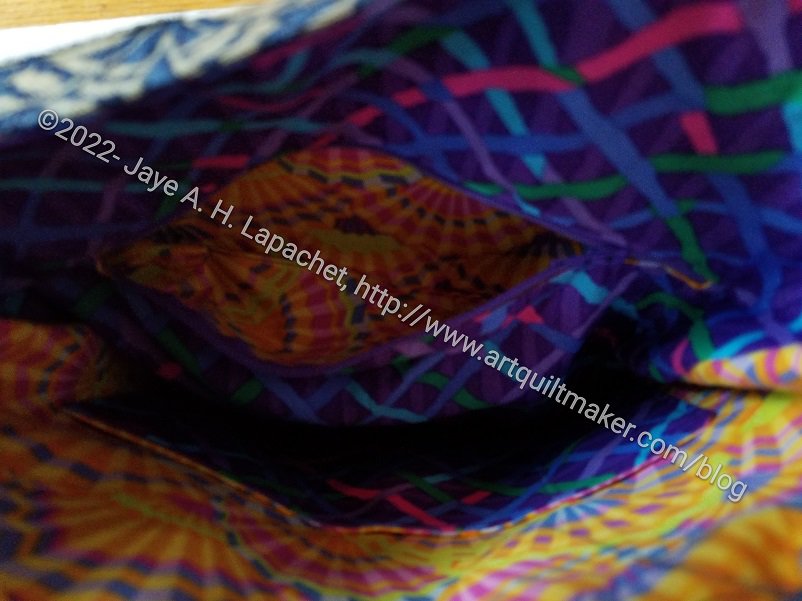
I quickly made another Cotton Candy pouch for my sister for her birthday. I am running out of Paris/France themed fabric, so I may have to do something else for her in the future. She likes the turquoise and brown combination and there is no shortage of turquoise around here.
French Cotton Candy pouch open
I have made this pouch a number of times, so it went together quickly. I still had to watch the video for installing the zipper, but for everything else I knew what to do. Something clicked in my mind with this pouch, which is a great feeling. I am very tempted to make some more of them just to cement the knowledge in my mind and to get some gifts for the latter half of the year out of the way.
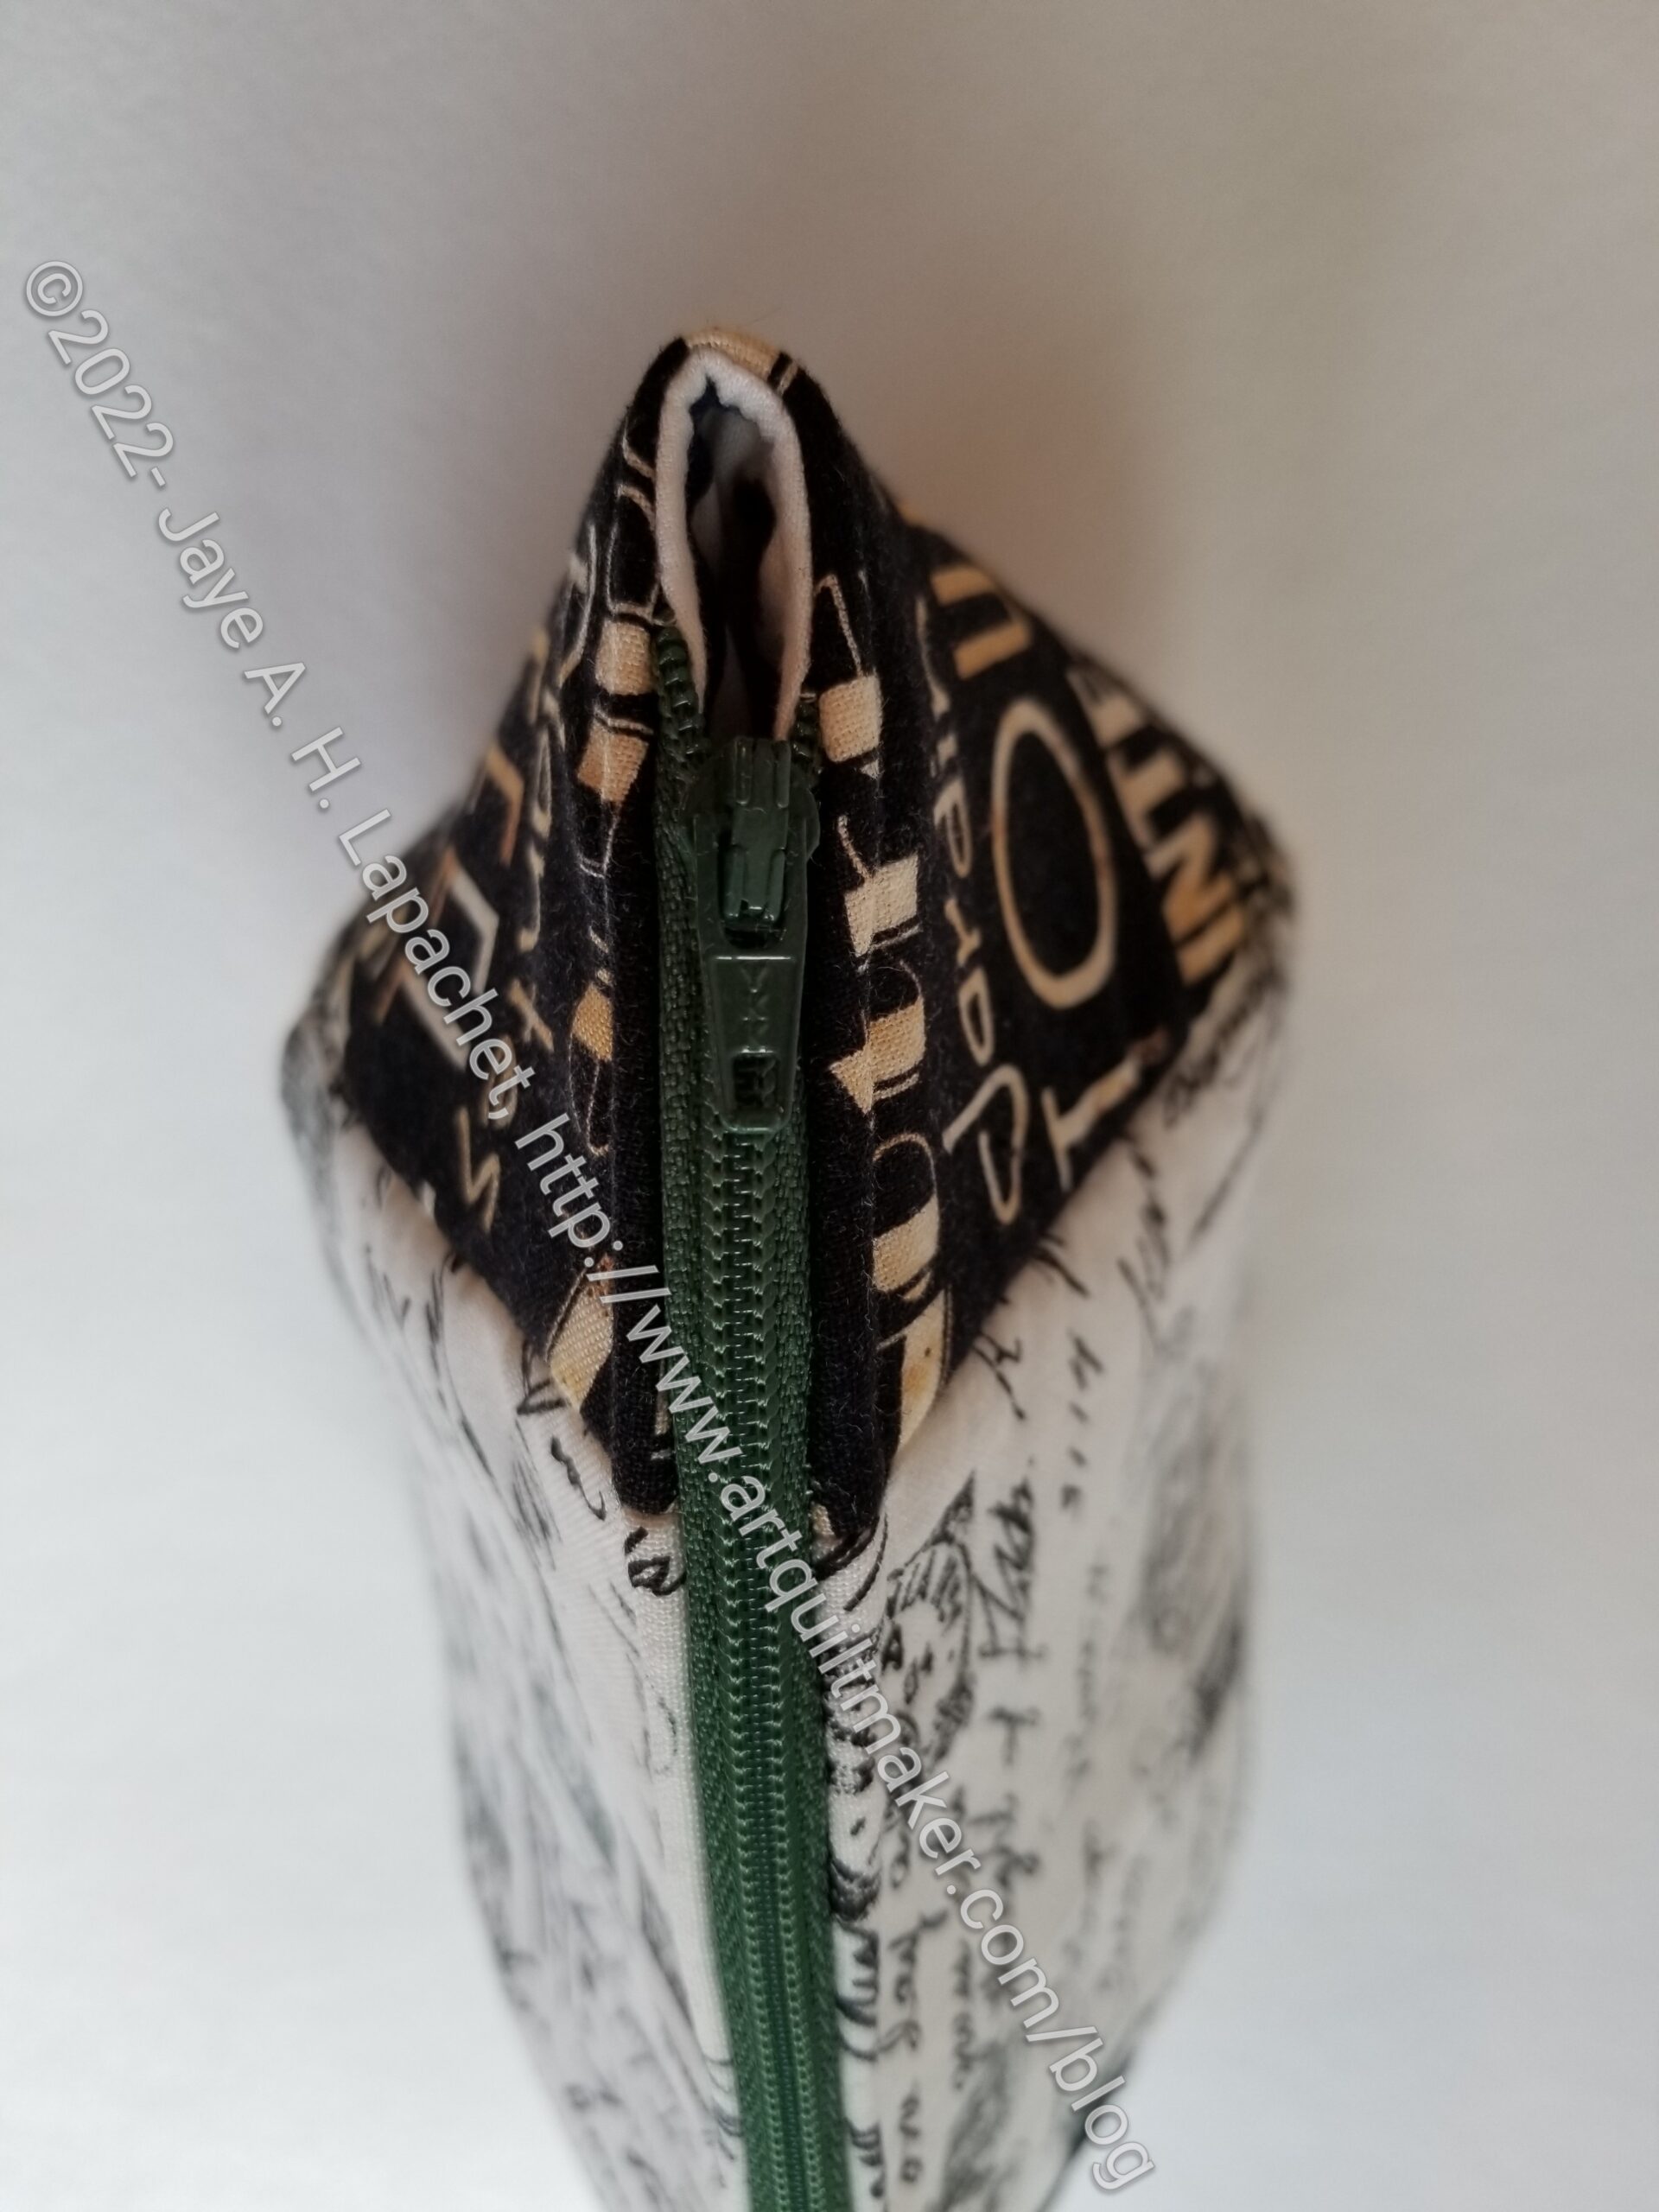
French Cotton Candy pouch zipper end
One of the things that clicked was the end of the zipper. I understand more about the placement of the veering of the zipper. In this pouch, I didn’t get the ends close enough to the center of the side panel. The pouch is definitely still usable, but that is something I would like to fix in the next versions I make.
Now I have to find something to put inside the pouch and send it off, though by the time you read this, Lil Sissy will have this in her hot little hands.
After we finished the bag, my friend decided she wanted to make a pouch as well. I immediately knew what to do.
Sotak Handmade on IG creates short videos about how to make pouches. Remember her? I made the purse organizer from her pattern. She sells patterns, so the IG videos are very quick and simple. They work for simple pouches. I found one of her videos that would suit our needs.
The beauty of this video was the fabric sizes didn’t matter except in one instance. I cut the leftover fabric in a size that would use as much as possible and we got busy. The pouch turned out pretty well.
The part that was problematic was the zipper tabs. I understand the concept of zipper tabs, but I ran into problems with the size. I made them over large whereas the video showed the pouch having a small space between the end of the zipper tab and the side of the pouch.
Making the zipper tabs over large meant no space for stuff to fall out. It also meant that the closing of the whole pouch was not smooth. The center edges by the zipper were large and lumpy and I couldn’t follow what Sotak did on the video. This is when the light dawned and I understood why the zipper tabs were shorter. Now I know.
None of this fabric was mine, so I don’t get to add anything to my Fabric Usage Report, sadly.
I want to make more quick zipper pouches now. I use the same technique I use with scraps for Journal Covers.
If any project required attention to process, this one did.
My friend has been talking with me about helping her make a bag. I have been putting it off because of work and other things. Since I have a break from a lot of responsibilities, I felt it was time to get the bag made.
I had hoped that I could convince my friend to use a pattern, but she was certain she wanted to copy the bag she took traveling. I am a good bagmaker, but beyond cobbling together some basic tote bags or modifying patterns, like the Petrillo hack I created, I have not had a lot of experience creating new patterns. I was concerned about the pitfalls I wouldn’t even know I was facing.
We met a few weeks ago and I was able to get a better idea of what she was thinking. That meeting and seeing the bag allowed me to think about the bag and process before we met the other day. I had a basic plan and figured that I would work things out as I went along.
Cyndi B’s bag
The worst part was getting started. The best part was that my friend didn’t have many preconceived notions about how the bag would look. We kind of muddled along and resolved issues as they came up.
The first issue was the fabric. She has a limited piece of upholstery fabric that was leftover from recovering her living room chairs. I have done a few things with heavier fabric, but I can’t think of a project I have done with upholstery fabric, including a pencil roll, but this project was different in that I would have to deal with layers of upholstery fabric. I tried to minimize it, but wasn’t always able to.
Next was the bottom. My friend wanted to use a thin piece of leather (maybe suede) for the bottom. This made sense, especially since she wanted to use it for travel. My Microtex** needle was not happy. Shockingly, I had a leather needle**. I have never used these before, but did on the bag bottom and it worked.
Cyndi B’s bag: turning the lining
The lining was fairly straightforward. I knew what I wanted to do, which included adding an internal zipper pocket that I could use to turn the bag right side out.That worked perfectly, though I had to look up a couple of references to make sure what I had in my mind would work.
The turning of the bag is very satisfying, so I had my friend do it. It was her bag, after all and I thought she would get a kick out of the experience. She did.
Cyndi B’s bag: lining and zipper pocket
I used my friend as studio assistant. I asked her to mark the lines for the zipper pocket, press seams open and sew on Velcro. These are all tasks I didn’t want to do. She did a lot of pressing and marking while I did most of the sewing. I also wanted her to be involved and since she had not sewed since junior high, I preferred to do the sewing. It is my machine after all.
When we got to the handles, she brought out the idea of using rope (like clothesline weight rope) for the handles. I wouldn’t normally do that and really didn’t have a clue how to do it. After searching the web, I came up with a great tutorial that expanded my skills. The result was what my friend wanted, too.
I used the Cotton Candy pouch pattern to remind me how to put the outside of the bag together with the lining.
I used the The Complete Bag Making Masterclass : A comprehensive guide to modern bag making techniques** by Mrs. H for some information on attaching the straps.
I used the RsIsland Crafts video on turning a bag through the internal zipper pocket to remind myself how to do that.
I used the Seaman’s Mom corded handles tutorial to make the handles.
I am pleased with how the bag came out, though it is certainly not perfect and it is not a bag I would use. My friend was happy and that is all that counts.
**Obviously, you should shop at a local quilt shop. However, I use affiliate links and may be paid for your purchase of an item when you click on an item’s link in my post. There is no additional cost to you for clicking or purchasing items I recommend. I appreciate your clicks and purchases as it helps support this blog.
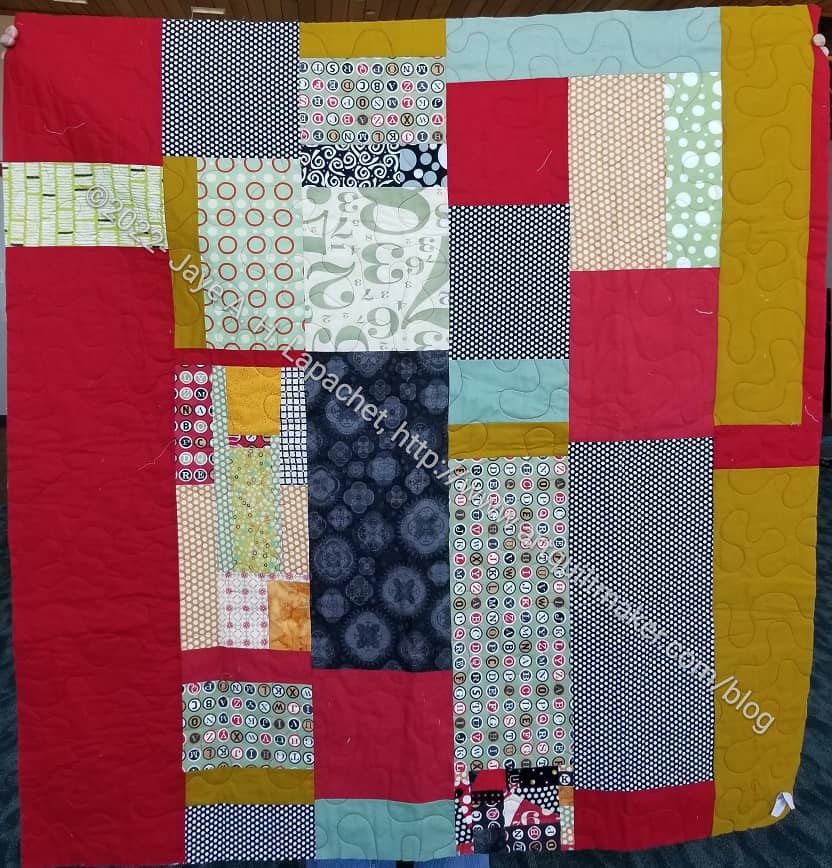
Ends n.14 (Typewriter) was also in the batch that Laura quilted for the guild. It wasn’t very long ago that I put it together.
I saw it Saturday and couldn’t tell whether what I was looking at was the back or front! I had forgotten that I did a lot of small piecing for this top.
Laura did a random meander and it looks pretty good. It doesn’t overshadow the piecing.
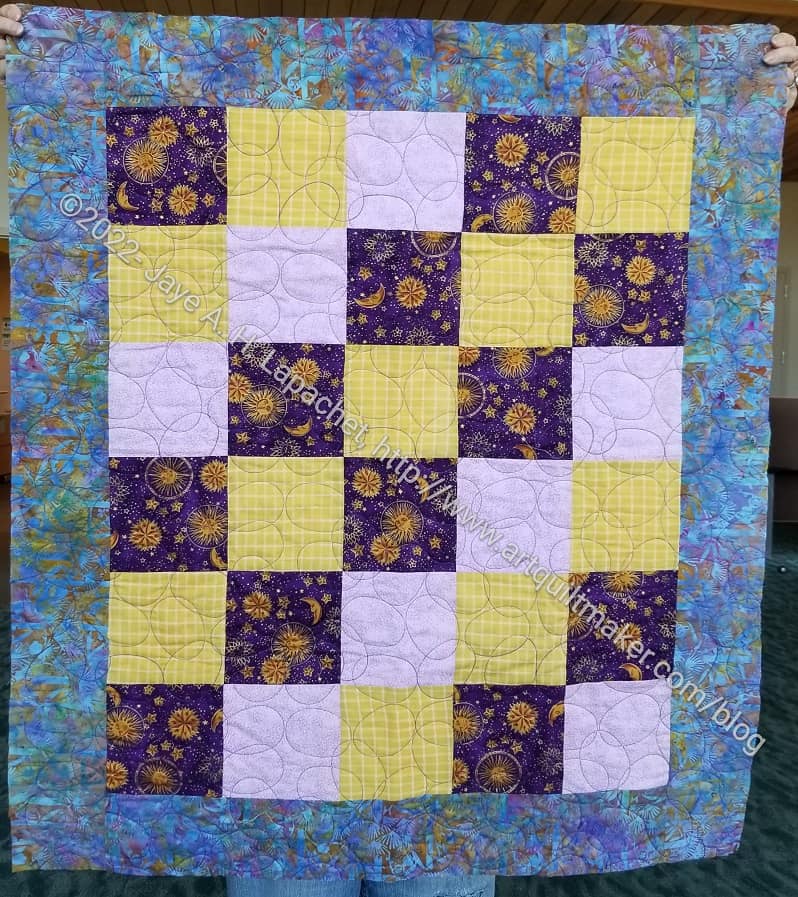
I know many of you are melting in 100+F/35+C heat. I don’t want to taunt you, but it is a grey day here. The fog is in and the light in my workroom is weird. I am really glad I have Orange You Glad on my design wall and not this purple quilt.
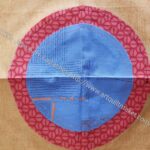
Purple & Gold Donation quilt
This quilt by mom is now quilted. I wrote about it a few weeks ago and the speed with which it was done is astounding. Longarming really moves the pipeline along.
At the meeting, Peggy was looking for people to bind.
After playing with the blocks a little, I am now ready to continue working on the bullseyes.
Then I looked through the bullseye blocks. Some caught my attention and I was sad to cover up the second fabrics with more circles. Still it had to be done.
Pink & plaid circle
Blue excitement circle
Blue on red map circle
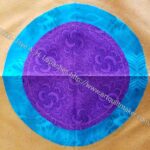
Turquoise & purple circle
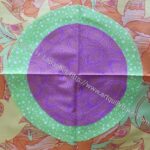
Green and violet circle
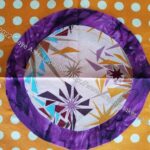
Purple fireworks circle
Pink and blue plaid circle
The blocks above are my favorites after looking through all of them. I know that will change when I sew the last circles on.
Peggy took a bunch of quilts to a longarmer, Laura, who quilts some of our donation quilts for practice. One of them was my American Jane Plus Quilt.
It is not yet bound, but having all the small quilts quilted by a longarmer makes the process much shorter. Tim is the only one with a longarm, that I know of, in the guild and he has been busy recently so hasn’t been quilting.
AJ Plus Quilt quilted – detail
I like the pattern Laura used for the white and red thread was kind of inspired.
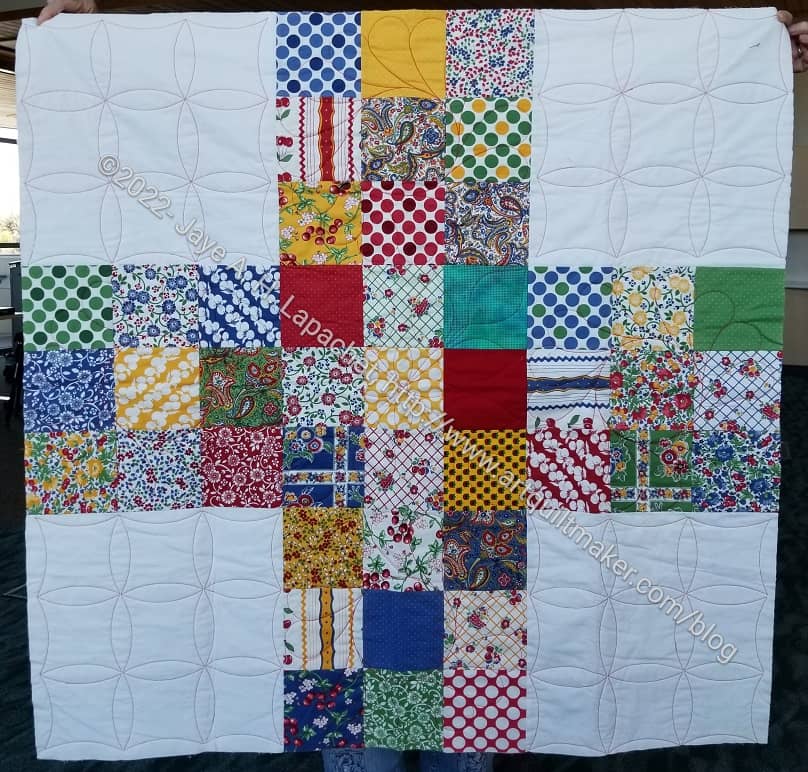
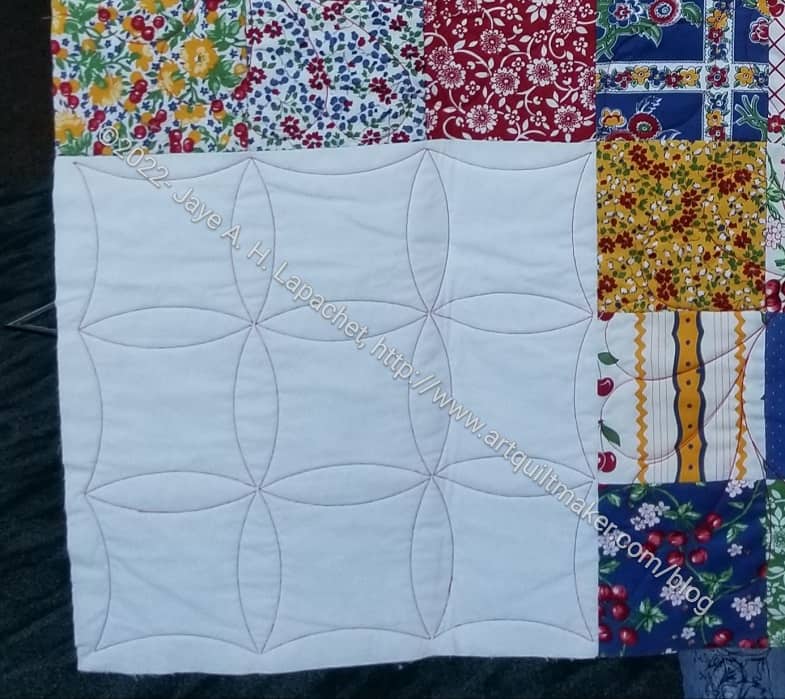
I finished the back of the Diagonal Nine Patch Saturday morning before I drove to the BAM meeting. I found a piece of fabric that comprises the main part of the back (top left). The large print works well for a back and I am glad I didn’t cut it up for the front.
I used up a number of pieces of fabric that have been hanging around for awhile, which is always a good feeling.
Diagonal 9 Patch top
I am pretty pleased not only that the whole package is ready to go to Colleen, but also that there were no tasks hanging around for after the meeting. It felt like a clean finish.
I chose a black and white stripe for the binding.
I worked on the back for 20 minutes or so on Friday after cleaning out the garage and that 20 minutes put everything in place for finishing on Saturday. Every minute counts!
I dragged out the bag of bullseyes yesterday that had been languishing because of my travel and life. I wanted to look at them and match up the last circles, but instead I started appliqueing them to the blocks.
I did look at them all. Then, I did match up the small orange circles with the rest of the block, but I didn’t do as much looking and rearranging as I thought I would. I really just wanted to sew. I wasn’t lax, I was just faster than I thought I would be. I have never been much of an agonizer where it wasn’t necessary, especially with quiltmaking.
Orange You Glad example
I thought I would try and finish the top and back of this quilt and take it to Colleen as well, but then (head to desk and a big DUH) I realized that I need to wait for the parts of Julie and Adrienne’s blocks before I can go farther. Not a problem! I will use this quilt to make up the second batch of quilts I plan to take to Colleen in a few weeks. I am on another finishing mission.
Julie has a Picking favorites blog post on her blocks.
This is a pretty easy quilt so as soon as I finished all the bits and pieces required to make Pies & Points ready for quilting, I turned my attention to the Diagonal Nine Patch. I talked about the size in my last post and, as you can see, I increased the size. I think this size will be fine, but am still reserving judgement.
With 7×7 blocks, the quilt top will be about 42 inches square and my hesitation is whether that is a large enough quilt. I think it is on the verge of being large enough, but I may want to add another column and row.
I have about 7 more blocks to go in this configuration. The issue is that I am eager to get this quilt done and move on to Orange You Glad. I also want to bring this quilt to Colleen.