I finished the Essential Totes last week. I am really pleased with how they came out and am plotting when to make more.
Both totes are way more glittery than anything I normally make. I am kind of liking a little more glitter than normal in my life.
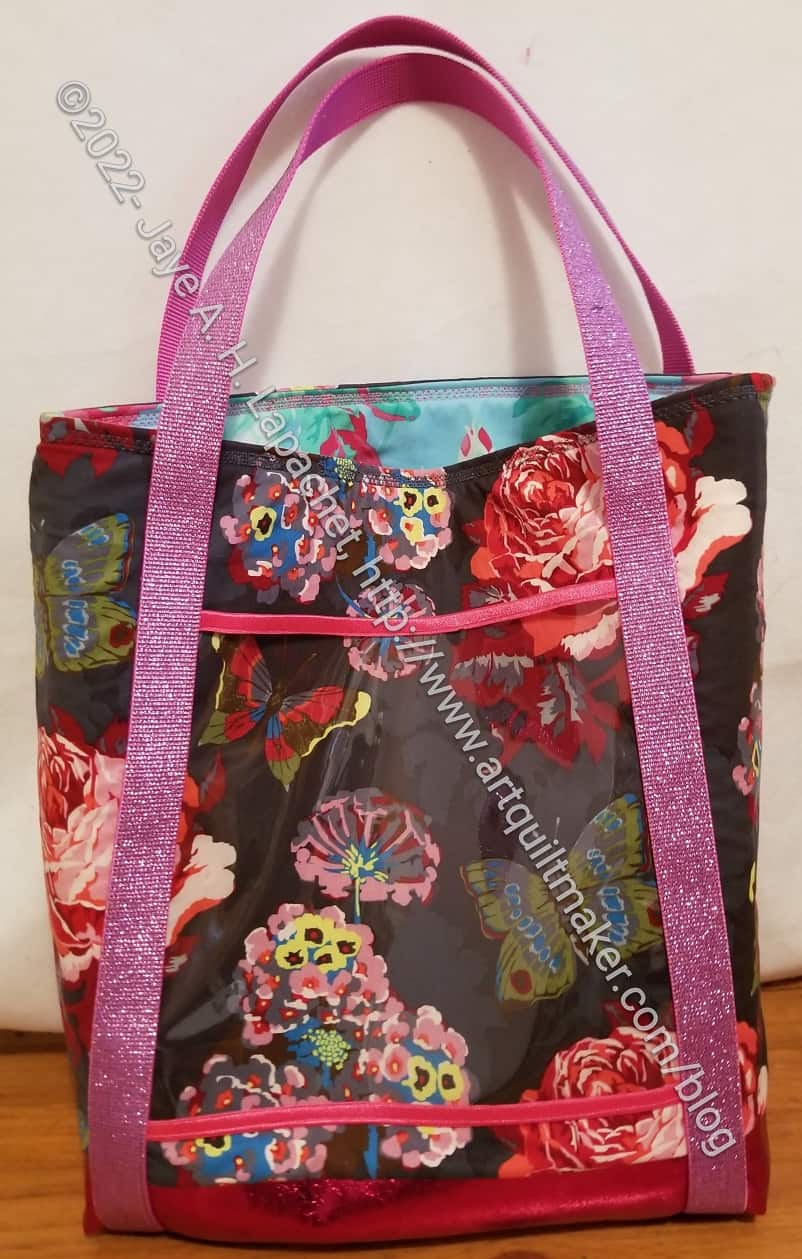
I have to give most of the credit to Natalie of SewHungryHippie. The pattern, Essential Tote, is designed by Natalie. It is my first experience with her patterns and I found it to be a really good pattern: clear, easy to follow, no stupid overly complicated steps, well written. I resisted buying it for awhile, but ended up purchasing it in the end. She had some Spanish Crimson soft vinyl and some glitter webbing in her newsletter and I couldn’t resist. Buying the pattern enabled me to make something right away with both unusual (unusual purchase for me) products.
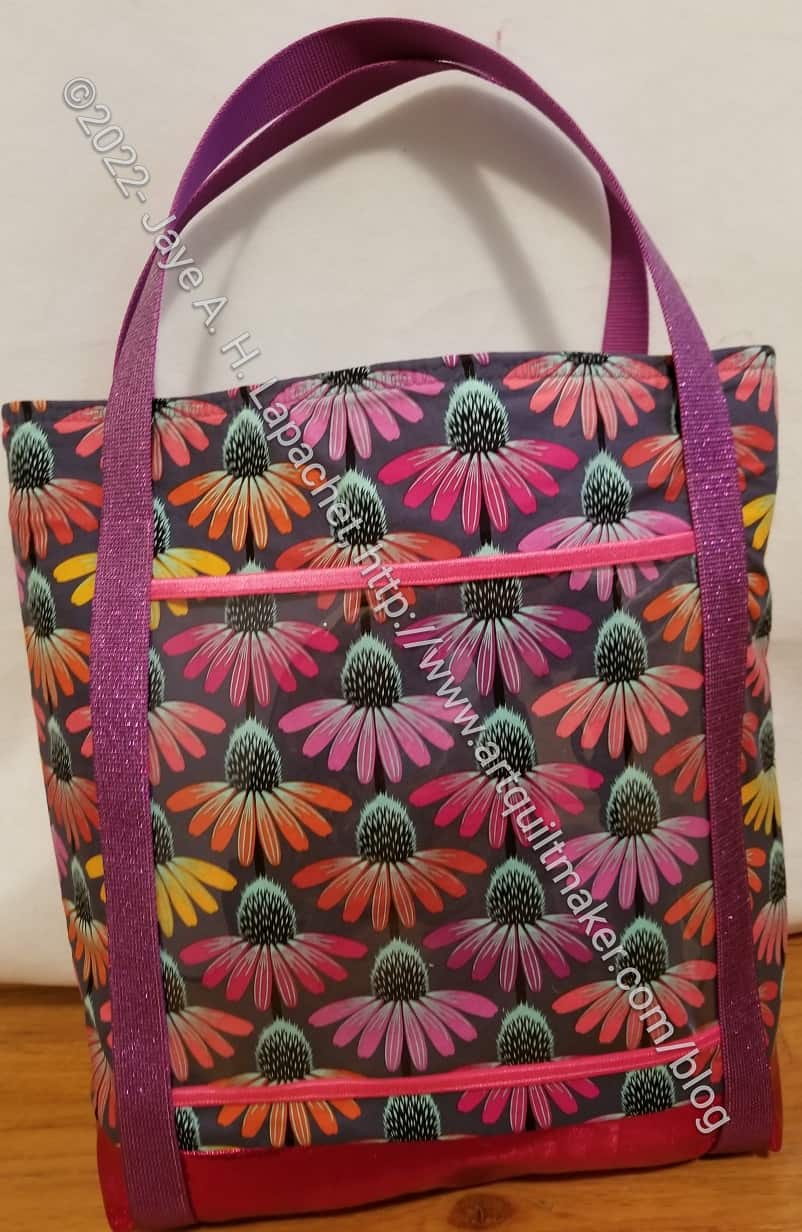
The exterior fabric I used on both is from Anna Maria Horner. One is Echinacea Glow and the other is Clippings. These are sturdy totes, as well, since both have foam lining.
The bag supplies call for exterior fabrics such as canvas. I used regular quilting weight fabric and it worked fine.
I did make some changes to the pattern. I used the Spanish Crimson soft vinyl for the bottom. This meant I had to change some of the cutting directions. I cut the exterior fabric 20 x 15.5 and the spanish Crimson soft vinyl for the bottom at 20 x 5.5. Then sewed the two pieces together to make one exterior piece 20×20, which I, then treated as one piece. 20×20 was the original size I was required to cut for the exterior. You could make the bottom larger by adjusting the cut sizes if you wanted. Make sure your final piece ends up 20 x 20 and everything will be fine.
I only put one vinyl pocket on the outside of each tote. Next time, I’ll put one on each side next time. I was just lazy about my cutting.
I think next time, if I use the same idea of a different bottom, I’ll make the vinyl pocket a little larger and have it sewn into the seam with the bottom fabric.
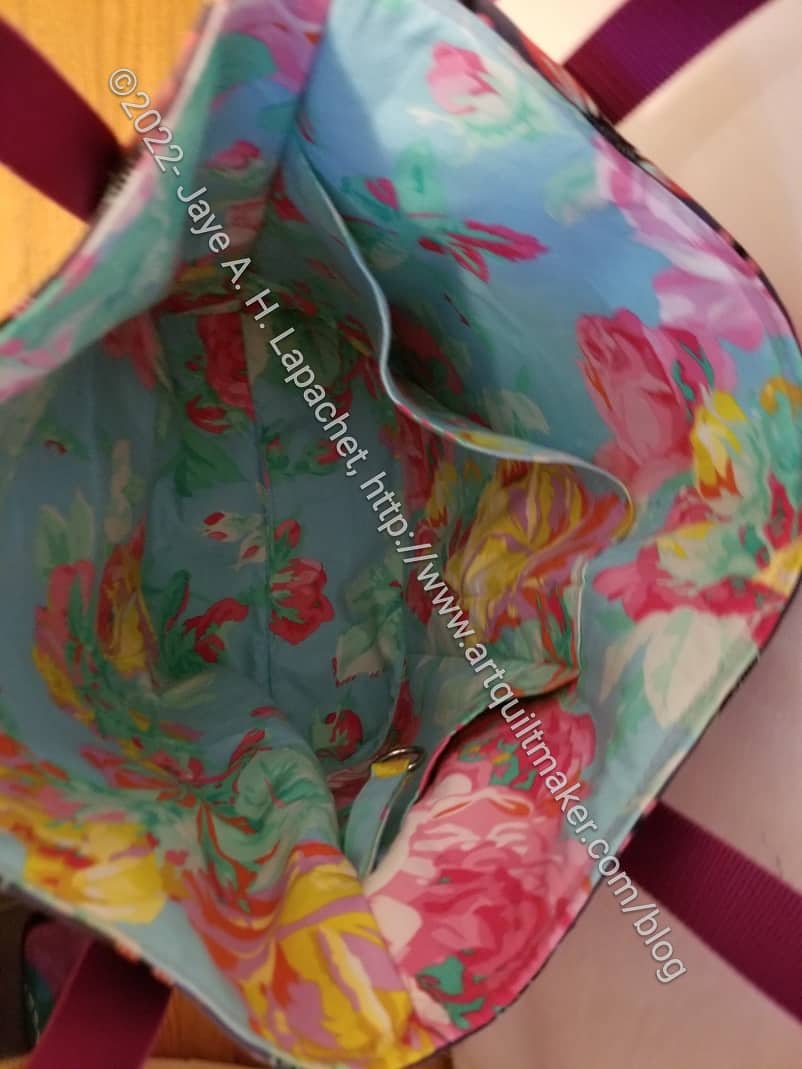
As usual, I added a leash to the inside of both totes. You can see in the bottom of the photo, left. I never know when I’ll want to lash my keys or a pouch to my tote.
The pocket fit very well with the bottom boxed corners of the tote. I was impressed! I also used the measurements in the pattern, so mostly I was impressed that following directions actually worked. LOL!
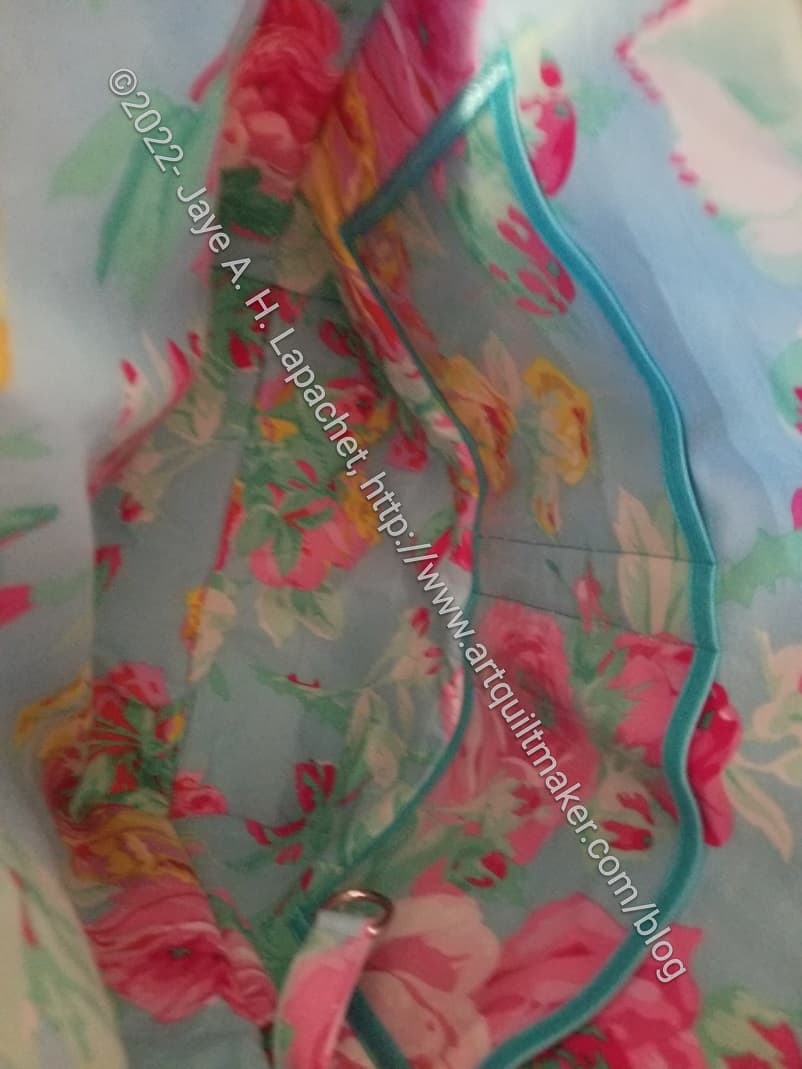
The pattern calls for vinyl interior pockets, but I was running out of vinyl (shocking! I bought a lot back a million years ago and I thought I still had a lot. Apparently not.), so I made a fabric pocket for one bag, which will be fine. I had enough vinyl to make a slightly smaller, vinyl pocket (photo, right) for one of the bags. The vinyl required that I cover all of the edges. It was a hassle, but the results are good.
I used that Philip Jacobs rose lining, because it makes me super happy.

I am pleased with the great sewing job I did. It isn’t perfect, but everything came together really well.
I showed Tim and he liked the bag. I also showed it at Sew and Tell. People liked it.