I was pretty excited about this bag and my reward for hosting 27 people for Thanksgiving was working a project on which I really wanted to work. That is the Ultimate Project Bag.
I said in my previous post that there wasn’t much to cut out. That was true, but there is a lot of prep. I had to quilt it, but I took my lessons from when I visited Mary M and used the automatic cutting feature on my machine. OMG! even on my machine it makes a huge difference. I really don’t know why. Something about not having to pick up my snips, I guess.
The quilted piece is made up of lining, foam and exterior. Vanessa (Crafty Gemini) suggests quilting a big X over the whole piece. I didn’t want to do that, so I drew some random lines on the exterior.
Do I say that about all bags? The prep never gets easier. I know I said was Zen with it one time. I have to get that feeling back.
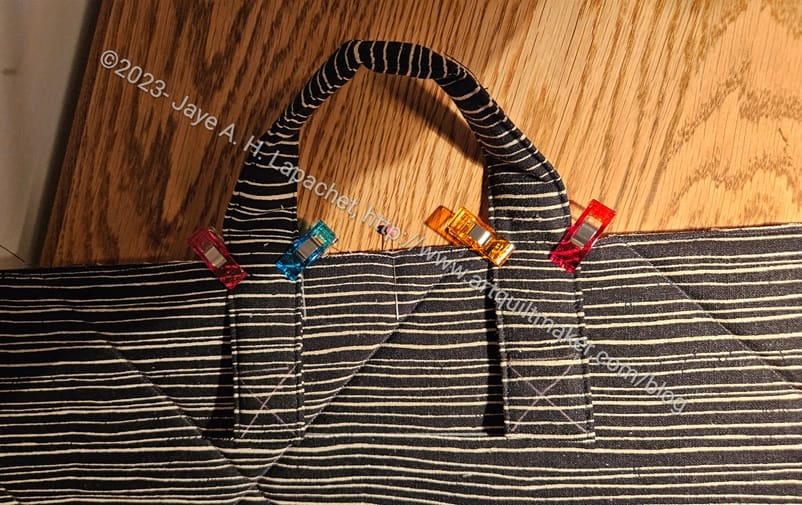
I didn’t really like the way Vanessa told me to make the handles, so I made them the way I usually make them. I cut the fabric 15×5 and folded the pieces into quarters the long way. I did put a piece of foam, which she suggested, inside and that was a good idea. I usually forget to do it. Now, the handles are nice and comfy.
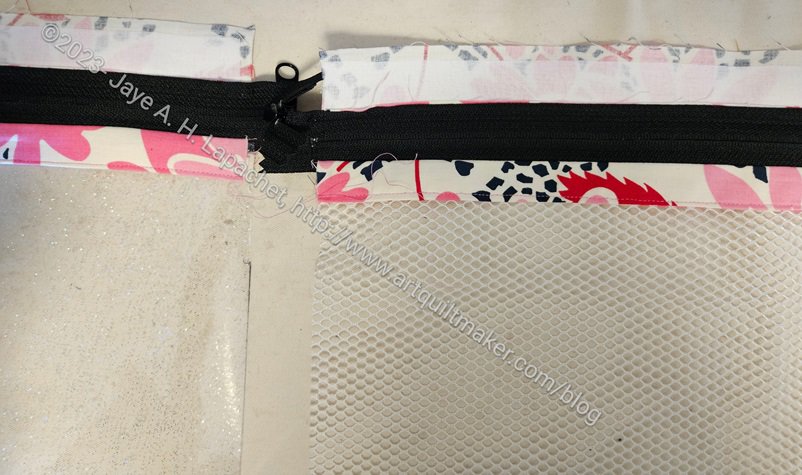
I also worked on the zipper plackets. I am not excited about how she says to make the zipper plackets. As I have said, I like my zipper tape covered. Only part of the zipper tape is covered. Granted, you can’t see the tape, because it will be too high up, but still.
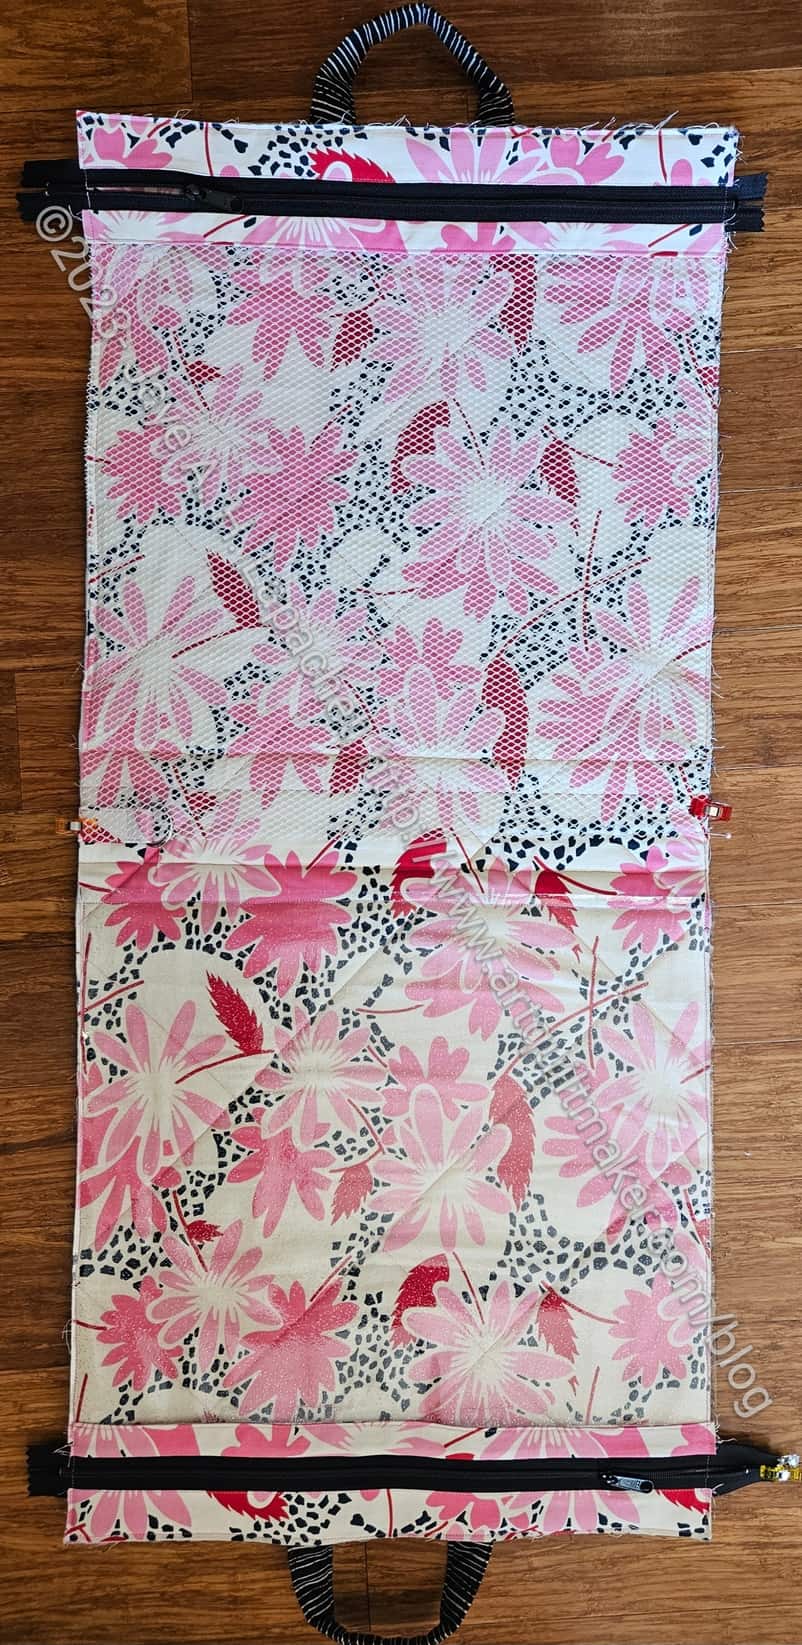
The pockets go over the lining. They are sewn down at the bottom and then the excess is trimmed. Vanessa goes into a long explanation about why she adds extra to the end of the mesh and vinyl. She just trims them and leaves the edges raw. I was a little shocked by this, but I don’t really like raw edges. I think what I would do next time is sew down the pocket on the top, then mark the spot on the vinyl or mesh where the piece will be topstitched, then trim and put doublefold elastic over the edge. Finally, I would sew that edge down. I am not sure if it would work, but the edge would be bound. I guess I have to figure out if the stitching line for the bottom of the pockets has any wiggle room.
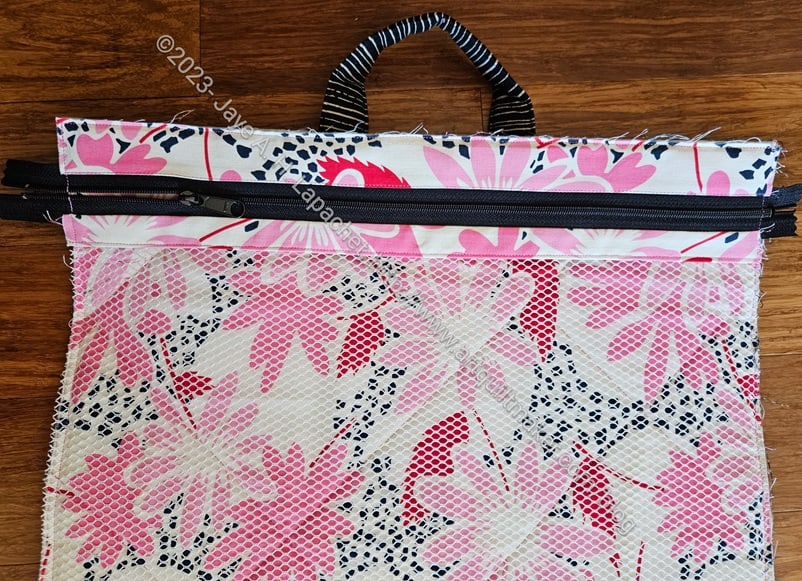
I was able to get the mesh pocket sewn on. I worried the whole time I was working with mesh that everything I put in that pocket would get stuck in the mesh. If I make this project again, I can make two vinyl pockets.
As mentioned previously, this is one of the projects from the Crafty Gemini Organizer Club. I find that some things don’t age well with these videos. For example, many people use Sew Tites** now, especially when working with vinyl. There is no mention of them in the video. I think they must have been released after, though I thought maybe it was at a QuiltCon in 2015 or 2016. I don’t know. If you make this project, definitely get some Sew Tites**.
I made good progress and will be able to finish soon. This isn’t a difficult project. I am a little angry at myself for not getting to it sooner.
You can still buy the club (no affiliation). Check out the video showing all the projects.
**N. B. : Obviously, you should shop at local quilt shops and small businesses. However, if you are too busy or can’t find what you need there, I use Amazon affiliate links and may be paid for your purchase of an item when you click on an item’s link in my post. There is no additional cost to you for clicking or purchasing items I recommend. I appreciate your clicks and purchases as it helps support this blog.