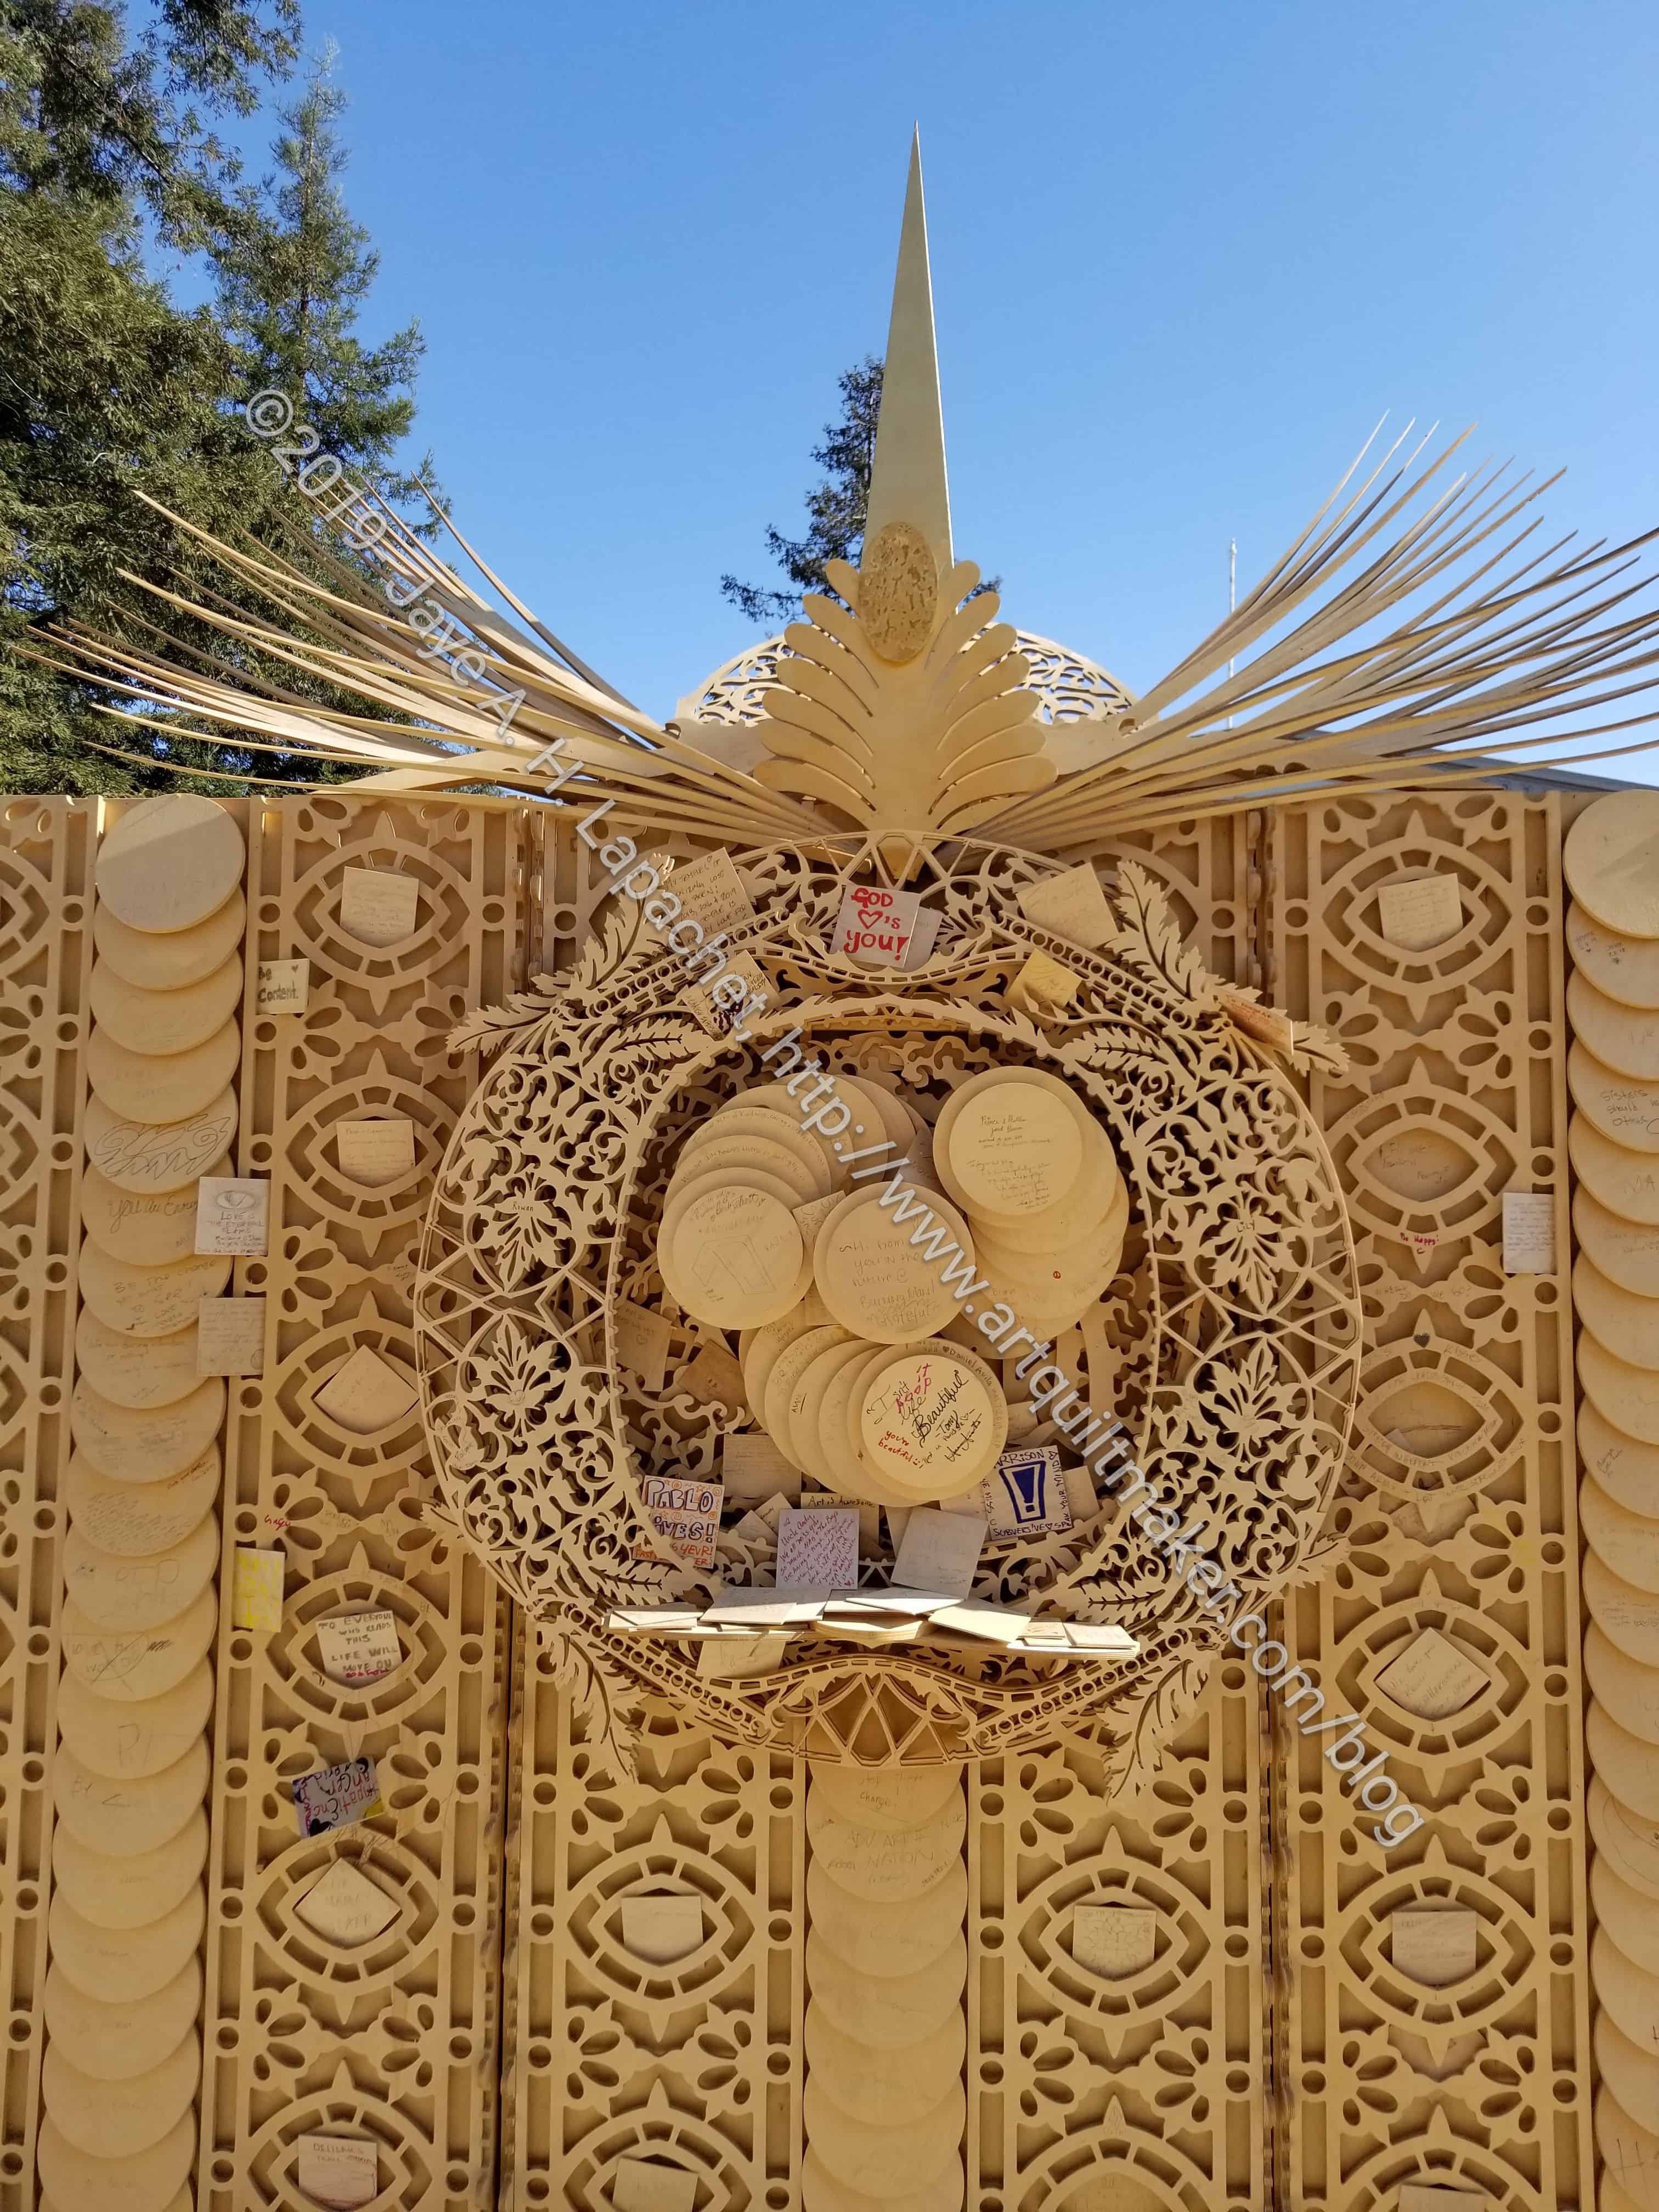
The other thing I saw at the Burning Man exhibit was the the temple. Apparently, they burn it down. Along with the Man, this is a symbol of letting things go or not being attached to things.
The wood was not finished and it looked like balsa wood, but was much heavier. The wood looked like slightly better quality than plywood, but I don’t know what it was. I also couldn’t find a plaque that would tell me.
Burning Man temple: side
Burning Man temple: ceiling
Burning Man temple: ceiling
Burning Man temple: ceiling
There was an amazing amount of detail.
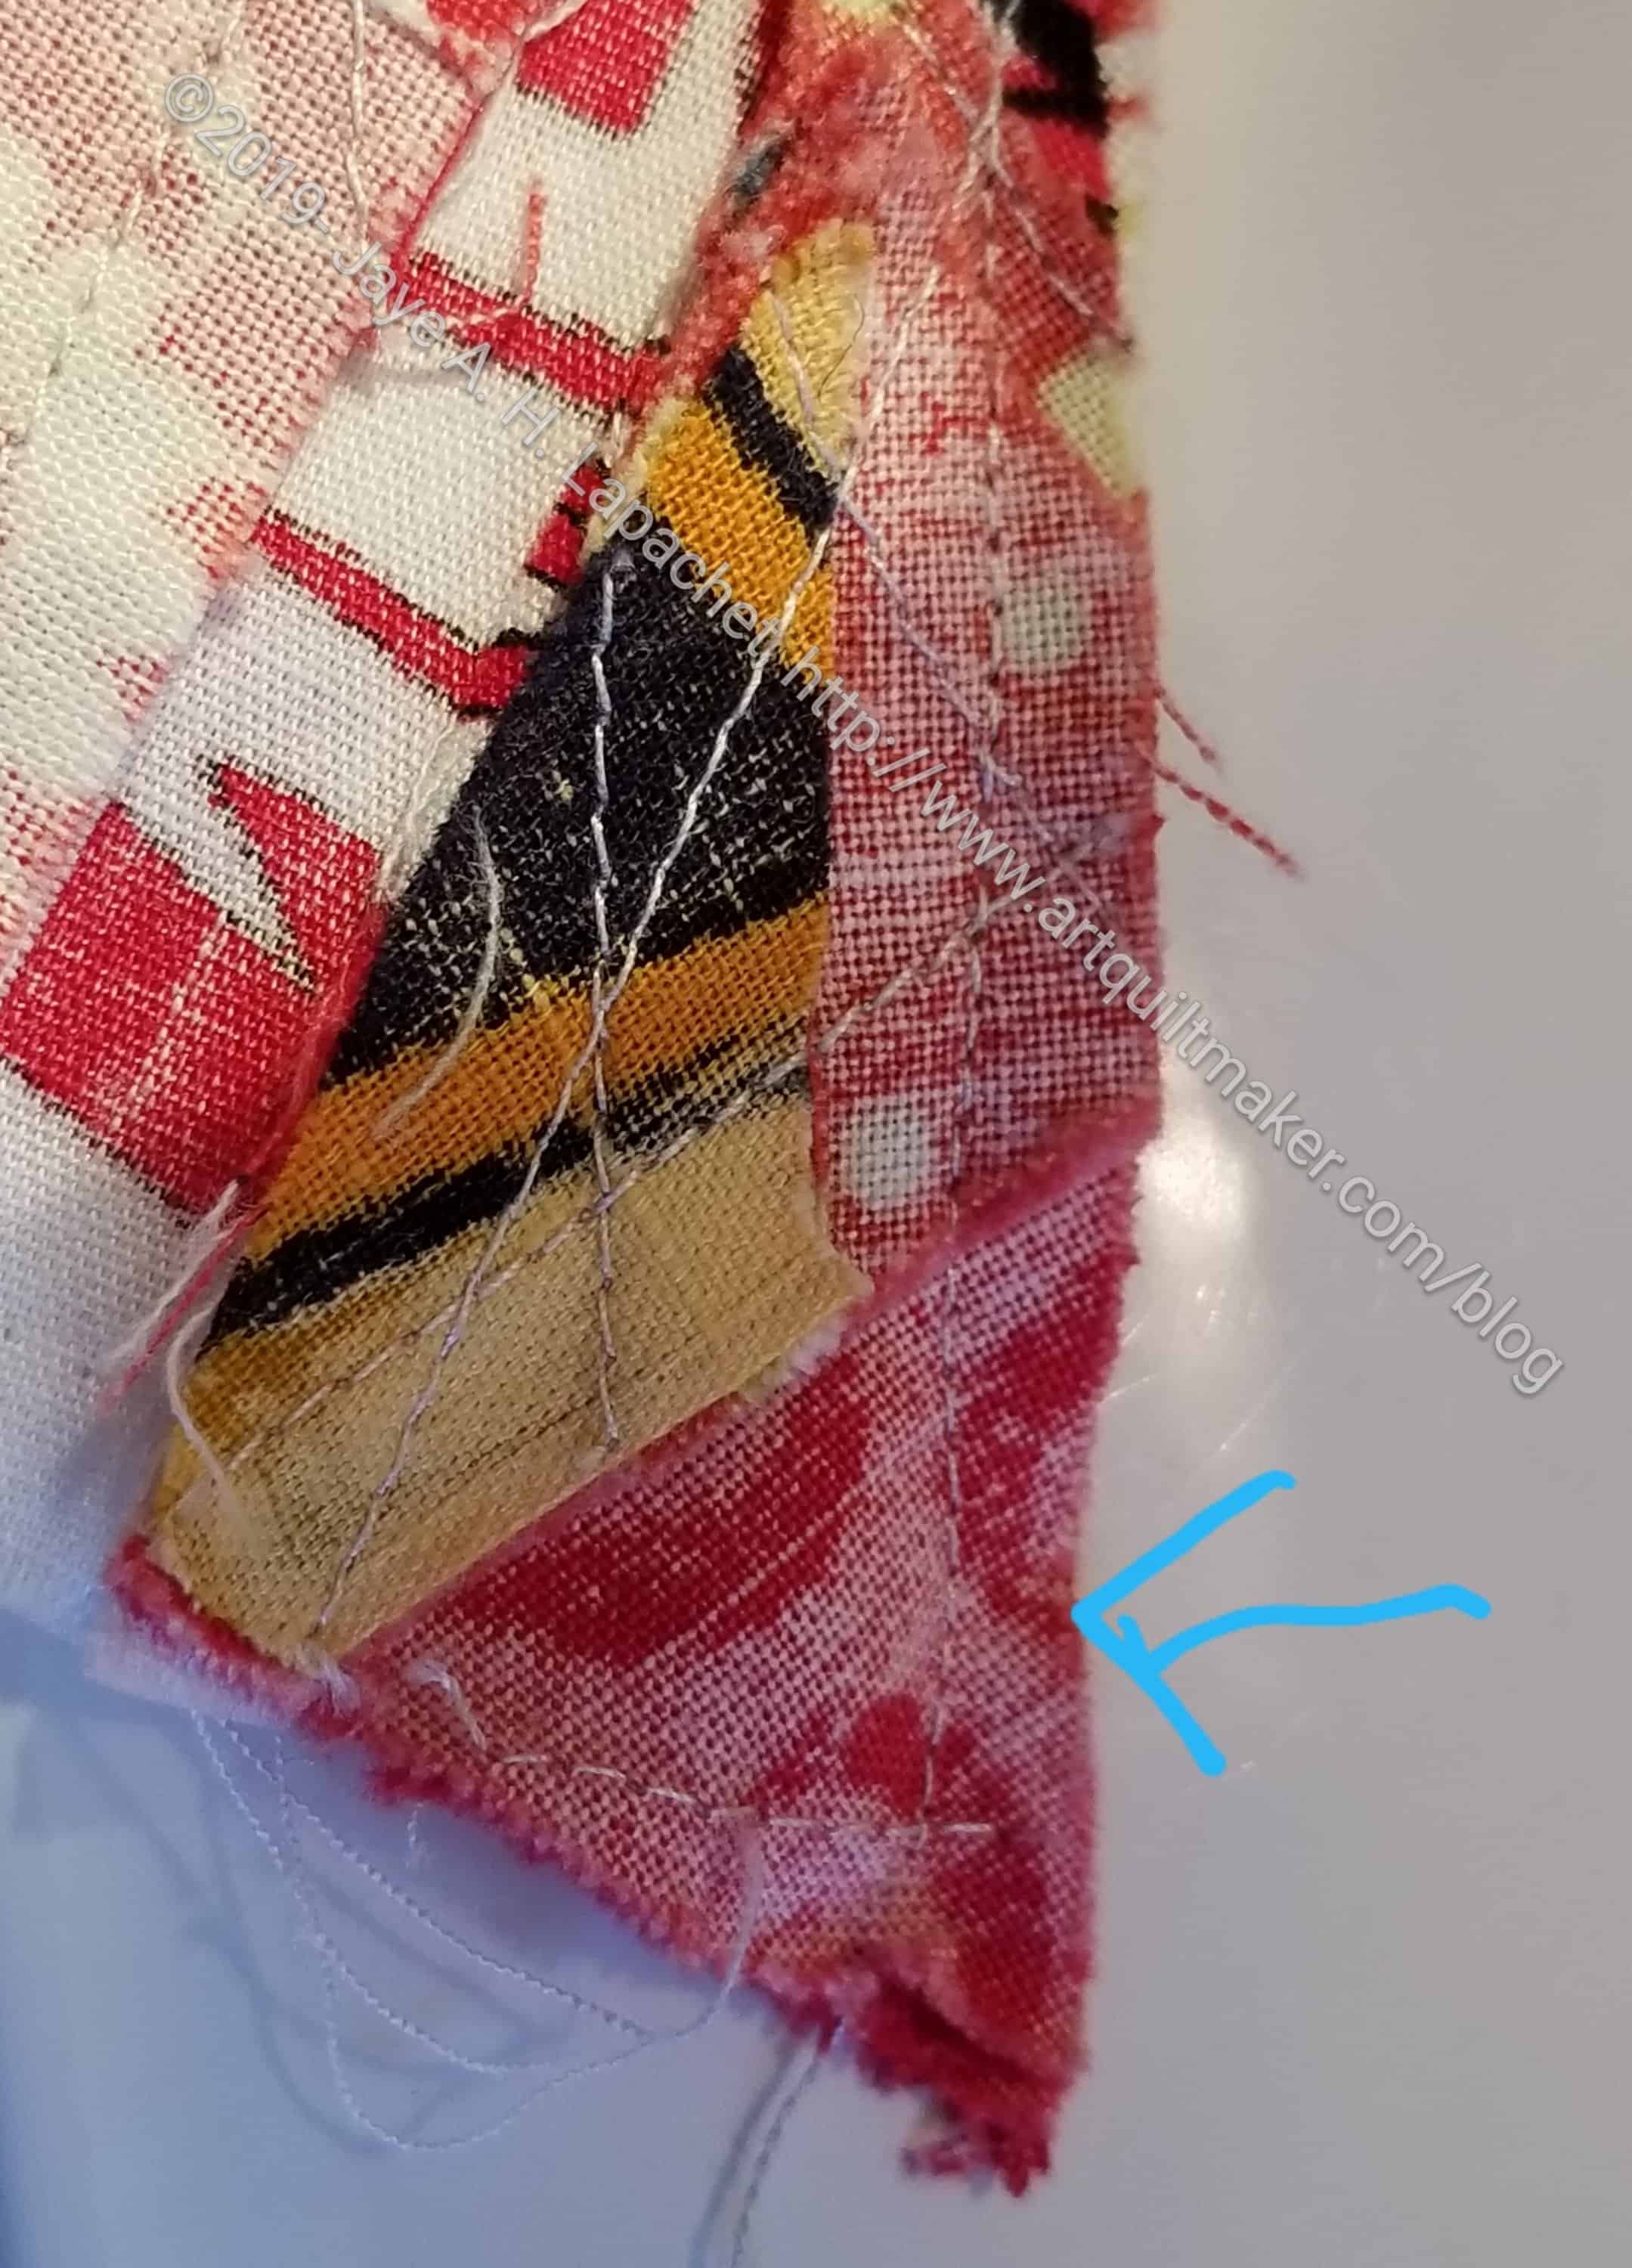
Burning Man temple: eye shape
My favorite shape was the eye shape. I could see how I could piece it and the variety of fabrics would make that shape part of a unique quilt.
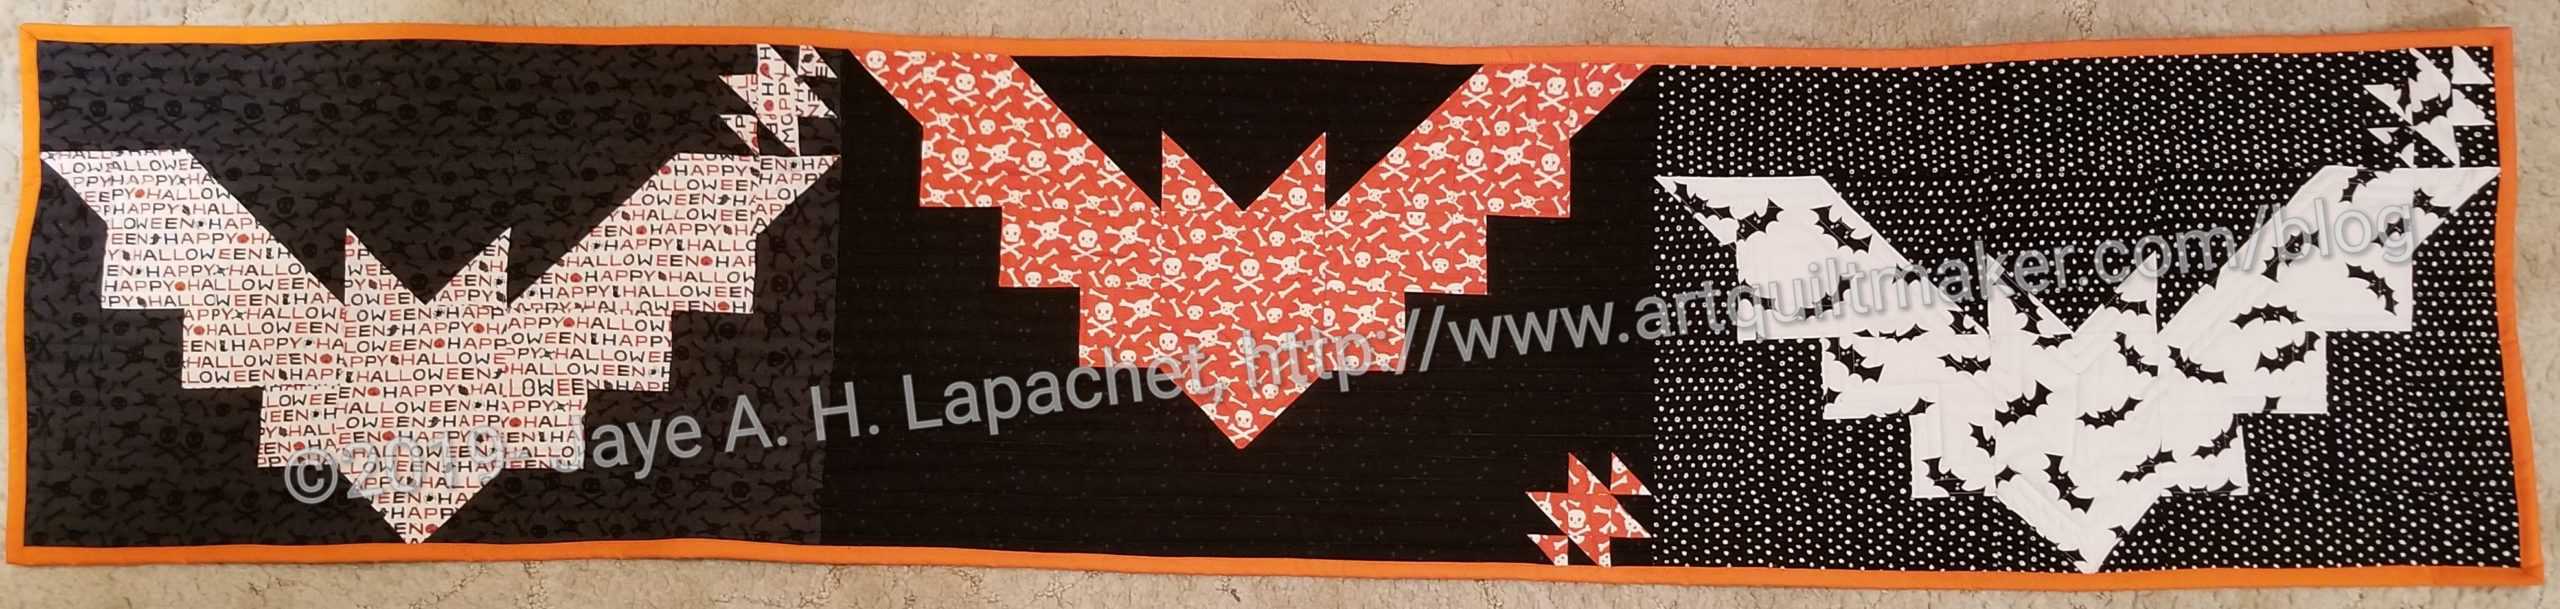
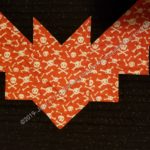
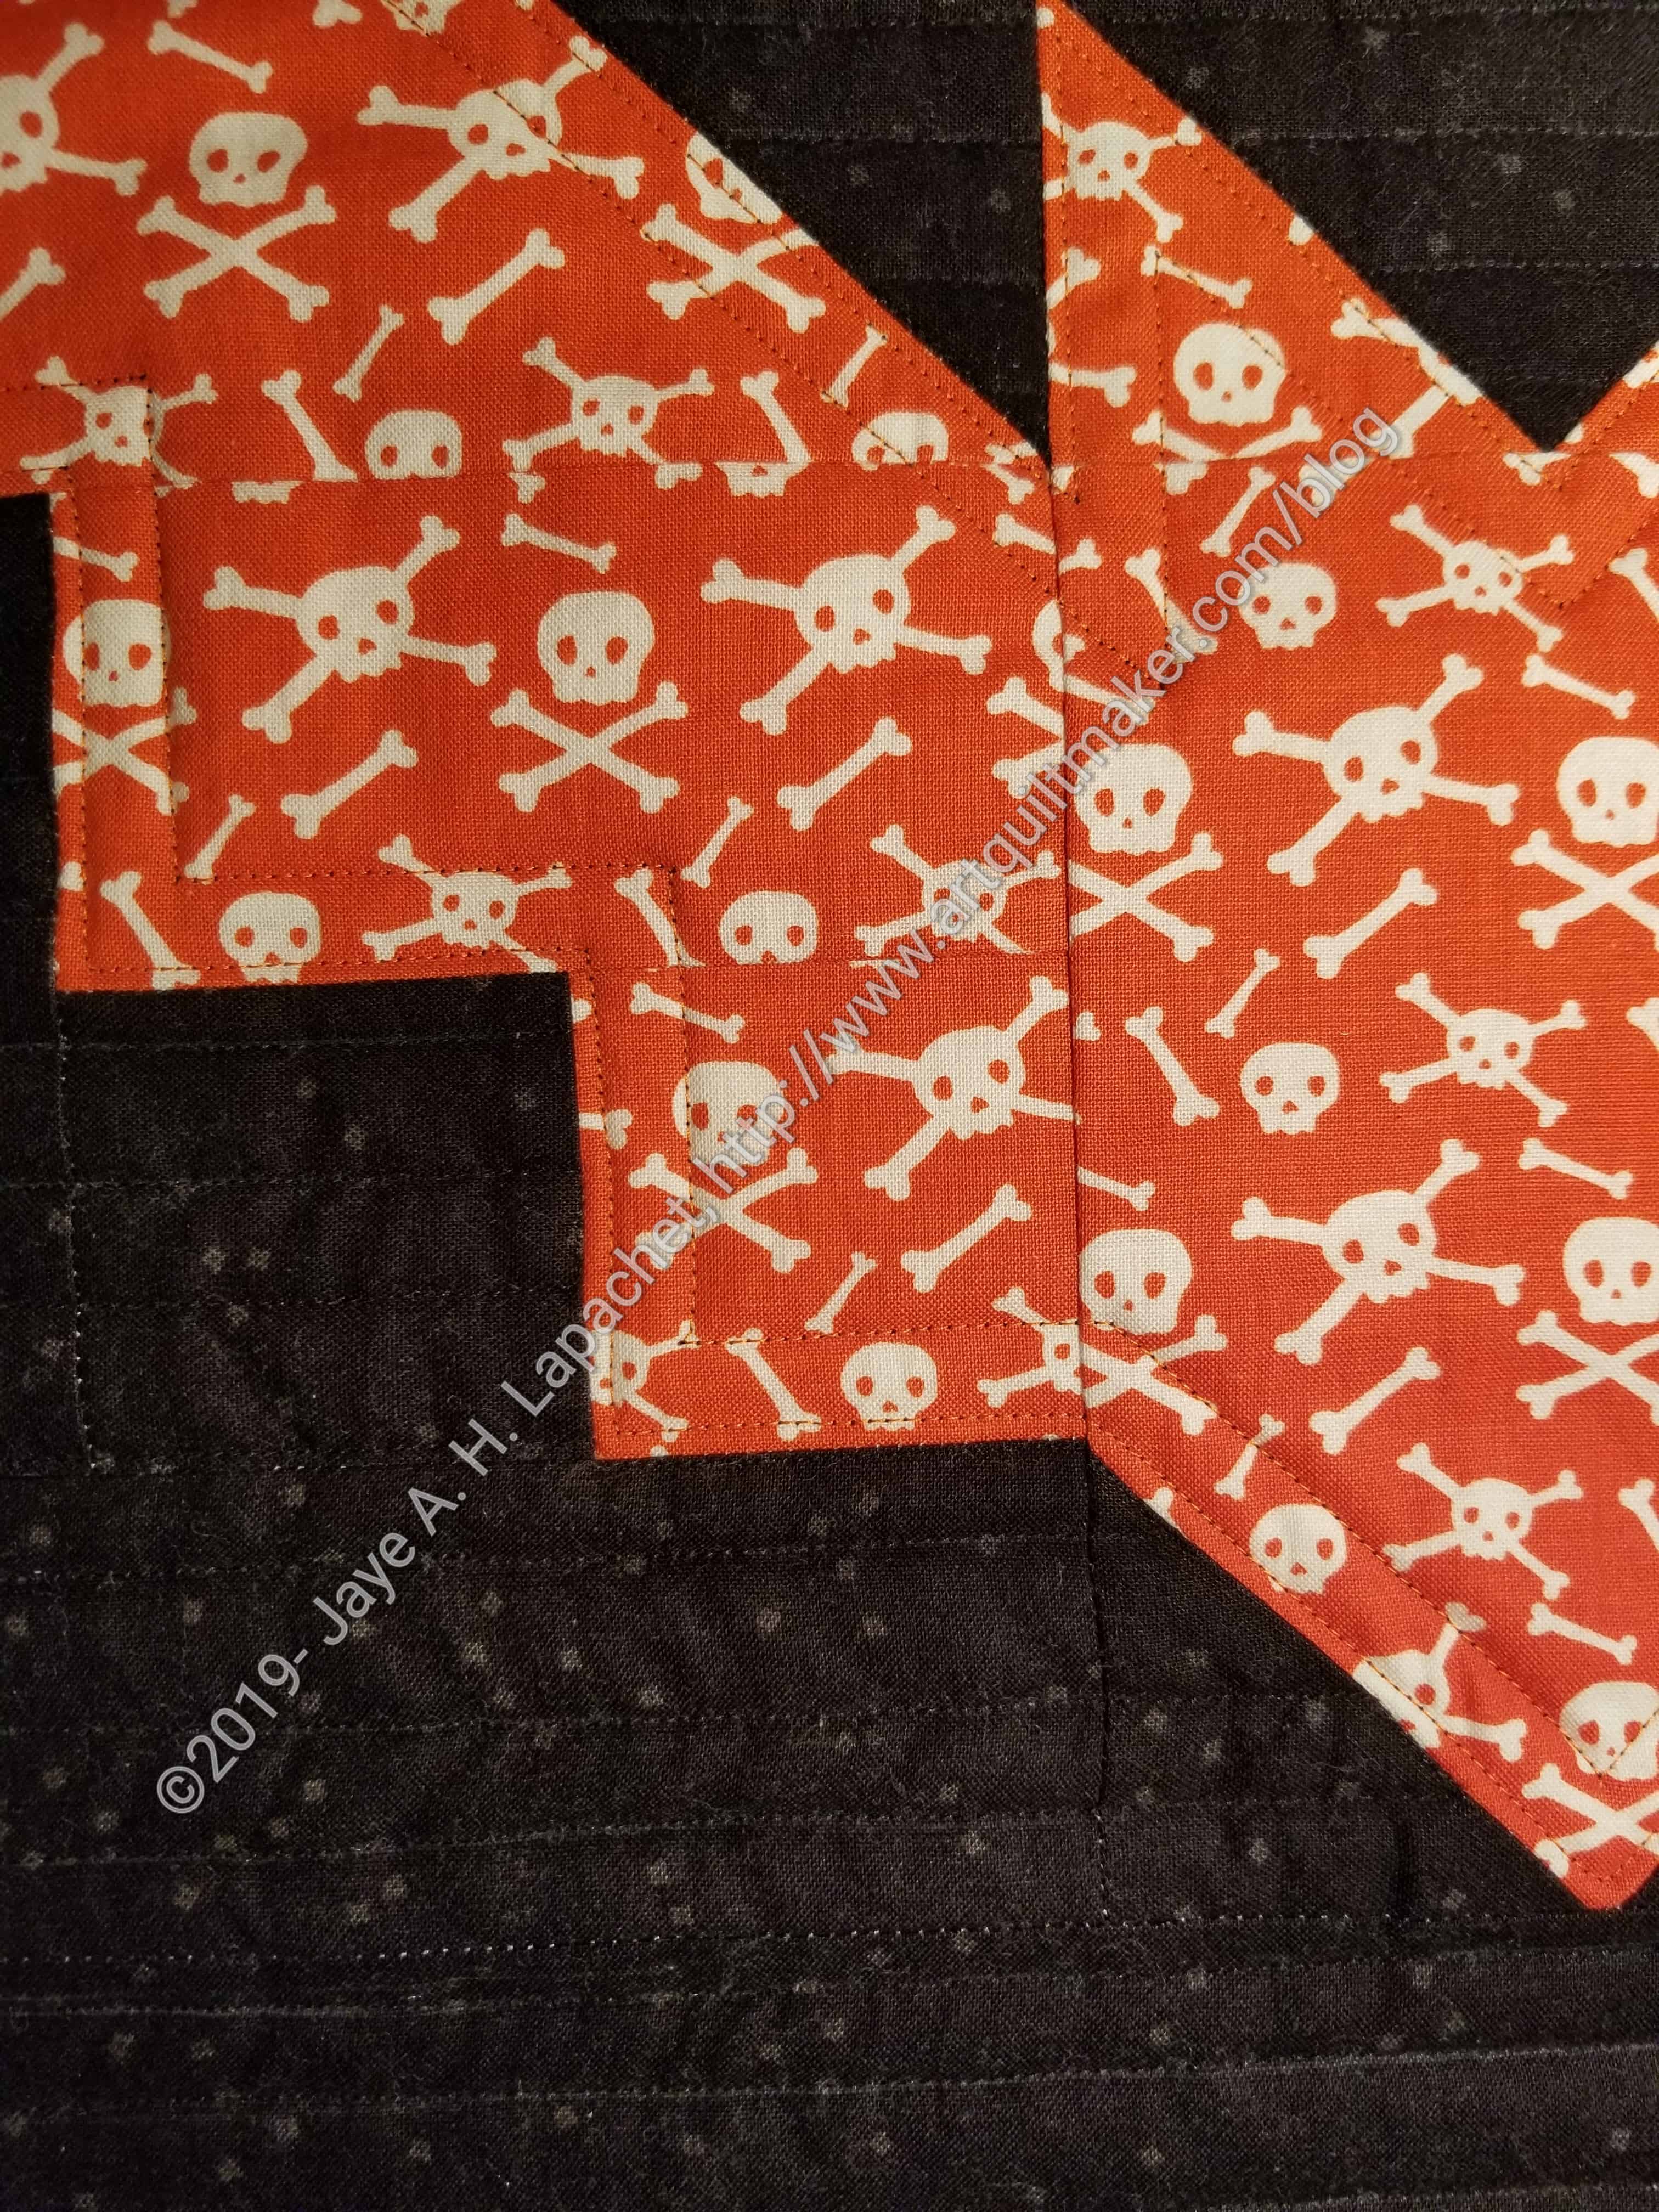
I finished the Bat Tablerunner on Wednesday and was really glad. I wanted to get it to Amy at the meeting. Fortunately she will be there! It isn’t in time for Halloween, but she is happy to use it next year.
Bat tablerunner – back quilting
I didn’t intend to quilt it myself, but I ended up doing it, I thought I would just get the project done and it wouldn’t be another WIP in the world, even if it wasn’t on my list. I feel good that it is finished and Amy can enjoy it.
I might have chosen a different color for the back, but I just used black over the whole back. I did switch colors on the top.
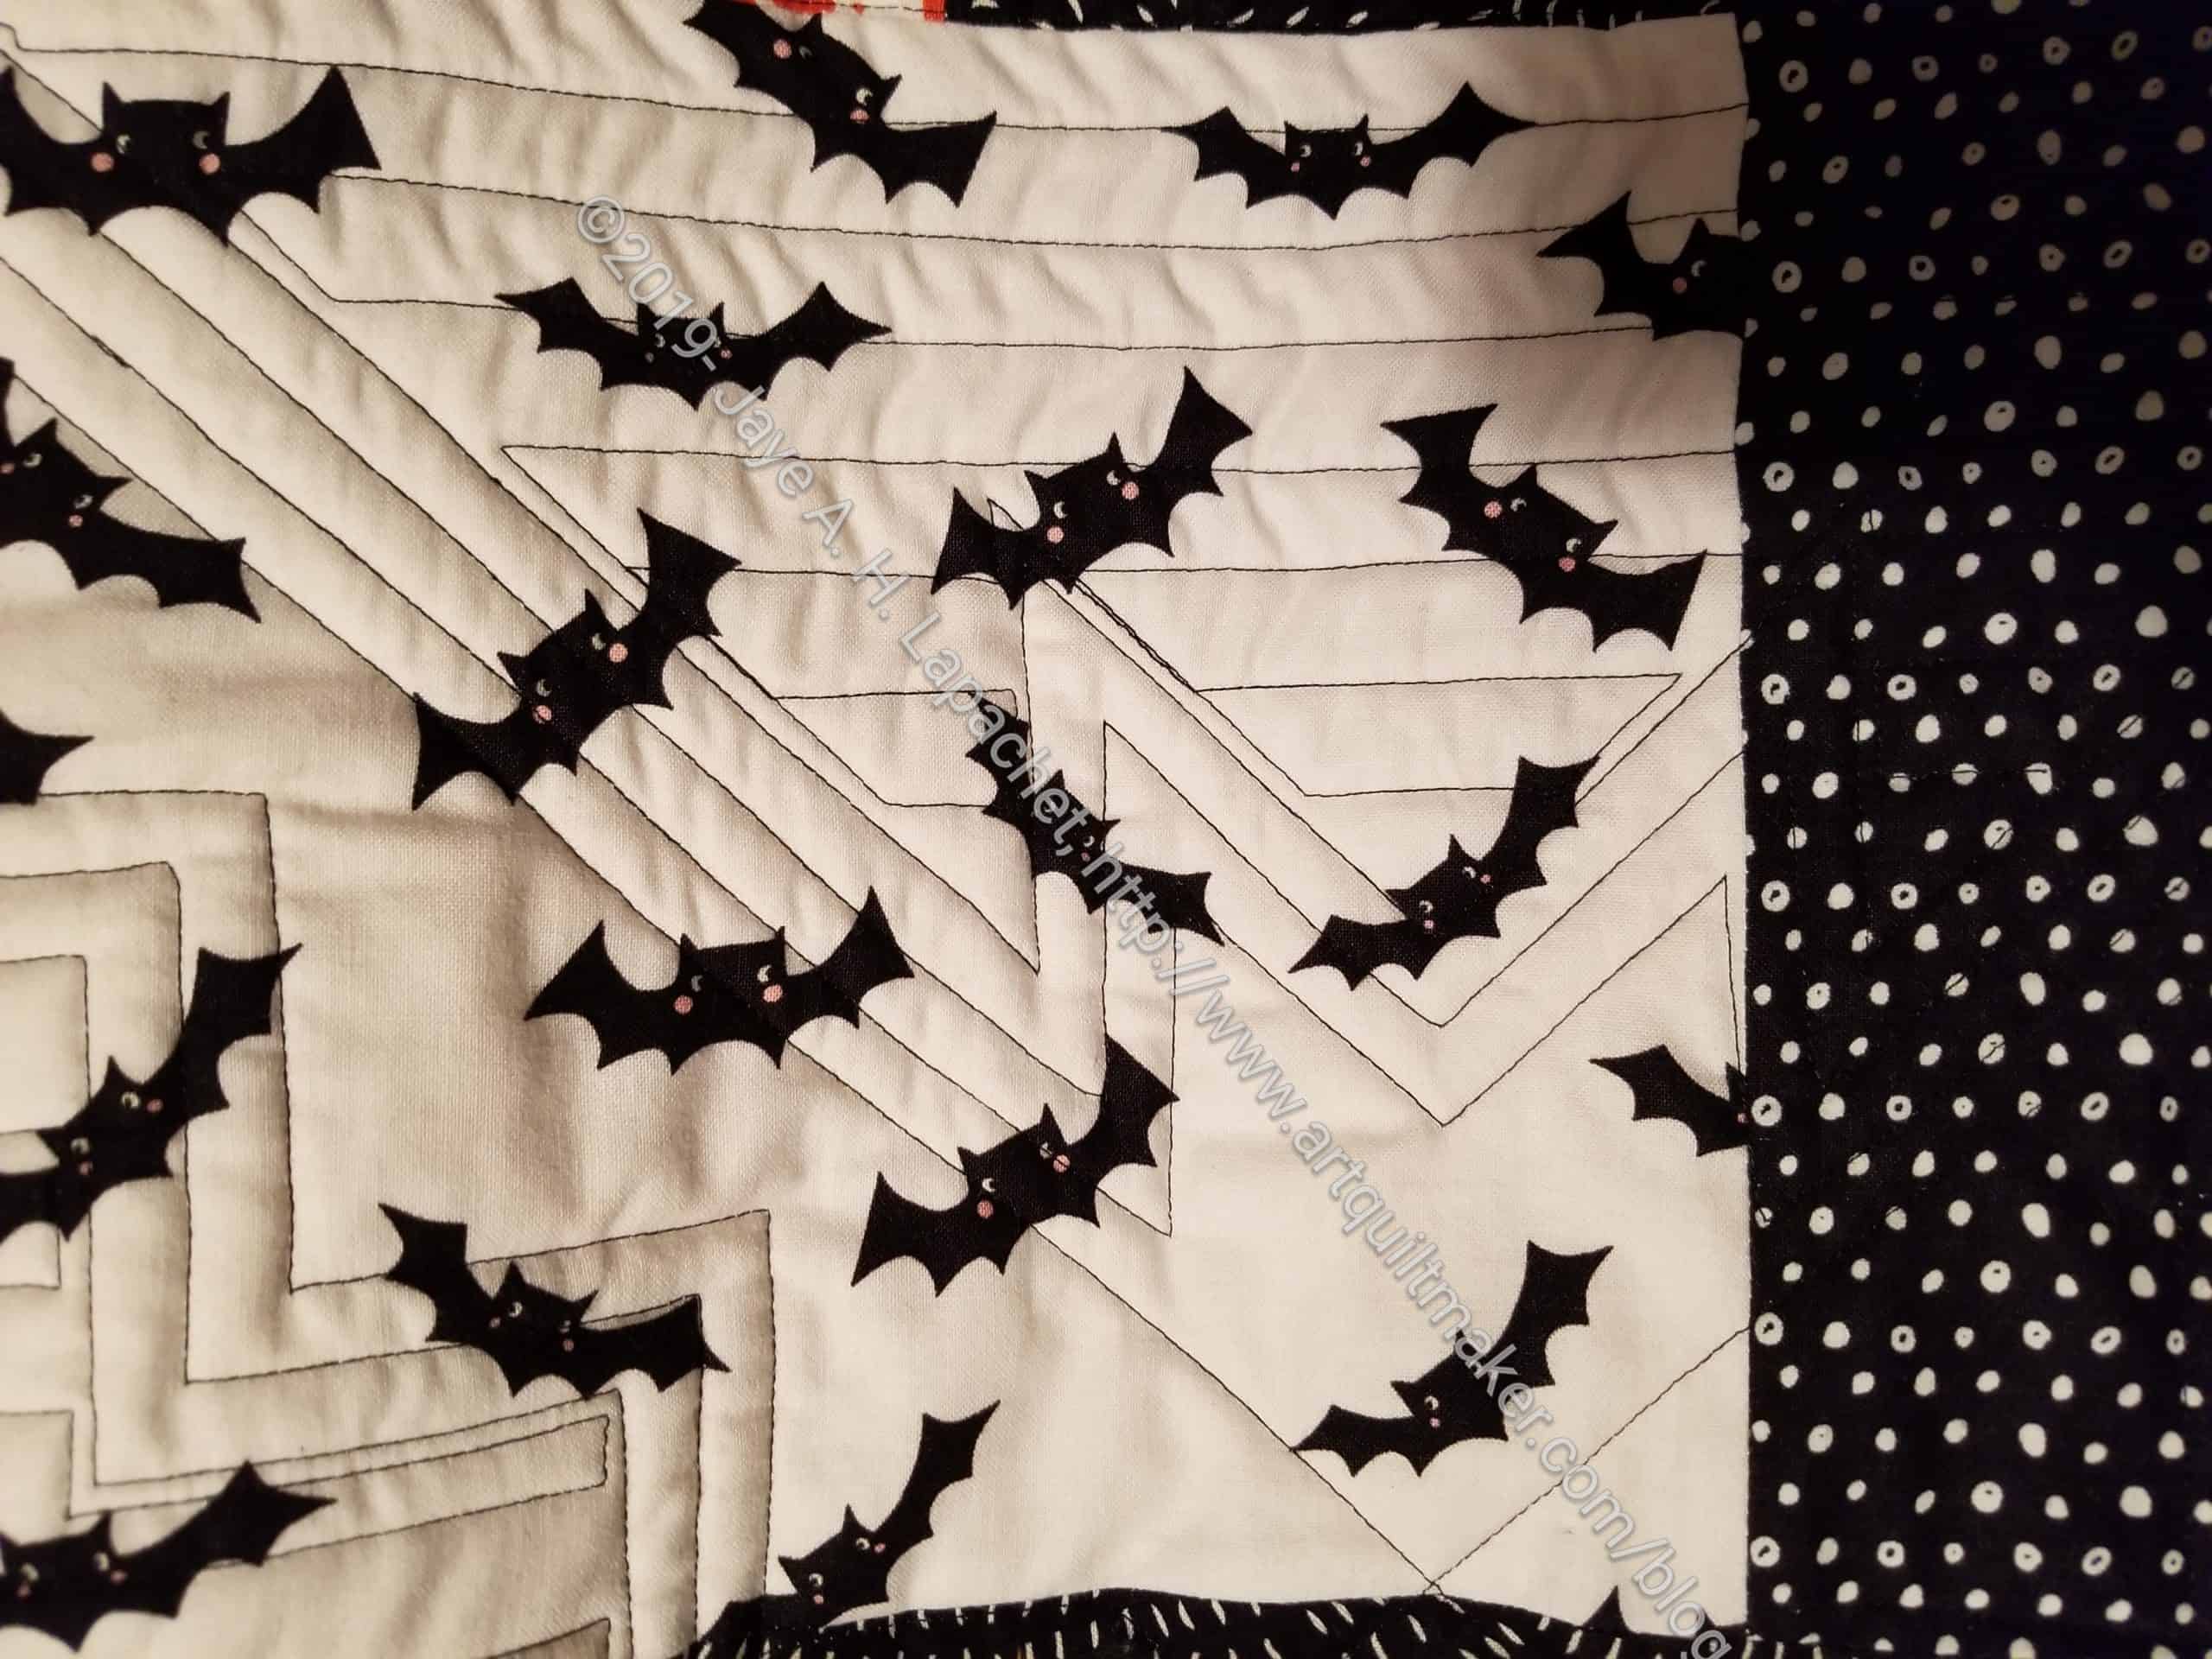
Bat tablerunner – front quilting
Bat tablerunner – front quilting
I am particularly fond of the orange bat. I think it came out pretty well.
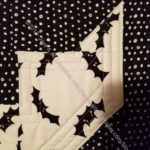
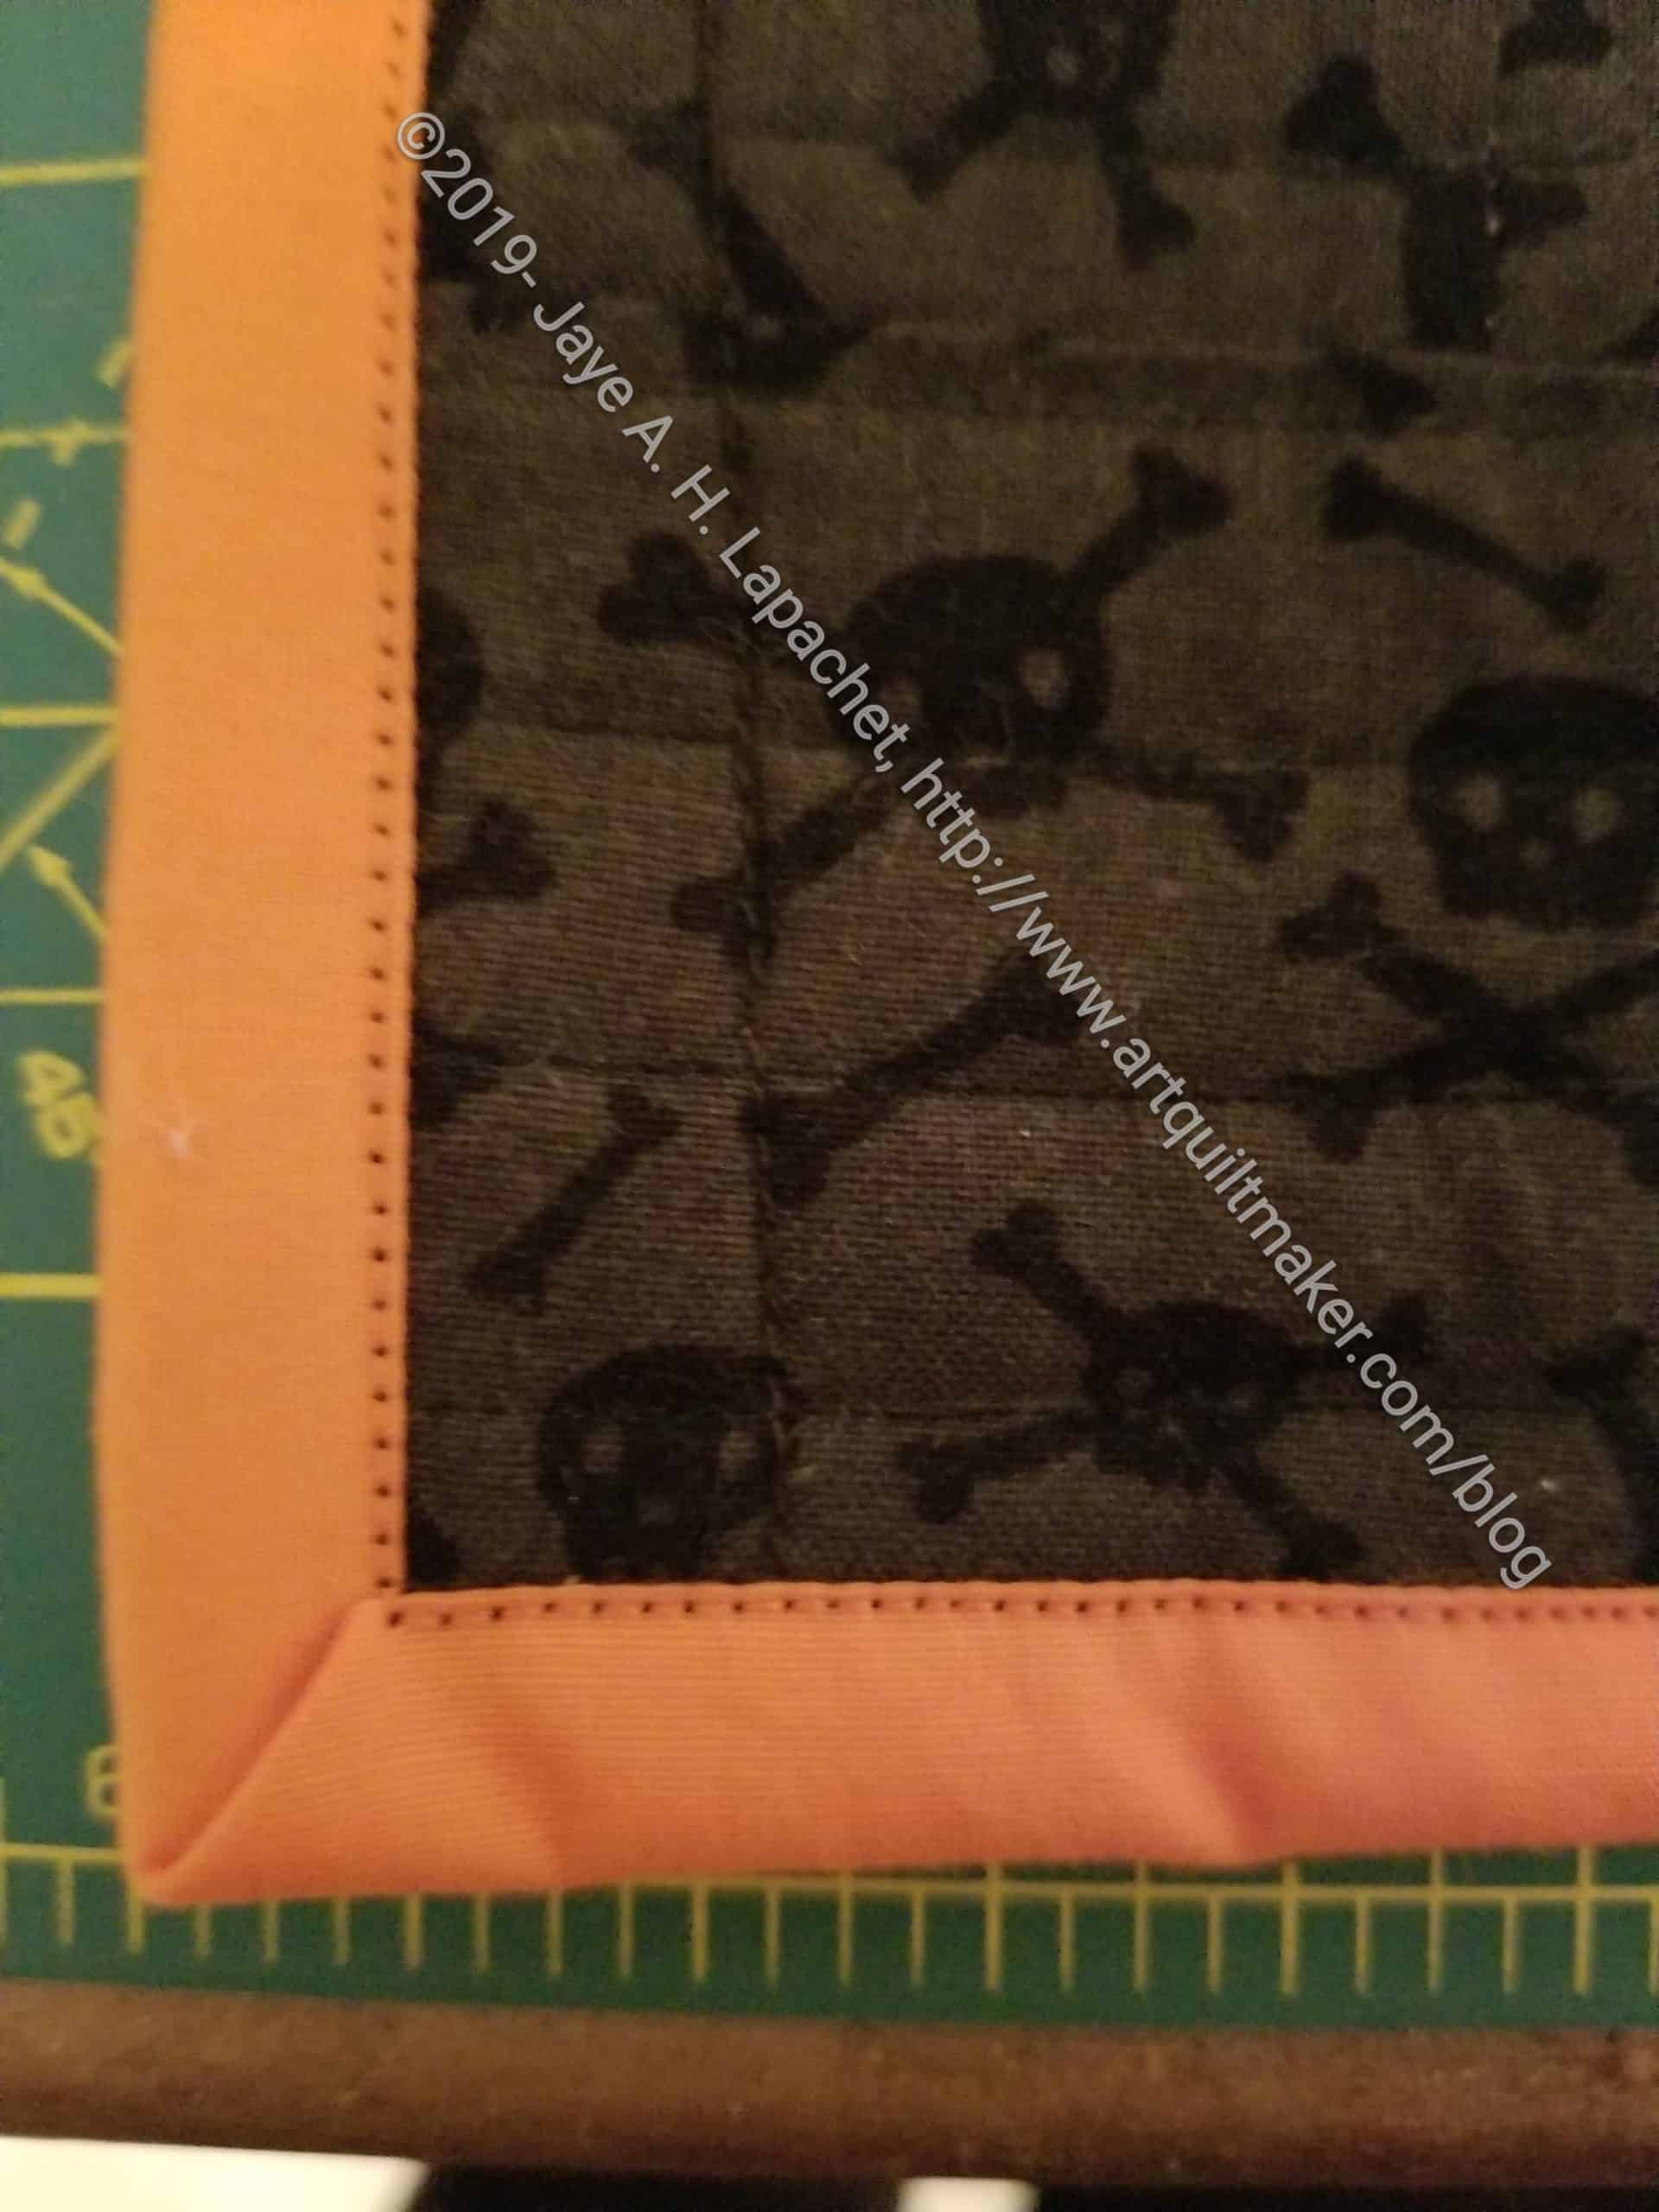
Bat tablerunner – machine binding
I tried the Bat binding tool and didn’t find it helpful. I just felt like I didn’t need it to get the binding on. I suppose I didn’t take the time to learn to use it. I am sure there is a video around that I should view. It would probably help me understand better whether it would be useful. I did use Sarah Goer’s method to create a machine binding. It looks pretty good and I am proud of it.
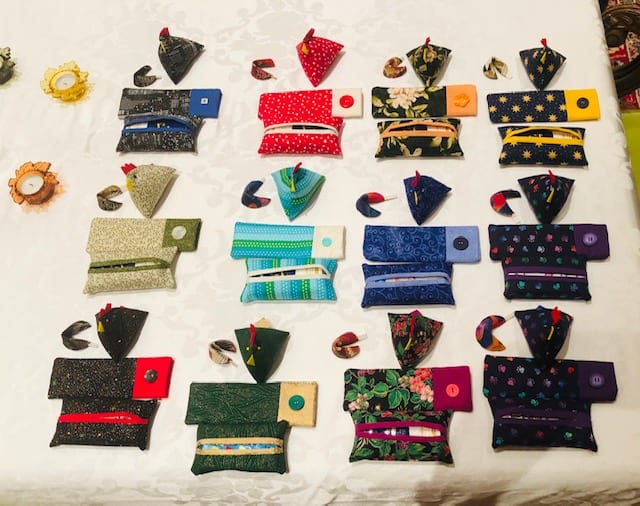
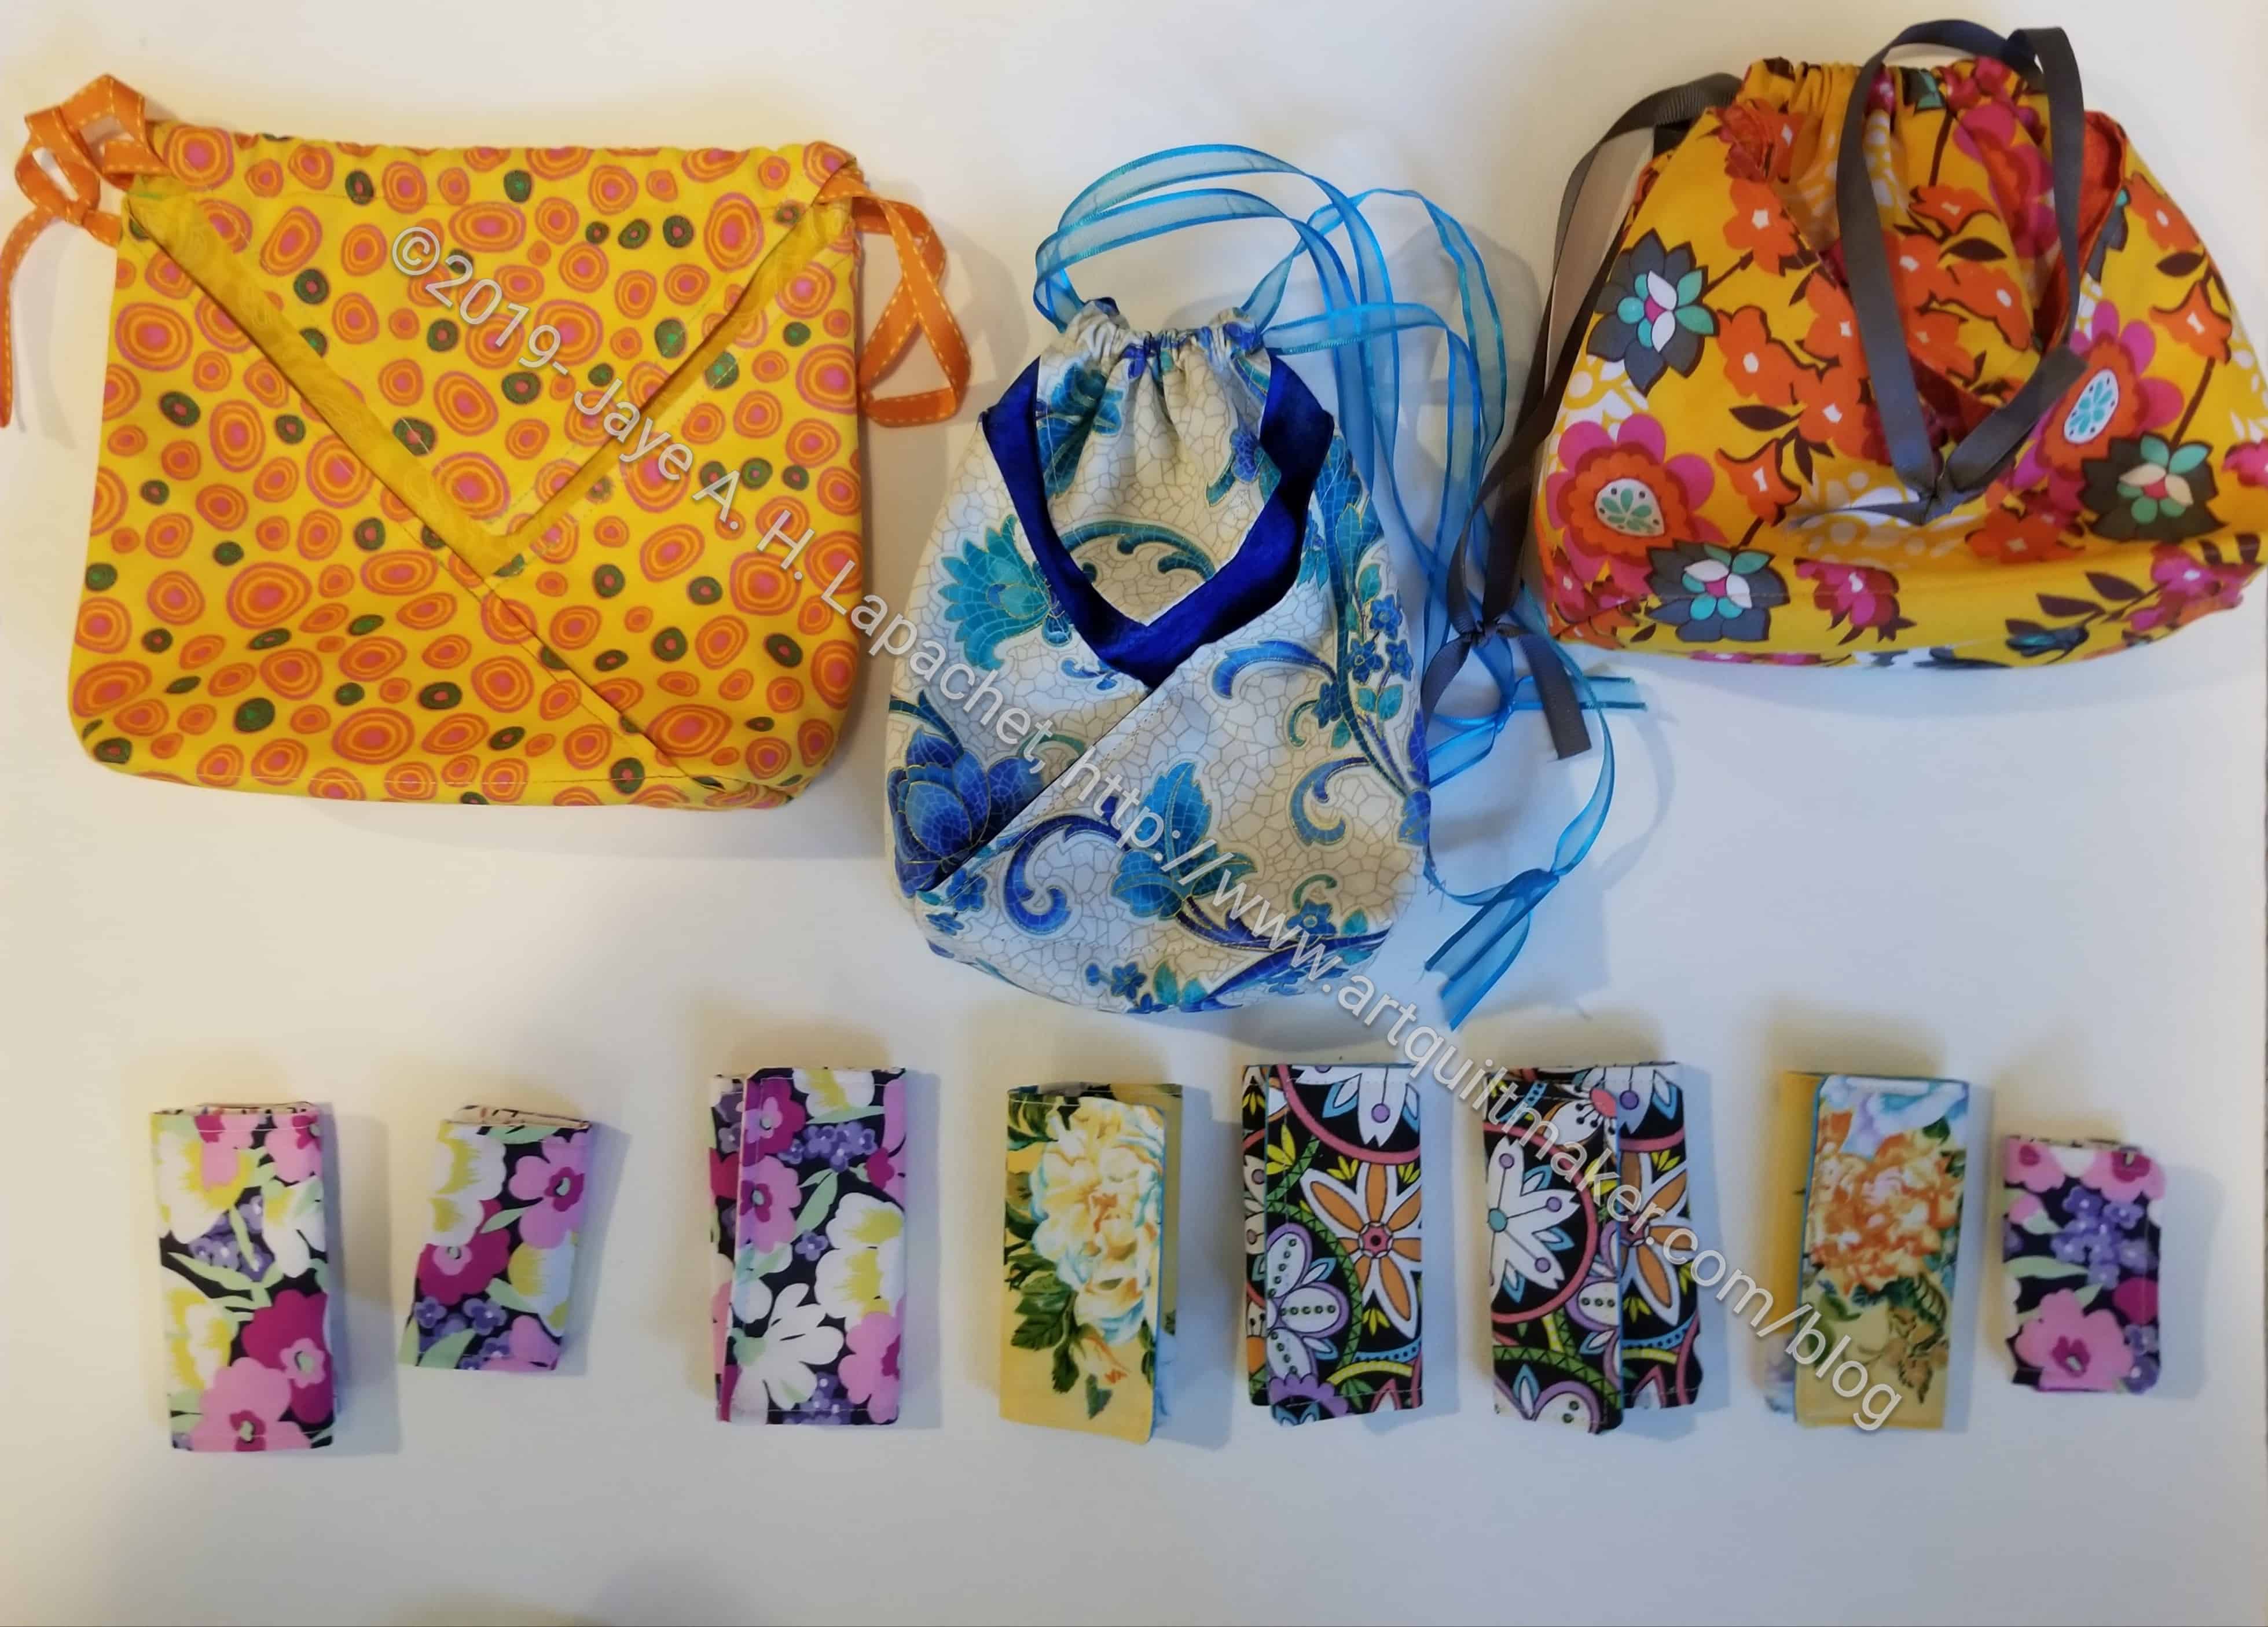
Carrie, a self-described inexperienced sewist, made the most amazing group of gifts for next year’s raffle baskets.
One of the reasons I love my guild is that people step up when you ask them to help. Carrie just decided she was going to make some items and did it! I was not expecting this many gifts
This is an amazingly generous group of gifts. It means that each basket will have a book, a group of the items pictured above, a cord holder, some fabric, an organizer, scissors or clips and a small item like a threader or finger light. I think this is a good amount of stuff.
Carrie’s raffle prize work-detail
I think I will have to get busy and make pouches in which to put the various items!
I might even be inspired enough to make Jane Market Totes in which to put the items. Then, again, maybe not. I have a lot of shopping bags.
I did a demo at the guild meeting with sewing machine and everything. I created a handout, which might be useful to some of you. I didn’t do a video, but there are some on the web already.
Bonnie Hunter is the leaders and enders queen. She has a number of books on the subject and also writes about the subject frequently on her blog. She also writes a column for Quiltmaker magazine on scraps. Her blog and shop can be found at http://www.quiltville.com
The basic concept is: instead of just stitching over a scrap at the end of a seam, you insert piecing from another project. So each time you start or end a seam and you are ready to snip the thread and press, you sew some component of another project. (Color Girl Quilts blog)
Keys for me:
Designate, at least in your mind, a primary and secondary project. I like to have them completely different. Different shapes or different colors or something so I don’t get confused.
Work small. Once the project gets too large, it is difficult to keep it in the subordinate position.
Keep patches/units ready to go near your sewing machine.
I find it easier to work on two completely different projects. Anything with a ¼” seam allowance will work.
Having shorter bits of thread between pieces keeps the thread trash to a minimum on the finished quilt. While this might be picky and odd, I sincerely dislike a lot of thread ends handing around a finished quilt.
The point of leaders and enders has little to do with using thread bunnies regularly, but to get more done. Using the leaders and enders method, I get a lot more community quilts finished.
No, I am not going to Burning Man. I did visit an exhibit of their costumes, vehicles and ephemera at the Oakland Museum of California with my sorority alumna group last week. I was really fascinated by the vehicles and the costumes. I also learned a lot about Burning Man, the organization, in general.
It was hard to get close enough to the costumes to see what they were made of. It did make me want to construct an elaborate Halloween costume.
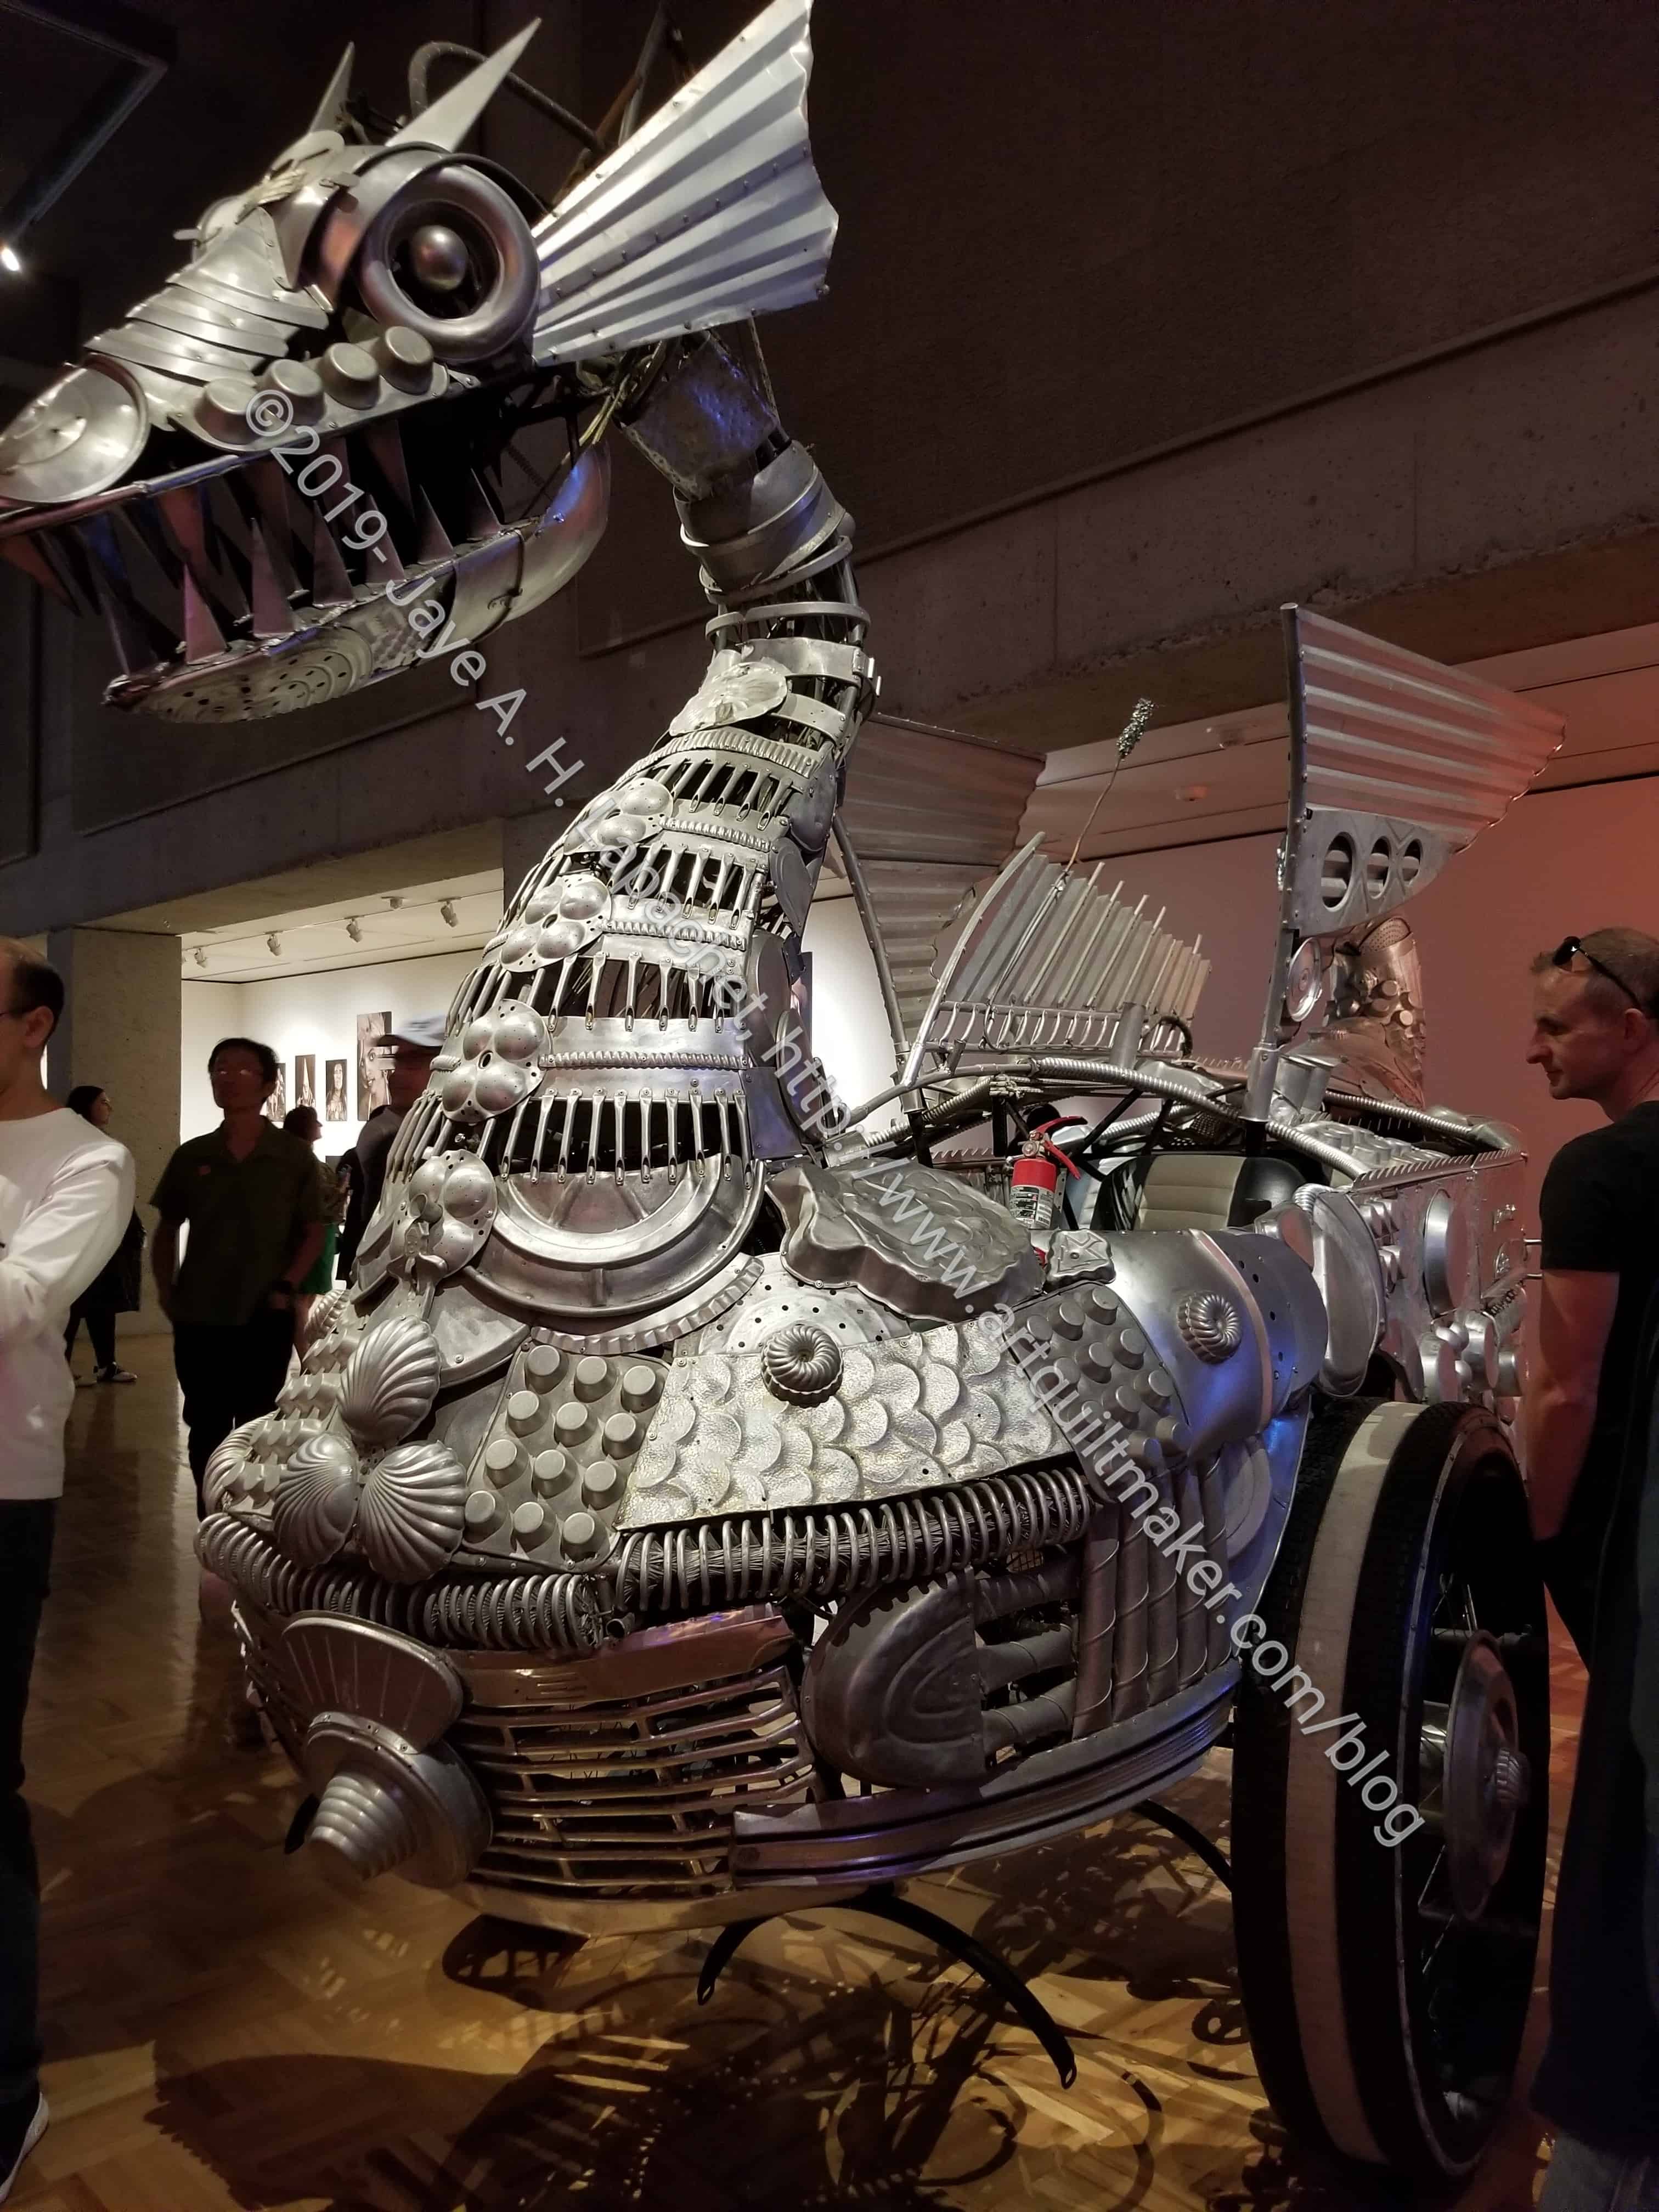
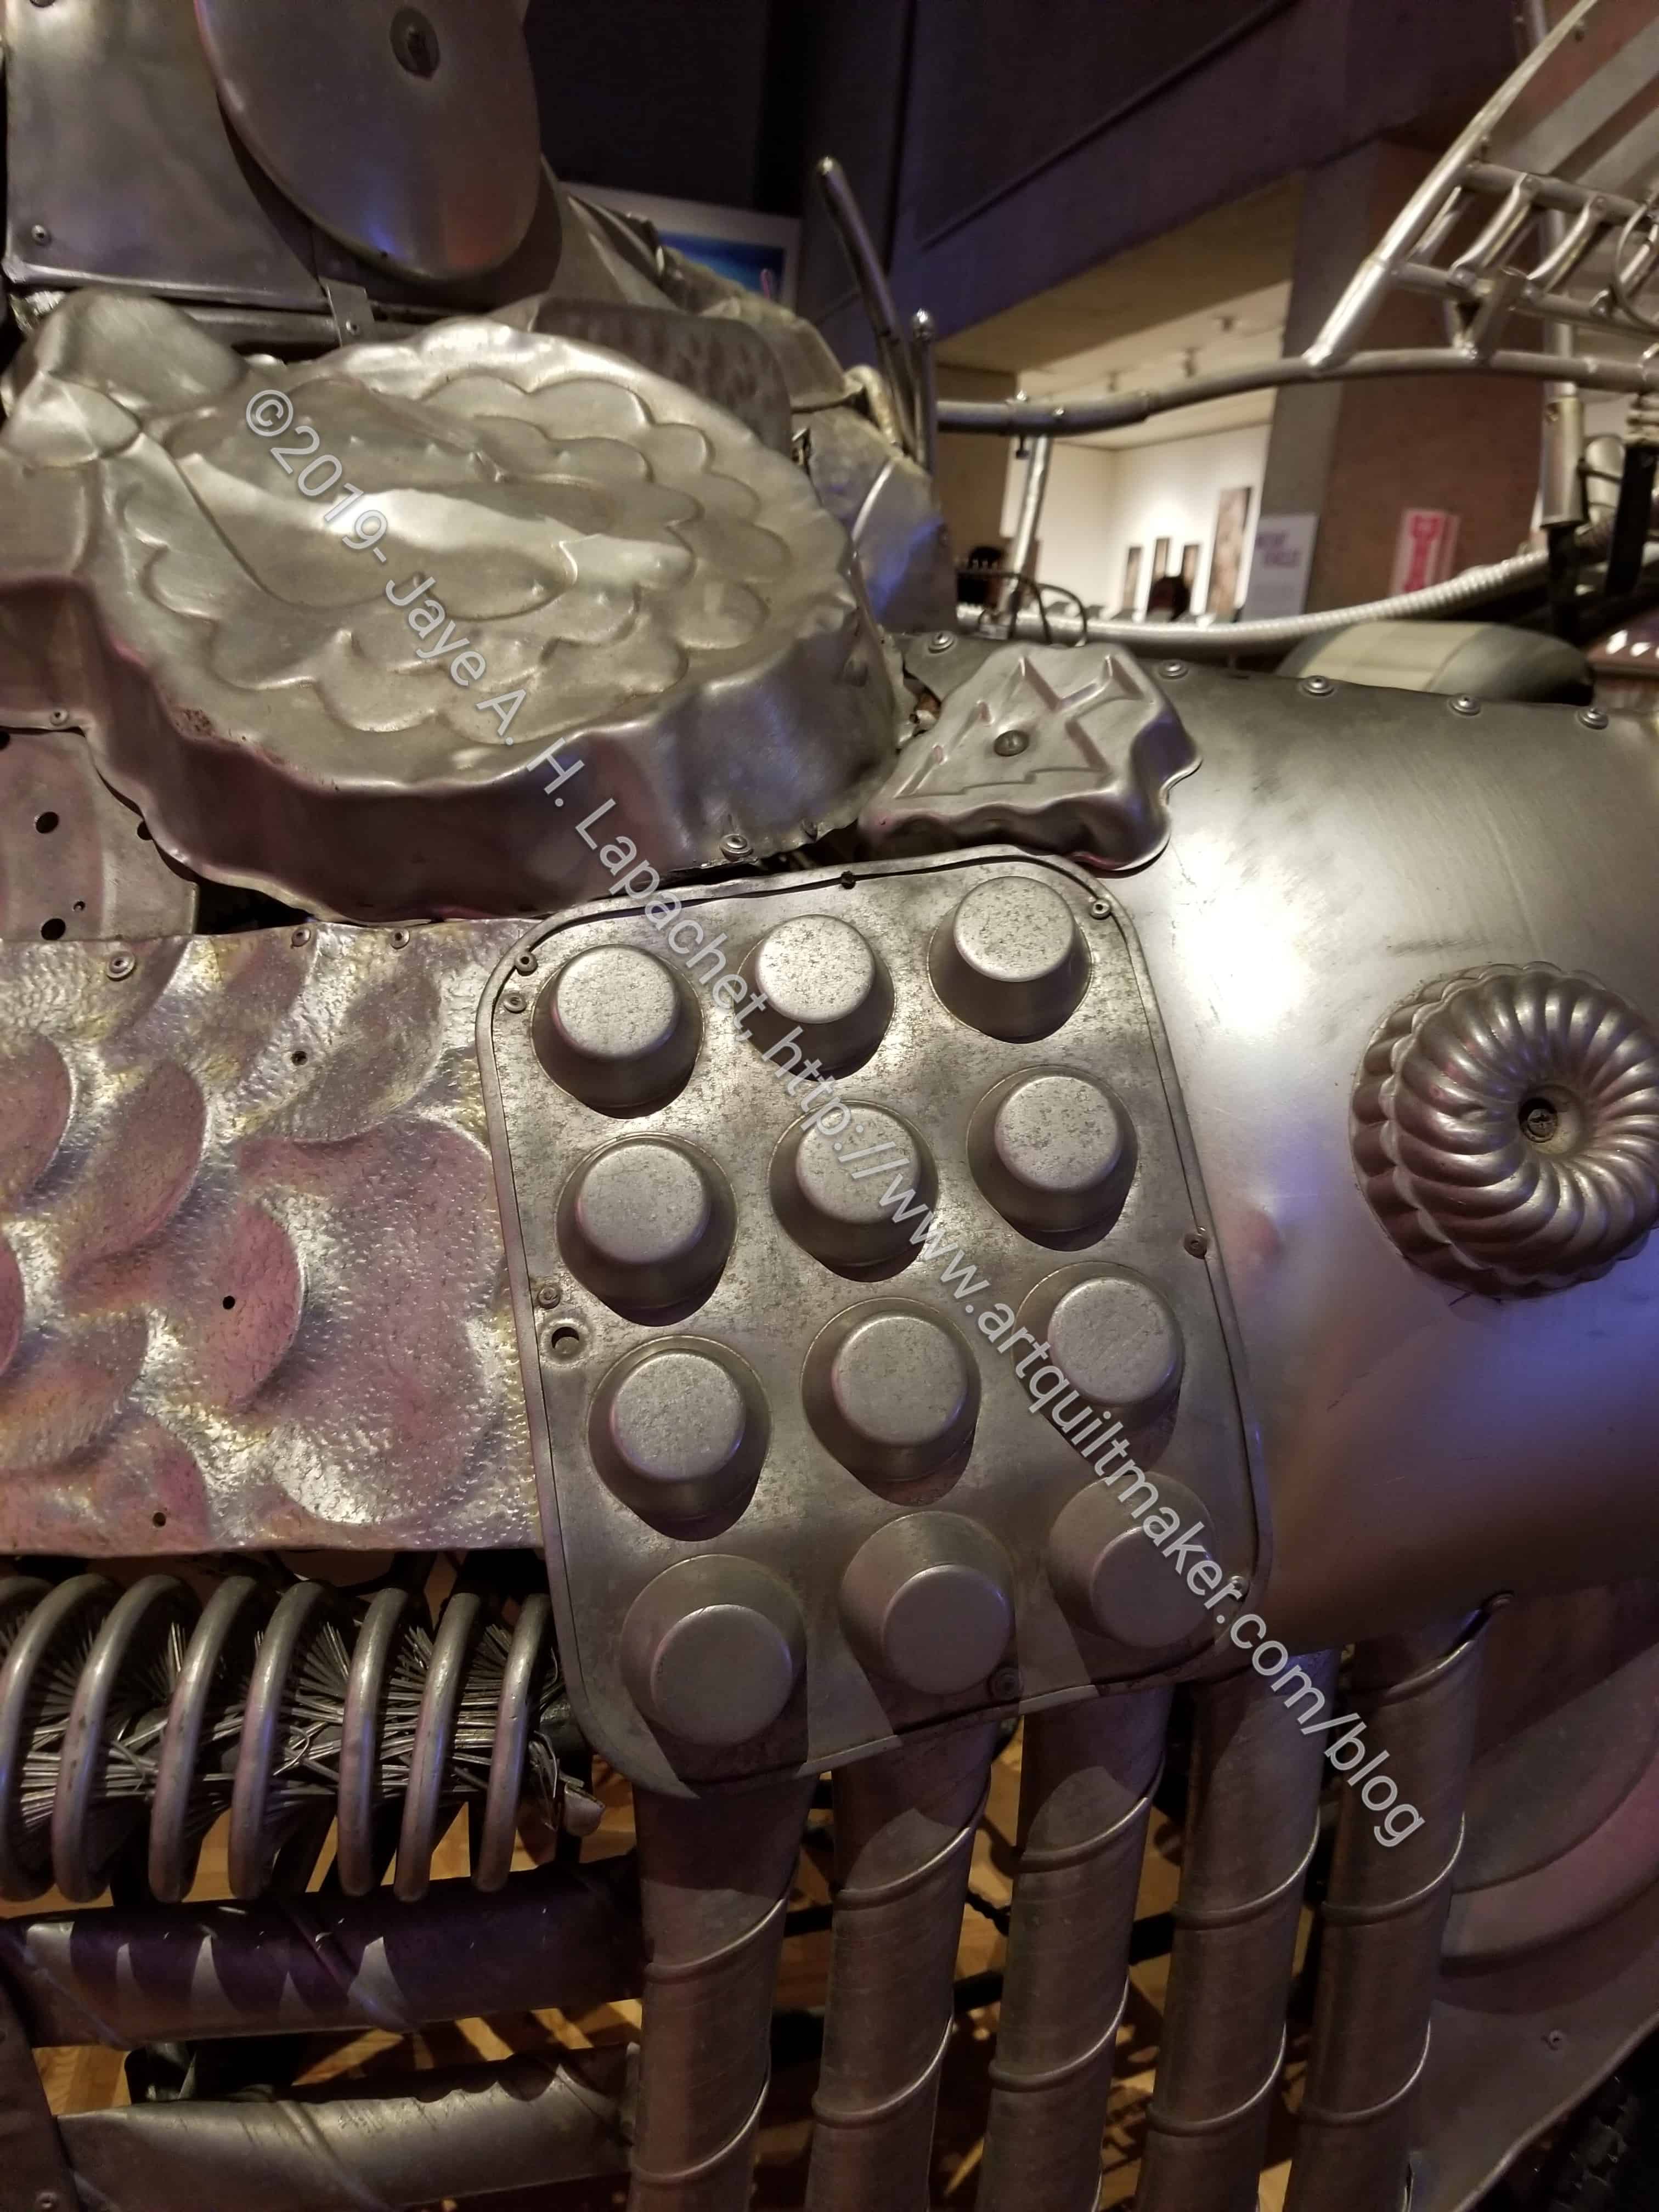
Burning Man Dragon Vehicle – detail
Mostly, I took a photo of the dragon because I thought the YM would like it (he did!). I looked closer, however and found that it was made of common household metals – like muffin pans and cake tins. I couldn’t help but think of a group of mothers getting together and building this thing. It looks very fierce from afar, but close up I saw a message of home and kitchen, a place in which to take refuge.
Theater vehicle
Another vehicle looked like an old fashioned theater. I wasn’t tall enough to really see inside. I, also, couldn’t get close enough to see if they were showing movies, but I loved the plush seating, the flocked wallpaper and the aura of one of the grand old theaters.
Big Wheel
Finally, I couldn’t help thinking of one of those old bikes with the huge front wheel when I saw the last vehicle.
It also made me think of a Big Wheel. I couldn’t tell if one person could drive it or if three people would need to work together to drive it.
There were others, of course. I didn’t take pictures of everything there. It is an interesting exhibit and well worth the time to visit.
Like the post I wrote the other day about gifts I have made for Julie, I decided to make myself feel better by writing about the gifts I have made for my mom. Again, I was disappointed. In my mind, I have made so many more than show up on the blog. Granted, I don’t always say who the gifts are for and that makes it hard to search, but still, I thought I had made a lot more.
Poolside Tote for Mom
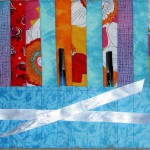
Mom’s Pencil Roll Open
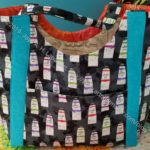
Mom’s Jane Market Tote in Paintbox fabric
Mom’s Watercolor Box Sew Together Bag
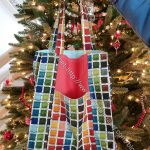
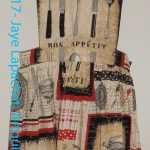
Mom’s Paint Tube Flapper Apron
Mom’s Apron Front
I am not ashamed of the projects I have made and have a few more in the pipeline for Christmas, but still. I really thought I had made more.
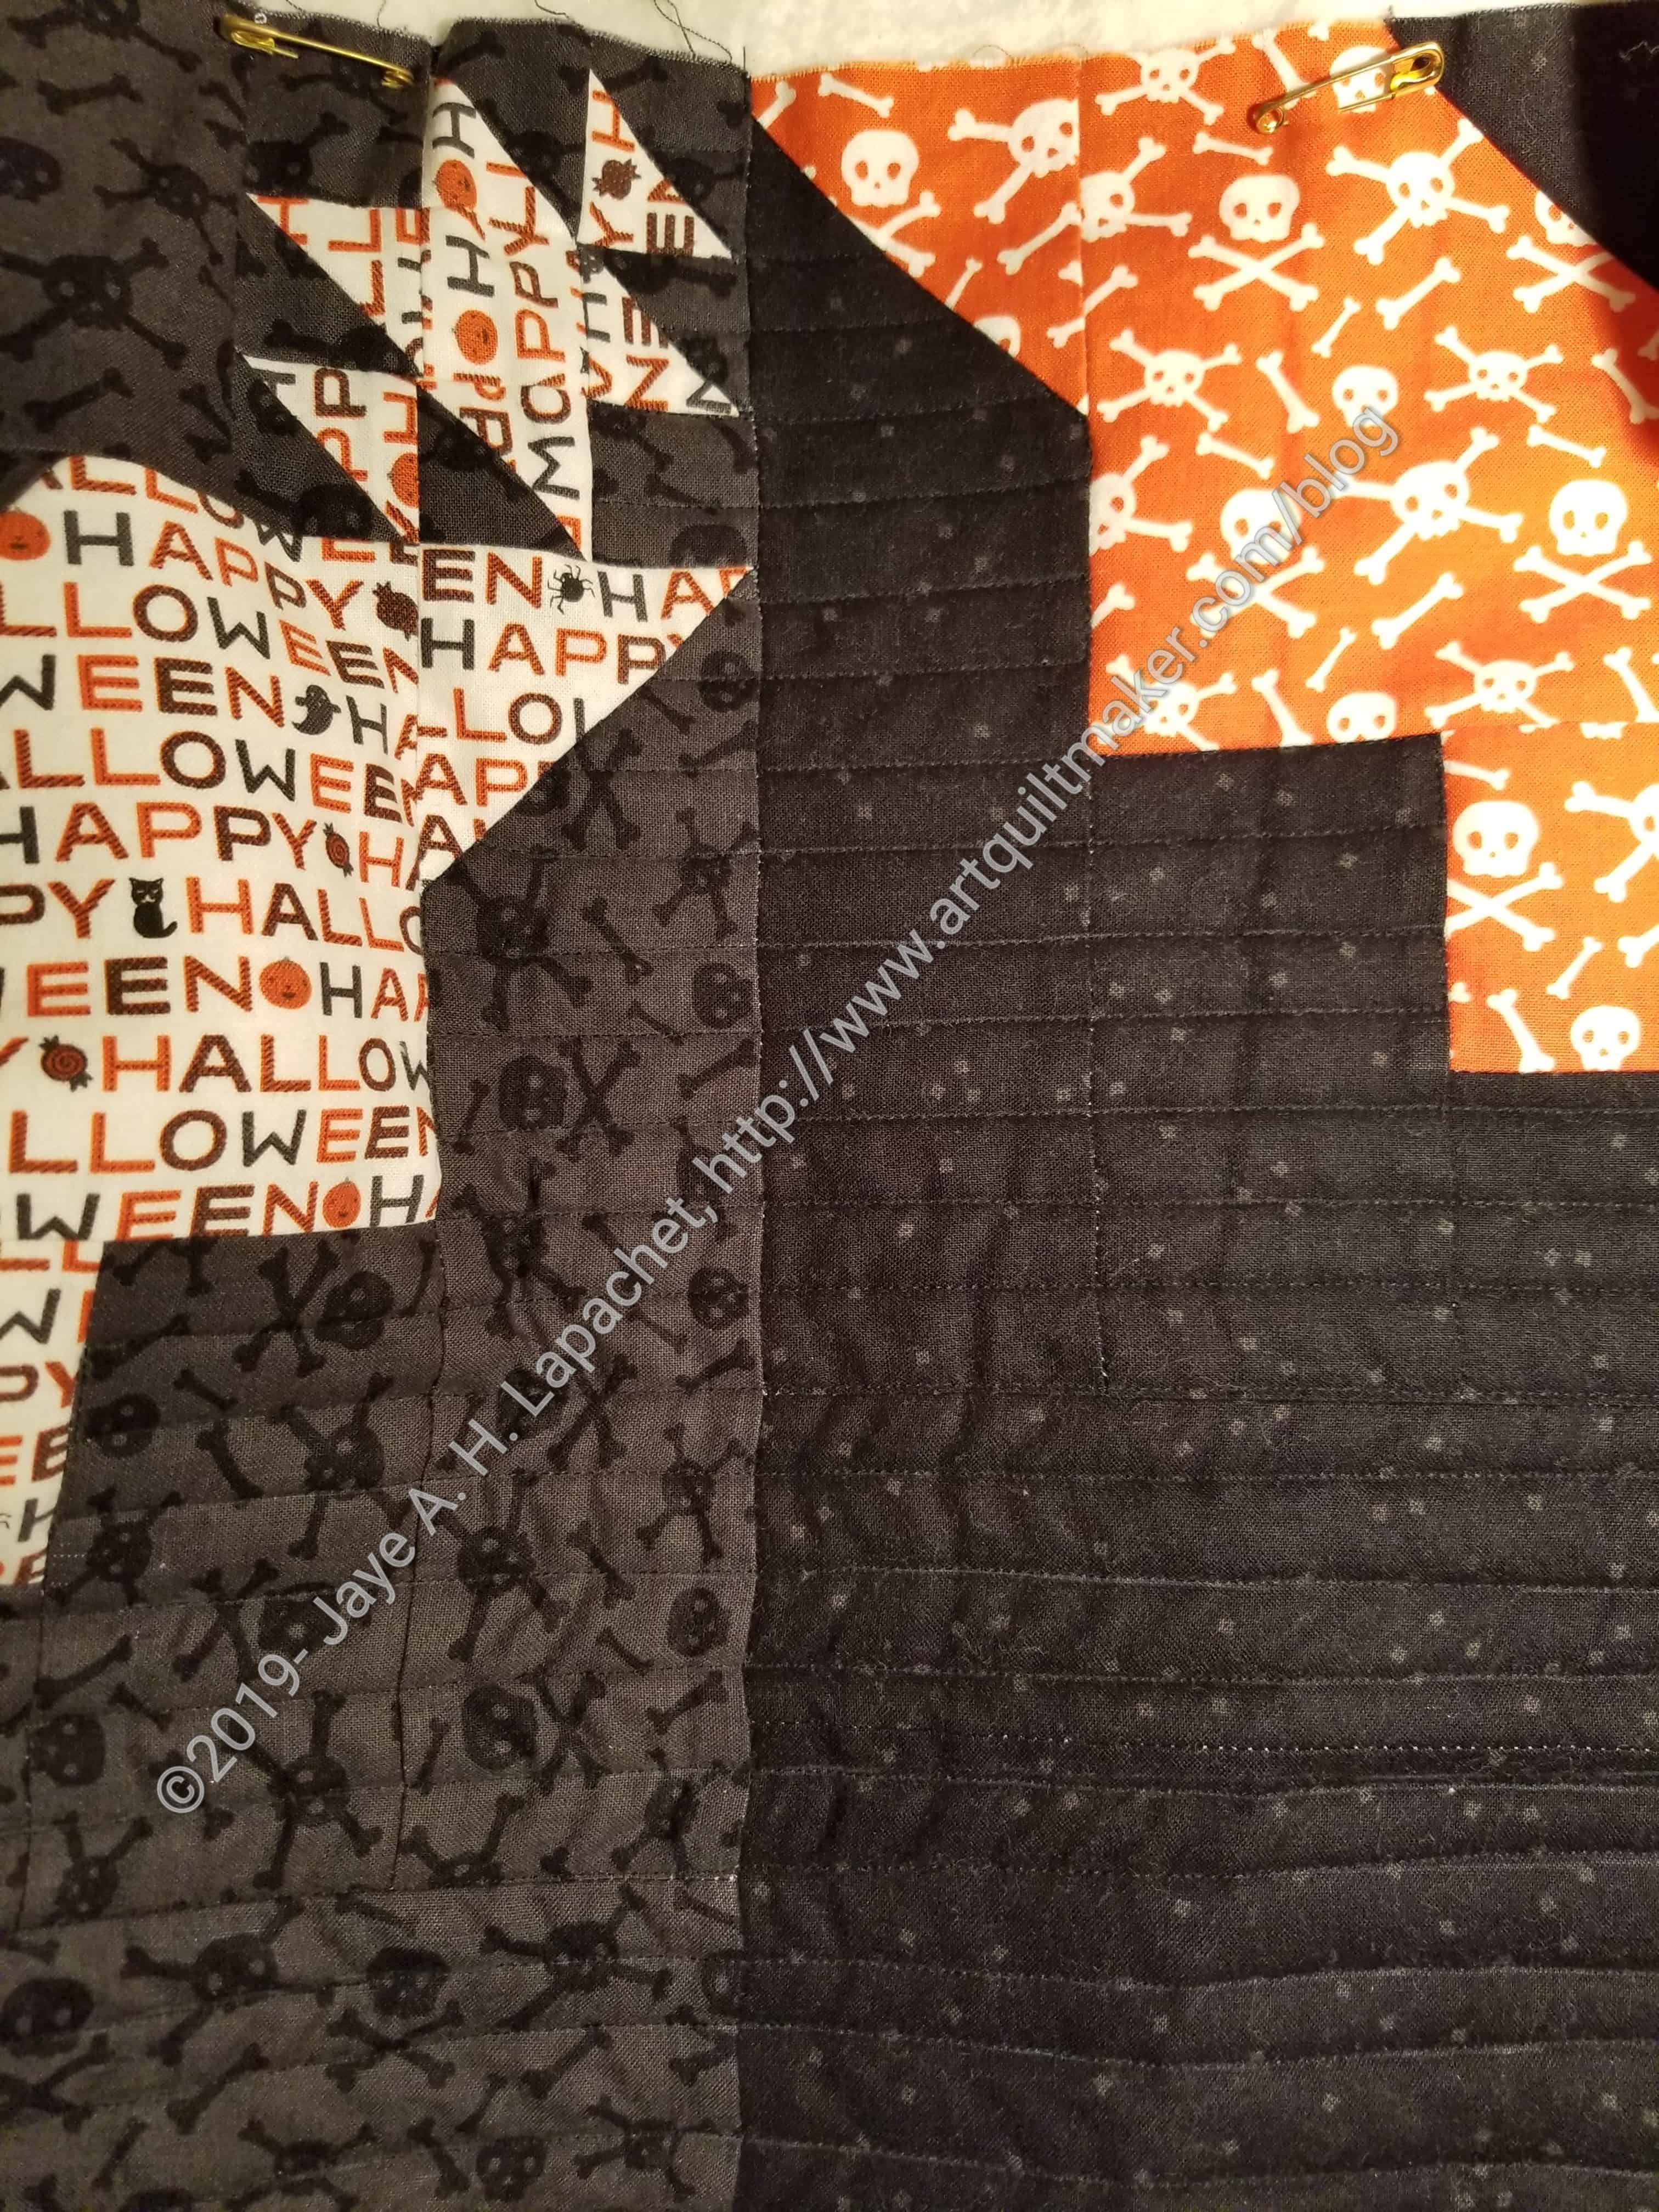
I got back to the Bat Tablerunner over the weekend. Yes, I quilted.
Bat Tablerunner, quilting in progress
I quilted for about an hour on Sunday evening. I felt really good about the work I did. I feel like I accomplished something. The quilting was simple, but it looks nice. I felt energized and was ready for another session on Monday. I quilted for about 4 hours on Monday night while DH watched the football game.
I suffered yesterday as 4 hours of machine quilting was a bit much. I knew I was going overboard, but I really want to get this piece done before Saturday’s meeting. I need to break up my work, though so I am not in pain.
Bat Tablerunner, quilting in progress
I was able to finish the background on Monday and make a start on the bats. I know I just need to do what I can do and hope that I can be done by Saturday.
In January 2018, I updated the list of gift ideas I originally wrote in 2015. All the posts on the topic start with the same items, but I added and revised the post each time. Lately, I have made different items as gifts and I thought I would share some more with you. Most don’t take tons of time, so you could make a few for the holidays, if you have fabric and no interest in going to stores.
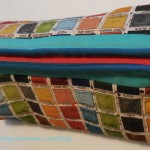
Pillowcases are always useful and you can use a yard of fabric. They are also quick to make, once you find the fabric you like. I have stopped putting the accent fabric in. I make them with two fabrics and that goes even quicker.
I also like aprons as a gift. I made a bunch of them last year using the Flapper Apron pattern, a retro style apron pattern. I purchased when I was out with Amanda near Portland a year or two ago. The thing I like about this pattern, which you have heard before, is that you can make it out of 1 yard of fabric. It is cut on the bias, so directional fabric is challenging, but can be done. I use 1.25 yards just to have a little leeway.
Pouches are a great gift as well. I have made several recently. The Persimmon Dumpling Pouch pattern, a free pattern, from Sew Sweetness. There are many, many pouch patterns out there, both free and for purchase. Add a leash and a lobster clip and it can be used in a larger bag.
The juggling balls I made were a big hit. These will take more time, but are a great project for soccer practice or waiting for people at doctor appointments. I wrote about them pretty comprehensively. I got the idea for the balls from All Points Patchwork, a comprehensive guide on English paper piecing. If you want to learn or improve your English Paper Piecing, get that book. It is great. I still want to make some for DH, but he has to wait.
Mary’s Key chain
Key fobs are an interesting idea. You don’t have to use them for keys and can use them for pouches or other supplies that have a lobster clip or hook. These came to my attention when Renaissance Ribbon created a kit using their fabulous ribbons. I think it is a great use of their ribbons. The heavyweight webbing they sell can be used for bags. It comes in a lot of colors, which will blend with your other awesome fabrics.
A scissor cozy could be a great way to keep your scissors from opening in your bag and damaging other items.
Not a lot of ideas here, but you can take a look at a giant list I maintain on my guild’s site. There are tons of ideas there, though no (or few) reviews.
Friend Julie’s birthday is coming followed quickly by Christmas. I always enjoy making her a few things. She always uses and appreciates (or seems to!) what I make.
I was thinking of what to make her and decided to take a look at what I had made her in the past. This is one of the reasons I continue to publish posts on this blog – keeping track of what I have made.
I wanted to group all the things I have made for her together, so I did a search. 🙁 I came up with a lot of great pictures of her, but not very many projects.
Julie’s Birthday Gifts
Julie’s Journal Cover – front
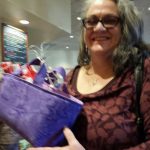
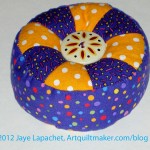
Julie’s Purple Pincushion Gift
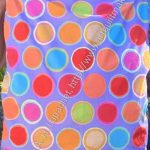
Kaffe Pillowcase Gift for Julie
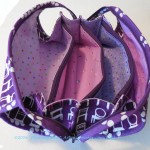
Purple Chair Sew Together Bag for Julie – open
I really thought I had made her more gifts. There are a lot of options in the Gift Grouping 1 and Gift Grouping 2 I made for Mary. I think what I do is get her to make the same project on which I am working, like the Midi bag and the Undercover Maker Mat. That way, I get to enjoy her process as well and I don’t have to do all the work. HA! Clearly, I need to get busy and make some more gifts for Julie. There is a lot of potential for future gifts.
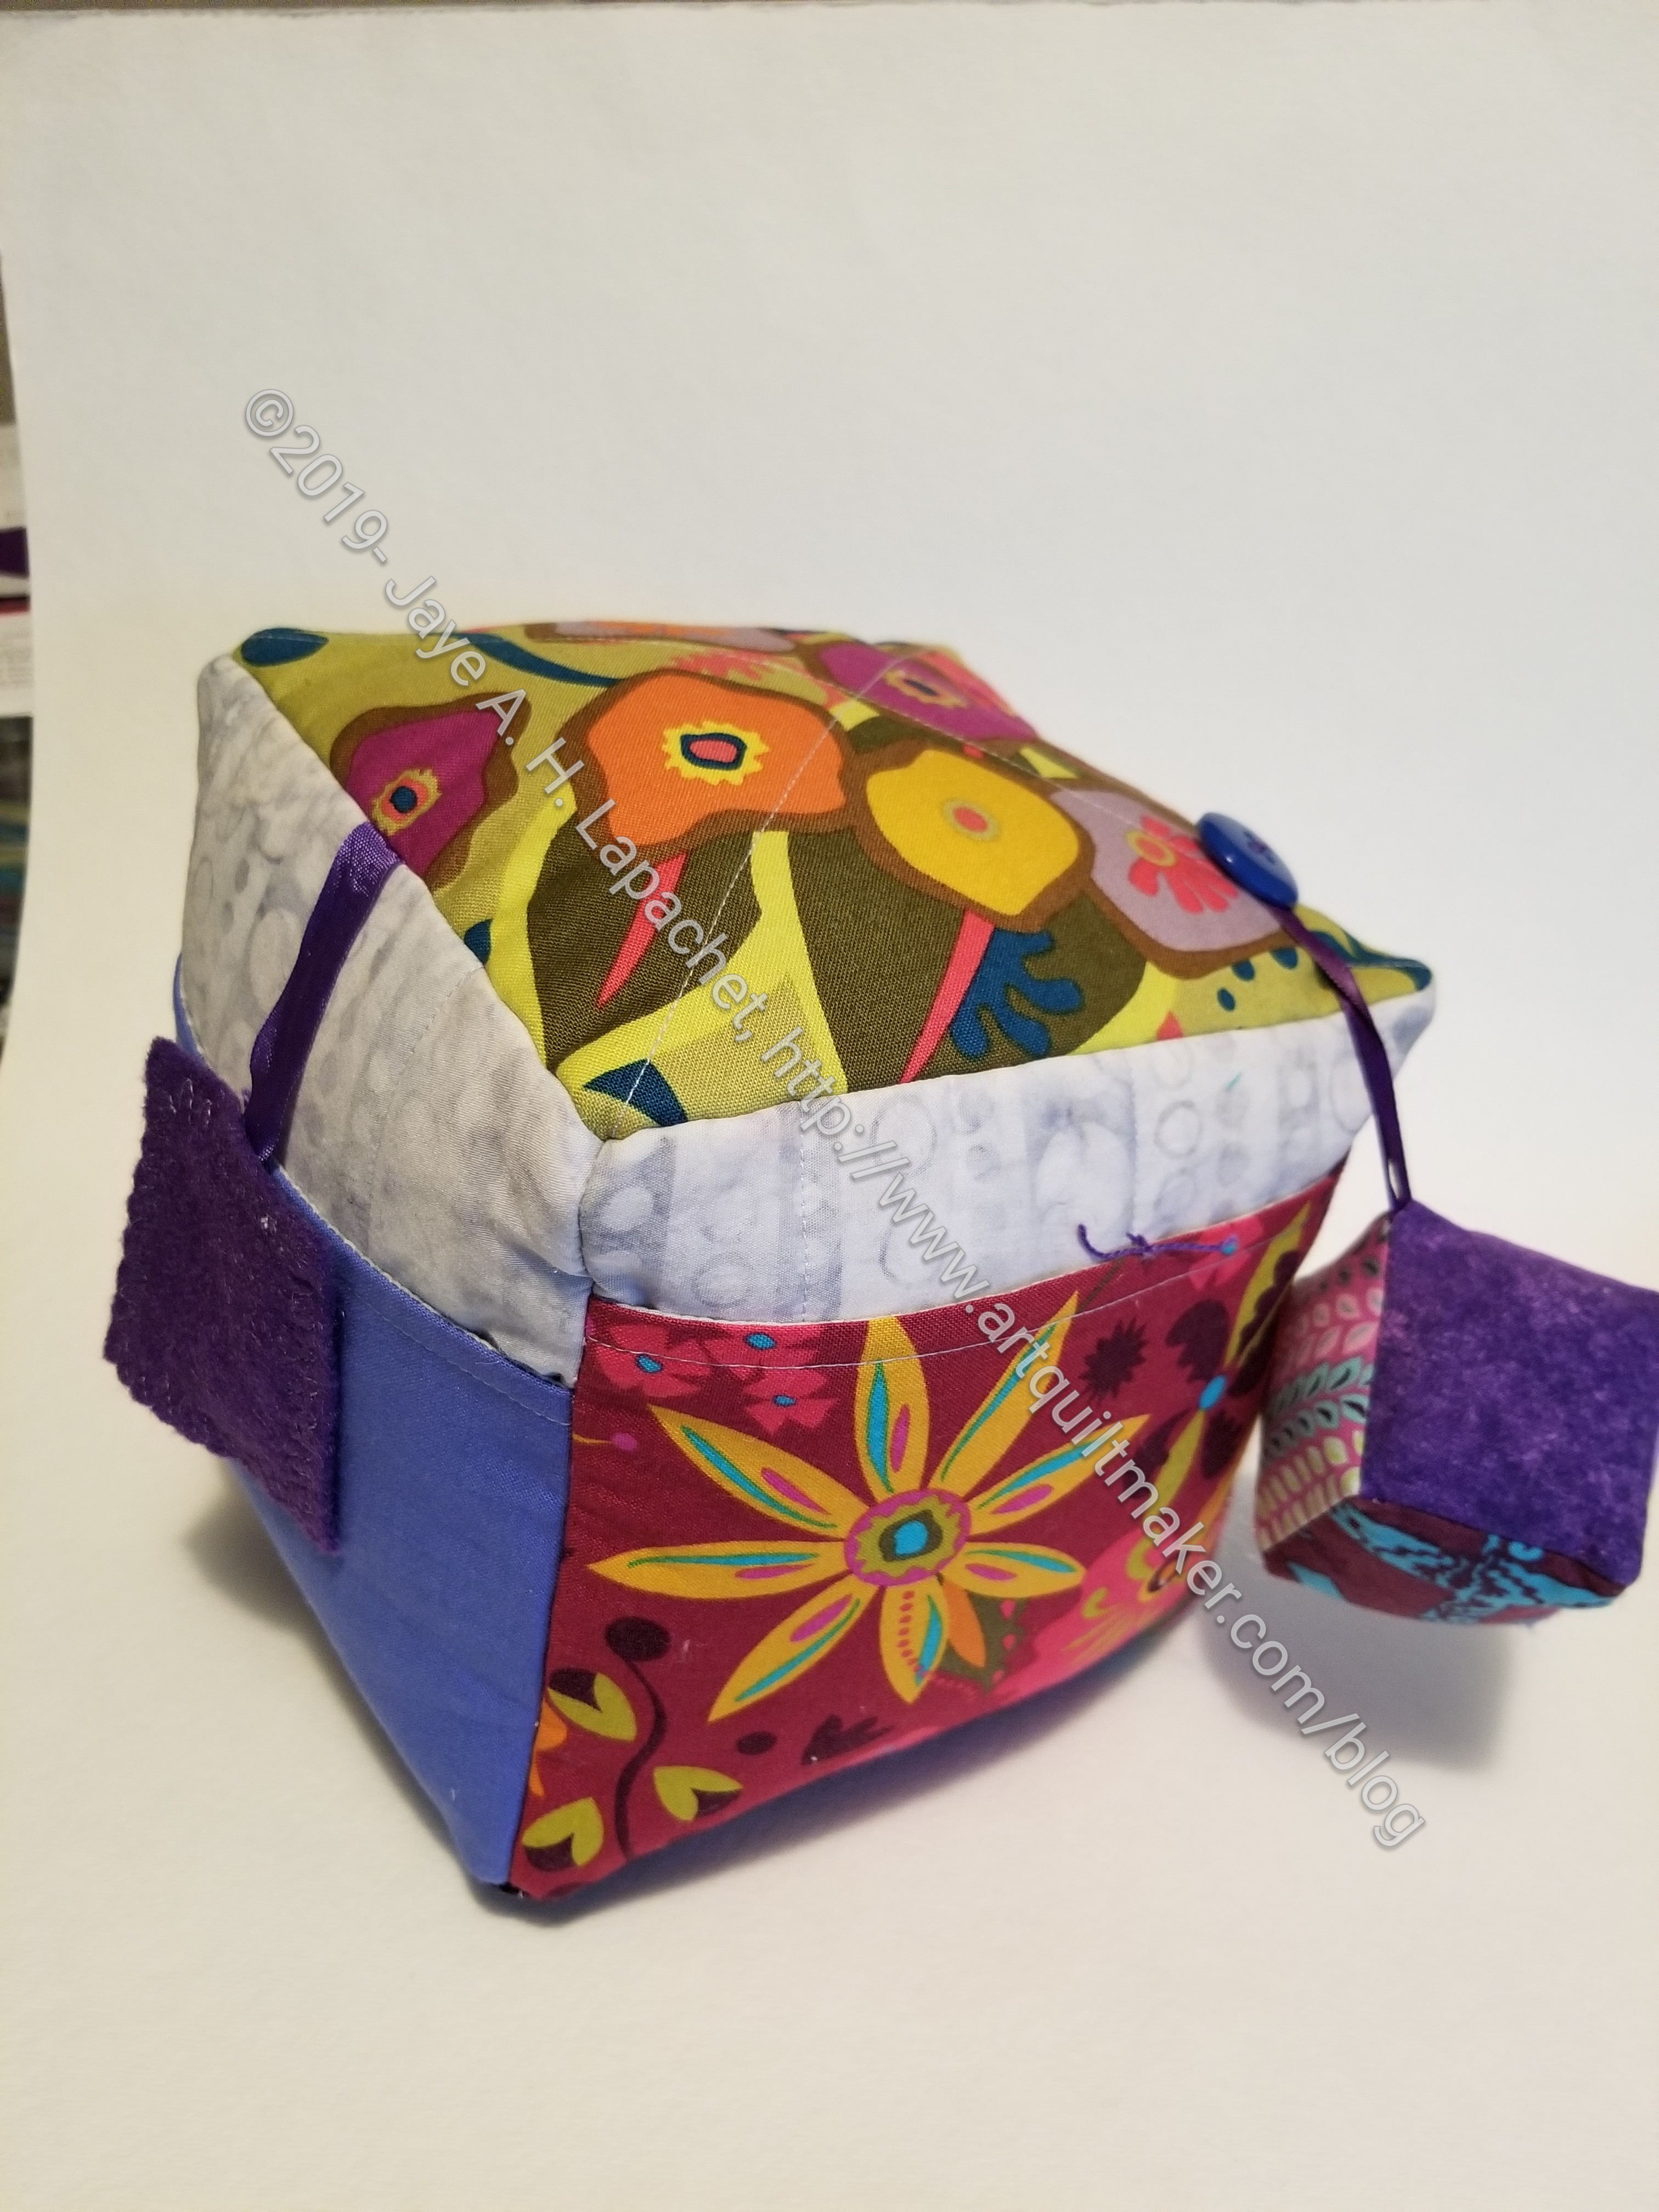
I made another Mega Pinnie and decided to use it as a raffle prize sometime down the road.
I started it as a gift for a friend, but it didn’t turn out to be suitable. I think someone who attends a guild meeting will like it. I still might use the mini Pinnie for my friend and make a new one for this one.
For the raffle, I can also put the tools into the pockets.
Trolling around the web, I saw a post by the designer who showed a number of different versions of the Mega Pinnie. She taught a class and the examples were from those students. Take a look. The post has a lot of fun photos showing different ways to use the Mega Pinnie.
An accurate 1/4 inch seam allowance on your sewing machine (hand work is different) is imperative for most quilt projects. Still some quiltmakers struggle. Below are some tips and, even further below, are some resources.
Supplies:
sewing machine
your usual thread
Seam guide or quarter inch foot
fabric
Ruler
Optional: blue painter’s tape or masking tape
Mostly, I will provide tips and tricks. You can watch the videos below to set up and test your machine to sew an accurate quarter inch seam.
First, decide if you care. If you don’t care, move on with your life. I am not saying that flippantly. We are all busy and if sewing an accurate 1/4 inch seam allowance is something you don’t care about, then go sew something.
Second, be prepared to play around. You’ll have to do some testing. Think of it as playtime.
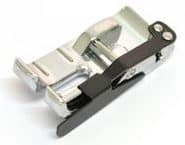
Janome quarter inch foot
Third, you will need some kind of seam guide. A foot included with your sewing machine (or available for purchase separately) is an option.
I use the Janome quarter inch foot and interchange the same foot with both of my machines. I have 2-3 of them, but any one of them works on both of my machines. When I had a Singer, I stacked up layers of tape to make a ‘stop’ or wall at the quarter inch mark.
Dritz has a magnetic seam guide*. I used one of these and found that, when it stayed in place, it worked.
For Juki machines, Jen Carlton Bailly recommends, a “T” gauge*. This screws into the needle plate somehow. I have seen this in use, but have not used it myself.
These are a few of the many, many products available. Check around with your friends and ask your machine dealer what they recommend.
Try different methods to see what works for you.
Using a seam guide
Tip #1: If you use a seam guide, use the seam guide
It is easy to allow your attention to wander away from what you are doing. If you are using a seam guide, keep the fabric right next to the guide.
In general improv piecing is not a problem, but if you are attempting to go through many layers AND sticking to a quarter inch seam allowance, it is difficult. I ran into this when sewing the Red Strip Donation Top #2.
You can see the seam line wanders in the photo (left). When I am sewing tiny pieces together, the layers add up. This is what happens to me using my machine when I am trying to go through too many layers. This can also happen with blocks when a lot of layers come together in the center of a block.
Tip #3: Press open to reduce bulk
I don’t believe in pressing my seams open as a general rule. However, if you have a lot of bulk that is interfering with your seam allowance, pressing open can help. Have a reason to press open separate from “that’s what modern quiltmakers do.” I also press my seams open on the backs of quilts to reduce the bulk, which is the problem with accurate seam allowance and problems with longarm quilting. If you press open, you need to backstitch every seam that will not be crossed by another. That means that every improv quilt I make gets a line of stitching around the outside of the quilt. Every quilt without a border also gets a line of stitching around the outside. If you don’t, seams can unravel. On the edges both open seams and closed seams can unravel.
Tip #4: Machine markings
The measurement markings on your needle plate can help you keep your seam allowance accurate. While not a panacea, it is another aid when you are struggling to keep your piecing straight.
Tip #5: Adjust your needle
Many machine default to a 3/8ths or 5/8ths inch seam. Even pretty basic machines allow the maker to move the needle. If your machine has this feature, it is an easy way to get an accurate quarter inch seam. You just have to remember to do it when you turn on the machine!
Go through the process of testing your machine for an accurate quarter inch seam. Once you have it and have your system for sewing the accurate quarter inch seam, your patchwork will be better.
Tip #6: Use thin thread
Thread takes up space in the seam. If you are off my just a bit, then use thinner thread, like Aurifil 50 wt. Bottomline is a thin thread as well.
Resources:
All People Quilt: video on accurate quarter inch seam
*I use affiliate links and may be paid for your purchase of an item you click on. There is no additional cost to you for clicking or purchasing items I recommend. I appreciate your clicks and purchases as it helps support this blog.
I went looking for some knitting needles the other day. To get the ones I wanted, I had to go to the Castro to the knitting store. I had bought some on Amazon, but they were wrong so I sent them back.
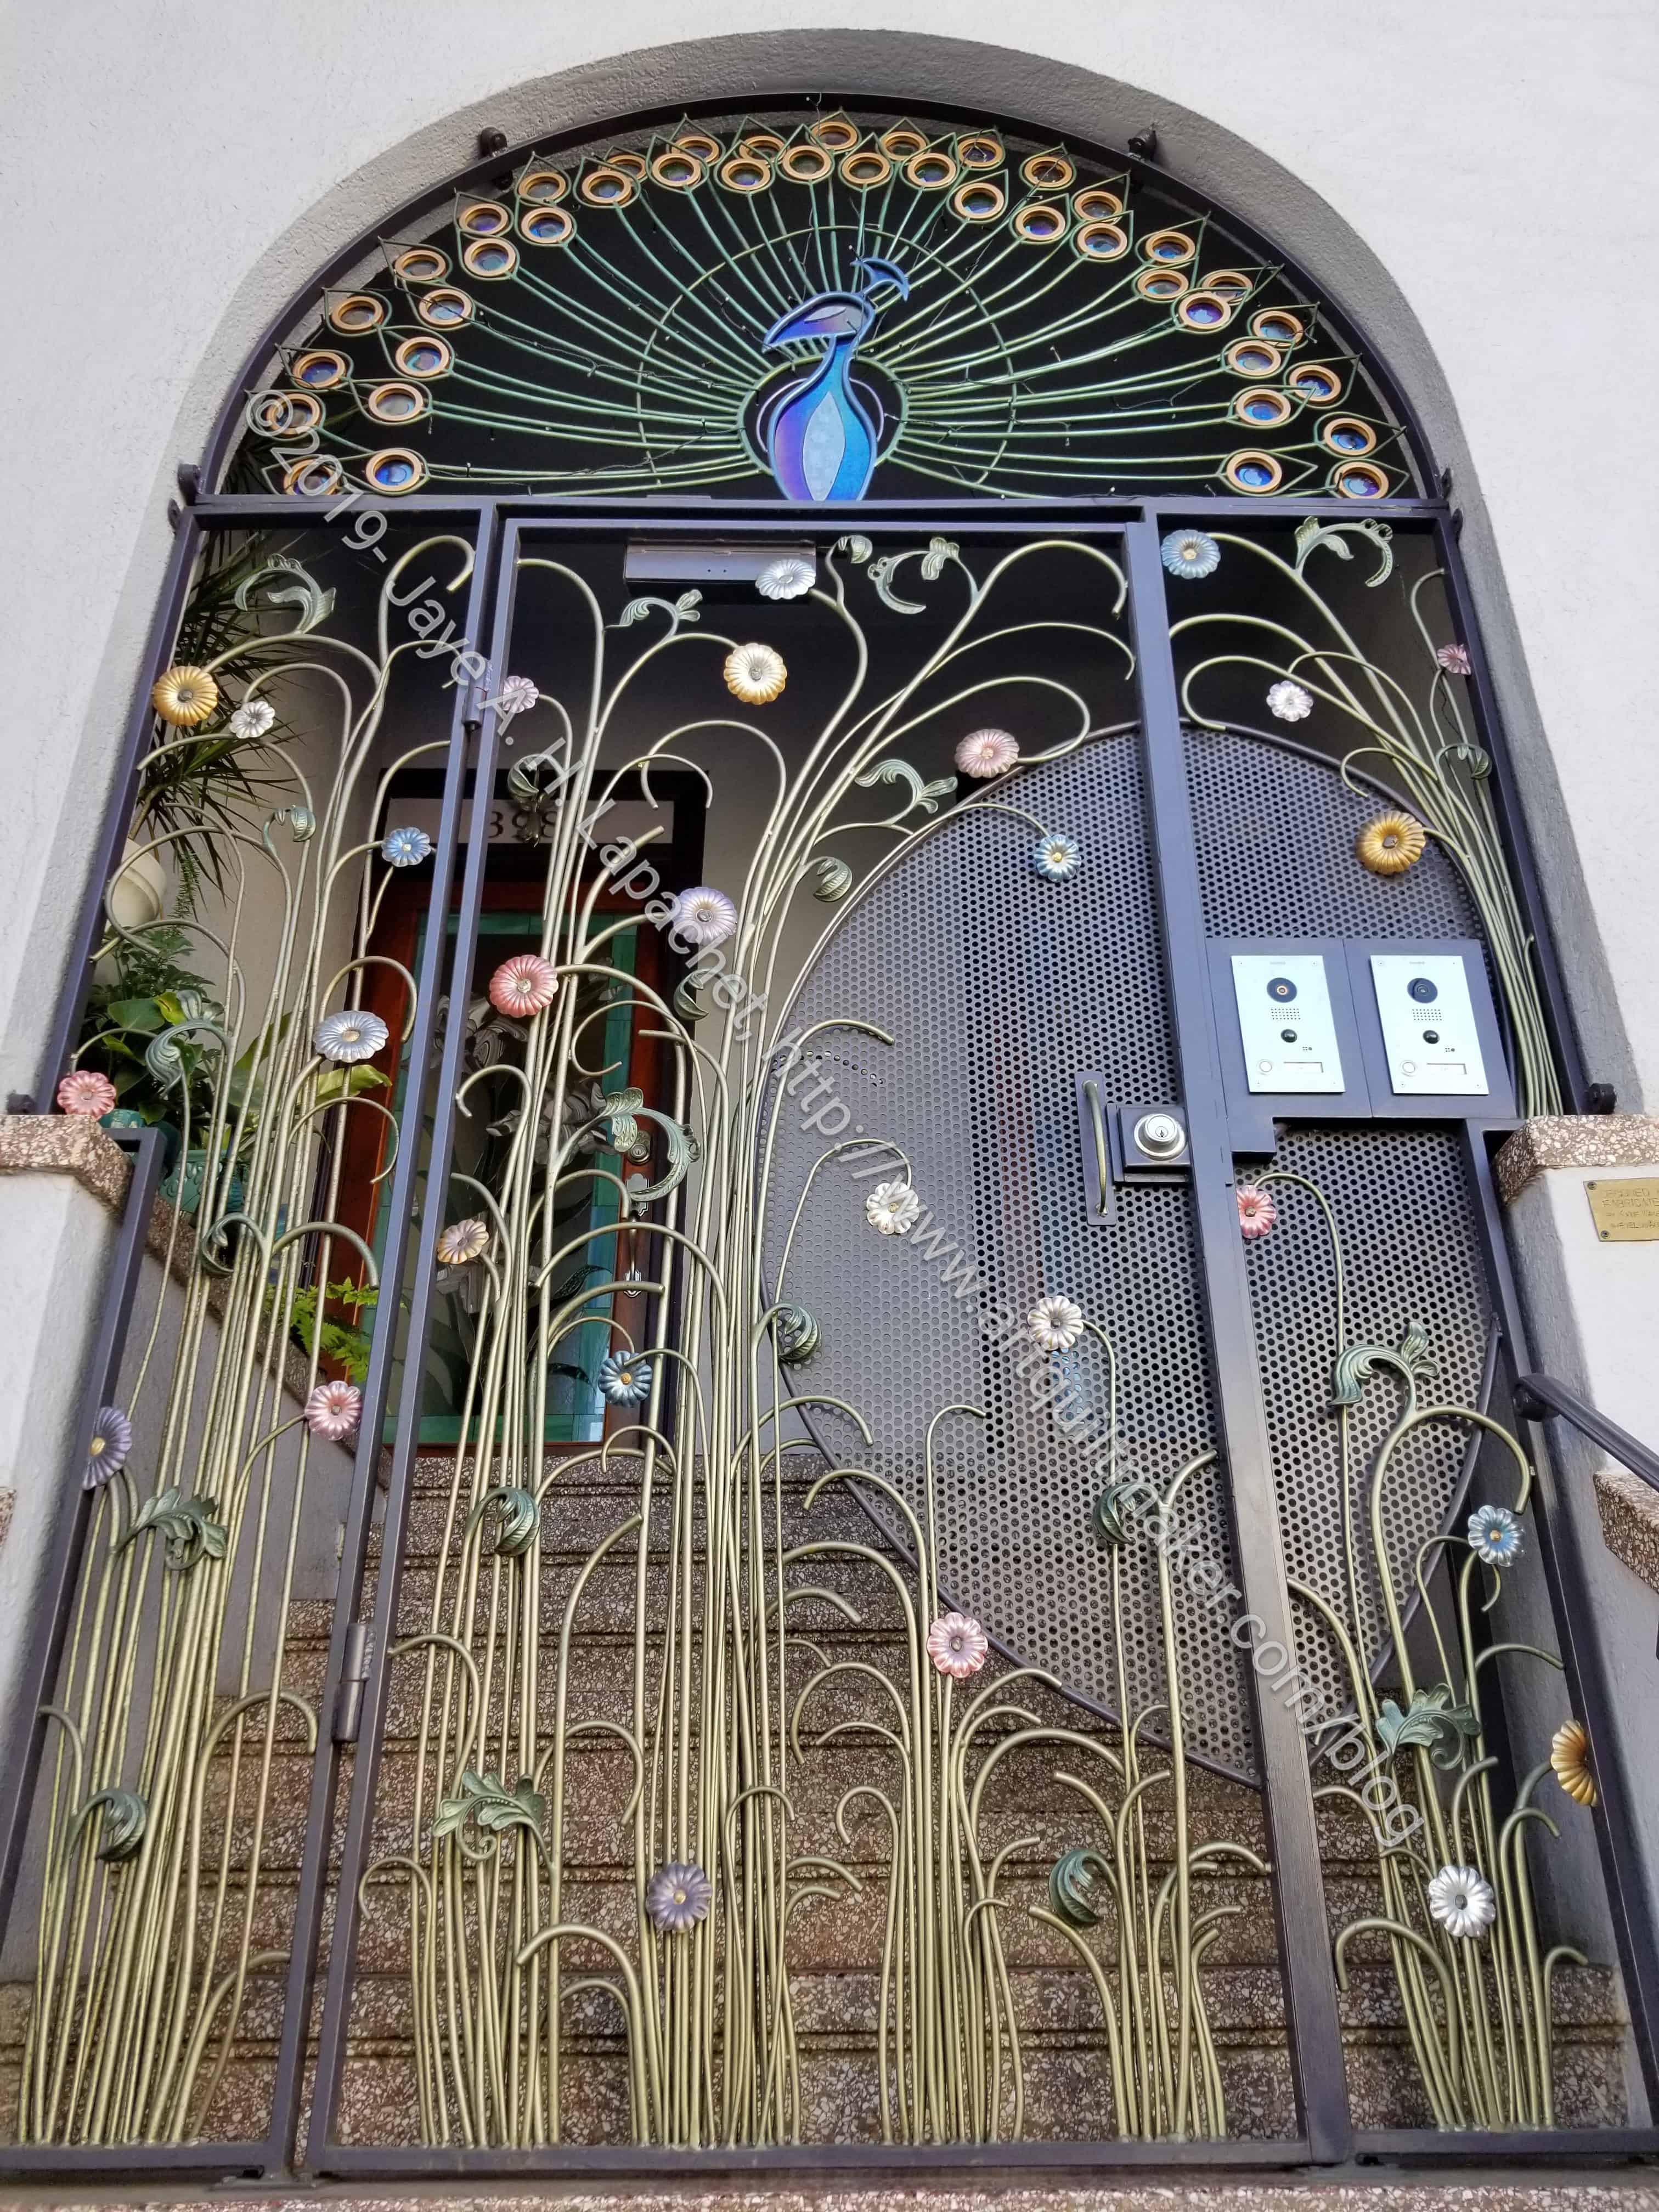
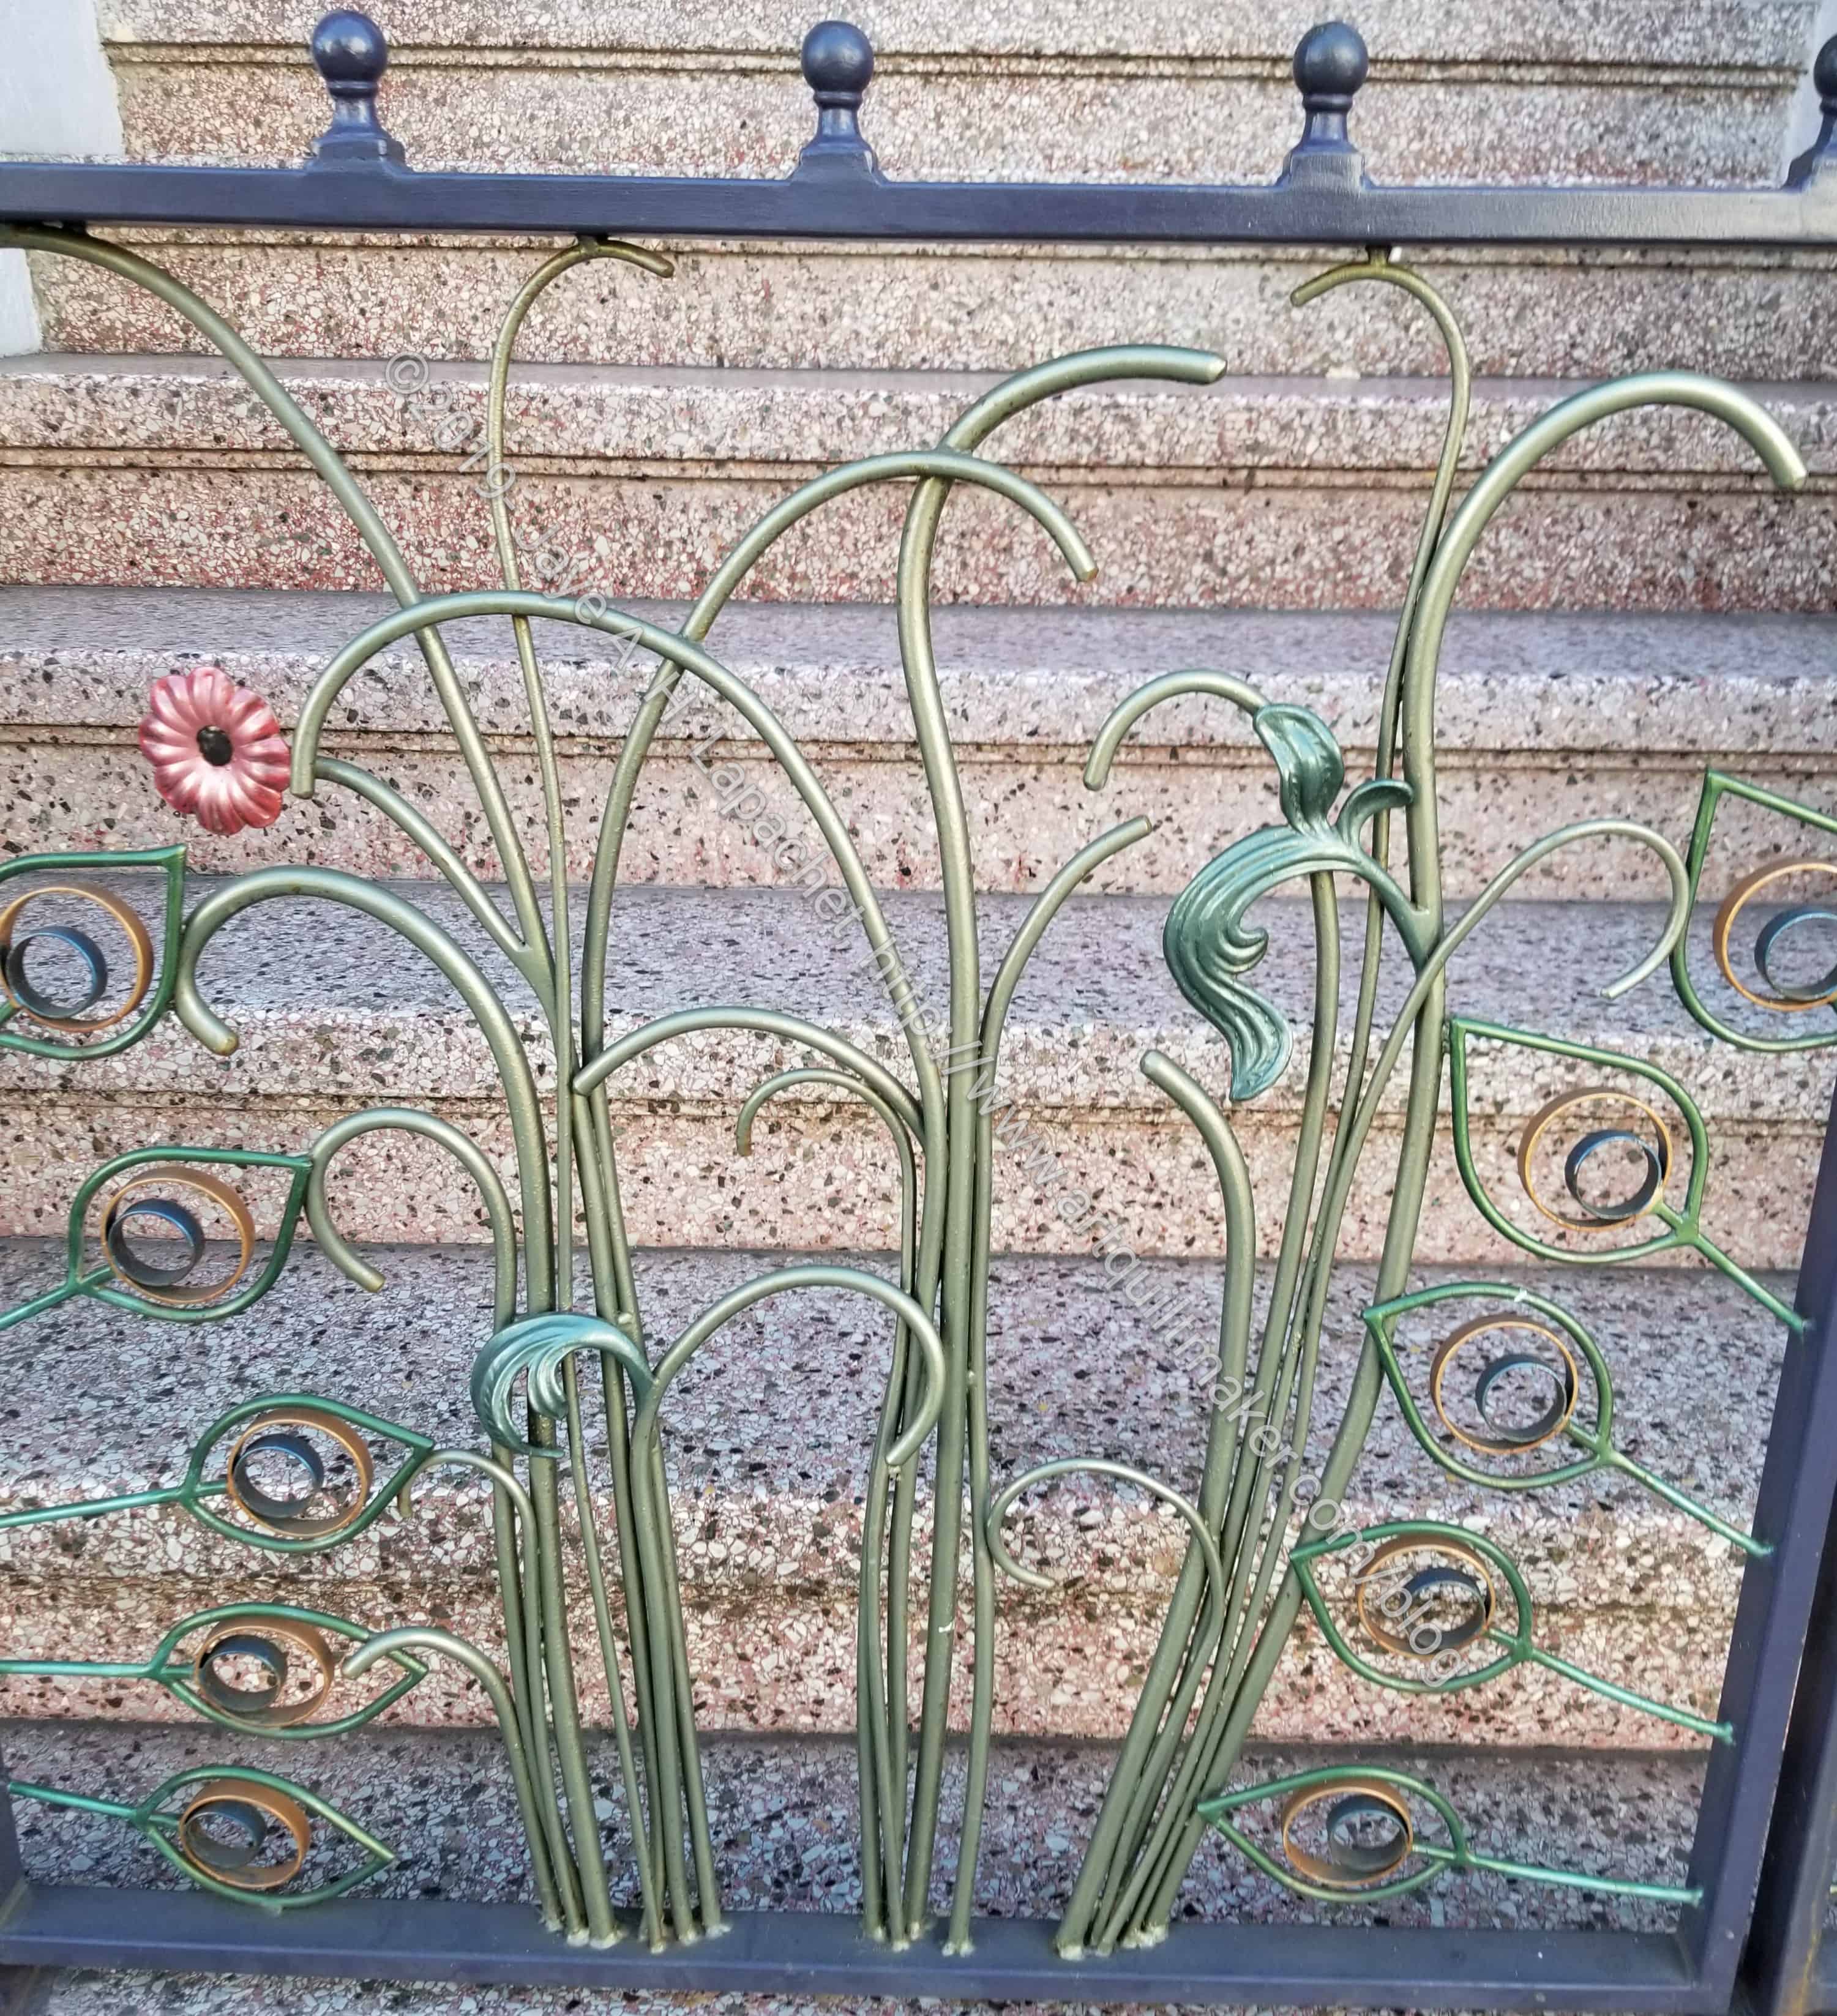
SF Ironwork
I visit this store frequently, usually walking down after my hair appointment, so I was surprised and pleased when I saw the beautiful ironwork on one of the houses. I was surprised, because this is the type of thing I look for. It was new to me, so either I walk on the other side of the street or I just never noticed.
It reminds me of Tiffany’s work, to a certain extent, though I think it is more Art Nouveau style.
Ironwork gate
Sometimes these types of ornaments are too much, but I think this work is beautiful and also restrained. The peacock might be a bit much. Still, it was a nice treat.
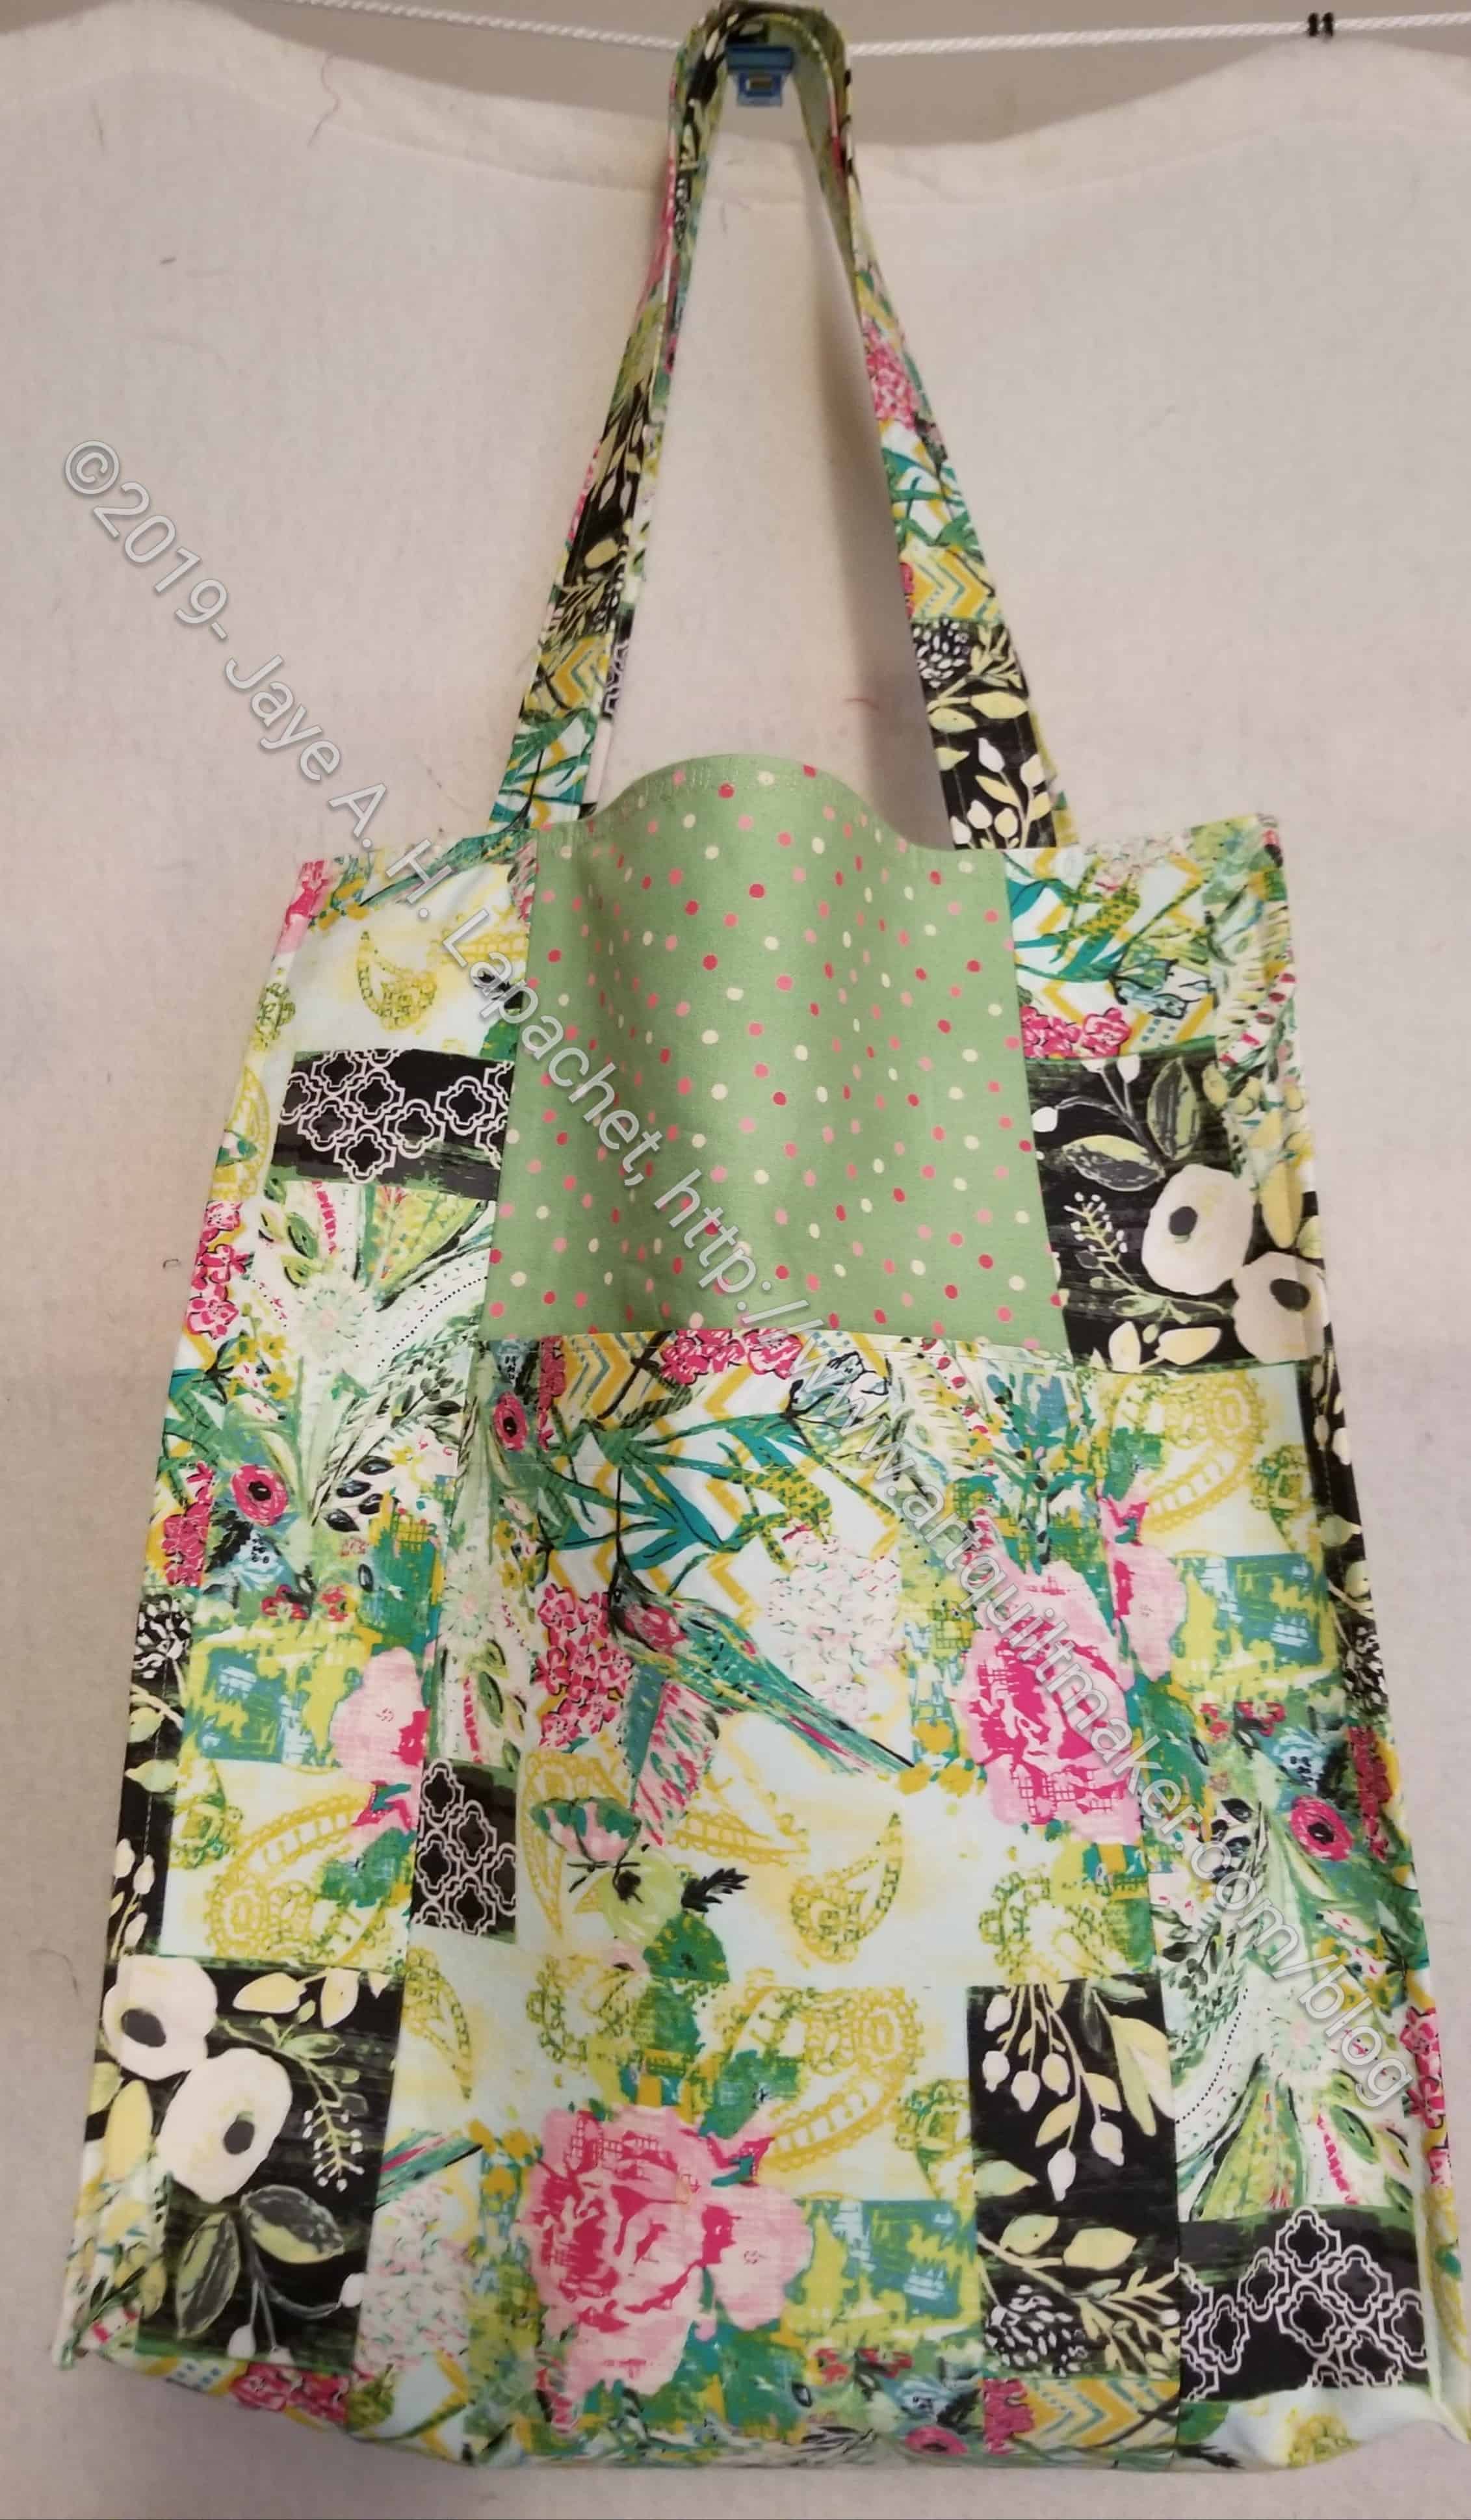
I finished the Jane Market tote I am making for my friend, Silvia. I am so pleased with the way it came out. It is hard to let it go! It gives me some ideas about the officer bags, though.
As I mentioned yesterday, Sew Day was Saturday. I was pleased and surprised when Mary came up to me and showed me the items she made for the raffle baskets!
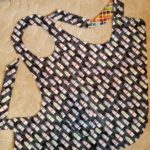
Mary made some wonderful origami type bags. Enlarge the photo, because they look very intricate when closely inspected.
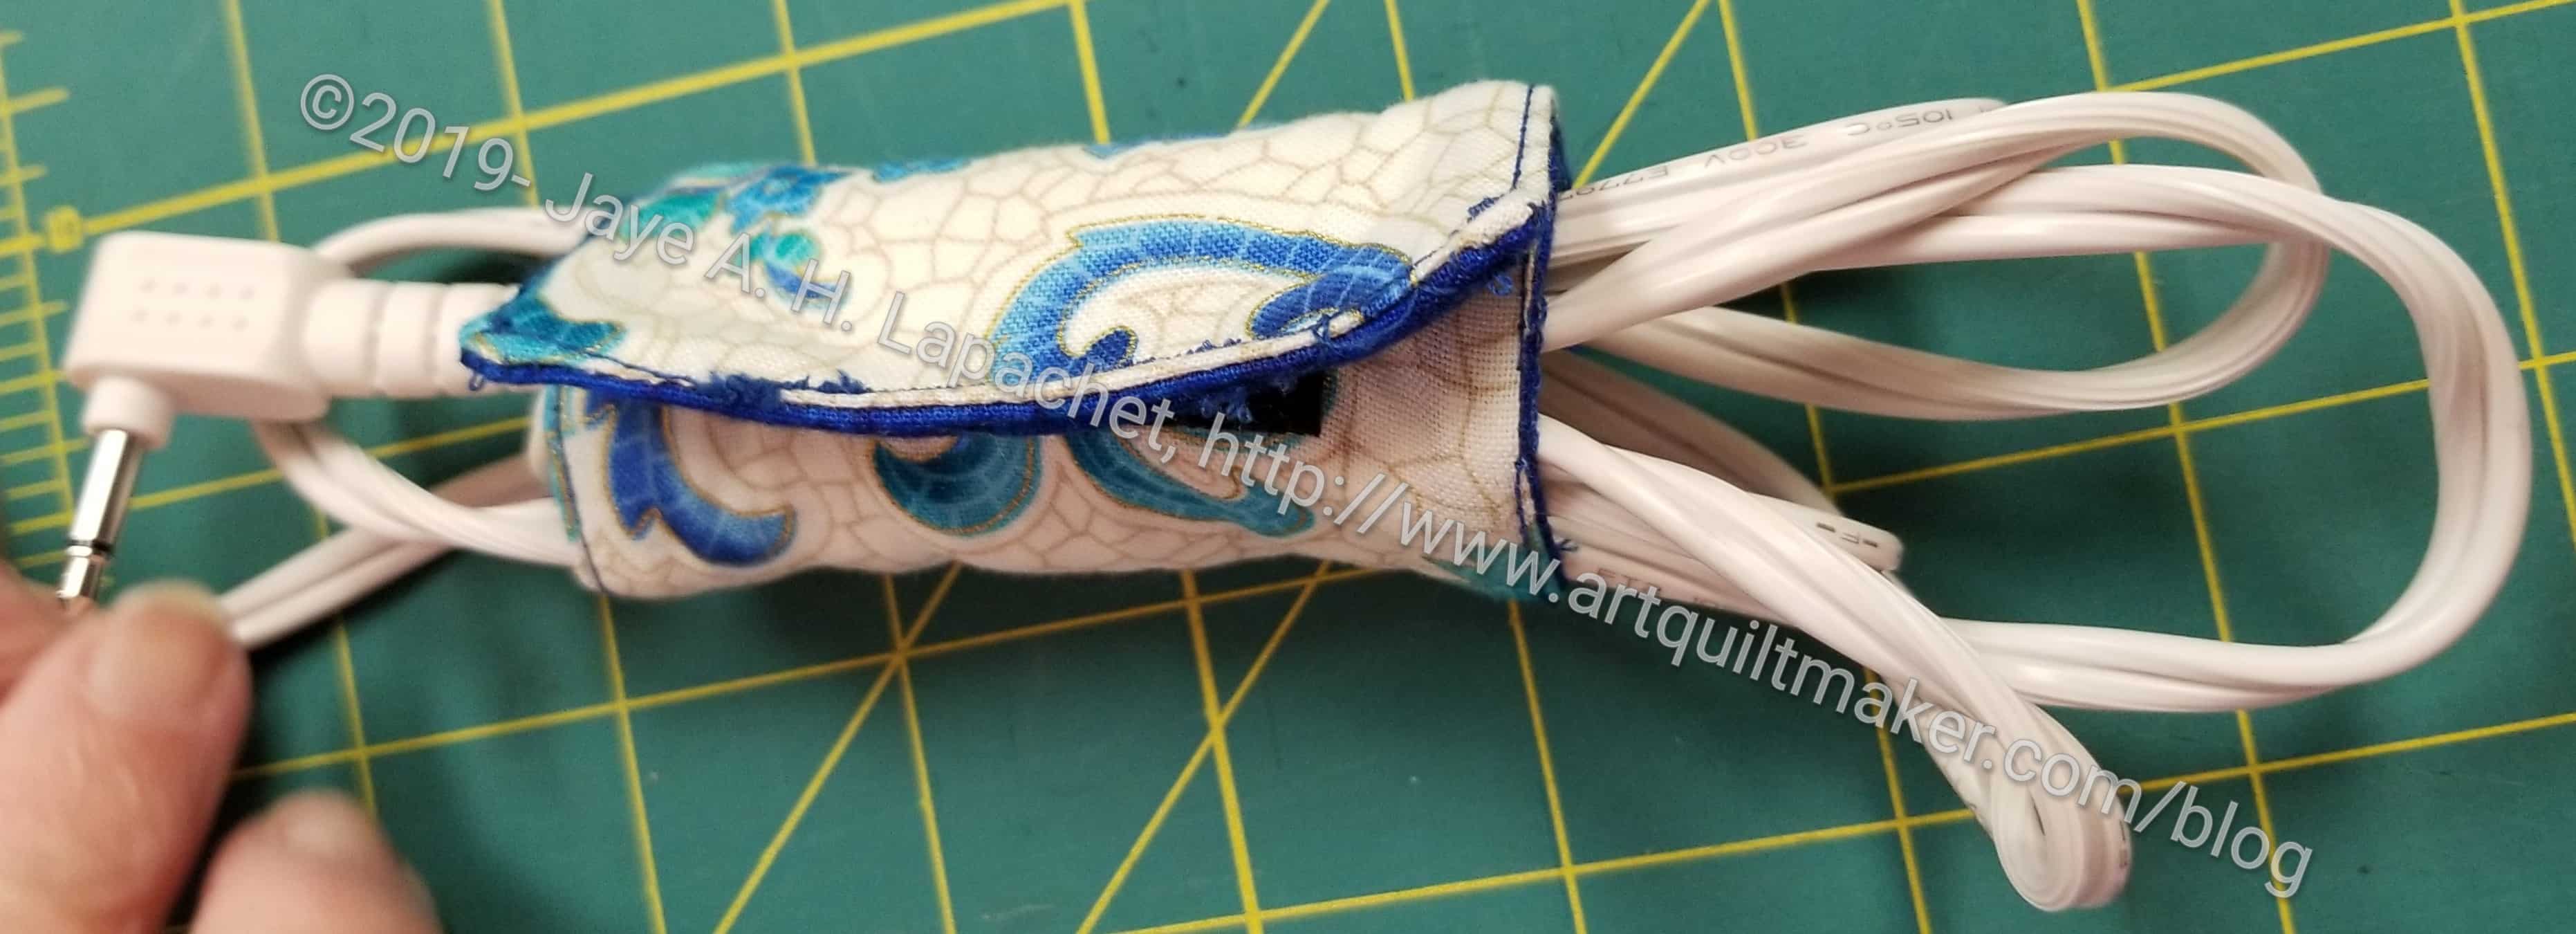
Cord Keeper by Mary
The little things on the bottom are cord keepers. They look like a little tube. You open up the Velcro closure and contain your folded cord with one. These are probably perfect for smaller cords like cell phones and irons and things. I don’t know that they are large enough for laptops or appliances with bulkier cords.
I have never seen a pattern for one of these and am thrilled!
I didn’t even know she was making them. I am so pleased.