Finished 2021 Quilt Projects
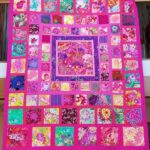
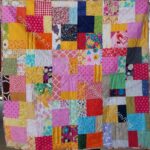
- Pink Kaffe Quilt – finished March 2021
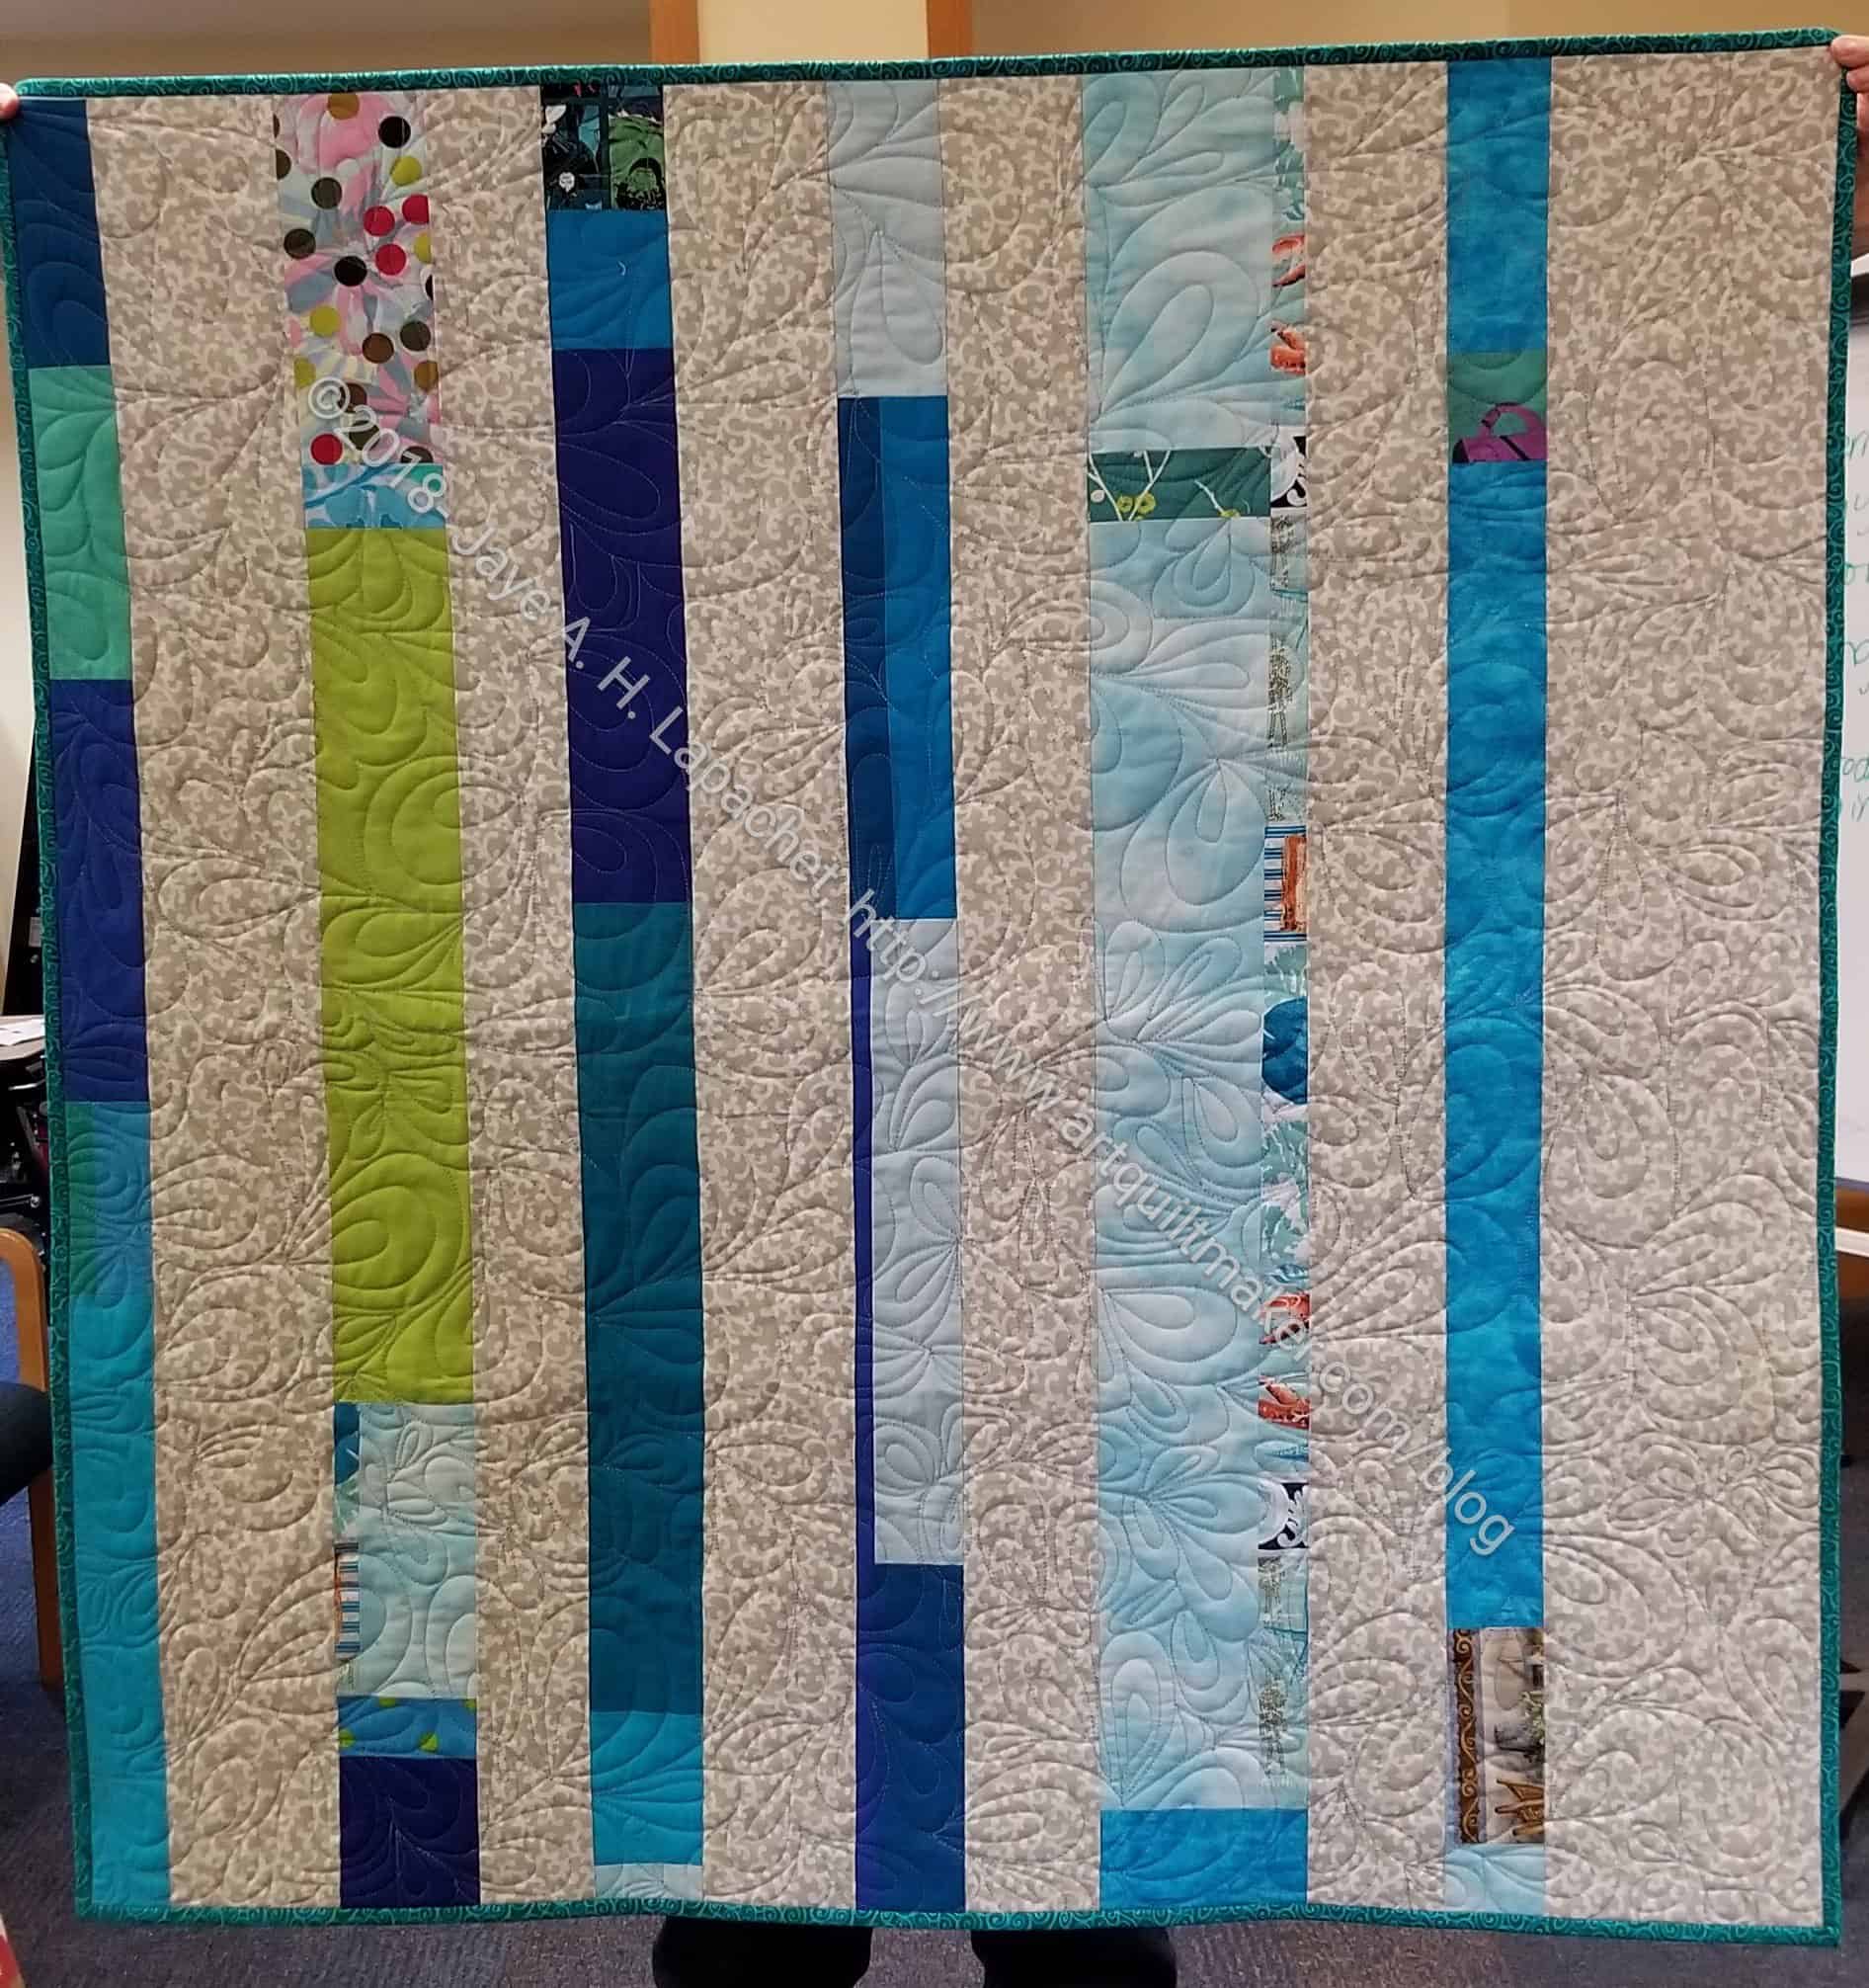
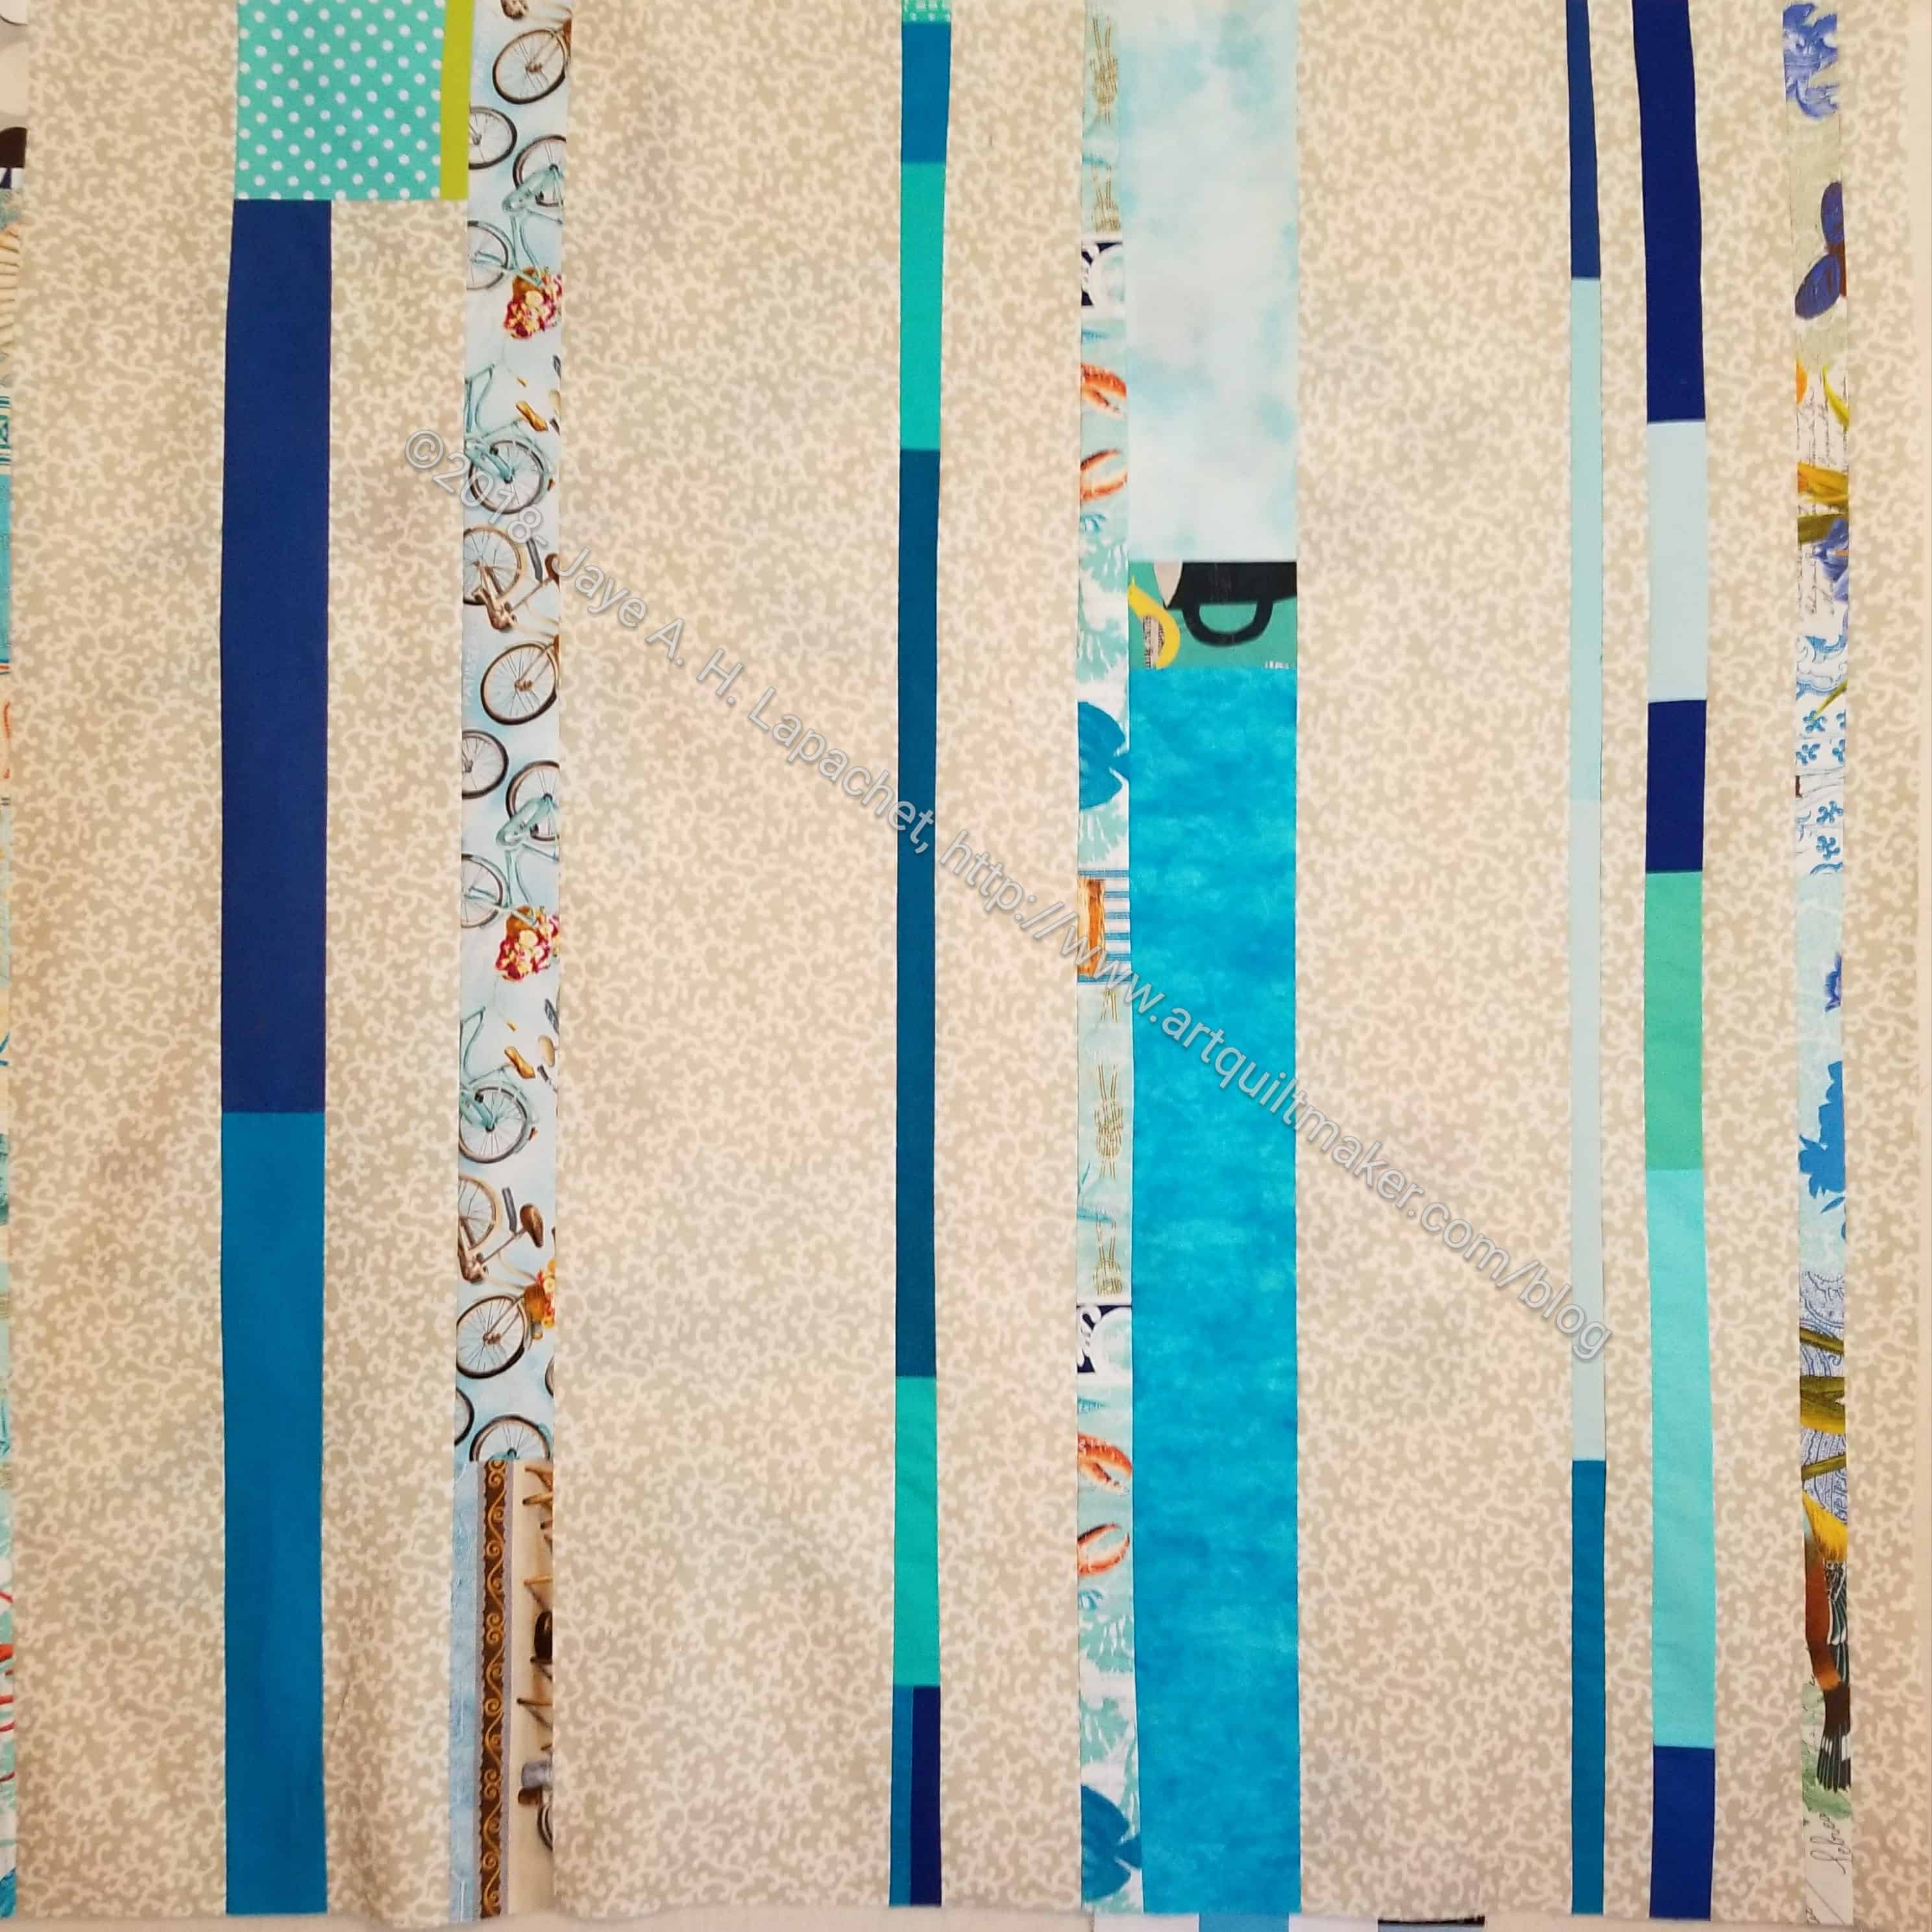
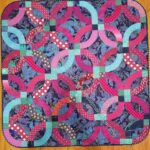
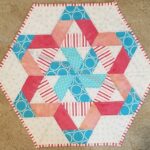
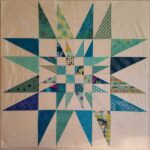
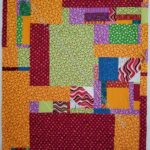
- Put a Ring on It – finished July 2021
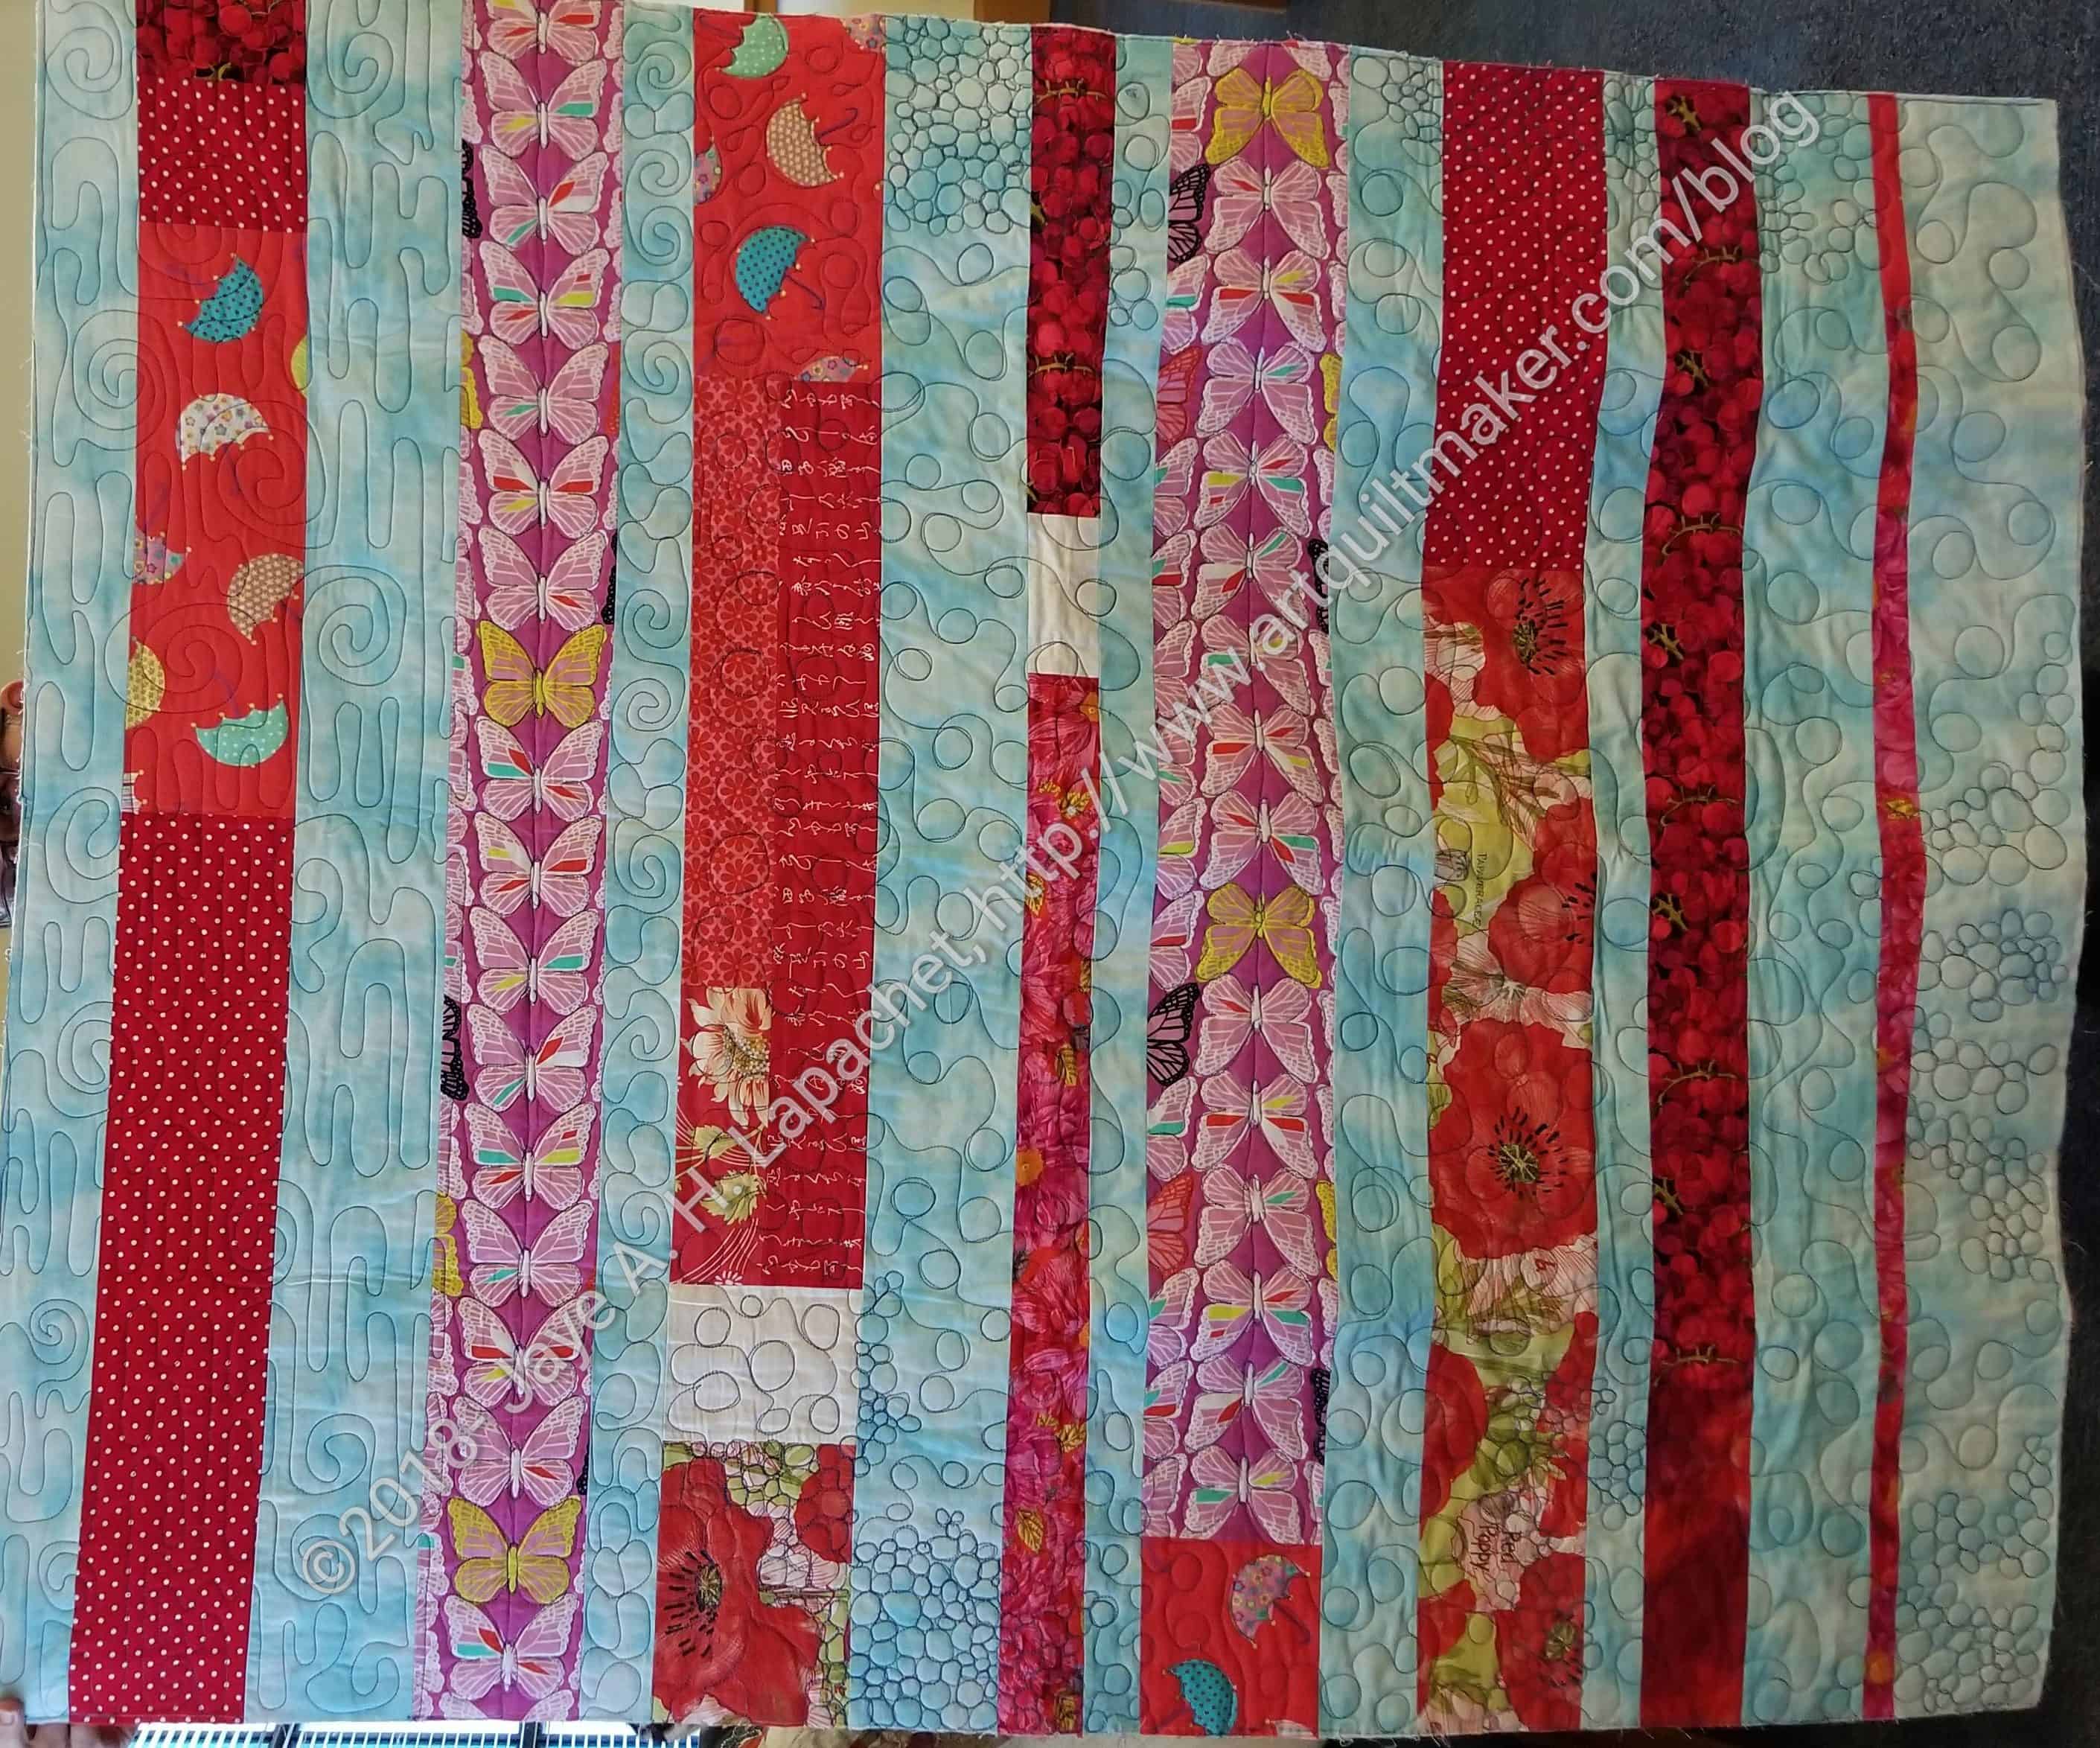
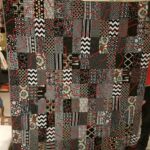
- Red Scribbles – finished January 2021
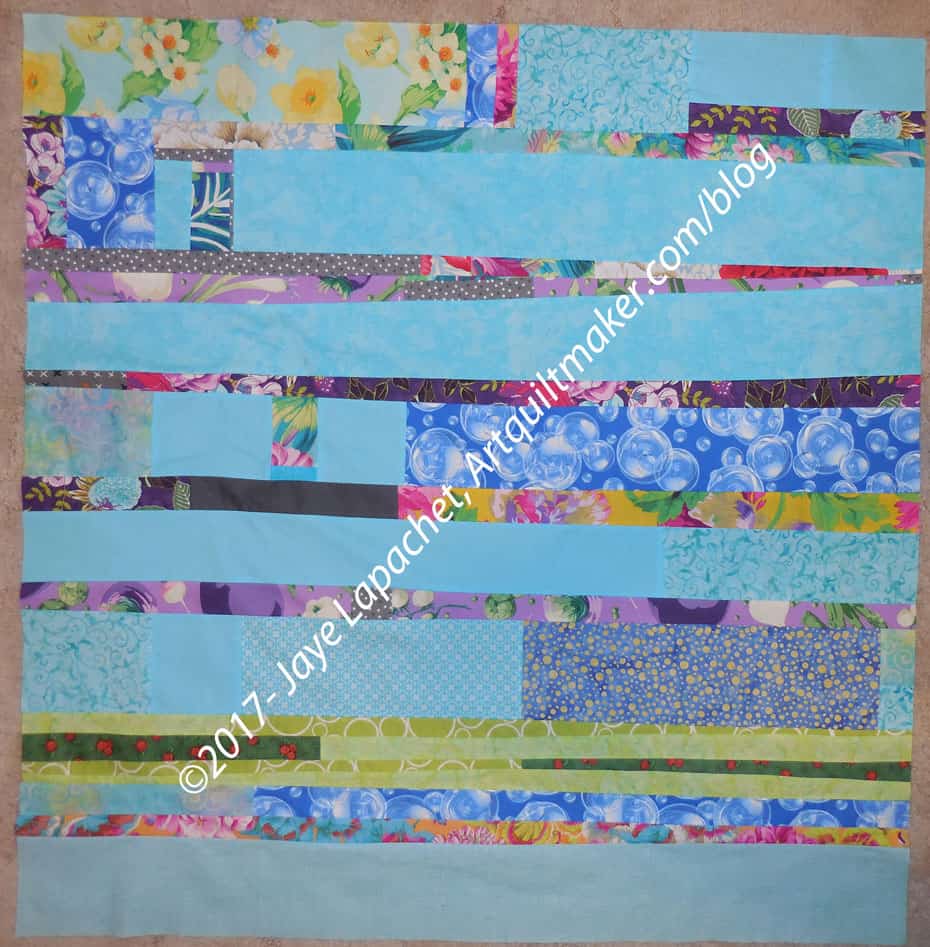
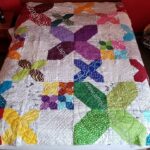
- X Quilt – finished May 2021
Finished 2021 Small and Non-Quilt Projects
This category covers bags, toys, aprons and knitting as well as other non-quilt projects.
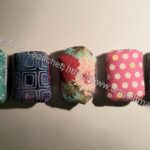


- Altoid Tin Sewing Kits
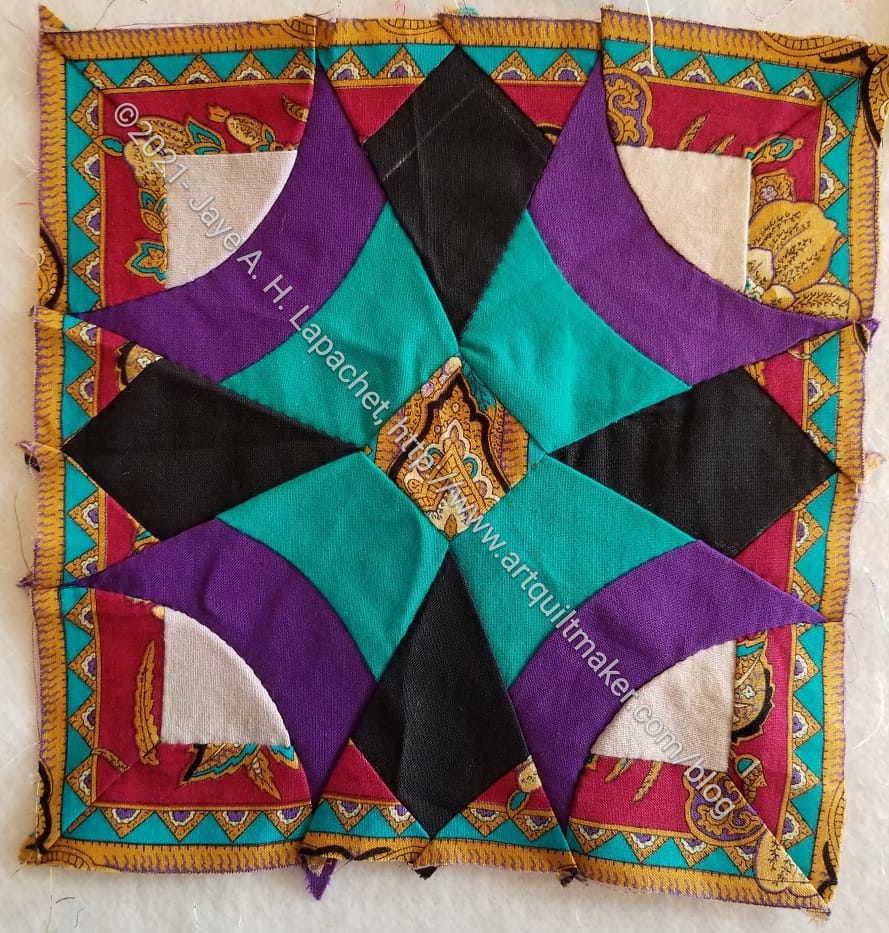
- Bias Tape block
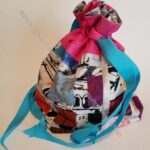
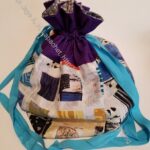
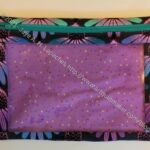
- Drawstring Bags
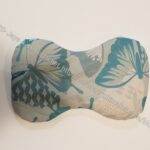
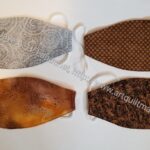
- Eye Masks
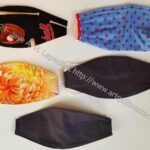
- Face Masks
- Gazebo Table Topper
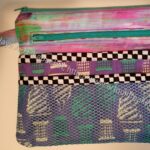
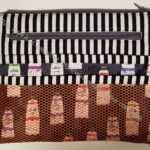
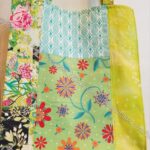
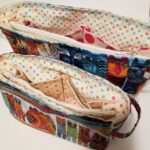
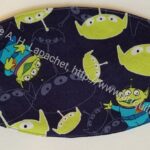
- I-Spy Pouch
- Small I Spy pouch – finished June 2021
- Medium I Spy pouch – finished March 2021
- Medium I Spy pouch – finished June 2021
- Large I Spy pouch – finished June 2021
- Jane Market Tote – finished March 2021
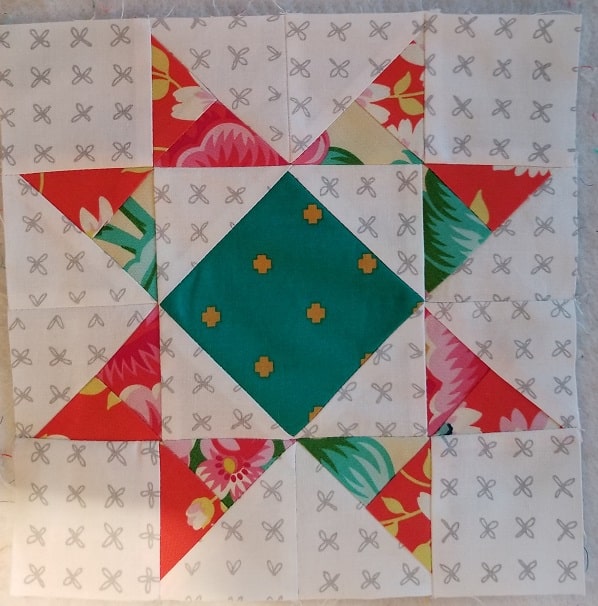
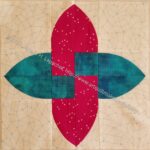
- Missouri Star block – finished July 2021
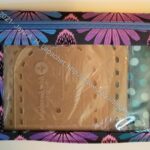
- Mustang Purse Organizers – finished April 2021
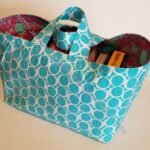
- One Hour Basket – finished March 2021
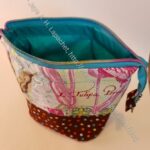
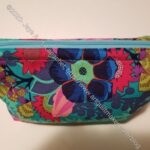
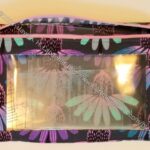
- Piebald Pouch – finished April 2021
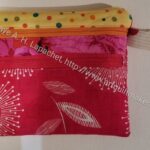
- Retreat Pouch – finished January 2021
- Retreat Pouch #2 – finished March 2021
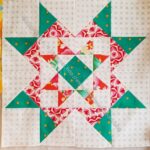
- Rock Star block – finished June 2021
- Sotak Purse Organizer gift #1 – finished January 2021
- Sotak Purse Organizer gift #2 – finished January 2021
- Superbloom Tote – finished March 2021
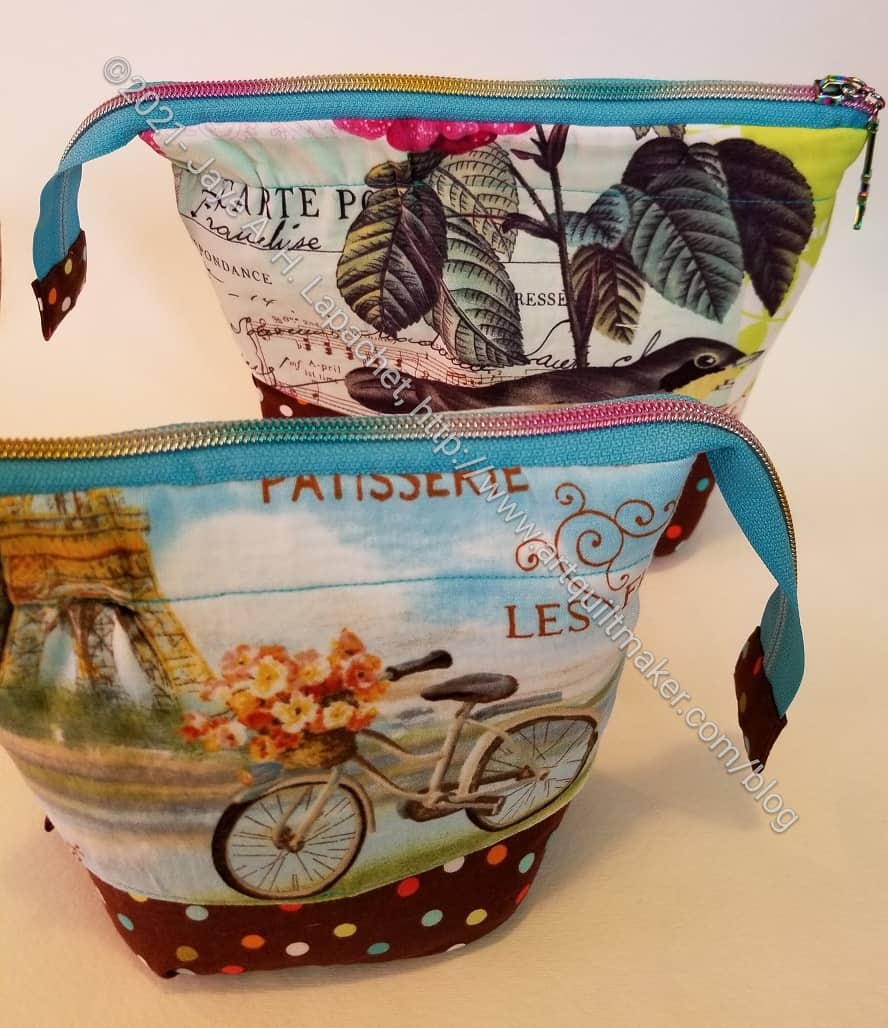
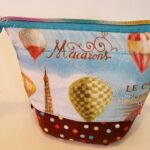
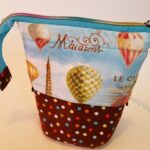
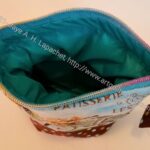
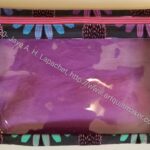
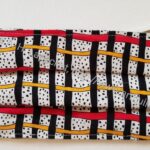
- Triple Zip Pouch – finished May 2021
Doing Good
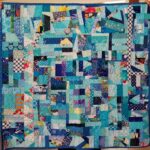
- Block Party Donation quilt
- Blue Improv Donation quilt
- Double Spiky 16 Patch #1 donation top
- Double Spiky 16 Patch #2 donation top
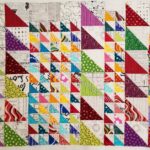
- HST Donation Top/Back
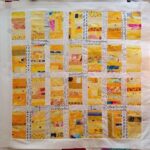
- Pop Parade Donation Top/Back
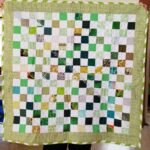
- St. Patrick’s Donation quilt
- Tim’s Improv Donation Top/Back
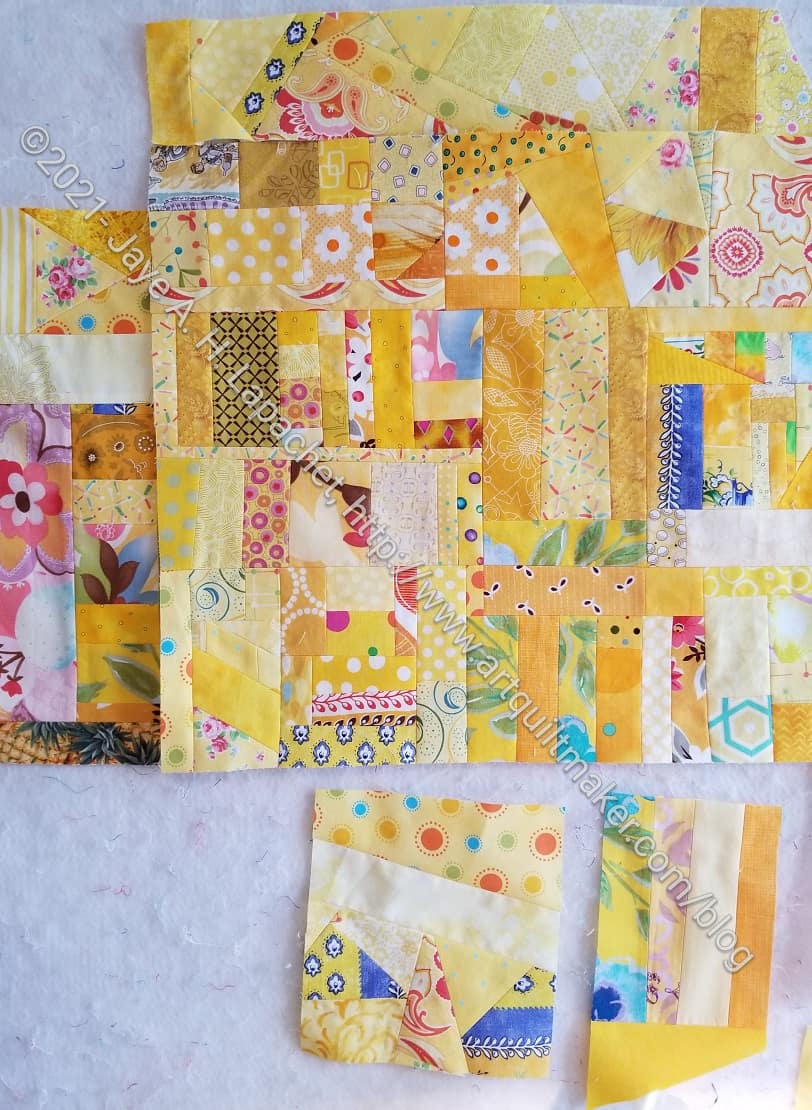
- Yellow Donation Top/Back
In Process or To Make
The ‘In Process’ is used to denote projects on which I am actively working or are on the design wall waiting for me to stitch. I am continuing to try not to put away projects. I find putting a project away ensures I never work on them, because I just lose steam.
Quilts
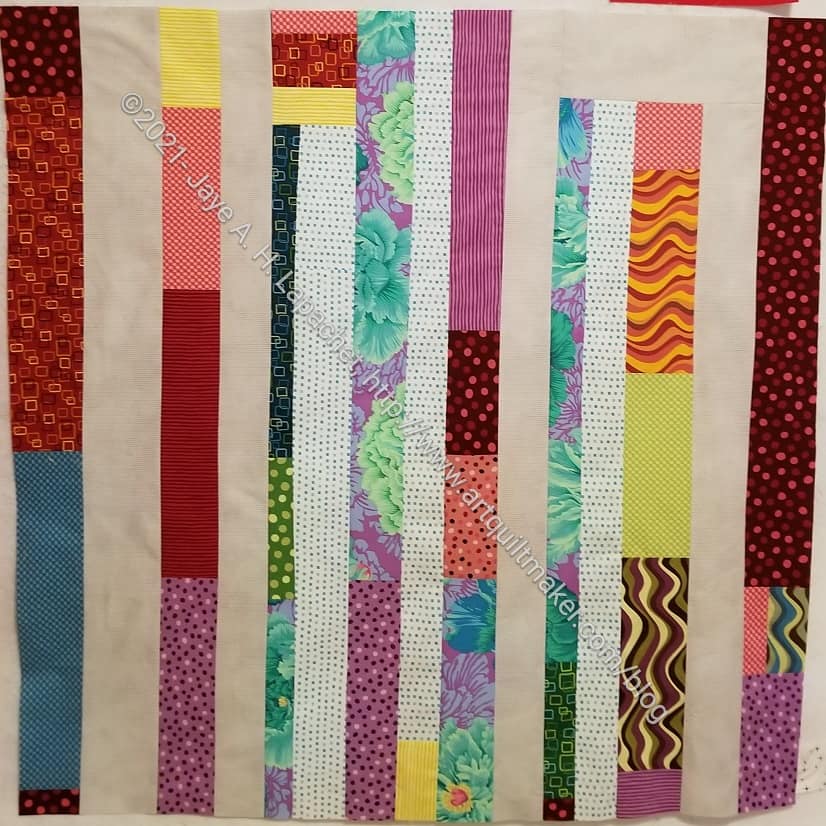
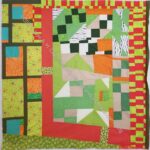
- The circle quilt is on the design wall
Small Projects to Make or in Process
Most of my progress involves thinking or just cutting.
- One Hour Basket for my stuff that tends to accumulate on the dining room table. I may switch to one of the Minikins projects or a Catch All Caddy for this purpose.
- One Hour Basket for DH’s stuff that tends to accumulate on the dining room table. I may switch the pattern to one of the Minikins projects for this purpose.
- Percheron Pouch cut out and ready to sew
- Retreat Organizer – another project from the Crafty Gemini Organizer Club, also on my list, but not yet started. Recently, I saw one of these made up and I am not so nervous about it
- Superbloom tote using Hindsight fabric – not started
- Tessuti Japanese Apron – cut out and ready to sew. I am figuring out how to make it reversible.
- Ultimate Project Organizer – another project from the Crafty Gemini Organizer Club, also on my list, but not yet started
- Ultimate Carry All Bag gift – Bag-a-Long for BAM – I have the inside pockets as well as the front panel made and am looking forward to the next step
- Ultimate Carry All Bag for me – I have the inside pockets as well as the front panel made and am looking forward to the next step
- Westchester shirt – this is a Crafty Gemini pattern. I bought the fabric at PIQF in 2018. I have the pattern pieces cut out and ready to sew.
Handwork
I decided that some of my projects are in a different class because they are hand piecing or embroidery or beading. They take longer. Thus I created a new category and have moved some projects here.
- English Paper Piecing Project– half hexies – I haven’t been working on this since shelter-in-place started.
Ready for Quilting
- Nothing at the moment
In the Quilting Process
- BAMQG Improv Round Robin
- Gelato is at the longarmer
- Scrap Dash is at the longarmer
- The Tarts come to Tea
In the Finishing Process
- FOTY 2019 – needs a sleeve
- Frolic! – need to sew on the binding
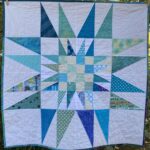
- Rings quilt – needs the binding sewn
Still WIPs
I still have WIPs. Who doesn’t, after all? A project in the ‘UFO’ category means I am stalled. A nicer way of saying UFO is a WIP. The list is a lot shorter and the projects are newer, for the most part.
- Handbag Sampler – this is still the forgotten project. It should be on the UFO list. The blocks were teaching samples when I taught a sampler class some time before I started writing the quilt class sampler tutorials. I found one block recently, but otherwise I actually don’t know exactly where the blocks are hiding. I crawled up in the far reaches of my fabric closet to see if I could find them and they weren’t where I thought. I am sort of mystified as to where they could be. I haven’t even found a picture of all the blocks. Sad.
- Lobster – I think I might make this into a tablerunner for the buffet. I think that will be a good and fun use of the piece even if the colors aren’t quite right for the dining room.
- Pies and Points from 2016 Victoria Findlay Wolfe class. The last time I worked on it was when Julie and I had a playdate in April 2018. I brought this piece with me so I could cut more elements (Julie has a Sizzix). I lost my excitement about this piece shortly thereafter and still have to get it back. Thus, I had to move this to the WIPs area.
- Pointillist Palette #4: Fourth is a series of 6 quilts; needs tiny square patches sewn together. No progress.
- Self Portrait: started in 2006 at a class at Quilting Adventures in Richmond, Virginia. I am still stalled on this again. As one of my oldest (I am pretty sure) UFO, I put it on my blog and out into the Twitterverse and Diane suggested that I not consider this as a self portrait. I think that strategy is a great idea. I am now trying to think of a new persona for her.
- Serendipity Lady – I am still planning to take this piece to be framed.
- Who Am I? – This piece is still languishing. Perhaps having a larger design wall will help me regain momentum. The amount of satin stitching I was facing was a problem until I thought of BIAS TAPE. I am going to make the words with bias tape, perhaps different widths, then I won’t have to sew the satin stitching. Red Scribbles and Friend Julie helped me come up with this solution. Now I just have to do it!