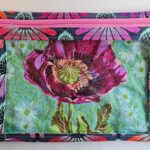
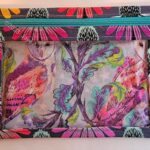
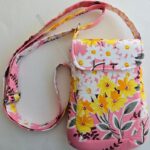
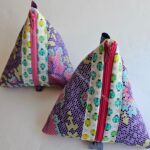
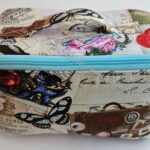
I finished the Holland Pouch while I was in Portland in October. It was a pretty quick sew – ~6 hours from start to finish. I wasn’t feeling my best, so I knew I could make it faster.
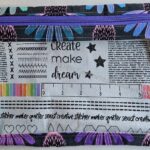
Center Street Quilts directional fabric chart
I bought this pattern at Stitch during the July trip home from Portland. The fabric was also purchased during that trip at Sewlarium. It was a great choice for this bag.
The directions show how to position fabric if it is directional, which is the first time I have seen such a feature in a pattern, that I can remember. I’d love to see this type of chart in all bag patterns. I know most say something like “all cutting directions are width x height”, but having the visual makes a huge difference for me. Even before I saw this chart, I drew little pictures of how directional fabric should be cut in my various patterns.
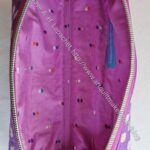
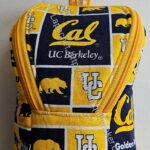
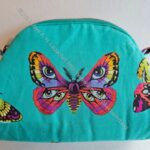
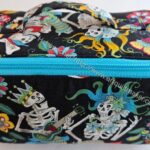
Black Cat Holland Pouch – interior
I used some hippo fabric and hope he remembers visiting the hippo at the zoo when he was young.
This is the first bag I have made for the YM. I hope it is one he likes and will use it. I sent it off to him for his birthday, which was on the 30th.
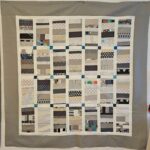
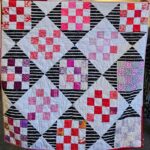
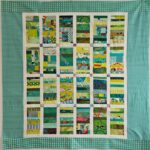
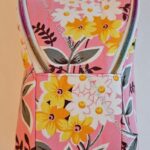
I finished the latest Ends donation top and handed it in at the last meeting.
This fabric is mostly from Jennifer Paganelli’s Queen Street line. I talked about it briefly when I started the BAM IRR project. I have bits and pieces left, but I think this is the majority of the scraps.
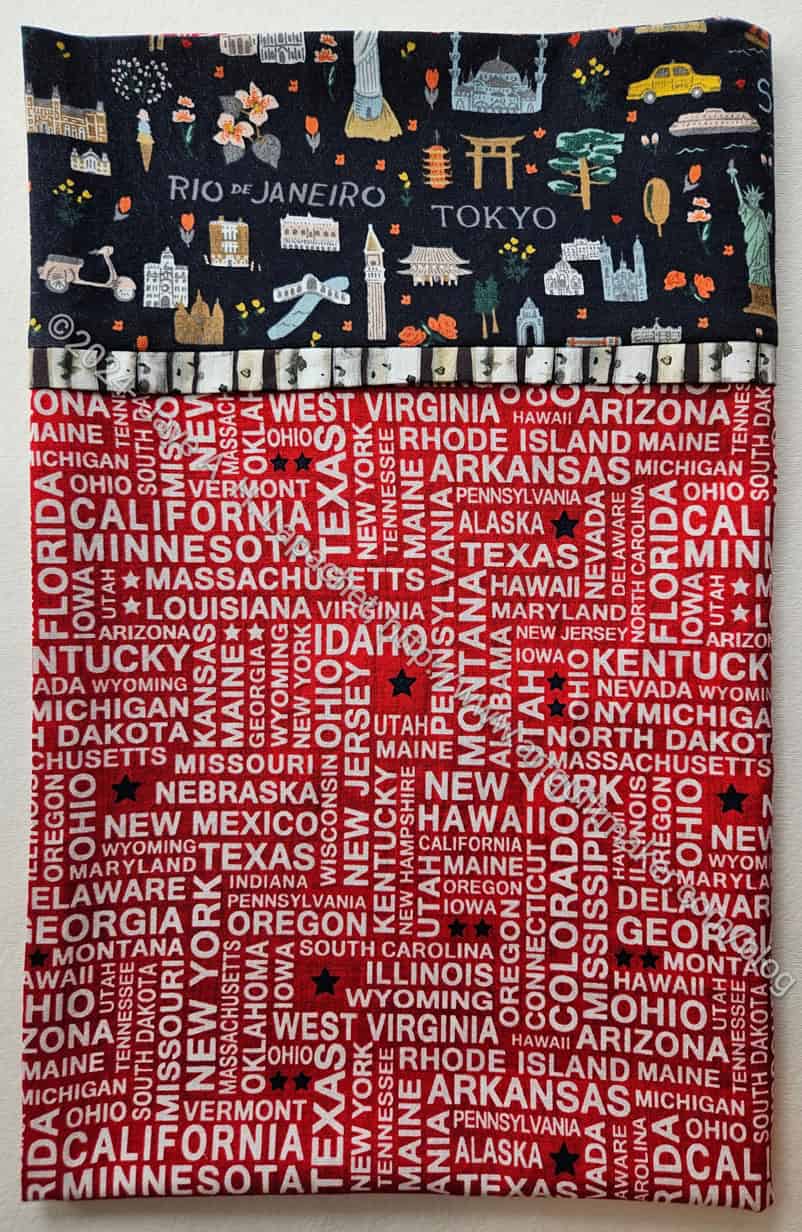
This is not really a Christmas pillowcase, but since it was red, I thought it would be a good one to send off in December.
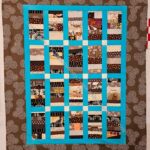
This one has all the states. I am not sure why some states are in a larger font than others.
Travel doesn’t have to be around the world. There are a lot of interesting things in the states as well as I have found traveling around California with DH. If the youngest nephew can’t quite make it out of the country, perhaps he can do some stateside travel?
As you know, I don’t quilt much. I really enjoy the collaborative effort of making a top and allowing someone else to quilt it. Thus, the quilts below are mostly tops, but I will include a finished quilt once someone else finishes it for the group.
WIPs are projects on which I am working. This means that I am past the cutting out of pieces stage, some sewing has taken place.
La Passacaglia – I am working on the border, but need to work more and harder
Running with Scissors tote – I worked a lot on this while I was in Portland and am nearly finished
Cut Out & Stopped
EPPic Bag – I need to make a cover/ main exterior piece for this bag. I was thinking of a Pineapple block, but haven’t gotten back to it yet. I am also kind of scared of this pattern. I know what to expect from Sew sweetness patterns, but this is a new designer to me.
Still UFOs
I still have UFOs. Who doesn’t, after all? A project in the ‘UFO’ category means I am stalled, it hasn’t been worked on in awhile or it is waiting its turn to be worked on. The list is a lot shorter and the projects are newer, for the most part.
I am annoyed that some of these are still UFOs. I have to give myself credit for completing some of them last year.
Rose Petrillo bag – I found the pieces for this bag cut out, but not sewn.
Superbloom tote using Hindsight fabric – not started. I did pull the fabric, supplies and found a photo I plan to use as inspiration that others posted, so I am one step closer.
Handbag Sampler – I found the blocks! I found them in a bin I thought I had thoroughly searched! I also found the fabrics carefully stored together. Hooray!!
Sew Hungry Hippie has SVG files! If you have a Cricut** or a similar machine, you can use these files to cut fabric for patterns you buy at Sew Hungry Hippie.
Simplicity has a new line of garment sewing patterns. Called Stitch in Time, you can find patterns for fashions across the ages. The pages incorporate the history of pattern companies, and the history of home sewing, into their pages. You can also purchase patterns, e.g. Simplicity S9846, from the line. I also saw some tutorials, such as How to Sew a French Seam. The tutorial includes a downloadable PDF with resources. I am guessing few YouTube videos have that feature! I have been wanting to make some wings. Now I know there is a pattern that includes directions.
Remember 2020 when monthly subscription boxes were popular? It was so great to receive something new and fun. I miss my Sew Hungry Hippie Happy Box, even though I don’t want additional supplies. It was fun to get a box of things I didn’t order. Those boxes are still around. Gathered.how (see below) had an article on the best craft subscription boxes. The article is divided up into different types of crafts, including sewing, though there weren’t very many listed. I didn’t see a list of all the boxes considered, either. Still. Go take a look and get yourself a treat.
Lauren at the machine
My niece is now enamored with her Mom’s new machine. I am thrilled to be related to a budding sewist.
If you have the Sew Tites Magnetic Cutting System, check out the 6.5 inch x 24 inch ruler that is now available.
Media, Books and Articles
As you may know, I subscribe to Today’s Quilter. It is the sister magazine to Love Patchwork & Quilting. It is a great magazine with interesting designs, lots of projects and a few articles. The colors are a little on the classic (traditional side), but I LOVE the section on basic skills. It is perfect. As a result of this subscription, I get a newsletter called Gathered. The website for the magazines is gathered.how.
Recently the newsletter had a feature on “best cheap drawing tablets.” based on the article, I probably will buy something higher end, if I were in the market, but I learned a lot. The author makes a good point when she says “Starting out at a lower price point will take the pressure off, allowing you to give it a try without feeling guilty for spending lots of money.” Some of the options were wired only, e.g. no wireless or Bluetooth connection. I also never realized that pen sensitivity and tilt recognition were something I should think about. Regardless of what you think of the options, this is a good article to get you started thinking about what is important in drawing tablets.
Surprisingly, my PT told me about the Business Insider Still Standing series. This is a series of YouTube videos that talks about crafts that have survived for a long time. Interesting.
My friend, Alison Schmidt was on an episode of Rev Craft Biz Podcast.
NQR
Another reminder: Cups for Pups: Join my Lil Sissy in helping to fund the Recovery Ranch Sanctuary via GoFundMe. She is working on creating a place where the dogs of those going into recovery will be taken care of while their people are getting help.
**N. B. : Obviously, you should shop at local quilt shops and small businesses. However, if you are too busy or can’t find what you need there, I use Amazon affiliate links and may be paid for your purchase of an item when you click on an item’s link in my post. There is no additional cost to you for clicking or purchasing items I recommend. I appreciate your clicks and purchases as it helps support this blog.
Thanksgiving is such a nice holiday. No gifts, which eliminates a lot of drama. Also, everyone, whether American or not, can consider the things for which they are grateful.
One thing for which I am grateful are you, my dear readers. Thank you!
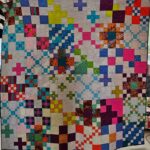
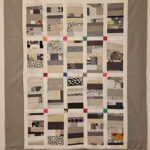
The regular monthly posts are a bit out of order this month due to the American Thanksgiving Holiday. Enjoy more donation blocks! I am back working on a Color Strip quilt, though we all know white is not a color. 😉
I need 40 of the strip blocks to make a nice sized quilt, so I have a few more to sew.
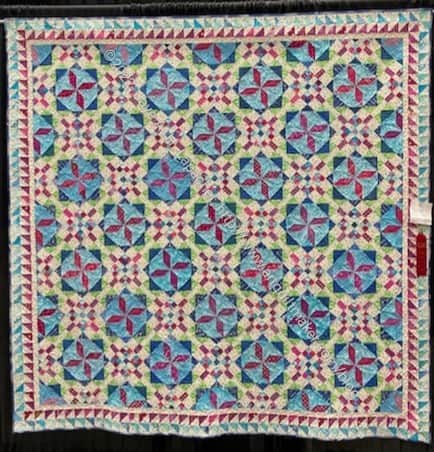
Frolic! was received by my friend and she sent me a wonderful text, despite her loss, when she received it.
Frolic! is a Bonnie Hunter pattern. It was one of her Winter Mystery quilts that I actually sewed with everyone else. I was also really happy with my color choices.
This is a cheerful quilt. While it wasn’t designed specifically for my friend, I thought she would like it while I work on a quilt specifically for her.
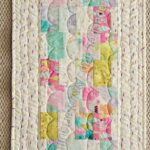
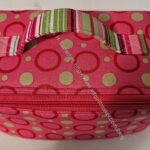
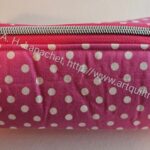
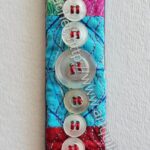
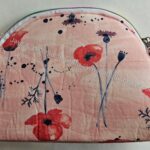
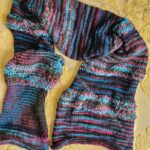
I finished the Grab & Go Sleeve very quickly and sent it straight off to my mom so she could use it right away.
Both sides essentially look the same. The only difference is that I put a label on only one side of the exterior.
I also used some ‘webbing’ that Cyndi made me take from one of the Sew Day Free Table offerings. The webbing is made out of cotton rather than plastic, like the Tula Pink webbing I used for a couple of the Take a Stand bags.
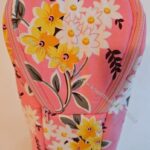
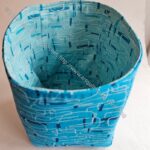
Grab & Go Sleeve interior
Since this is for my mom, I dug out the Laurel Burch fabric I used for her Mustang Organizers and used that for the lining.
She received it on Wednesday and said that it fits her portfolio perfectly. She said she really liked it, which makes me happy.
If I can think of things for which to use these bags I’ll make more as they are a quick bag to make, especially if you use pre-made webbing for the handles.
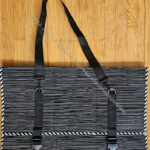
My Sister has taken to sending me Instagram videos. One of them showed a new Pattern by Center Street Quilts, the Atlas Zipper Case. It is a portfolio like case that can be used for tools or small projects.
I was on the fence about another new pattern until I visited with Mary. She had bought and printed out the pattern. I was able to look through it. I decided that the pattern would be a good gift.
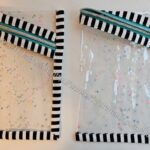
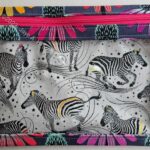
Atlas Zipper Case start
I started right away, but struggled to get past cutting. I was dreading the quilting part until a friend mentioned MistyFuse. I used MistyFuse to fuse the lining to the foam so I could quilt it. I never tried it before, but it adhered the fabric to the foam really well.
I haven’t tried quilting it yet but my fingers are crossed that it will help keep the pieces flat.
I am making good progress on my needlepoint project. It’s only been a month, but I feel like I am flying through it.
The frame is very large, so it isn’t very portable. I just work on it in the evenings when I don’t have a quilt project on which to work. There is a learning curve, so it isn’t boring.
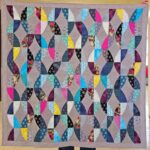
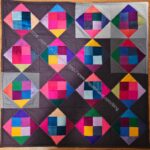
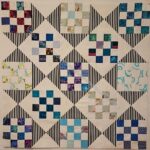
Sue said she made this while we were having our Sew Day. Sue was away for some of the Fall, but she misses us (and we miss her) when she is away. At least I do. 😉
Sue’s Flying Geese
Some weeks ago, Gerre demoed the Quilt in a Day Flying Geese ruler. Sue had that ruler and a random FQ bundle she had on vacation, she went to work.
I don’t know how many of the rulers she had along, but using one can make more than one size.
Sue said she thought the ruler was good. She made FGs in sizes that didn’t match up easily, so she had to add pieces. She wasn’t sure she liked the colors, but found it to be a fun challenge.
Sue said that the piece ended up about 30×27.
I like the different sizes of the Flying Geese. I think that adds interest to a piece. The colors have an old fashioned sort of look – not 1930s, but maybe 40s? There is a flat, e.g. not shiny or textured, look to them, but the pink is definitely bubblegum.
The other thing I like is that she just went and played.
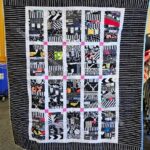
Maria bound Ends n.18 and brought it to the meeting on Saturday. I was so pleased to see it again! I finished it in September so it hasn’t been floating around very long.
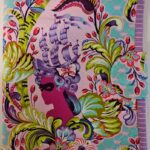
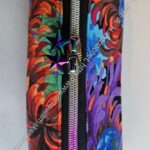
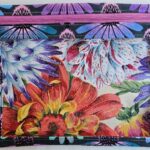
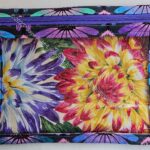
On my most recent trip to Portland, I bought this painting from the artist with whom we stay. Leah Kohlenberg is a working artist who also teaches. I fell in love with this painting and just decided to buy it. I have never done that before and it was a novel experience.
The Grab & Go Sleeve is a project from Minikins Season 1. Honestly, it is one I never thought I would make. I have at least two laptop bags, so I really don’t need anything else. Also, there is nowhere in the bag for the mouse or the cord.
However, it is a good bag for other things like files and notepads. My mom has a portfolio she is using to take notes during a series of appointments she has. She is using the project bag I made her to carry around her portfolio. It doesn’t really fit very well.
This project immediately occurred to me once I saw what was happening. I am not sure why as I really never thought about this bag before.
This project serves a second purpose as well. I want to make the Heartlands Backpack. It is a ‘choose your own adventure’ bag. The Grab & Go Sleeve is a lighter version of a ‘choose your own adventure’ bag. It has only a few pieces and not many options. I wanted to try an easy ‘choose your own adventure’ bag before I started the Heartlands.
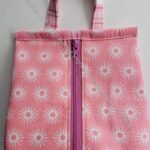
Grab & Go Sleeve- lining with pockets
I decided to add some mesh pockets to the inside to provide a bit of organization.
I also added a D-ring (but rectangular) so she can clips things to the bag if she needs to do so.


 Thanksgiving is such a nice holiday. No gifts, which eliminates a lot of drama. Also, everyone, whether American or not, can consider the things for which they are grateful.