i saw this tile on Franklin Street and thought it looked a lot like a Grandmother's Flower Garden, but with a twist. It is in an entry way in an apartment building.
Another Bag Complete
New fabrics
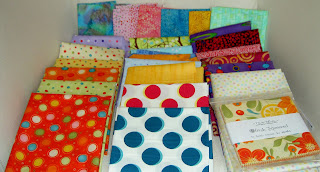
I have no Internet connection at the moment (shocking , I know), so here is a photo via cellphone of the additions to the fabric family. We spent time at Quiltworks Northwest, where the people were very friendly. There were a number of fabrics I remember from my February visit, but some new ones, too. I’ll post a better photo later. Thanks for reading.
Red Coffee Tote
I have totes on the mind this morning!
I love the graphic nature of this tote and the cup images are perfect. I would love to see this fabric somewhere and make my own tote out of it. I am not that fond of the ribbon breaking up the middle image, but fighting with my sewing machine over buttonholes makes me understand how a ribbon would be so much easier to apply.
CatyLou Tote
I saw this tote on Flickr this morning and thought that it looked similar to the Eco Market Totes that I have been making. One of the attractions of the Eco Market Tote is the shape of the bag part, which this bag shares. I will have to look around and see if I can look at the pattern in person. Let me know if you have made one of these totes.
VJ From the Sewing POV
Mocha Muff
And a Flowering Snowball
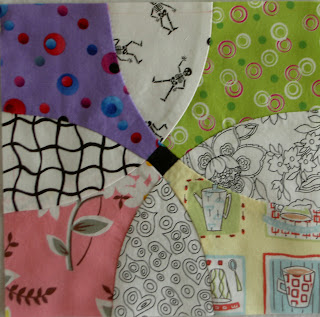 As an added bonus, I finished one Flowering Snowball (Cross Block) last week. I particularly like this one, because it has the coffee print. I think I am close to the end of piecing these blocks. I want to do a self border so I have to make those blocks. It is just a feeling, so we’ll see how it progresses.
Quilt Fabric Manufacturers
|
Projects Calling
I couldn’t stay away from my workroom on yesterday. I found a playmate for the child and left them to their own devices (except for an occasional admonishment to go outside away from the screens) while I sat and sewed. I sent Aja’s Bullseyes off to her, as I may have mentioned, last week. She received them Thurs or Fri, so I only had my blocks to work on.
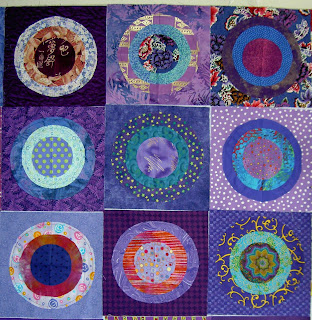
This calling business was a bit disconcerting, because it seemed like my mind had a mind of its own. Normally, I will sew a bit, do the laundry a bit, sew a bit more, make my weekly phone calls, sew a bit, change the laundry and do the dishes and sew a bit more. Yesterday my body and mind were united and they were having none of it. I went to the workroom and basically stayed there. No dishes, no laundry and the dinner didn’t get started until almost 7pm. IT WAS FABULOUS!!!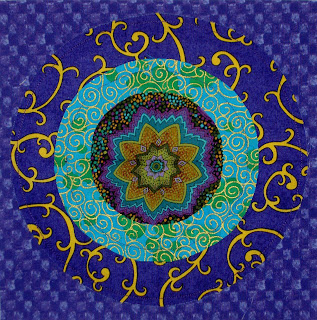 This is one of the blocks and I really liked it. I fussy cut the last circle and was sad to slice it up, because the flower is so perfectly displayed.
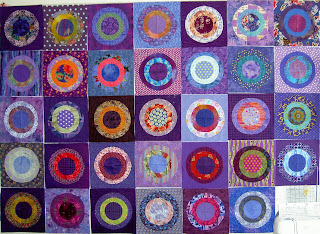 These are my blocks after I have added the last circle. The blocks in the upper right hand corner are blocks that weren’t in the photo I posted the other day. My design wall isn’t big enough to accommodate all of the blocks.
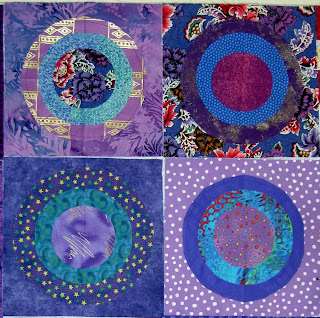
These are details of the blocks from the upper right hand corner.
Now my Bullseye blocks are nearly complete. I have sewed the last circles on and trimmed all the blocks down to 9.5″.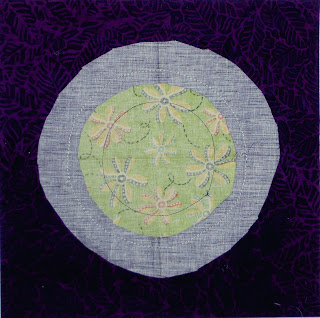 This is how the back of a block looks after I have sewn the last circle and before I have cut the back of the second circle out. You can see that Julie and Aja have cut out the backs of the background and the first circle.
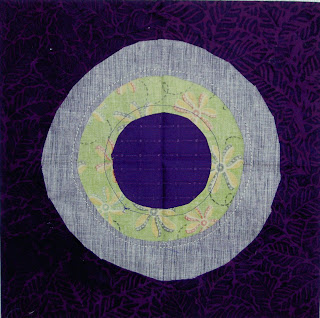 Here is how the above block looks after I have cut out the back of the second circle. This reduces bulk and provides lots of lovely circles for another project.
I finished the process of cutting out the backs of the second circles, and I have sliced the blocks into quarters. I am preparing them to be sent off to Julie and Aja.
Here is how I set up the blocks to slice them. I love the Creative Grid rulers, because they have a lot of different markings that allow you to line up the ruler so the block is sliced very precisely.
I keep two quarters of the block and send one quarter each to Julie and Aja.
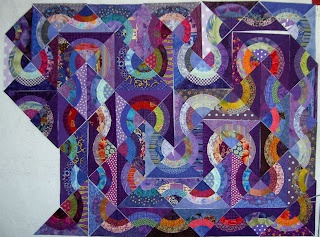 Here are my slices. I just slapped them up on the wall, but I like the internal maze surrounded by a larger maze and may go with that type of design for the final design. I think I will have to put some of the stronger colors, perhaps red, in that internal maze so that it stands out. I will also want the self bordering technique to give the piece a finished look You can see it in Seeing Red.
Dots in Bird Form
|
|
European Art Quilts
|
|
Art Cartons
|
|
Book Review: The Quilter’s Companion
 The Quilter’s Companion: The Complete Guide to Machine and Hand Quilting by Katharine Guerrier
My review on Goodreads
Deirdre (http://www.deirdreabbotts.com/… sent this book to me as a byproduct of clearing out her studio. The subtitle kind of says it all about the content of the book, but it doesn’t tell you what great photos the book has. The photos are numerous, clear and detailed, just what I like in a quiltmaking book. Across from the title page is a page of off center star blocks all created in different fabrics. The first chapter has numerous quilts in different styles including a Baltimore Album quilt, a lone star, a 19th century pinwheel as well as a gorgeous orange whole cloth quilt. The book goes on to discuss fabric and supplies, including embroidery thread and machine feet.
The section on cutting and stitching techniques covers templates as well as rotary cutting along with tips on sewing curved seams and inset seams. Hooray! I am really glad to see this information covered, because I think quiltmakers need to know the full gamut of quiltmaking techniques so they can make informed choices about their work. Pressing, preparing applique’ shapes and how blocks can be broken down are also all covered in this section.
The book goes on to discuss projects, but in an interesting way. There is a sampler project, a Pineapple Project, Lone Star, log cabin and foundation piecing.
The book finishes up with quilting, of course. The chapter is quite comprehensive, starting with preparing your equipment, marking and using stencils, straight line and free motion quilting and hand quilting.
I think this is a great reference book, because it covers all the things that a quiltmaker might have a question about. It shows how to make the Cathedral Windows block, which I may never want to make, but I am interested in how it is done. The author also talks about corded quilting, which I actually might want to do someday. This book is modern also, because it covers newer products such as spray baste and those spoon type thimbles.
This is a very comprehensive book with a lot of great pictures.
Collage Unleashed
 Collage Unleashed by Traci Bautista
My review
I just bought this book to get some visual journaling inspiration.

