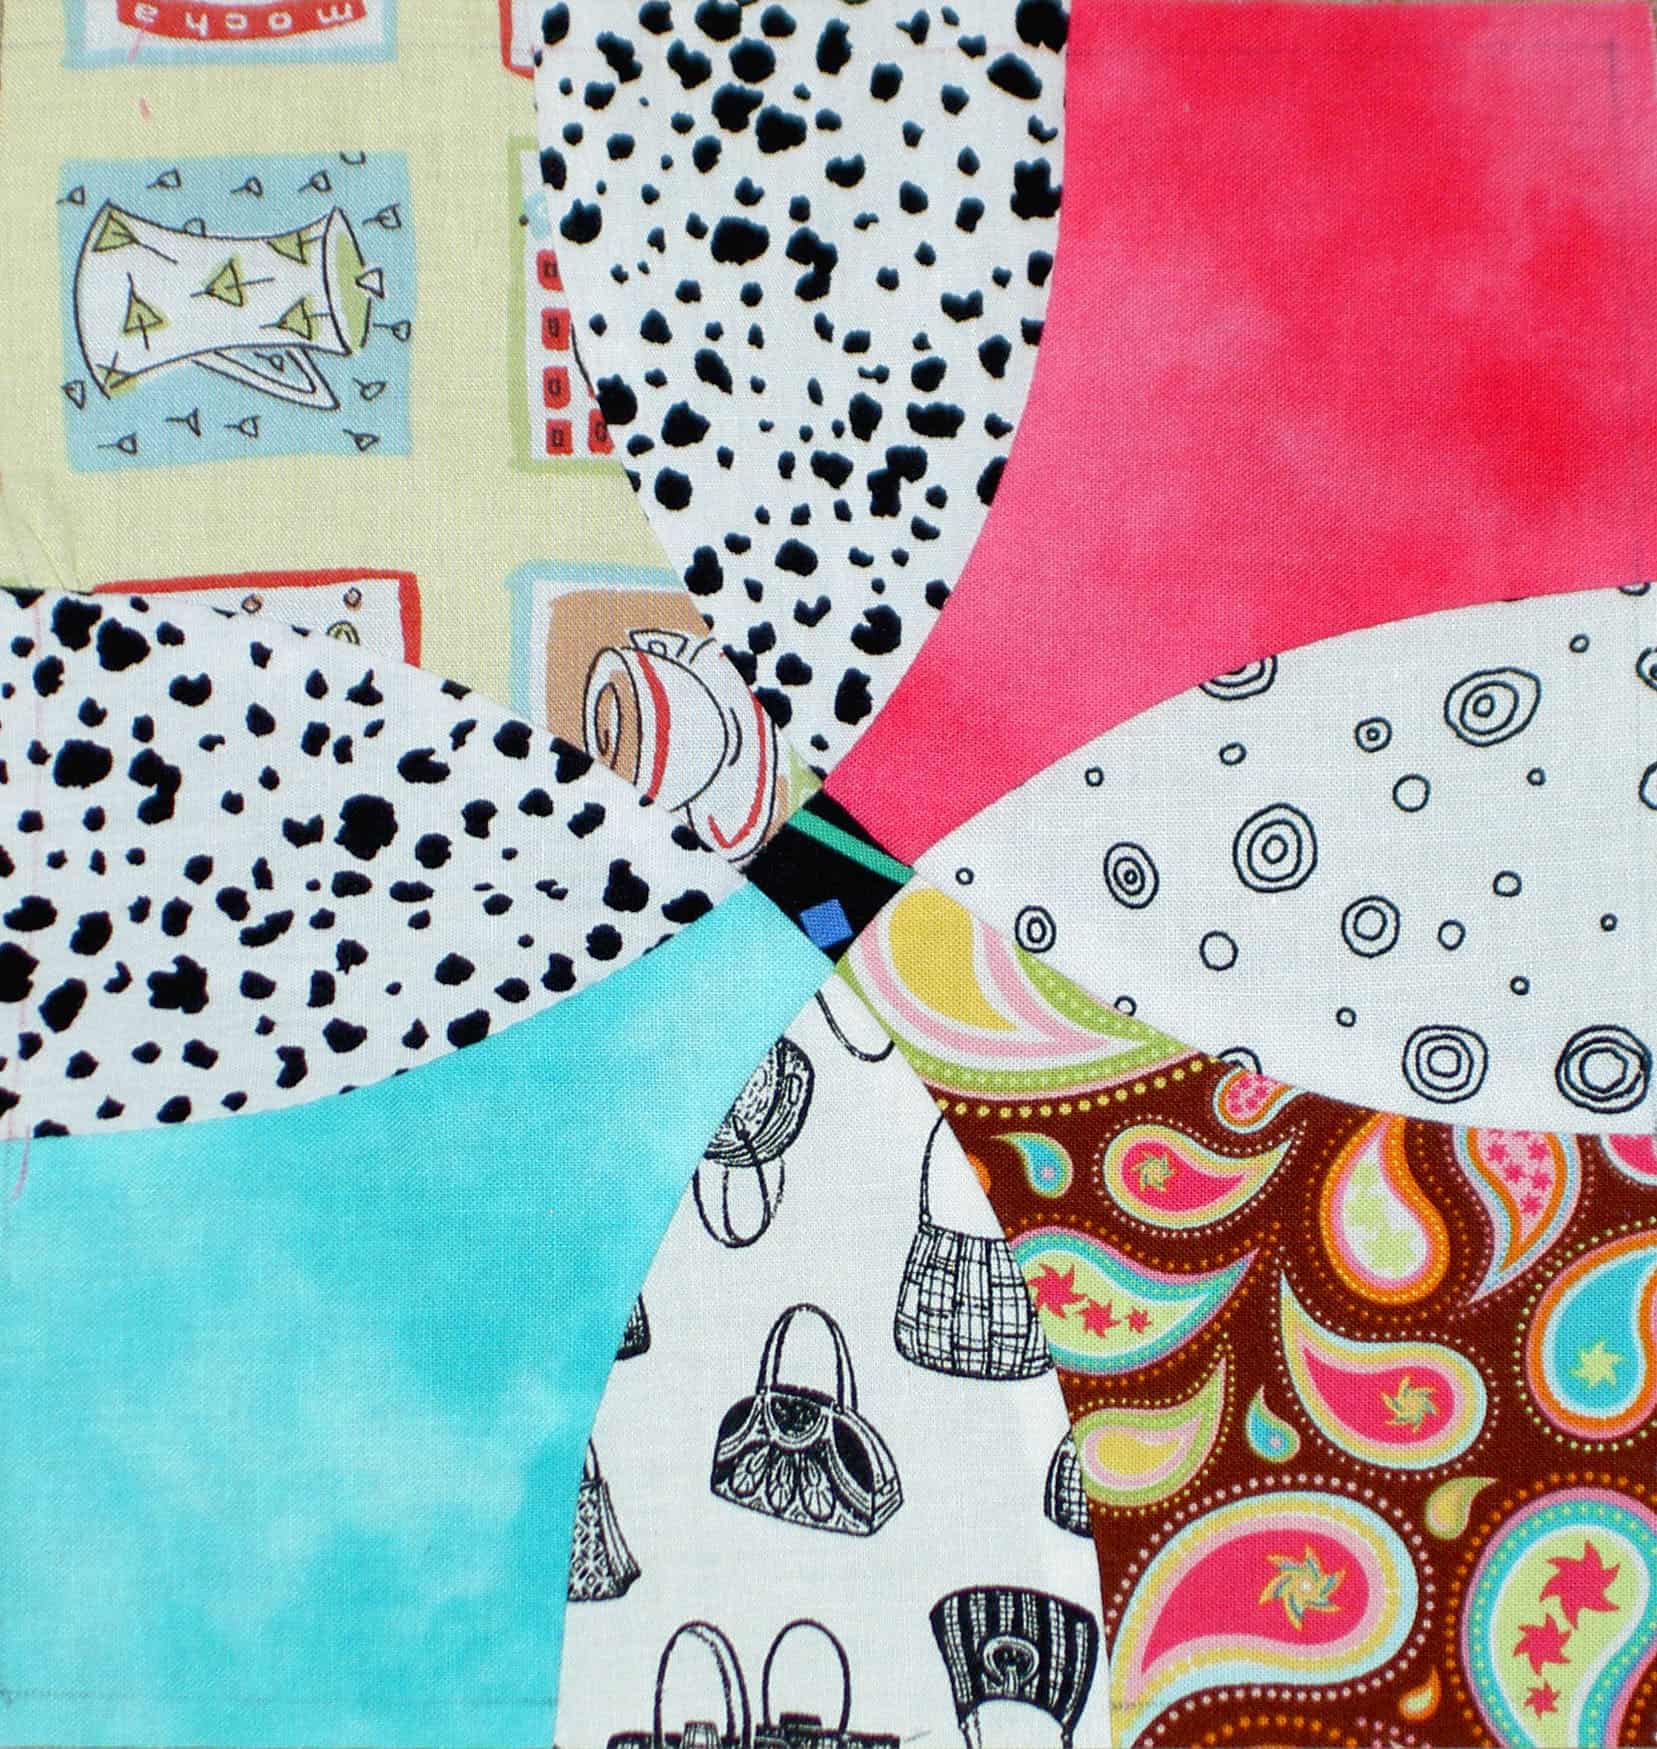
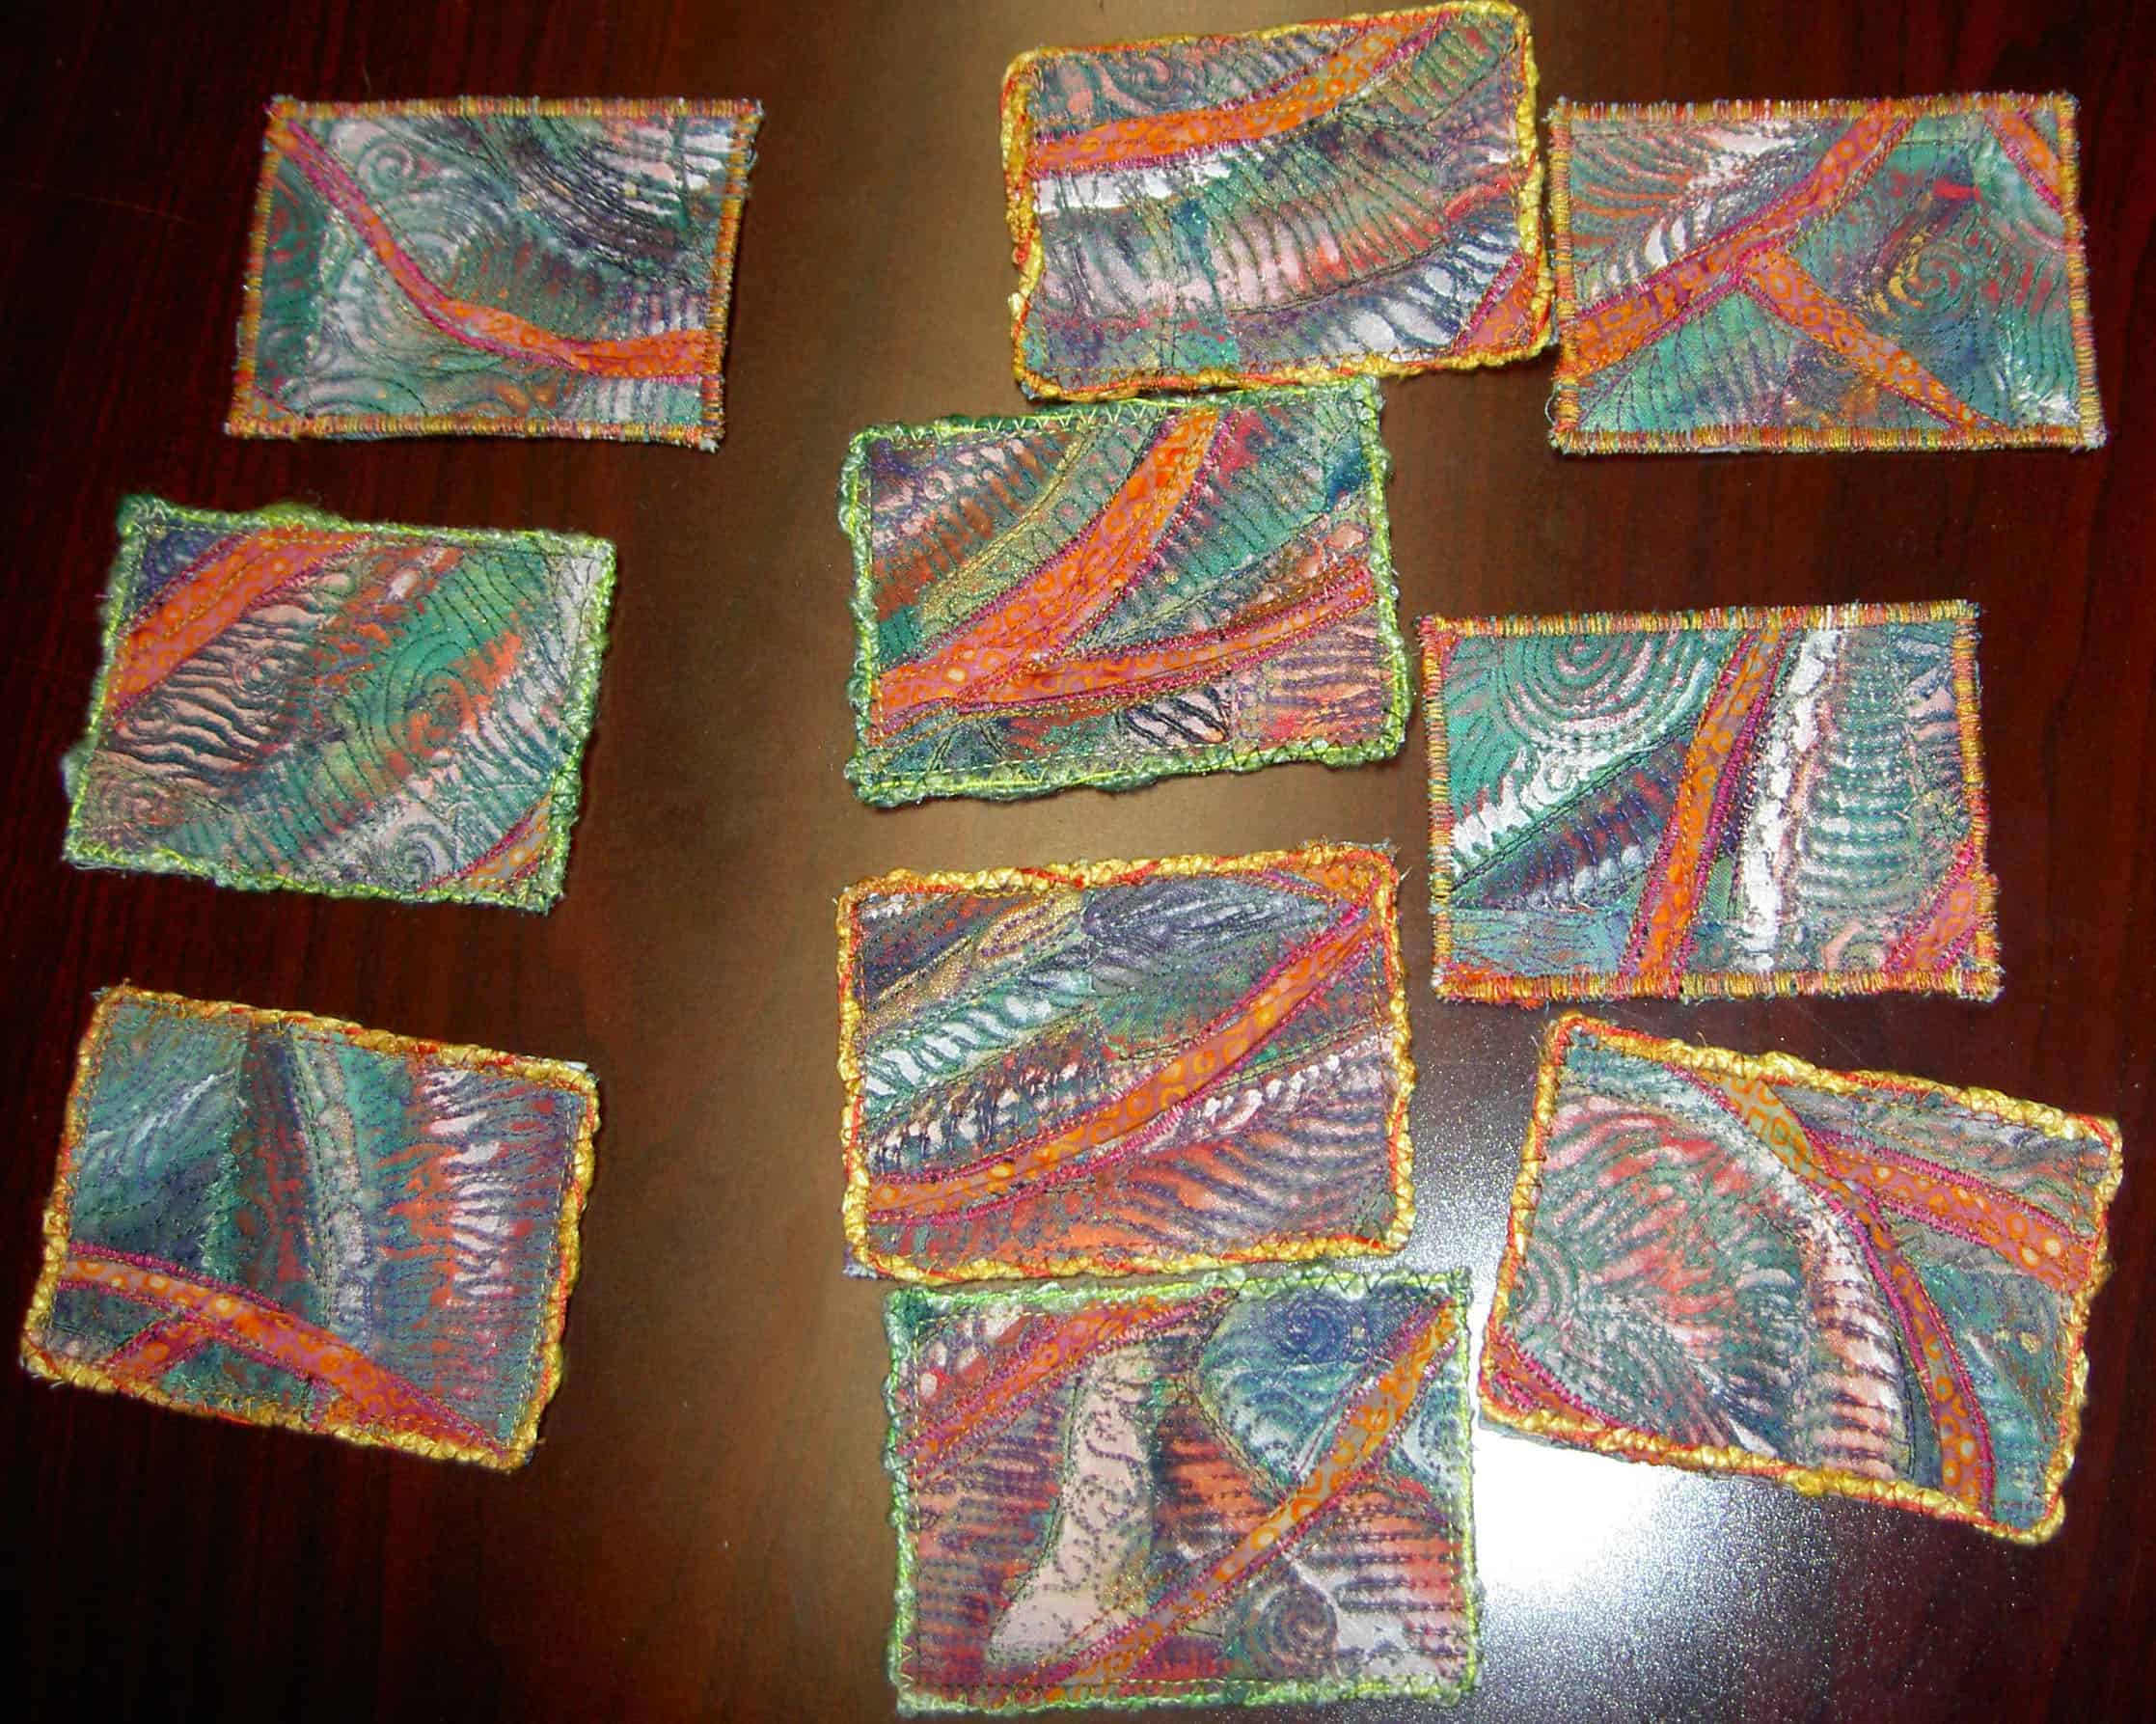
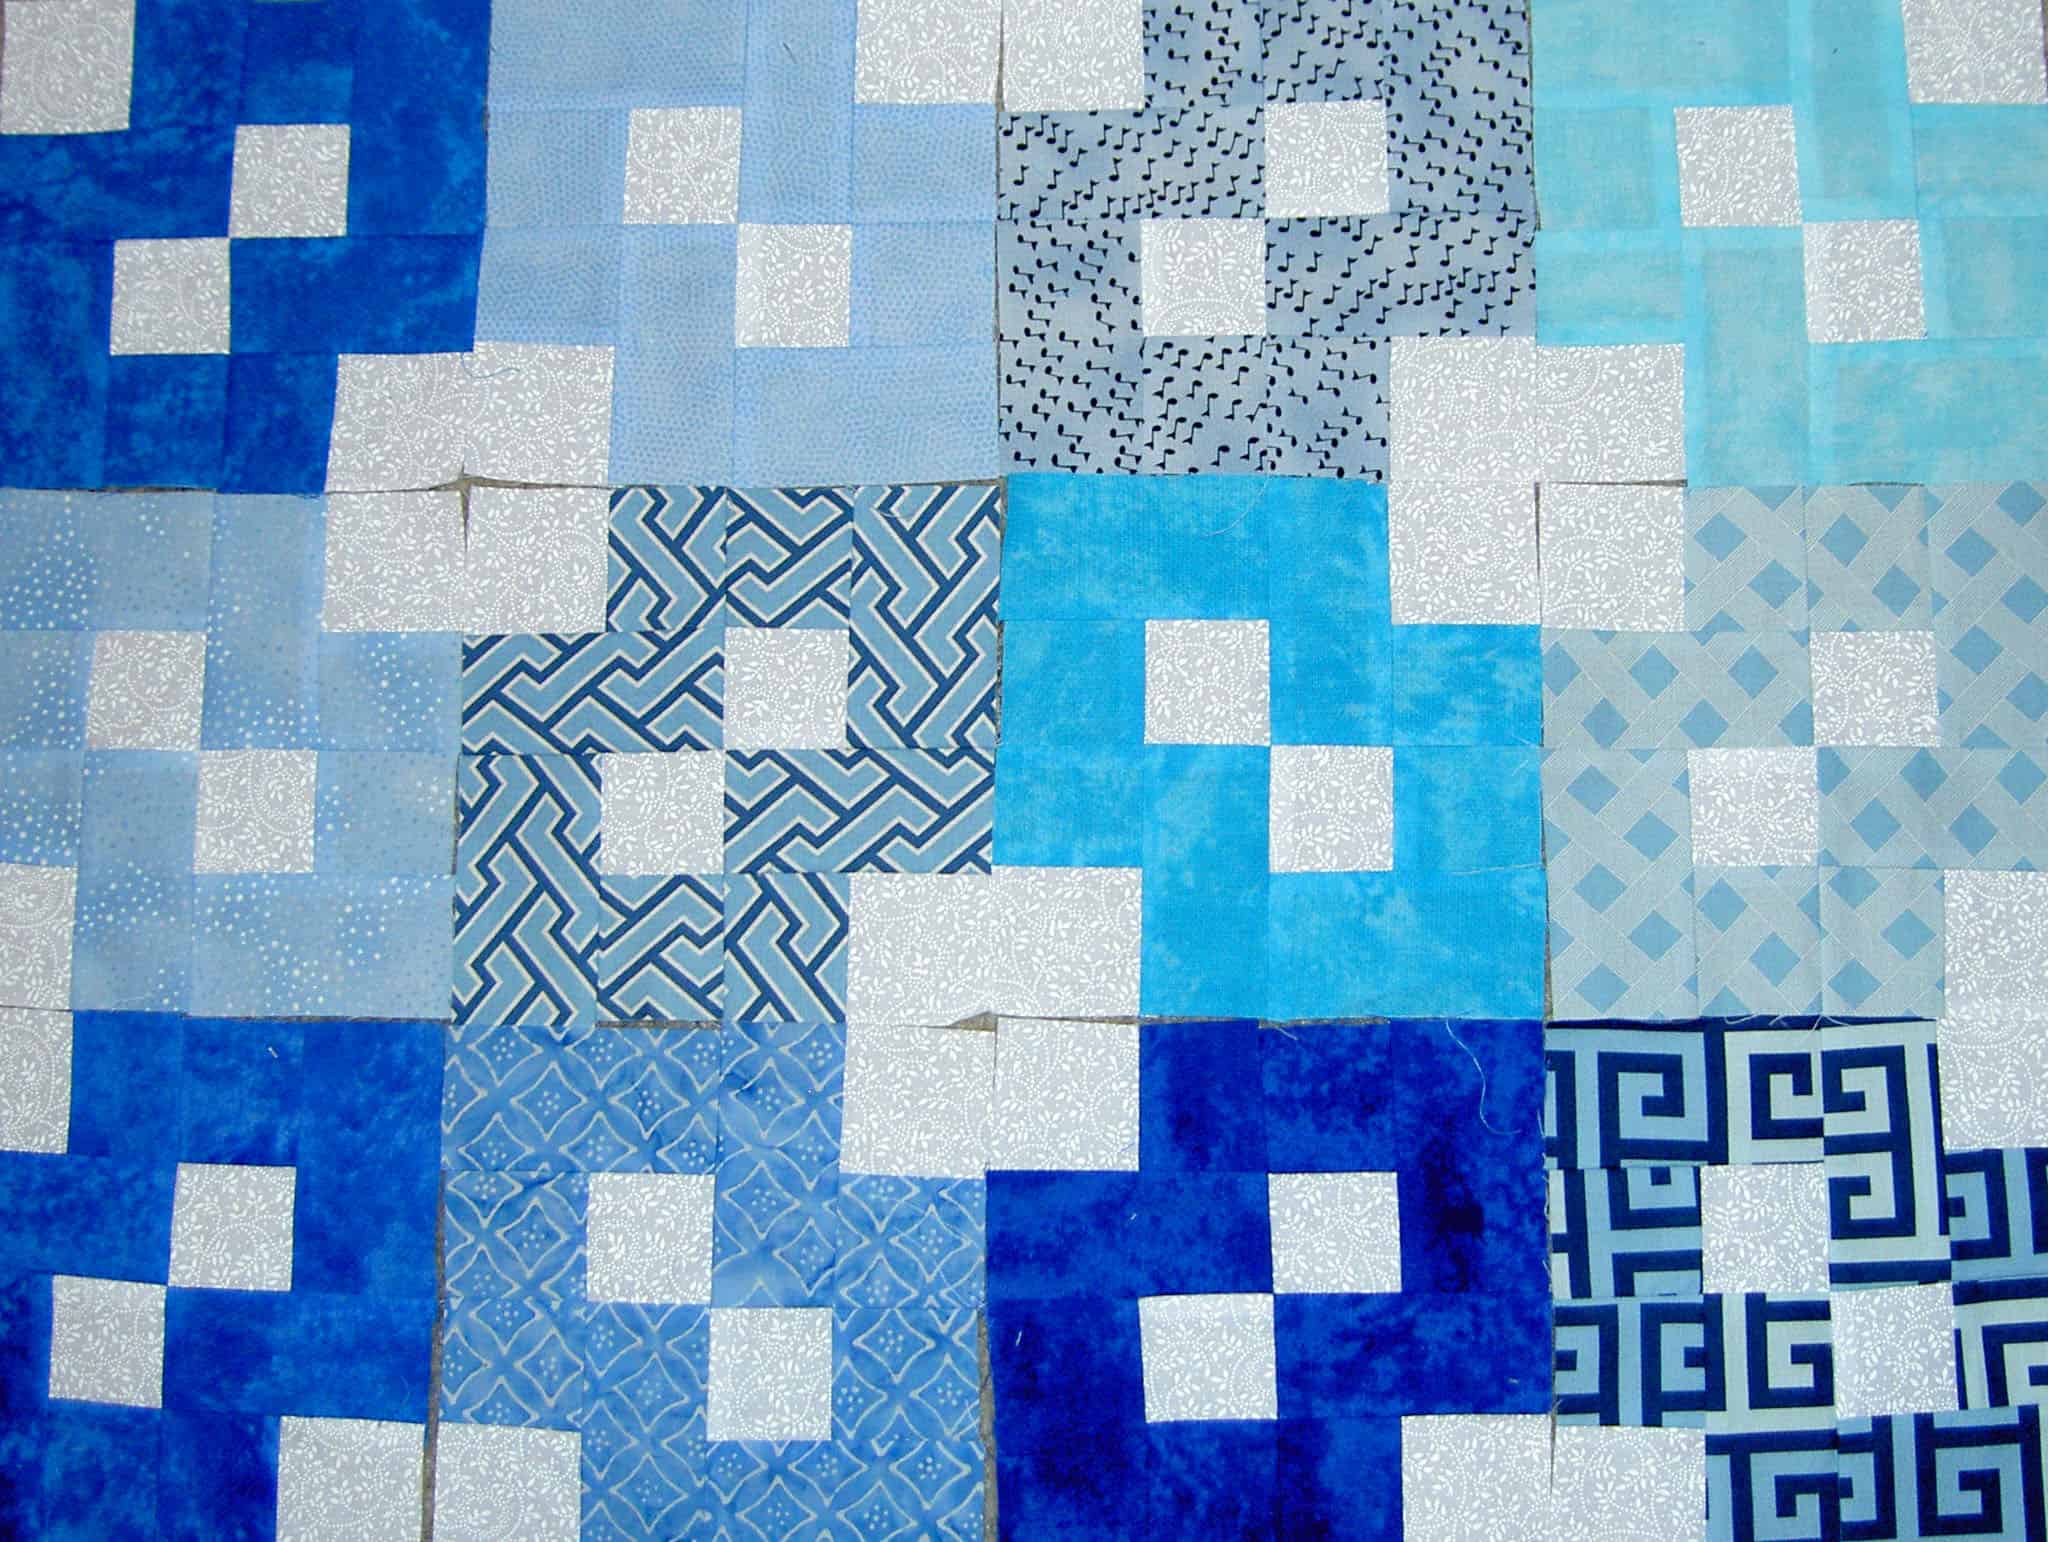
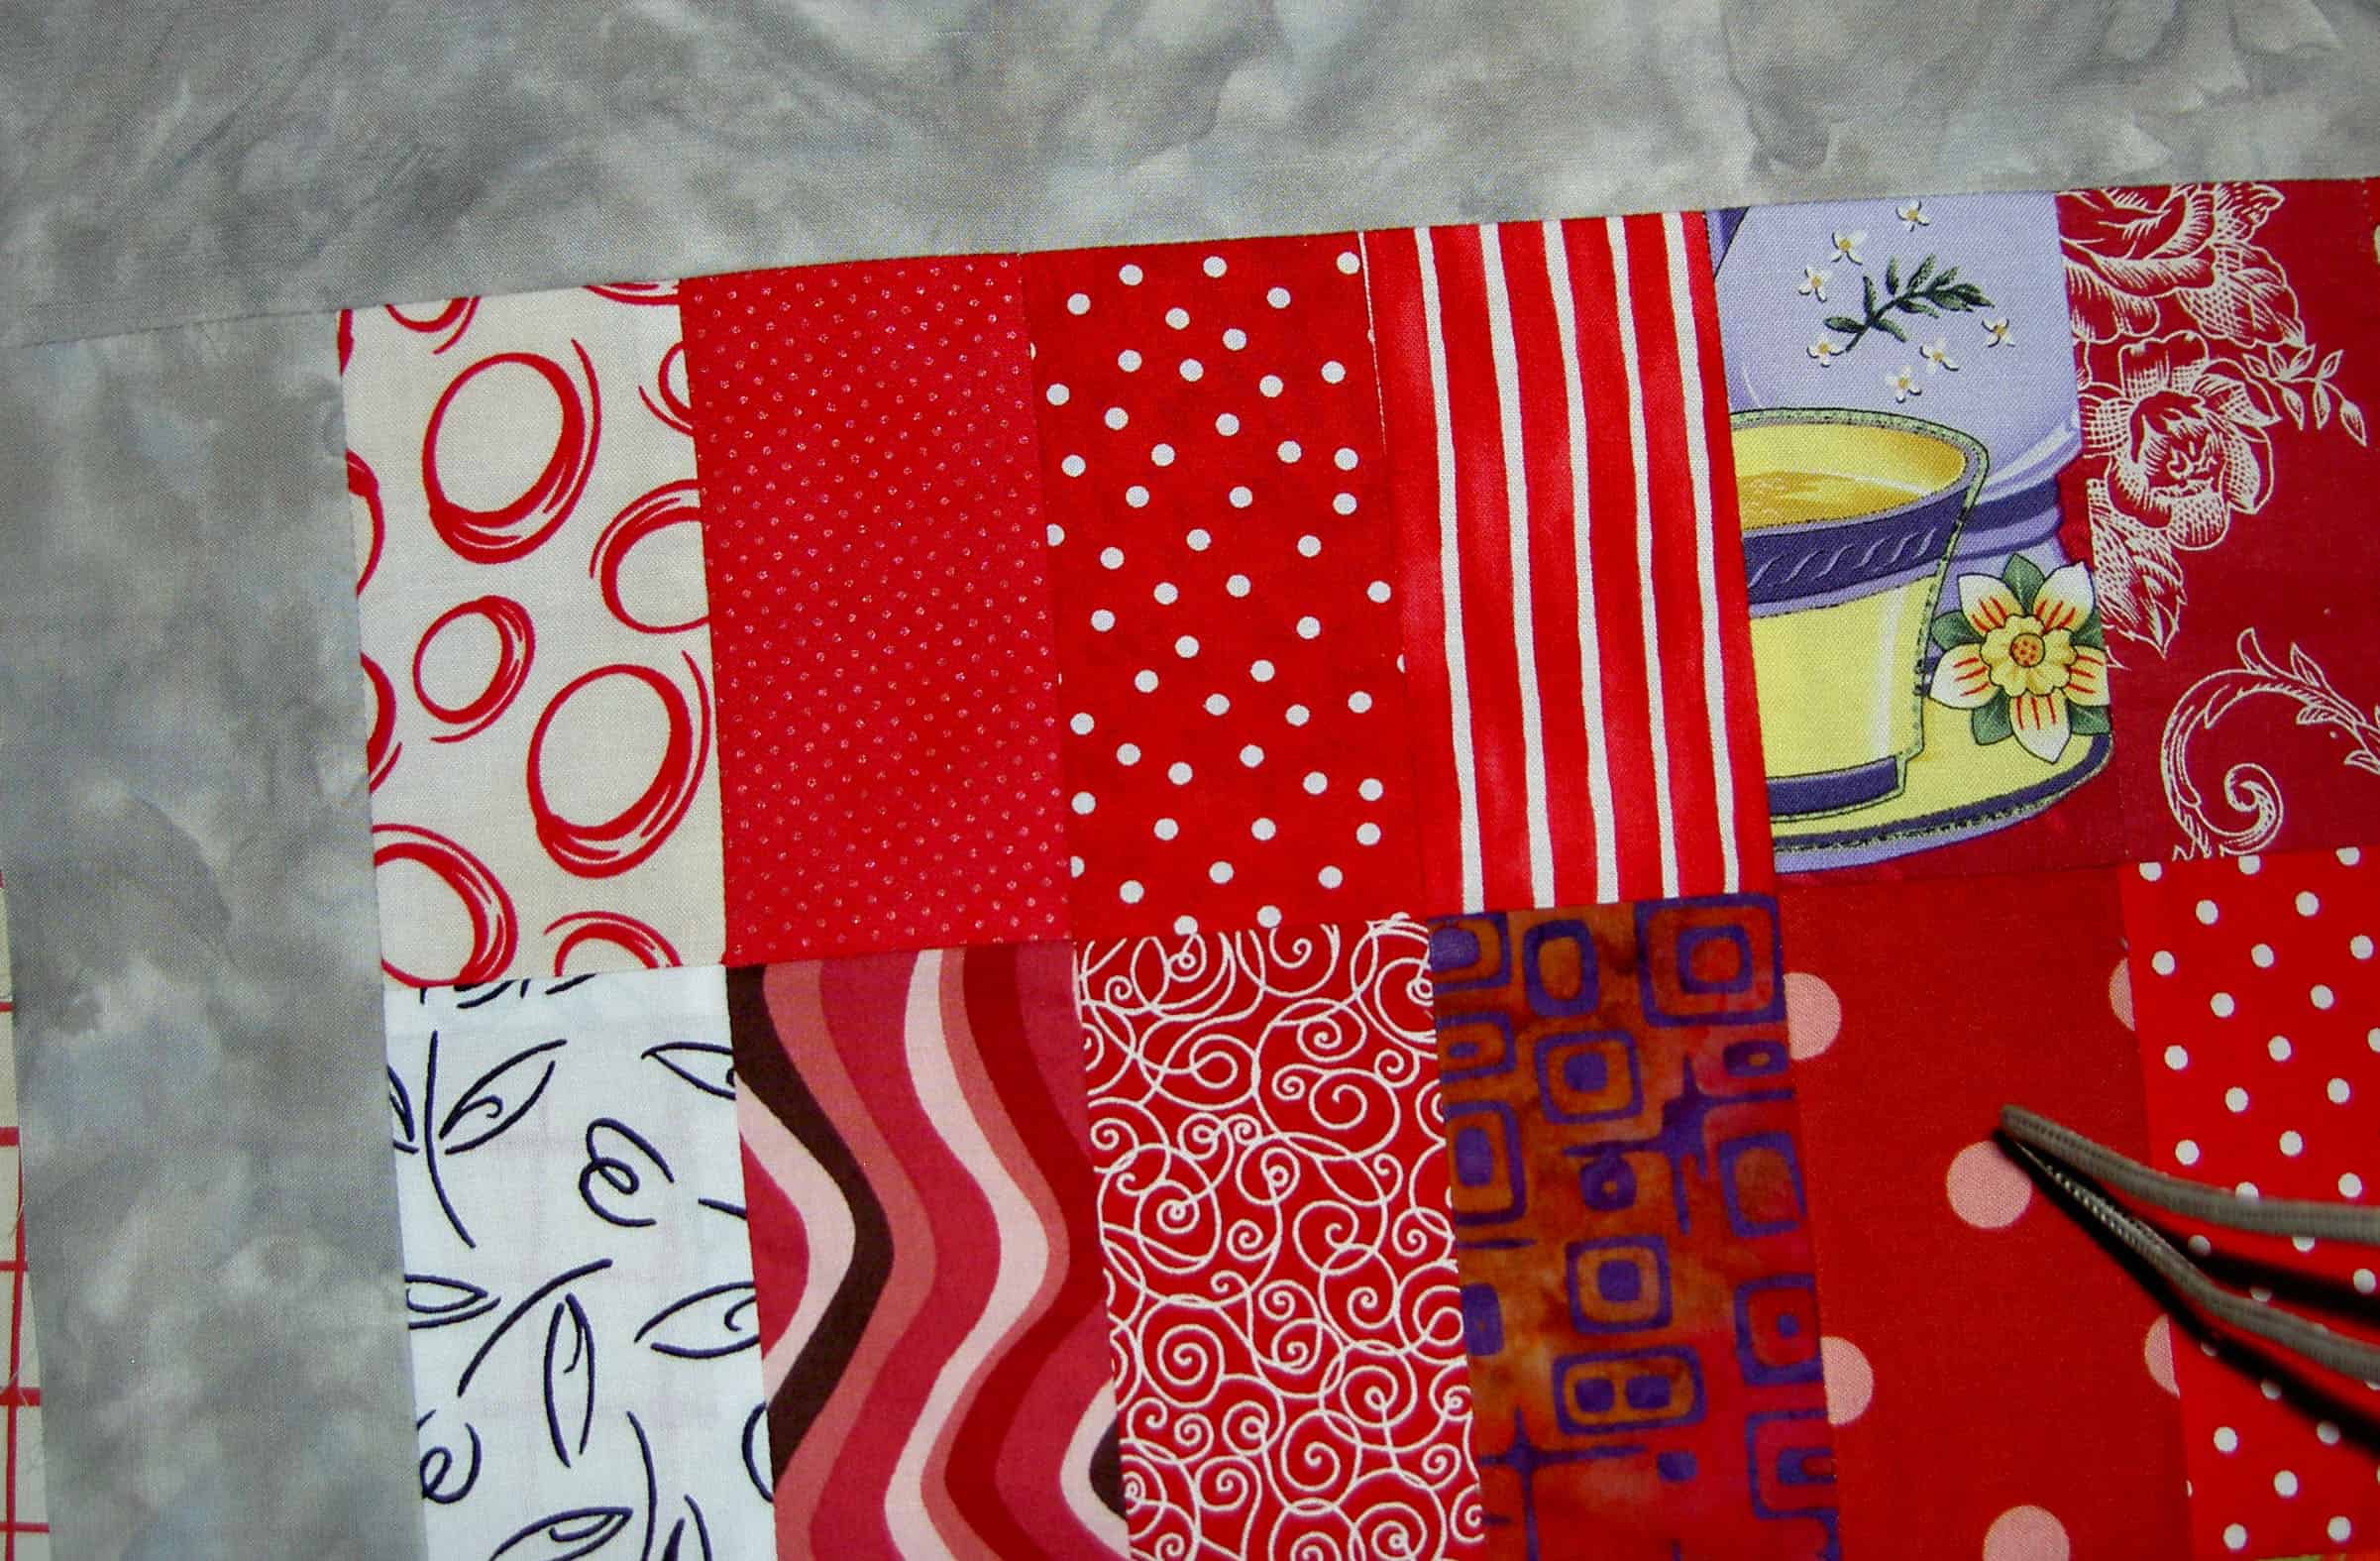
This is the second to last Flowering Snowball center block. I brought my handwork bag with me to the meeting yesterday and put this together while we worked on the business of the organization. It is something I can do while I listen and participate. I feel productive on my fabric projects, which is a good thing.
I also started work on the last block, but didn’t get very far before the ATC swap started.
This morning I was facing the reality of this project. I get to start the border VERY shortly. I think I opened the project in EQ6 in recent memory, however I don’t remember looking at the templates or doing any work on them. I need to get on that.
The other issue I am facing is squaring up the center blocks. I discussed this here before and think that I will have to trim the blocks after machine sewing around before I trim. Otherwise I think that they may come apart.
The problem is that if I trim them before I make the border, the border won’t fit. Glad I thought of it before I made the border!
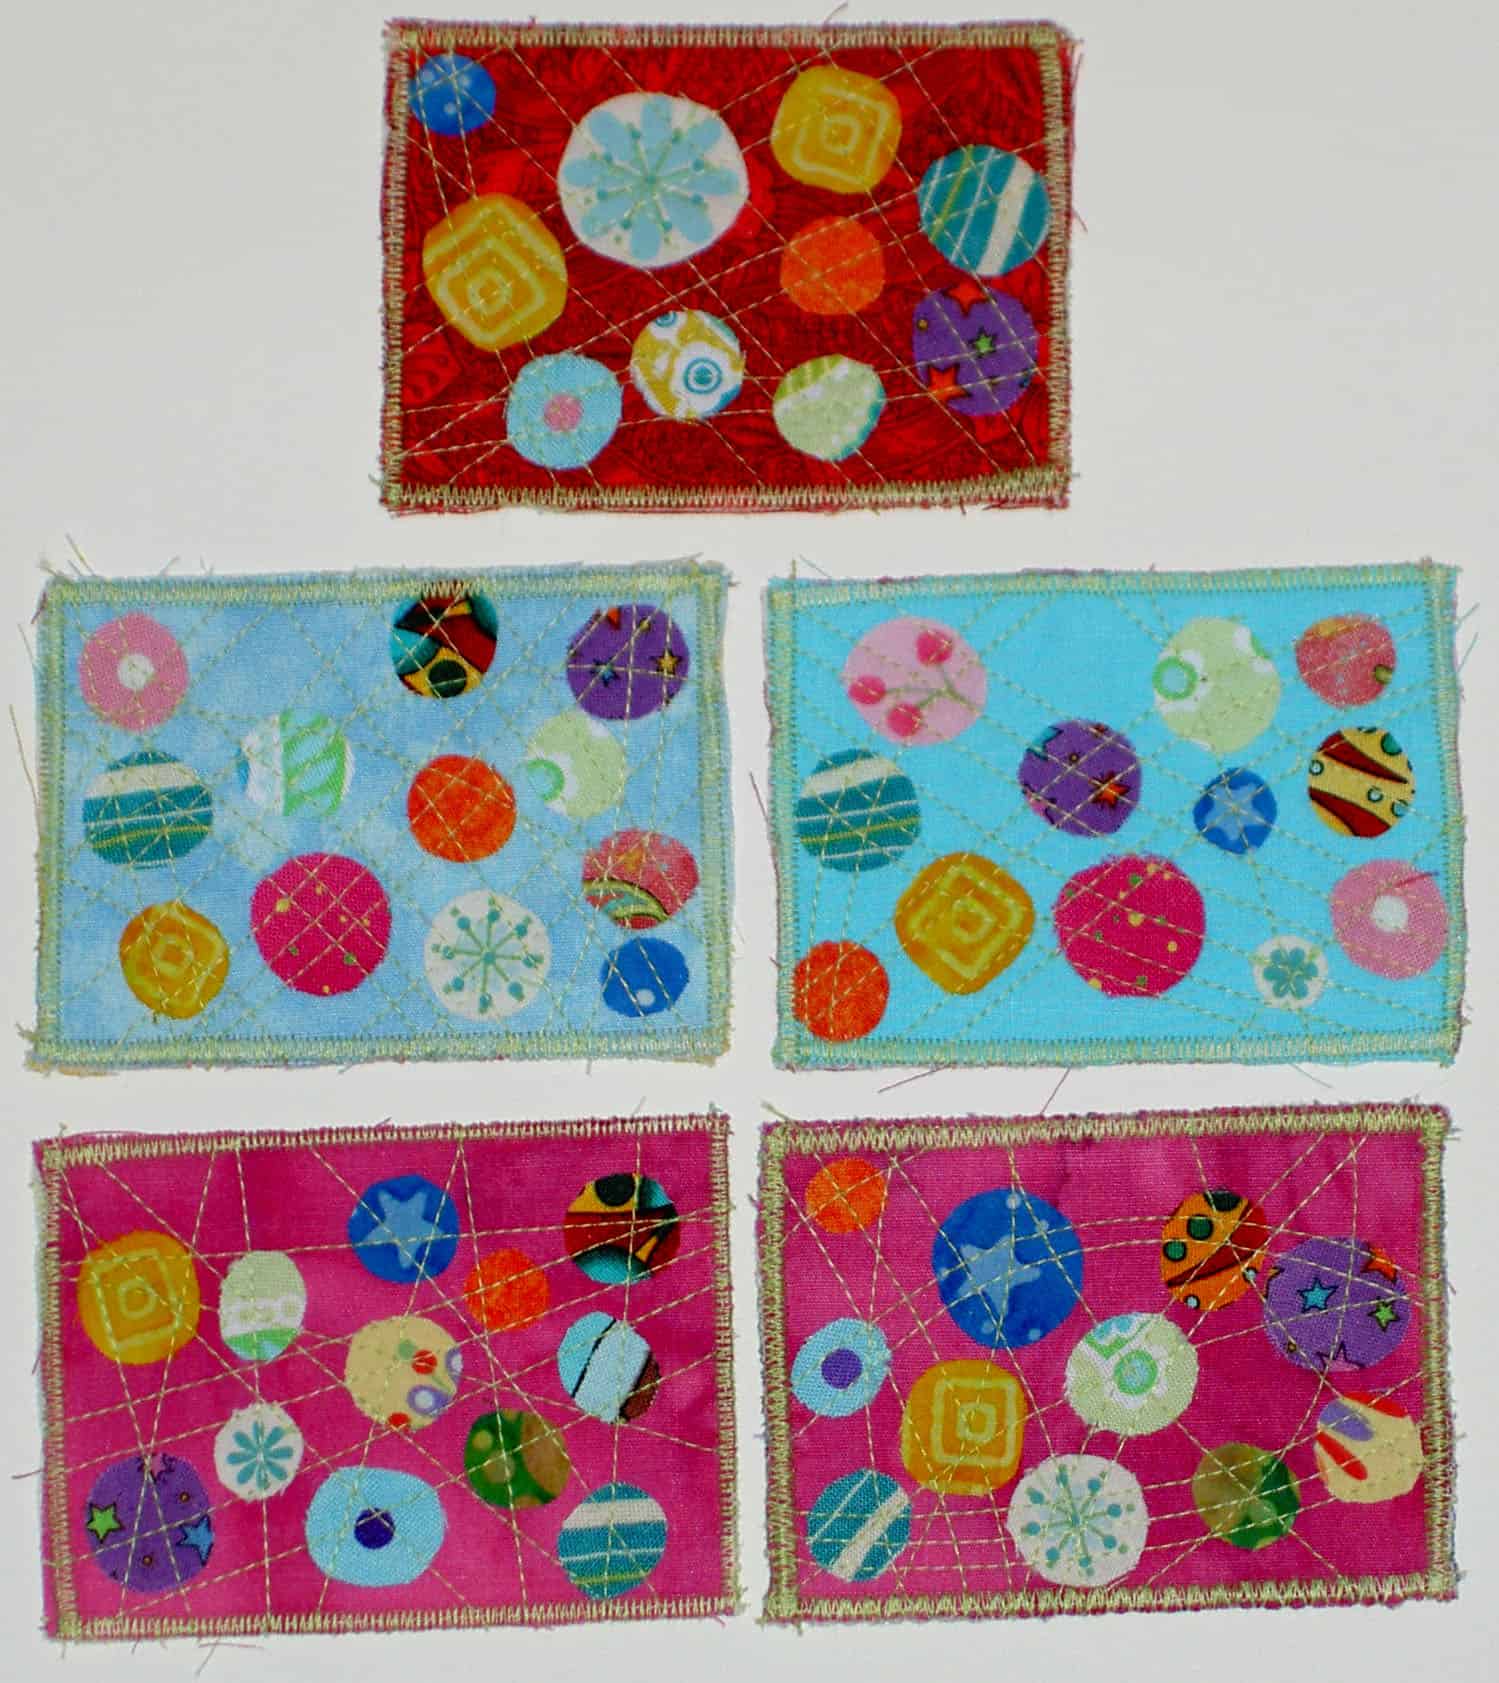
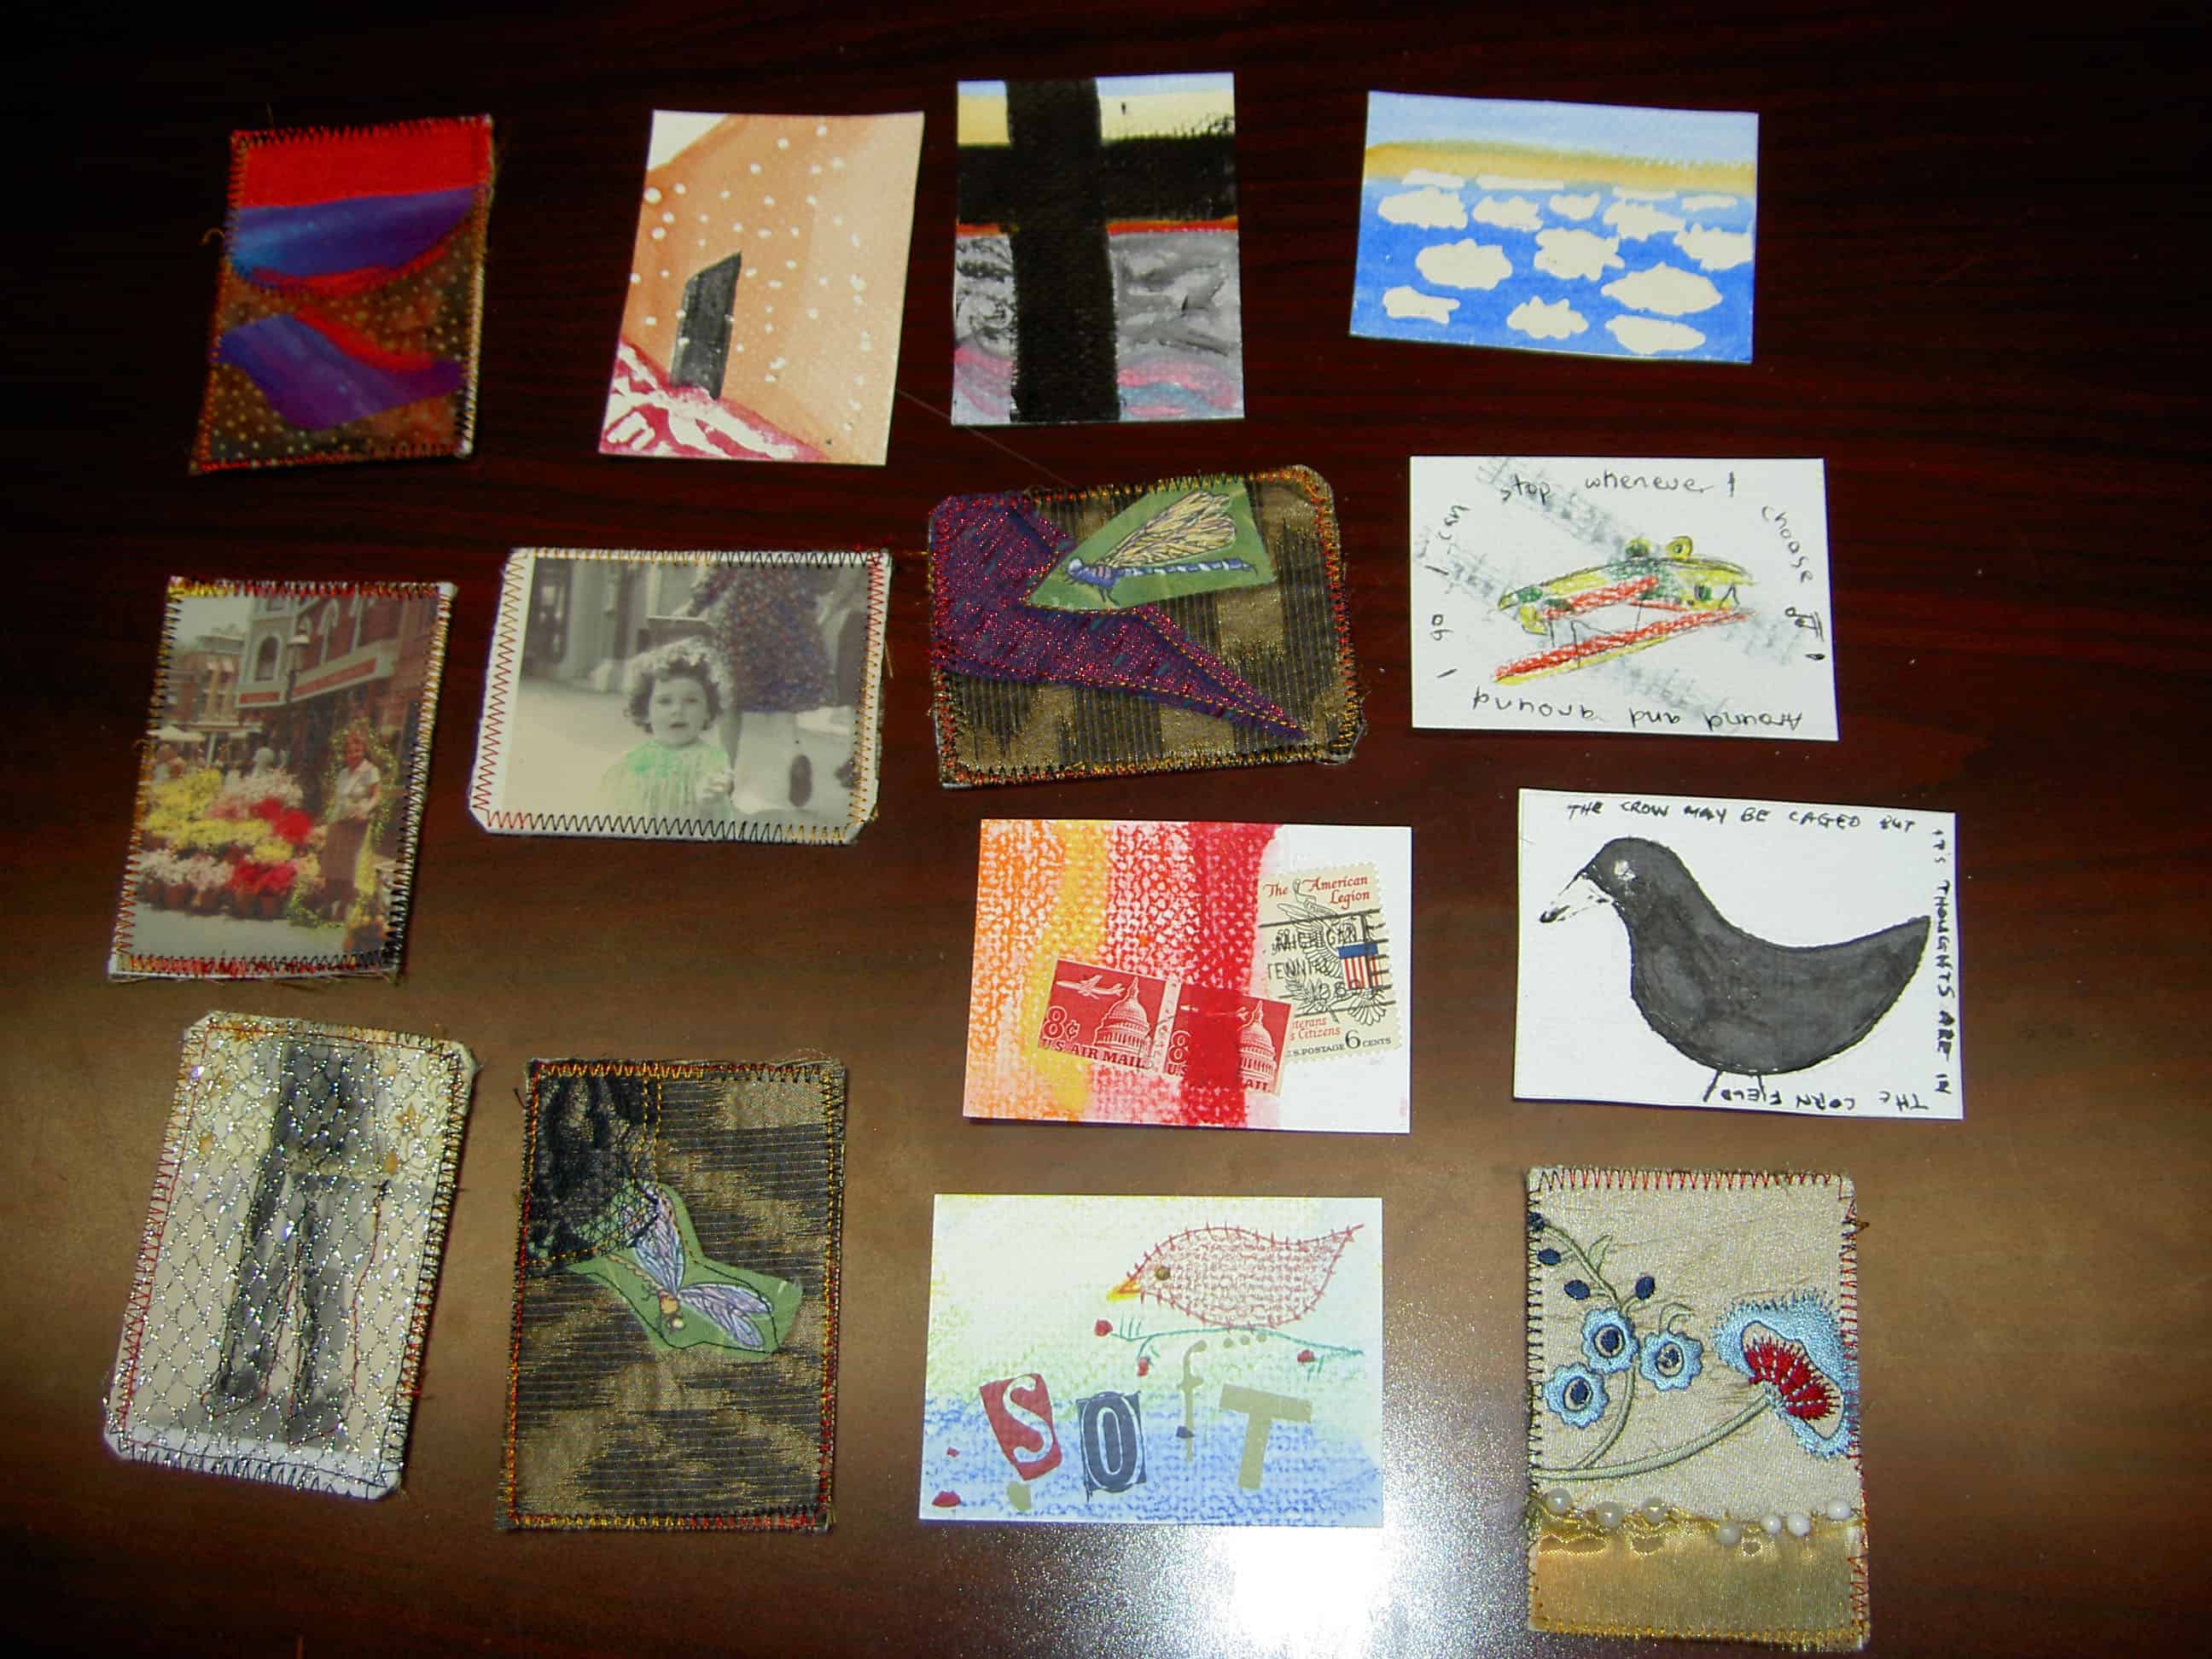
While you were sipping your cappucinos this morning, I was finishing the edges of my very first ATCs – Artist Trading Cards – and dashing off to meet with my fellow CQFAers.
Maureen had suggested that we do a swap of ATCs. In the spirit of the Creative Prompt project, I decided that making them would be good for my creativity. And it was! I did them when I came home from work on Tuesday after one of the most grueling work days I think I have ever had. Immersing myself in some fiber took my mind off of the lunatics downtown. I didn’t have much brainpower and, thus, didn’t overthink the design. All of the fabrics came out of my scrap basket. I wasn’t sure what to use for the center so I used two layers of Pellon Stitch and Tear, which I use for stabilizing machine applique’. The ATCs felt right in terms of stiffness and I didn’t have any problems with sewing through the 4 layers. It all seemed to work just fine.
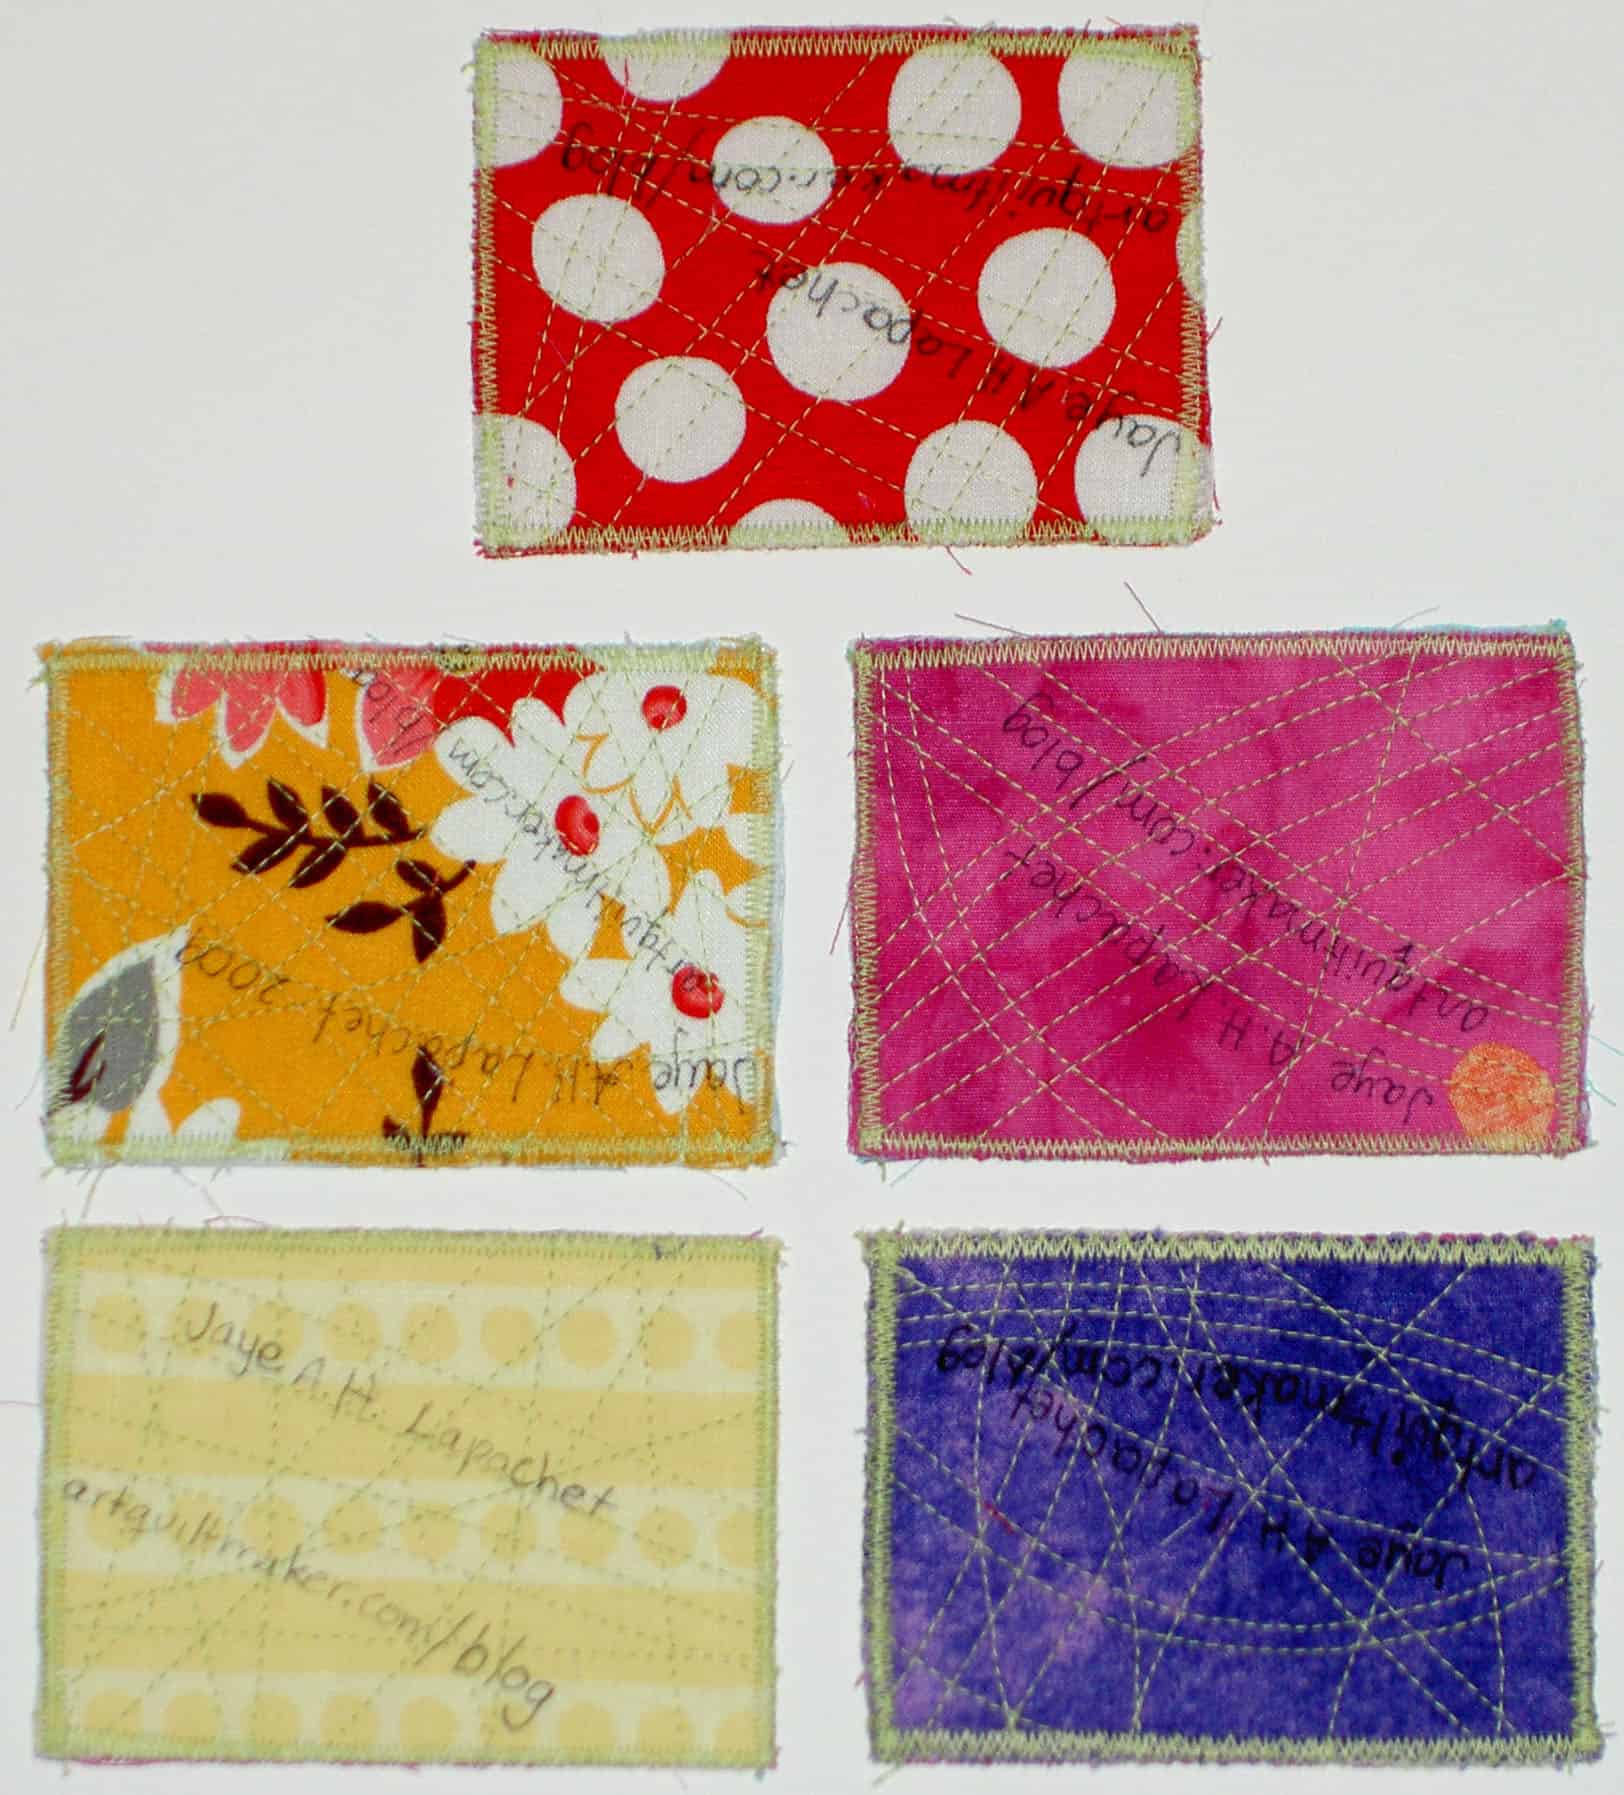
ATC backs
The ATCs are 2.5×3.5″ inches and I know that there are a zillion sources for instructions all over the web. Typical of me, I didn’t look at any of them. 😉
Sometimes I just need to do the work. I figured they were small enough and I could toss them if I didn’t like them.
I grabbed more fabric out of my scrap basket for the backs. The red dots and the Denyse Schmidt flowers are my favorites. One of my criteria was that I had to be able to write on the back, so my favorites weren’t ideal. The other plainer fabrics were better. I tried to use the stitch lettering that I used to use for labels on these ATCs, but my machine is starting to act up 🙁 and I couldn’t get it to work.
MPL's ATCs
Maureen’s ATCs include the car in the group. Maureen is a quiltmaker I really admire, because she is constantly trying new things.
Her ATCs were a revelation, because they were all different! Mine are sort of different, but really the same. Maureen created different designs on each card. WOW! Not sure why I didn’t think of that, but perhaps I will do something similar next time.
Terri let me know that Diane and Nancy’s ATCs were mixed in with Maureen’s. I didn’t pay close enough attention to know whose are whose. Sorry ladies!
I thought I would make more of the same for next time, but after doing the swap, I think people will be looking for something new and exciting.
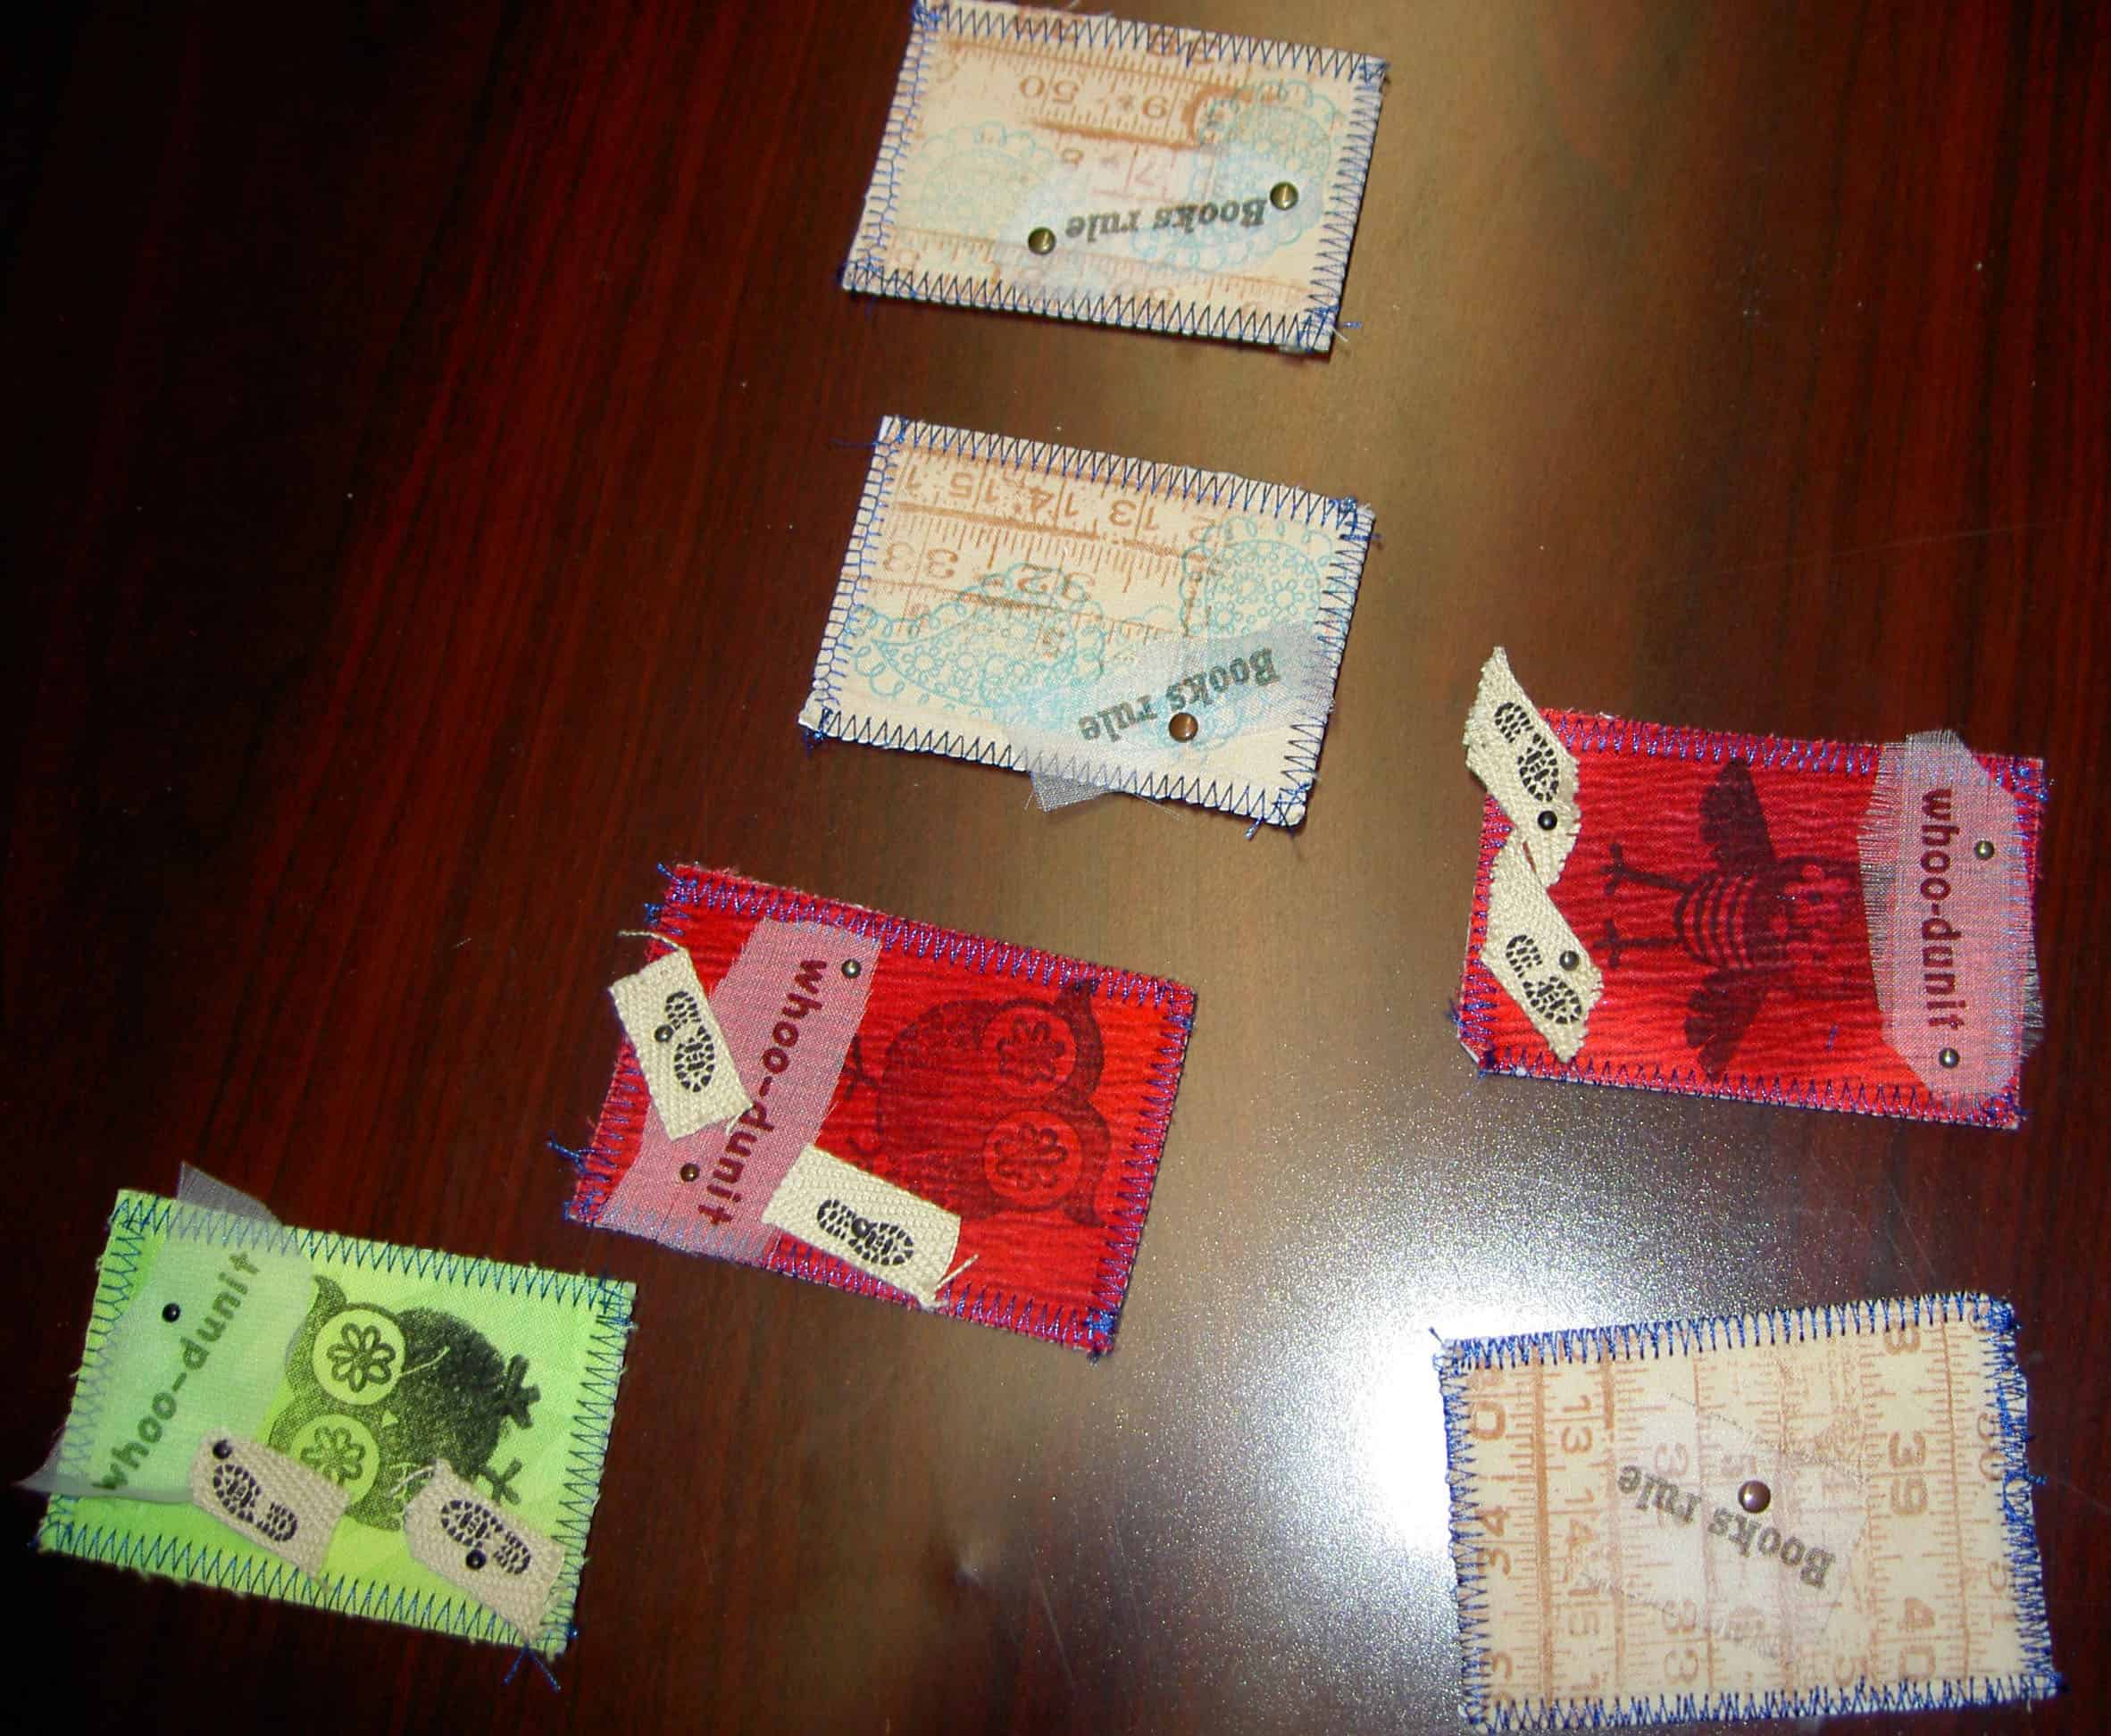
Terri's work
Terri is a mystery writer who incorporates quilts and quiltmaking into her stories. If you haven’t read Ocean Waves, Old Maid’s Puzzle, or Wild Goose Chase, get yourself to the Library or bookstore! Her ATCs had a mystery theme and were business card size. Terri used the business card sized advertisements as the backing! Clever!
In addition to paper and fabric, Terri also added 3D ribbon and rubber stamping to her cards. I have rubber stamps! Perhaps I will drag them out for the next round.
LC's Work
Linda‘s ATCs look marbled to me. She is a talented machine quilter. She produces lots of small works frequently by participating in such challenges as the Fast Friday Challenge. She has recently been doing succulents, which she says are too dark for her tastes. Most of her work is very bright – lime green, fuschia, bright blue, etc as Linda uses lots of hand dyes.
Linda talks about her ATCs on a blog post from a few days ago. It looks like she made a big piece and then cut it up. Another great idea!
Bron's ATCs
I haven’t seen very much of Bron’s work and was really excited when she laid out her ATCs. Bron’s raven piece and her stamp piece both caught my eye. I couldn’t stop staring at them during the entire swap. I am not sure why. I guess Amy over at the Creative Mom podcast is on my mind both because of the ATCs and because of the birds.
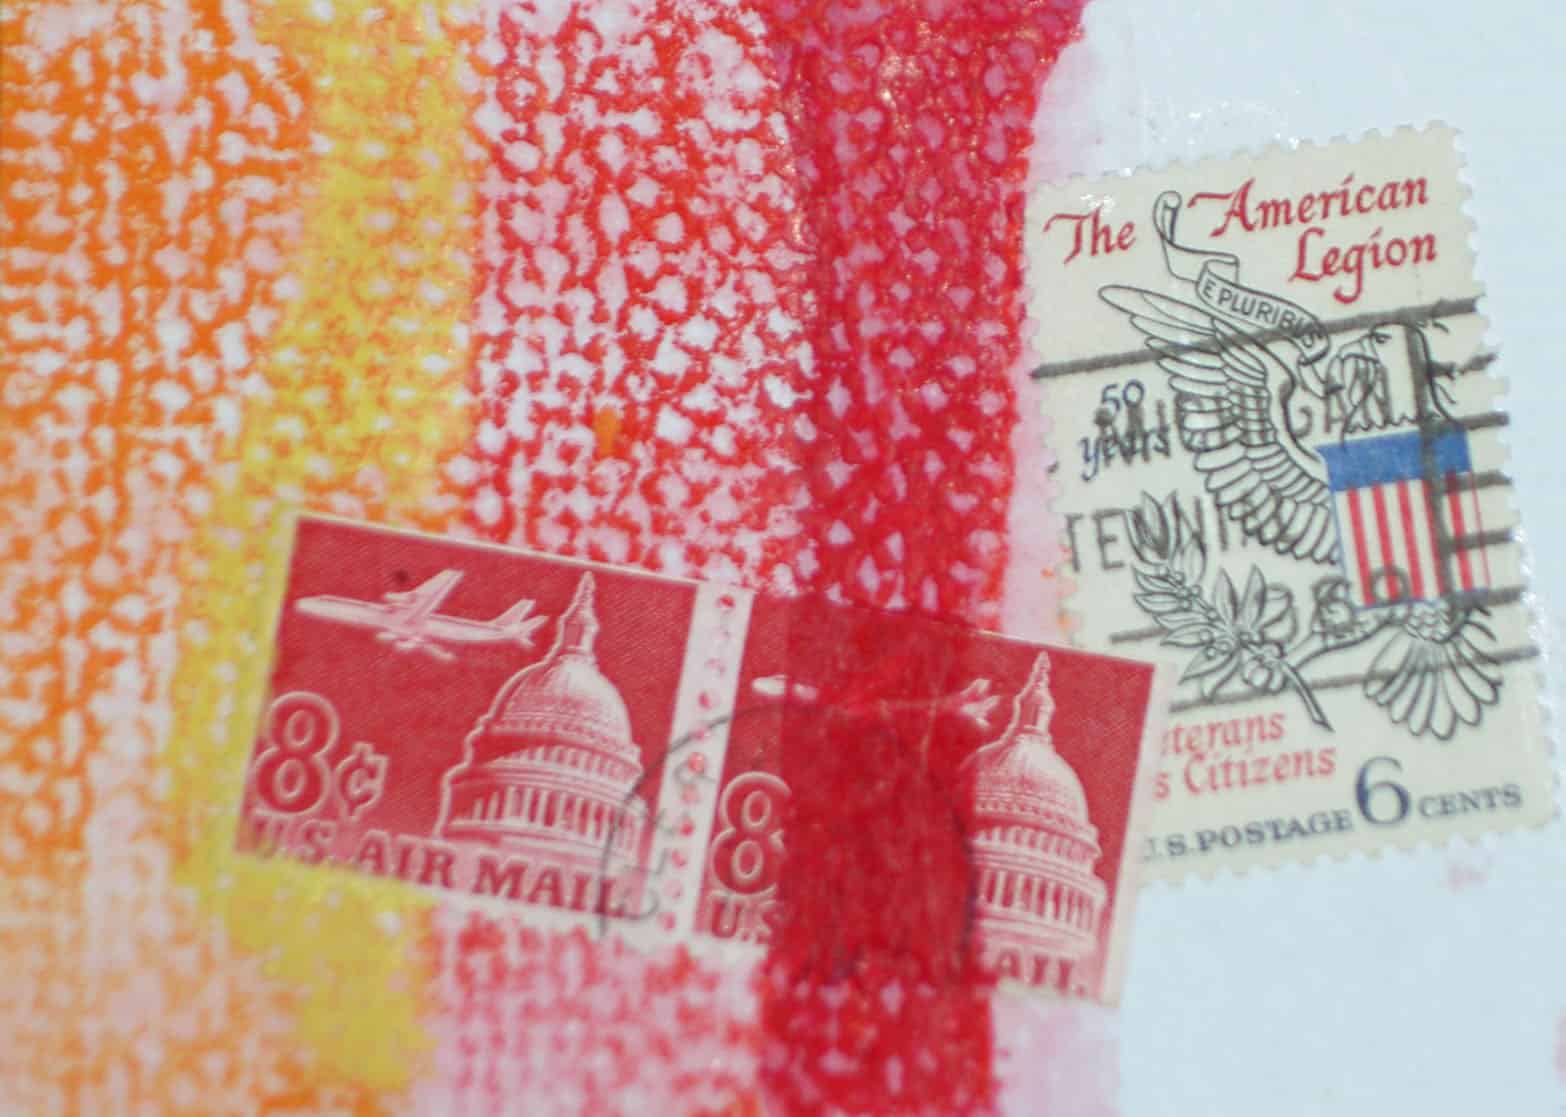
Bron also chose to make different designs. Her media varied quite a lot as well. She used fabric, paint, paper, beads and different ephemera such as stamps. I picked up the stamp card from Bron’s offerings.
Bron's Stamp ATC
The colors drew me to this piece. They were really vibrant and attractive. I am like a bee in spring, I guess. 😉 I really liked the textures on this card as well as the airmail stamps.
VS works
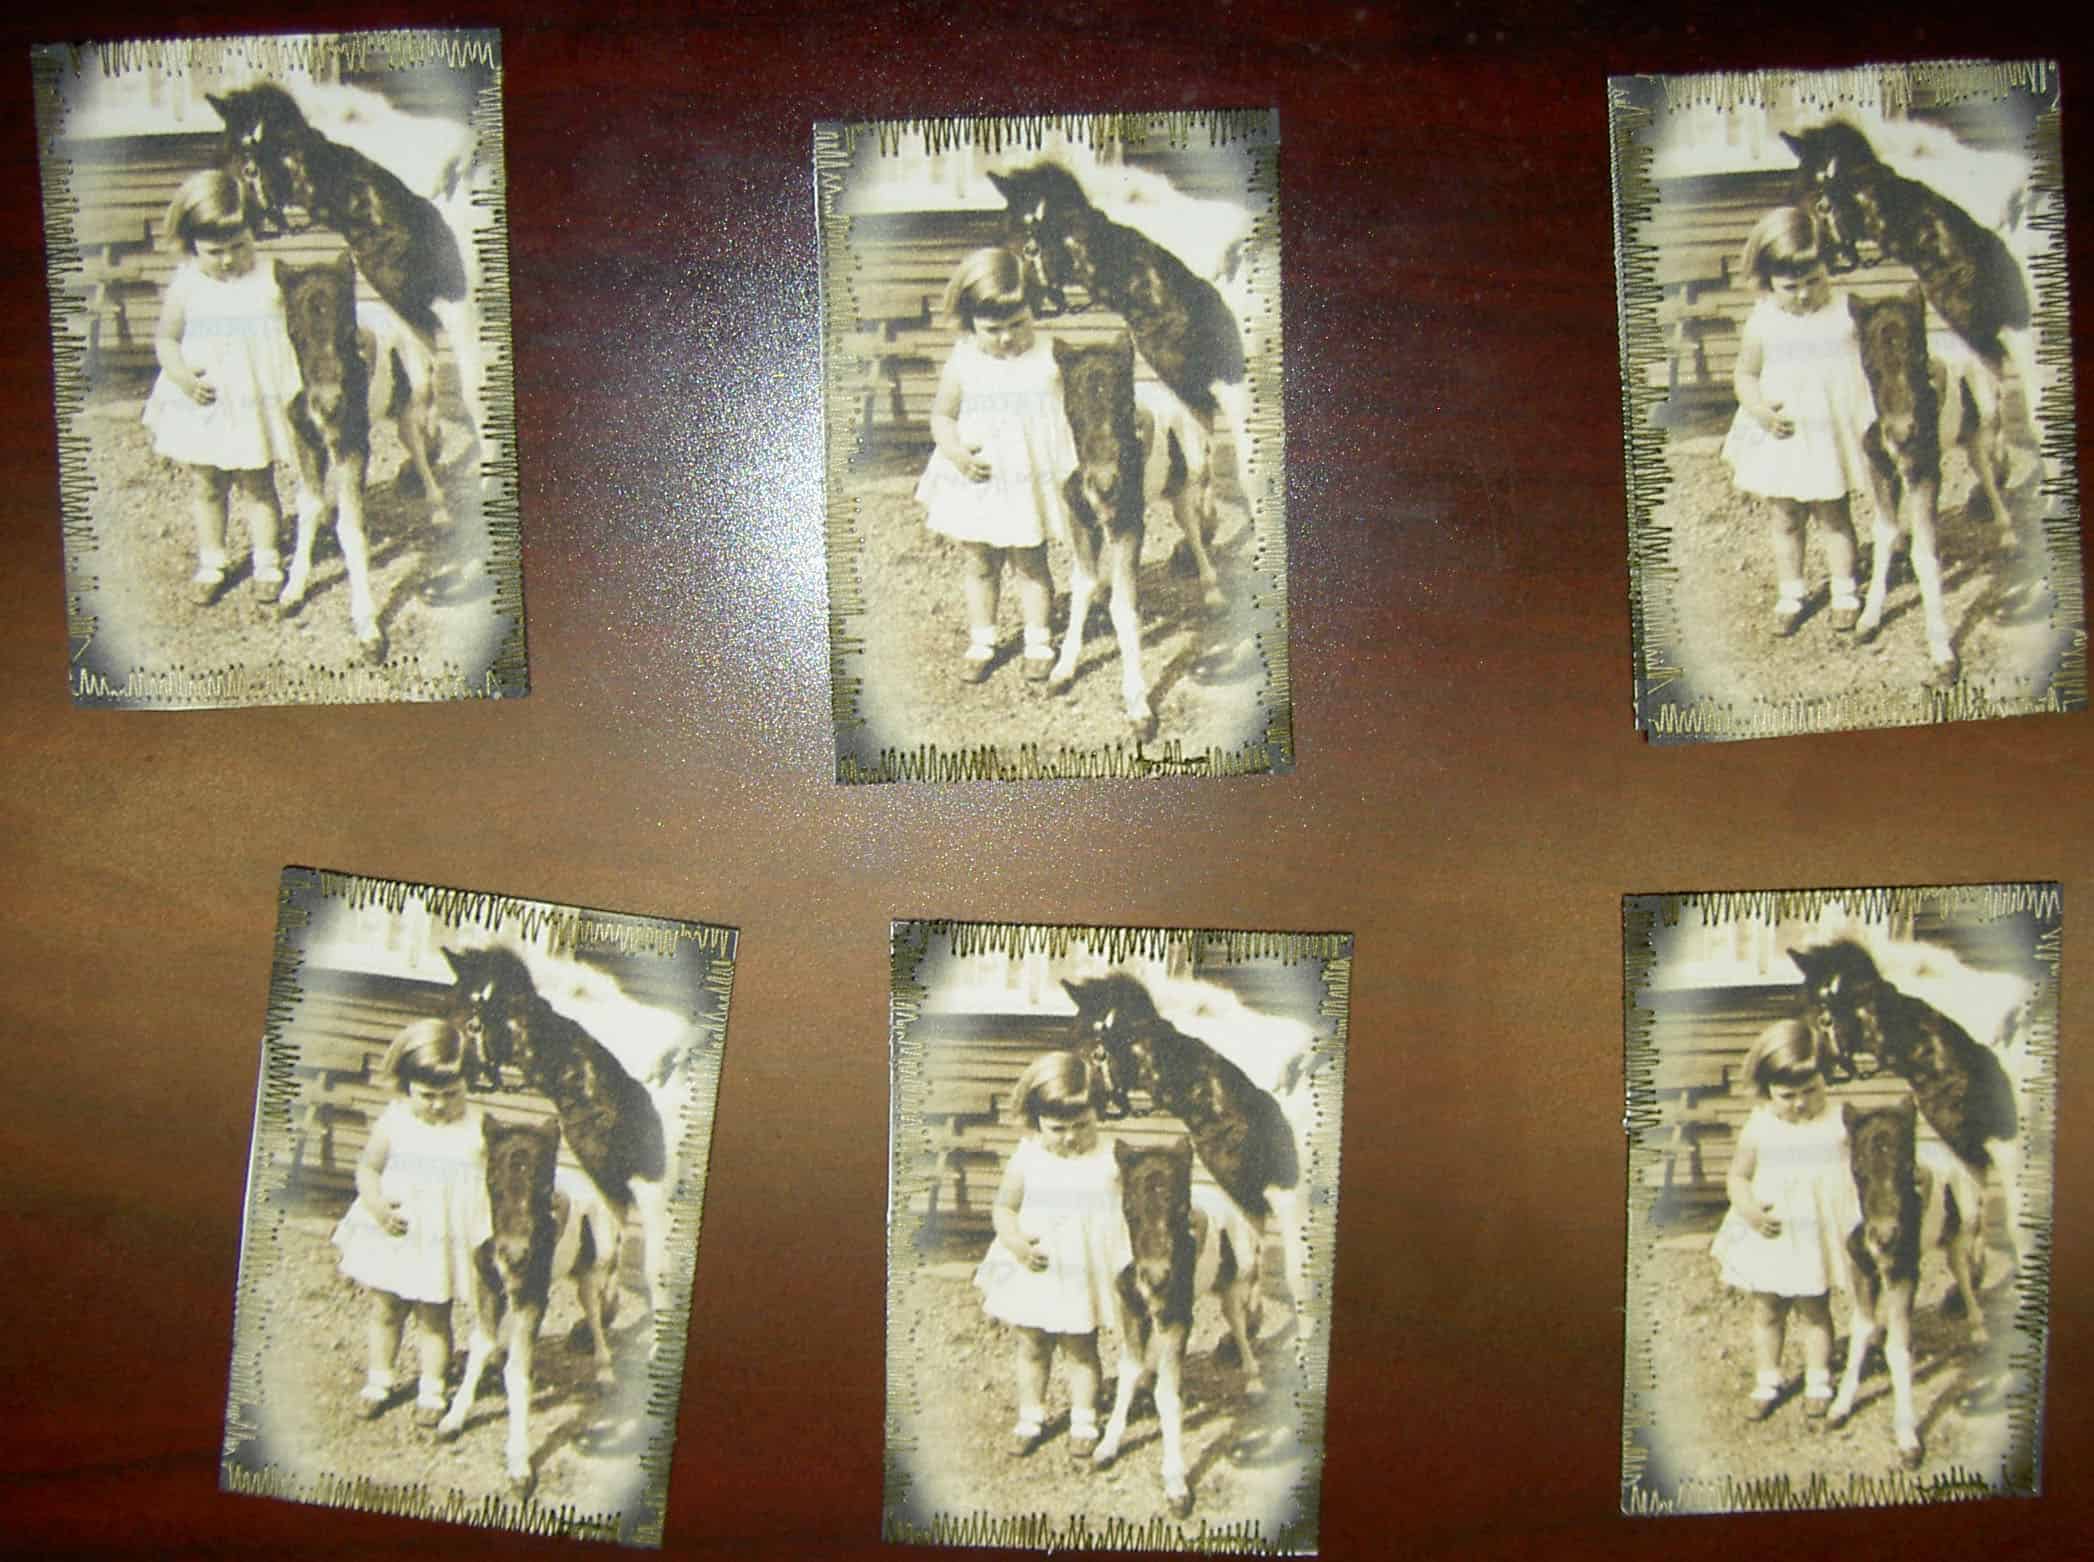
Virginia is a quiltmaker I really admire. She has a quiet presence that smolders. When she finishes a quilt or a set of placemats or something, they set the room on fire: excellent stitching, perfect corners, wonderful fabrics and a great design. I really wish she lived closer as I would try to spend more time learning with her.
Virginia did photo transfer with fabric, paper and stitching. I wasn’t as excited about them because of the black and white. I did love the stitching around the edge.
Diane brought some as well and somehow I missed photographing them. Perhaps next time.
While I am not particularly interested in ATCs, I found this to be a good exercise. Not so much in what I made, but in seeing what everyone else made and getting inspired by their work. I may have a chance to try out some of these ideas as Maureen suggested that he group make this activity a regular part of the meeting. Hhmm…
See the Creative Prompt page if you want to know how to participate in this project.
Post the specific URL or deep link where your drawing, doodle, artwork is posted, such as (but not limited to, on Flickr or your blog, in the comments area of this post. It is an easy and good way to keep all the artwork together.
These are the blocks that my SIL sent to me via DH-mail. I think i will be interesting to take a photo of all of the blocks together.
I made another couple over the weekend, but am writing for an even number before I photograph them. It is more interesting if I have a few to show you.
If you are an Orange County reader, then July 12 is your lucky day, because one of the artists from the Premier issue of Art Quilting Studio will be signing the issue. Stop if you can; I’d love to hear about it.
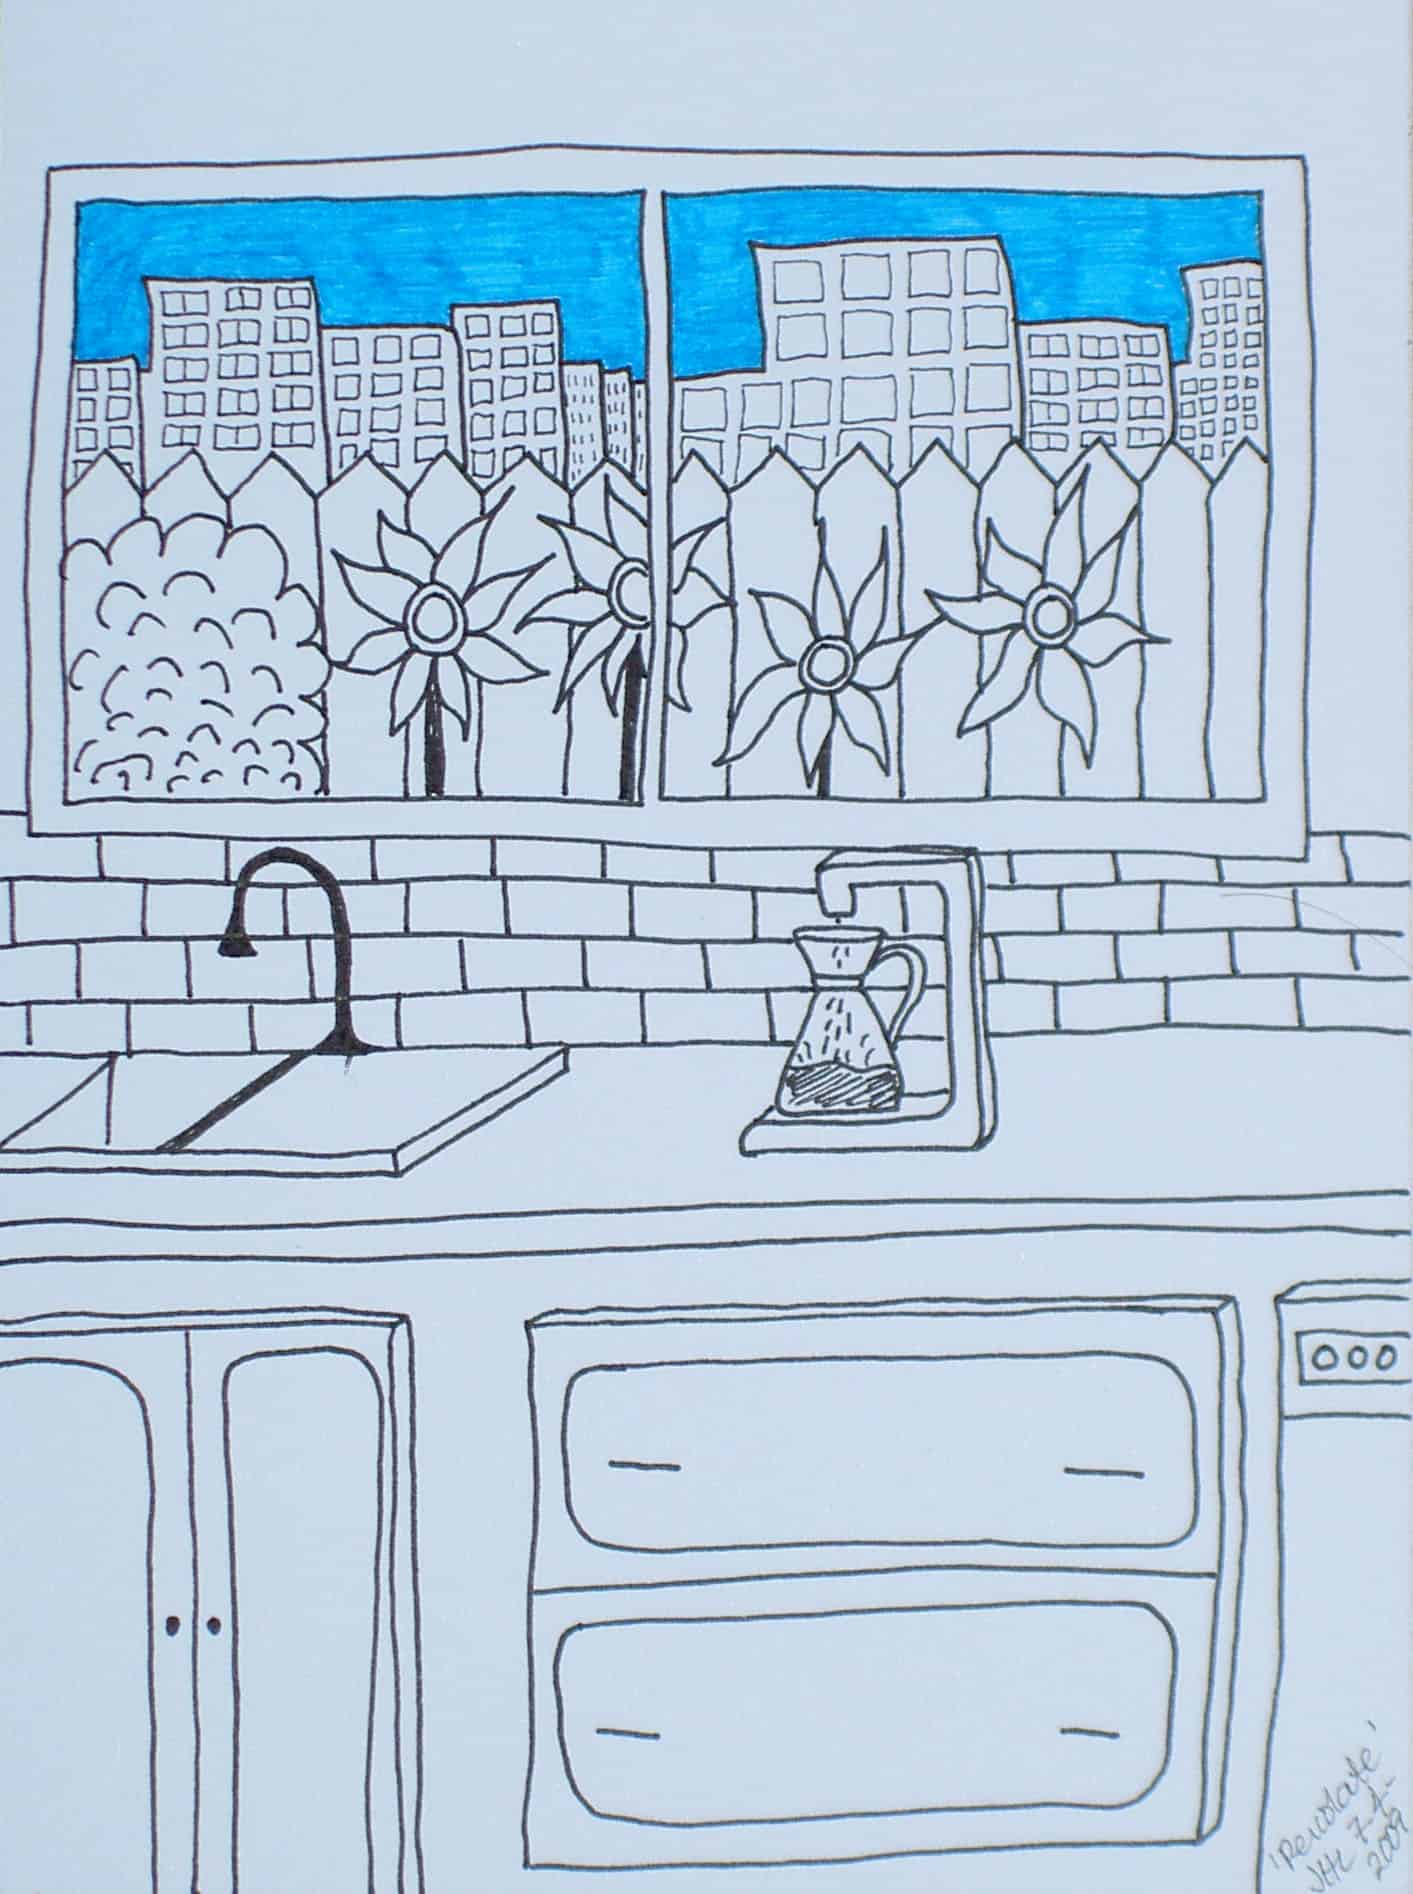
This drawing is different than some of the others. It has a little more detail – different types of detail and was a little more of a challenge. I took the prompt literally; that is a drip coffeemaker and not a percolator, but I often let ideas percolate while I am cooking breakfast. It is usually quiet.
Just a quick note to let you know that I am still working on fixing the blog. There is something wrong with the theme (Cutline, in case anyone is interested). It was behaving badly, so Deirdre changed it to this theme, which I know is not ideal in a number of ways. Yesterday we worked on rebuilding the right sidebar. I also looked at a bunch of possible other (free) themes as well as testing the old theme over and over to see if it was behaving itself.
In any case, we are working on it and will hopefully get back to normal soon. Thanks for your patience.
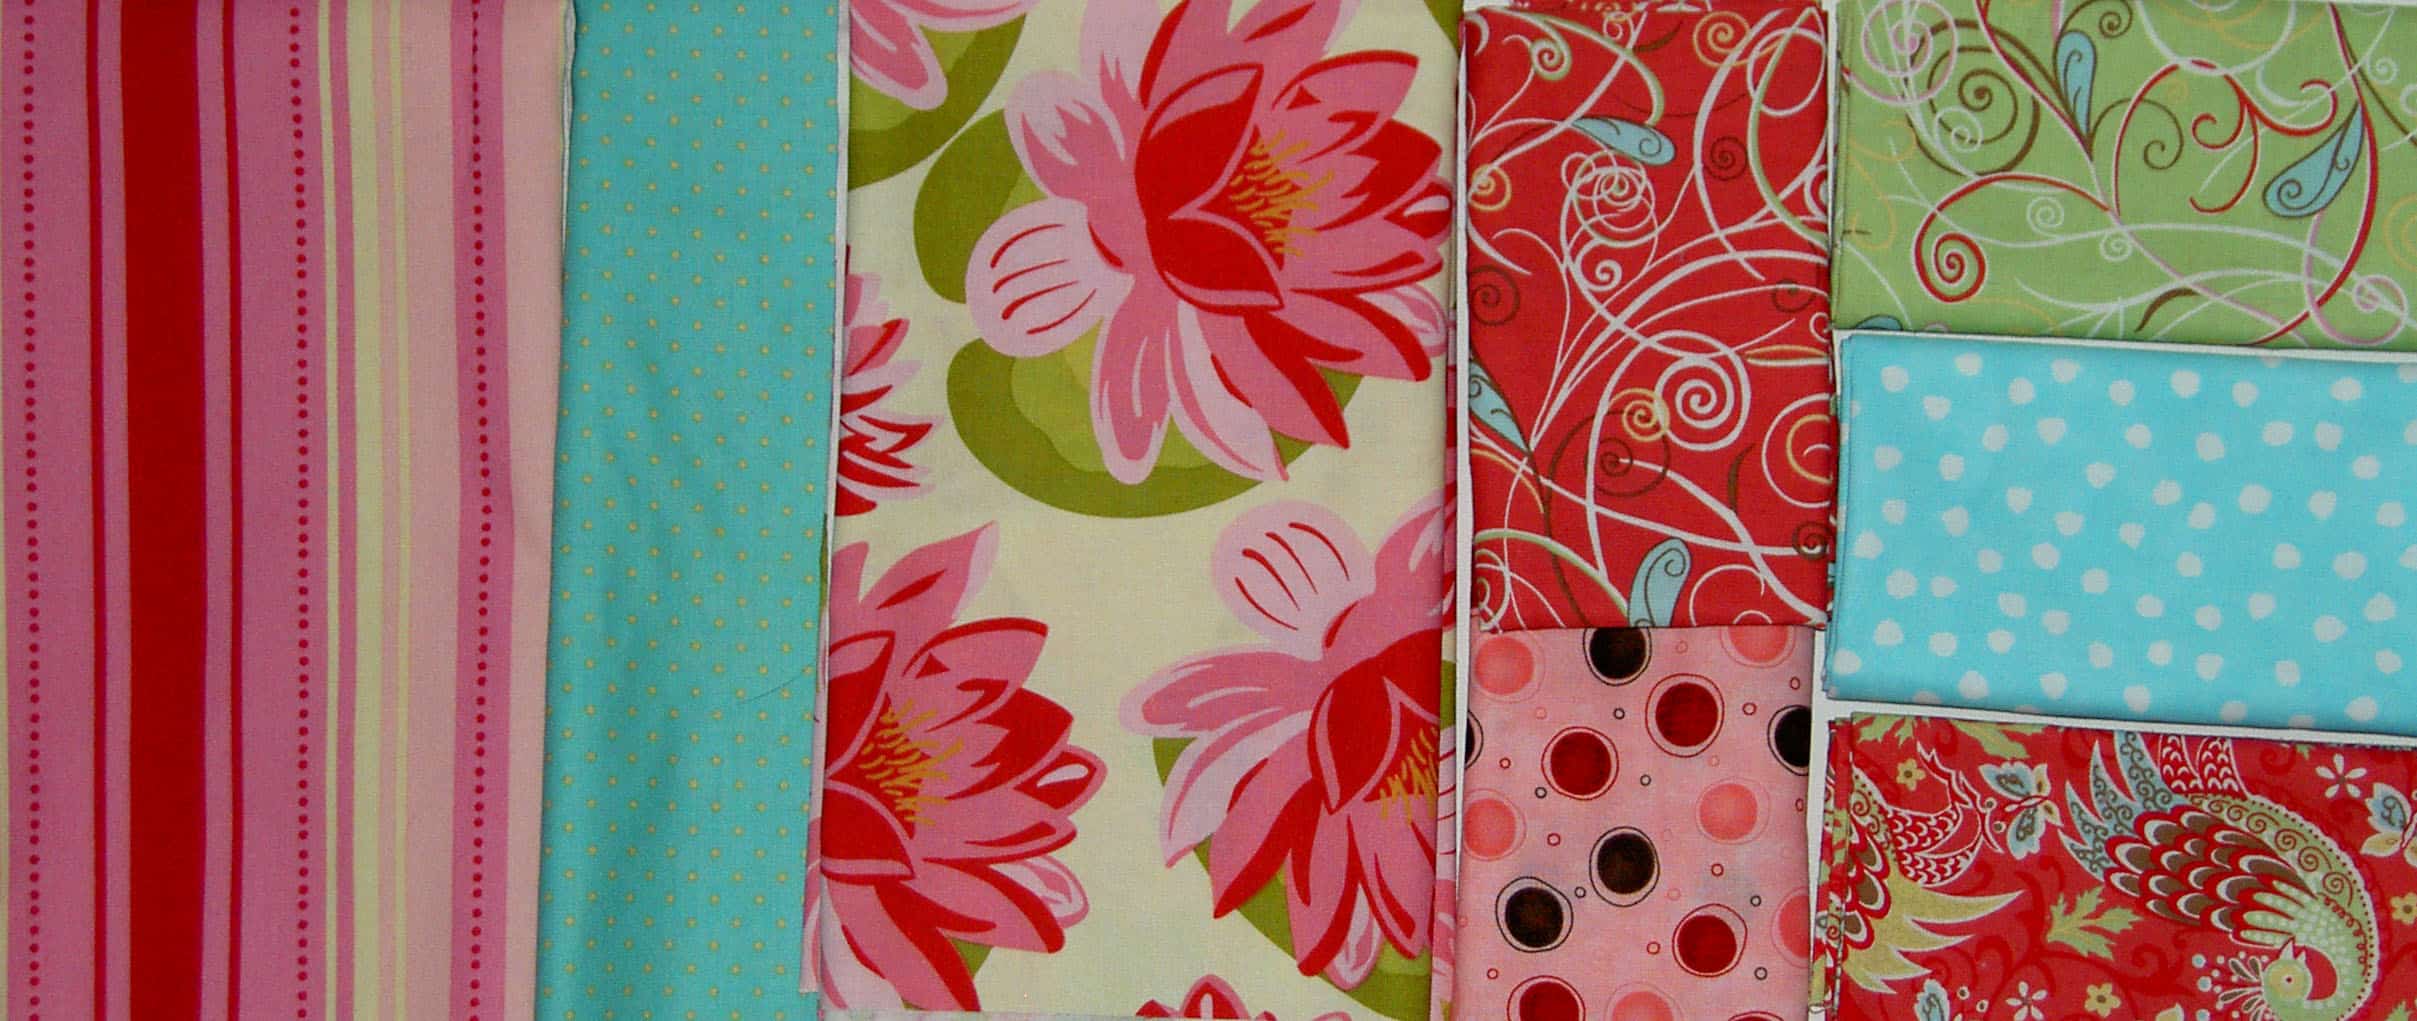
I bought some fabric. It was cheerful; I had ideas for what to use it for and I just couldn’t resist.
I loved the pink stripe and pink flowers on the left. They are cheerful. I, first, bought a half yard of each to go with the blue. As I was chatting with the cutting lady, I decided that they would both make fabulous tote bags, so I bought enough for tote bags. The others are fat quarters that I thought were cheerful. The funny part was that the cutting lady kept all the bolts aside so she could get some of the same fabric.
I need to get busy on tote bags as I now have the fabric to make four of them!
SherriD has been encouraging me to include some cookies in the Tarts. I have a bunch of good reasons why I can’t or won’t. Mostly, I haven’t been successful at drawing them so viewers know they are a cookie. Of course, SherriD, resourceful quiltmaker that she is, found this quilt. I am sticking to my guns, but you can weigh in with your opinion below.
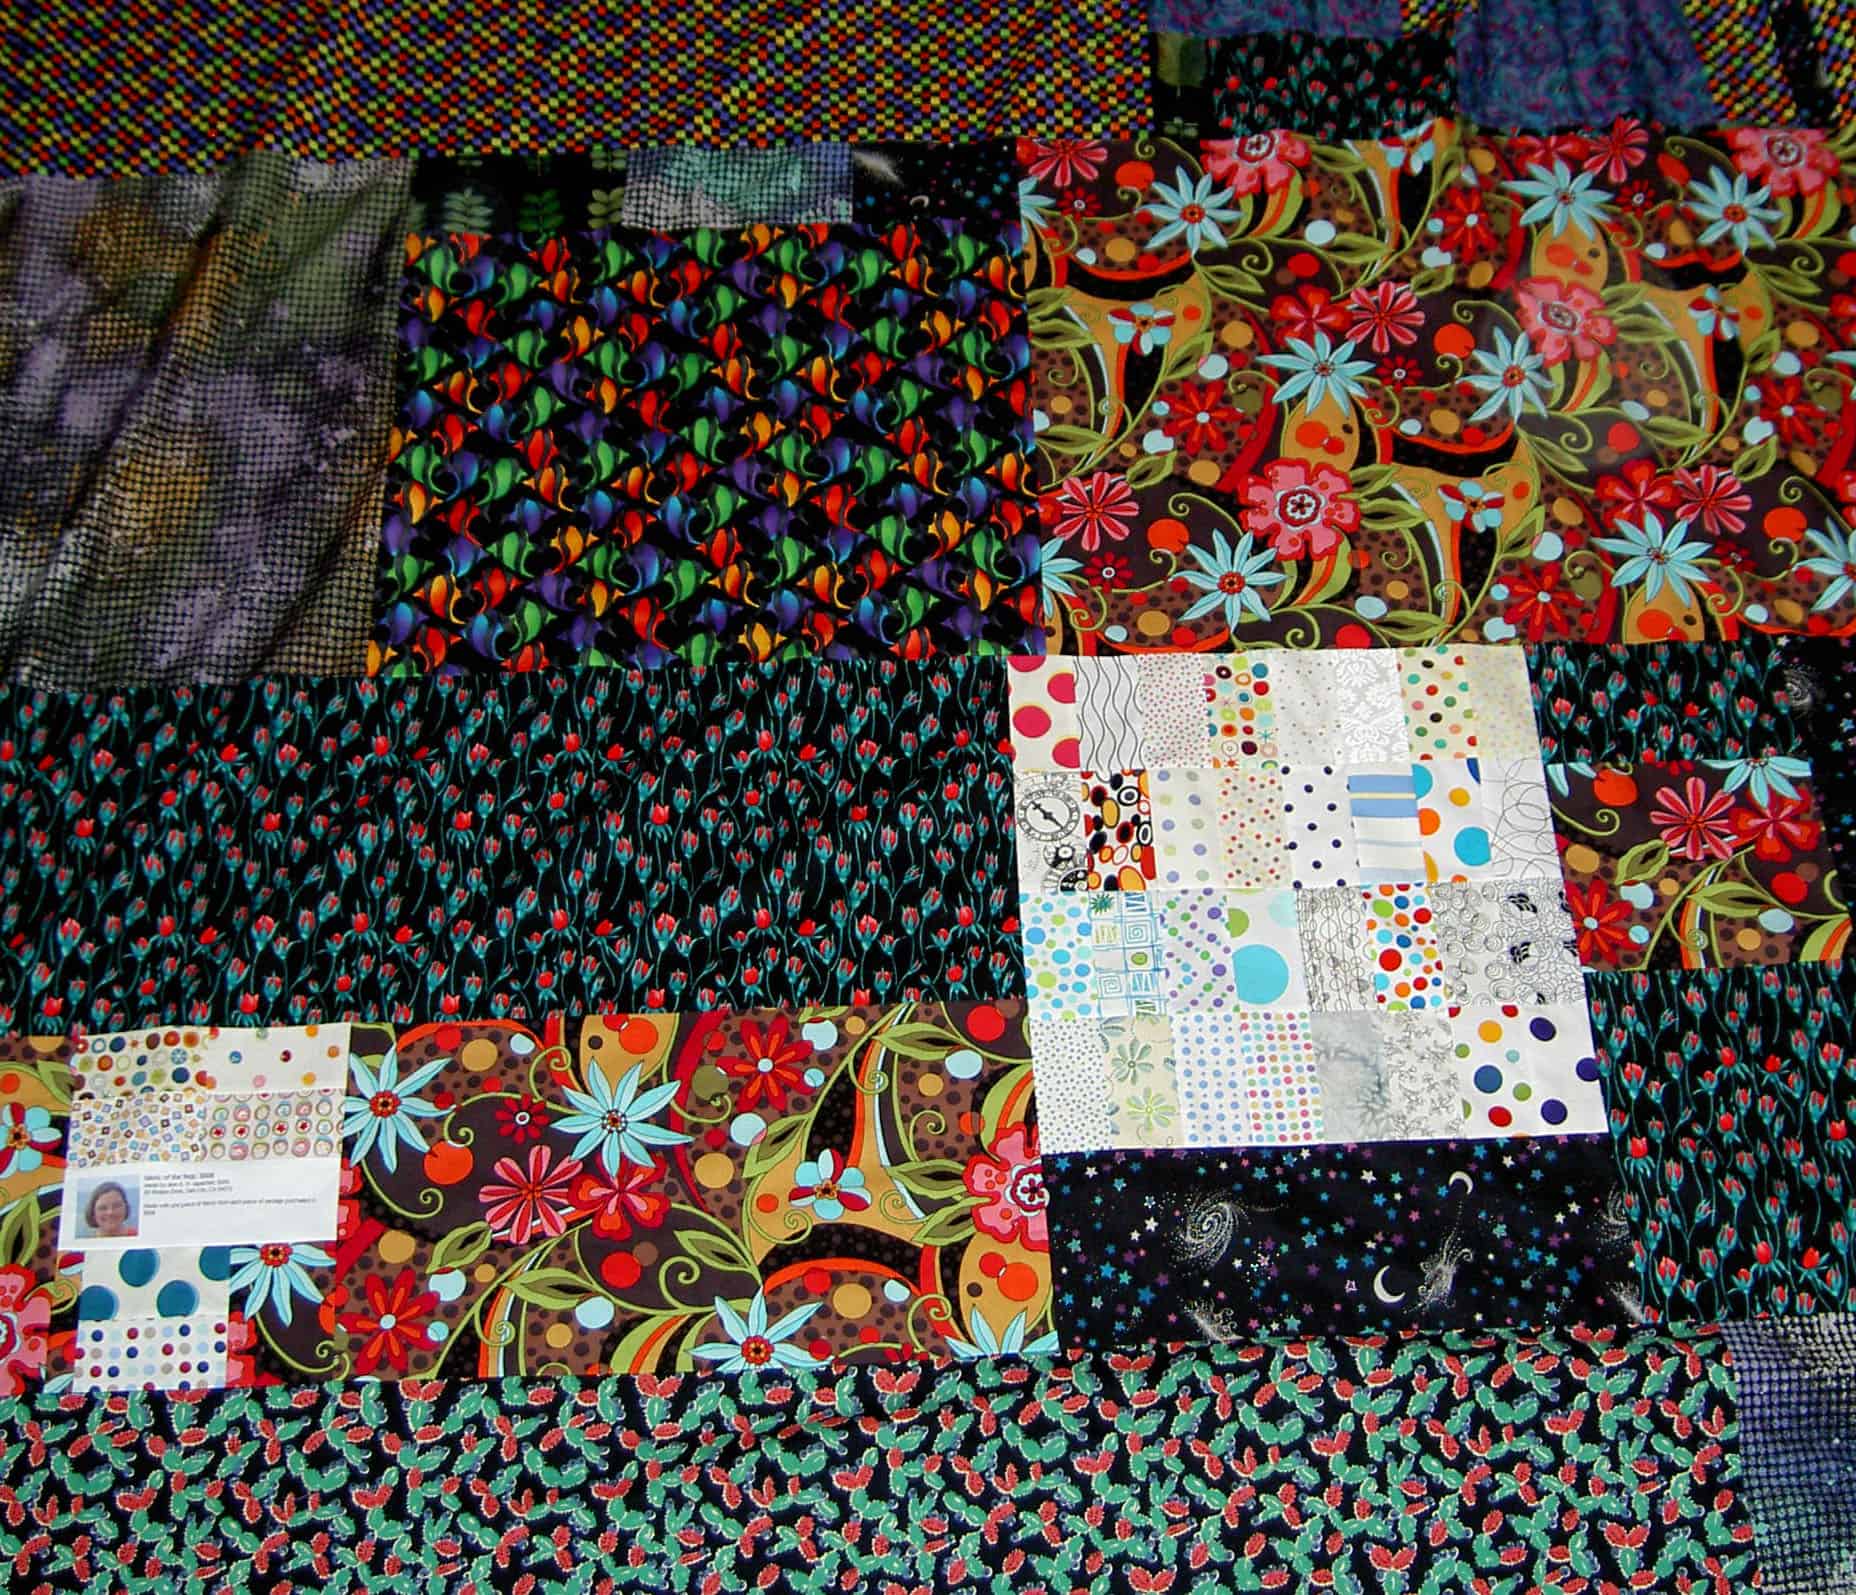
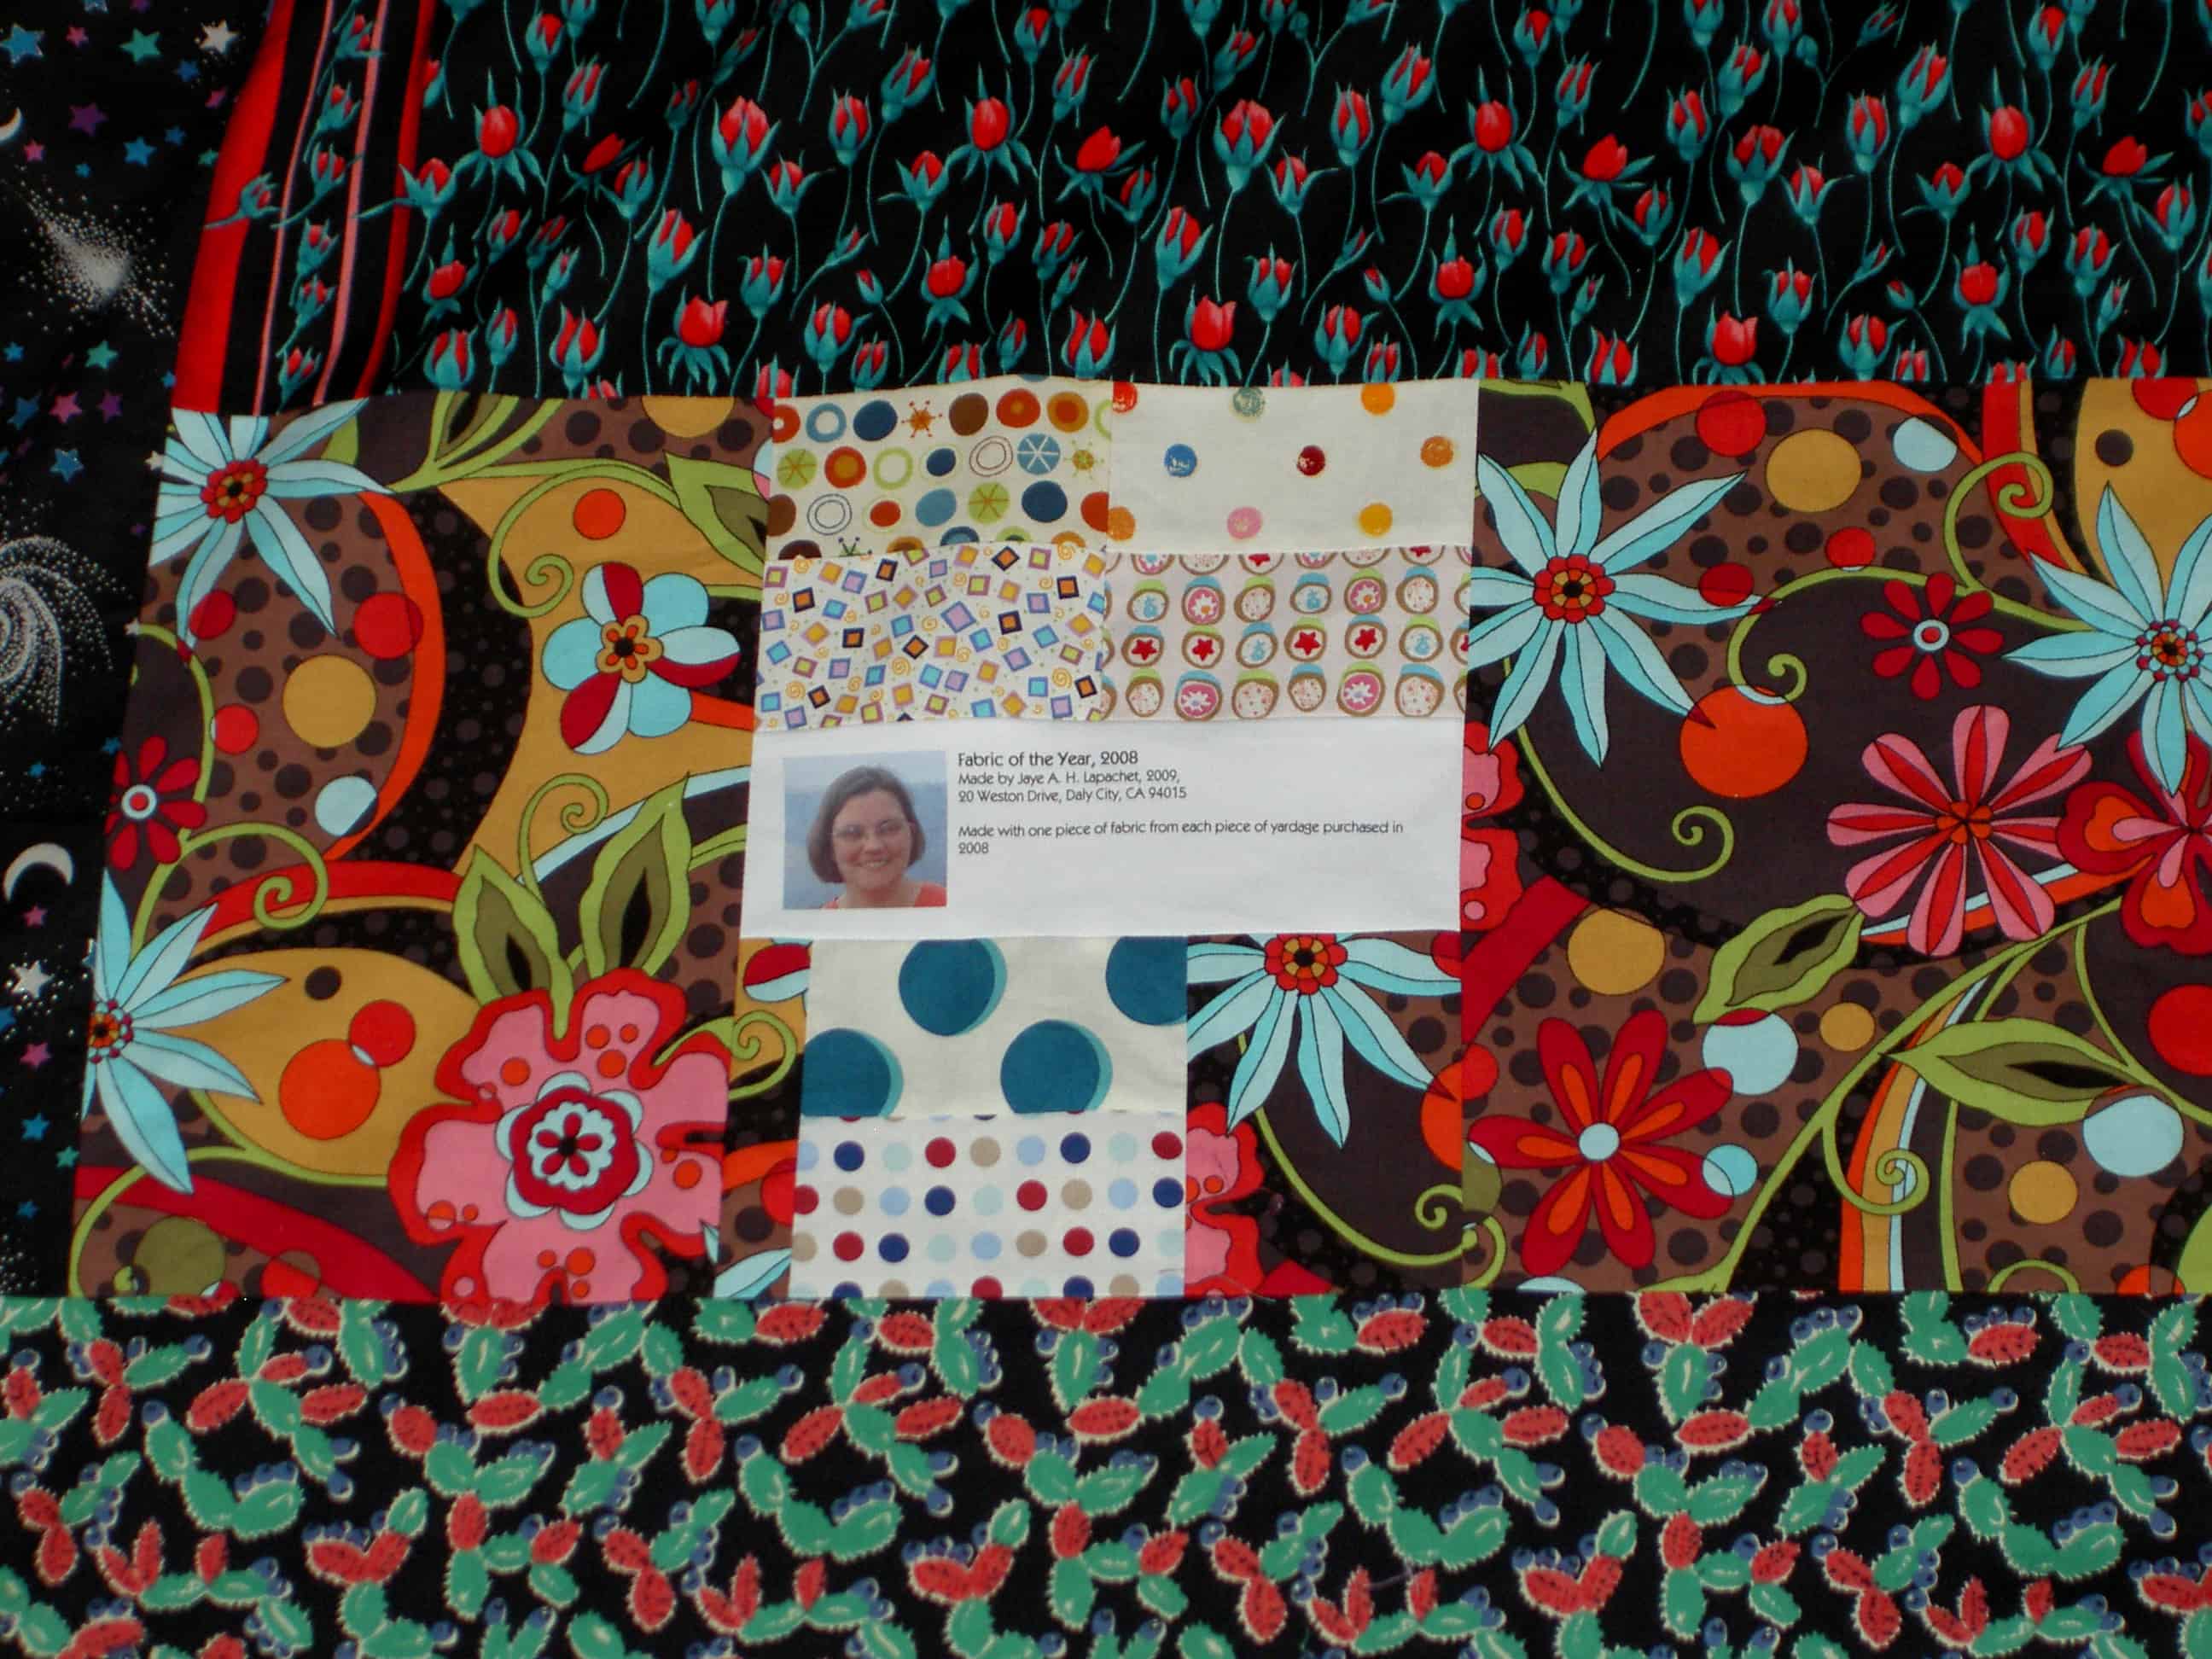
I spent time yesterday machine quilting the Fabric of the Year 2008 quilt at Always Quilting. It took me 3.25 hours from the time I started pinning the piece to the machine until I took it off. It was the fastest I have ever done longarming-all three times I have quilted a quilt on the longarm! I can’t really take all the credit credit for the speed, however. I did focus on the longarming, but the helper did everything for me except the actual quilting.
The quilting part is actually the speediest part of the longarm process. The other parts of the process are pretty time consuming. You have to, first, pin the quilt to the leaders on the machine afer you center it. When the bobbin runs out of the thread, you have to wind and change the bobbin and start up again, etc. While these tasks sound really straightforward, they add to the time it takes to move the process along.
Since I am not an expert, all of these tasks take me longer. I need to learn how to complete the whole process alone. In order to get the process straight in my head, I need time. I need time to think and make logical connections between the tasks while I am quilting.
Today was not the day to do this. They wanted me to quilt my quilt and get off the machine. They had a Kid’s Camp going and needed to have one of the girls finish her quilt after I was done and by the end of the day. As a result, anything except for the pinning and the quilting was done by my helper. I didn’t ask her to do this. She just, basically, muscled me out of the way and did it. It was fine. I have had a long week or so and was tired.
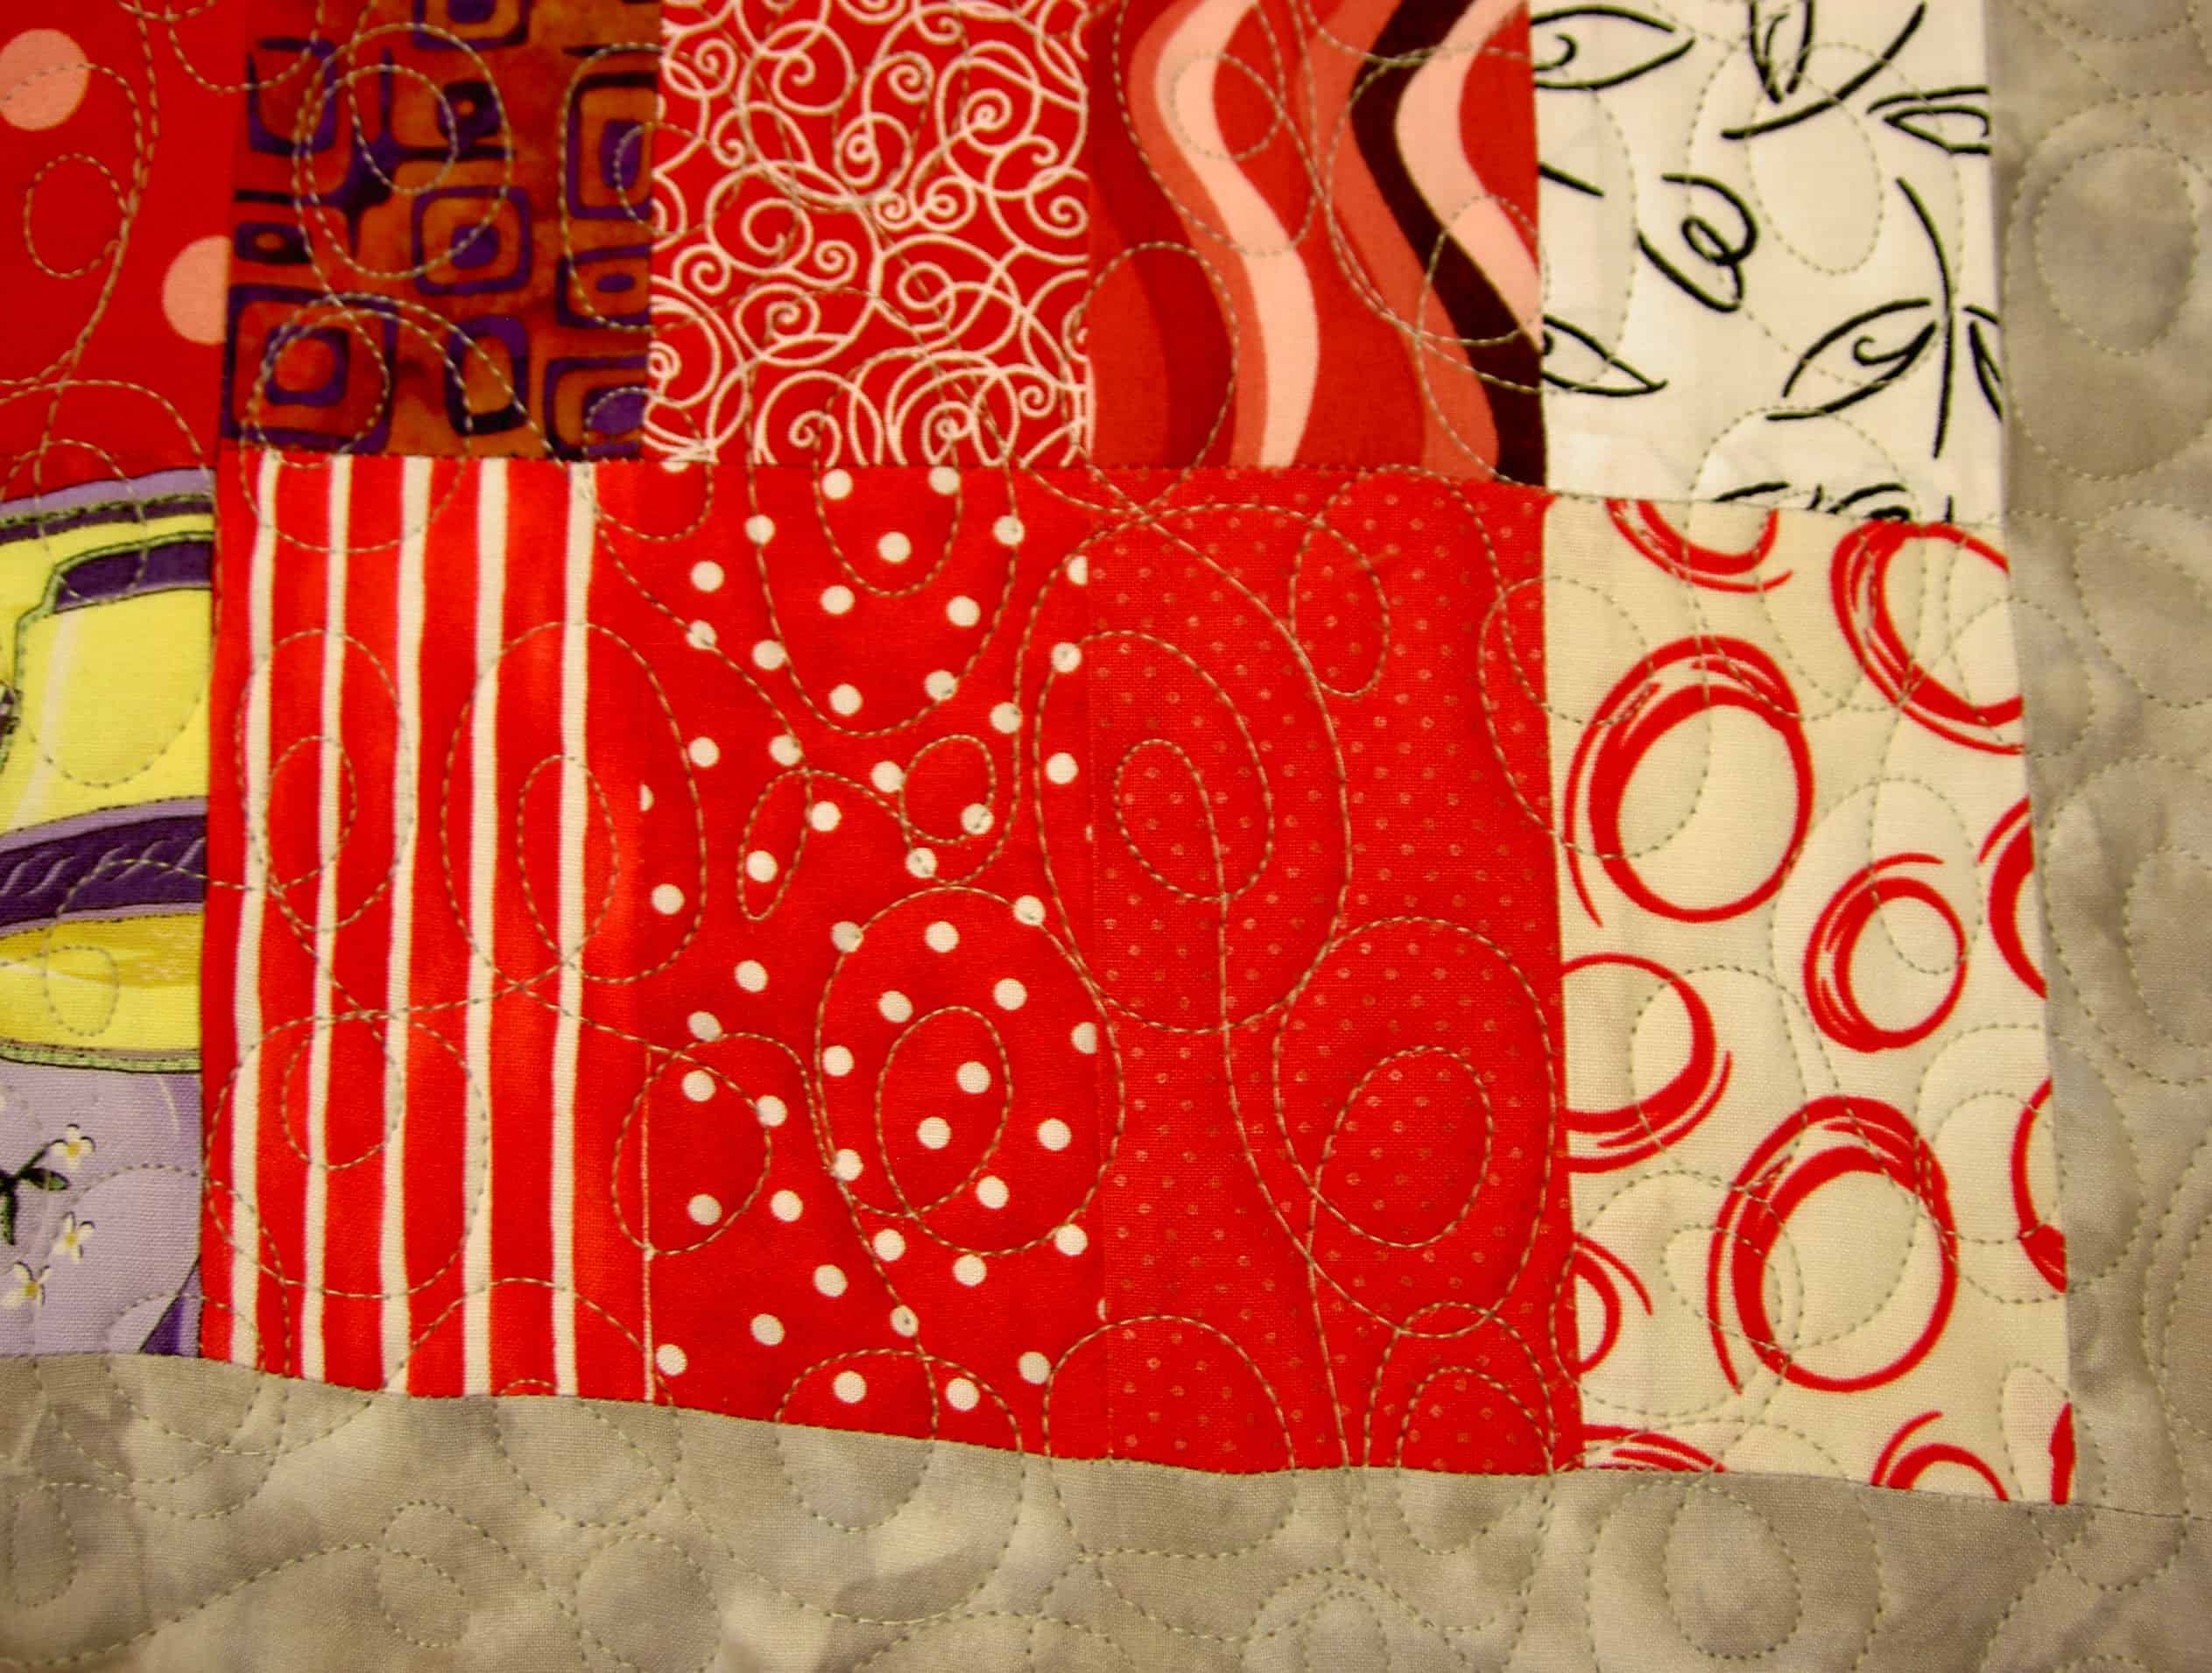
Quilting, detail
I am particularly fond of the quilting in the red next to the red circles with white background.
Quilting, detail 2
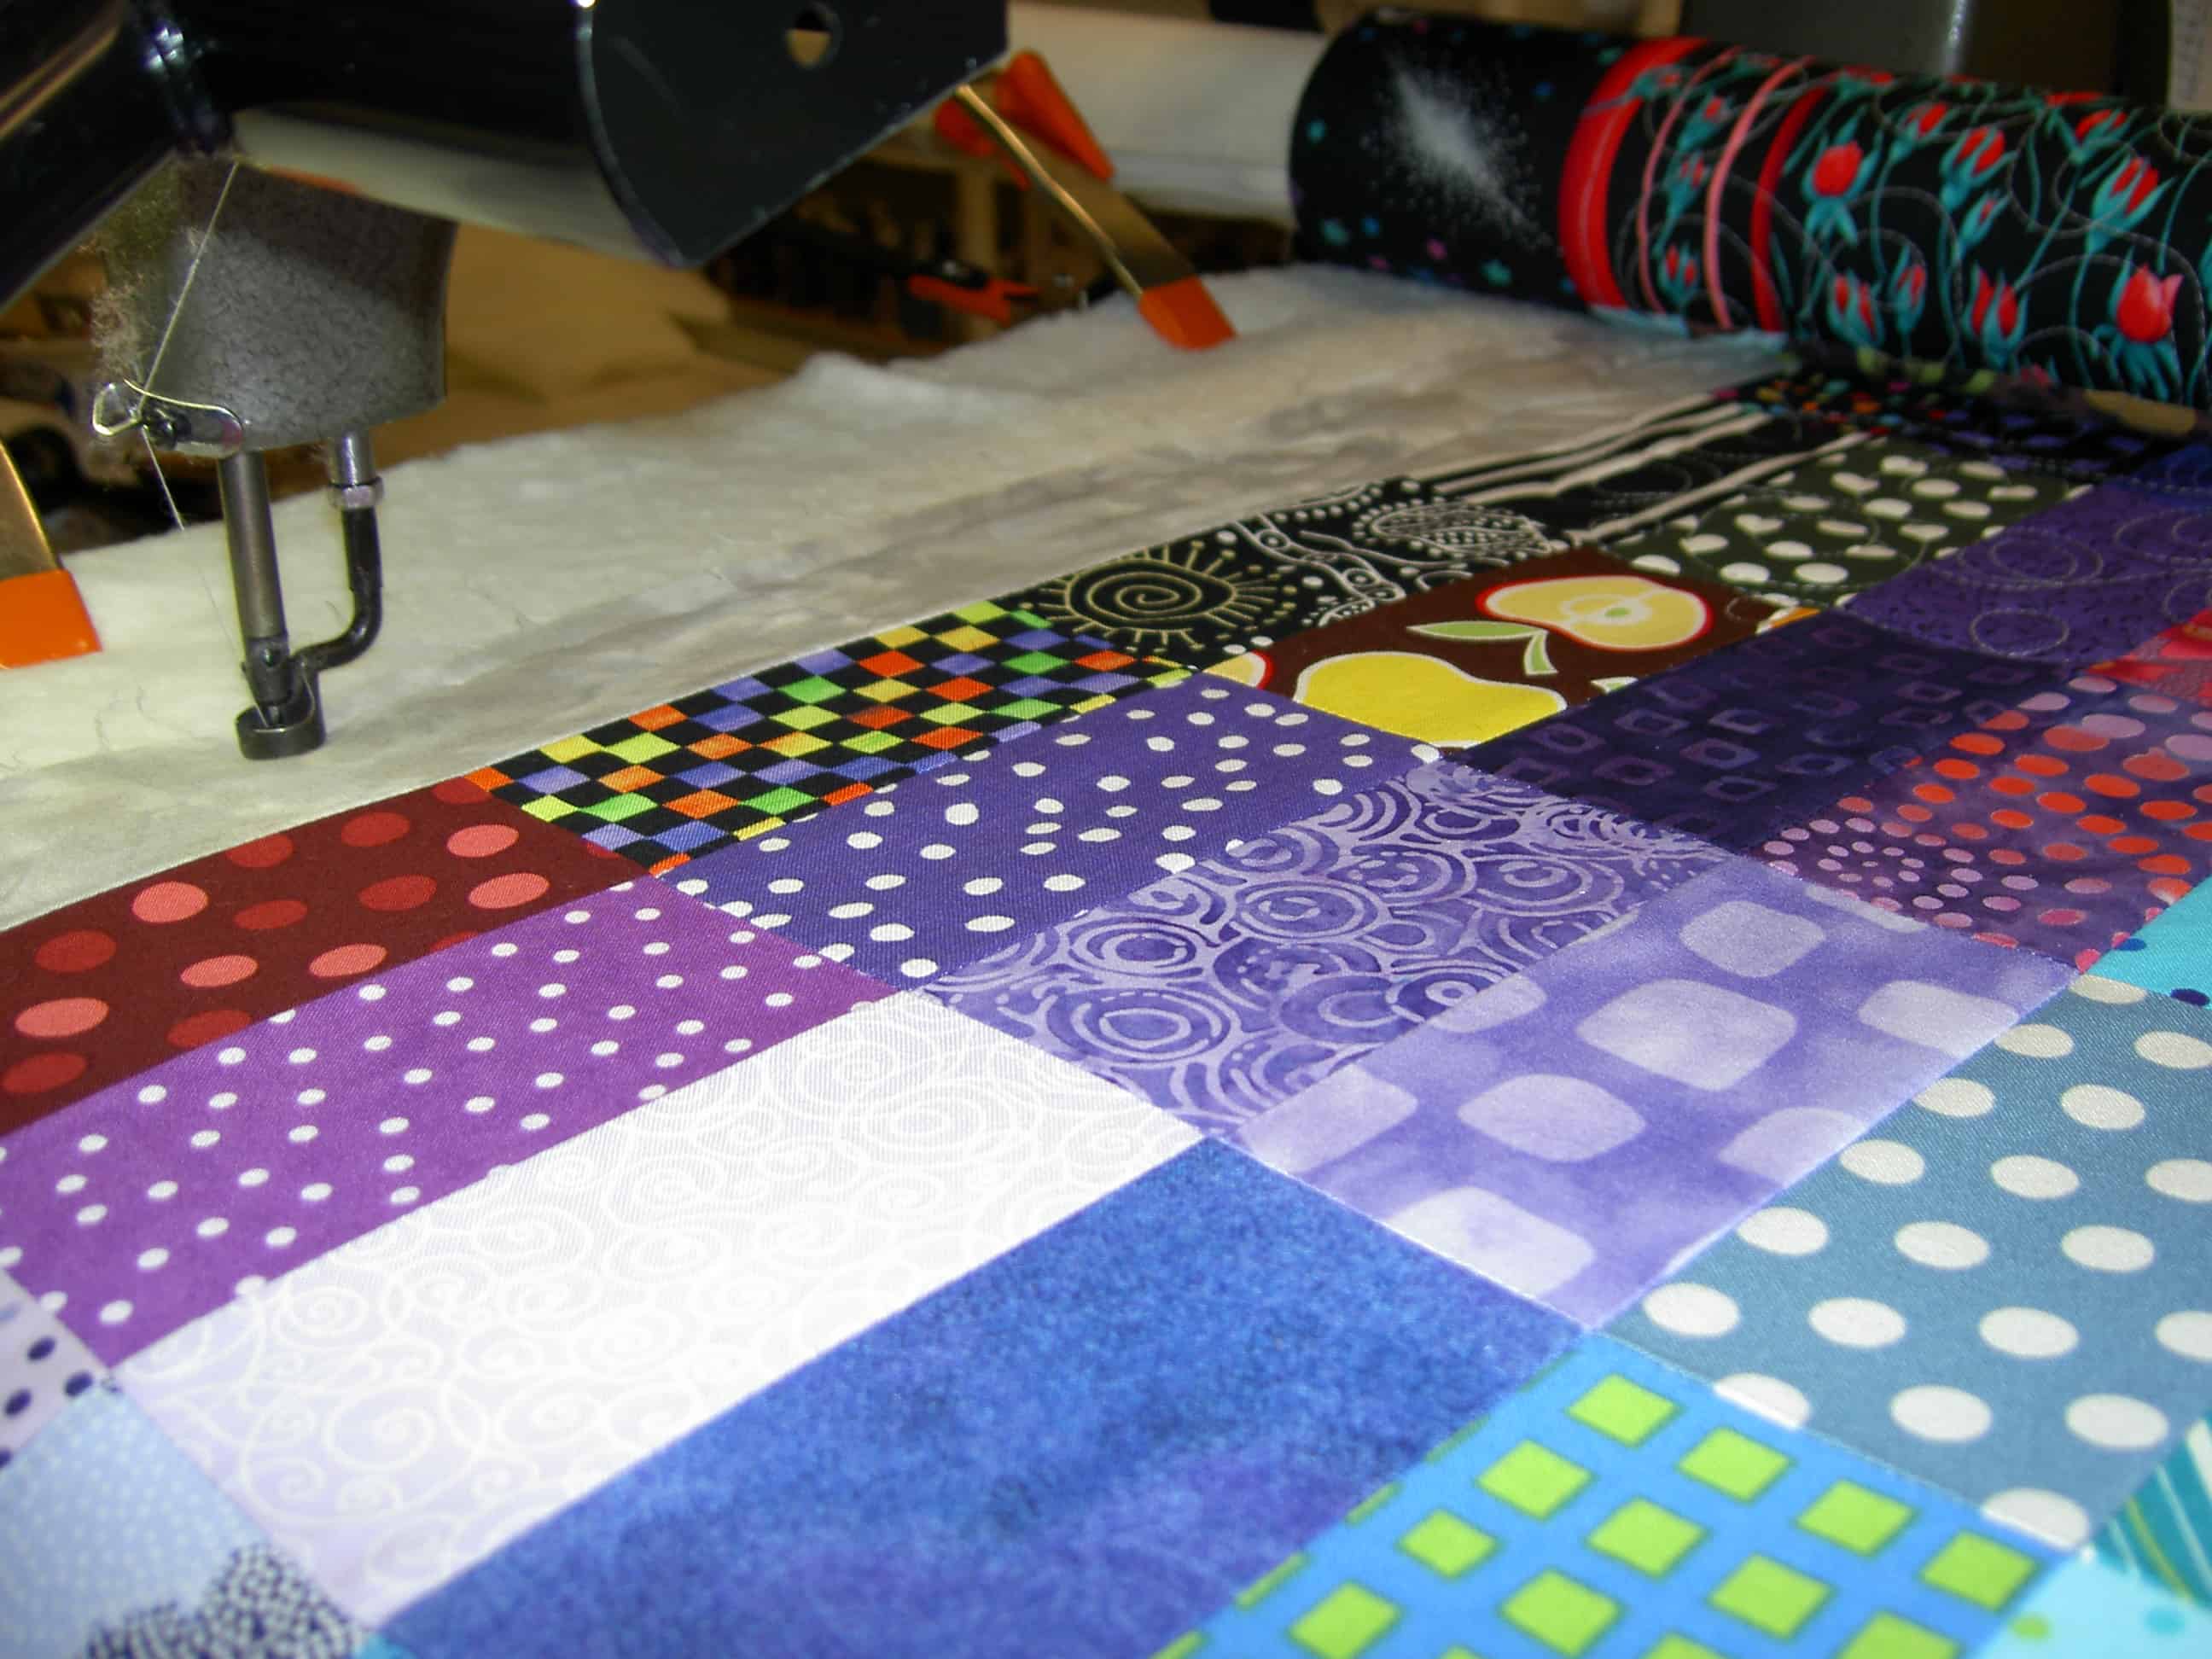
I stopped in this spot for some reason and snapped a picture so you could see an image of quilting and non-quilted spaces. See how tight the quilt is? You could bounce a quarter off of the top.
Back of FOTY 2008Back of FOTY 2008, detail of label
I make my labels by printing on fabric something that I type into a word processing program, like Word.
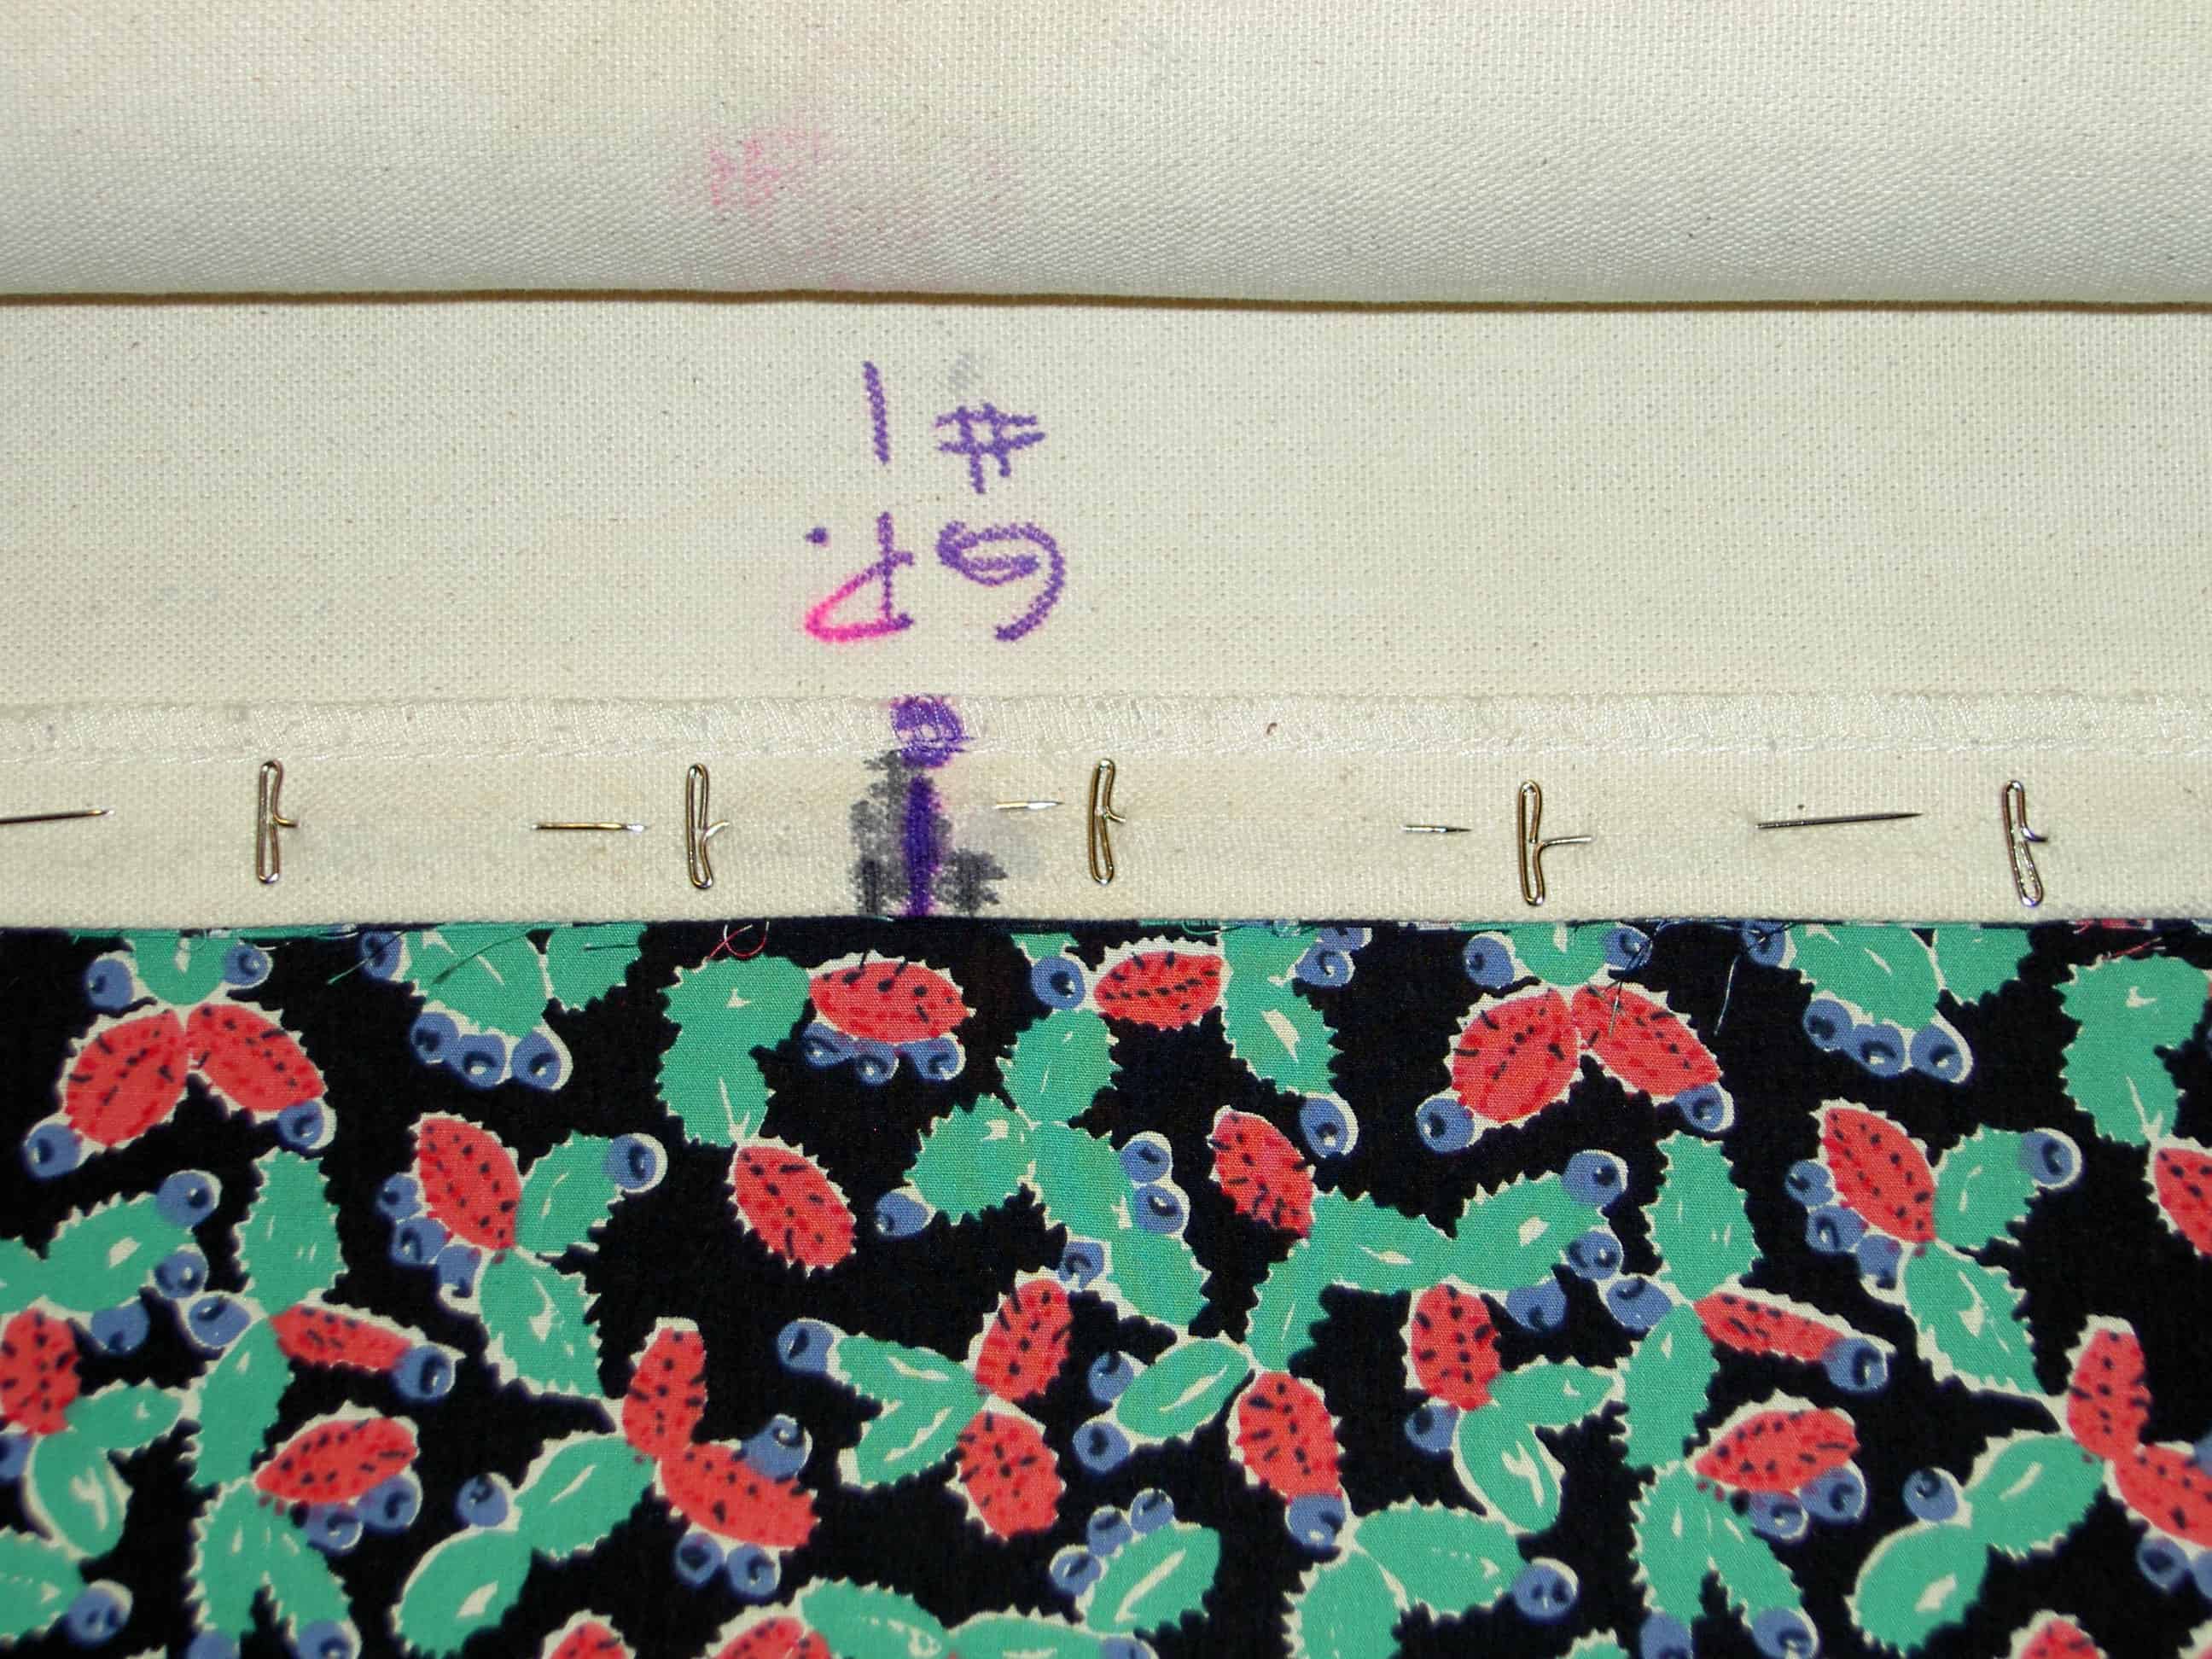
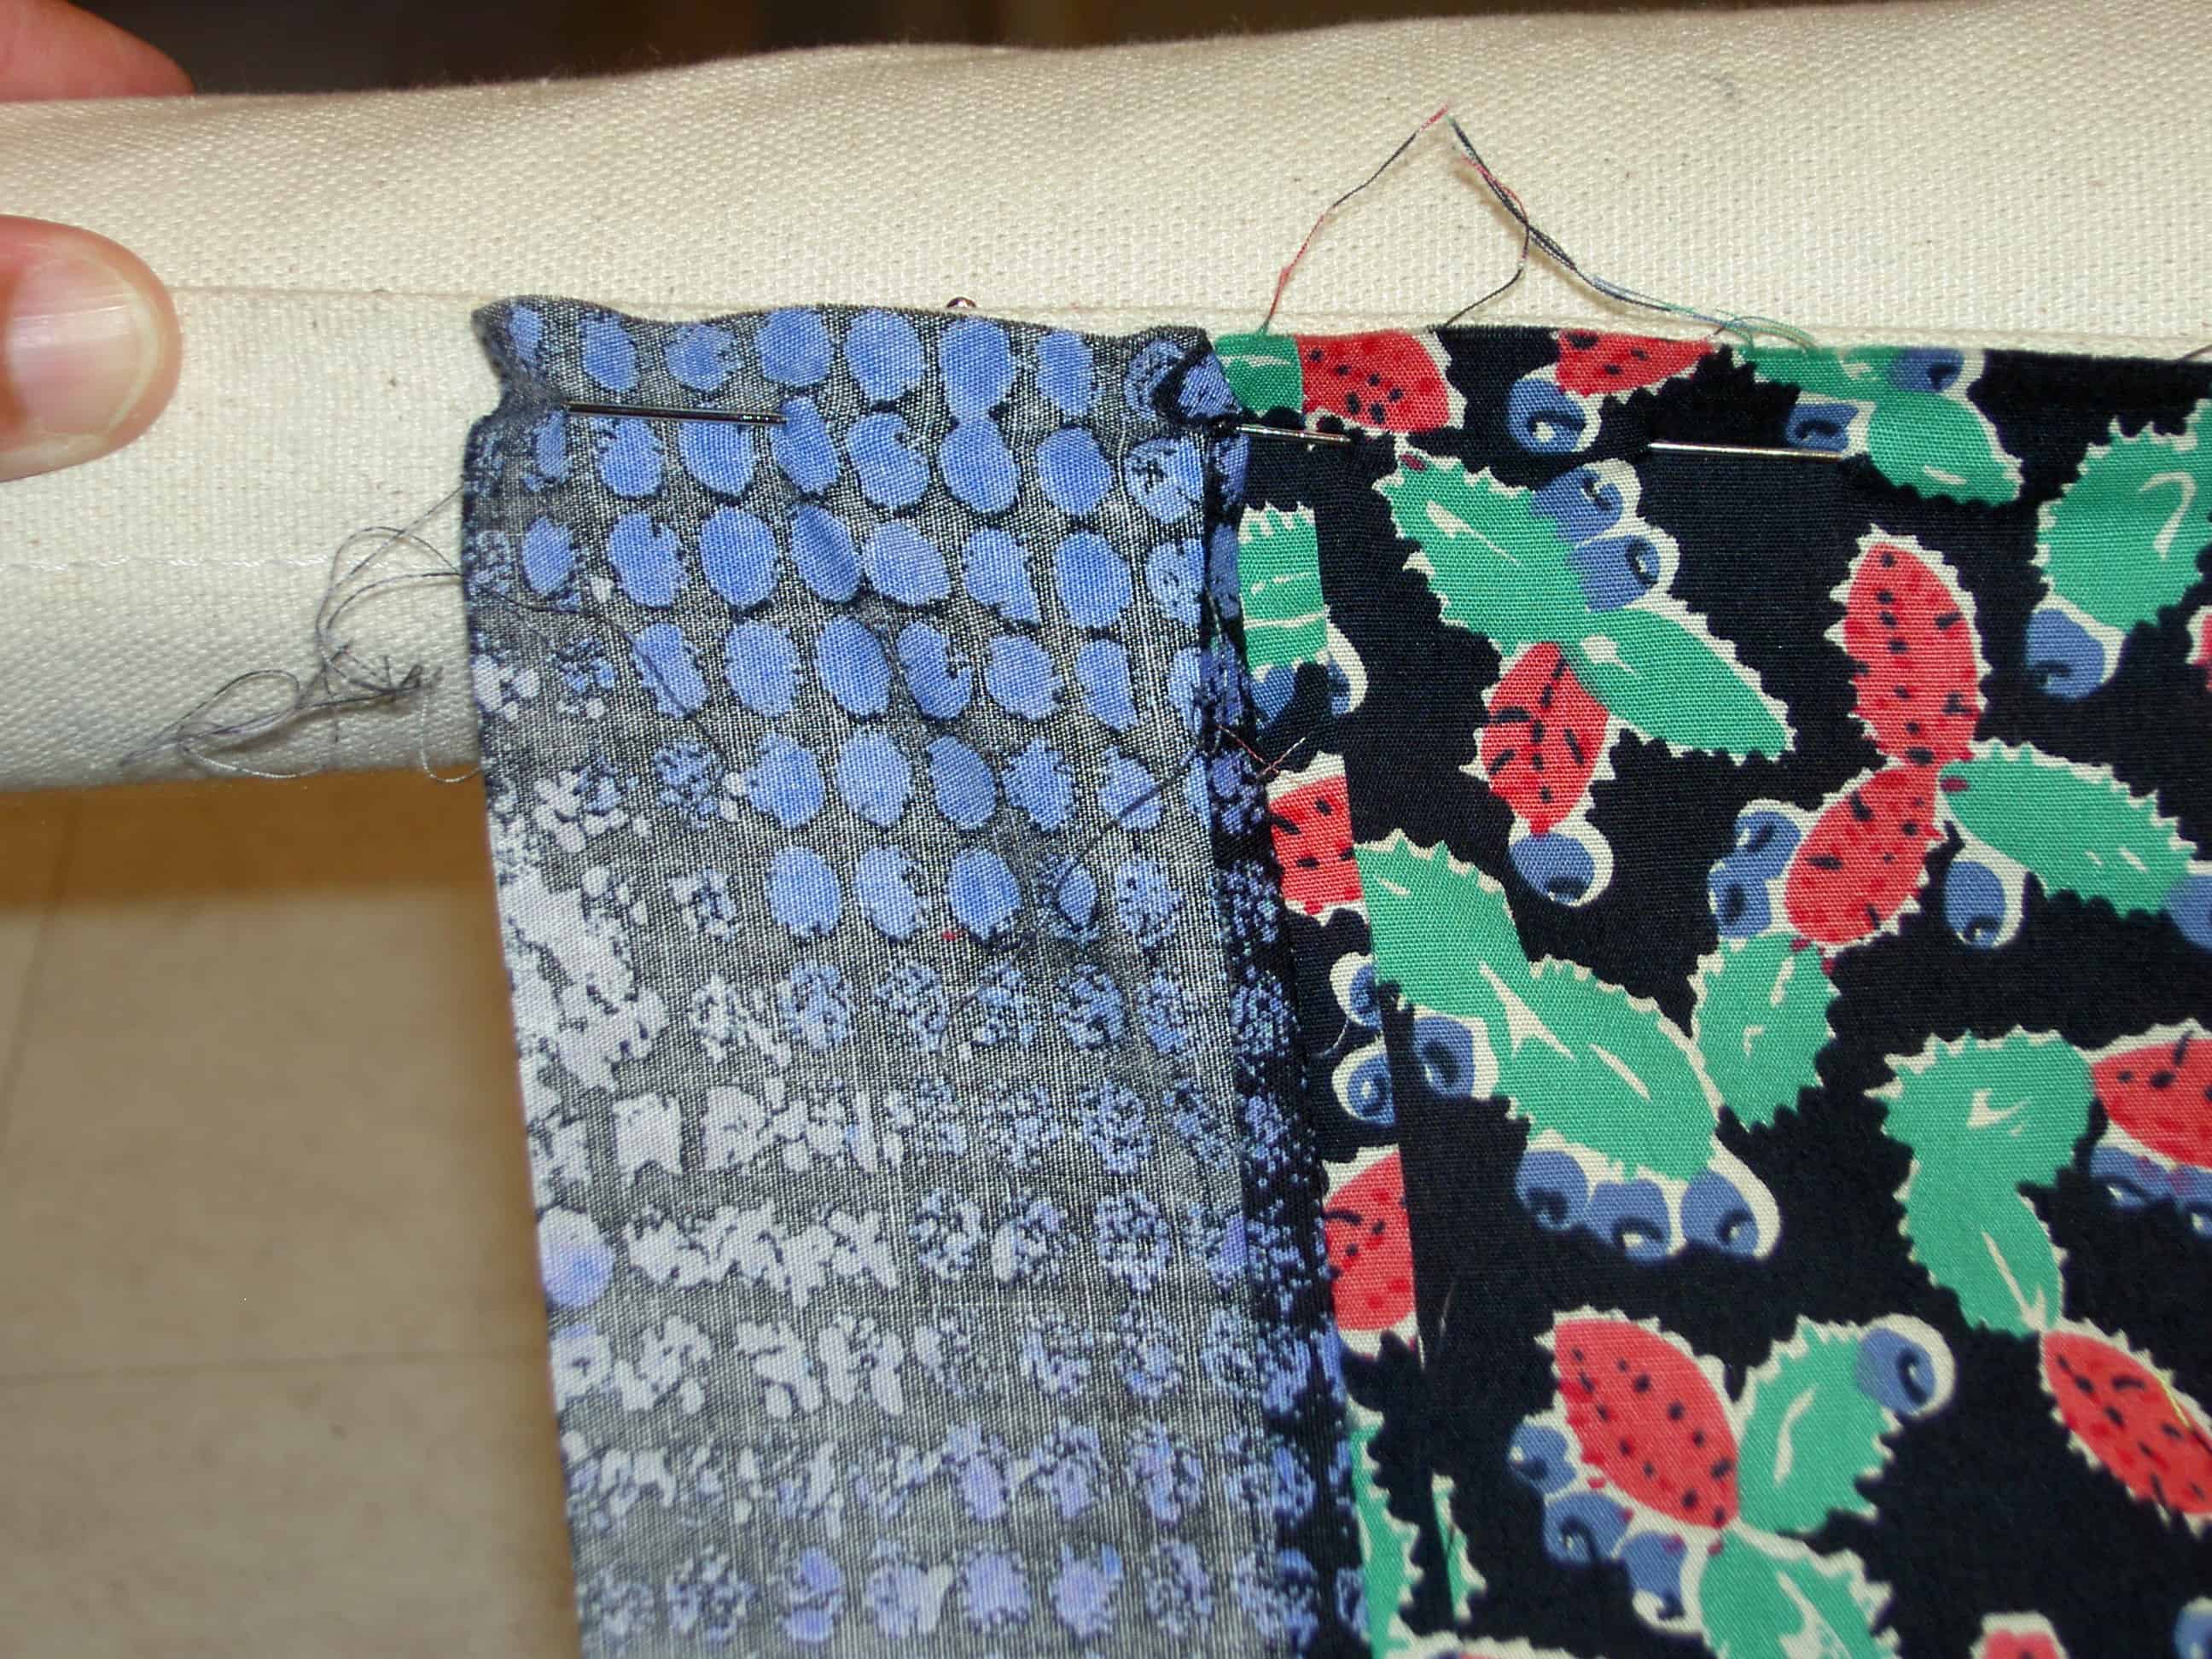
Back pinned onto leaders
This is how the back looks after pinning it to the leader. I was looking down from the top.
Here is how the back looks from the other side when it is pinned to the leader. I am trying to collect pictures of the entire process in an effort to make a visual tutorial for myself, but it is taking me awhile.
Starting a row
After you finish a row, you have to cut the threads and move back the controller to the left side of the machine to start the next row. Before you can start quilting, the quilt needs to be rolled up to an unquilted section.
Adding a border to the quilt
I don’t like borders that much, especially if the quiltmaker has just slapped them on to make the quilt bigger. However, I decided to add these borders so I would have something other than the piecing, which I like, to trim in order to square up the quilt. I wrote about this issue in a post from 2005 when I was binding Feelin’ Blue. I added a grey that had been hanging around the fabric closet for awhile. The ladies at the quilt shop were a bit horrified that I was going to cut this off. They liked the grey.
It was something I tried and it worked ok. There was still one corner that got a little distorted. We’ll see how it looks after I put the binding on.
My godmother used to make her coffee in a percolator. I used to watch, fascinated, as the liquid bubbled up in the little glass top. Even though I was constantly warned that I would be burned if I touched it, I couldn’t stay away.
Ideas need to percolate.
Quilts, sometimes, need to percolate.
See the Creative Prompt page if you have questions about this project.
Post the direct URL where your drawing, doodle, artwork is posted (e.g. your blog, Flickr) in the comments area of this post. It will keep all the artwork together.