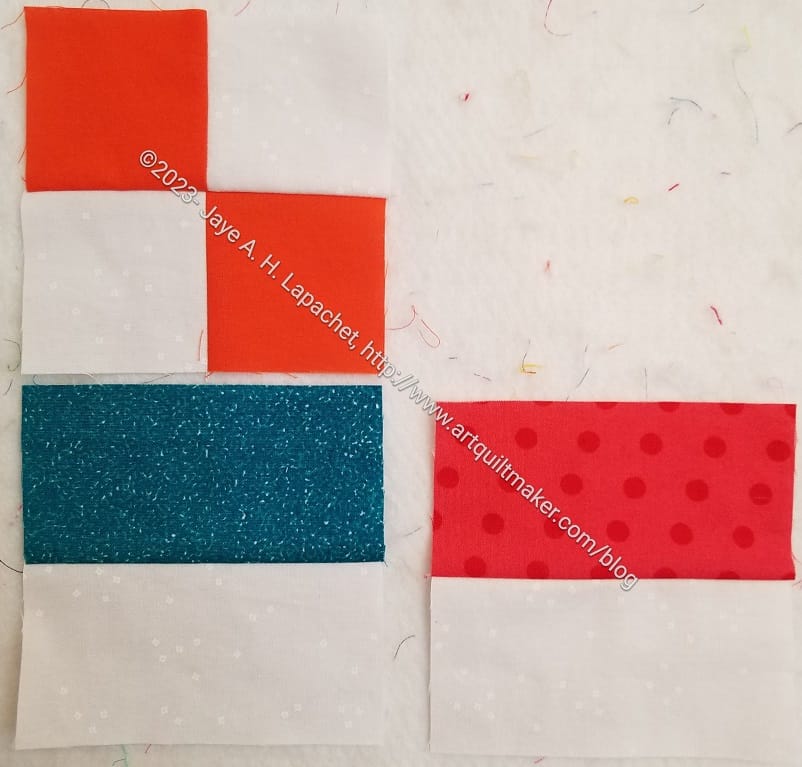
I started, sort of, the next Rainbow Strip donation top. I finished the first one in September of last year. Mostly what this means is that when I am delving into a scrap bin and come up with strips, I make a Color Strip block from it.
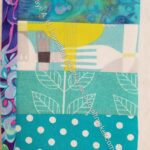
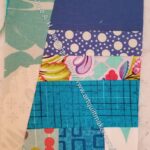
Blue Strip donation block #1
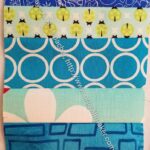
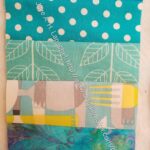
Blue Strip donation block #2
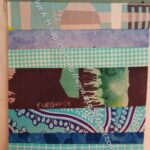
Blue Strip donation block #3
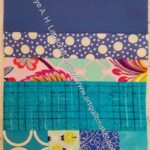
Blue Strip donation block #4
Blue Strip donation block #5
Blue Strip donation block #6
Recently I have been making blue strip blocks and I have a lot of them. I think I will have to make a blue Color Strip donation top.
I don’t know if I will use all of these since 6 is a lot of any one color. We’ll see.
This group adds to the yellow, green, grey and pink blocks I already have.
Restocking supplies is a nice way of saying I bought some fabric and a few other things.
Square in a Square book and ruler
First, was the Square in a Square ruler and book. I thought I talked about this book in a post about a guild meeting, but I can’t find the post now. I thought I had this ruler, but, again, I looked in my ruler storage area and didn’t find it.
The presentation was a monumental sales pitch, but I liked the idea of just using strips and squares to make square in a square blocks. I want to make the YM a quilt with his Boy Scout patches and the square in a square blocks will work really well to contain those patches.
Amethyst Bag elastic
Elastic from PennySupplies
Next, I needed some clips and elastic for the Amethyst Project Bag. I found some sites on Etsy where I got some nice 1″ elastic. White and black elastic seem like they belong in underwear not in bags made from Tula Pink fabric. The elastic in the photo above (left) uses the perfect colors for the Amethyst Project Bag. I couldn’t believe my luck. That is not a color combination I would normally select, but it goes perfectly with the Ka-Bloom fabric from Tula Pink’s Moon Garden line.
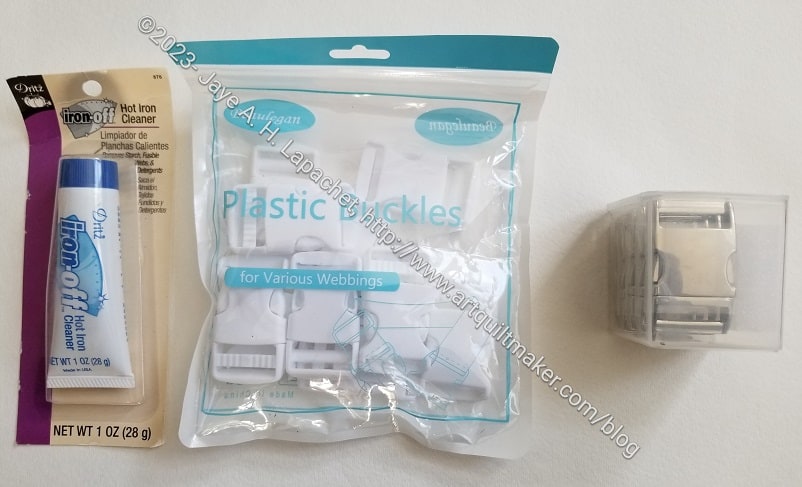
Various buckles
I looked for different colored parachute clips and ended up getting two different kinds from Amazon. One is just white plastic, which is what I used for the Amethyst Project Bag. The other is metal and came nicely packaged. They are however a little hard to open, so I may have to use them as decorative buckles, not buckles I need to use frequently. I would get too annoyed.
The Dritz Iron off** is THE BEST. It works quickly and well for cleaning your iron.
The other elastic came in great colors (photo right), but isn’t quite as stretchy as the elastic referenced above. Still, I am sure I’ll be able to use it.
Sew Hungry Hippie (April 2023)
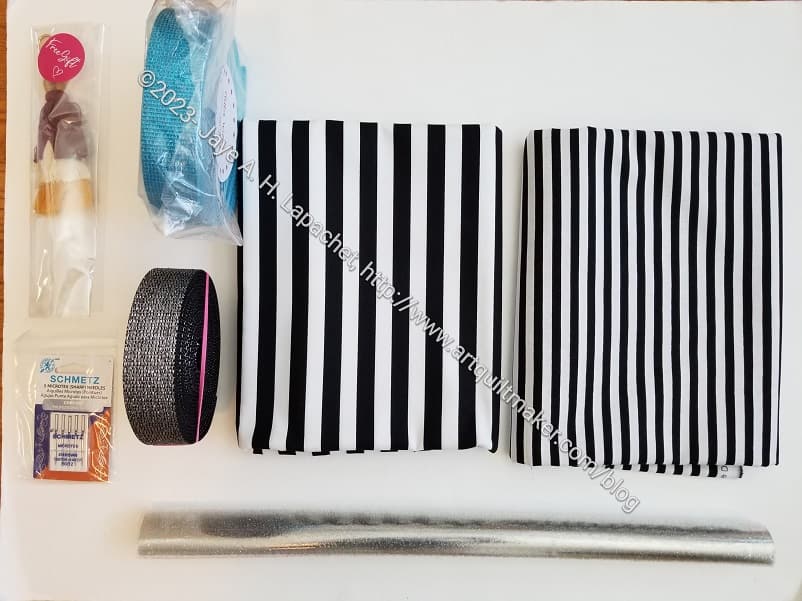
I needed to replenish my stock of vinyl. I have been going through it at an alarming rate, especially because I have been making so many I Spy pouches.
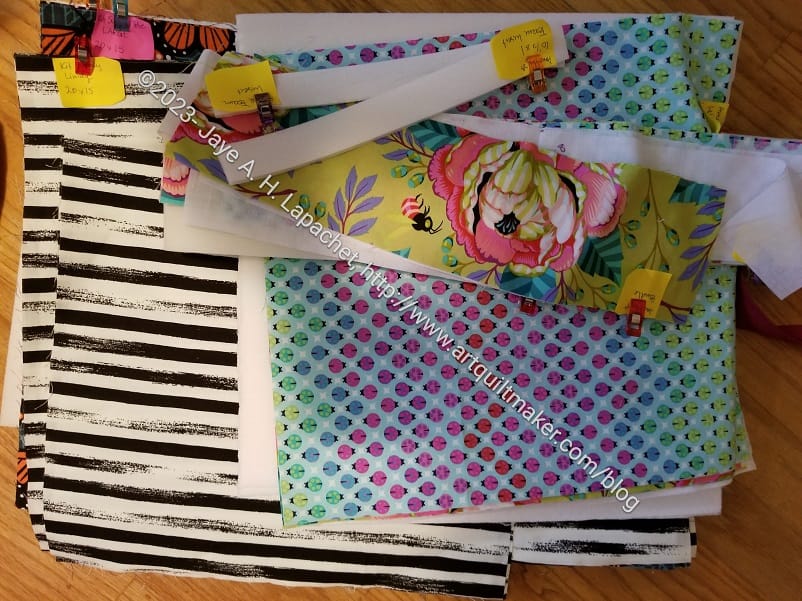
I decided to get some of the Tula Pink tent stripes to use in Stay Tuned. Whenever I place an order with Sew Hungry Hippie, I also get some of the Riley Blake black and white stripes (photo above). They are great for bindings and I go through a lot of it. Especially lately, I have been using quite a bit of it for bag bindings.
I decided to level up to get free shipping and bought some more glitter webbing. I plan to use the blue for another Essential Tote. I don’t know what I’ll use the black for, but probably another Essential Tote. I am determined to change my machine needles more often, thus the needles.
Material Girl fabrics (April 2023)
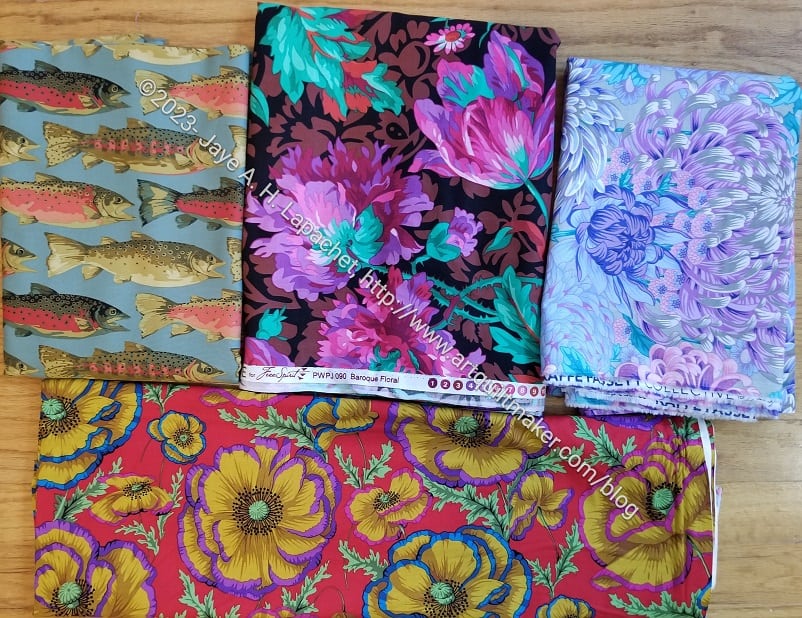
I want to make some pillowcases for my Dad for Father’s Day, so I went looking for fish fabric. He is a passionate fisherman. I was pleased to find that Martha Negley has put vegetables aside and has a recent collection with a fish print.
I couldn’t stay away from some additional Philip Jacob prints. I don’t have plans for most of them, but I keep thinking about a new version of “He Tried to Make It Up to Her.” The Philip Jacobs fabrics would be perfect for some of the broderie perse on that style of quilt.
**Obviously, you should shop at local quilt shops and small businesses. However, if you are too busy or can’t find what you need there, I use Amazon affiliate links and may be paid for your purchase of an item when you click on an item’s link in my post. There is no additional cost to you for clicking or purchasing items I recommend. I appreciate your clicks and purchases as it helps support this blog.
Yes! Another Hackney. I still think I will get sick of this pattern, but I am not sick of it yet and I still want to try to make the finished product better.
This is another version of the large size. I still haven’t tried the small or medium yet, though now that I have cut out a small bag, it is time.
Amanda’s Hackney – top
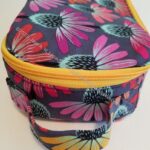
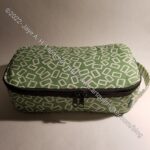
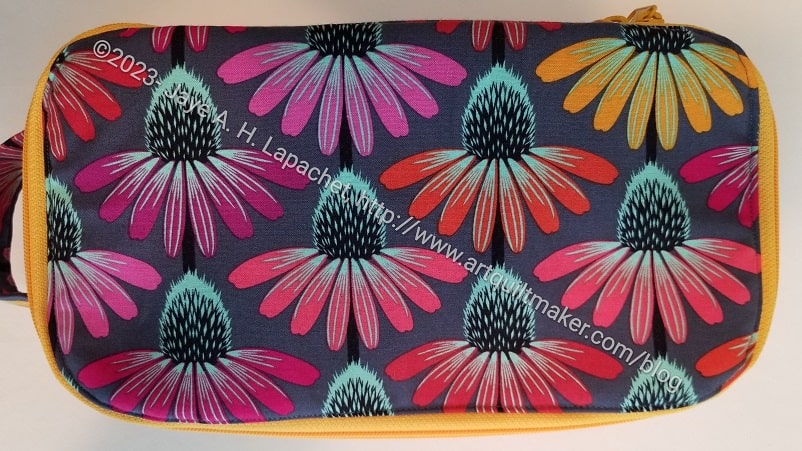
She loves animals, but I didn’t have any animal fabric that I thought would suit, so I used the coneflowers. I wasn’t sure about the yellow zipper, but it makes the bag look really cheerful. The zipper is more of a sunshine, or orangey-yellow than a neon yellow and that helps a lot.
Amanda’s Hackney -handle
The zipper came out a little better this time. I used the washaway doublestick tape** for putting in the zipper on this one. I think I just have to use that tape each time.
On a note about tape, Sew Sweetness has the new ByAnnie washaway double stick tape. I bought some to try out, so stay tuned for a comment (maybe a review??) about that brand.
I had to add a handle. I think that is de rigeur now. It makes the bag more useful.
Amanda’s Hackney – lining
Amanda’s Hackney – lining
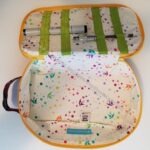
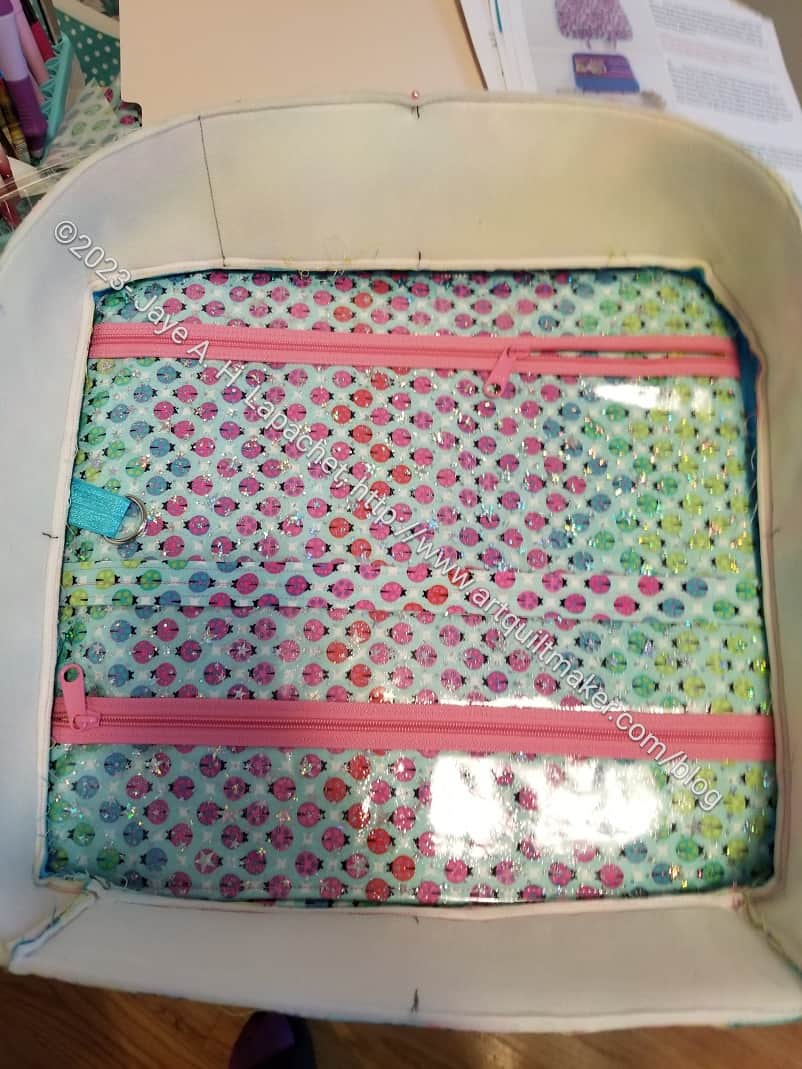
I made the inside cover a little different this time and I think I will like that option best. I used doublefold elastic to make tool or pen holders. I talked a little about how I sewed the tool holders to maximize the space available for storage in a previous post.
All in all, I am pleased with this one and hope Amanda likes it, too.
**Obviously, you should shop at local quilt shops and small businesses. However, if you are too busy or can’t find what you need there, I use Amazon affiliate links and may be paid for your purchase of an item when you click on an item’s link in my post. There is no additional cost to you for clicking or purchasing items I recommend. I appreciate your clicks and purchases as it helps support this blog.
I have made good progress on this bag and am in the last stages of putting it together. I am amazed since I really didn’t think I would have time to work on it when I last talked about it.
Amethyst Bag – happy accident
First, this ‘fussy cutting’ came out pretty well. I didn’t really fussy cut it, I just took the opportunity to put it together in a way that looked like I had fussy cut. It’s a happy accident.
You can also see how this bag is starting to shape up. I have the front cover and inside pocket assembled and the gusset installed.
So far, the bag goes together in a fairly straightforward manner. The prep of all the various parts is making the assembly go relatively quickly.
I know this should come as no surprise, but I am always surprised. Perhaps I have come to terms with making handles and sewing bits and bobs together before the actual bag assembly? Who knows.
Amethyst in progress -inside out
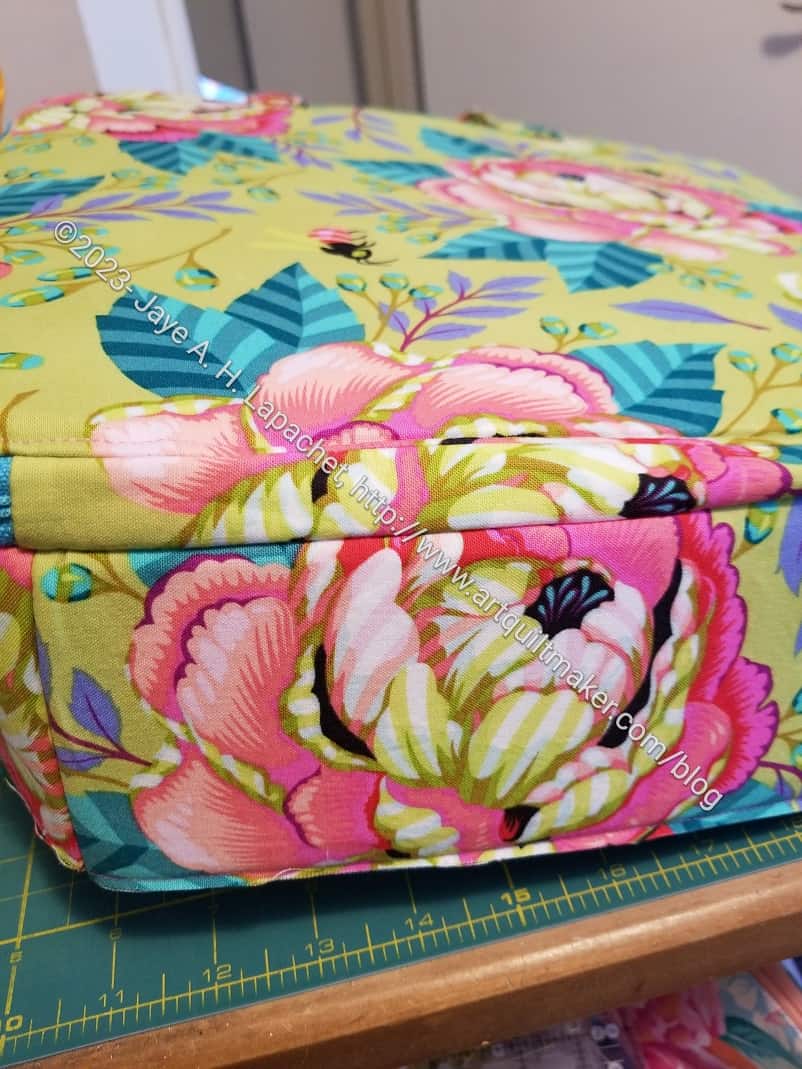
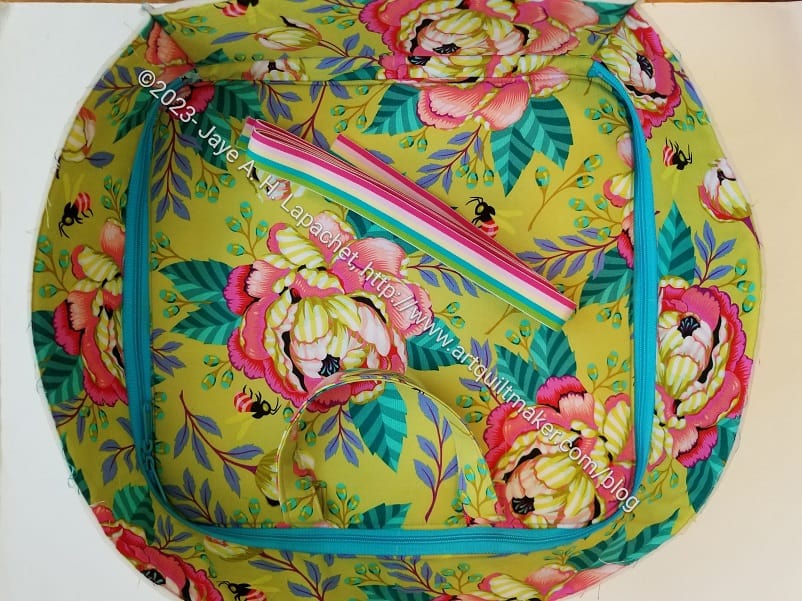
In this photo, you can really see the dimension of the bag. The picture shows the exterior top and the exterior gusset. The top is pushed down and not the way it will end up when finished. It was like that for top stitching.
The elastic I bought that came the other day looks really good with the Tula fabric.
I used a blue zipper instead of green, because I only had one 40″ zipper and that was it. I think it looks pretty good, though a green would have been better.
Amethyst – inside front cover + gusset
The other side of the piece in the photo (right, above) looks better than I expected. It is the inside front cover. I thought it would be a bit wonky, but it isn’t. Hooray!
The vinyl isn’t difficult to work with, but it does add layers. Thickness can be difficult to work with.
I put in a new needle and held my breath. Everything was fine.
I am waiting on a parachute buckle to finish. I didn’t want to use a black one, so I got one off Etsy and I think it is coming from Siberia or somewhere. That wasn’t my intention, but sometimes I miss the location from where things ship. 🙁
We had a guild meeting yesterday. Before the last guild meeting, SIL #2 and I visited the Makerspace that has recently been installed in the Library. Today, I left for the meeting early to try out the Cricut they have there.
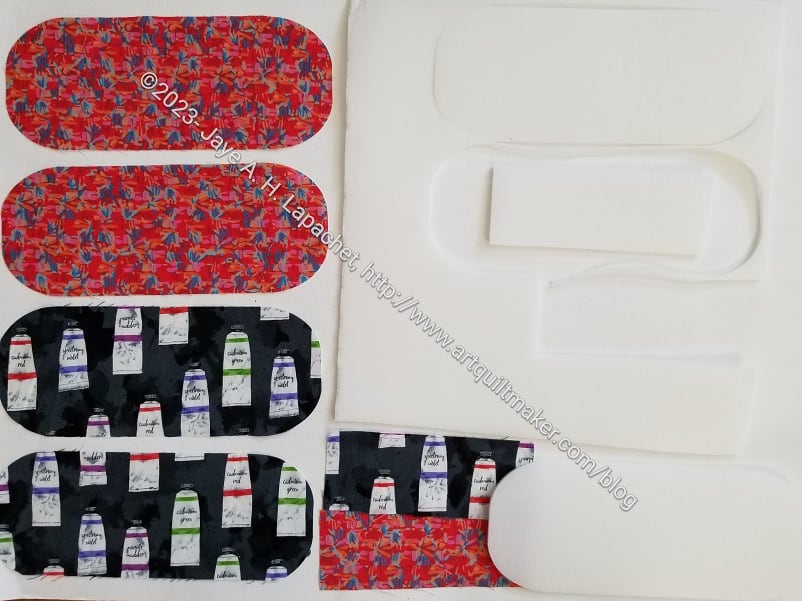
Small Hackney cut out by Cricut
Short story? It worked GREAT! I cut out two bags in 1.75 hours including the learning curve.
I had to prepare in advance by finding fabric and downloading my SVG files to a flash drive. Sidebar: this is one reason I like the patterns from Sew Sweetness. They come with SVG files.
I didn’t have any instructions for preparing the fabric so I went on to the Sew Sweetness site and found a video by Michelle Graham, one of the moderators, on using the Cricut Design Space. It didn’t help me prepare the fabric, but it gave me enough knowledge to work with the software once I got to the library.
I looked at a few different sites trying to find information about fabric preparation and decided I should put SF101** on the back. Later it turned out that for the Cricut Maker** you can just cut out cotton fabric. Cutting the fabric with the SF101 means I don’t have to adhere it later.
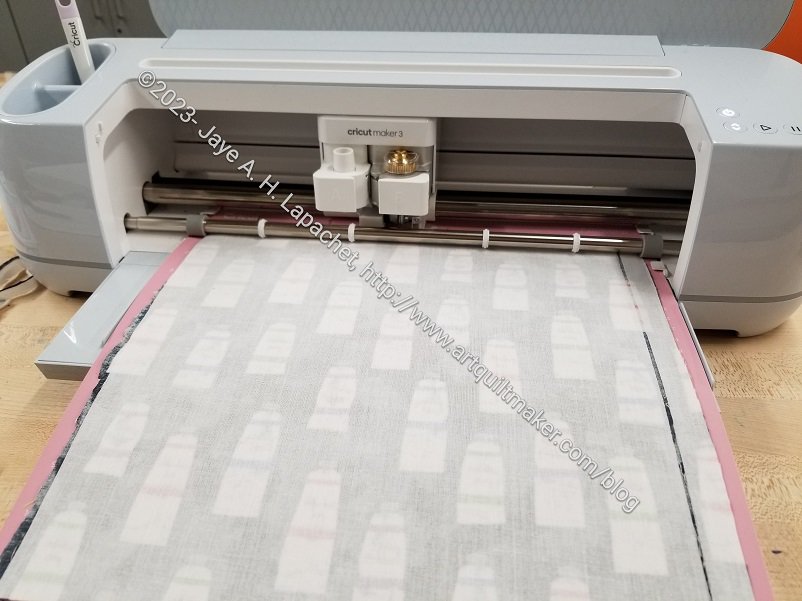
Cricut machine with my fabric
Once I got to the Makerspace, I was pretty much ready to go. The photo above shows the small Hackney pouch I cut out. I also cut out a large one. The Cricut only cuts what is on the mat. The mat they have at the library is 12 x 12**, so I couldn’t cut the gussets. Cricut also makes a 12 x 24 mat**, which I think would be useful. Just cutting what I did will save me time.
I had to load the files into the software, which shows where on the mat the pieces will cut. This information helps to position the fabric, especially if your fabric isn’t 12 x 12.
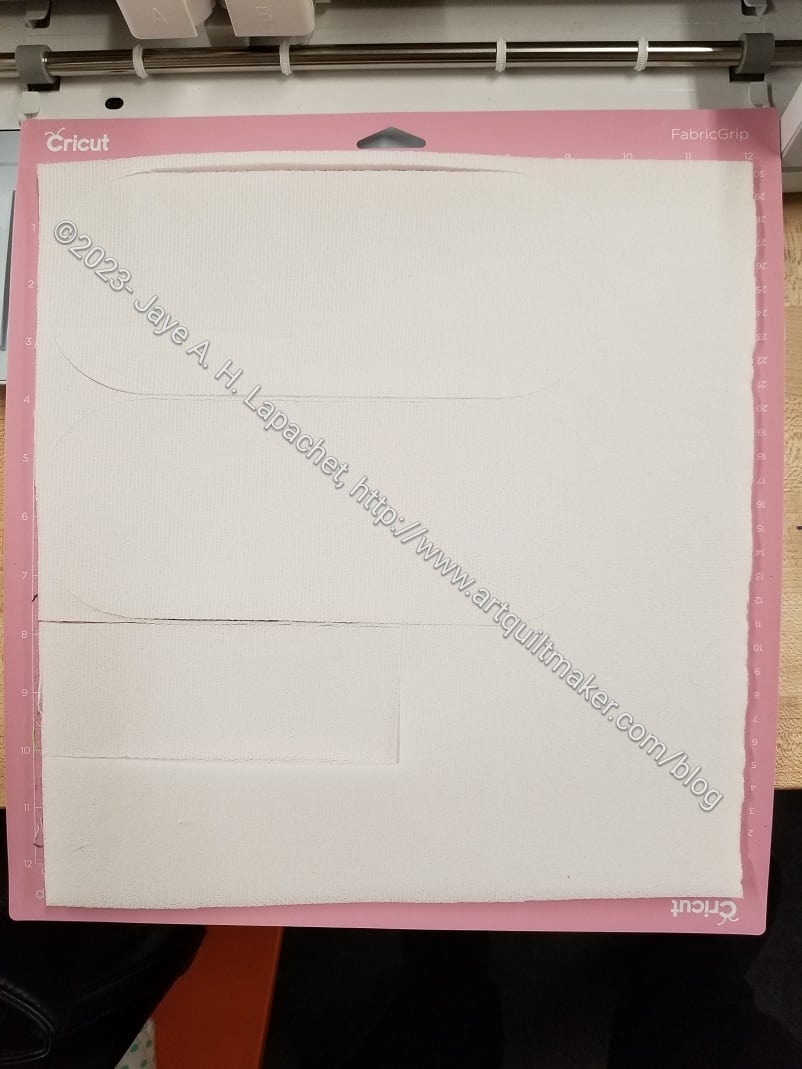
Cricut cut foam
I was really thrilled that the machine cut foam!
All in all, I think this was a good experience. The Makerspace isn’t open very often when I can visit, but I can visit on guild meeting days. I have several bags cut out, so I had better get busy.
The Hackney pieces shown at the top are for the small Hackney. I haven’t made one of those before, so cross your fingers for me!
**Obviously, you should shop at local quilt shops and small businesses. However, if you are too busy or can’t find what you need there, I use Amazon affiliate links and may be paid for your purchase of an item when you click on an item’s link in my post. There is no additional cost to you for clicking or purchasing items I recommend. I appreciate your clicks and purchases as it helps support this blog.
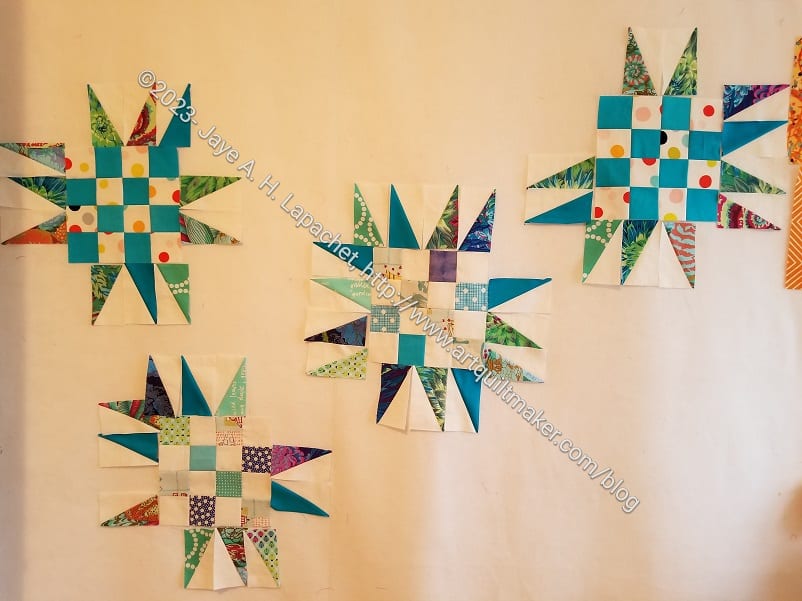
I wanted to try the HuRTy, so I grabbed some scraps and started working on another Spiky 16 Patch.
I I have to admit that I mostly ended up using my Split Rects ruler. The HuRTy isn’t bad; I just haven’t gotten the hang of it yet.
I got inspired, partially, because of the blocks with the solid fabrics and the dots. They look really good and I decided I wanted to make something good with them.
Will this be good? I hope so, but if it isn’t great, I know someone will like it.
My current problem is that I am running out of background. I am not running out of ALL backgrounds – just the particular background I chose for this project. I’ll have to select something else to use to finish the quilt. I have time.
I tend to make Carrie and Sue the same pouches with slight differences. They are good friends and I think that they were great students.
Color Wheel Hackney – Sue – interior
So, as I made a Hackney for Carrie, so I made a Hackney for Sue. In this case, the exterior fabric is the same, but cut a little different and the interior fabric, zippers and other detail parts are different. I made the interiors different, but still relating to being creative. I am excited about the interior. I also fussy cut it and am pleased with the fussy cutting. It is super fun.
Color Wheel Hackney – end (Sue)
This one also has a handle. As I said before, they are useful.
I wasn’t sure if I liked the way the handle and front panel interacted – the way the fabric motifs overlapped and interfered with each other, but I think fussy cutting the top draws the viewer’s attention to that space and you don’t see the mashup of motifs where the handle is attached.
The front of the front panel (which is a gusset) looks really good, I think. That little piece of color wheel is appealing.
Color Wheel Hackney – Sue
As I said with Carrie’s Hackney, Sue’s also goes with her Boxy Clear Pouch. You know I love to make sets of bags.
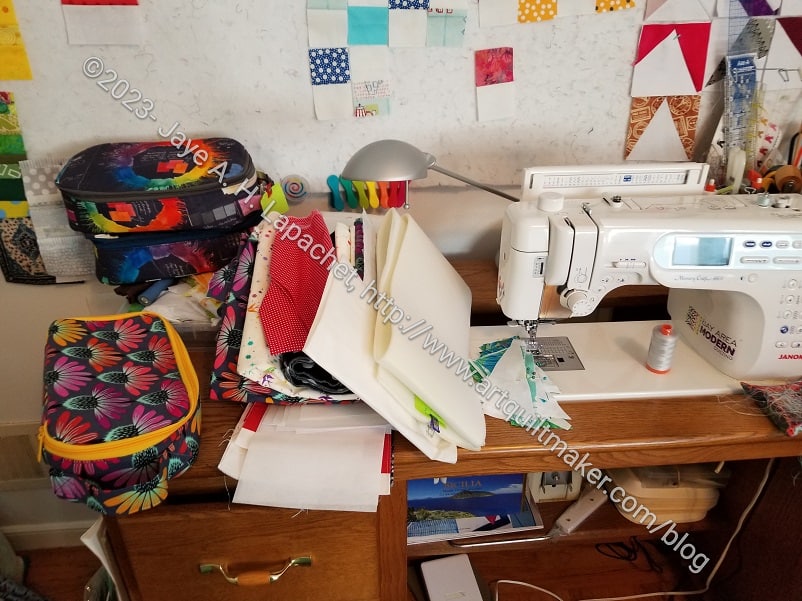
All I can say is what a mess! I have just been dumping projects on my cutting and sewing tables, then leaving them. I have been busy and haven’t had a chance to sew, so the piles just grow.
Part of the problem is that I don’t have enough space store in process projects. That pile of interfacing right next to my sewing machine are some half cut bags that Angela gave me. I know I don’t need to make them, but I really like the design. I should just get them done and out of the way. I haven’t yet.
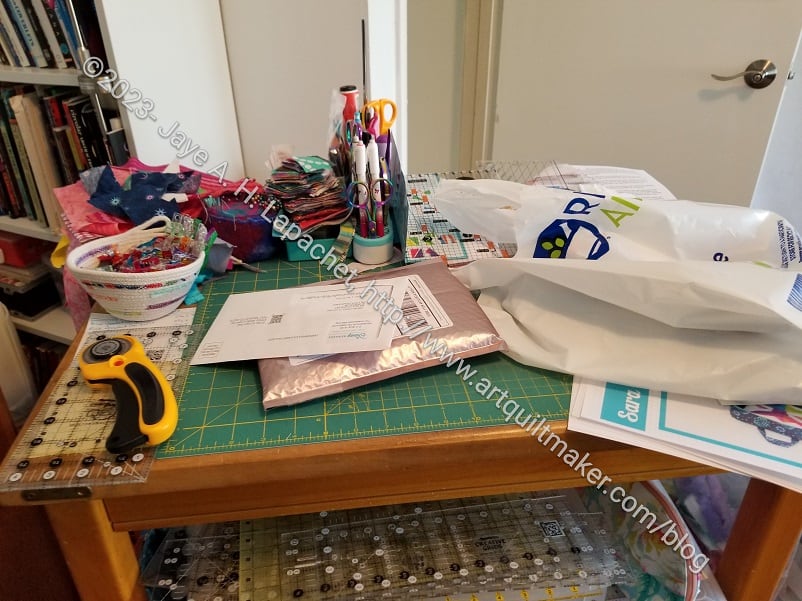
Cutting table mess
Any clear surface becomes a dumping ground lately. I try and keep everything clear, but it hasn’t worked for the past little while. I’ll have to tidy up sometime.
A long time ago, I promised Alison a bag to give away as a prize at the retreat. I thought I would finish the Brocade Peony Ultimate Carry All Bag and give that to her, but I ended up not doing that.
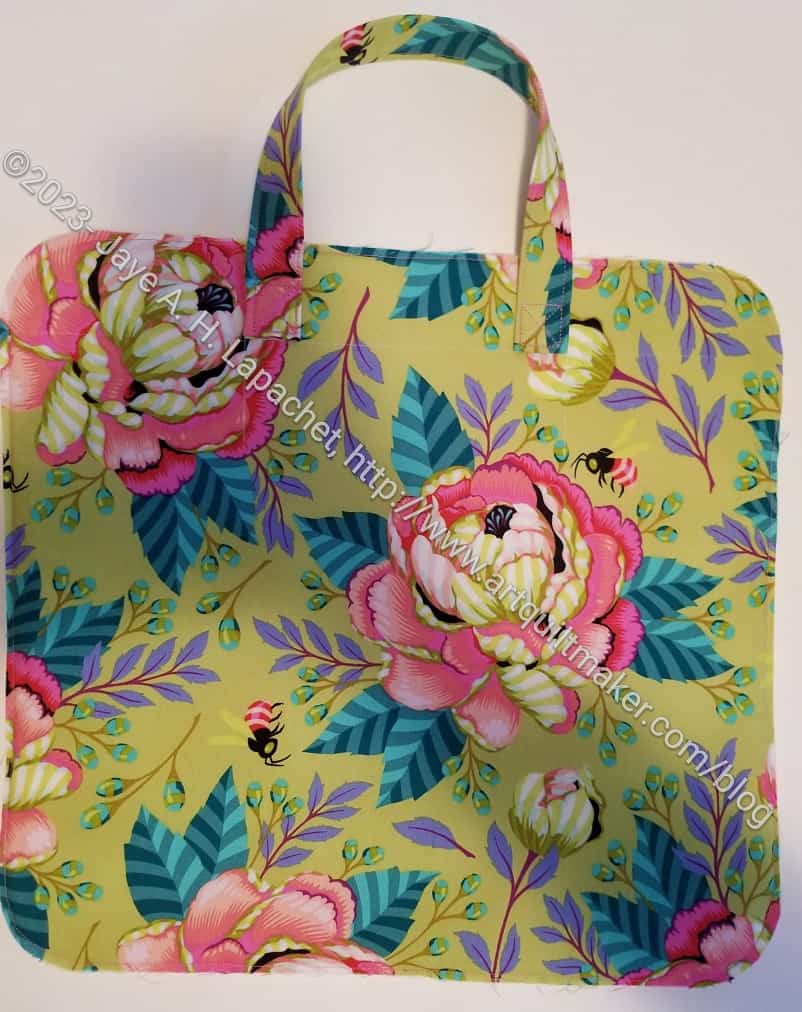
Amethyst Case – process – top
Finally, I decided to make an Amethyst Project Bag. This is a bag you can put pieces of a project into and keep them all together. It isn’t huge, so you can’t put yards and yards of fabric in there, but templates, most rulers and cut pieces would fit very well.
It is not a Minikins project, but it is a Sew Sweetness pattern.
Cutting bags at Sew Day
This is one of the projects I talked about cutting out at Sew Day. It is pretty amazing, to me, at least, that a project can move from a pile of cut pieces to something that is starting to look like a bag in a few hours.
Amethyst Case – in process – bottom
I haven’t finished. In fact, I have only made a start. I hope that I will have enough time to finish it before the retreat. Yes, I waited until the last minute, but I have had deadline after deadline I have been trying to meet. I know they are self imposed deadlines, but they are still deadlines for bags I wanted to give as gifts.
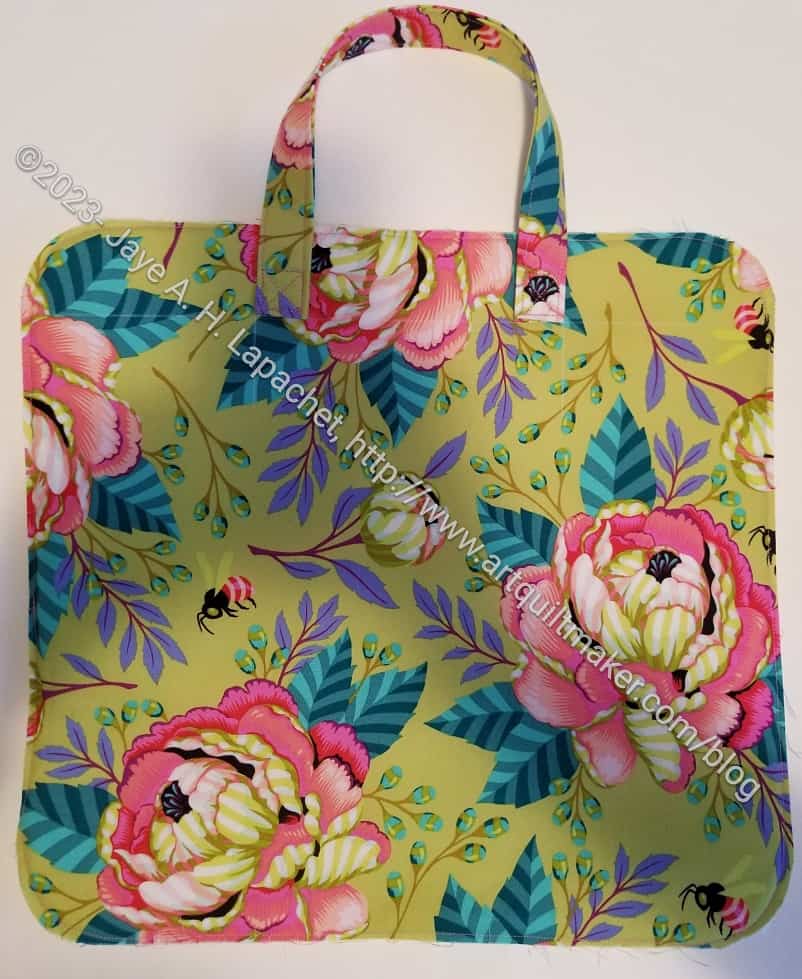
The bag is not exactly square. It is 14.5 x 13.5 x 3.5 (depth). I could only orient those giant peonies in two ways. I chose the other main panel for the top because one of the peonies was close to the center.
Amethyst Case – in process – inside pocket
I wanted to make a bag that would be appealing to the guild members. I hope this Tula Pink fabric appeals to many of them. I had planned to put some piping around the edge, but decided I needed to make one first before I started really messing around with the design.
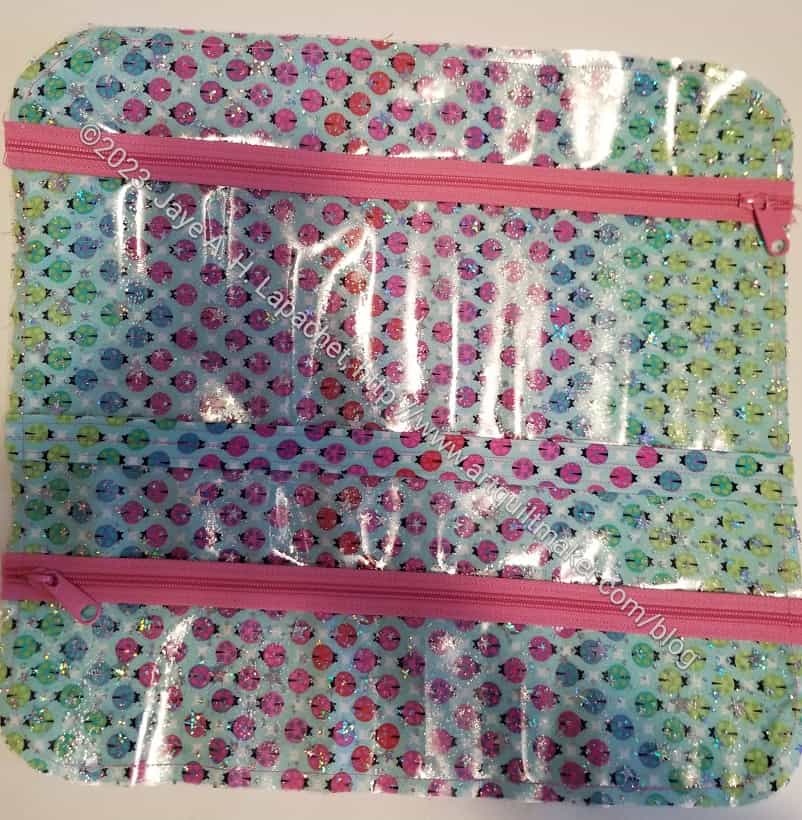
Speaking of messing around with the design, I did make this inside front pocket instead of the short mesh pocket and the two pouches called for in the pattern. I like to see what is in my pockets. I am not sure this came out 100% perfectly, but I think it will work. I used the directions for the pages from the A Place for Everything v.2 bag as guidelines for this pocket.
I normally like to make the bag at least once first, but I don’t have the time.
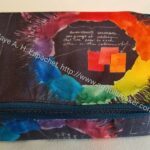
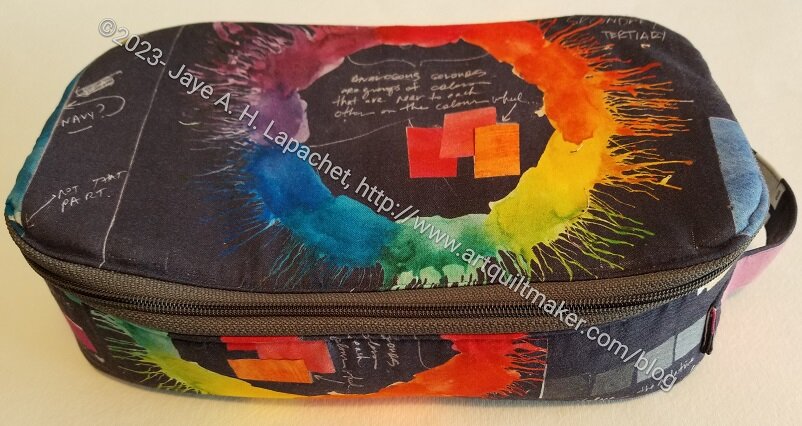
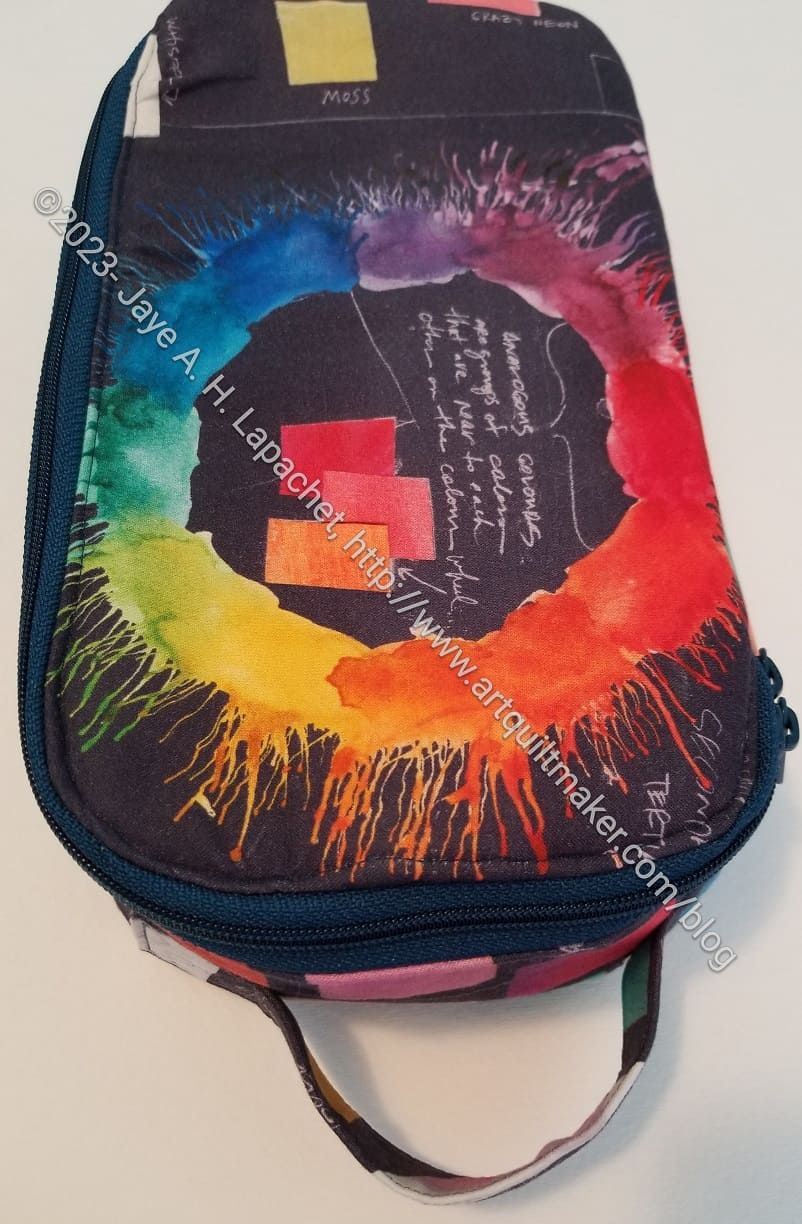
I finished my most recent class with my fabulous students, Sue and Carrie. I had planned to make them each a Hackney for Christmas with this great Carrie Bloomston fabric, but moved the gifts up to be ready for our end of class lunch last Sunday.
Color Wheel Hackney – Carrie
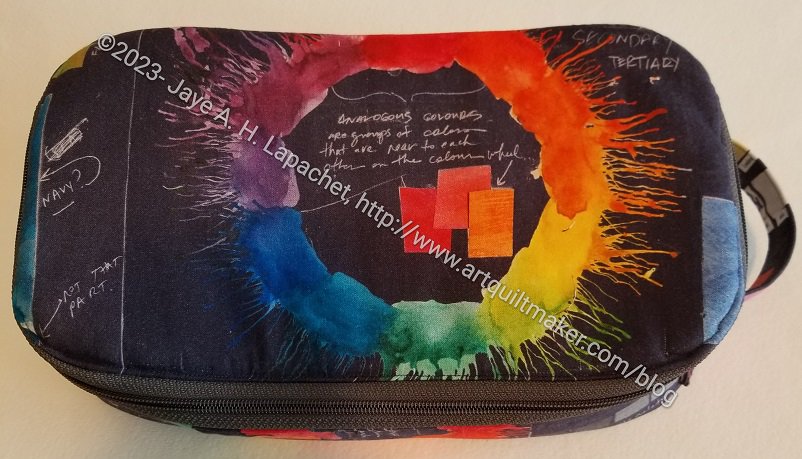
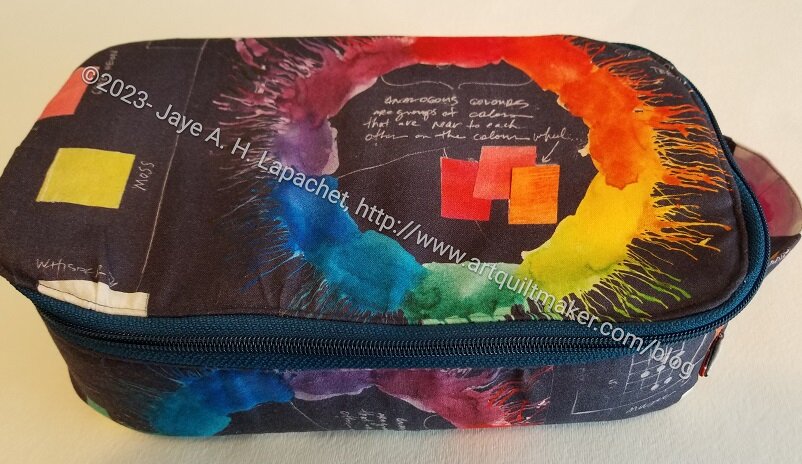
One of the reasons I chose this fabric is that it matches another pouch, the Boxy Clear Pouch, I made for them. the fabric is fun and cheerful despite the dark background. Because I can’t stop teaching, I also wanted a reminder to them to use their color wheel. 😉 Finally, this is great fabric. Doesn’t it look like an explosion of color?
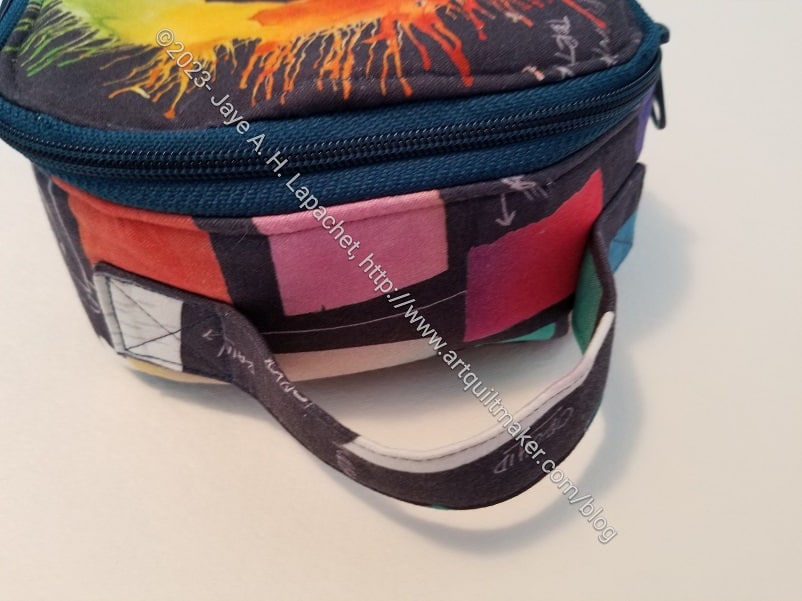
Color Wheel Hackney – end (Carrie)
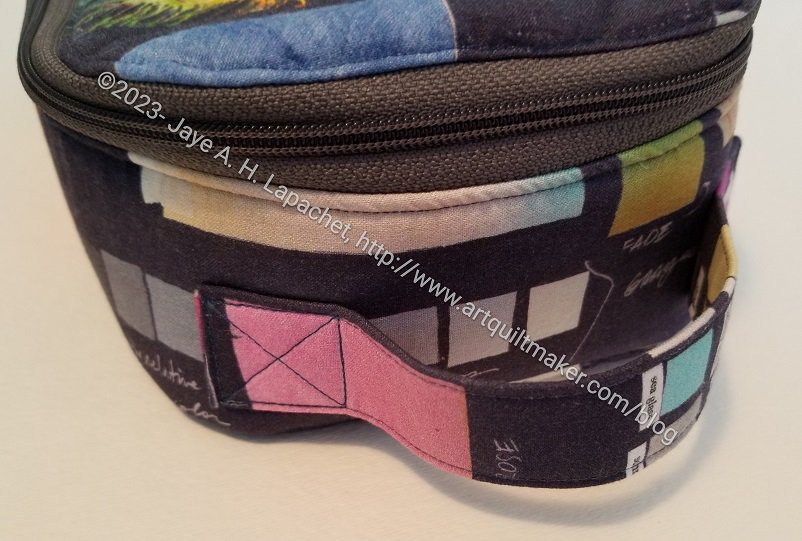
This Hackney is like all the others. I have added a handle to this one and think that is a standard addition I will make to all the others I make. Having a handle is useful. I am not sure why Sara didn’t include one in the original directions. Perhaps the pattern is intended to go into a suitcase or something? Regardless, I think a handle is useful.
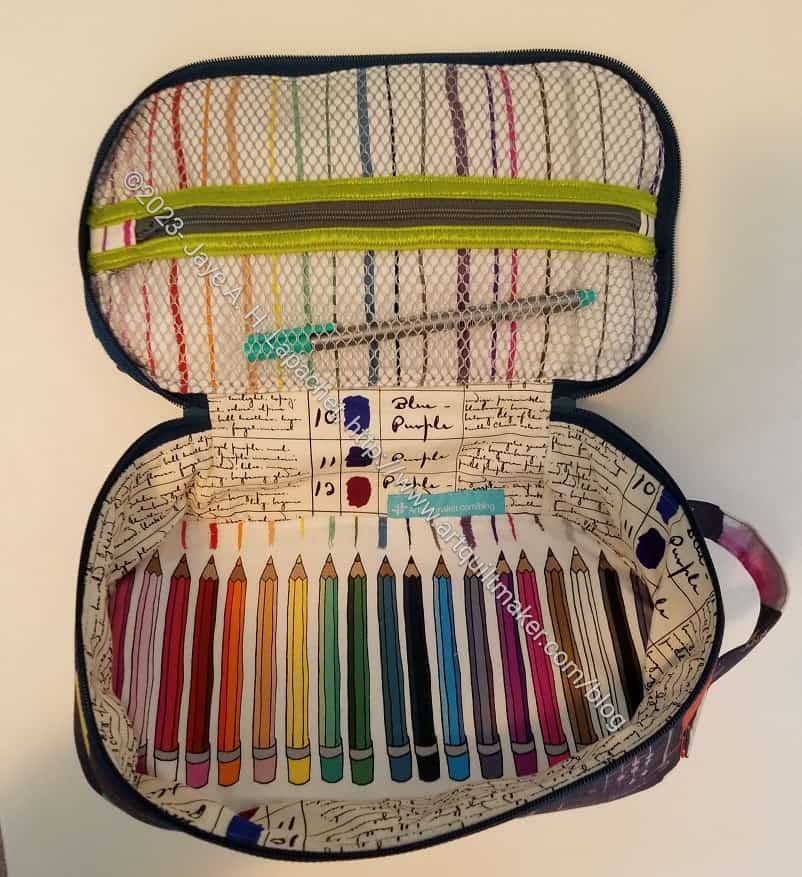
Color Wheel Hackney – interior (Carrie)
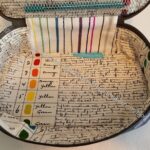
I am particularly pleased with the fussy cutting I did on the inside bottom. Don’t those pencils look great? I measured very carefully to get the whole pencil on the bottom and am thrilled with how successful I was.
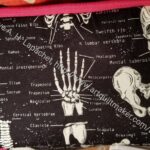
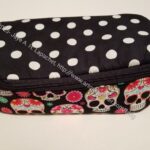
I am still not 100% happy with the mesh pocket. I think it is useful, that is not in dispute, but the construction doesn’t appeal. The zipper tabs end up being too thick. I made a vinyl pocket on the Sugar Skull Hackney. I think it came out ok, but I wasn’t concerned about the final topstitching. My next test will be making pencil loops on the top. I’ll see how those come out.
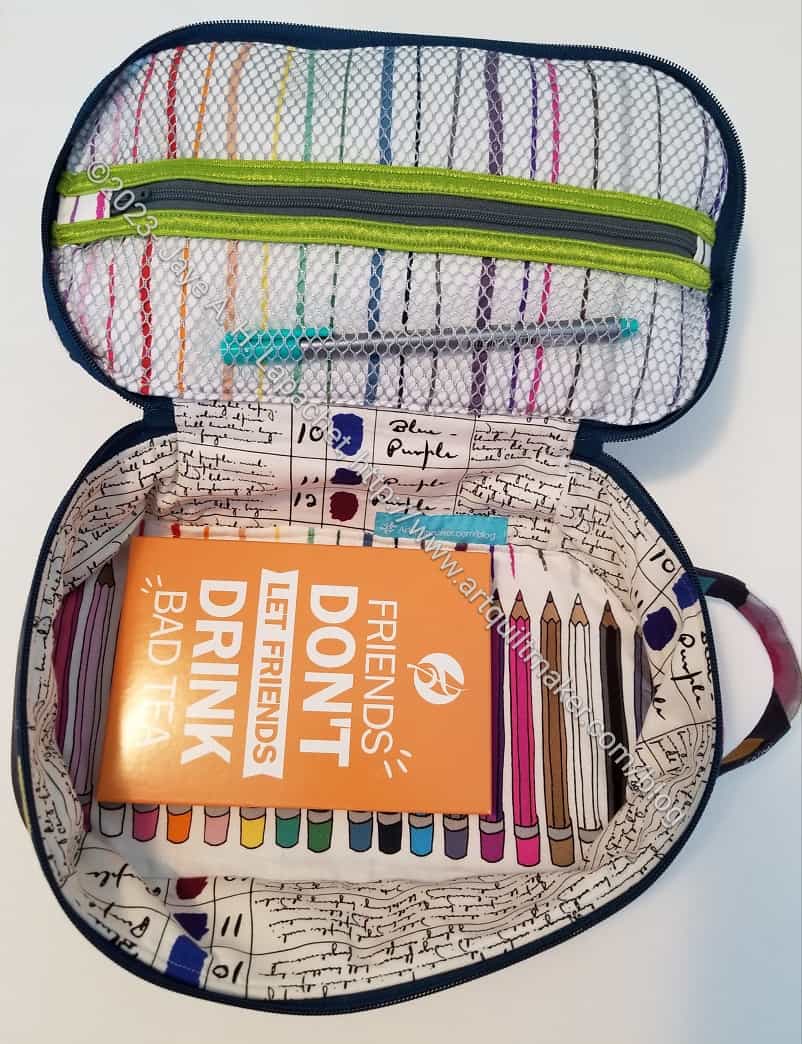
Color Wheel Hackney – filled interior (Carrie)
I have put a few things in the bag including some Adagio tea.
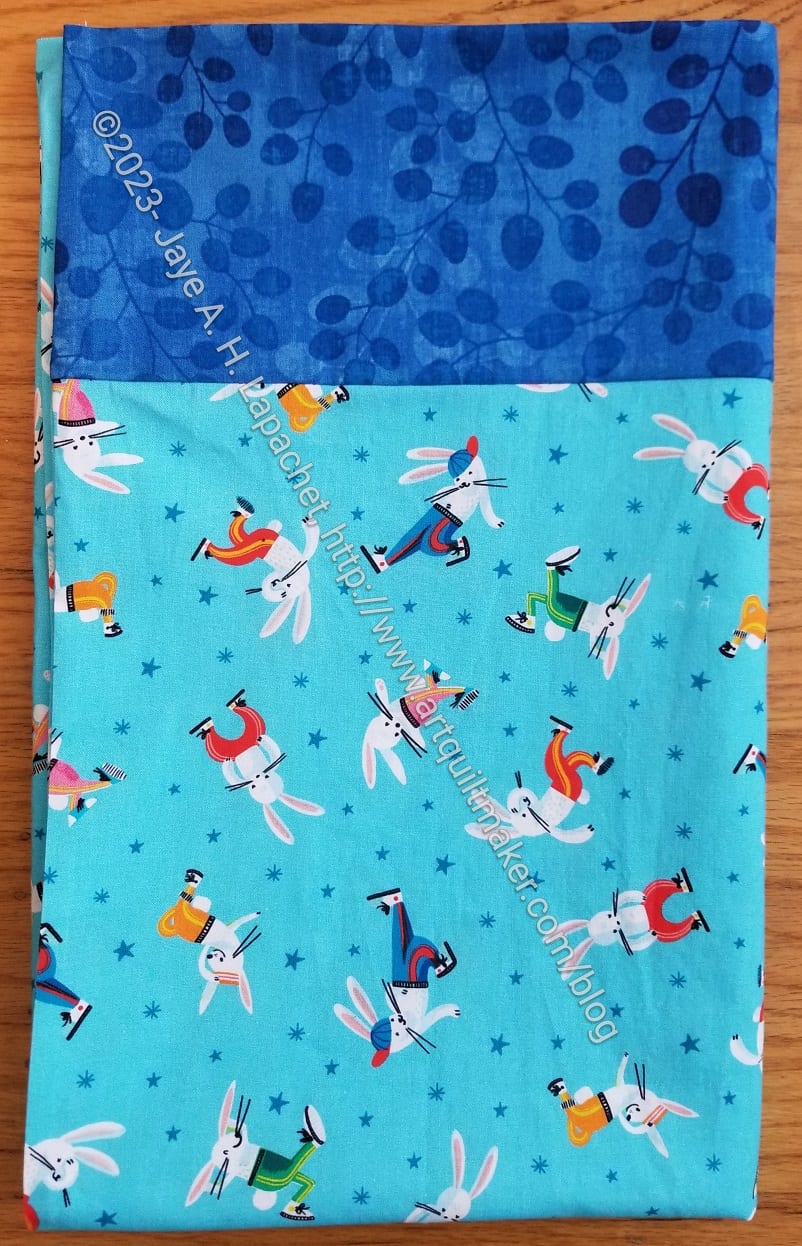
As mentioned, I sewed all the remaining pillowcases at once when I made the Valentine’s Day pillowcases. I didn’t want to miss sending them out after the Valentine’s Day pillowcase debacle.
I bought this fabric at the Granary on my birthday. It isn’t exactly Easter-ish, but I thought it would be better for college boys. I didn’t want the pillowcases to be too girly.
Easter pillowcase 2023
I have to say that I am getting a little short of fabrics for cuffs. I have a few more nieces and nephews going to college in the next few years, so I guess I have time to stock up.
The boys seem to appreciate getting something in the mail. I am not sure how they feel about pillowcases exactly.
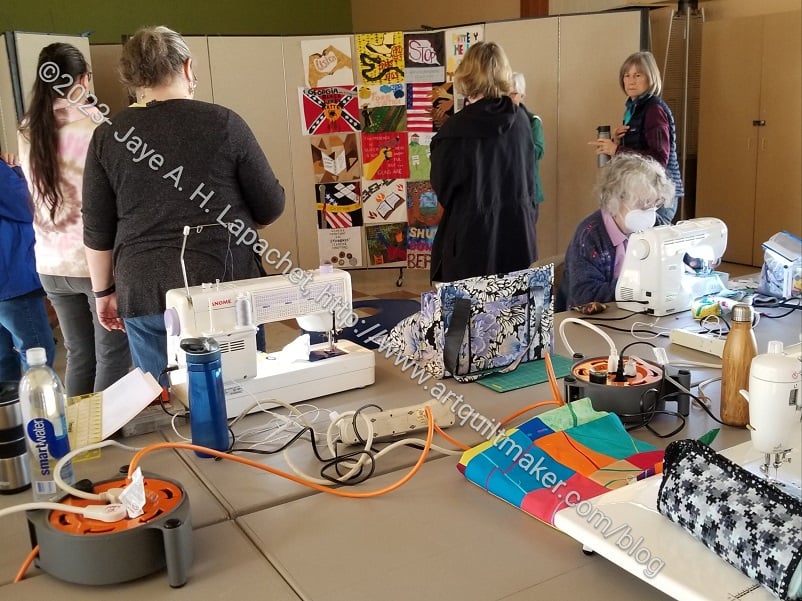
It took two of us to be Mary at Sew Day. She was out of town and we had to fill in. Good thing I have done it a few times otherwise I would have been lost.
Cutting bags at Sew Day
Of course, I spent the time cutting out the pieces for bags. I am making the Amethyst Project Bag by Sew Sweetness and the Kit Supply Tote by Aneela Hoey. I cut out all of the pieces for both so I can start sewing.
Designing the SJSA quilt
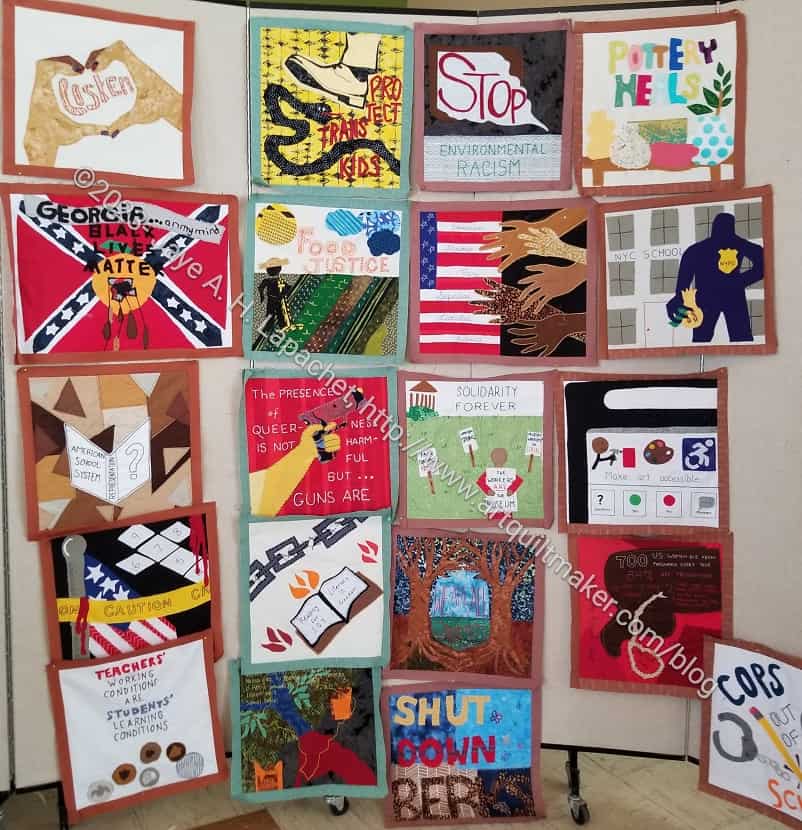
Sara from the Social Justice Sewing Academy was there with more blocks to make into a quilt. Members of the guild had done the embellishment on a lot of the blocks. It was really a group effort.
The first part was deciding how the blocks would go together. They usually go together in a 4 x 6 grid with sashing, which is what happened this time. Still the blocks have to be placed in the right location. In this case, there were some strong designs that had to be dispersed.
SJSA Quilt – April 2023
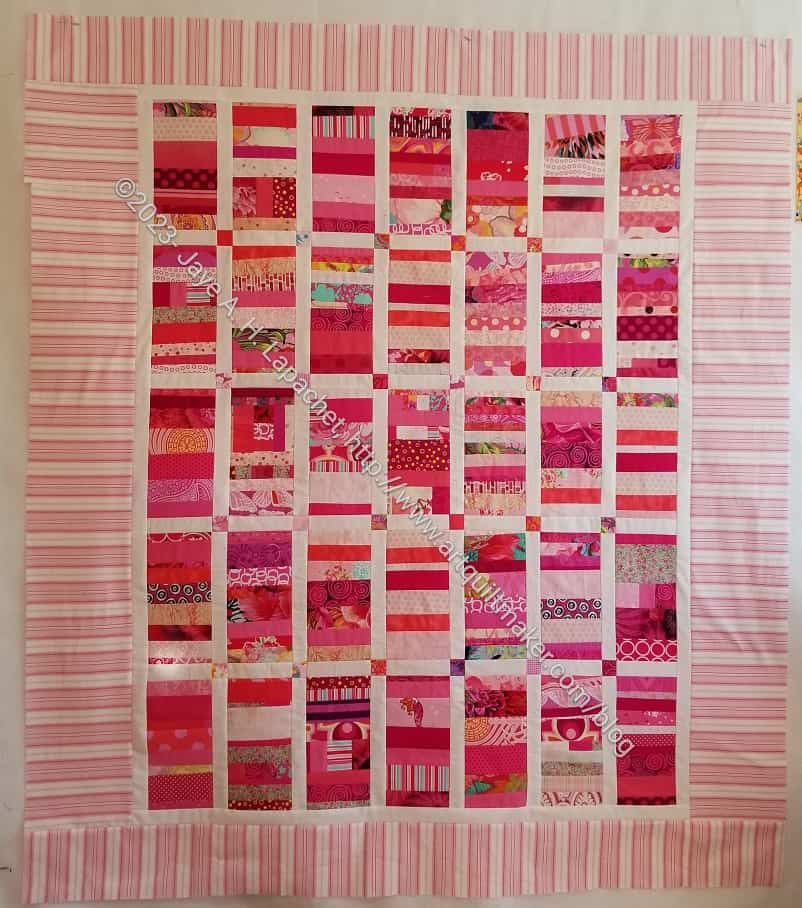
As usual, I didn’t participate. I kept an ear open and chatted with Sara and the others who were working on the project. I brought the Pink Strip Donation quilt, so I felt like I had been doing good. I also brought several donation blocks. I am doing my part.
I found out that the quilts are given to schools and libraries where they are displayed. I think they are given to the places where the artists come from. What I mean is that if an event was held at a school, then the quilt goes back to that school for display. A good idea, I think.
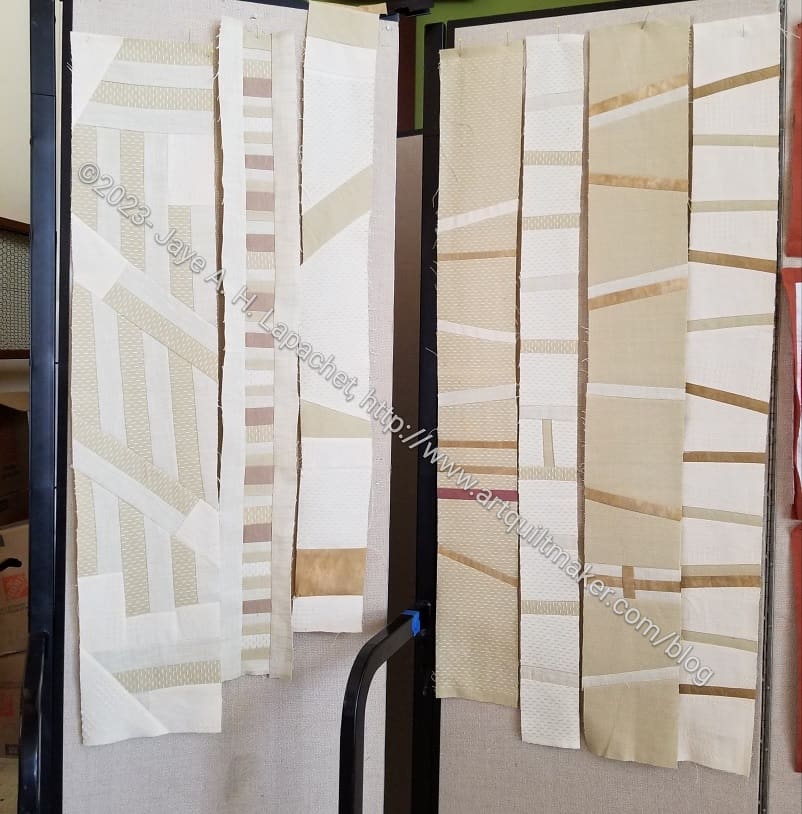
SJSA quilt sashing
The fabric used for sashing had an interesting texture, but it was difficult to use and shredded easily. Still, the sashing strips they made look really nice.
You know I am not a fan of beige and brown, but these strips are very appealing.
They didn’t have time to finish putting the quilt together, though several people worked really hard for most of the day. I am not sure what happens if the quilt isn’t finished. Maybe some others will finish it?
Julie has a great post with more information about the SJSA quilt.
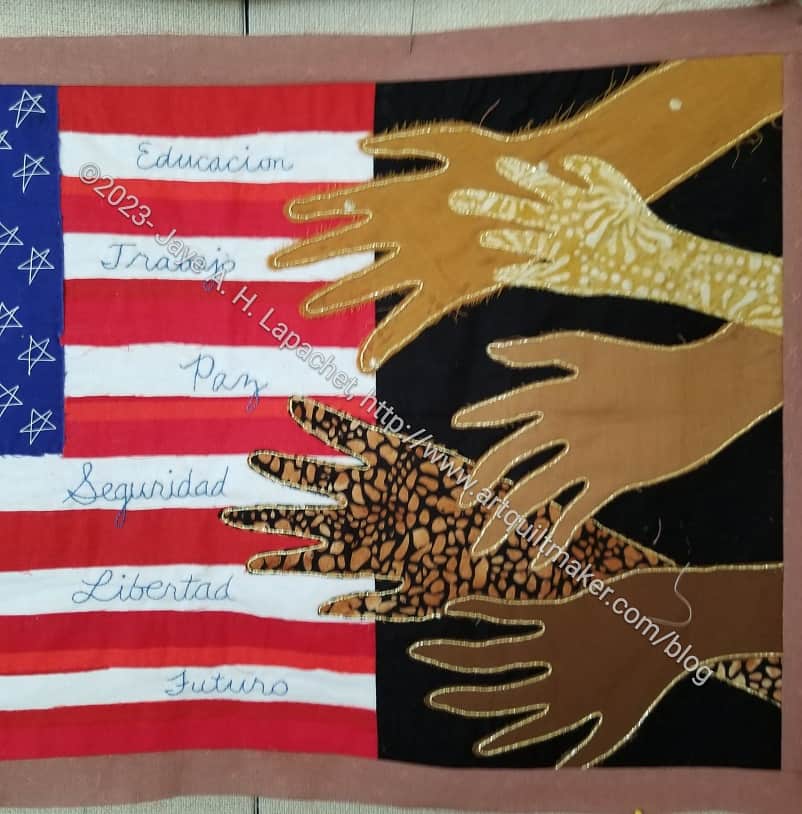
Melinda’s embellishments on the SJSA block
I also saw Melinda’s finished block – or the block that Melinda embellished. It looks really great! It also got a great position in the quilt.
She added some gold metallic thread around the hands. She also added the stars and the words. It looks really good! The design is also very appealing.
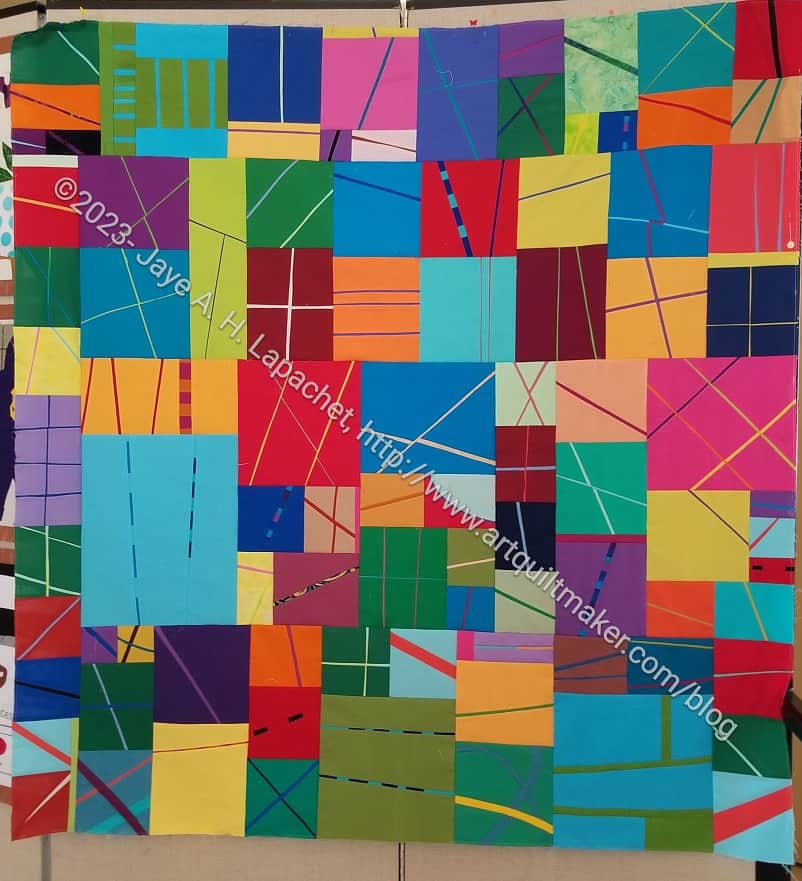
BAMQ Thin Strips quilt
Joelle brought the thin strips quilt as well. She did a FANTASTIC job! The quilt is wonderful. I looked for mine and thought she hadn’t included them, but I saw them scattered across the bottom of the quilt. See the one in the bottom right hand corner?
Sara saw this quilt and wants to incorporate the idea into the sashing of the next SJSA quilt. Interesting idea! I am so thrilled when synergies like this happen.