Like the Lobster, the Orange You Glad has returned. The quilting is done and I have to sew down the binding.
I was glad to have a few months break, especially over the holidays where I had little time to stitch anyway. Now I am close to finishing the La Pass rosettes and will have more time to sew down bindings and sew on sleeves.
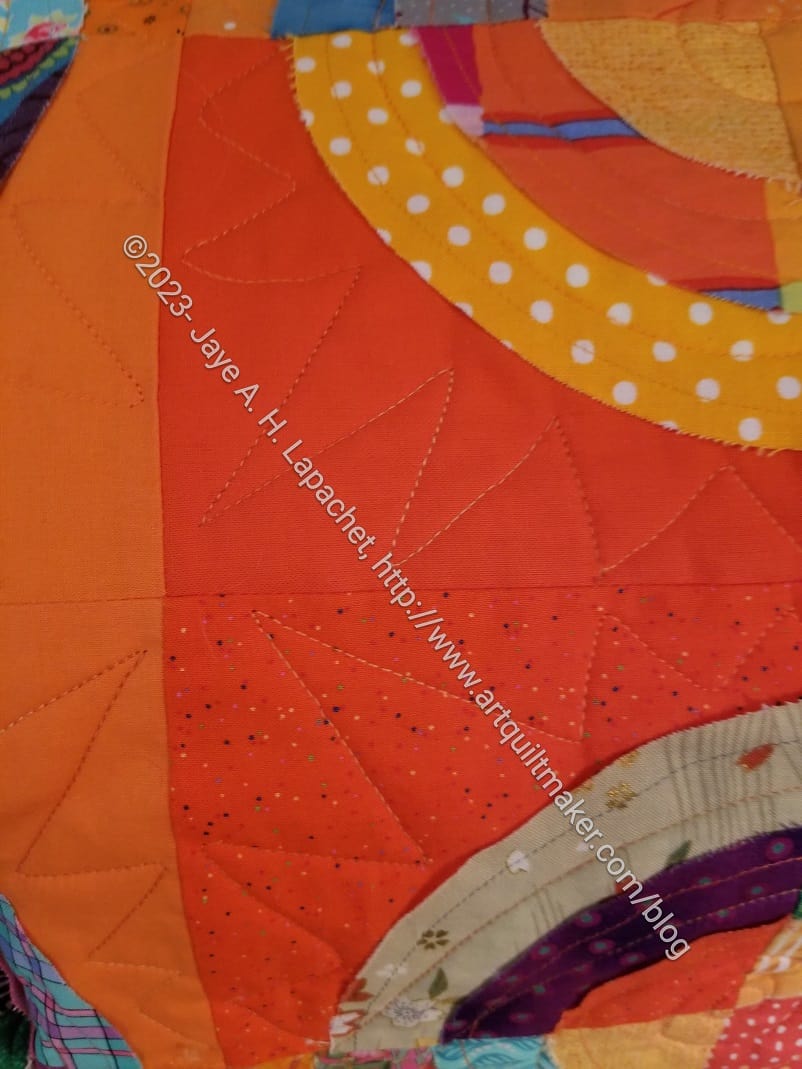
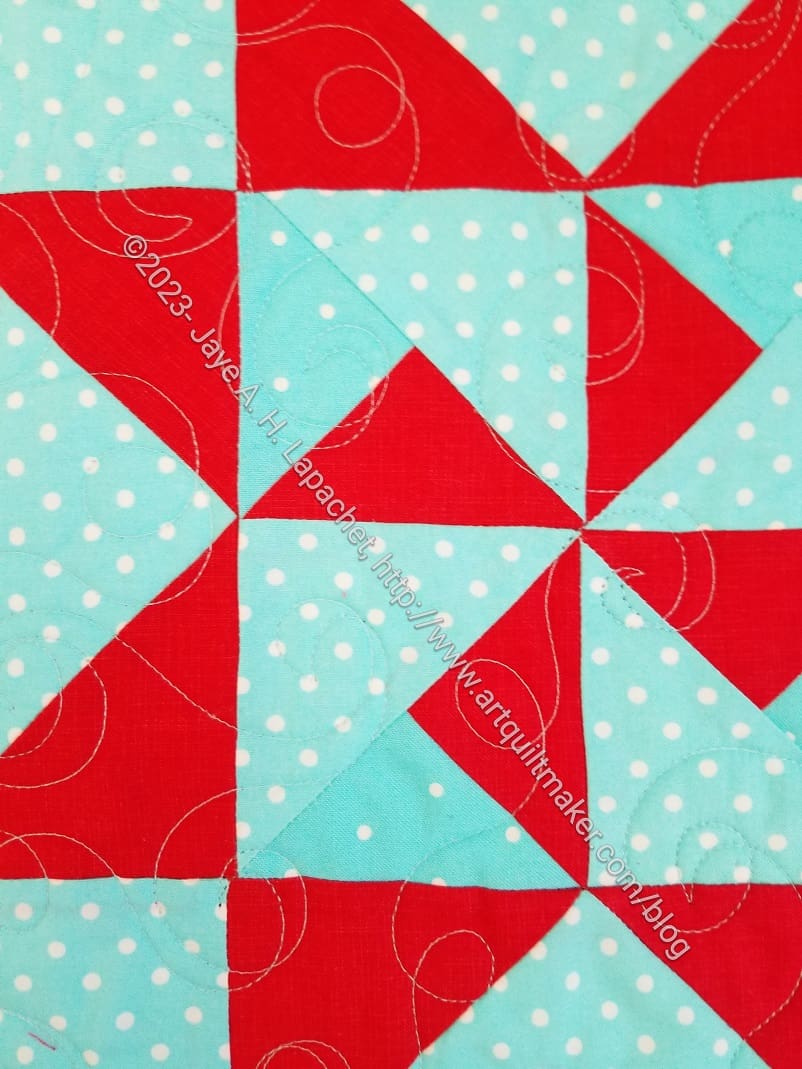
Orange You Glad quilted- detail
One of the things I like about this quilting is motif depicting rays that Colleen did around each of the circles. Simple, but effective.
She did a great job avoiding the raw edges. I always warn her, but you never know. So far, on all of these Bullseyes, I haven’t had any folded edges. That makes me very happy.
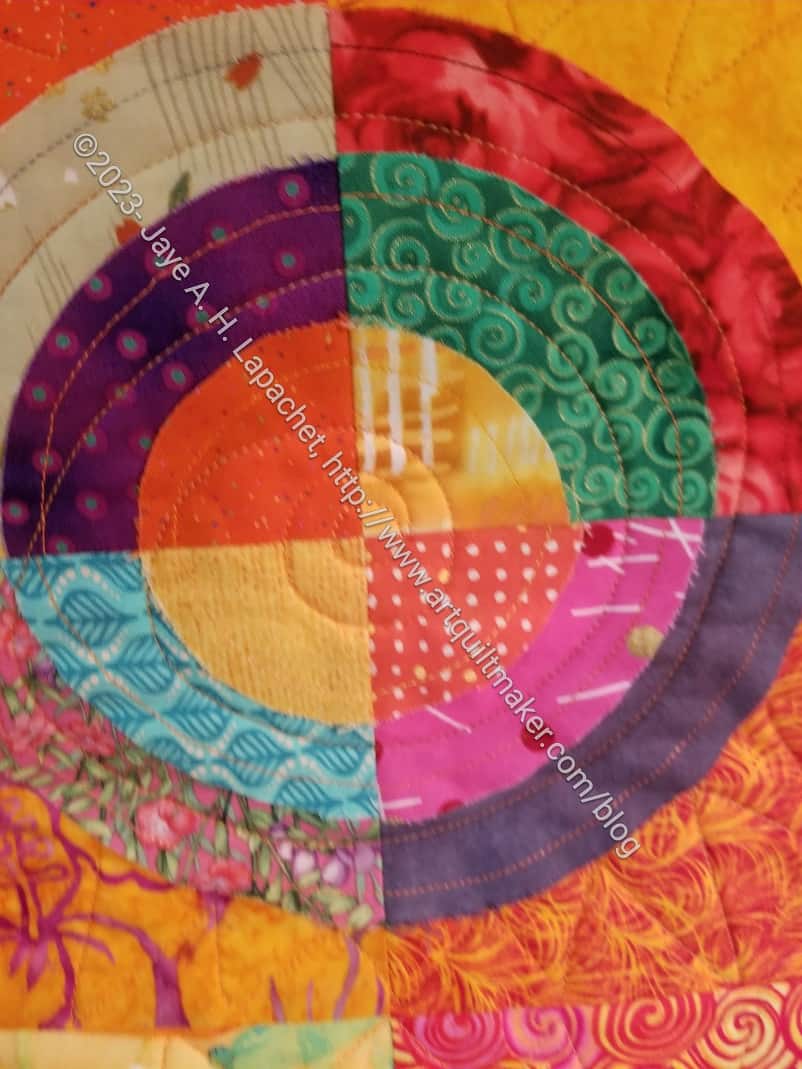
Orange You Glad quilted- detail
In the center of the circles is a simple spiral. She would have done something better, but I couldn’t think of anything.
There is enough quilting to keep the thing flat as a pancake, which is my preference.
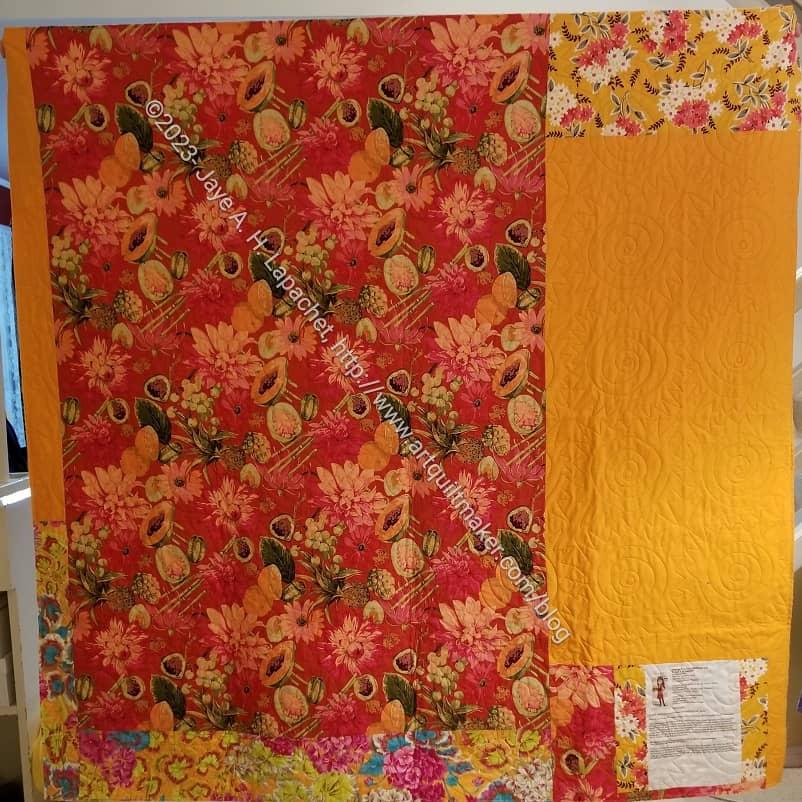
Orange You Glad back quilted
Finally, the back looks good. I know I was sick of the quilt when I made the back, but the large pieces are really effective. I like seeing those big flower prints in all their glory.
All in all, I was very pleased with the price. Four quilts, a tablerunner and two pieces of foam were very economical.
Colleen sent back the three quilts, a tablerunner and two pieces of foam -soon to be future bags – that I brought to her in October. What a bonanza!
Also, I have a LOT of binding to do, but soon I will be able to add a lot of quilts to my ‘Finished’ list.
The Lobster – quilted
The Lobster looks great and it is first on my list for binding since I can use it right away. I know I thought about it for July, but I am sick of looking at the Cha Cha Cha tablerunner. I want something lighter and fresher.
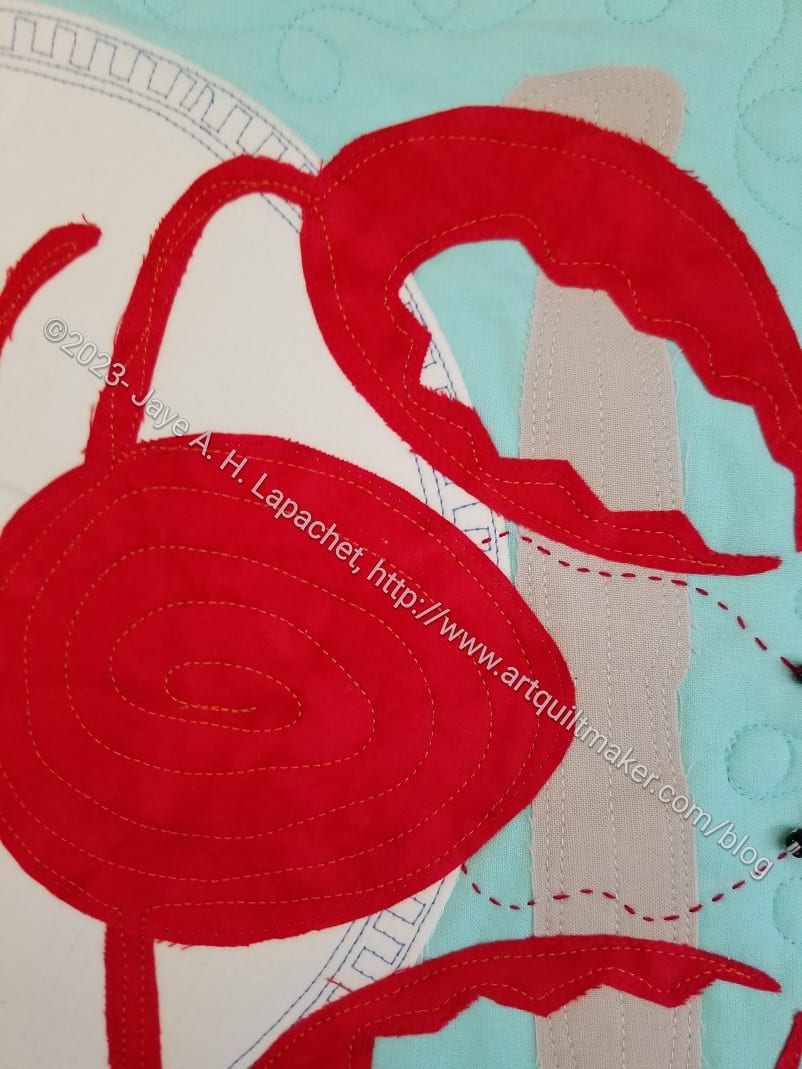
The Lobster – quilted detail
As usual, Colleen did a great job quilting all of the pieces. She took particular care with the Lobster. On one hand, she quilted with two different colors of thread in some places as requested.
She was really careful around the embroidery I already did as well as the beads. Of course, she had an incentive to stay away from the beads since I am sure they would have done some damage to her machine, which I absolutely don’t want.
The Lobster – quilted detail
The Sawtooth Star blocks also look good. Sometimes those basic blocks can be super boring to quilt, but I like what she did.
I wanted to get ahead of the ‘pillowcase for the college nephews project’, so I stocked up on some themed fabrics. The Valentine’s fabric was backordered, which was a huge disappointment. I sent them cards and socks. I ended up buying some chili pepper fabric, which I think will work for the Valentine’s pillowcases. I didn’t have a chance to make them yet, though. I might do it and send them late. We’ll see. I don’t need a yard and a half of chili pepper fabric hanging around.
The Granary – January 2023
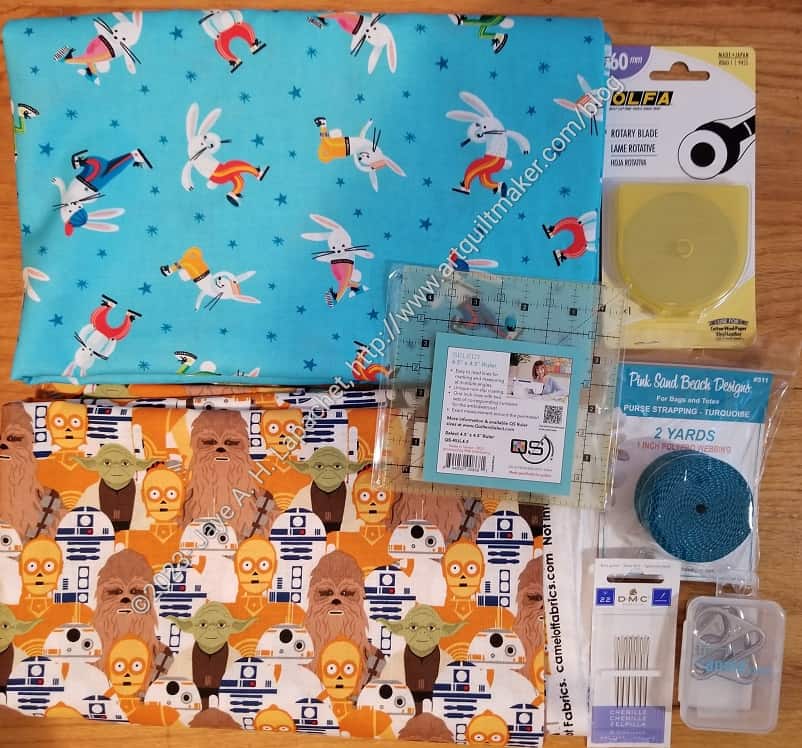
On my birthday, I went to the Granary and found some fabric for April and May. For April, I will make Easter pillowcases and the May pillowcases will be ‘May the Fourth Be With You’ pillowcases.
You can see that I bought a few other items as well.
I didn’t want the Easter pillowcases to be boring, so I chose some dancing rabbits. These might be on the edge of Easter, but I think they will work for my nephews.
I think the ‘May the Fourth Be With You’ pillowcases will be fun. I didn’t know what to do for May and I think these will be perfect. I could have done Cinco de Mayo. The ‘May the Fourth Be With You’ theme will be perfect for 19 year olds.
St. Patrick’s fabric – March 2023
I also got some St. Patrick’s fabric for March. This isn’t great fabric, but I think it will be ok for the boys.
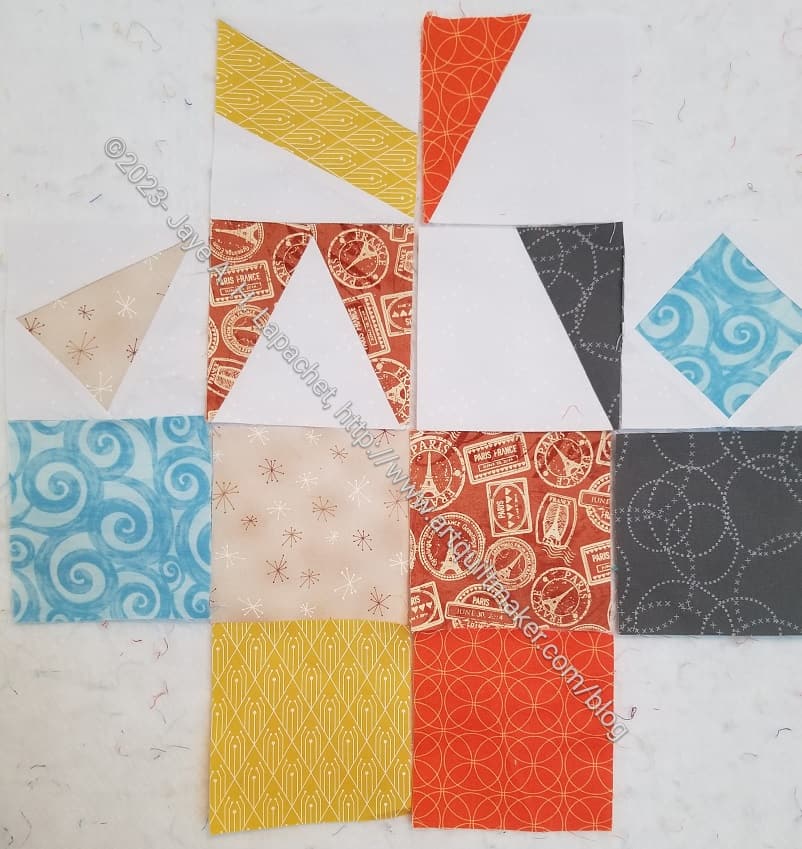
I received some more blocks from Julie a week or so ago.
These are the result of the postcards I sent to her. It is interesting to think about the choices I made and the result that I see in the blocks Julie made.
I can’t imagine how the blocks the blocks will come together as a whole but I am excited to see how they come together.
I have not made any other blocks since my last batch. I need to get one that.
I had some leftover fabric after making the New Year’s pillowcases for the nephews. Since I’d still like to have napkins for every holiday, I decided to make some New Year’s napkins. I had just enough to make two napkins, which is enough for us, but no guests.
NYE Napkins
I don’t know when I bought this fabric, but it has been awhile. I picked out some fun backing fabrics and whipped these up pretty quickly. We used them right after I made them and I am pleased.
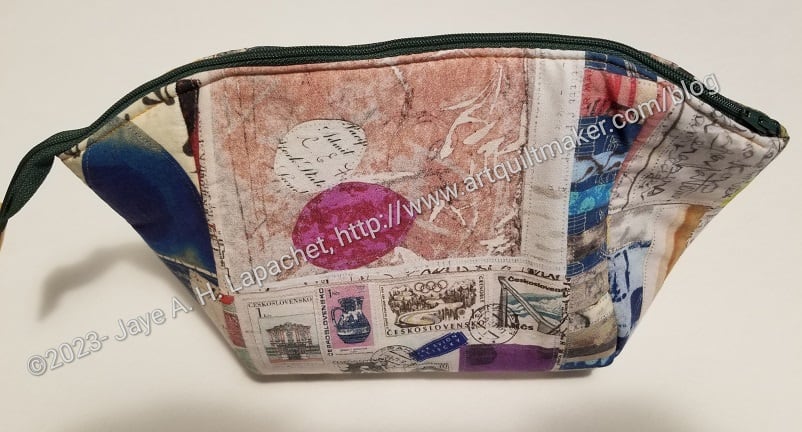
I can’t remember when I finished this pouch, but I did finish it. I remembered to check to see if I showed it to you after I mailed it. Since I haven’t had time to sew lately, I am running out of projects to show you, so I am glad to show you this one.
The zipper, from this angle, looks a little strange, but it works fine. I am not sure why it looks like that, but I will try again harder next time.
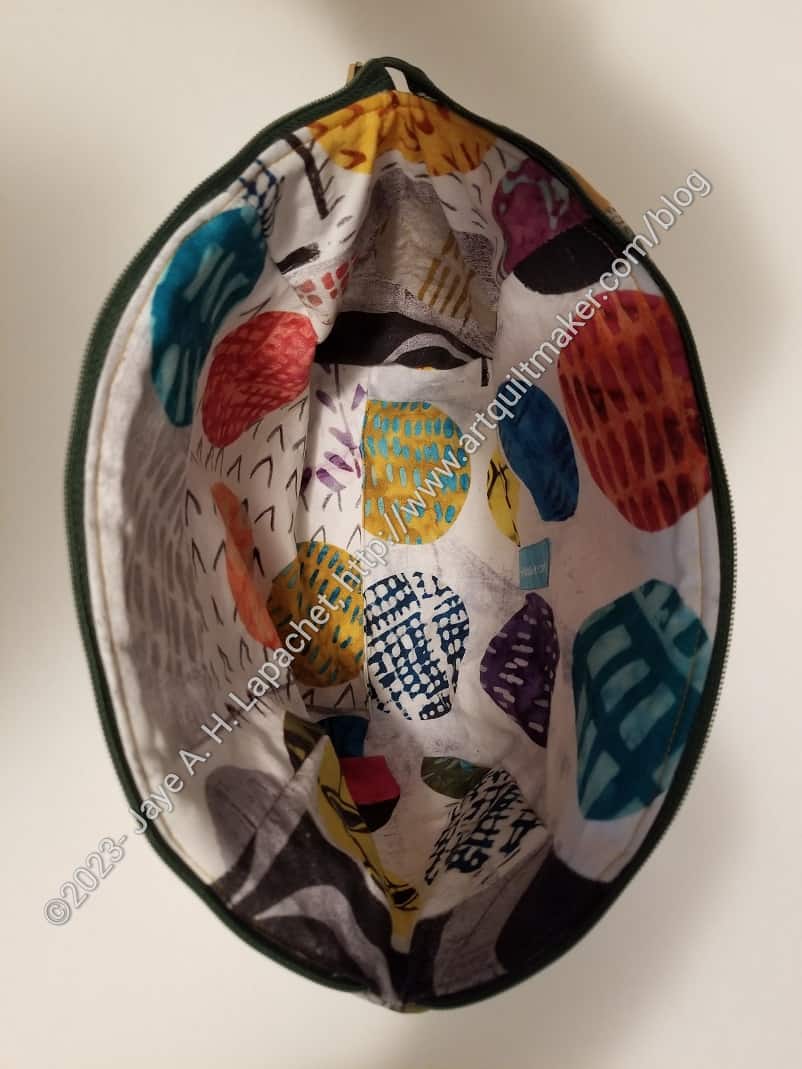
Venetia’s Cotton Candy Pouch -interior
The inside is also a Marcia Derse fabric and is really fun. This is the large size. It is big so you can fit a lot in it. I know Venetia brings a large bag to work, so perhaps she can use it for cords or something like that.
I am still thinking about the Odicoat and how to incorporate that substance into more of my bagmaking. From what I know, this pattern doesn’t lend itself to Odicoat application. I’ll have to try it some time. I’d like to try it after I put a pouch together. I will have to try it on a test pouch in case it gets ruined.
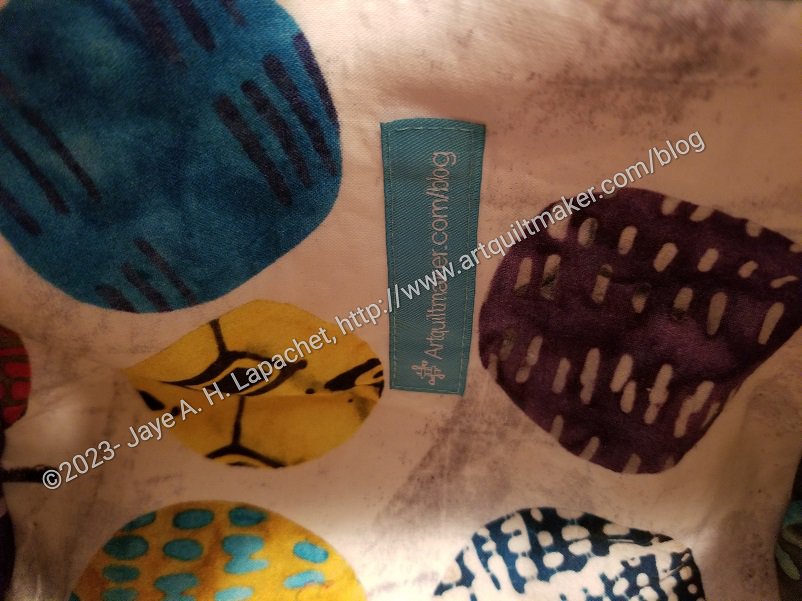
Venetia’s Cotton Candy Pouch -interior label
I used another Wunderlabel for this pouch and am pleased to see it not clash with the fabric.
I haven’t had much time to sew lately- just a few minutes here and there. Still, I finished the grey Color Strip blocks and made a couple of pink blocks for the latest Color Strip donation quilt.
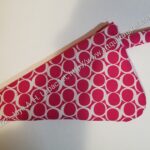
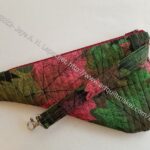
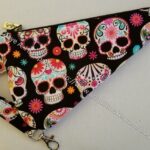
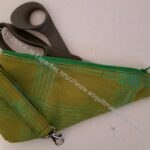
In the process of making the scissor cozies, I realized how many of these I have made. I know it is strange to constantly be looking at the various iterations of one particular pattern, but I seem to enjoy it.Scissor cozies are quick gift to make. It is also a unique pouch, so it makes an impressive gift.
Also, one reason, I enjoy making the same pattern over and over is that I am able to improve my skills at making and get a better understanding of the pattern. I am constantly trying to improve my skills and I find making one pattern a few times helps with that.
Sue’s Scissor Cozy
Maria’s Scissor Cozy #2
Cyndi’s Scissor Cozy
Leaf Scissor Cozy
Scissor Cozy for Gerre
Scissor Cozy for Maria
Scissor Cozy for Julie
Mom’s Scissor Keeper
It’s fewer than I thought, but still a good number.
I showed a friend the Skeleton Hackney I made before Christmas. She really liked it so I offered to make her one. I am in the process of making about 6-8 Hackneys and one more will be easy.
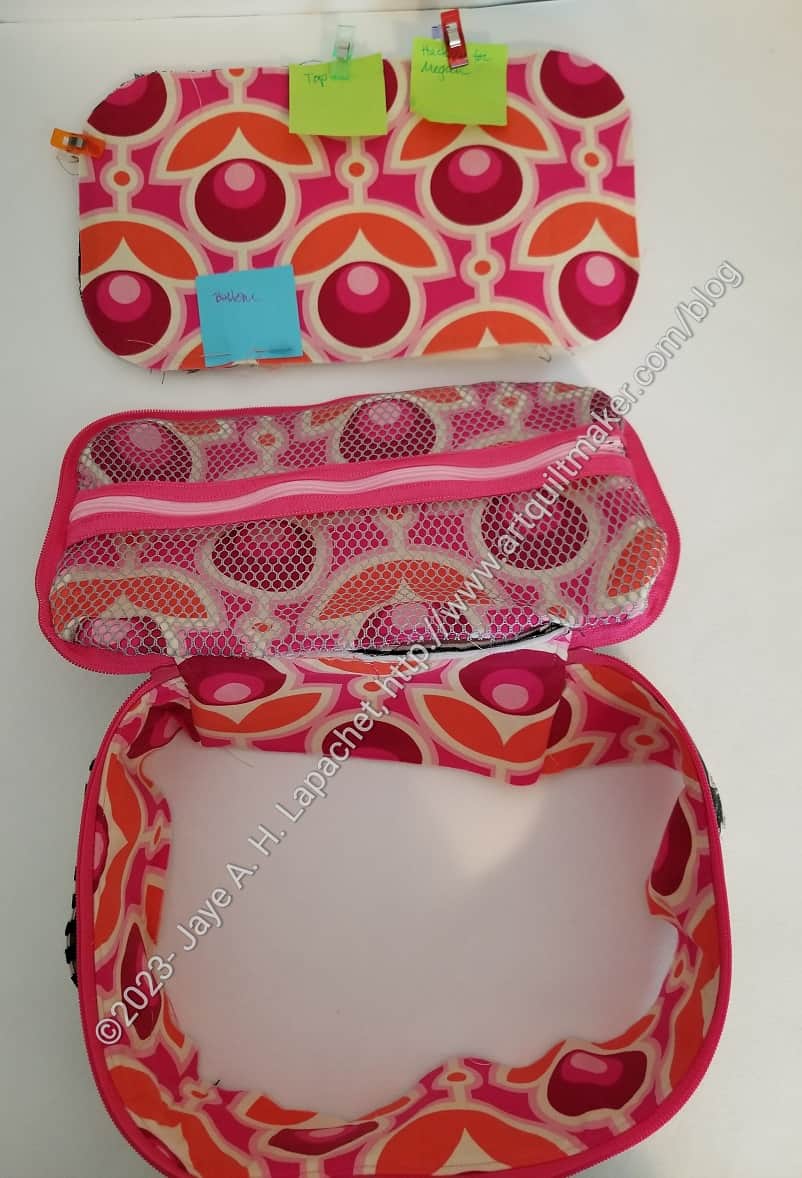
The inside is a pink from a line that has been hanging around my workroom for a long time. It is one of those fabrics I love and am reluctant to use because a better project might come along for which I need it. I am trying to get over that feeling and use the good fabrics. There is always more fabric, right?
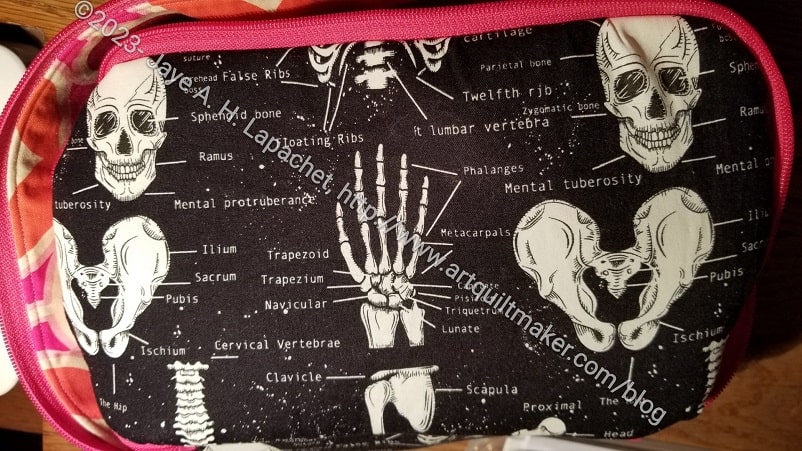
Hand Bone Hackney
I have the lid on, but not the bottom, which you can see above.
I decided to center the hand bones rather than the skull this time. That means I ended up with two skulls on the top.
Hand Bone Hackney Handle
I have the handle on, but I am not sure I have that step in the right place. Remember the pattern does not include a handle, so I had to hack it.
My friend saw it in process and was thrilled. I just need to find some time to finish it. I don’t have much more to go, so it shouldn’t take very long.
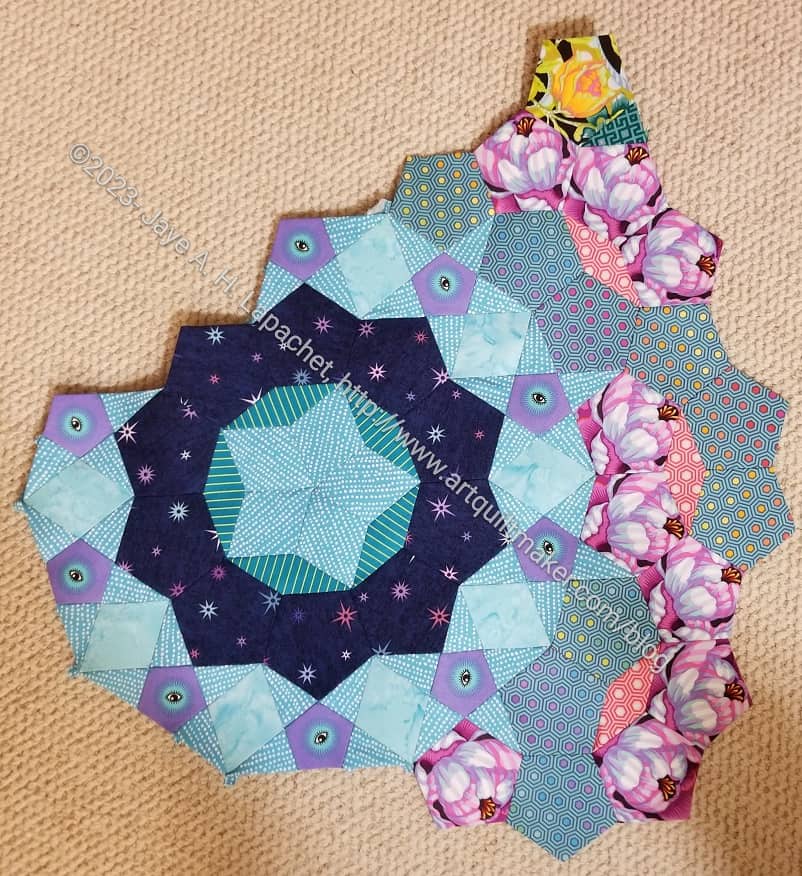
I am slowly making my way through this block. It seems to be taking forever.
This is one of the larger rosettes and I changed a few fabrics, which is part of the reason it is taking longer.
It’s hard to watch others in the group putting their entire quilts together. I keep reminding myself that it is not a race. Also, I ripped out some so I could piece a woven motif in the larger pentagons. I forgot, which I why I had to rip.
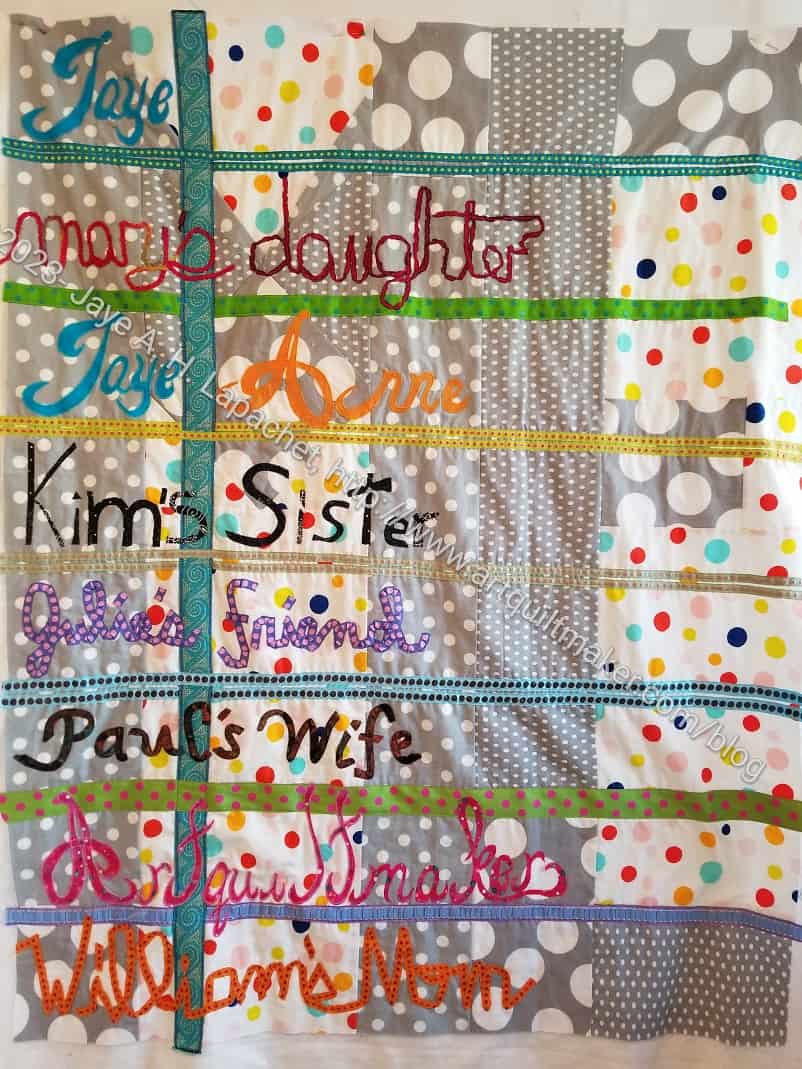
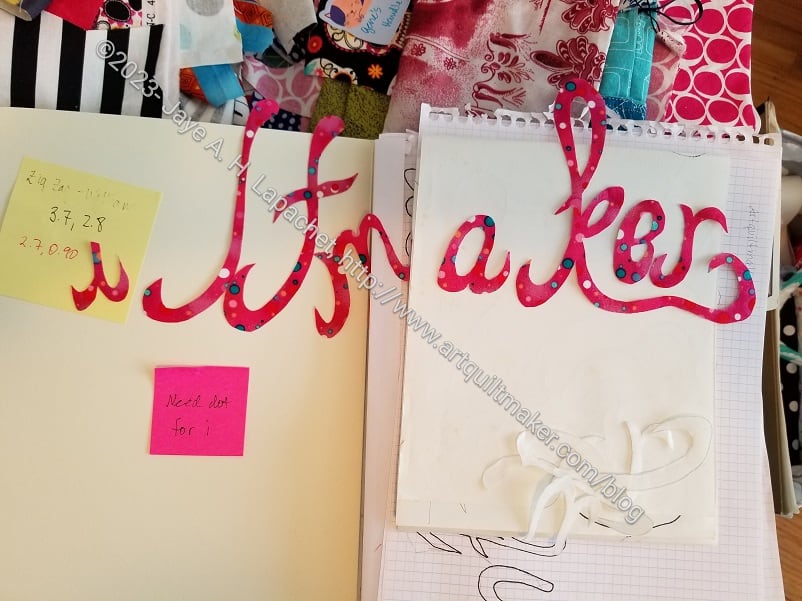
At Sew Day, I worked on creating the letters for Artquiltmaker. I thought this was a good task for Sew Day. I had a big table and could spread out all sorts of papers, tools and implements so I could work efficiently. It took me the better part of 3 hours (maybe 4) to get the words out, but I was able to get it done.
Who Am I? letters in process
The letters are not quite as good as I wanted. For one thing, the A is backwards. I don’t know how that happened. I have very high standards and I decided to be satisfied.
Friend Julie liked them and she is much less judgemental of my work than I am, but would tell me if I was off track.
Who Am I? letters placed
After I cut them all out, it took me a little while to place them.I wanted them at a certain angle, so I fiddled a bit to get them right.
Then I fused everything in place and they were ready to stitch.
Once they were placed and fused, I spent some time satin stitching them down. I didn’t stitch the entire word down. I needed to take a break and was hoping to finish a bag on which I am working.
I talked a little about the random things we did and saw in Portland the other day. There were also several bags that I have made which made the trip with us.
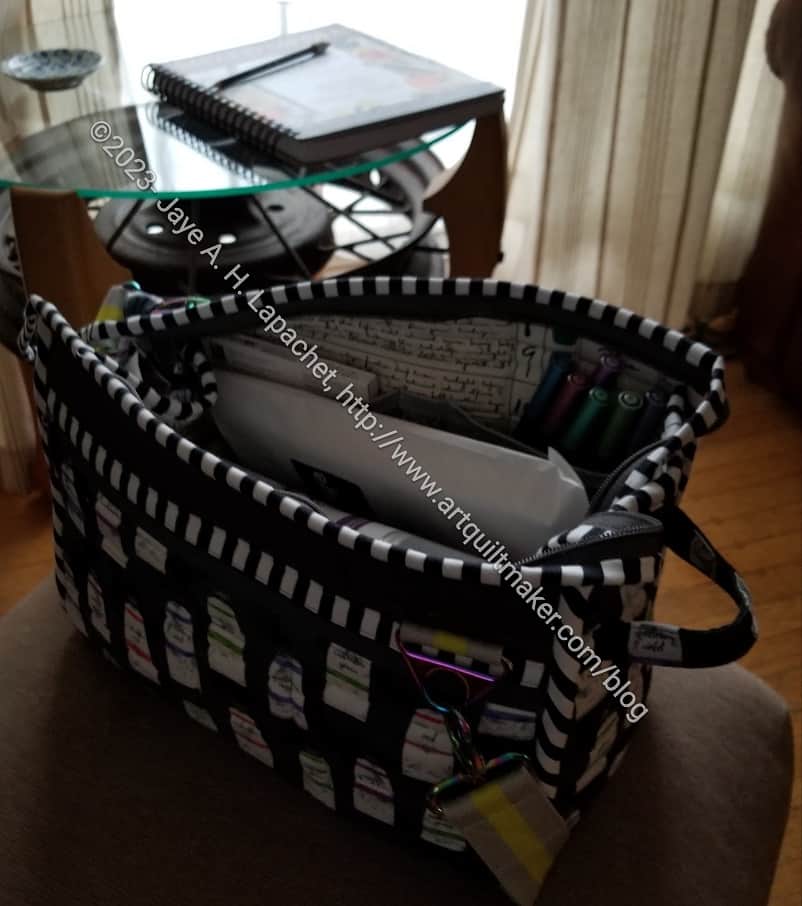
My Take a Stand in the wild
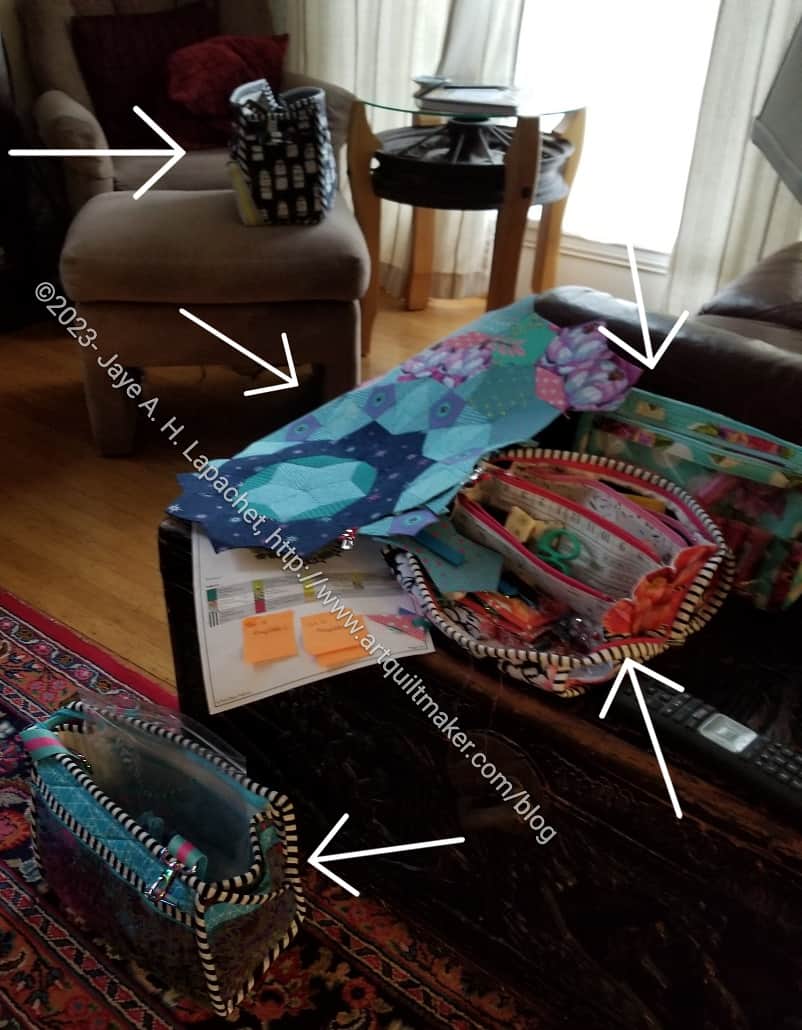
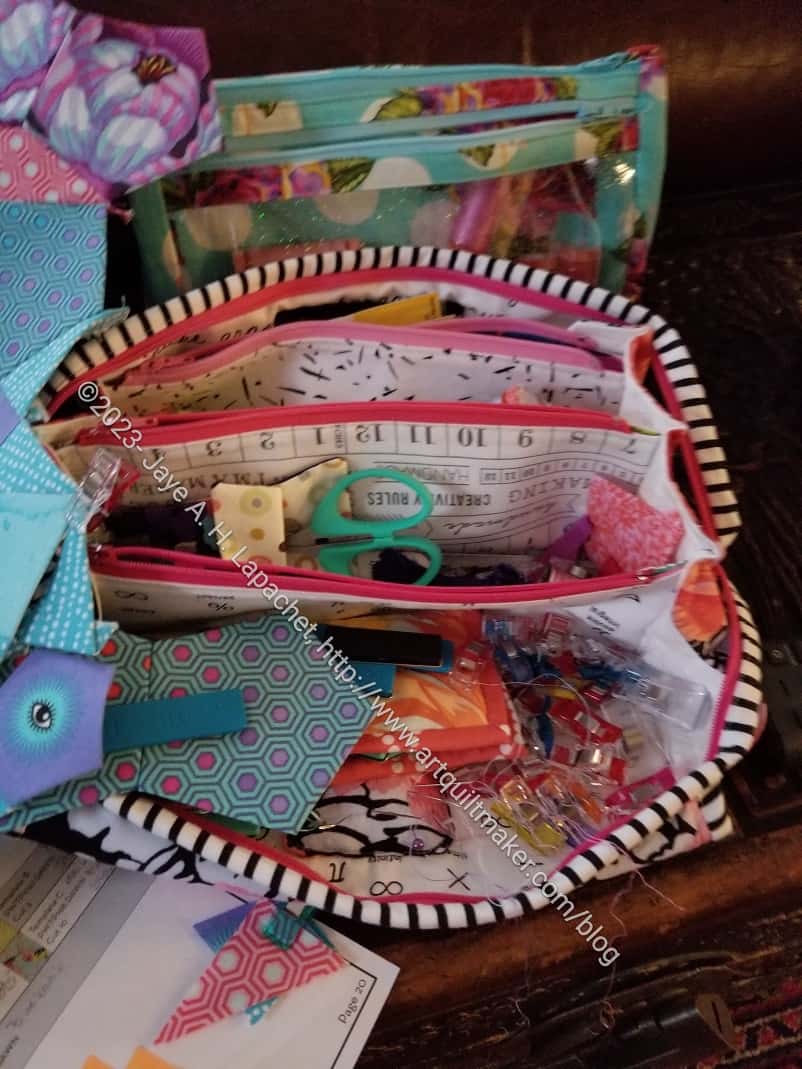
I didn’t want to bring A Place for Everything, which would have carried everything, but it is big. I was trying not to bring my entire workroom, so I brought my Take a Stand/Without a Trace bag. Using the supplies I fit in this bag, I knew I would be able to work on La Pass Month 18. In it I stuffed my La Pass Sew Together Bag. To carry my La Pass thread, I brought the Inside Outside pouch, pattern from Aneela Hoey. Both of these bag fit snugly in the Take a Stand.
La Pass Sew Together Bag in use
I keep the Sew Together Bag handy when I am working on La Pass, because it has everything I need. I know it is hard to see what is going on, but trust me, it is super useful.
We stopped to stay with Mary and Michel on our way home. Mary wants to make this bag and we spent a lot of time talking about the construction.
It was useful to have everything I needed fitted into the Take a Stand. I knew nothing would fall out, so I didn’t have to worry. I also didn’t have to change bags in order to make everything fit.
Mom’s Take a Stand
Mom also brought her Take a Stand. I am not 100% sure what was in there, but it was hanging around the house.
She also brought her Percheron Pouch with her, which I didn’t photograph in situ. She used it a lot. It houses a crochet project I bought for her that she has been working on for quite awhile. She had a big space she could use to lay the piece out so she could see what she was doing. If I remembered the pattern, I would share, but I don’t.
Not much is happening in my workroom. I was gone and work has tired me out.
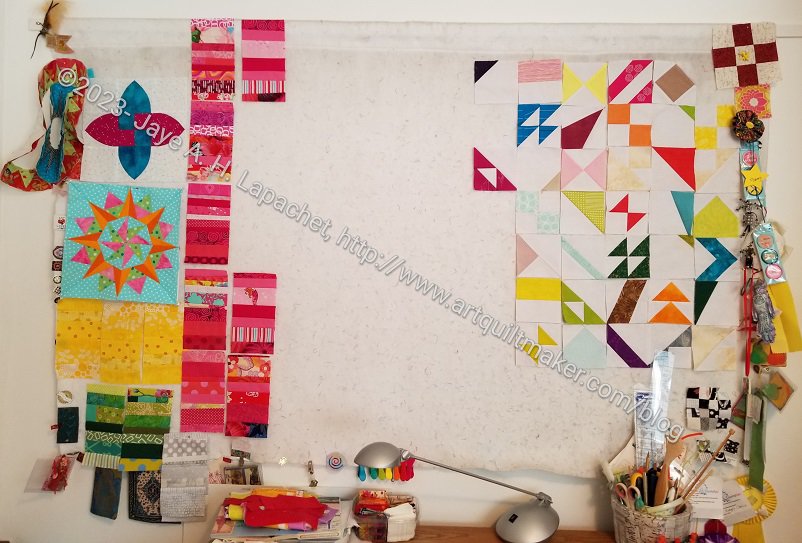
Still, the design wall isn’t empty.
The pink blocks are the start of a future donation top. I talked about it a few weeks ago. I really enjoy looking at them and having them on my design wall. They make me so happy. I plan to get back in the saddle and make more soon.
On the left bottom are random Color Strip donation blocks. Currently yellow and green. Those will turn into something after I finish the pink donation top. Maybe another rainbow top. Some of it relies on how many scraps I have and what Color Strip donation tops I have already made. We’ll see.
Above those random blocks are three blocks. One is a really old foundation pieced circle Mariner’s Compass block from a Barbara Barber class. I don’t see a post about that class. I know I took at PIQF, but heaven knows when. I really should look it up and finish that thing, if for no other reason than to get it off the design wall.
That Rock Star block (white background with curves) is still on the design wall. I talk about the process of that block in the linked post. It uses the Wonder Curve ruler from Sew Kind of Wonderful. Clearly, I am not making the whole sampler nor am I making more of those blocks. Maybe I will, but for the moment, the block is taking up space. I still can’t find a picture of the final Rock the Block Sampler. Oh well.
Finally, the block with the turquoise background is one of the sample blocks I made for my most recent students. It’s too big to go in the file, so there it sits.
On the right side are the Pantone Project blocks. Most of these are from Julie. I really need to get back in the saddle and choose more fabrics.
I talked a little yesterday about the quilt shops I visited while in Portland. There were other random things we did, which were fun or amusing.
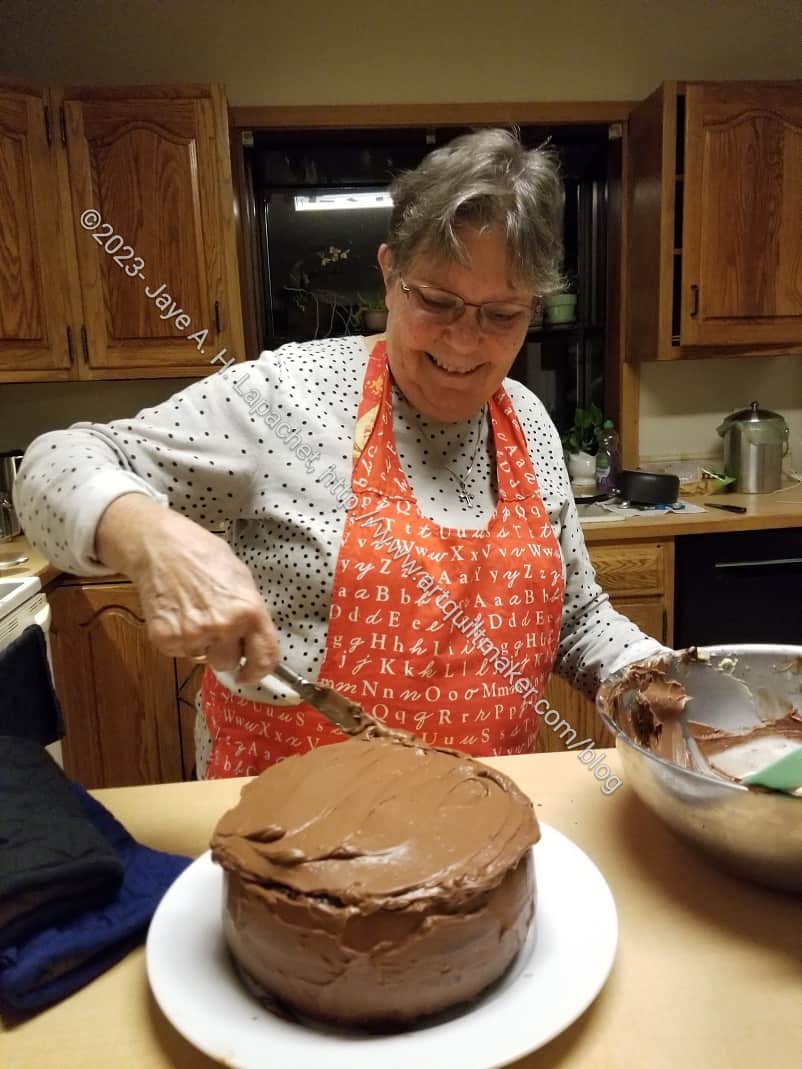
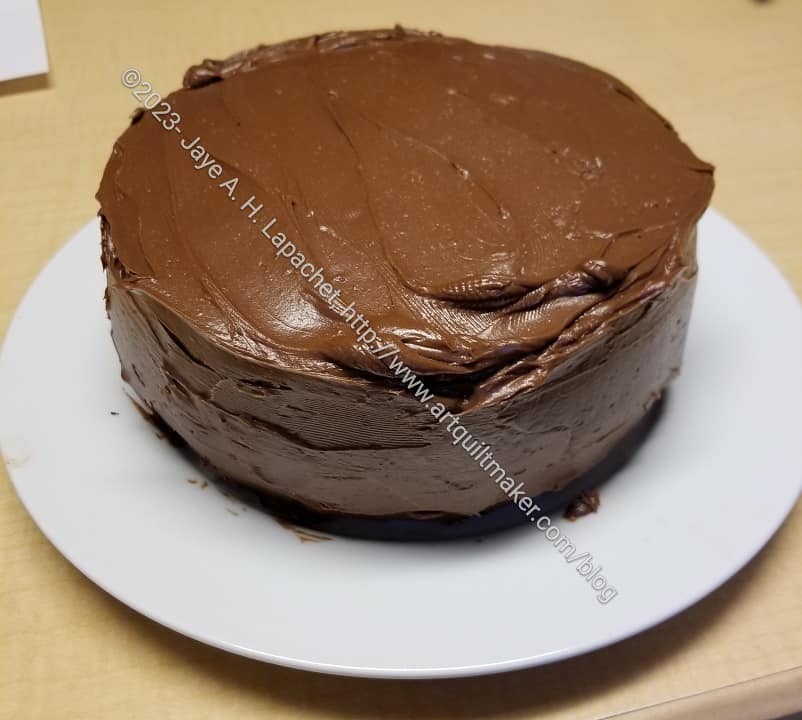
Mom frosting Beatty’s Chocolate Cake
A friend told me about a cake that she baked, Beatty’s Chocolate Cake. She baked it because it had the reputation of being so delicious. I wanted to try this fabulous cake, so I assigned my mom the task of baking it. She did bake it with good humor despite not cooking in her normal space. There was a lot of banging of cupboards as she looked for things, but not many complaints. I think she enjoyed herself.
I really enjoyed eating that cake. We shared it with friends who came over, but there was plenty left for breakfasts and after dinner snacks.
Yes, that’s the apron I made in about 2014. We brought it with us since wearing an apron is a good habit and prevents clothes becoming involved in messes.
Beatty’s Chocolate Cake
I warned her in advance so she brought her good cake pans and some parchment paper. I made her follow the directions to the letter, too. She tends to make substitutions when she doesn’t have the right ingredients, so things taste weird sometimes.
OMG!! This cake was delicious and it looked as good as the picture in the recipe. Even with gluten free flour, this was an amazing cake.
Giant googly eyes
Giant googly eyes size comparison
We also visited a shop, as we often do, called Collage. If you go to Portland, visit this shop! They have great stationery, buttons, stickers, notebooks, beads and a whole lot of other things that are different each time we go. I tried to convince my friend Megan, via text, that she needed some giant googly eyes. She was good, so I didn’t buy them, even the bloodshot version, but that spawn a whole text conversation about door decorations. Google it sometime. Great way to decorate for Halloween.
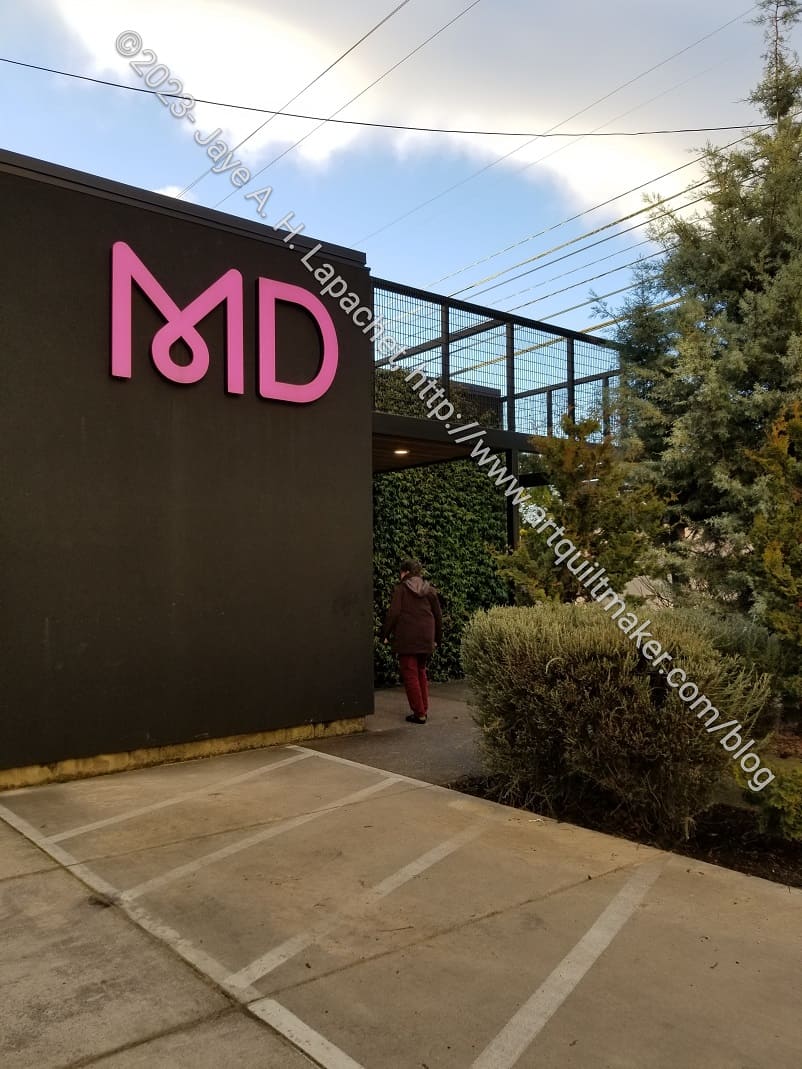
Modern Domestic – Portland
One of the reasons we went to Collage is that Modern Domestic was closed the day we went!! The website said they were open, but when we got there, the sign said they were closed for a 3-day staff retreat. I’d like to work at a place that takes me on a 3 day staff retreat!
Still, I was disappointed that we couldn’t go that day. We went back later in the week, which was fine. I bought a small gift for Amanda, but there wasn’t really anything that I wanted.
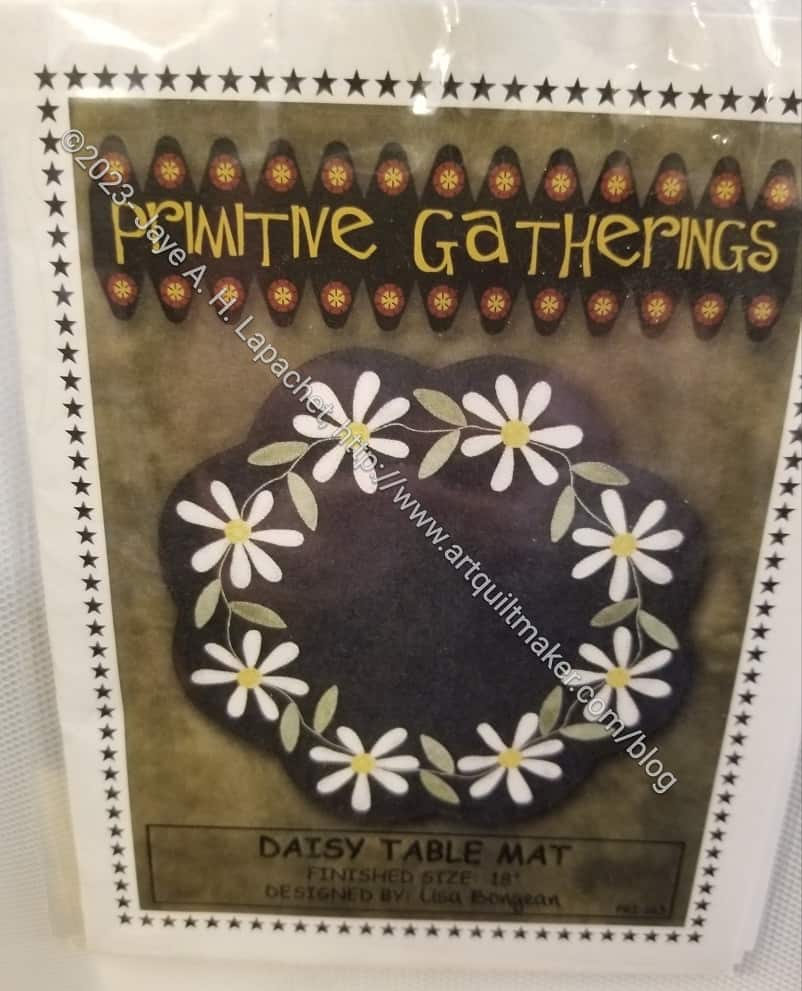
Inspiration: wool felt (table mat)
One of my missions at Pioneer Quilts was to get an idea or a pattern for something to do with the wool felt I bought on one of my last visits. I checked out all the patterns they had and thought about what I wanted. I am thinking that I will make another tablerunner for my buffet. I wasn’t able to find a pattern I liked, but can probably figure out sewing wool felt to another piece of wool felt.
I liked the edging on the daisy table mat. I also liked the daisies and thought I could use different colors for the petals, if I wanted.
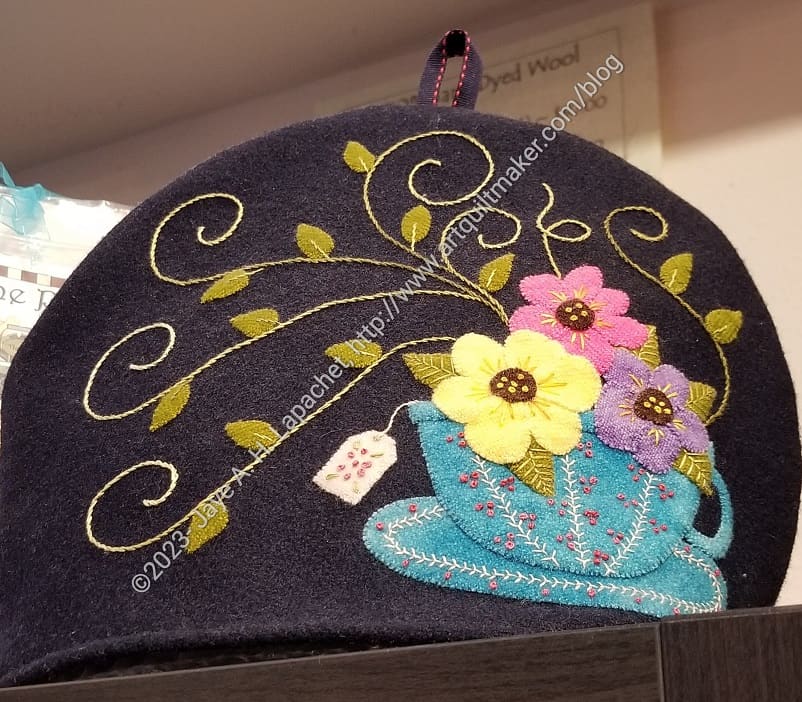
Inspiration: wool felt (tea cozy)
While I am certainly willing to buy a pattern I wasn’t ready to buy yet, so I took some photos for reference since I might design my own pattern. The above tea cozy has a nice cup and I like the embroidered swoopy, curved lines coming out of the cup. I am not fond of that green, but there is no shortage of embroidery floss in my house.
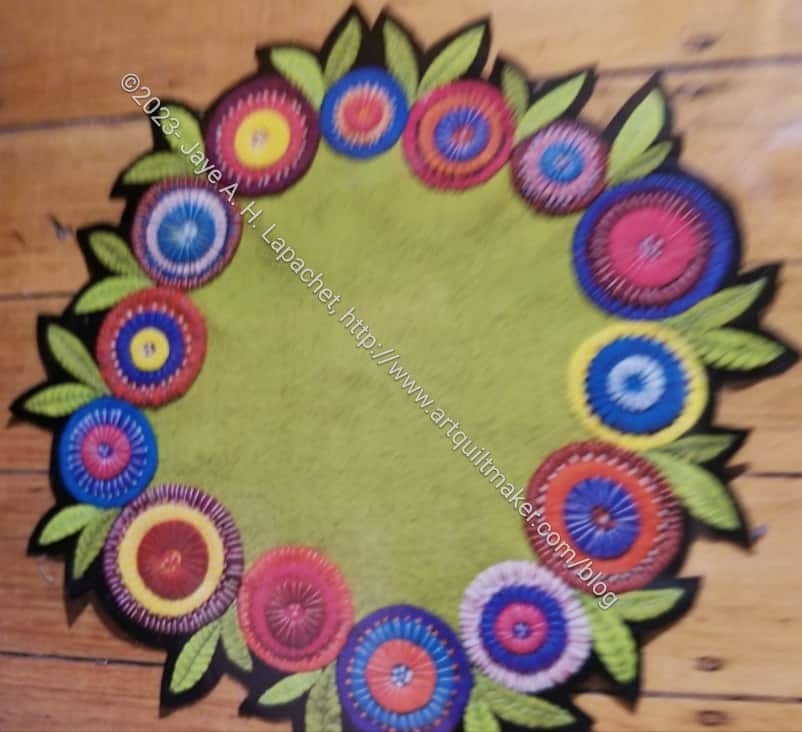
Inspiration: wool felt (table mat)
I may want something more colorful. I am not sure I want black as a background. I almost bought enough turquoise wool felt to make a buffet runner, but I stopped myself.
I decided that I need to finish La Pass and the Half Hexie Star quilt before I buy anything for another handwork project.
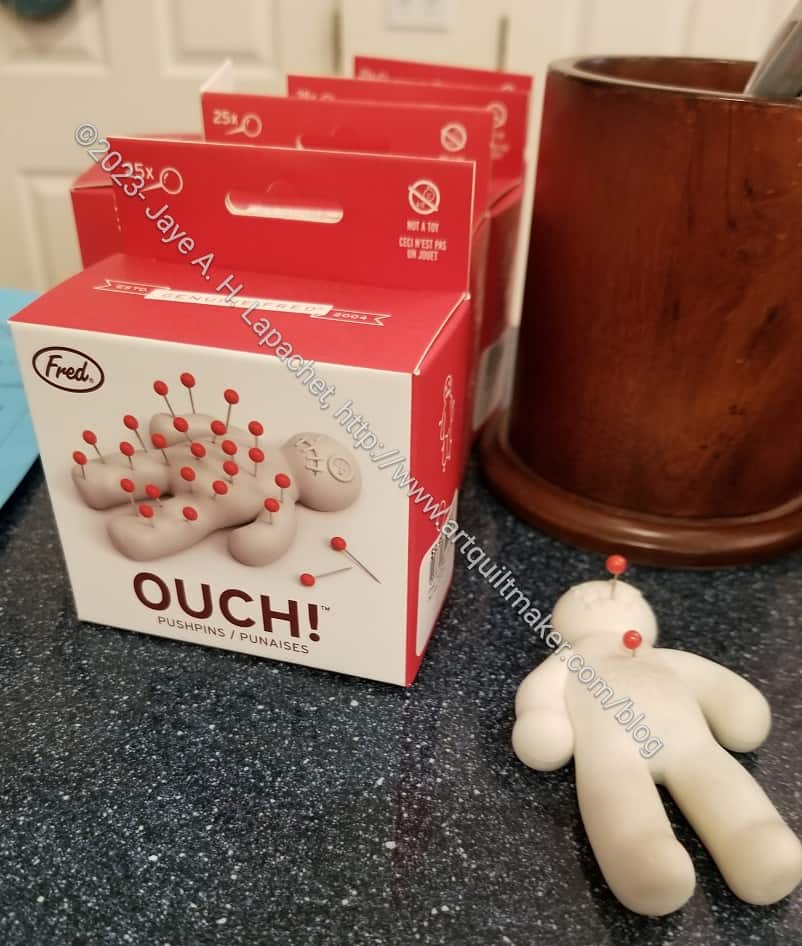
Pincushion?
On the counter next to the cash tablets (registers) was a very strange pincushion – at least I think it was a pincushion. It wasn’t fabric and it felt a little like playdough or clay covered in something to keep it from smooshing all over the place. I didn’t buy one, because I was a little confused by it. The shape reminds me of a pincushion my friend Cheryl has attached to her machine. Cheryl’s pincushion looks like a voodoo doll.
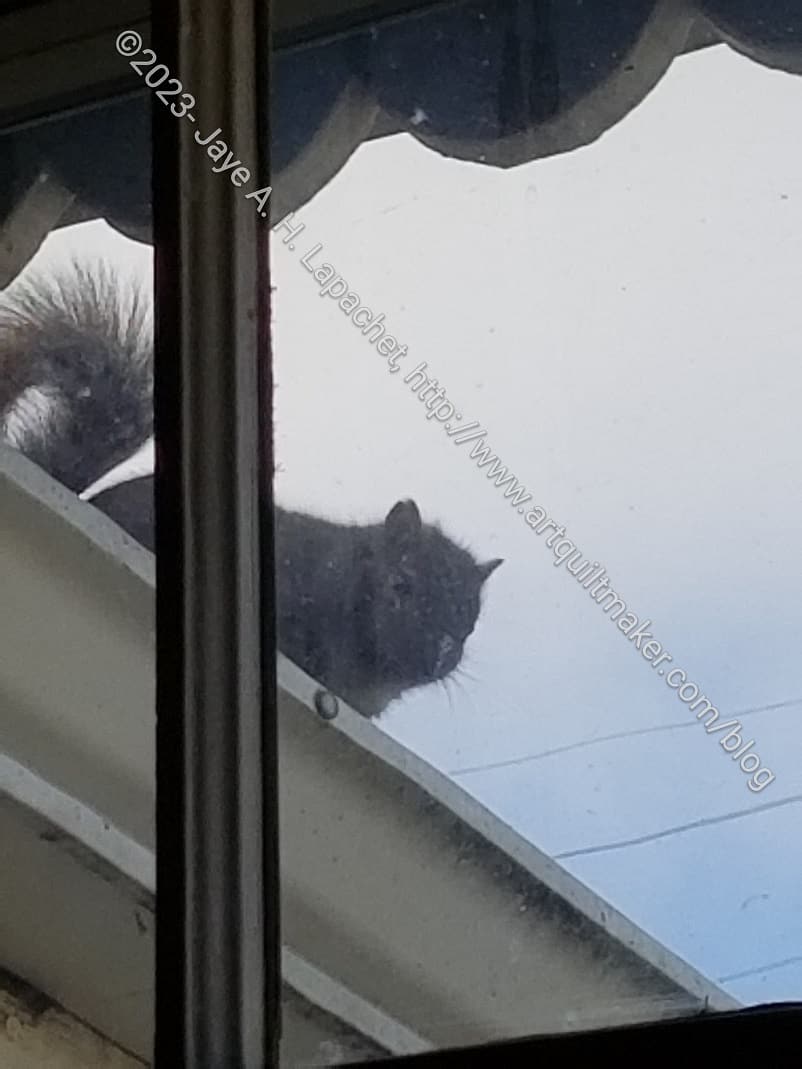
Work visitor
I worked while I was in Portland. WFH is a wonderful thing. I had a visitor some days outside the window of the room from which I was working. He was eating or playing with something in the gutter. Maybe he stored some nuts there.
Seeing a squirrel made me wonder if we have squirrels where I live. After I came home, I saw a couple near where I live, so the answer is probably. They don’t hang out on my roof, though. I can see the roof from my workroom window and I haven’t seen any squirrels.
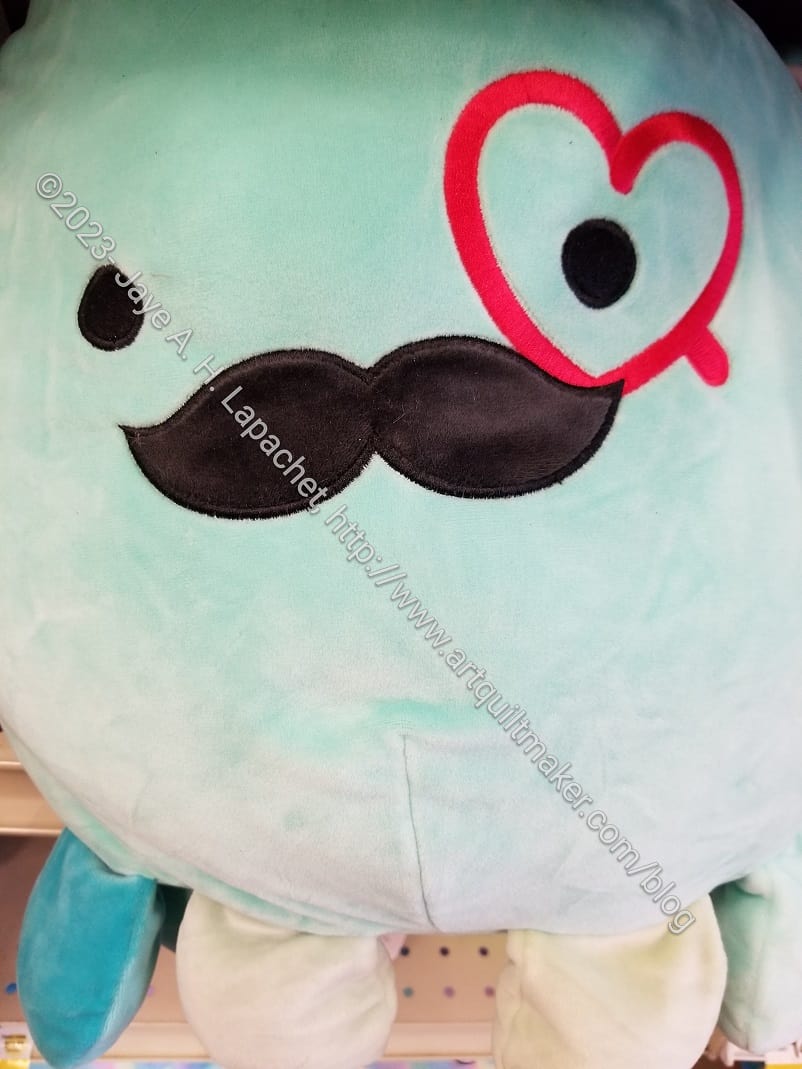
Stuffie like YM’s walrus
The YM has an image that he uses for various things. I saw this stuffed ‘animal’ and thought it looked like it. I almost bought it for him, but ended up just sending him a photo.
I am just back from Portland where I went for a few days to relax and see friends. I also went to my favorite quilts shops and stocked up a bit. Mostly, I bought fabrics for future projects and some gifts.
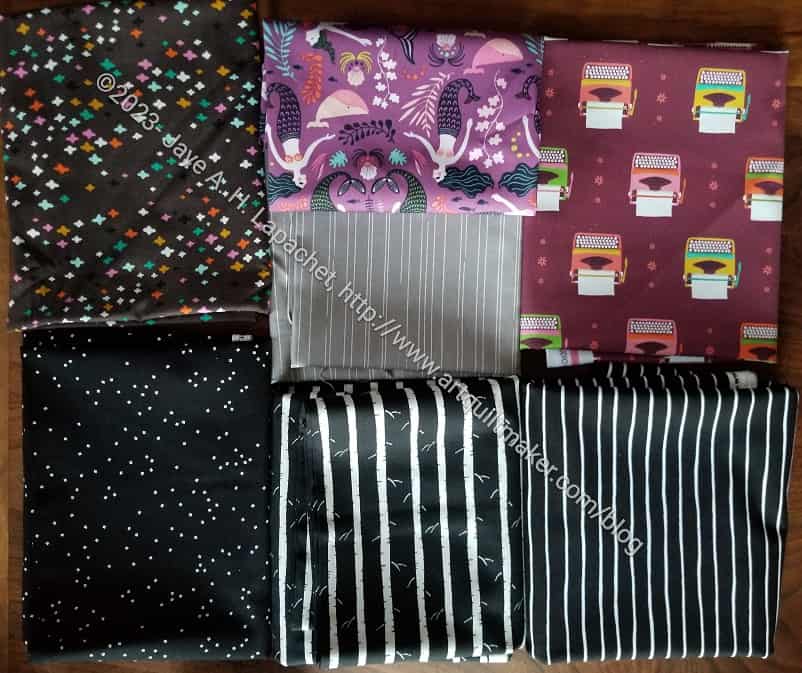
Cool Cottons 2023
After having lunch with my friend Amanda, I went to Cool Cottons. It is a small store, but I wanted to take a look. I can often find good fabrics there. I just like looking. That store has fabric stuffed in every corner even though it is a small store.
The fabrics are all on the dark side. The bottom two on the left are for Stay Tuned. Yes, I switched gears on that one and got some different fabrics for the alternating squares and the borders.
I will make some gifts from the typewriter fabrics and bind quilts with the grey stripes and the black and white stripes. Only two are on ‘spec.
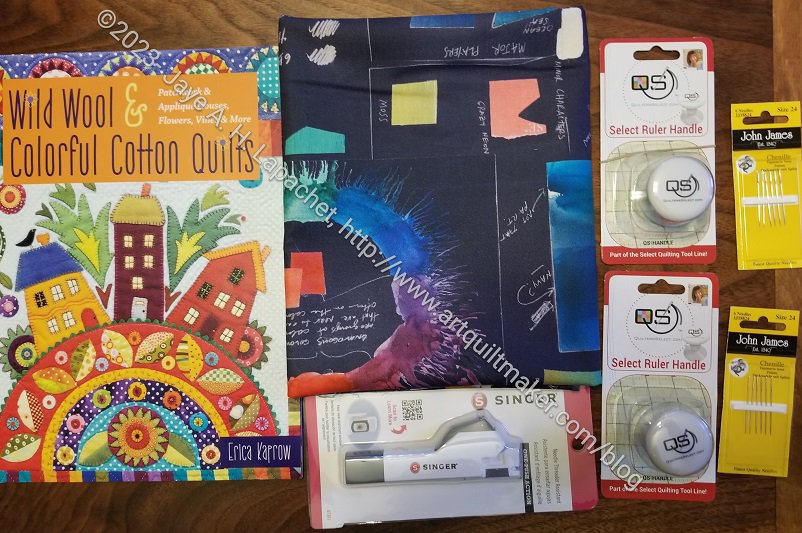
Pioneer Quilts 2023
I made a huge effort to visit Pioneer Quilts. I love that store and always like to visit. I got some gifts for people and really enjoyed looking at their fabric.
I didn’t buy a lot there, but I did look at all of their wool felt patterns and fabrics. I have bought wool felt there in the past and wanted to get a pattern or something to do something with it. I finally decided to get inspiration from the book and do my own thing AFTER La Passacaglia and the Half Hexie Star quilts are finished. I bought that book, Wild Wool and Colorful Cotton Quilts**
I have used Chenille needles for hand stitching for a long time. They have big eyes and are sharp. I was finally able to look at a variety of sizes. The 22 or 24 sizes are the ones that are perfect for me. I bought two packs.
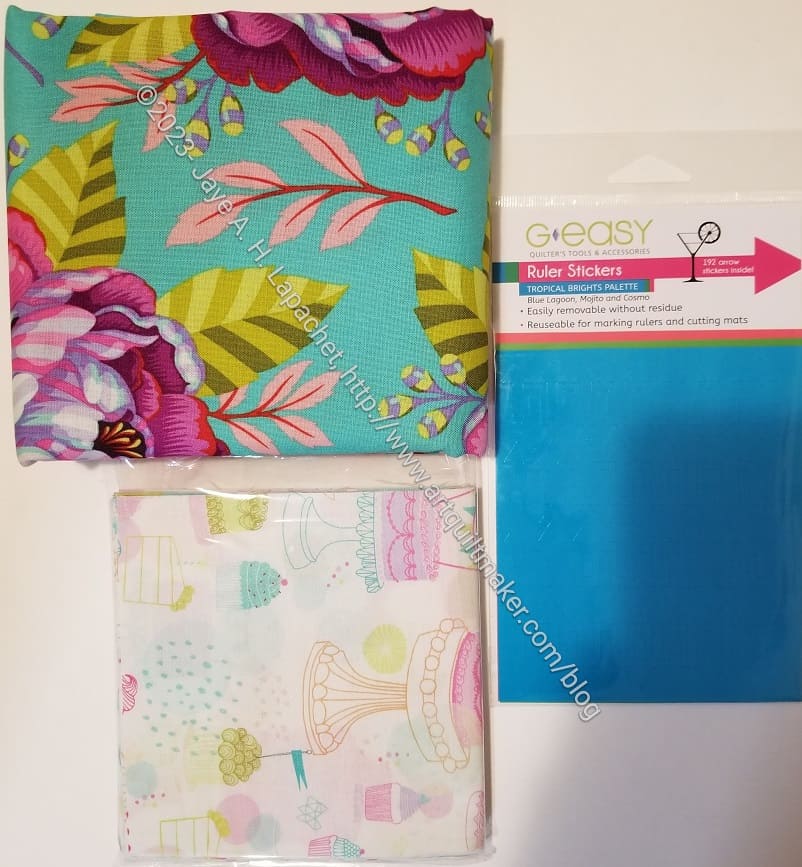
Sunshine Quilts 2023
We went to Sunshine Quilts in Medford, which used to be Cottage Quilts. I am glad they stayed open. It is a nice space and there is a lot of potential for more fabric and supplies. At the moment it was a little light on fabric and notions, but I think they will get more based on the amount of space they have.
The packet on the right is filled with ruler stickers. You can outline where you need to cut then peel off the stickers with no residue. Interesting, right?
I am going to make another Cha Cha Cha table runner from the charm pack. I am not sure what I’ll use for the border. Maybe pink.
A good time was had by all.
**Obviously, you should shop at local quilt shops and small businesses. However, if you are too busy or can’t find what you need there, I use Amazon affiliate links and may be paid for your purchase of an item when you click on an item’s link in my post. There is no additional cost to you for clicking or purchasing items I recommend. I appreciate your clicks and purchases as it helps support this blog.