Beach Town Progress

Beach Town, after quilting

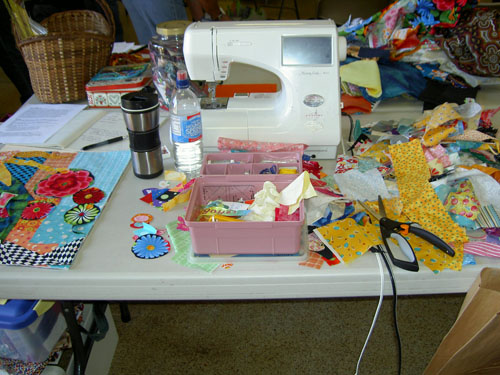
A friend on FB asked me to post Beach Town. As you regular readers know, I get around to posting everything eventually and this past week has been a bit of a challenge. I wondered whether I should post this on Monday to give you more days to look at, but eventually decided just to stack up a couple of posts today and get through the backlog. When I prepare posts and set them to post on a future date, I can’t link to them until they are posted.

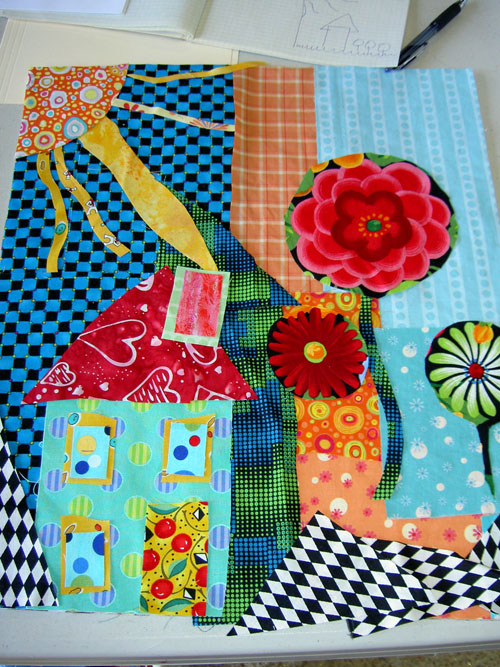
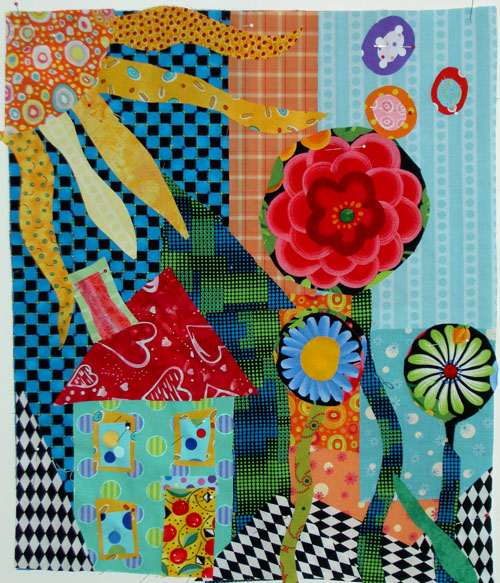
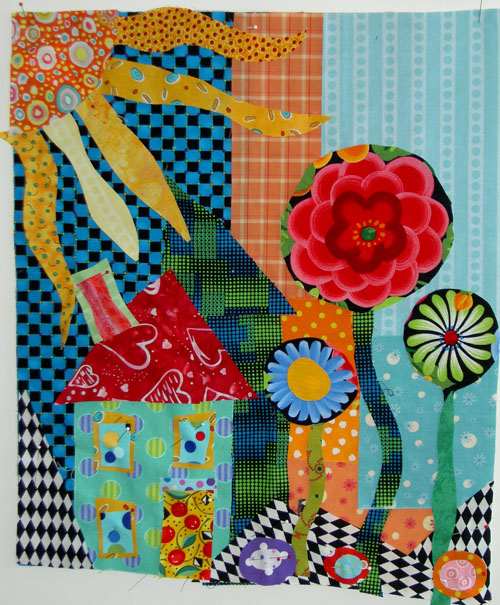
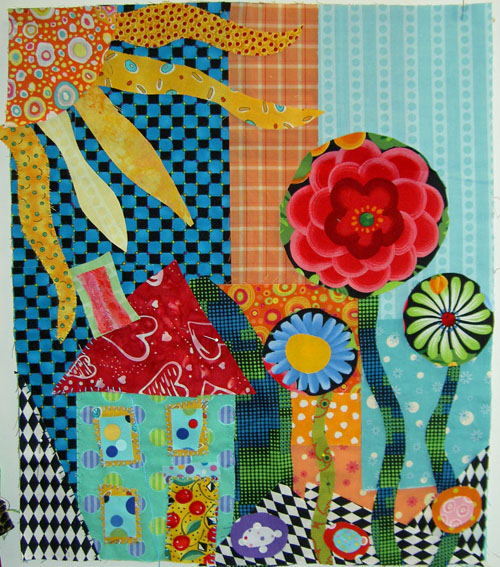
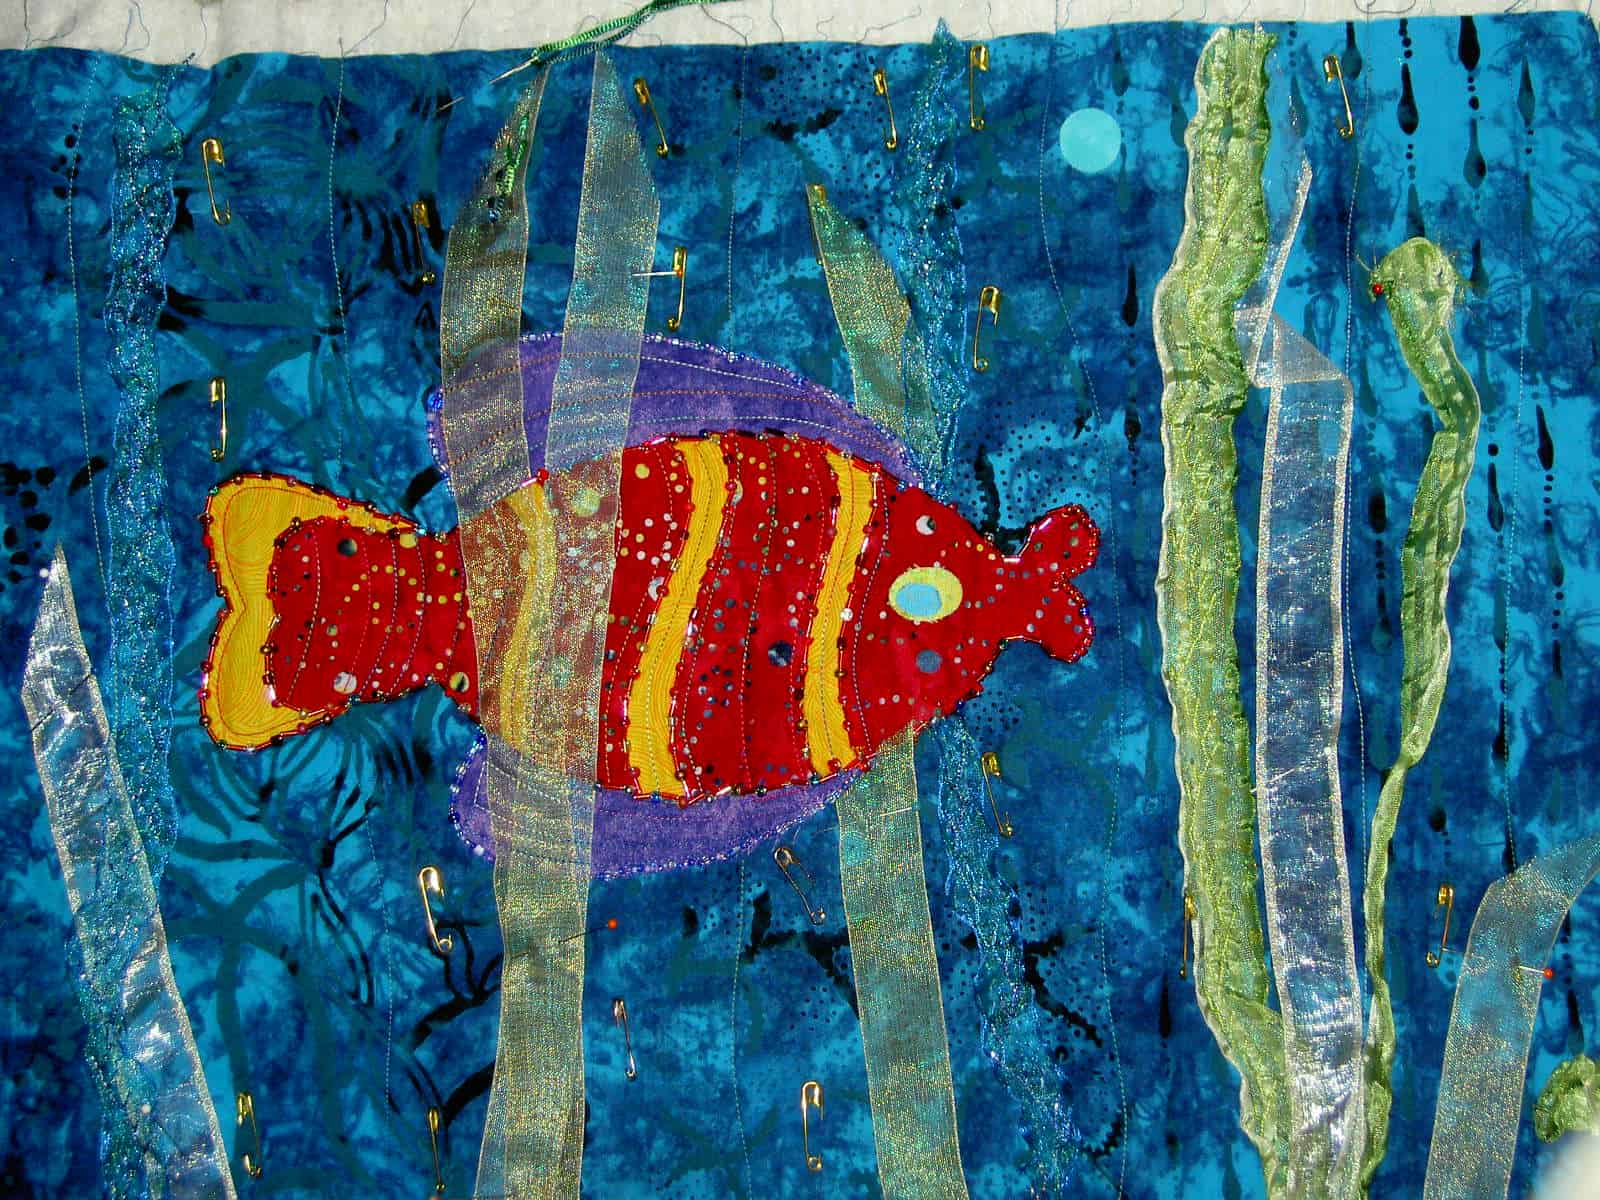
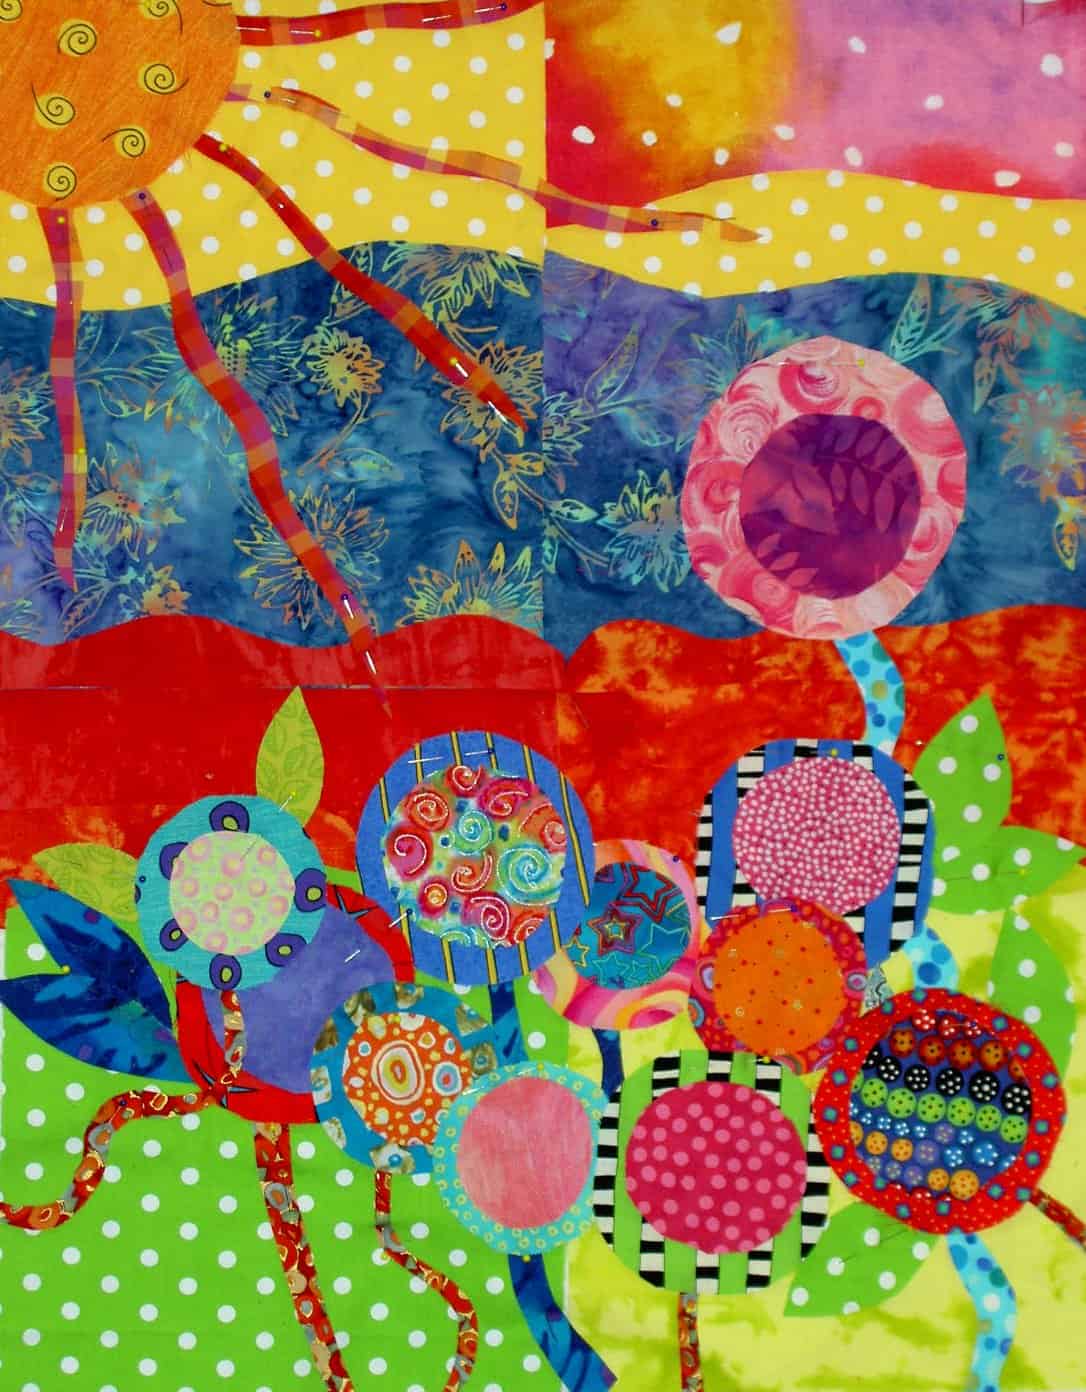
I spent Monday afternoon and evening working on the machine quilting of this piece. I still have the purple part of the road and the sky as well as the flowers to quilt, but am mostly done.

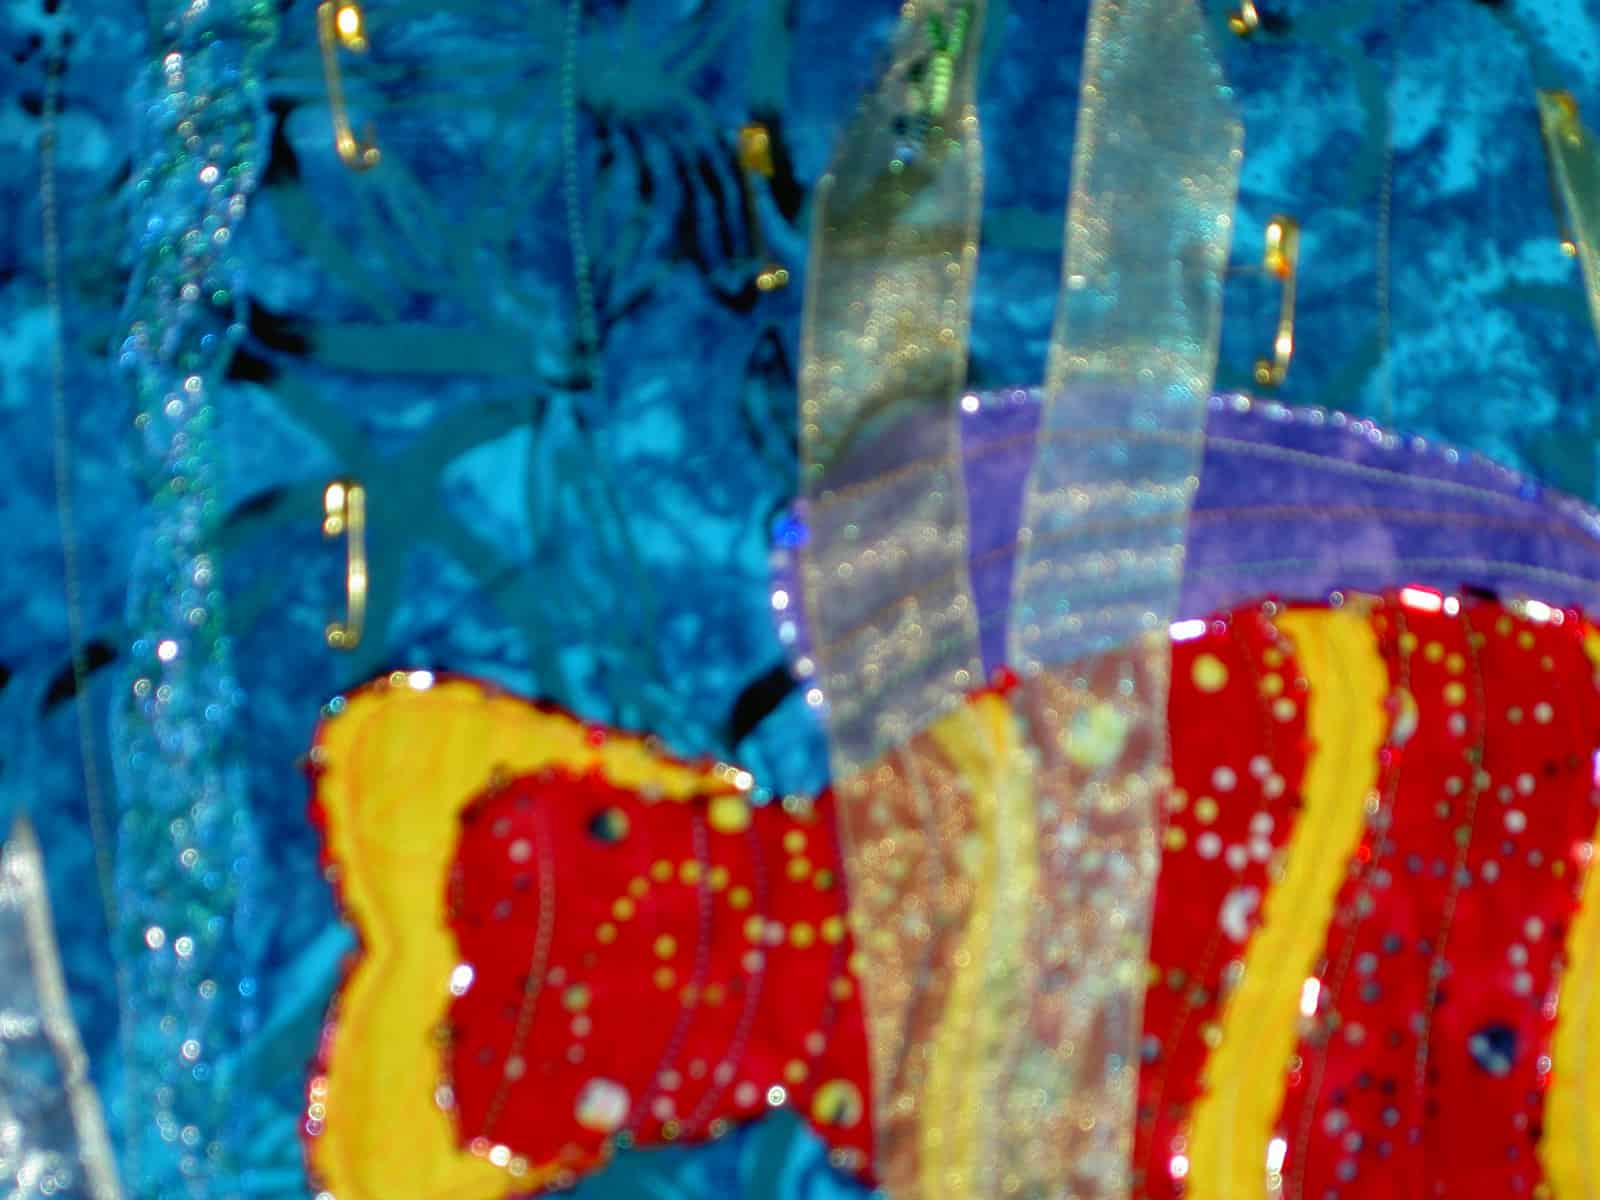
I am pleased with how the piece is shaping up. I liked the fluffiness of it before I began the quilting. Now I really like how flat it gets after quilting.

I have to remember to machine quilt it before I start the hand stitching. I know that will be hard in future Pamela Allen classes because of he flow of the class and how excited I get about the pieces I create in her classes.

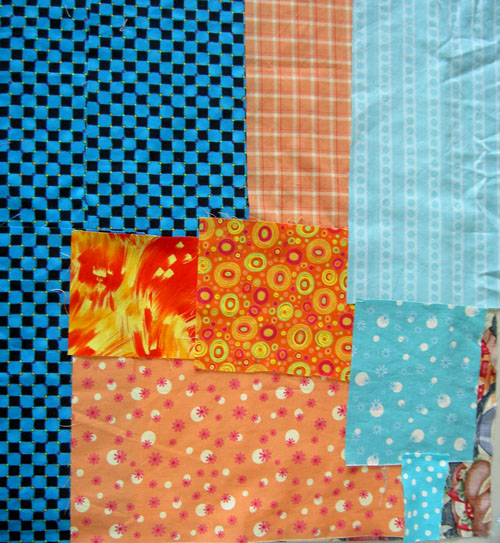
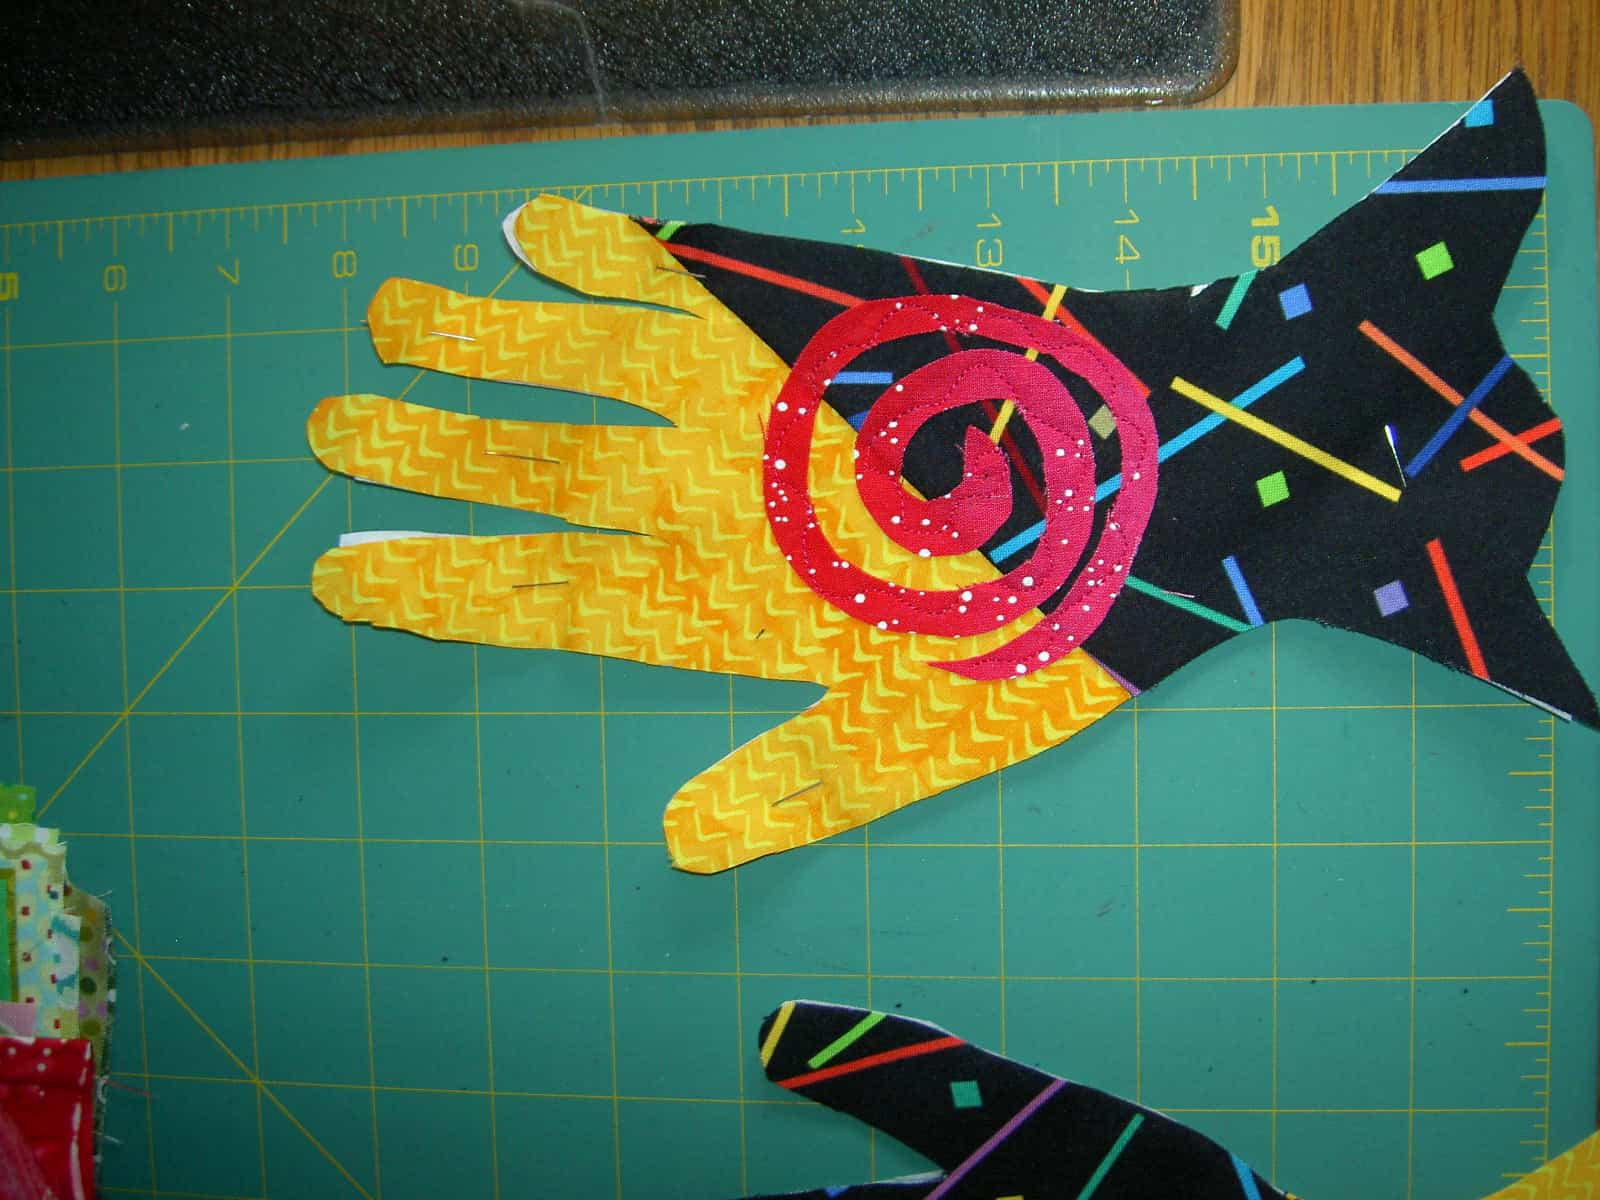
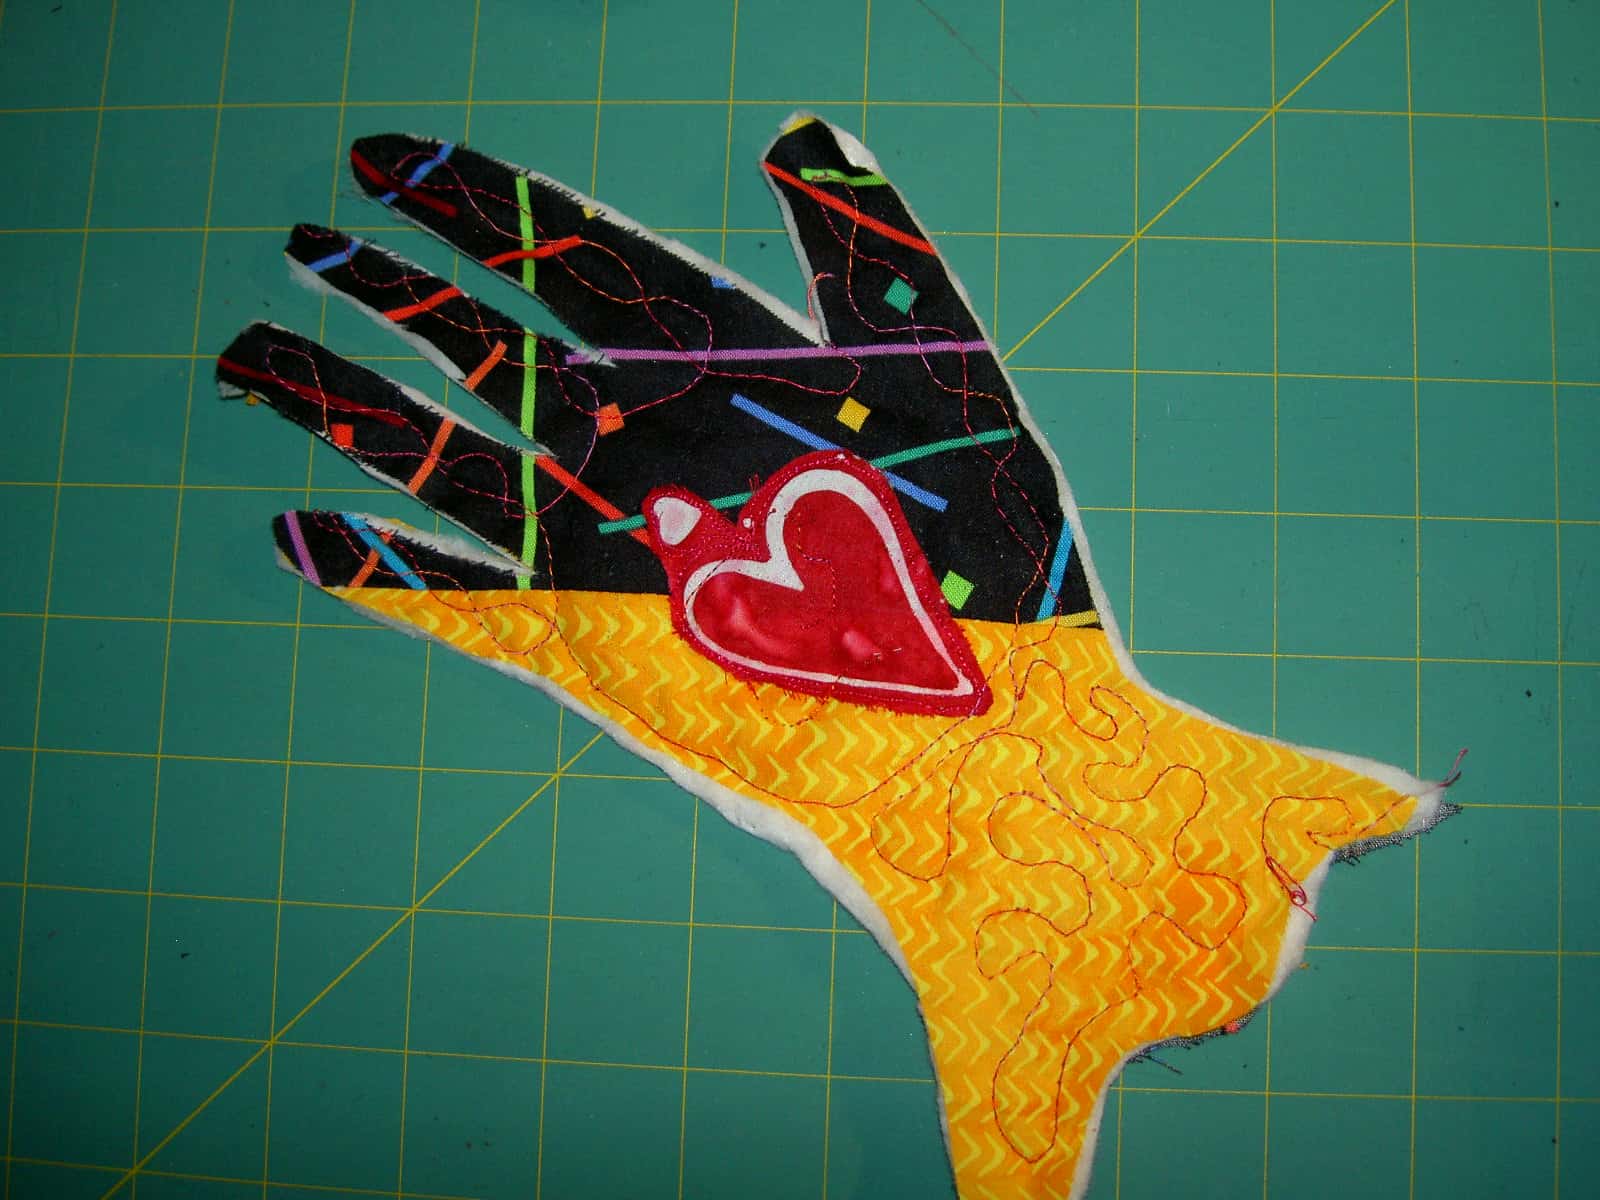
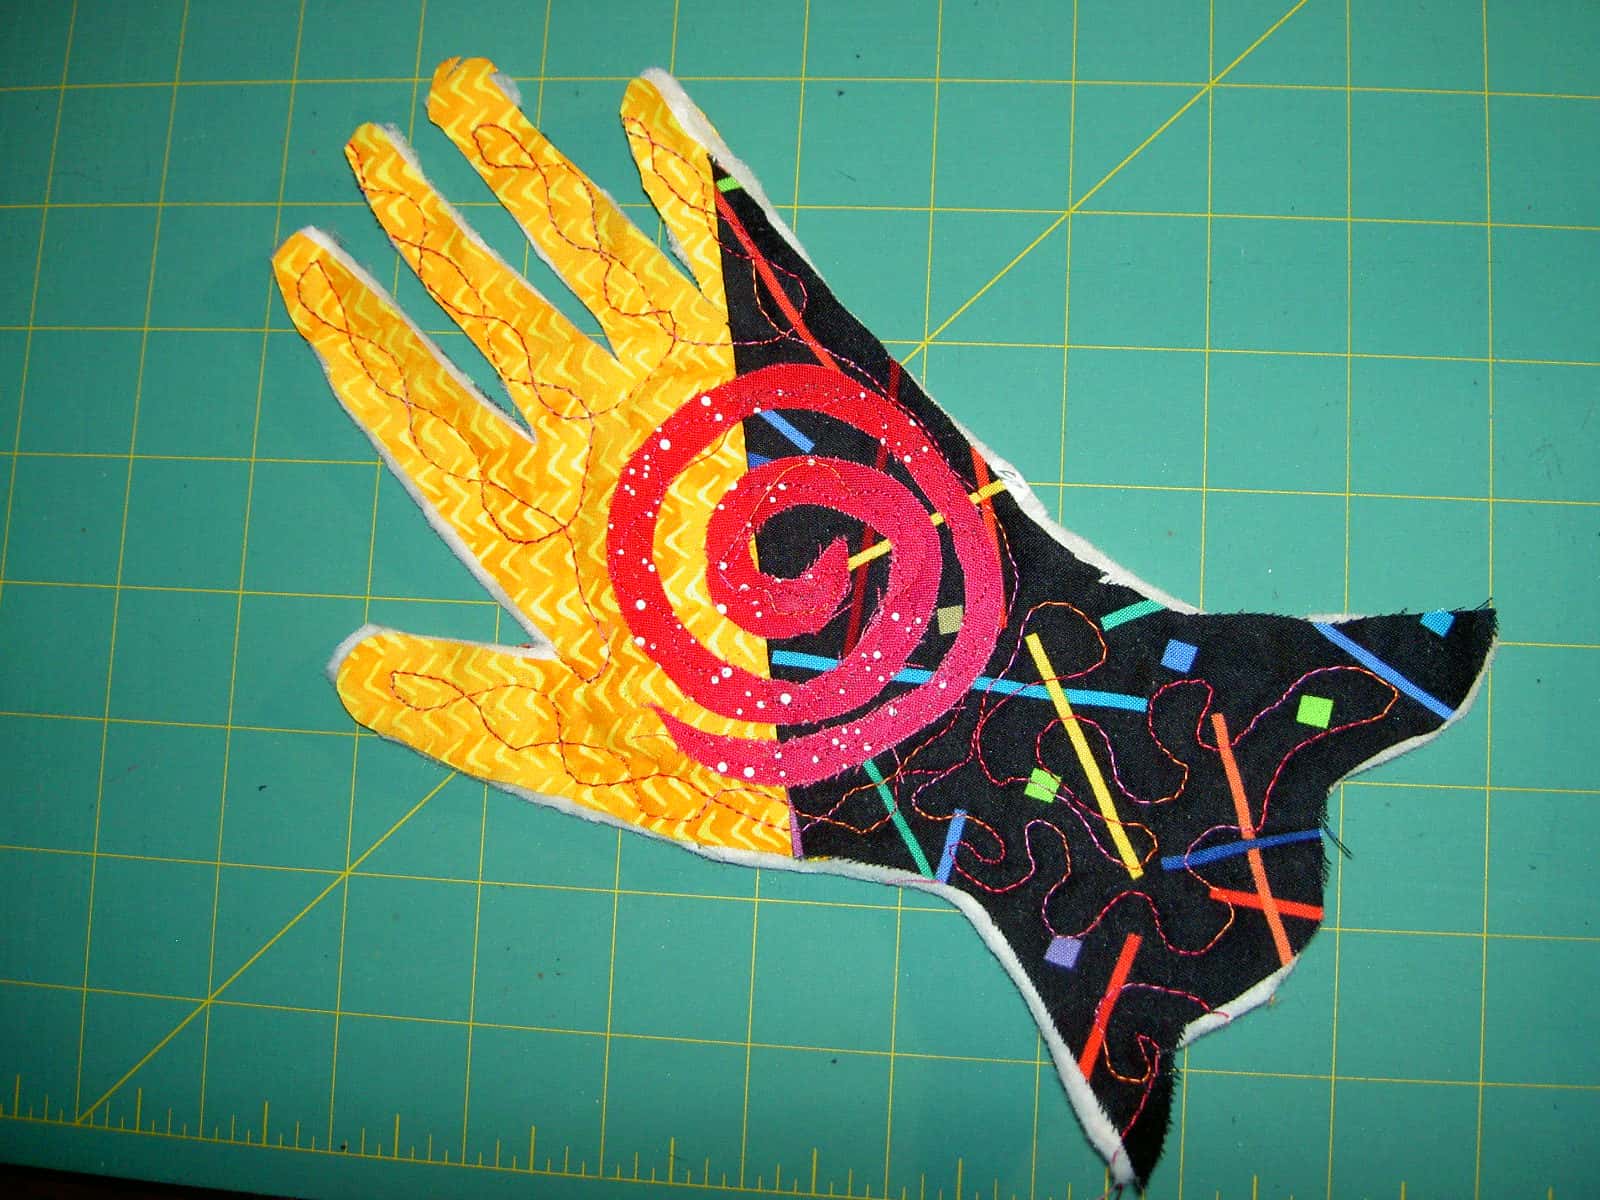
It took me a long time (well, a month, which seemed like an eternity) to get back to this piece.  I learned something from my mistakes, though:

  • cover the batting somehow
  • stick or pin everything down really WELL
  • Ensure the pieces are large enough to overlap to prevent gap-osis
  • machine quilt before hand stitching
Beach Town, top detail

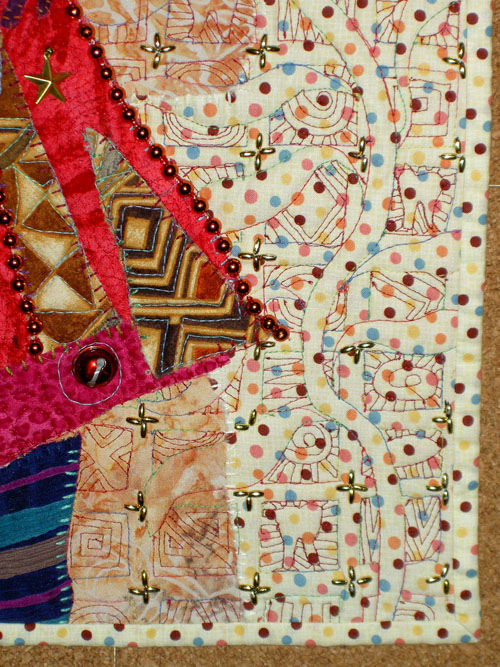
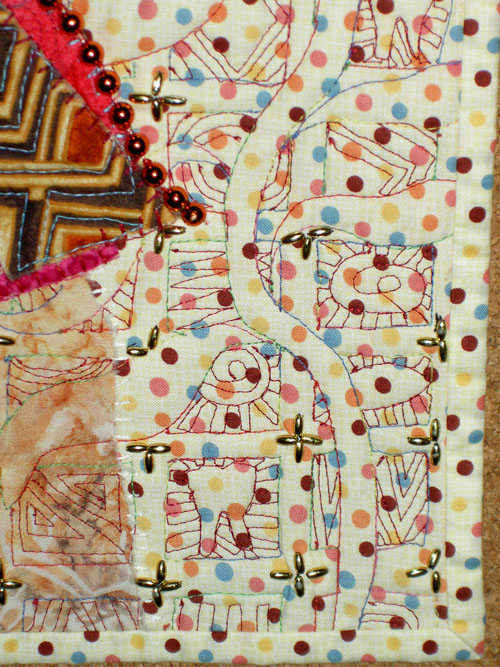
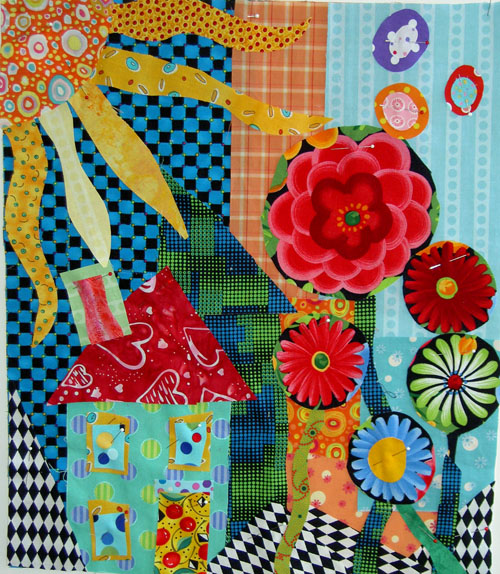
I do need more quilting on the sky. I just went around each sunbeam in order to tack down the repaired part of the sky. The other part of the sky is just too fluffy, so I will quilt some more in the area on the right of the piece.

I spent a lot of time on the tree, so that the lean, straight shape would be maintained. I think I succeeded?!

Beach Town, bottom detail

Quilting the bottom was a little more of a challenge because I didn’t want the quilting to stand out. That meant a lot of stopping and starting with new colors. That is ok. I spent some time in the evenings during the week working on little bits of the piece. As I mentioned I still need to quilt the purple part of the road and I think some hand stitching will be required.

I don’t know if I will machine quilt the flowers. I am not that into free motion quilting right now. I may just tack them down a little and then do some detailed hand stitching. It may be that I just bead them to try and maintain the look of the color statement. I haven’t done anything there yet, so I will have think about it some more.We’ll have to see.

House & Garden Finished!

House & Garden, finished May 16, 2009

I know I showed this earlier this week, but I wanted it to have its own celebratory post.

House & Garden Finished!!!

This quilt was started in Pamela Allen’s class at EBHQ in May 2007. Two years, almost to the day later. Hopefully, the ones I started last month at CQFA won’t take that long

Pamela Allen Class Continued

Summary: this post follows up on Saturday’s post about the Pamela Allen class.

I realized that when I am in a class with Pamela, I do think outside of my own quiltmaking box. I also realized that if I just listen and do what she says  I succeed. I also feel a bit freer in my work. I really have a strong feeling that I need to make a much larger piece in Pamela’s style.

Pamela gave us tips and I interpreted them as:

  • make lots of art because not all of it will be good; small is good
  • your first idea will be crap, so don’t cling to it
  • put the big shapes down first
  • move things around; try a new view
  • if you are bored by your piece everyone else will be as well

We talked a lot about art quilts at our dinner out together. I feel strongly that all quilts need to have a good design. Block type quilts have a basic structure which helps with good design. Most art quilts do not have a basic, inherent structure and some go astray because the quiltmaker doesn’t care, doesn’t know how to initiate and then evaluate a design or doesn’t have the technique foundation. I think it is easy to find out about these things. There are a lot of good principles of design type books, such as Pentak and Lauer’s Design Basics. The basic thing concerning technique in art quilts is that they don’t fall apart upon hanging. Pamela doesn’t have the classic quilt background that many quiltmakers have, but she has learned what she needs to keep the quilts structurally sound and then applied her art and design training. This is the best of both worlds and this is where I really want to be.

You can see from the gallery above how she inspires great and different work. Diane is a wonderful silk painter. She normally paints a whole cloth piece on silk and then quilts it. Her blue trees piece is really different from her normal style and really, truly wonderful. Kristen is very busy with her family and doesn’t have tons of time to sew, but made some fantastic pieces that her children would enjoy. I love that space alien monster! Kristen’s pieces are also cheerful and imaginative and wonderfully creative. Mrs. K’s sauguaro cactus/Suspicion Mountains piece has a calmness to I that I love. I hope she finishes it and hangs it somewhere where it can inspire other people. Everyone really did fantastic work and I am sorry I didn’t take more photos.

Creative Mess #2
Creative Mess #2
Creative Mess #1
Creative Mess #1

We made a creative mess. Mess is the wrong word; we had supplies and we needed to use them. When you only have 15 minutes to make a piece of art, the fabric will be flying and it was. I brought my scraps which kept ending up on the floor. People would stop by, pick up some bit of fabric and ask to whom it belonged. It became quite hilarious. We really couldn’t have done the workshop without Mrs. K. She brought tubs of fabric which allowed us to actually have backs and batting and such things. I seemed to conveniently forget those supplies when I go to Pamela’s workshops! DUH!

Saturday Project

I brought two projects to the CQFA meeting yesterday and didn’t even finish one. Better safe than sorry, I say!

The first was the Pamela project that I started at EBHQ in a class with Pamela. I want to get this done before she comes out for the next class in April. If I can also finish the flower garden, that would be great.

I had worked on it, as you know, during the summer. I did mostly handwork. I came to a point where I decided I needed to machine quilt it and that sent the project to a screeching halt. This sewing time with CQFA seemed like a good time to get that machine quilting out of the way. I got about 2/3s of the way done yesterday and finished up the quilting today.

I always have a couple of issues when I am contemplating machine quilting something. Getting started is primary and the biggest problem. I never want to do it, don’t think I will be good enough, haven’t practiced in a long time blah blah blah. On this project’s machine quilting, I just went for it. I used a simple design and my regular open toe foot and just pretended I was sewing. The second problem comes up after I get going on the quilting. I start to see the quilting add to the design and some of the motifs not being quilted pop out. This makes me want to do more and more quilting.

I can never envision how the quilting will look while I am piecing and I always think of it as interfering with my great piecing design. It usually turns out just fine.

Here is some of the detail of the quilting part way done.

A Day with Pamela

I made it to the Pamela Allen class at EBHQ.

This is all the stuff I took to class, except my sewing machine is not in the picture. (above). The pieces you see are pieces that I made in a previous class with her at Quilting Adventures.

Pamela’s work (below)


Tooth Fairy


Tooth Fairy (detail)


more Tooth Fairy detail


This is what it looks like when I work in a class. (above) What a mess!


My background for the House & Garden quilt. I really can’t help starting new projects in her class.


First draft


Pamela working on my piece


Lots of flowers and flying dots.


Not so many flowers and flying dots.


Not so many flowers and no flying dots.


Final composition. I like it, but I have to admit that I had a very hard time working with the darker colors (the black around the flowers and the blue/black checkerboard. All I could think of was that I wasn’t used to it. I haven’t been using much black lately and, as you know, have been trying to make cheerful quilts. This quilt-let seems a little dark to me.


Pamela working with Julie


Julie’s piece. I love the line up the left hand side.


Group Sampler project. We had 15 minutes to make our part of this piece.


Julie’s two fish. Can you find the second one?


My fish – with dots, of course!

I am tired and about to sign off, but I thought I would put up some photos for all of you to drool over while I go recover from a FAB day. More tomorrow.

Hands Down

As promised, I made the hand today – mostly. Here is a progression of pictures.
Back of first side:
I did the drawing of my hand before I thought of the wrist. Something caught my eye and made me think of the glove edging, so I added it after I had already cut the Tear-Away stabilizer.

Pieced first side ready for applique’.

When I saw the challenge, I could only think of Hearts in Hands.

Preparing the second side. I wasn’t sure how to do it, but sort of figured it out as I went along.

I decided to put a spiral on the back. It seems to be a powerful sign for me. This side is evolving into the front. I used some glue to keep the spiral down and flat before stitching.

Both pieces ready for quilting.

First bit of quilting. I had to rip it out, because the Libby magic has worn off and the tension was terrible. I wanted to use Glitter, but couldn’t get it to work no matter what I did. I did not have a 90/14 topstitch needle, which is what Libby recommends, so that may have been the problem.

Quilted and ready for binding. I plan to do a blue satin stitch around the edge tomorrow. I hope I can.

Gualala Arts Center Quilt Exhibit Catalog

I bought a slim volume from the Gualala Arts Center (707-884-1138) containing quilts from the Penny Nii collection. Sue Friedland wrote: “Title: 4 x 4 x 12 BY 3 X 3 X 9
The 4 x 4 x 12 refers to a collection of art quilts commissioned in the 1990s, from leading international artquilters, by Penny Nii of San Francisco. The twelve 48 inch square artquilts, by such luminaries as Michael James, Judith Larzelere, Libby Lehman, Theresa May and our own Sue Friedland, have never before being exhibited publicly. With them will be nine 36 inch square quilts by local artquilters — Mary Austin, Annie Beckett, Suzan Friedland, Kathye Hitt, Iris Lorenz-Fife, Janet Sears, Carol Tackett, Bonnie Toy, and yourself…”

I had a hard time actually getting a hold of someone at the arts center who would sell it to me, but eventually I received my copy. The quilts are great. Star by Leslie Gabrielse is interesting because of the incorporation of classical elements into this art quilts. Jane Sassaman’s Brocade in in her style, but looks very similar to a row quilt.

It is worth getting a copy of this little catalog. I hope it has success so that other quilt exhibits will be encouraged to print catalogs.

Kissy Fish Brings Me Back


I am shocked that it has been a month since I have posted anything. No sewing has taken place except some beading that I did on Kissy Fish. I worked on it in the car as we drove, but the beading doesn’t show up very well in this photo. Here is a detail, but it is also difficult to see the beading and embroidery. I am off to a quilt show in Seattle this weekend and will hopefully have a cleaner (more sewing machine friendly!) house and lots of inspiration when I return.

PameLALA Teaches at Quilting Adventures

Pamela Allen
Pamela Allen

Pamelala is Pamela Allen, an artist who has come into her own in recent years using fabric and through quilts. Pamela came from a painting and assemblage/mixed media background. Her background includes classes that many quiltmakers never take: college level design classes. She brought this background and shared it with students at Quilting Adventures on Staples Mill Road in Richmond Virginia.

If you haven’t been to Quilting Adventures, make the trek. Joyce and her team have done a fantastic job selecting fabrics that speak to those of us who don’t do reproductions, small calicos or brown. You won’t see these varieties of fabrics at Quilting Adventures. If repros and brown are what you are looking for, Joyce and her staff will cheerfully direct you to other stores in the area that have the fabrics you need. There are lots of bright fabrics as well as many, many tone-on-tones. I could have bought the entire store. I did my best.;-) In addition to fabrics, Joyce also carries a nice selection of fabric alteration supplies: dyes, paints, fabric crayons. She carries the supplies, but also has samples of what happens to the fabric when you use the various supplies.

I took two classes from Pamela. The first, a fabric portrait class, was an exercise in negative space. The portrait I made is NOT a self portrait. We were given the assignment of working with the negative space first and later filling in the details. It was interesting to think about the fabric of the negative space defining the portrait. I have a hard time seeing the negative space, but I got some practice in during this class. I was able to use the Glitter thread from Superior on Joyce’s Babylock machine to appliquilt the pieces down. I have to figure out the hair (if any), the mouth and the nose (OH GOODNESS!!!). Pamela has a gentle manner in directing her students without being a doormat. She also has firm boundaries, which I appreciate and takes care of herself. I probably could have spent a week with her working on this piece. Of course, I didn’t finish, but am well on my way.

Self Portrait, in process

The second class was a class on composition. My piece is a garden and was limited by the distance I had to travel and the supplies I was able to bring. It also helps to remember to bring your supplies. 😉 Mrs. Kristen, a fellow Mavette, was quite generous in sharing her stash with me, so I was able to make a small piece.

Jaye's Garden
Jaye’s Garden

First we assembled the background and then we laid our design on top of it. I used some of the leftover circles from the bullseye quilts and created a garden. This piece lends itself to hand stitching and I hope to be able to do some and complete this piece. During this time when the machine is better left under plastic, the timing is perfect. I’ll try to get to it. The piece is on its way to completion, but also not completed.

I would recommend classes with Pamela. She is a teacher who forces her students to think, is diplomatic about student work and gives the class the opportunity to work in a positive critique situation. She is an artist and also a teacher, not an artist who thinks s/he can teach. You can find more of Pamela’s work at her website.

Portrait Class

I spent the day in a class at Quilting Adventures in Richmond, VA with quilt artist, Pamela Allen. Pamela is from Canada and you can see much of her work at her website.

If you haven’t been to Quilting Adventures, drop what you are doing and go. The shop is great: bright colors, fabulous samples of dolls, quilts and what paints and dyes look like on fabric as well as examples of what you can do with them. Joyce and her team have done an outstanding job with the shop. They are not all things to all quiltmakers, but I think everyone could find something there!

In the class, the topic was Mavericky portraits. Mine is not a self portrait, and is clearly not complete. I took the above photo before I started to quilt it. I “appli-quilted”, which is to say I appliqued the pieces down as I quilted them.

It was a rocky road to quilting as I wanted to use the Glitter thread, but had used very fat batting. I took my initial attempts at stitching out after several frustrating thread breaks. Joyce, the owner of QA, calmly and ably assisted me and replaced the batting with thinner batting and the quilting went much more smoothly. I was able to finish all I wanted to on one machine.

People may be afraid of Glitter, but it is wonderful thread. It gives the sparkle of metallic threads without the headaches. I have tried it, now, on three different machines with minimal issues. It does not like the fat batts, though.

I still want to do some work embellishing, the silk flowers especially need centers of some kind. I also need some kind of hair, but perhaps I will leave her hairless. She is very much still in progress and her personality is not developed, so we will see what comes next.